Other useful tools
It is a screen configuration in a state that does not customize anything by activating MediBang Paint.
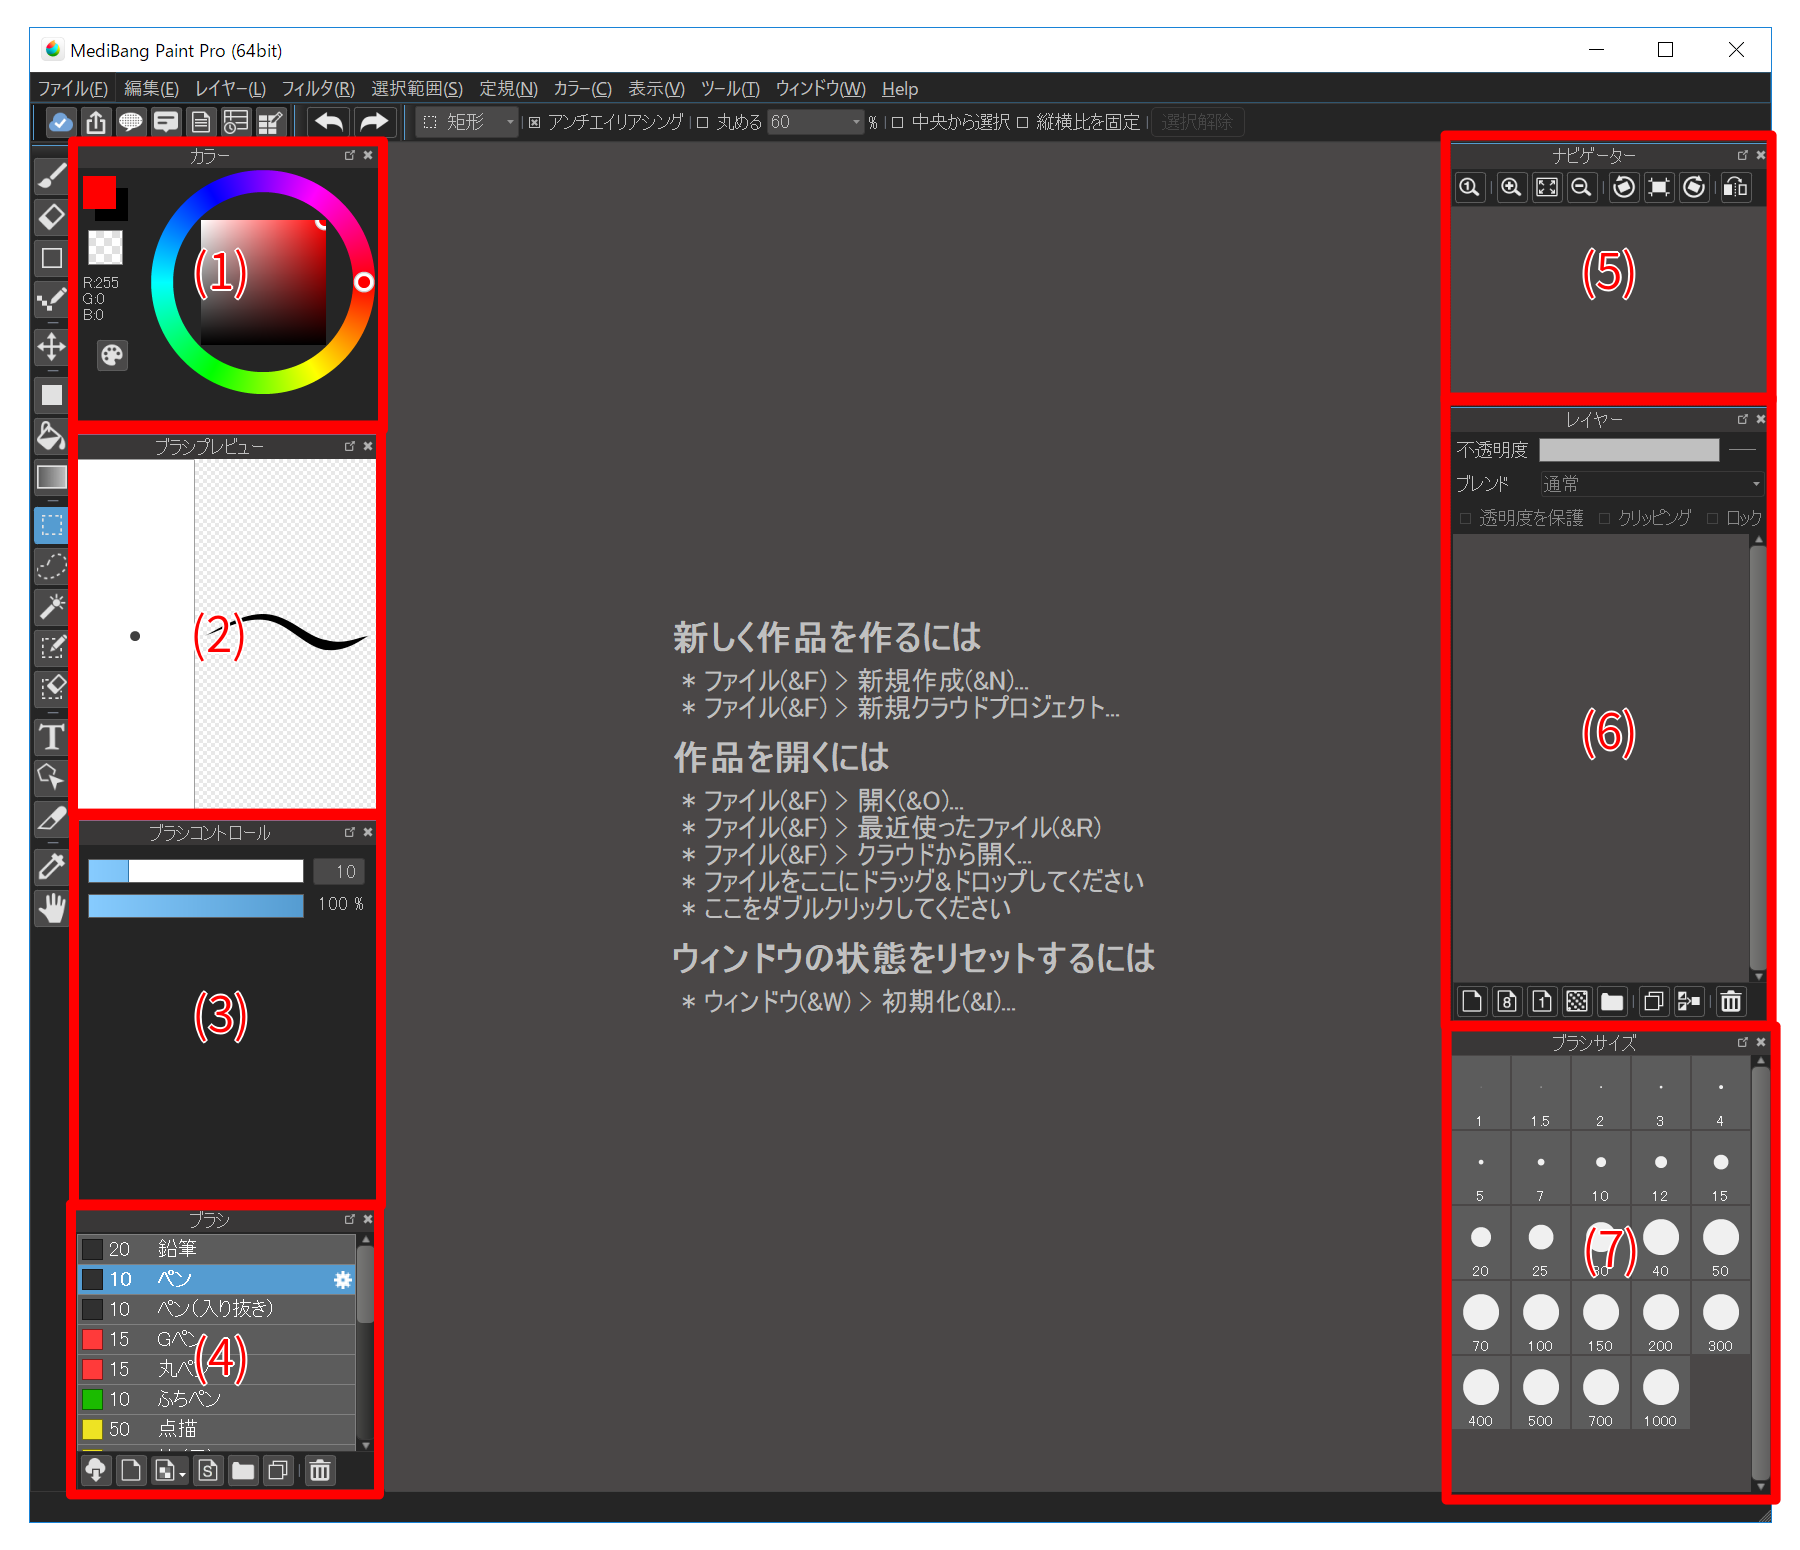
If you want to return the window to the initial state, such as erasing the window by mistake, you can return to this state at any time by «Window» → «Initialize» of the menu.
Next, we will explain each window.
It is a window for making brush color.
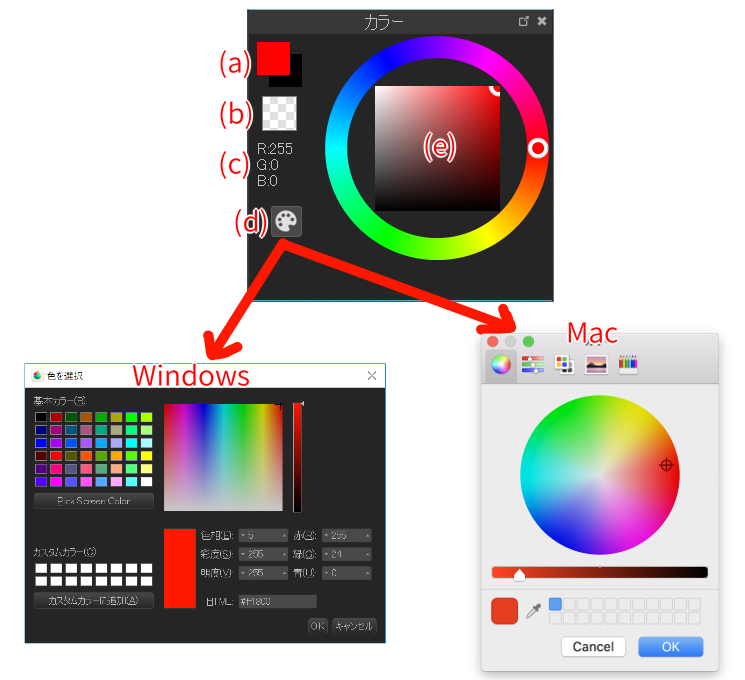
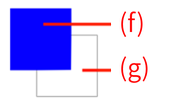
The foreground color and background color of the brush are as shown below.
This window displays the shape of the currently selected brush.
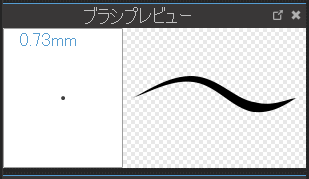
When the canvas is opened, the thickness of the brush is displayed as a numerical value in the upper left corner.
Click «Brush Preview» to reset the brush size to the default value.
See Reset brush size for details.
Window to change brush size and opacity.
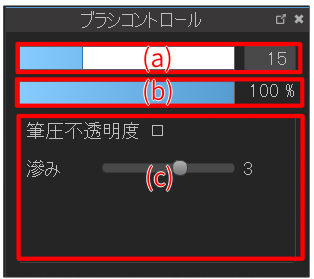
If you select a brush with brush-specific parameters, you can also change that parameter.
The brush size changed in the brush control window will return to the original value (default size) when restarting the application. If you want to change the default size, please change from the brush edit window which will be described later.
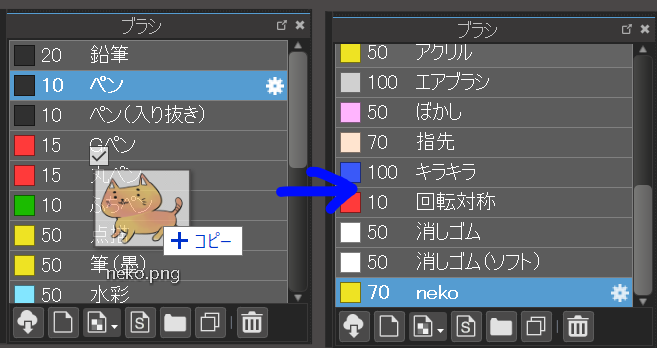
This is the window to select the brush.
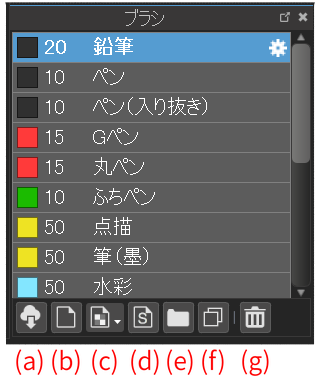
Click the gear icon to the right of the brush name to open the brush edit window.
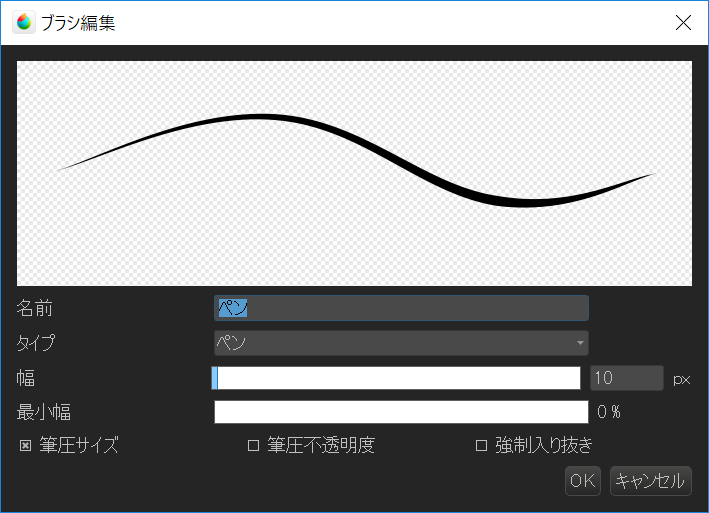
In the brush edit window you can change the default size of the brush.
For details, see the chapter on changing the default size of the brush.
You can add brushes directly by dragging and dropping image files and brush scripts into the «Brush Window».
In the «Navigator window», the full image of the currently open canvas is displayed.

Even if you operate images such as enlargement or reduction in the Navigator window, the original picture is not affected.
When the canvas is enlarged, when the original picture can not be displayed on the main window completely, the place currently displayed is indicated by a red frame.
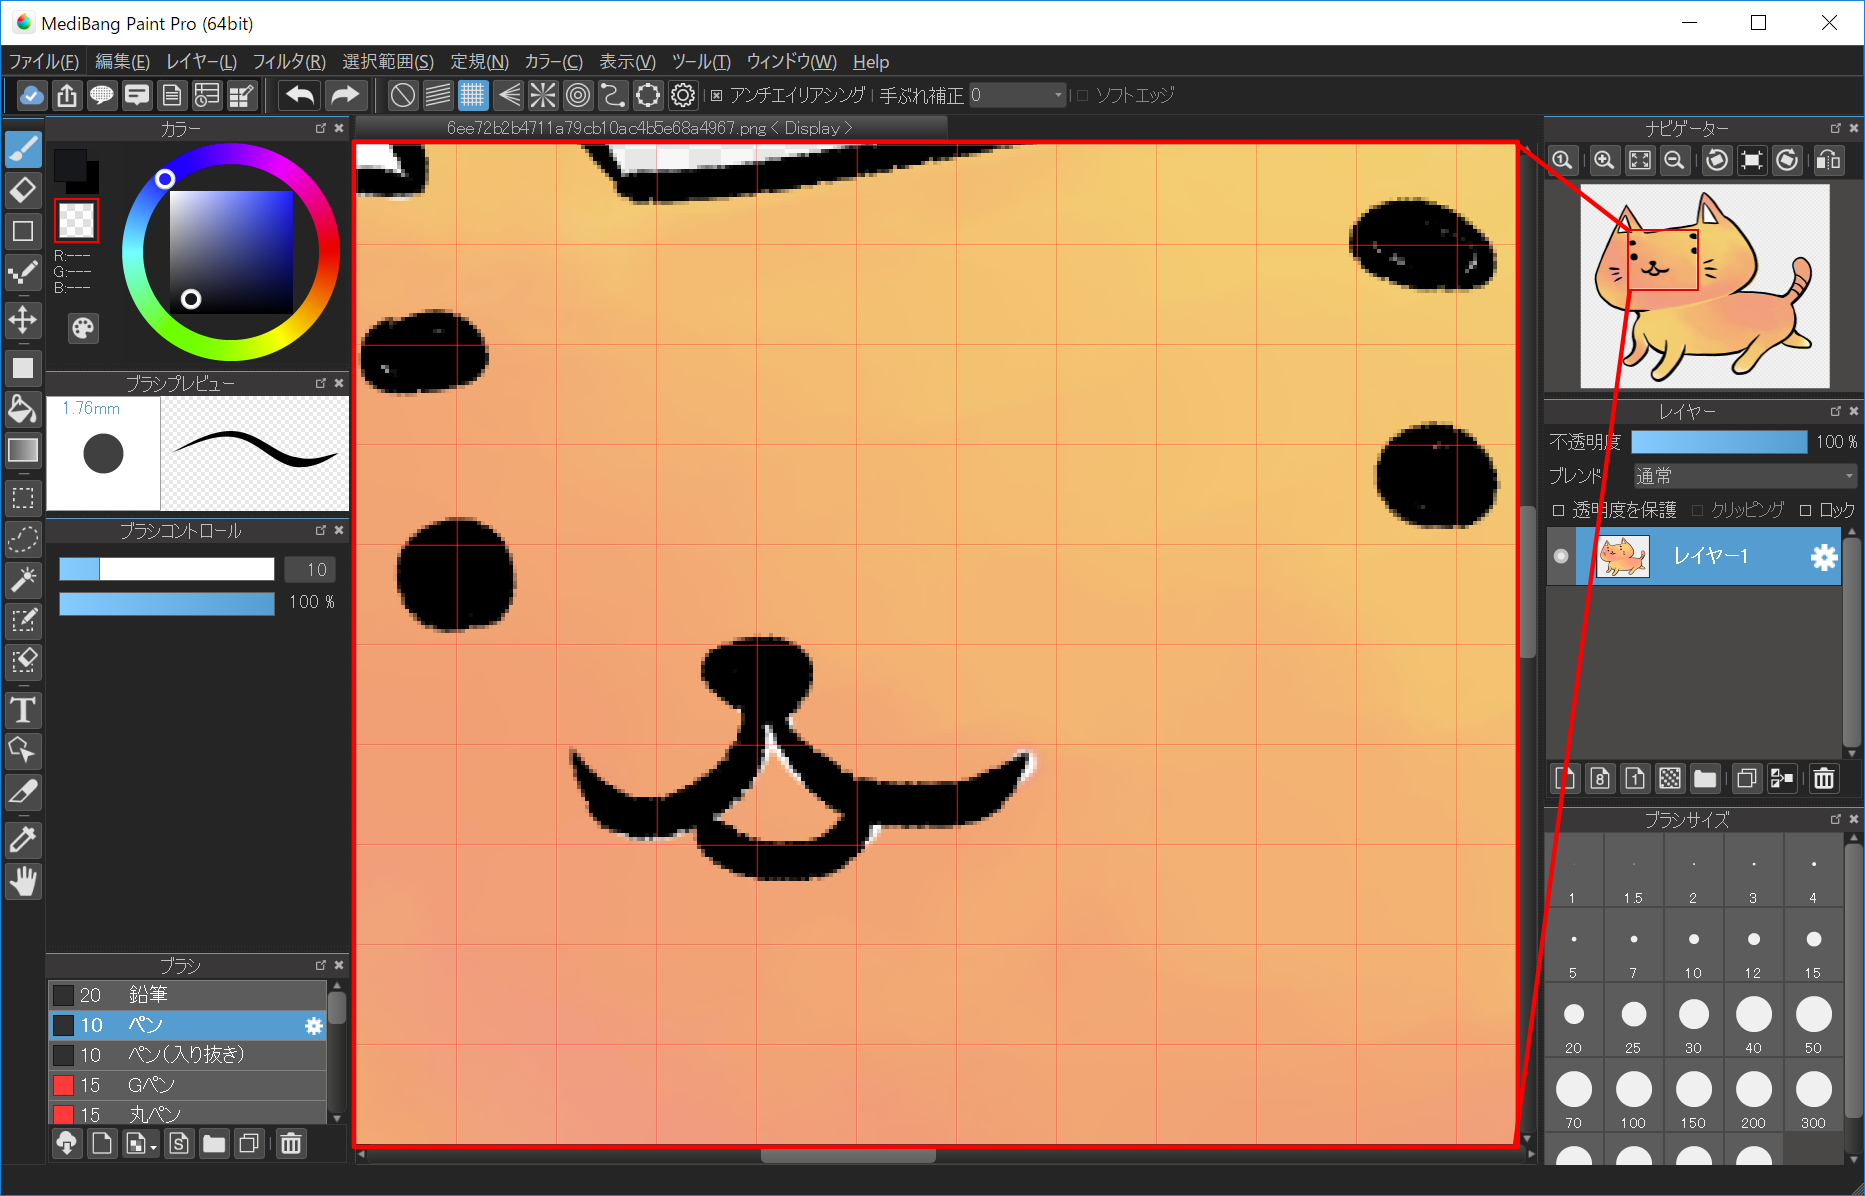
By moving this red frame you can also move the area displayed in the main window.
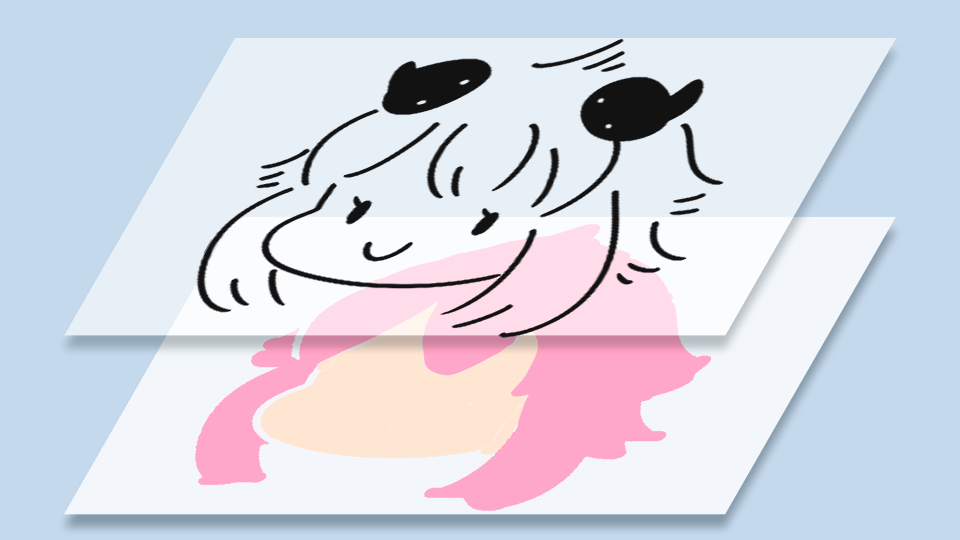
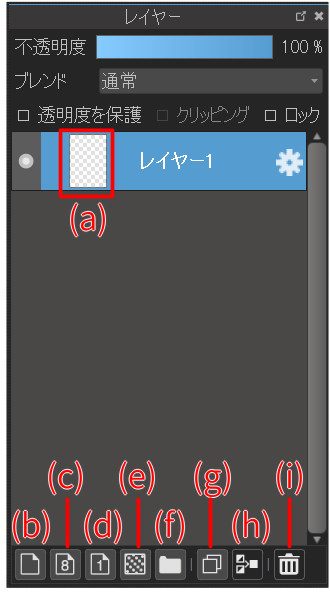
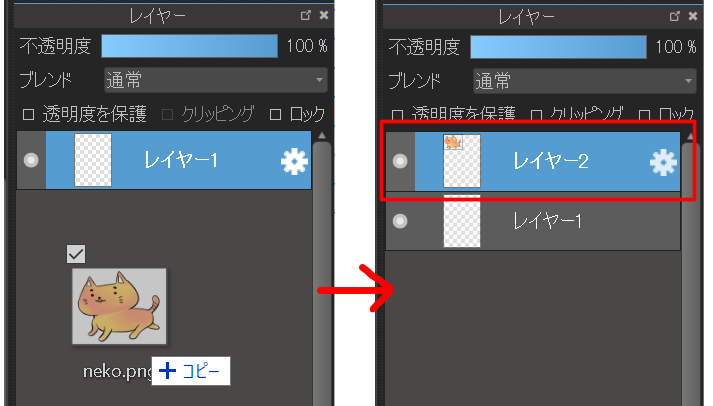
«Layer window» is a window for manipulating layers.
If you drag and drop an image file in the layer window, you can add an image as a new layer to the currently open canvas.
If you register the brush size you often use in the «Brush size» window, it is convenient to change the brush size easily.
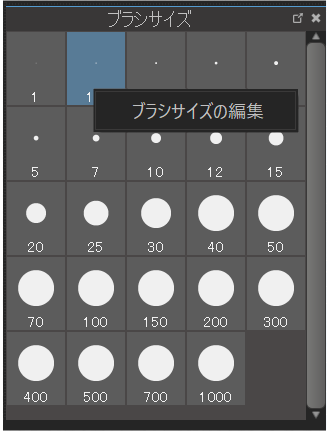
When you right click on the brush size window, the «Edit Brush Size» menu is displayed, clicking it will display the brush size edit window.
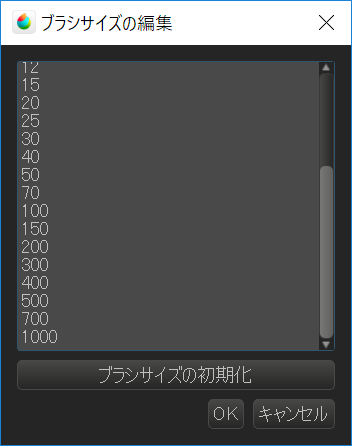
In the «Edit Brush Size» window, you can register your favorite brush size with a line break separator. If you want to return to the initial state, please press «Initialize Brush Size» button.
When doing the wrong operation, it is «Undo» that can cancel the previous operation, and «Redo» to cancel the previous «Undo».

Most operations can be canceled with Undo, so please use it.
You can Undo by holding down the Ctrl key and pressing the Z key on the keyboard. (In case of Mac version, press Command key while pressing Z key)
We recommend you to keep in mind that this is a common operation not only for MediBang paint but also for most Windows / Mac applications.
MediBang Paint has no fixed upper limit on the number of Undo and you can restore your work as far as your PC’s memory permits. When memory for Undo runs short, it disappears from the oldest Undo information.
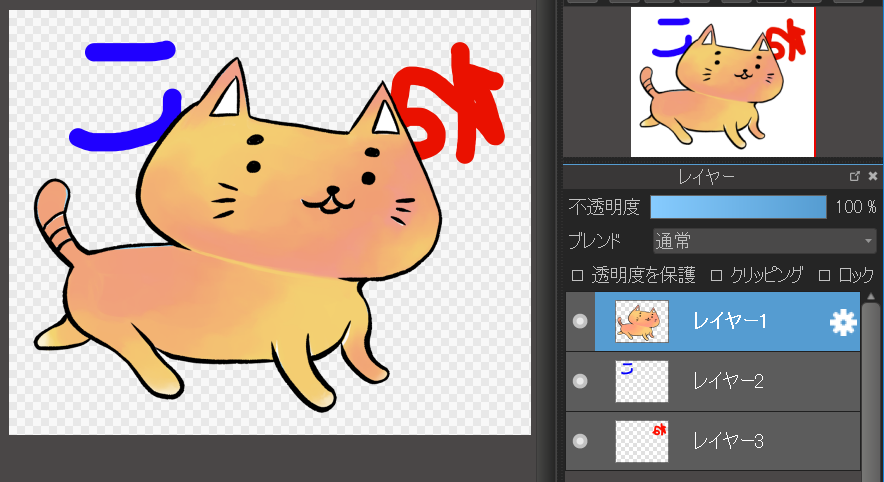
MediBang Paint has three kinds of rotation and left / right reversal. Let’s learn the difference.
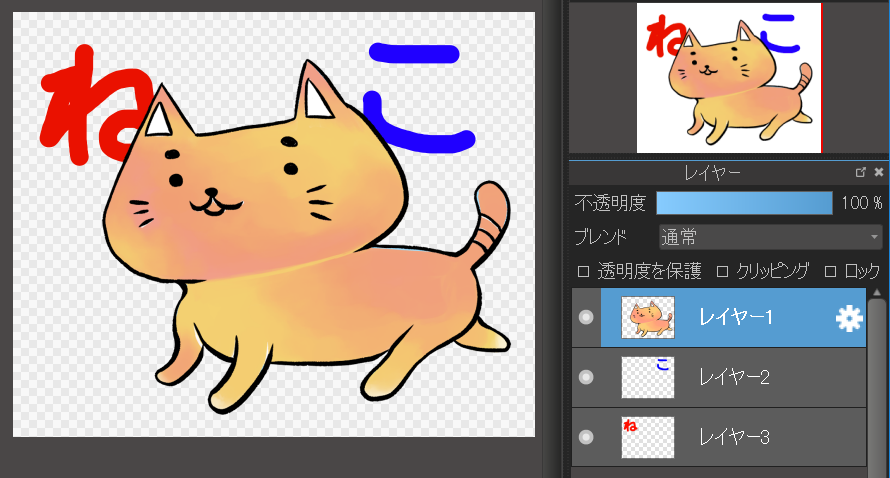
Based on this picture, I will explain how each rotation works.
It can be executed by «View» → «Rotate Left» / «Flip» / «Rotate Right» of the menu. (It is the same even if you operate in the «Navigator» window.)
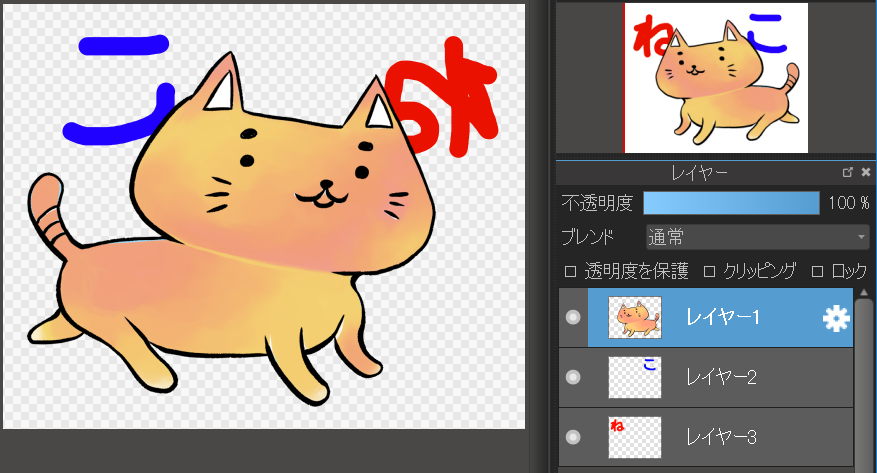
Only the display of the canvas flips horizontally and the display of the navigator and layer remains intact.
In this operation, since only the display is rotated and reversed, the data saved in the canvas is saved in the original state.
It can be executed by «Edit» → «Rotate Left» / «Flip Horizontally» / «Rotate Right» of the menu.
The entire canvas (all layers) will rotate and flip.
In this operation, not only the display but also the saved data of the canvas are saved in a rotated state.
It can be executed by the menu in «Layer» → «Rotate» of the menu.
Only the selected layer rotates / flips.
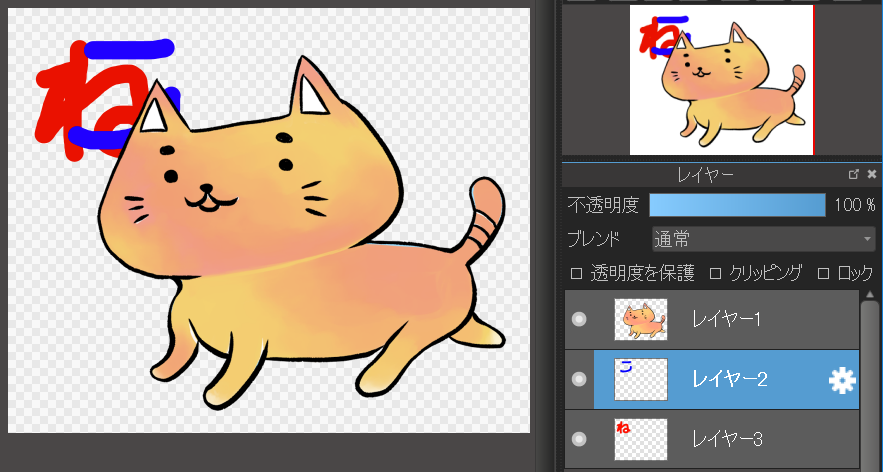
In this operation, not only the display but also the saved data of the canvas are saved in a rotated state.
A «Snap tool» is displayed at the top of the window when selecting a tool that can use a «Snap tool» such as a brush tool.
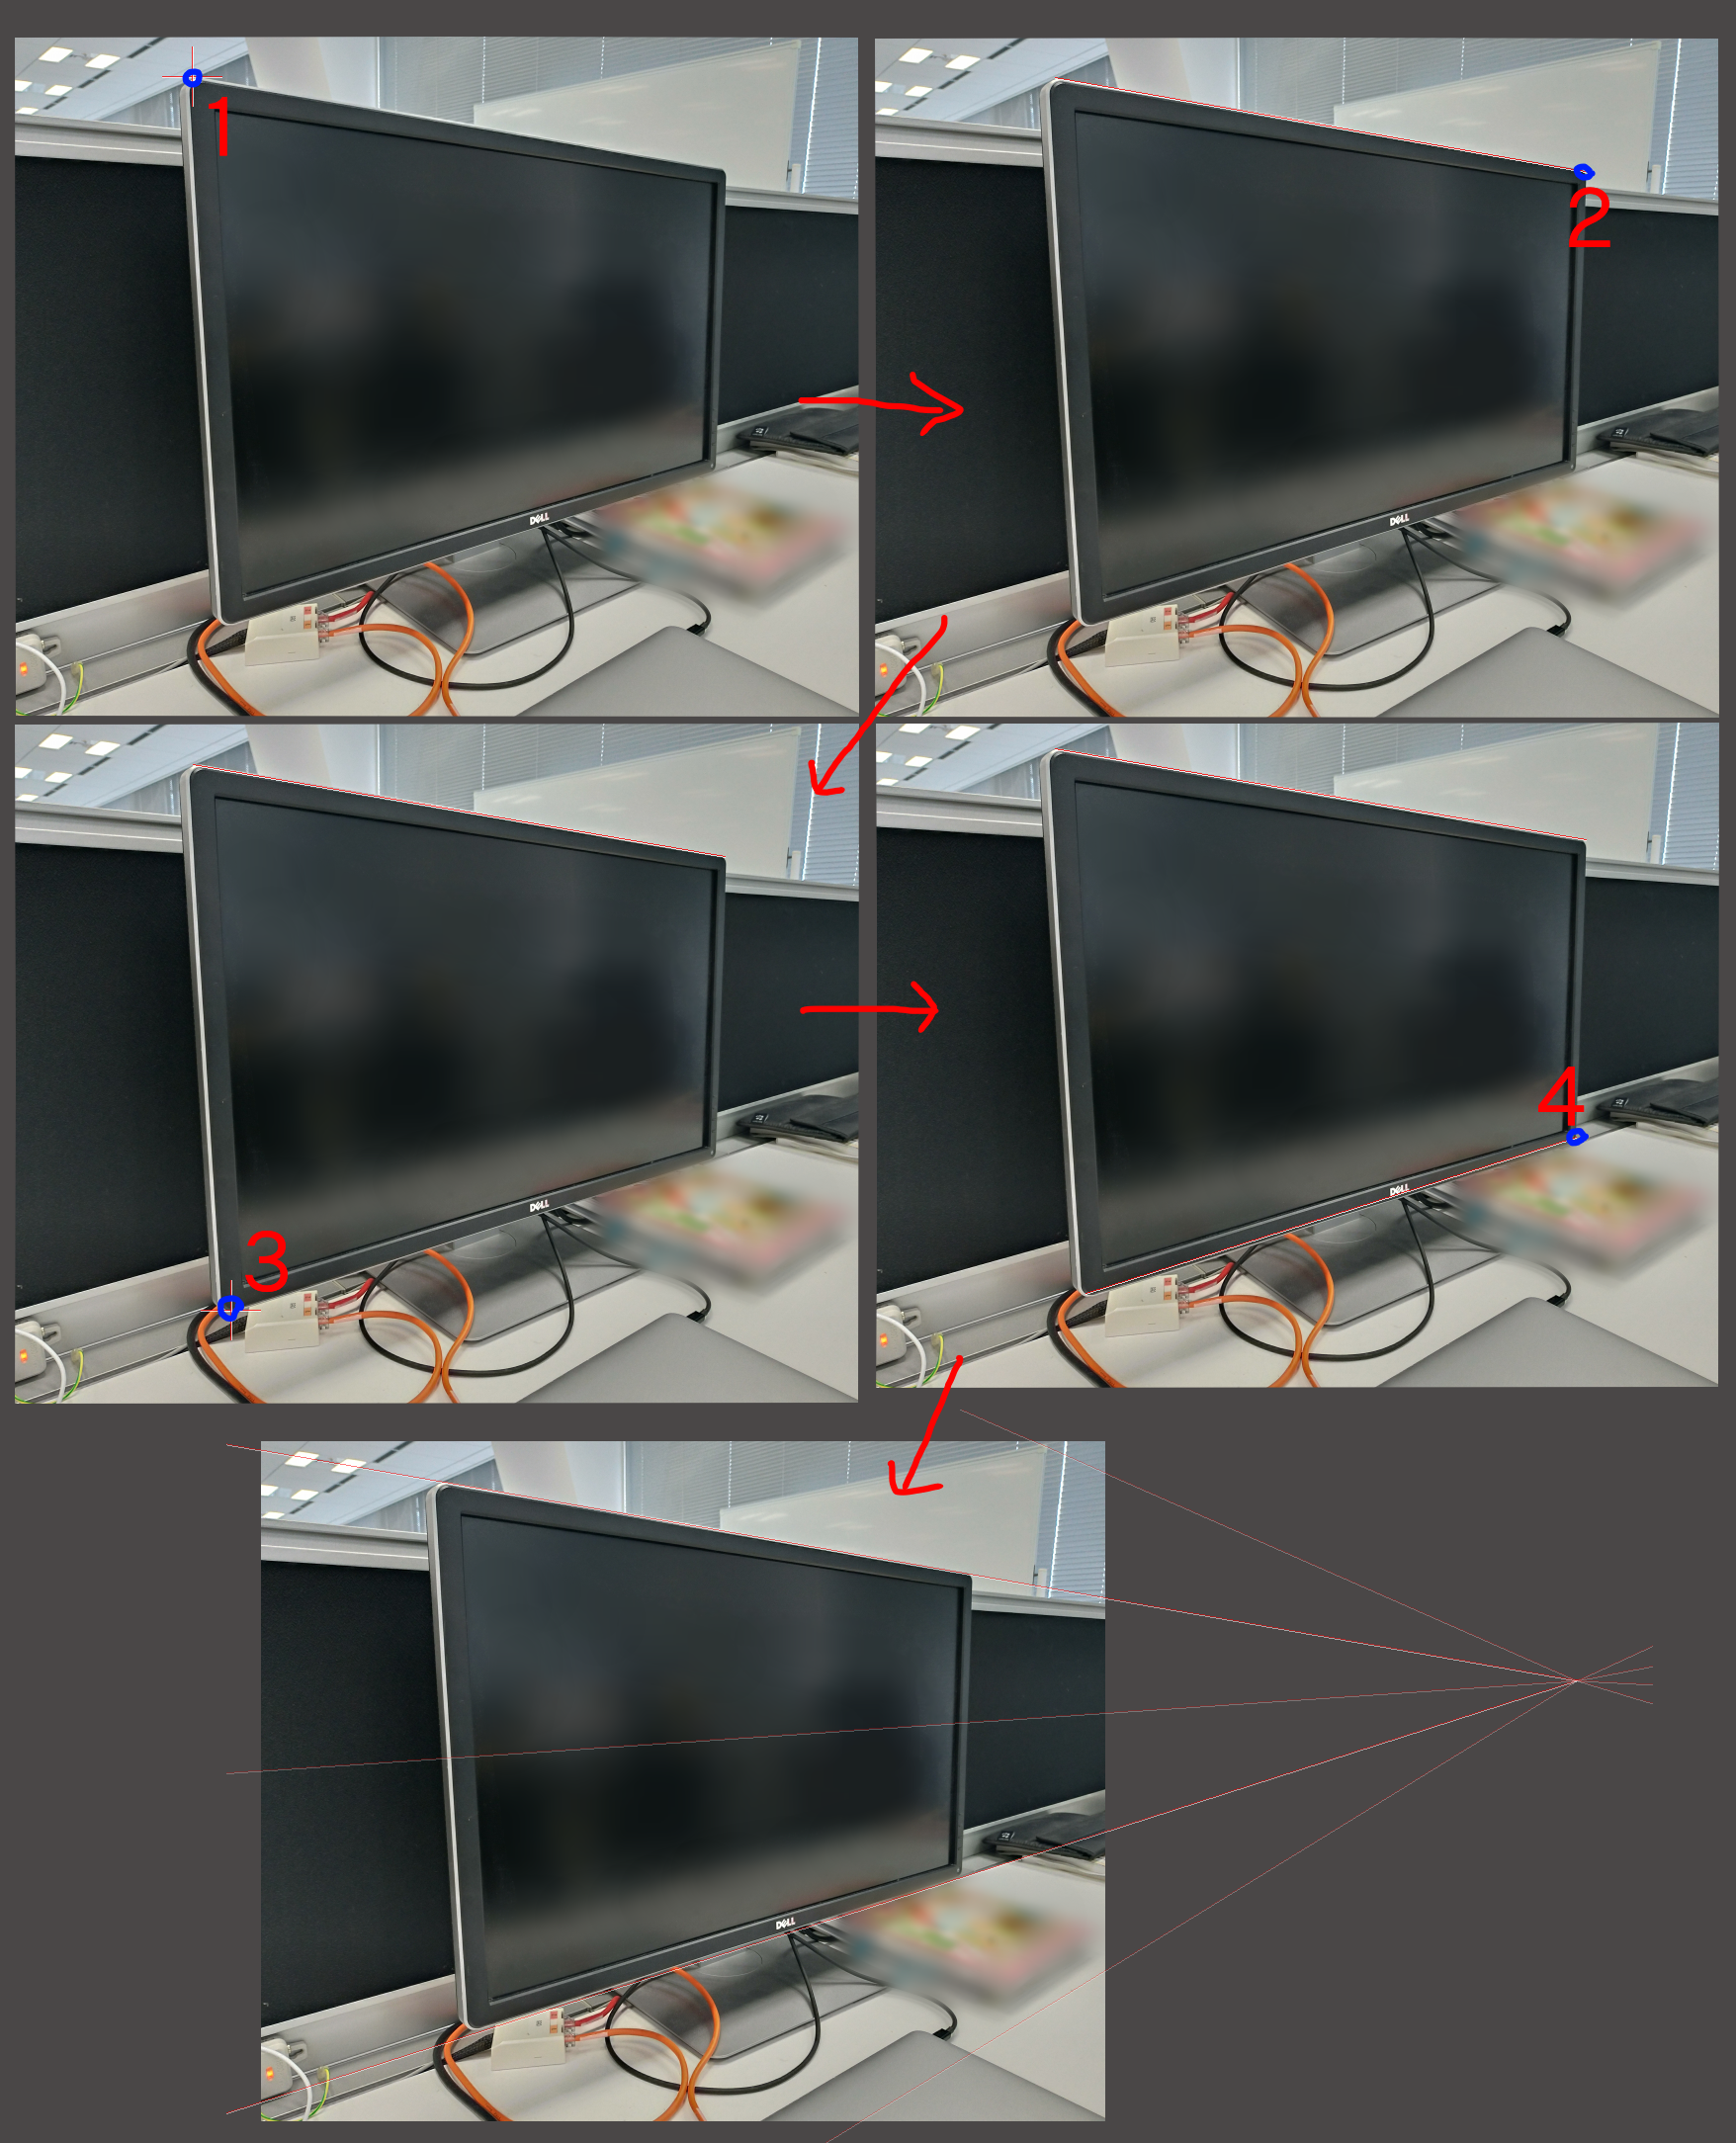
The snap can be saved. The snap data is saved in mdp file, and it can store up to 10 pieces per mdp file.
To save snap, use «Snap» → «Save Snap» in the menu.
You can call up the saved snap from the «Snap» menu.
(※There is no function to change or delete the name of the ruler saved at Ver 20.1.)
I will explain the toolbar on the left side of the main window.
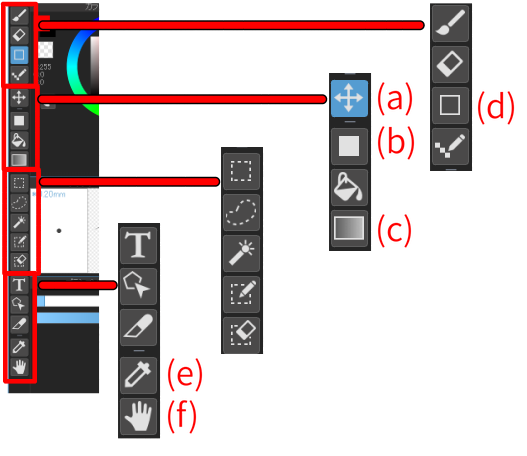
Using the «Move tool» (the button in (a)) you can freely move the picture drawn on the selected layer.
Movement is done by dragging on the canvas.
You can move it horizontally and vertically by holding down the Shift key and using «Move Tool».
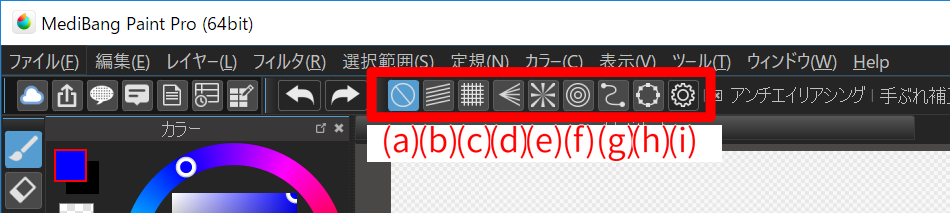
Using «Fill tool» (button (b)), you can easily fill in rectangular, elliptical, polygonal shape.
When you select the Fill tool, «Special tool bar» of «Fill tool» is displayed at the top of the main window.

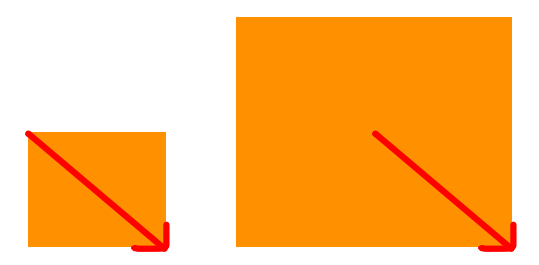
When checking the selection from the center on the right (when drawing like a red arrow)
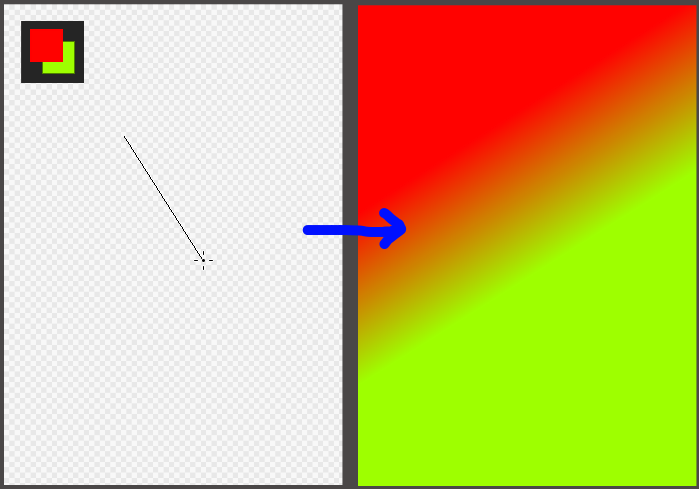
Using «Gradation Tool» (button (c)) makes it easy to create gradations.
When «Gradation tool» is selected, «Special tool bar» is displayed at the top of the main window.
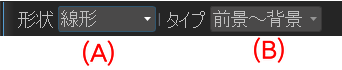
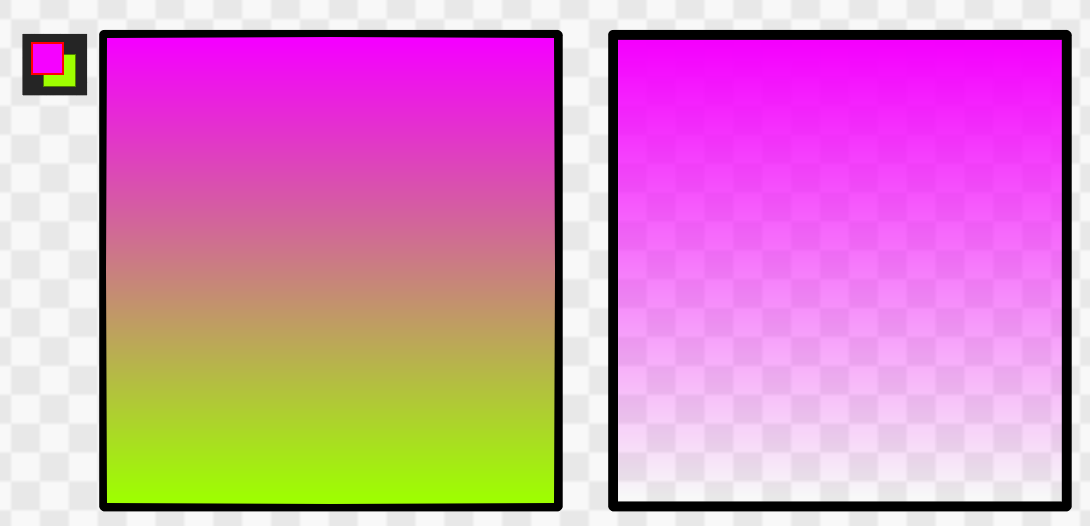
The left is «foreground to background» right is «foreground». If you select the foreground, it will gradate from the foreground to the transparent color.
The width and direction of the gradation are determined by the stroke in the canvas.
Using the «Shape Brush Tool» (button (d)), you can easily write shapes.
Unlike the Fill Tool, you can draw shapes with the current brush.
For details, please click here.
Using «Eyedropper Tool» (button (e)), you can choose any color from the canvas you are drawing and turn it into the foreground color.
Hold Alt (Option for Mac) and click the canvas to switch to the eyedropper tool.
For details click here .
Using the «Hand tool» (button (f)) you can move the display position of the canvas.
For details click here.
Hold down the space key and drag the canvas to perform the same operation as the palm tool.
The «Palette» window is a window which is hidden in the initial state.
To use the palette, please display the palette window with «Window» → «Palette» of the menu.
For details click here.
«Reference window» is a window which is hidden in the initial state.
To use the «Reference window», please display the «Reference window» with «Window» → «Reference» in the menu.
For details click here.
MediBang Premium, новая услуга MediBang Paint, теперь доступна!
Вы получите неограниченное количество кистей и материалов,
полный доступ ко
всем функциям MediBang Paint,
а также множество других преимуществ,
которые
помогут вам в ваших творческих начинаниях.
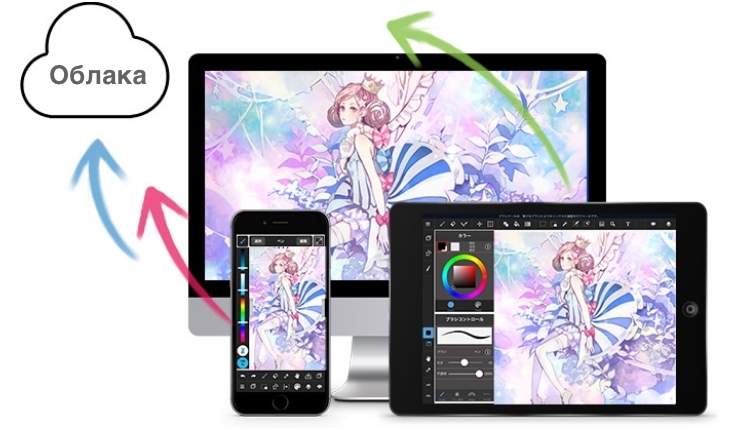
Введем облачные функции, доступные в краской Medibang.

Введем конкретные примеры командной продукции, используя Medibang Paint и Mangainem.

Введен официальное программное обеспечение Manga Production Software «Right Paint».