2019.11.22
How to register a photo you took as a usable material

With MediBang Paint, you can register a photo you took as a material.
In this section, I will explain how to apply textures to your illustrations using photographs with a texture, such as wood grain or fabric.
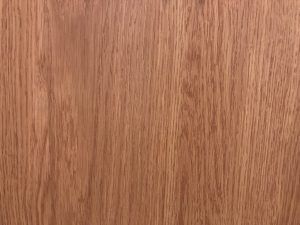
First, prepare a photograph with the texture you want to add.
Here, we are using a wood grain photo taken with a smartphone.
*If possible, try to adjust the brightness and contrast of the photo in your smartphone to further highlight the texture for better results.
Click on the material icon (![]() ) on the upper right, and select your desired location from the options shown in the material panel: Tile, Tone, and Item.
) on the upper right, and select your desired location from the options shown in the material panel: Tile, Tone, and Item.
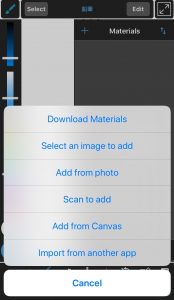
Tap on the + icon on the upper hand of the material panel to display a material addition menu. Select “Add by taking a picture.”
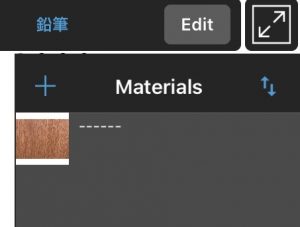
A wood grain photo has been added as a usable material.
Prepare an illustration you want to apply the texture to. Create a new layer on top of it.
*Change the layer name to “Illustration” and “Texture” to make it distinguishable.
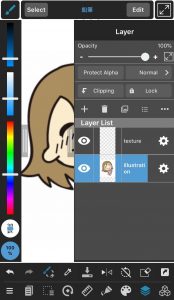
With the texture layer selected, open the material panel and tap on the wood grain material we added earlier.
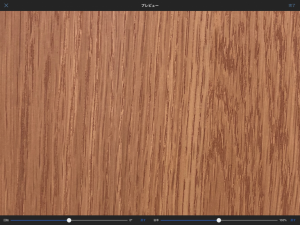
You will be presented with a preview screen of the texture. Tap on Done located on the upper right corner.
*You can adjust the texture by tapping on Rotate or Magnify.
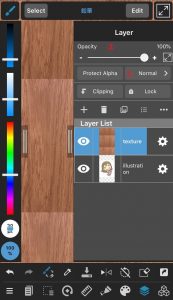
A wood grain picture has been added to the texture layer.
From the layer panel, click on ① Layer Blend [Standard], and then click on Overlay, to apply the texture to the illustration below.
The texture looks too sharp this way, so we are going to lower the opacity down to 50%.
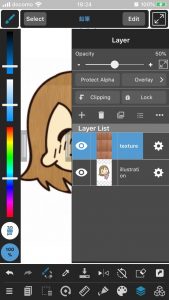
You can achieve many different results by changing the ① Layer blend type on the layer panel. Try it out!

\ We are accepting requests for articles on how to use /

