Here, we will explain the unique “layer” function of digital. Layers will allow you to change the color of the line drawing later and change the expression of the face later.
It is a function that you can draw a picture for each part or step, like overlapping transparent films.
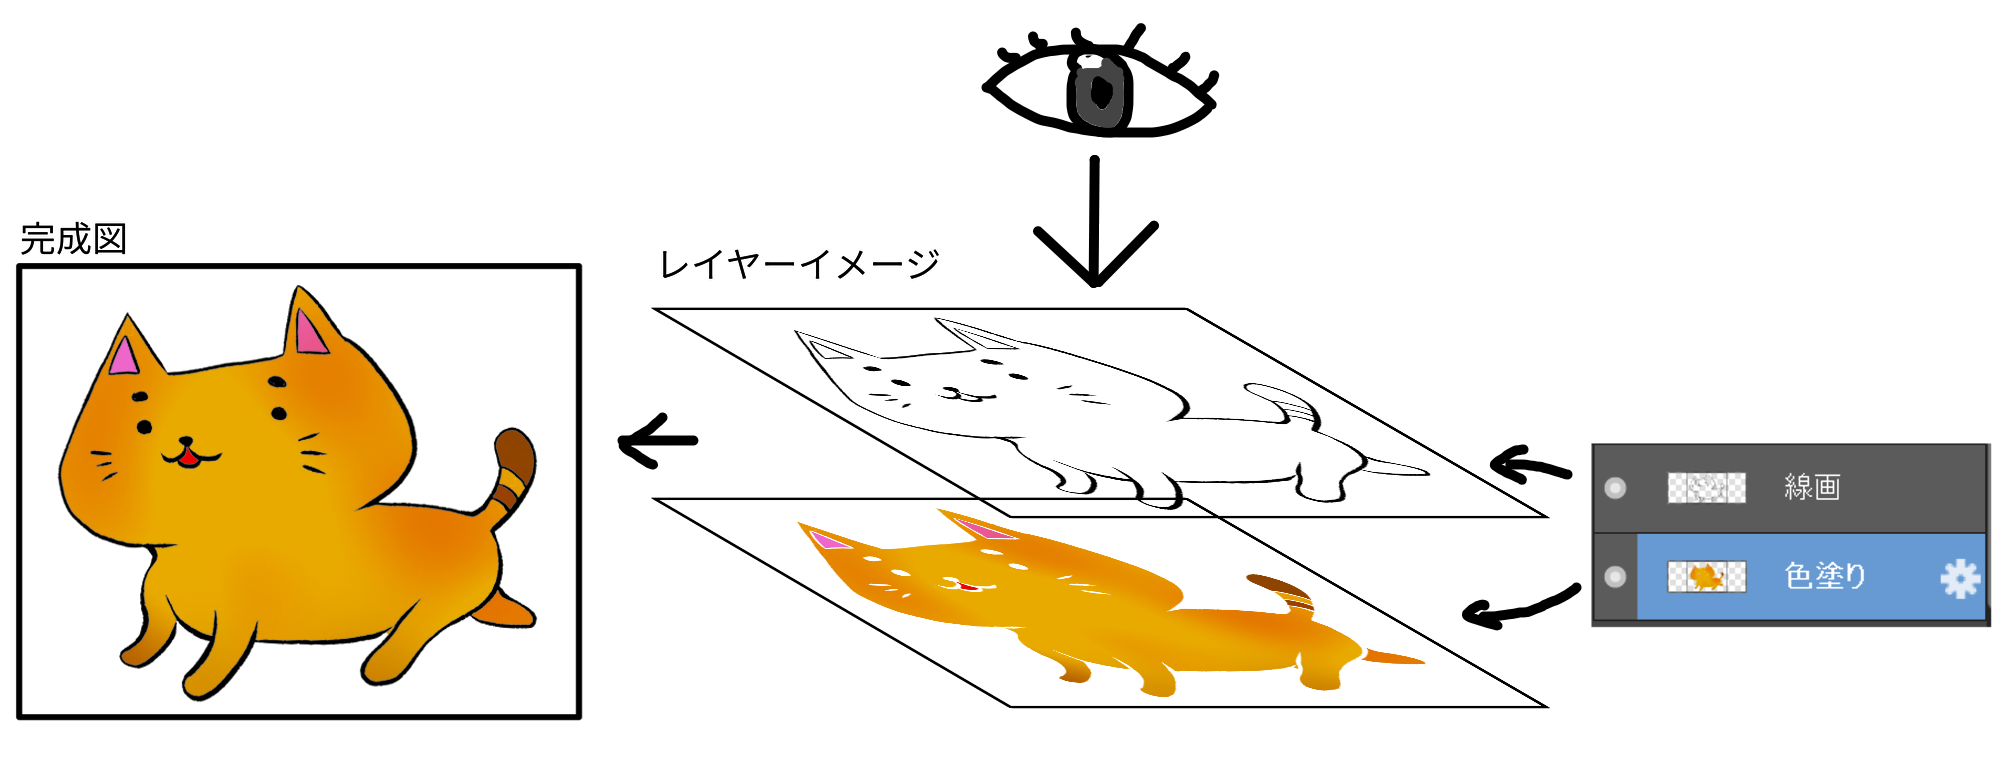
For example, if you divide “line drawing layer” and “color painting layer” …
Even if you fail to paint the color, you can erase only the painted part without erasing the line drawing like this.
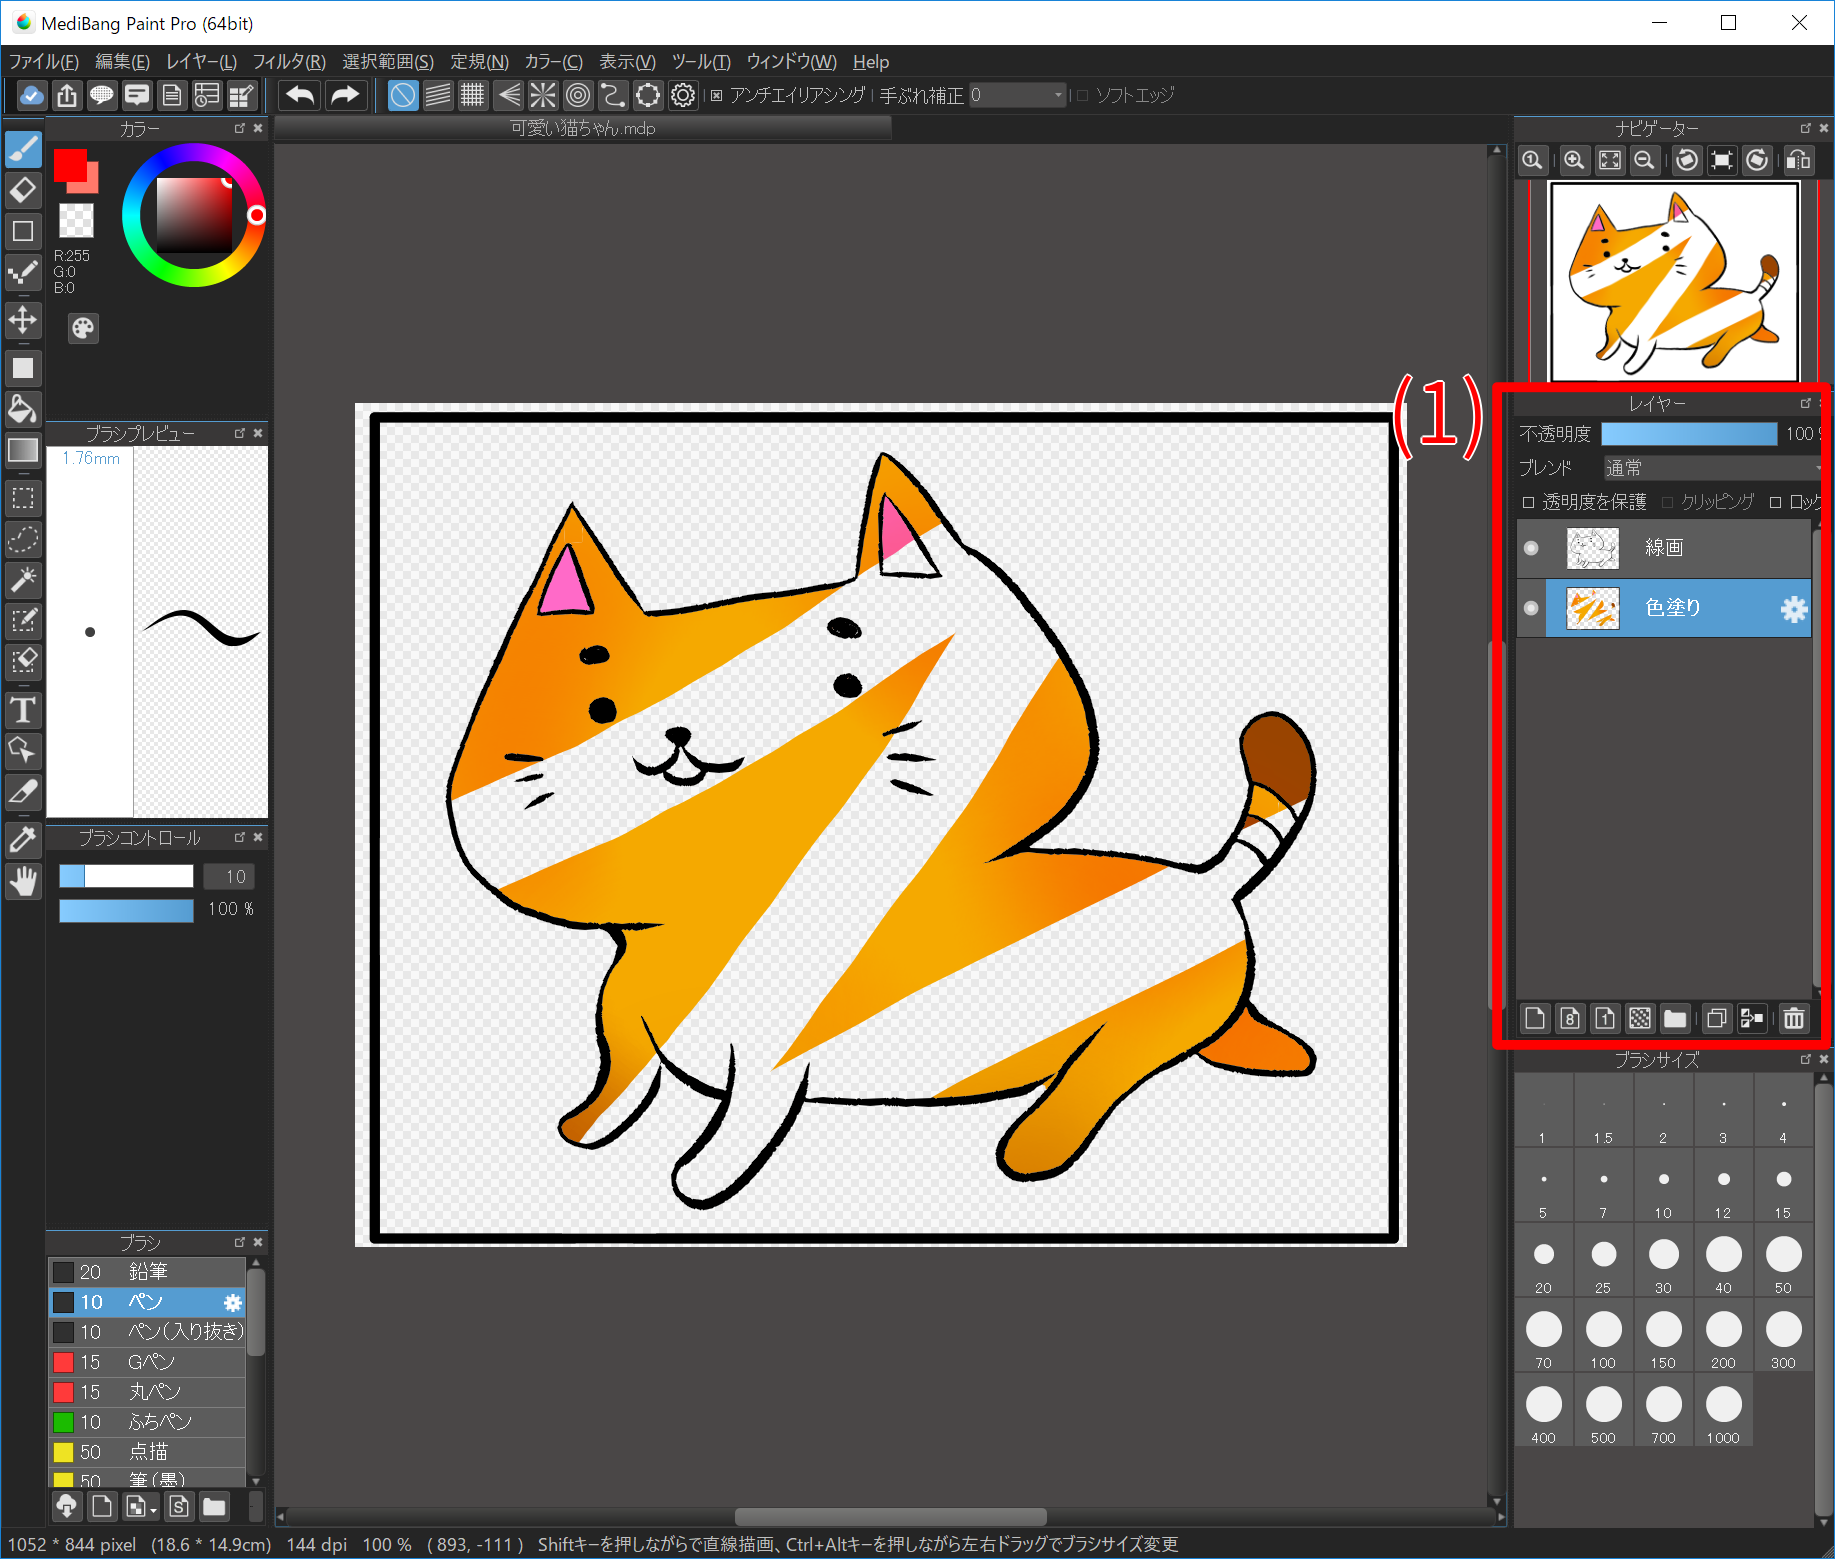
Layers are manipulated from the menu “Layer” or “Layer window (1)”.
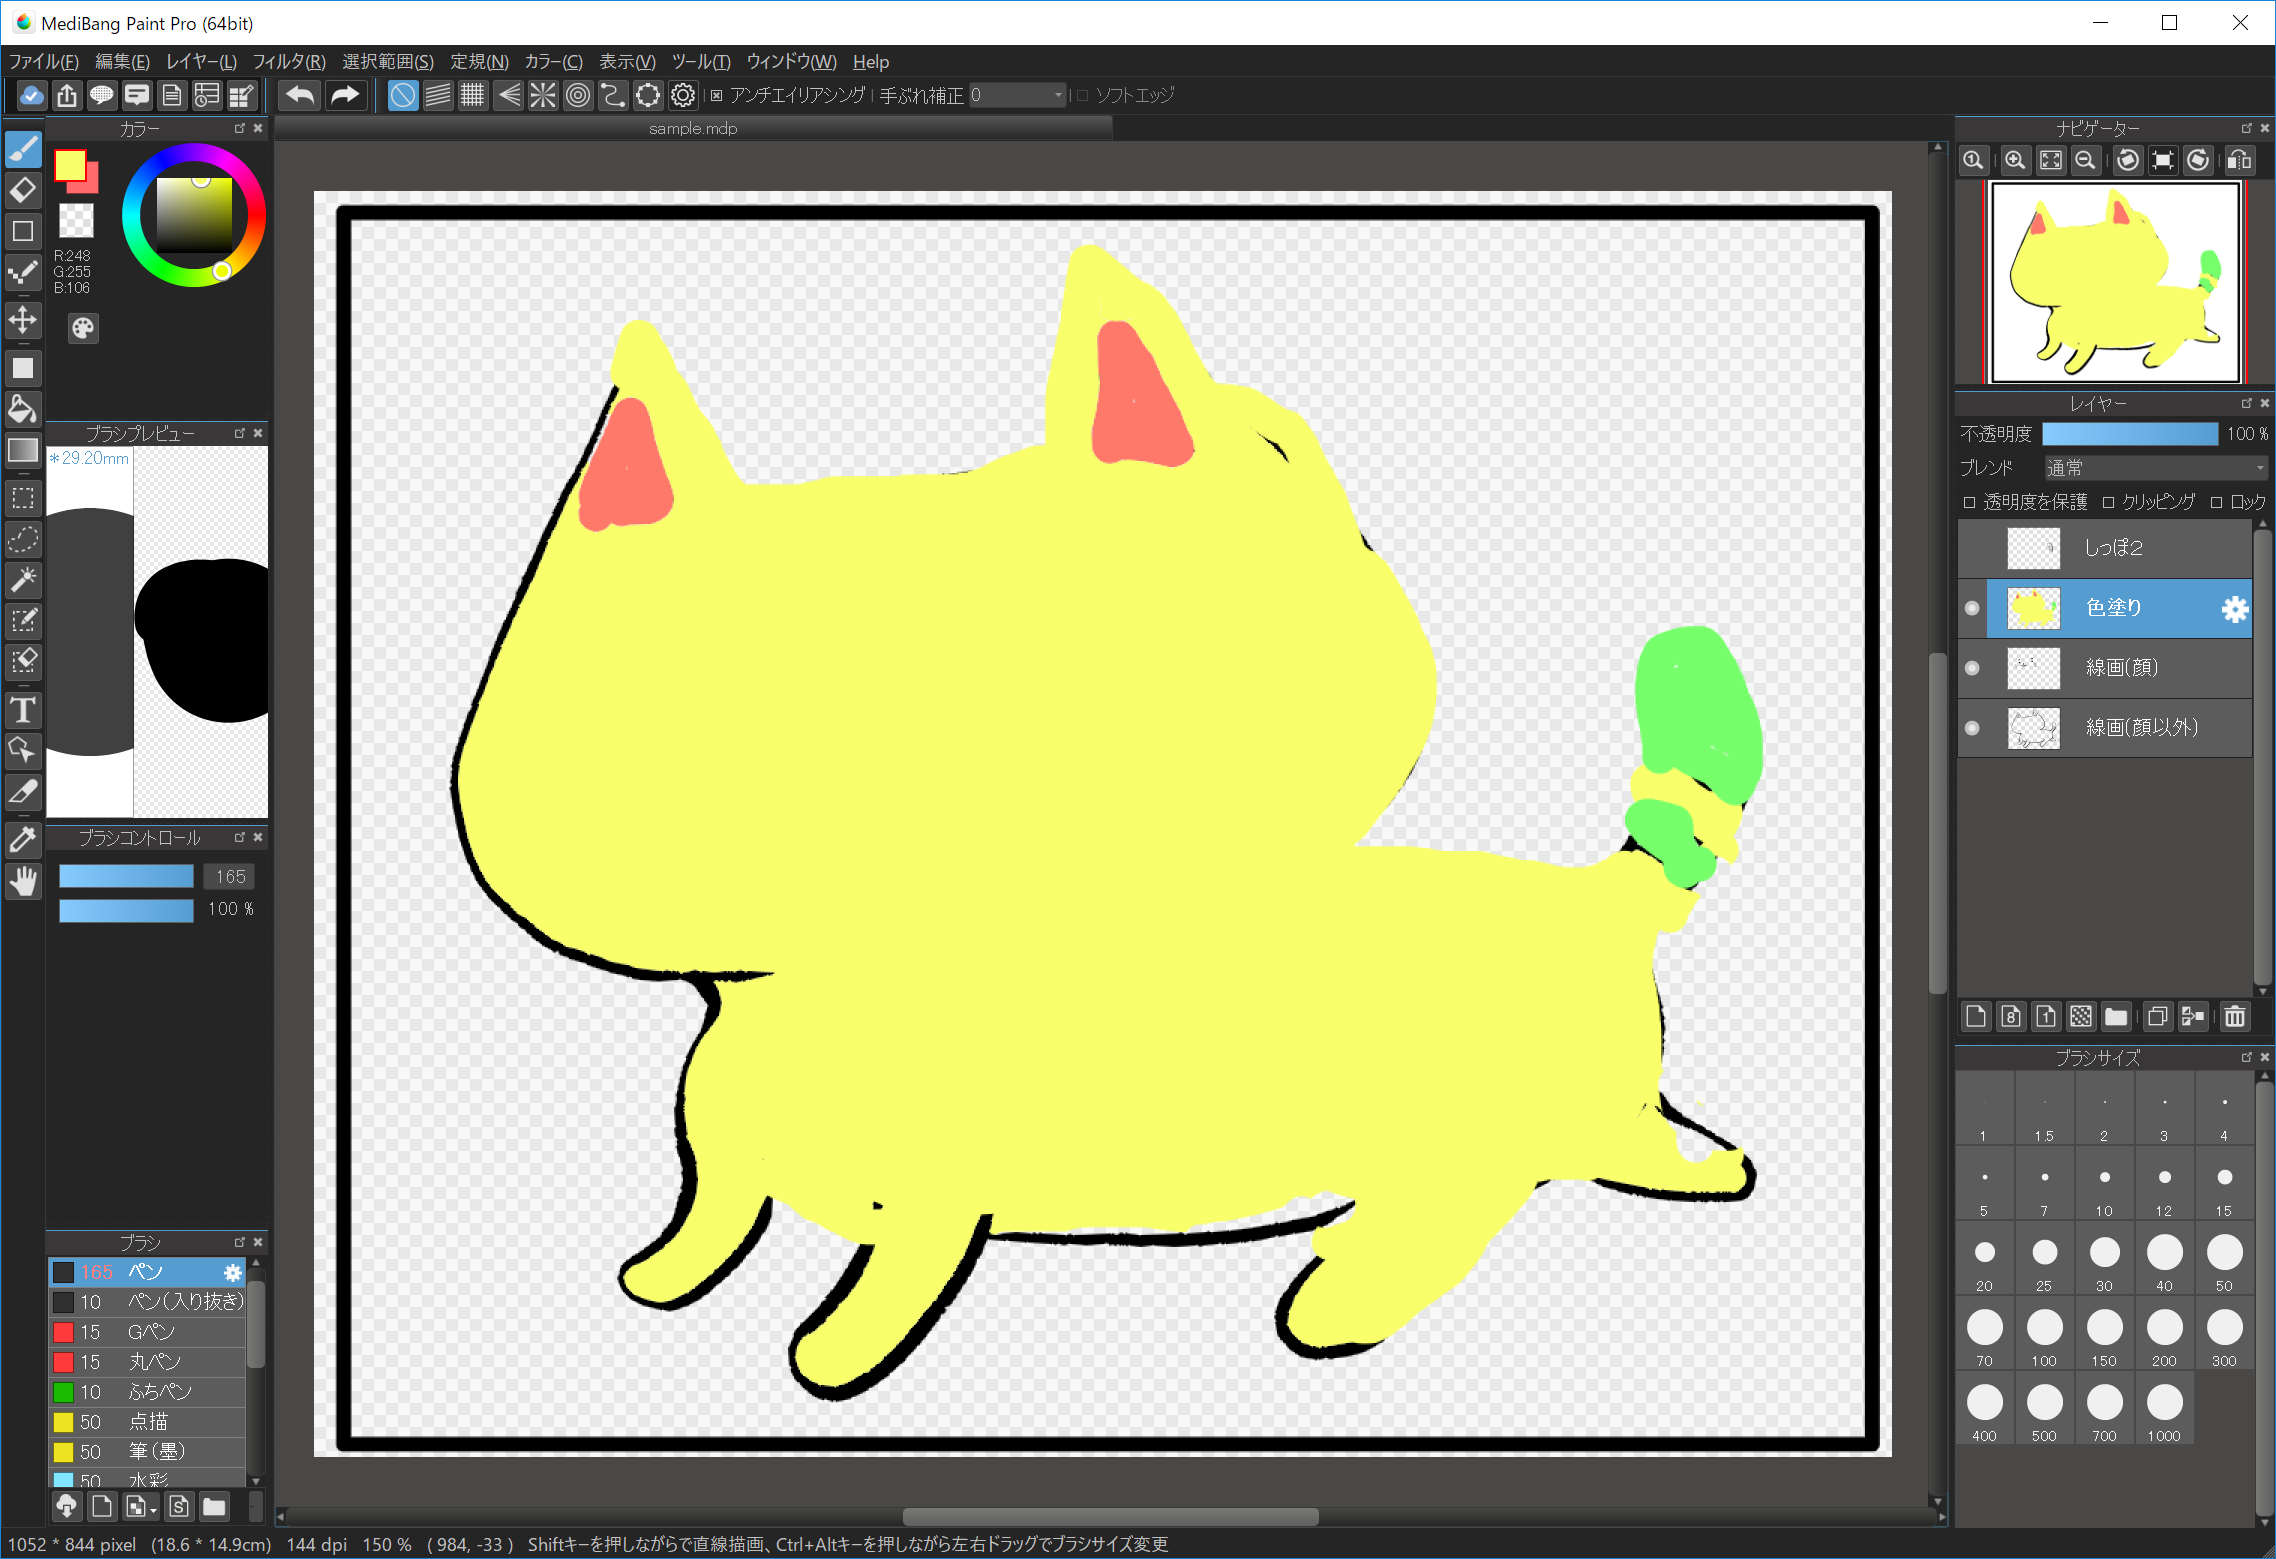
Let’s actually use the layer. Please download the original “sample.mdp” before using the layer and open it.
First, clear the “coloring” layer.
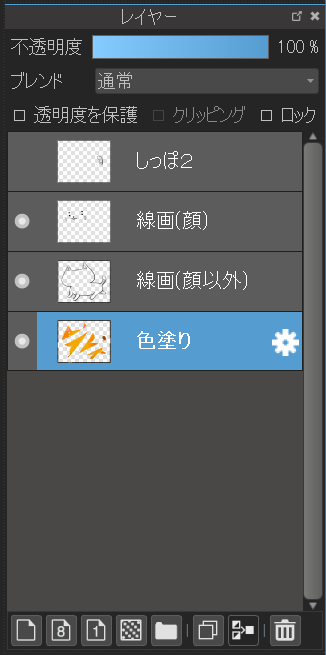
Since “sample.mdp” has 4 layers, click the “coloring” layer in the layer window. The “coloring” layer is selected.
Please properly erase the color using an eraser.
If you say “it is too much to erase and it is troublesome to erase with an eraser!”, You can clear the whole layer at once.If you press “Layer” -> “Clear” on the menu or “Delete” key on the keyboard, all the contents of the currently selected layer will disappear.
If you erroneously erase a picture of another layer or draw a wrong line, you can use the Undo function to restore it.
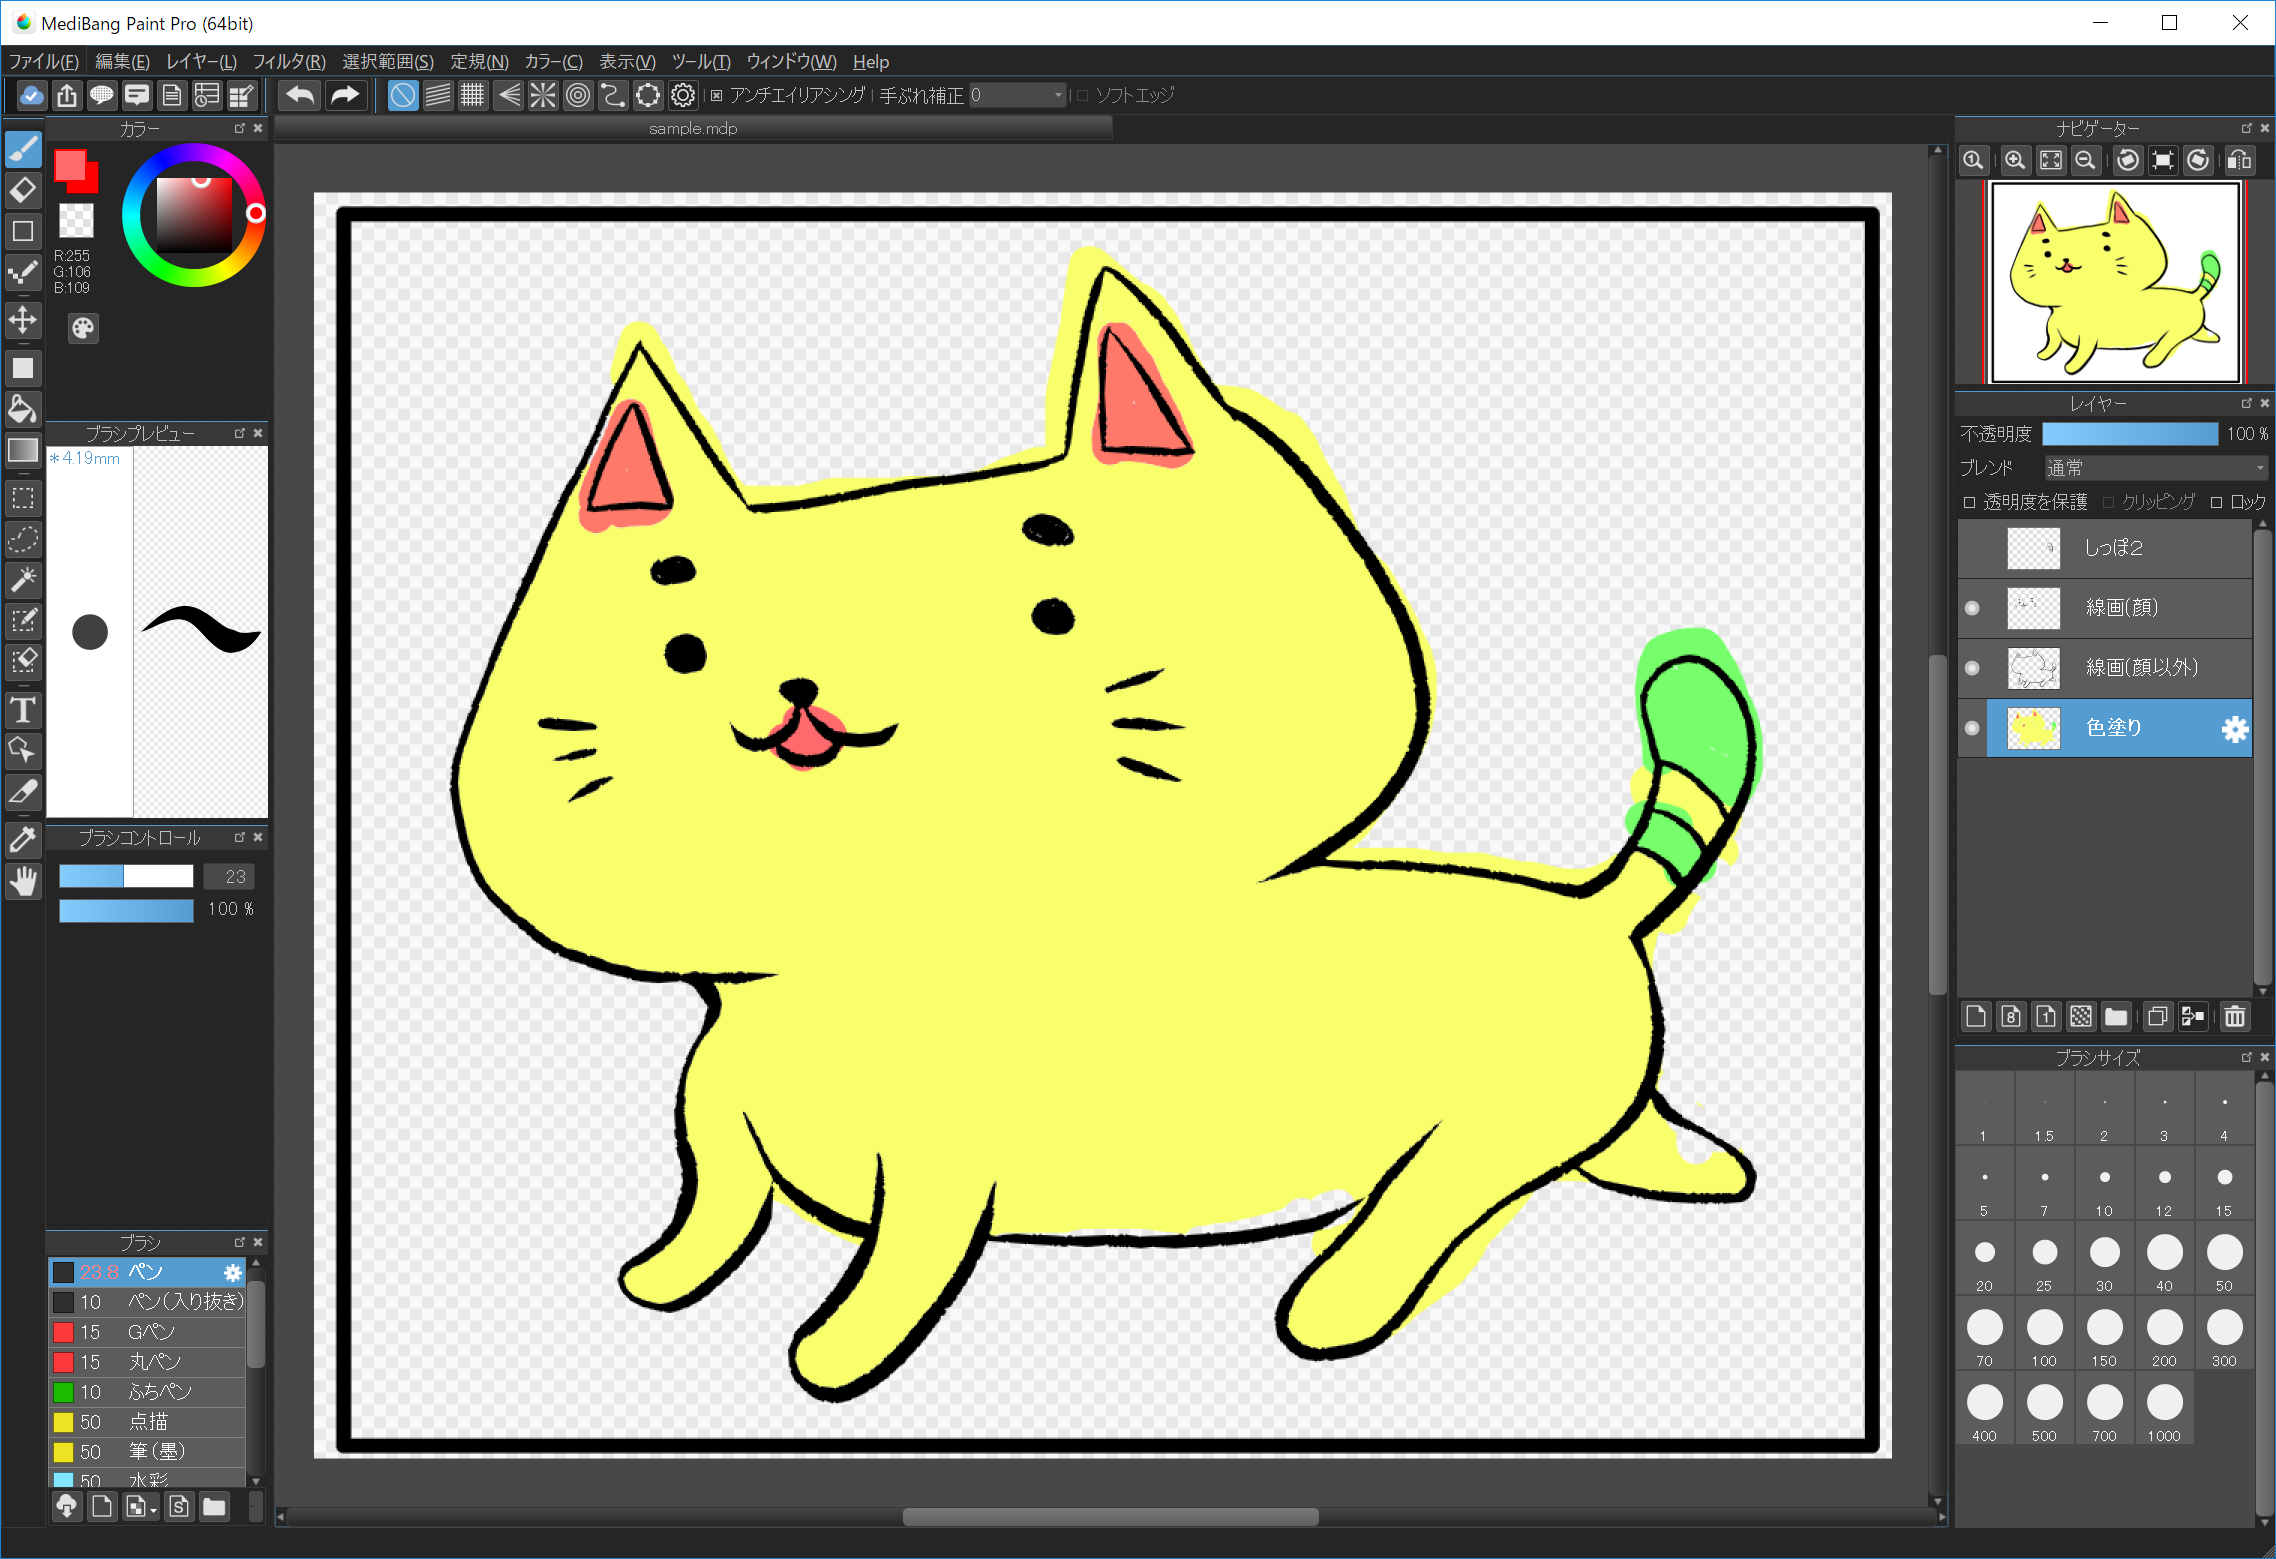
If you can delete all “coloring” layers, let’s paint the cat’s image to your favorite color. Even if it protrudes from the line for a while, it can be deleted later, so it’s okay! Please correct until you feel better.
Although it protrudes a lot, it does not affect the line drawing on the top at all.
To rearrange the layers, drag and drop the layer you want to move to the destination.
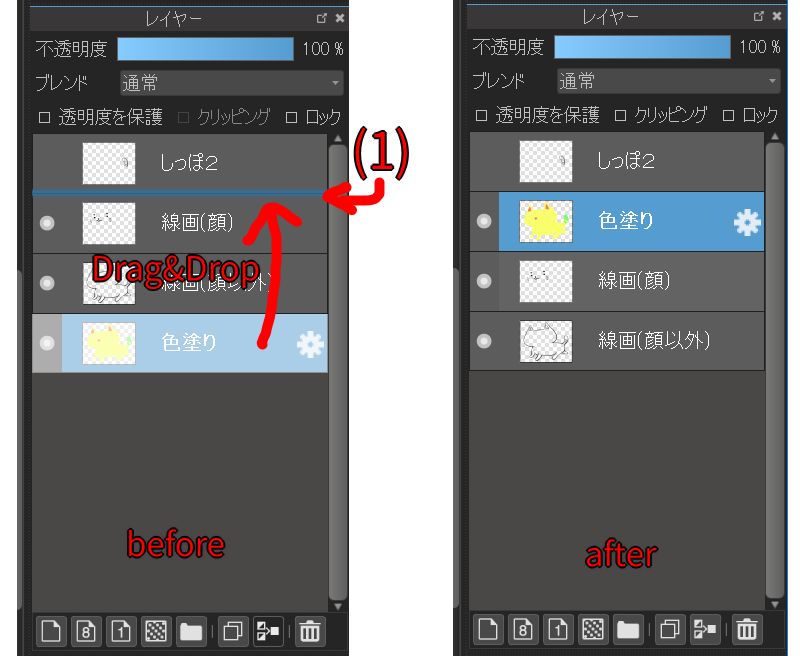
While dragging & dropping, the destination of the moving layer becomes blue as shown in (1).
As you can see, move the “coloring” layer above the “line (face)” layer.
The face of the kittens has disappeared (The face data is still left just because it disappeared). Lineworks around the buttocks are also hidden. In this way layers overlap from bottom to top, so in places that are not transparent the lower layer will not be visible.
Please sort the layers several times to see what happens.
First I explained that the layer is like a transparent film. In MediBangPaint (or in most paint software) you can change the opacity level by layer.
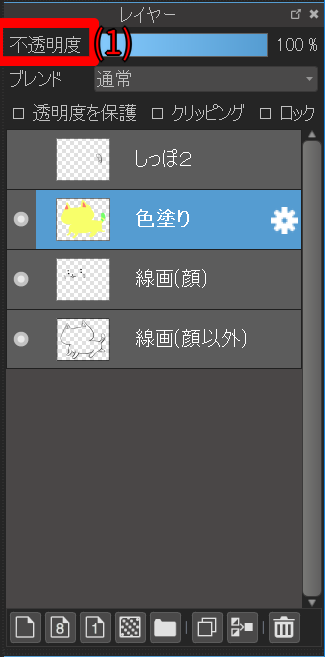
To change the opacity, do it from “Opacity (1)” in “Layer window”. When the opacity is 100% it is in completely opaque state, and opacity of 1% is almost transparent.
Please change the opacity of the color paint layer and check the change.
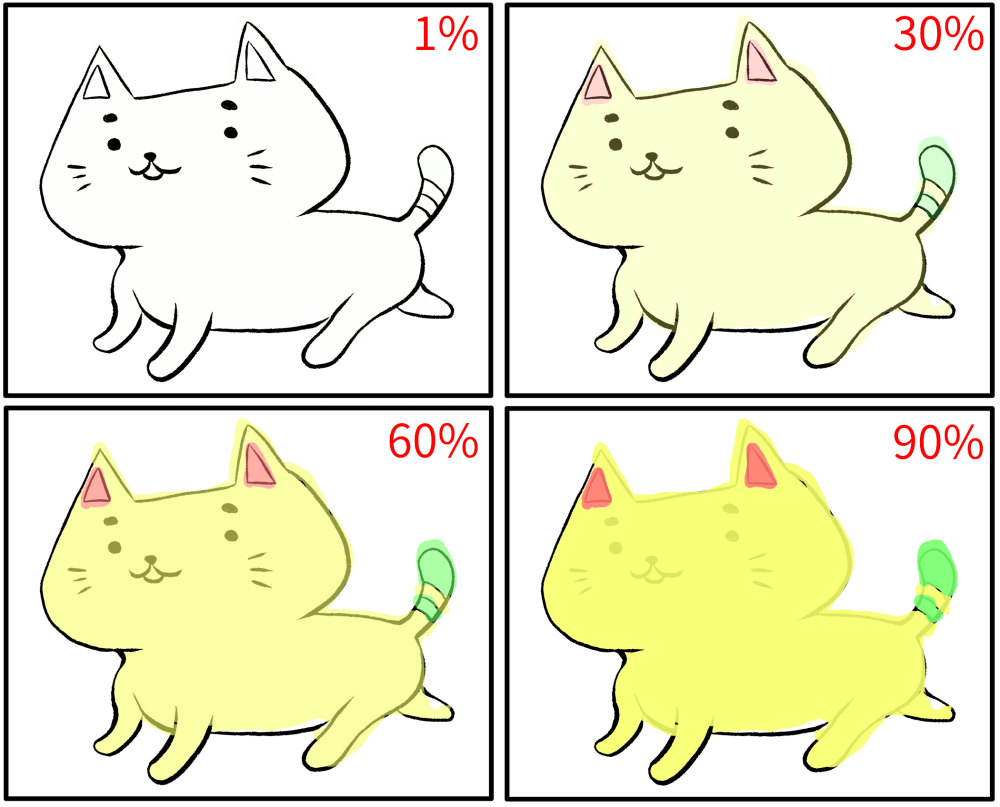
In this way, the higher the opacity of the layer, the harder it is to see the picture below.
Layers can be added and deleted freely. Adding and deleting layers are done from the button at the bottom of “Layer window”.
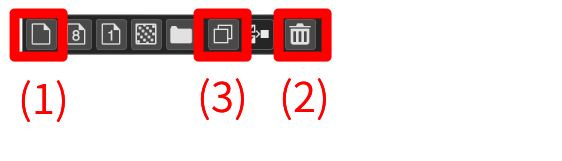
(1) Add layer / (2) Delete layer / (3) Duplicate layer.
Deleting / duplicating a layer is the currently selected layer.
Other buttons are OK even if you do not know at this time. Details can be confirmed from here.

Changing the name on the layer window Clicking the gear icon of “Layer (1)” opens the “Layer Property(2)” dialogue, change the “Name (3)” there and press “OK”.
We encourage you to name the layer as much as possible so that you do not have to know when layers increase.
Layers can also be temporarily hidden. The “tail” layer of sample.mdp is a hidden layer.
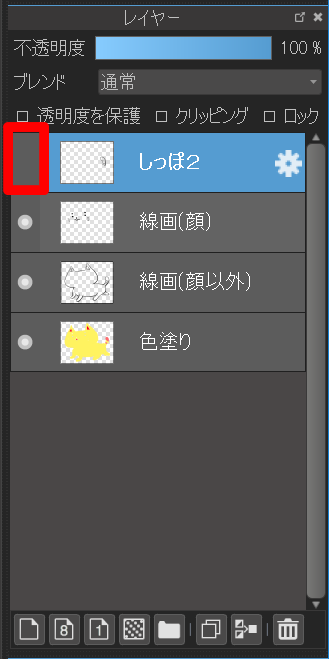
To switch between display and non-display, please click the left part of the thumbnail of the layer. “●” is attached to indicate the layer being displayed.
Please set the “tail” layer to display state.
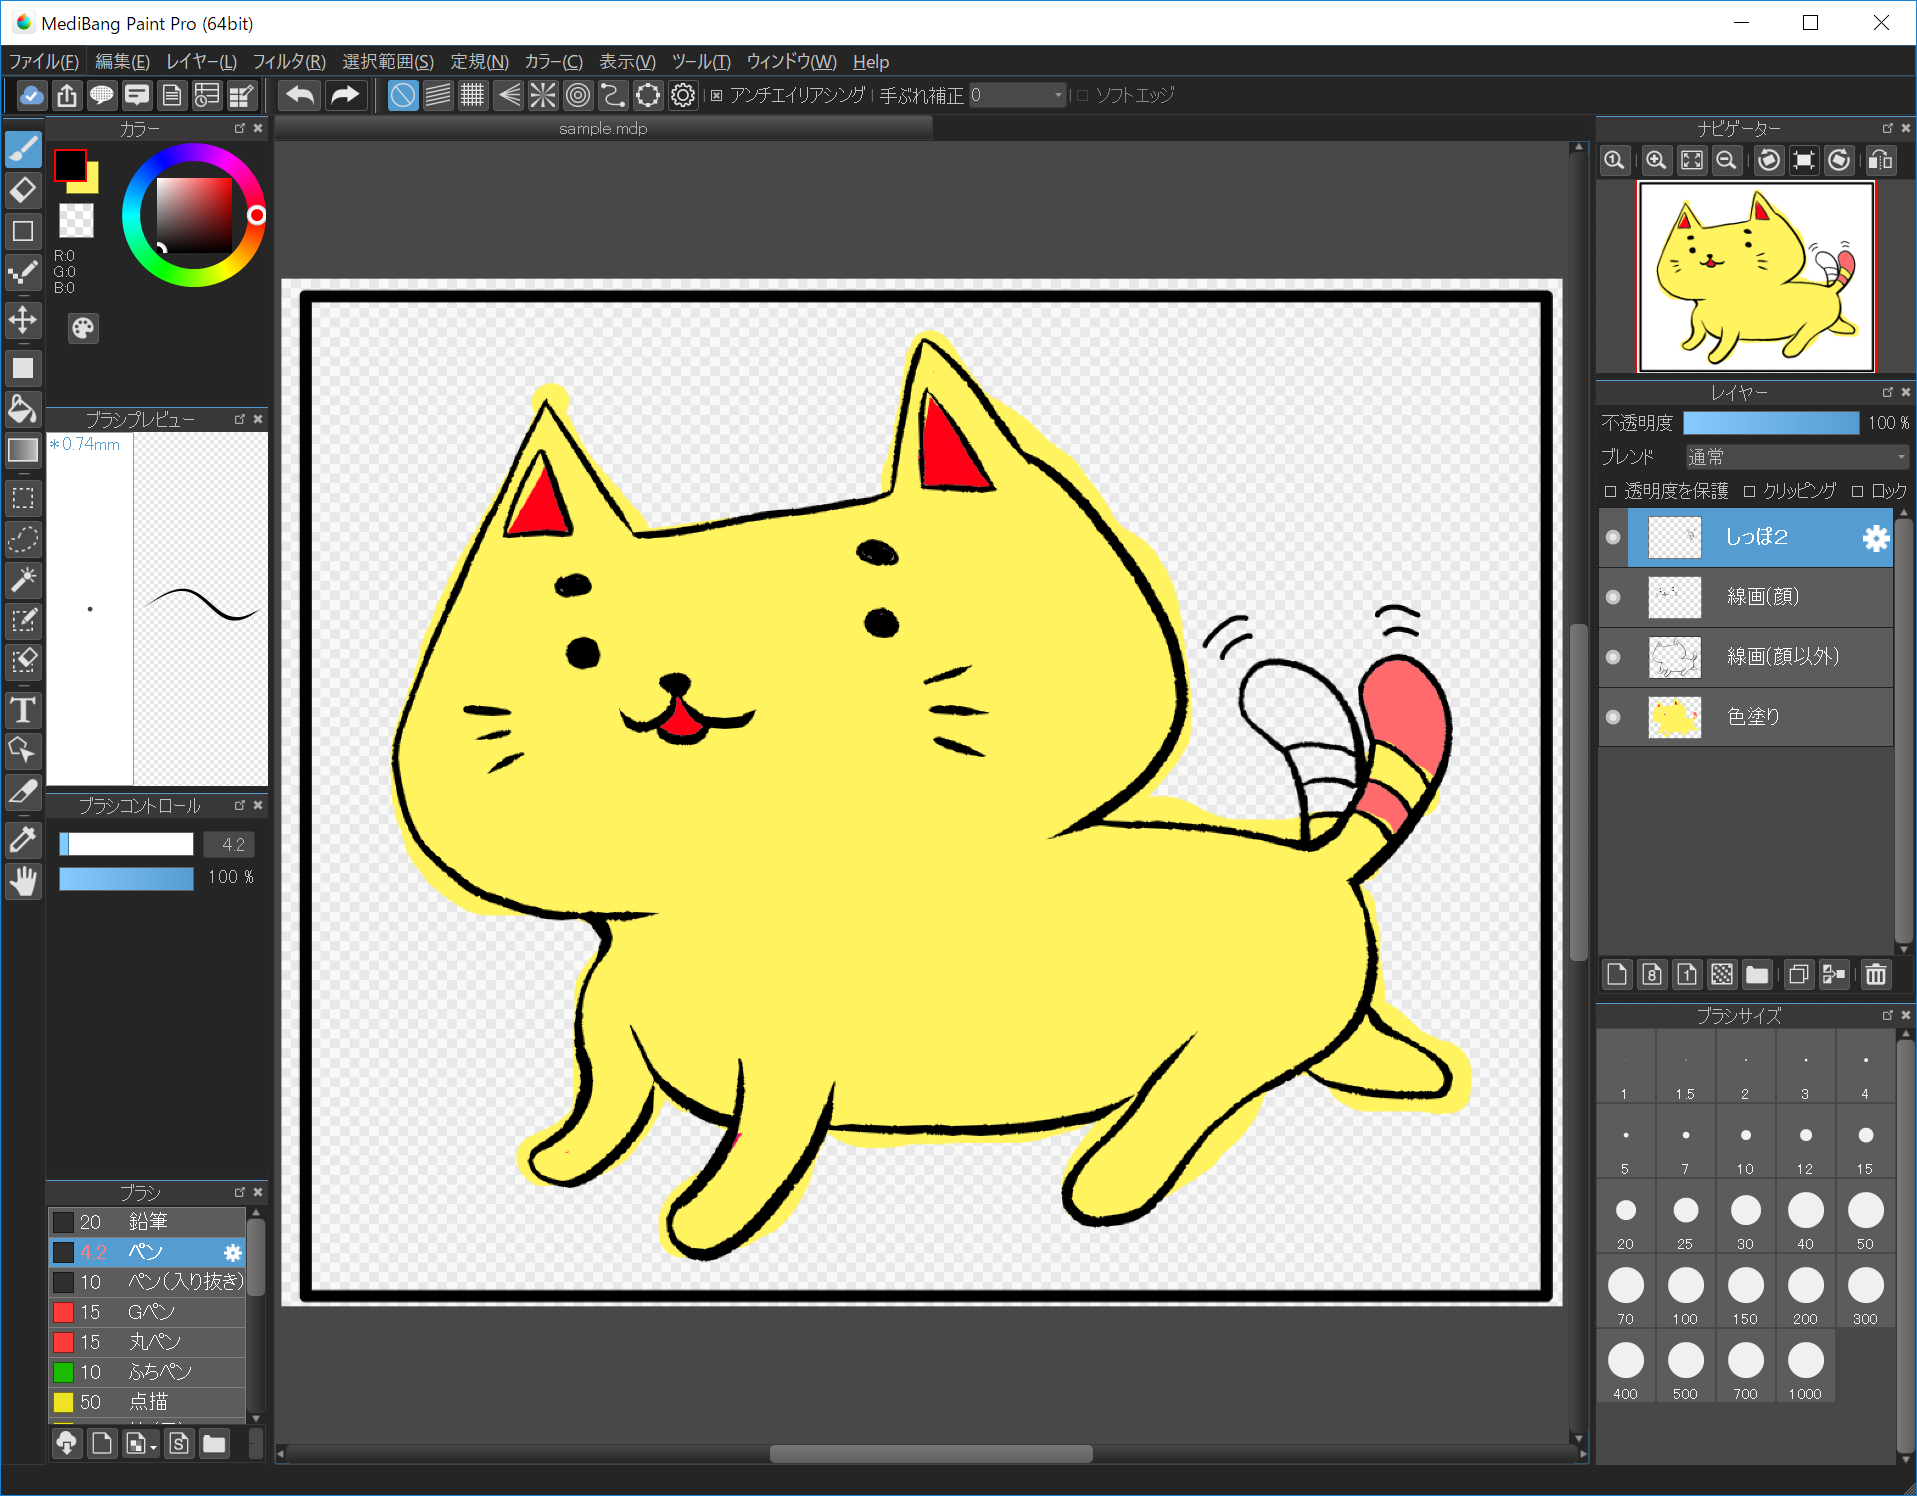
It became a picture waving the tail.
We will introduce more useful functions in using layers.
The content of the locked layer can not be edited. By locking the layers of “drafts” and “line drawings”, you can prevent mistakes that you make a mistake, “I accidentally inking in the draft layer!”, “I mistakenly painted the color of the line drawing!” .
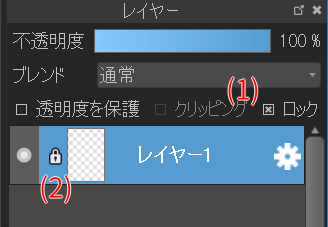
To lock a layer With the layer you want to lock selected, check “Lock (1)” in “Layer window”. “Lock icon (2)” is attached to the left side of the thumbnail of the locked layer.
Also, if you try to draw something on the locked layer, the cursor becomes a prohibited mark.
If you say “I do not really understand but it can not be drawn suddenly!” Please also check the layer lock setting.
Layers with transparency protected will not be editable except where the color is attached. This can be used to change the color of the line drawing.
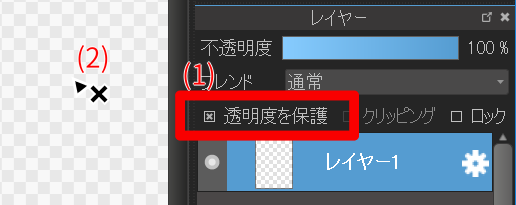
To protect transparency, check the “Protect Alpha (1)” in the layer window with the layer you want to protect transparency selected. If you attempt to write to a layer with transparency protected, the cursor will change as shown in (2).
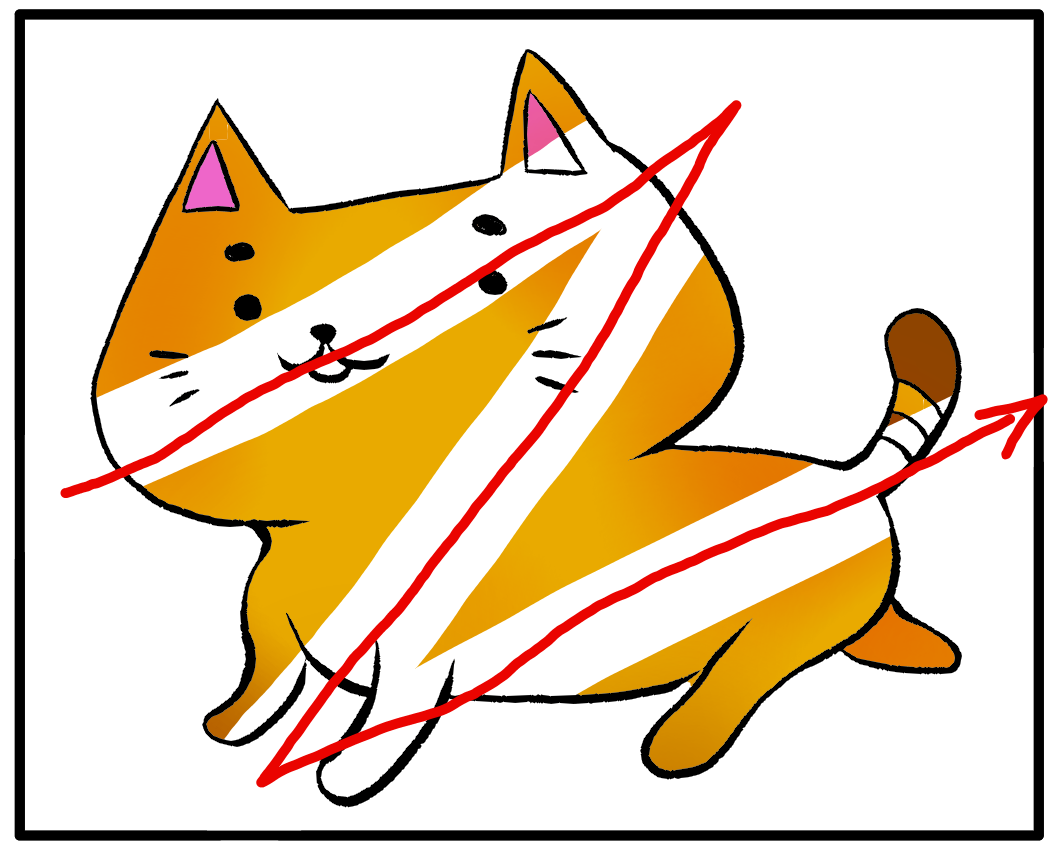
Perform as shown in the figure below on how to change the color of the line drawing.
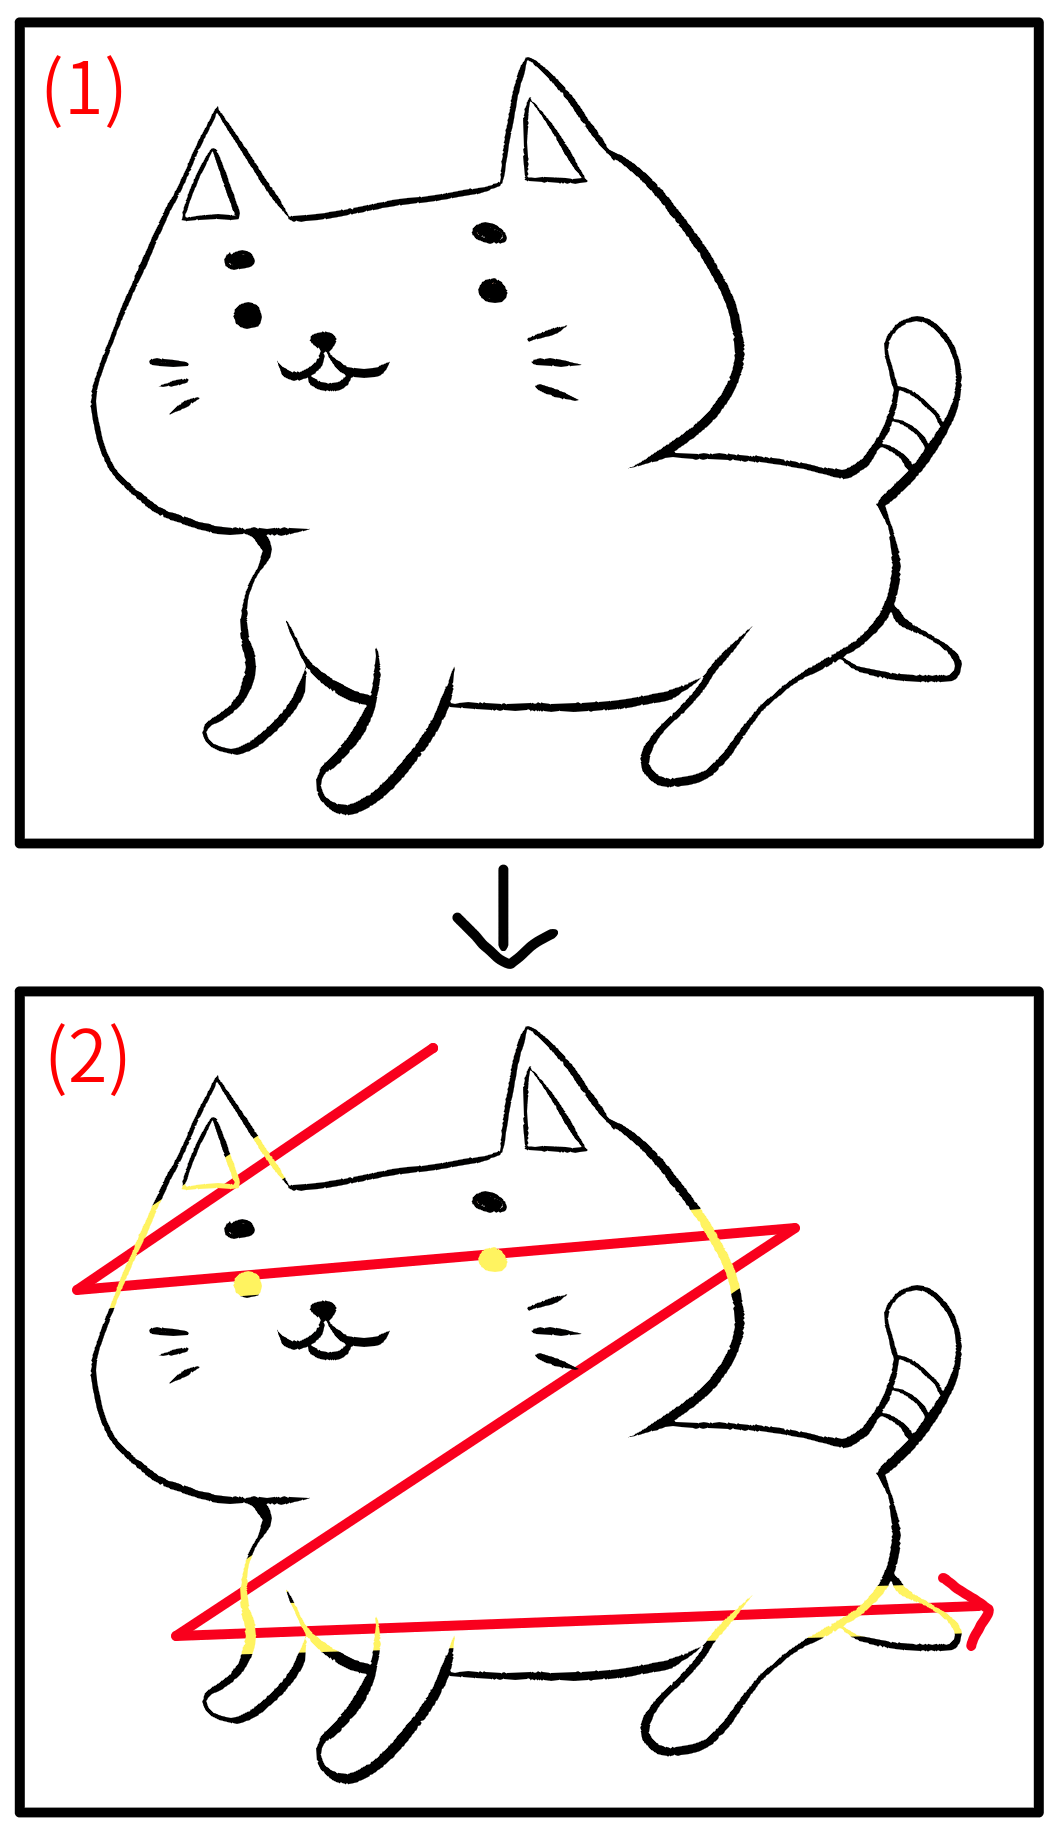
If (1) is the original line drawing layer, if you protect the transparency of that layer and stroke it according to the red arrow with a yellow brush, the part of the line drawing becomes an image like (2).
Let’s change the color of the line drawing of “tail” of “sample.mdp” to red.
The draft layer is a layer that is not displayed when saving to Other than mdp format or when “Rasterize“.
The setting of the draft layer is done from the dialog of “Layer Property”.
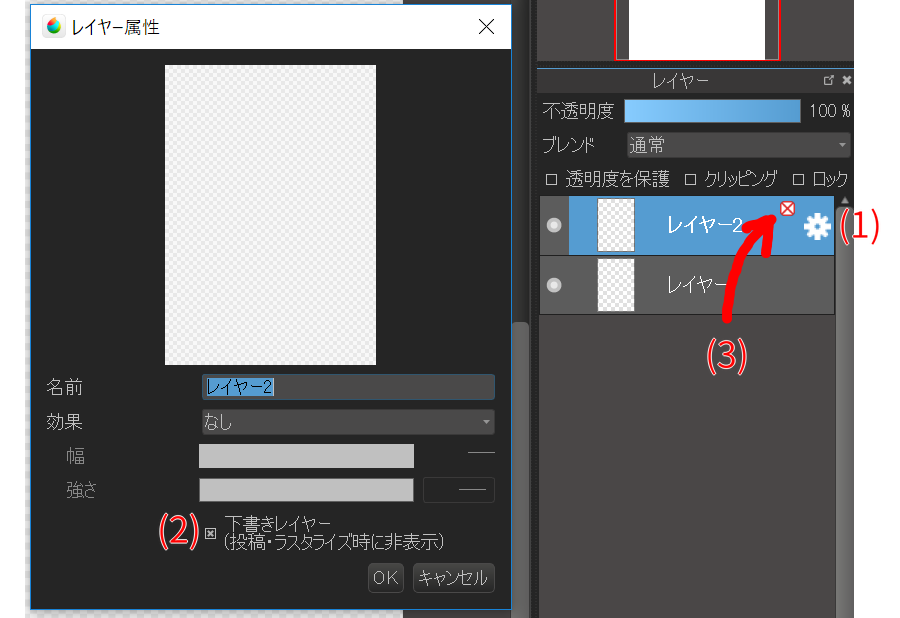
First, click the gear icon (1) at the right end of the layer you want to draft layer. The “Layer Property” dialog opens. If you check “Draft layer (2)” in the Layer Attributes dialog and click OK, that layer becomes a draft layer.
The layer that became the draft layer will be marked with “red x mark (3)” on the layer window.
Layers can be “Duplicate” and “Merge”.
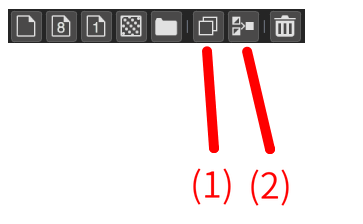
Duplicate and merge layers from the button at the bottom of “Layer window”.
Click “Duplicate Layer (1)” to duplicate the active layer and add it as a new layer.
“Merge Layer(2)” will integrate the active layer into the lower layer. Let’s integrate “line (face)” of sample.mdp into “line (other than face)”.
Please see here for layer blending.
讓你的創作更有特色
MediBang Paint全新服務,
MediBang Premium登場!
專用筆刷、素材無限使用、
MediBang
Paint全功能開放等,
我們準備了幫助創作的多樣特典。