2019.08.02
Let’s draw fluffy tails and ears!
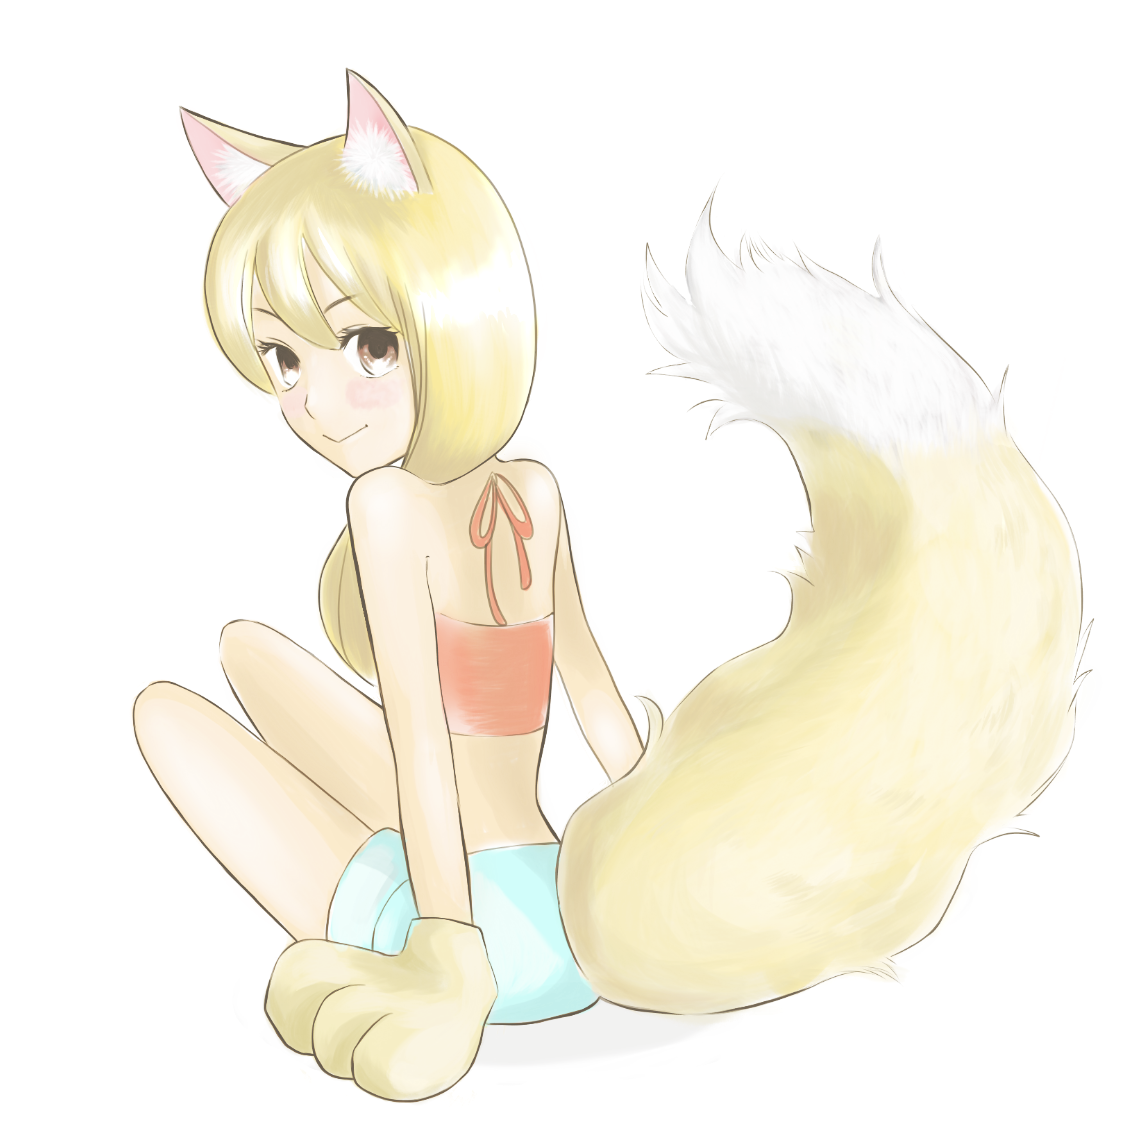
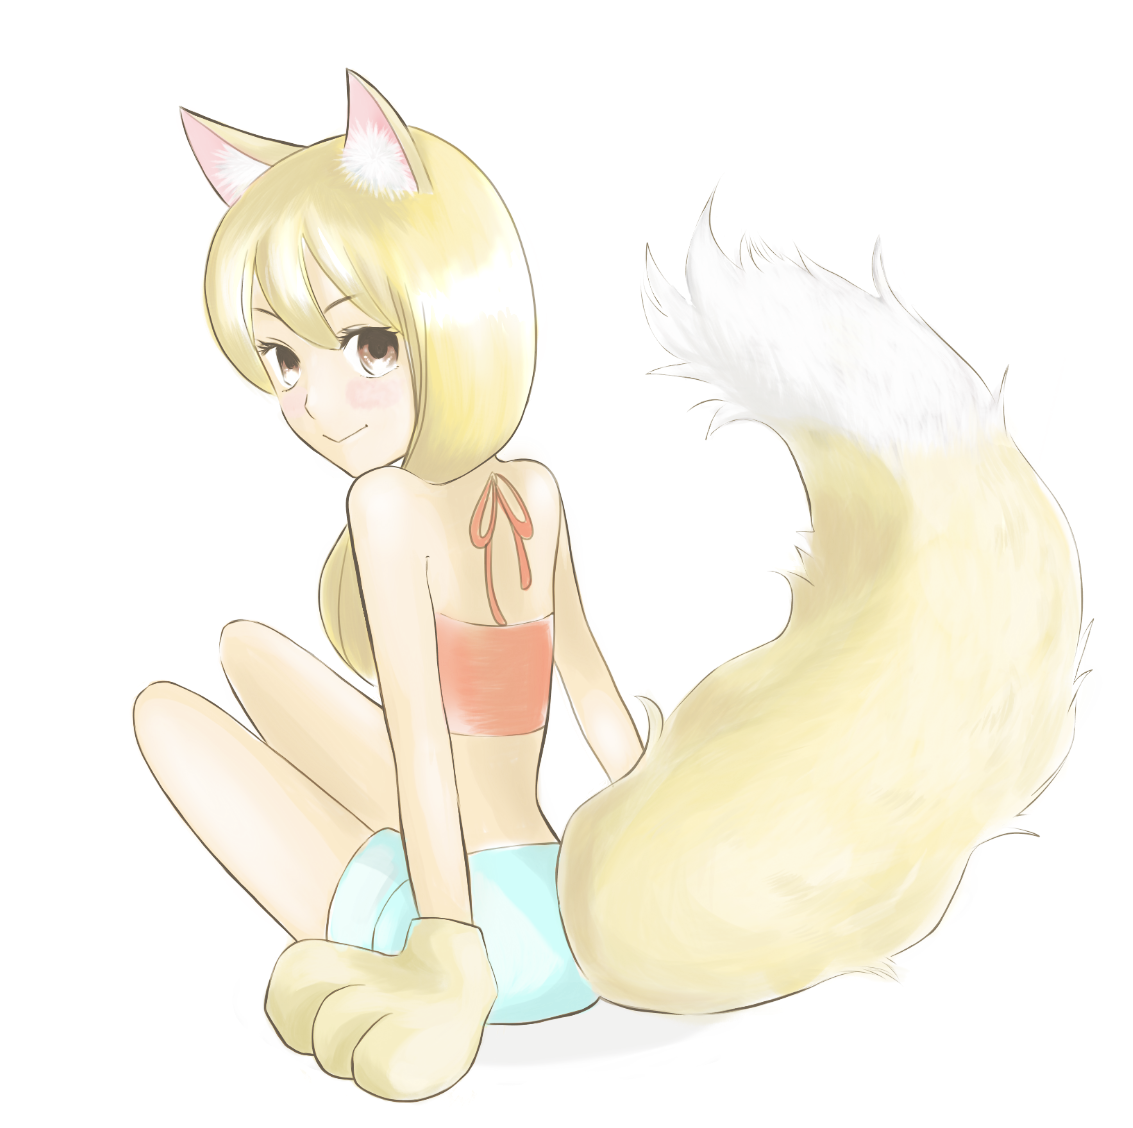
When you draw animal-type characters, the main points or highlights are the fluffy fur of the tails and ears.
But, in reality, when trying to draw them, they can end up having no feeling of solidity, flat, and it can be difficult to make them look soft.
And so we will introduce to you, in conjunction with points that you should be careful about in order to achieve both a fluffy and solidity feeling, how to draw tails and ears!
How to draw ears
First, let’s draw the fur that grows on ears!
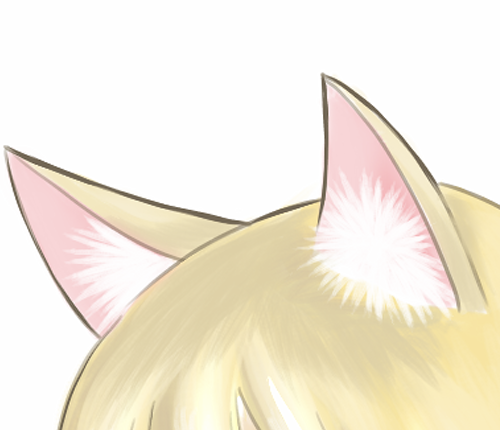
We start by using an acrylic brush.
Acrylic brushes are easy for getting that hair bundle feeling, and so it is perfect for bringing out the feeling of fur.
For the color, choose the brightest one for the fur that you want to draw.
When drawing the lines, it is important to note that you start with the inner part and ease the brush’s pressure as you work your way towards the outer parts.
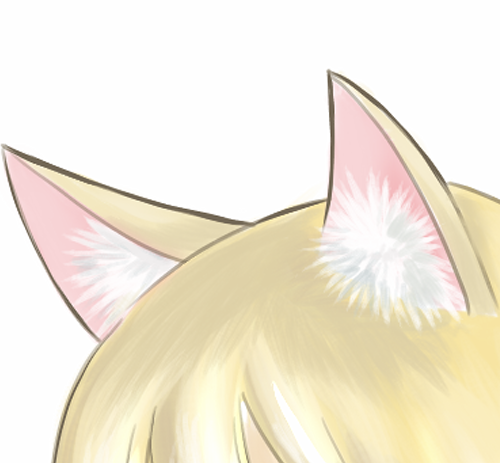
Next, we will add the color for the shadow.
Choose the color by thinking about what the darkest part of your shading will be.
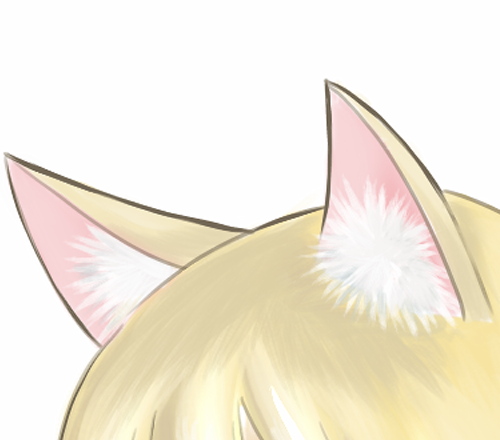
This time we will add in a slightly brighter color than what we used before.
We will also draw the lines here by drawing the fur bundles in a radial fashion.
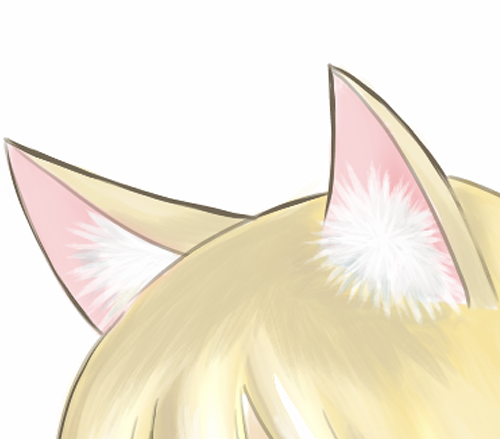
In addition, we will draw the parts that the light is shining on by using the first color we used, the brightest one.
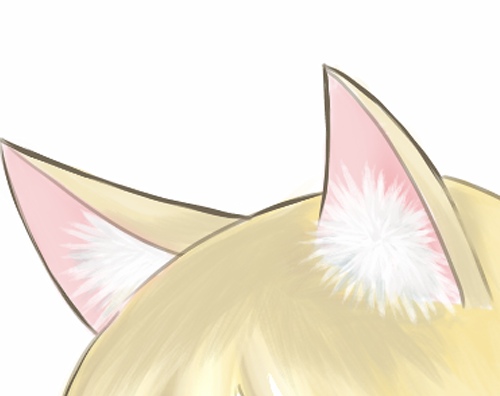
Finally, we will finish by partially adjusting the shading!
The fur this time will feel a bit bundled, but if you want to achieve an even greater fluffy look, then we recommend using an airbrush to help bring out that fluffy feeling.
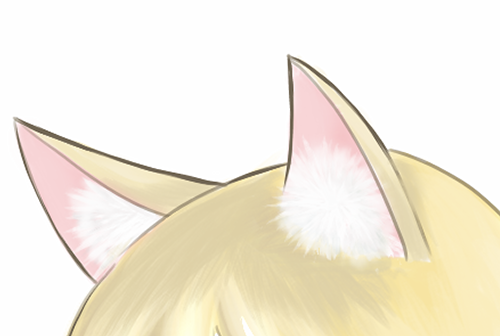
When drawing fluffy parts with an airbrush, apply color by using the airbrush to fill in the gaps between the hair tufts. In doing so you will create a light and fluffy feeling.
How to draw tails
Now that we have drawn some ears, let’s draw a tail. Just like the ears, we will draw while being aware of the hair flow and hair bundle feeling.
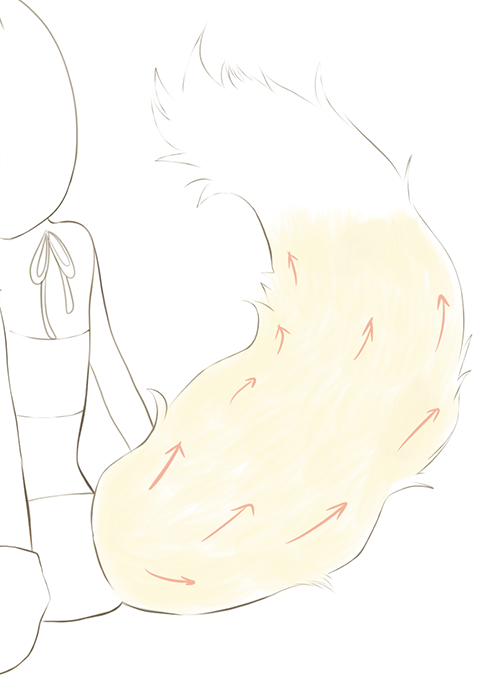
Let’s begin by first placing down the color that will be used for the base.
We will use the acrylic brush. We set the size to large, and loosely draw the fur lines.
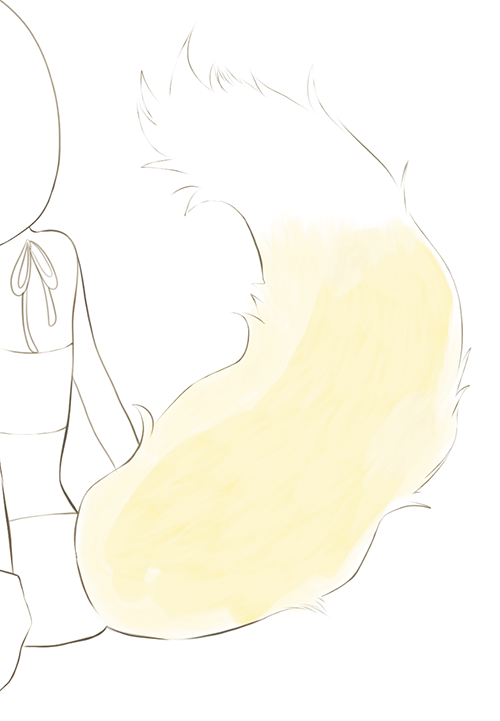
Create a new layer and place it under the previous layer.
Add a darker color to your new layer. Add the color by thinking about what the shadow for the base you created earlier will look like.
Once you have added the darker color, slightly lower the opacity of the previous layer and adjust it so that you can see the bottom layer.
(We will add the shade on the left side, which is why it is empty this time)
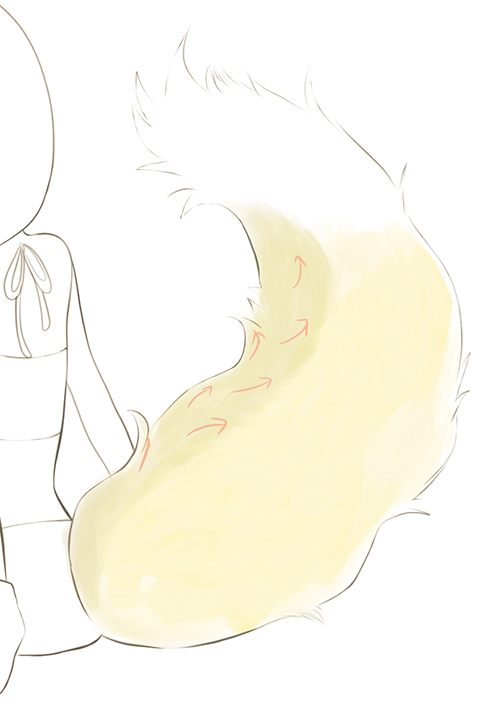
Next, we place the layer on top, and add a shade where the tail curves on the left side.
When you do this, remember to be aware how the fur flows when you add the color using your airbrush.
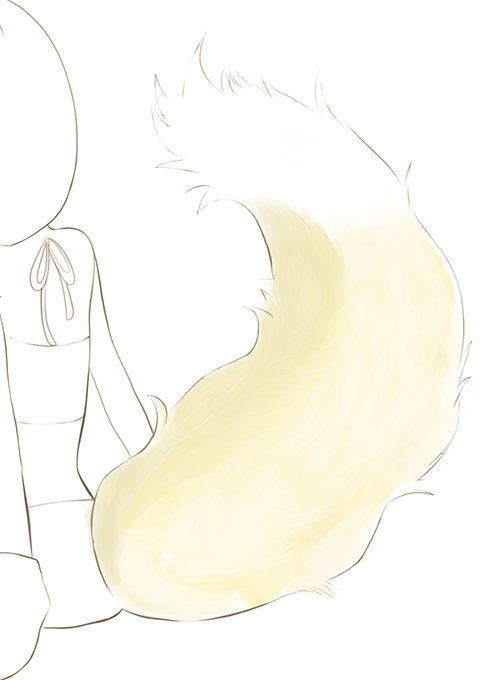
Now in order to get a full and fluffy look we will have to add bright colors to the middle and right side. A full and fluffy look can be achieved by making the middle section particularly bright.
During this step, make sure that you draw while being aware how the fur flows.
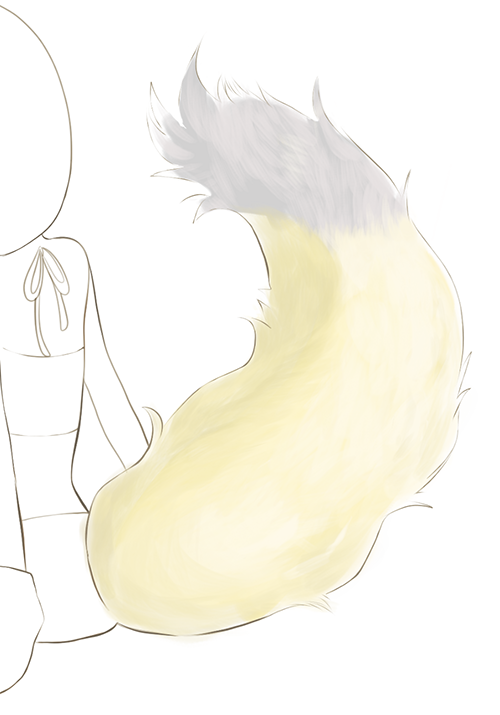
Next, we will draw the white parts on the tail.
We begin by painting the foundation.
Choose the color by thinking about the darkest part of the shadow.
We have a white tail, and so this time we will choose gray.
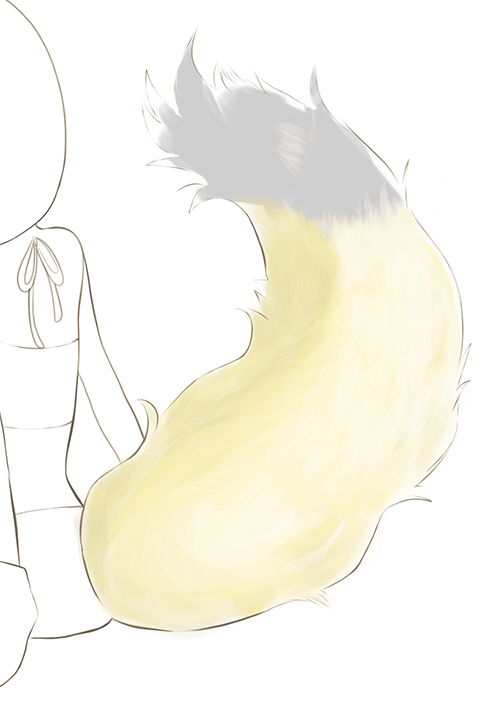
Next, we will add a slightly bright color near the right side where the light will shine on it.
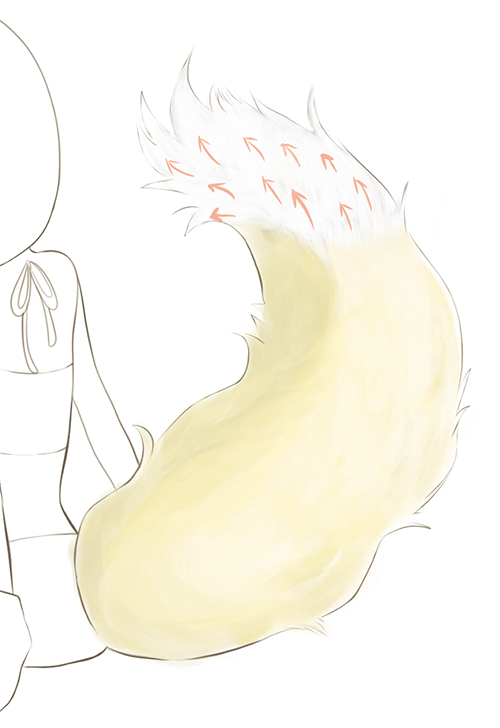
In addition, we will paint in some white color while being aware of how the fur flows.
Because the color peeking out from the gaps represents the shadows of the hair, paint away while leaving some spaces here and there.
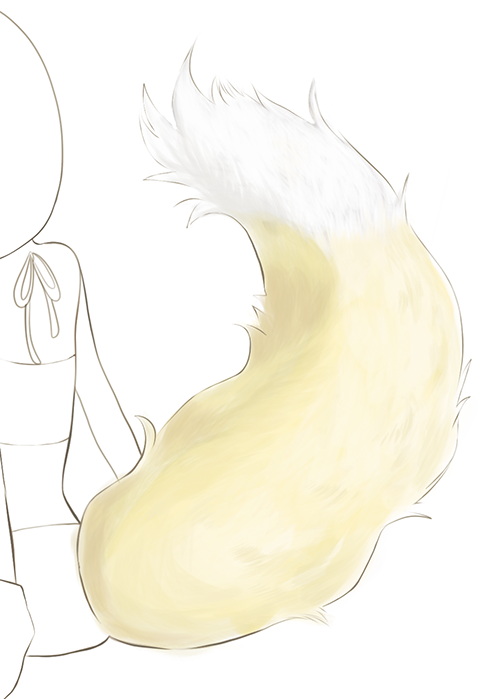
Add shadows to the left side where the tail runs, and add some small shadows to the white fur here and there.
Finally, your tail will be complete after you unify the layers and adjust the hue with tone curves!

There are many different ways to draw fluffy tails and ears.
What we have introduced to you today was just one way to do it, go and try out some other ways to draw them and find the one that suits you!
\ We are accepting requests for articles on how to use /


