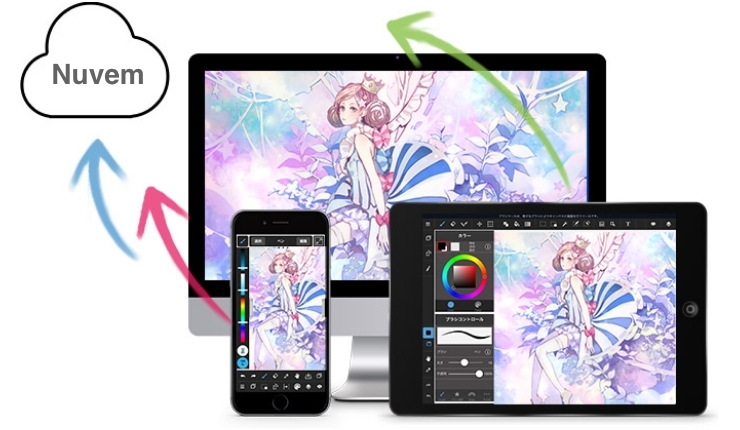
2015.02.20
(10) Using the Group Project Feature

One of MediBang Paint’s key features is the ability to create Group Projects.
Creating a Group Project allows you to form a team with other users so you can work together.
1How to Form a Team
In order to make a group you will need to create a MediBang account and log into the website.
At the top center of the 『MediBang!』homepage there is a MyGroup button ![]() .This will take you to the team management page.
.This will take you to the team management page.

Here you can create group, or see what groups you are a member of.

When you are invited to a group, you will get a notification in your message box. You can find your message box at the top of the screen, to the right of the MyGroup button.
You can create a group by typing in a group name, and clicking the ![]() button to the right.
button to the right.
After you’ve created a team, you can go back and change it’s name whenever you like.

Your group has been formed! The person who forms the group will automatically become the leader. In order to view your group information you can click on your group’s name.
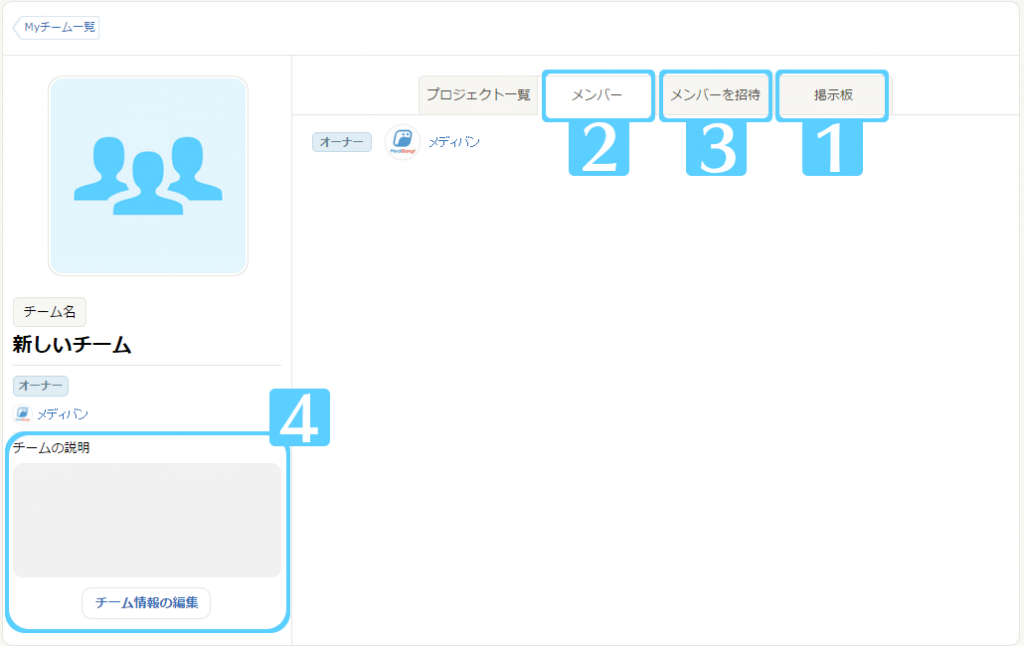
①This is the group noticeboard. You can use this to communicate with members of your group.
②On the member page you can see a list of your group members.
③From the ‘Invitation Sent’ tab, you can enter the username of a person you would like to invite.
④Here you can edit your group name, description, and profile picture. You can also disband your group on this page if you are the creator, or you can leave the group if you aren’t.

Another way to invite members is to go to their profile page, click on ‘Invite to Team’, select the group you would like to invite them to, and then click on ‘Send’.
If you don’t know the person you are inviting you can send them a message or follow them first as a courtesy.
2Using the Group Project Features
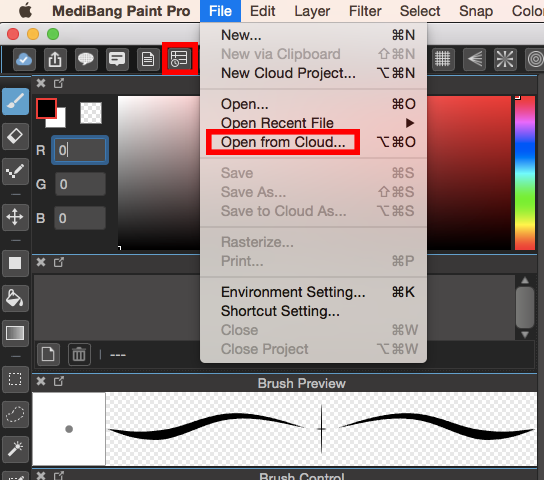
To start a group project after you’ve made a group go to ‘File’ and then ‘New Cloud Project’ on the menu bar.
※ If there is a project already open, you can click on the ‘Project’ button
![]() and close it before starting a new one.
and close it before starting a new one.


When the New Project window opens,
you can select your team name from a drop down menu, and enter your project
title, then click ok.
Everything in this window with the exception of the project title
can be edited again later.
When a project is created, 3 pages will be added automatically.
You can open a page by selecting it and clicking ‘Open’, or you can just double click on it.
You can add a new page to your project by clicking the ‘Add’ button. You can delete pages
by selecting the page you would like to delete and clicking the ‘Delete’ button. If you click ‘Detail’
it will open a window where you can read and edit the page details.

3Saving Group Project Files.
If you go to ‘File’ on menu and select ‘Save’, it will automatically save your file to the cloud.
However, files that have been created independently of the project cannot be added to it. If you’d like to combine an additional file to a project you can import it
by selecting ‘Add’ in the project management window. Now you can choose to add a file that has been saved to Cloud or saved Locally.

After the ‘Add New Item’ window opens, beneath the section that says ‘Initial Data’ you can choose ‘Copy from Local File’ or ‘Copy from Cloud Image’ to select the file you would like to add to your project.

Clicking ‘Select’ will allow you to browse the cloud or your local files for the file you would like to add. After you select it you can click ‘Ok’ to add it to your project as a new page.
\ We are accepting requests for articles on how to use /

