After you’re used to drawing in MediBang Paint, let’s try painting in color.
Layers allow you to work in stages, like piling up layers of transparent film.
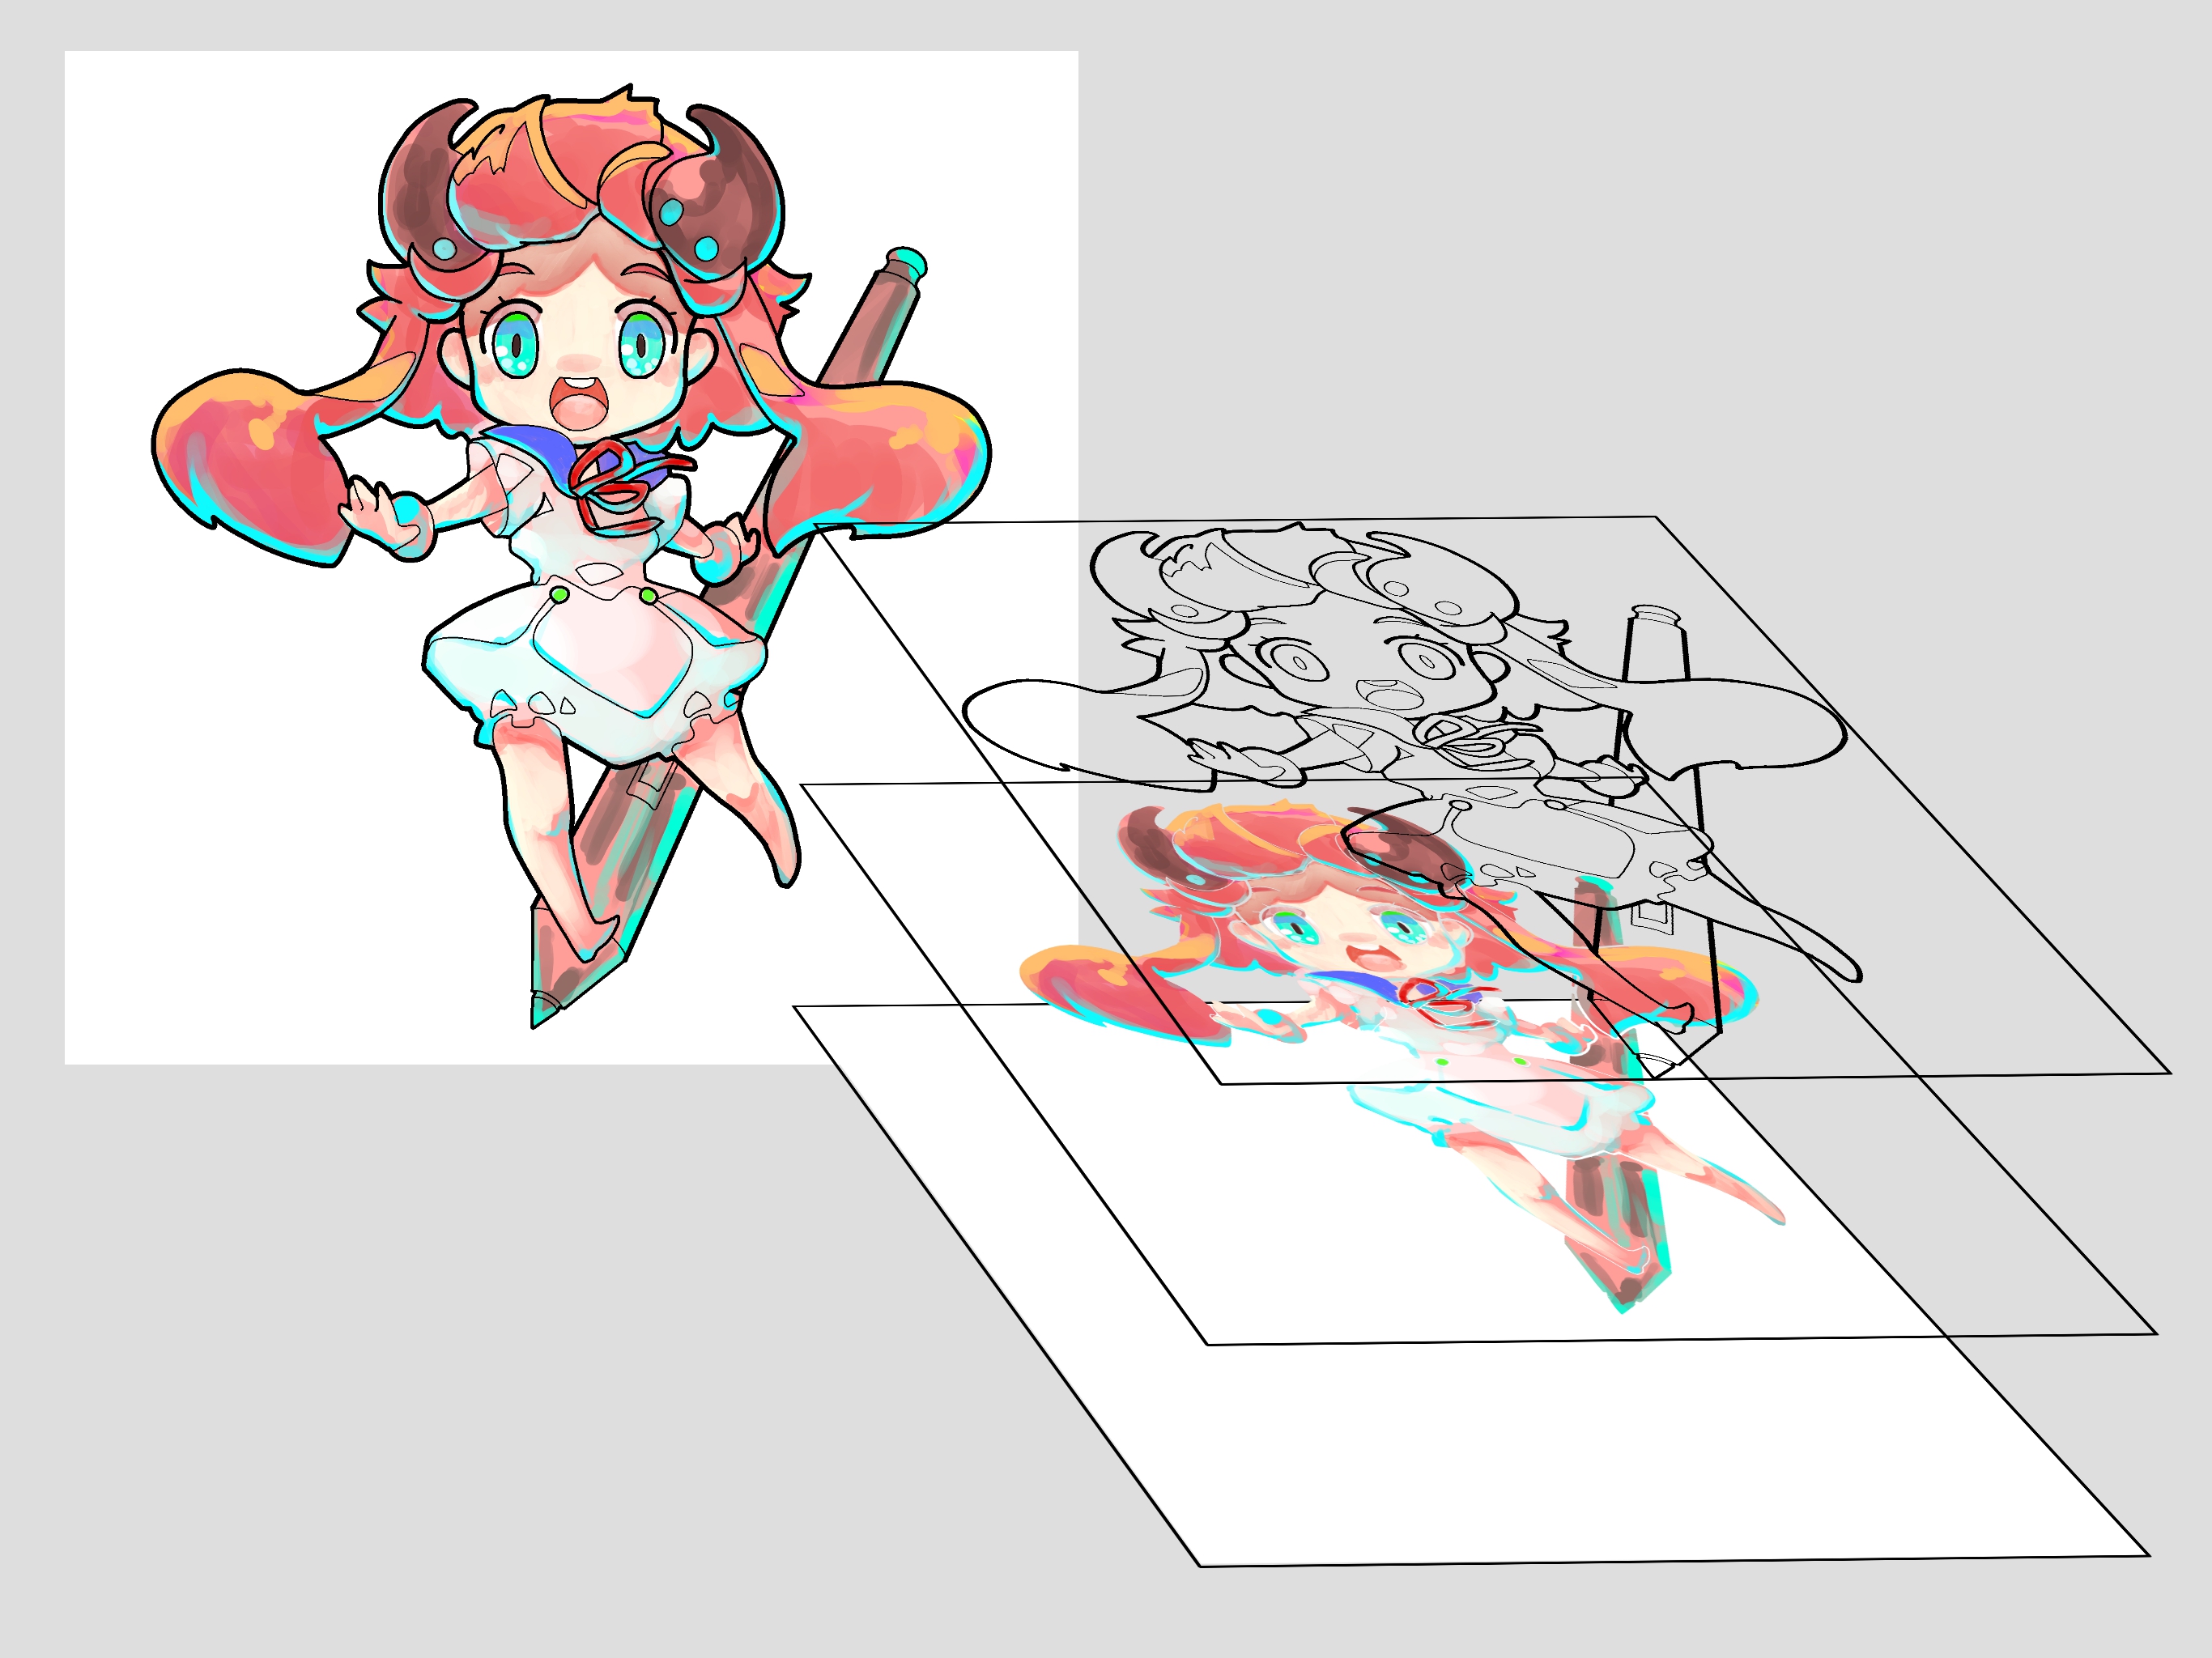
Layers are a feature unique to digital painting, and allow you to change things like line colors and facial expressions after the fact.
Let’s give layers a try!
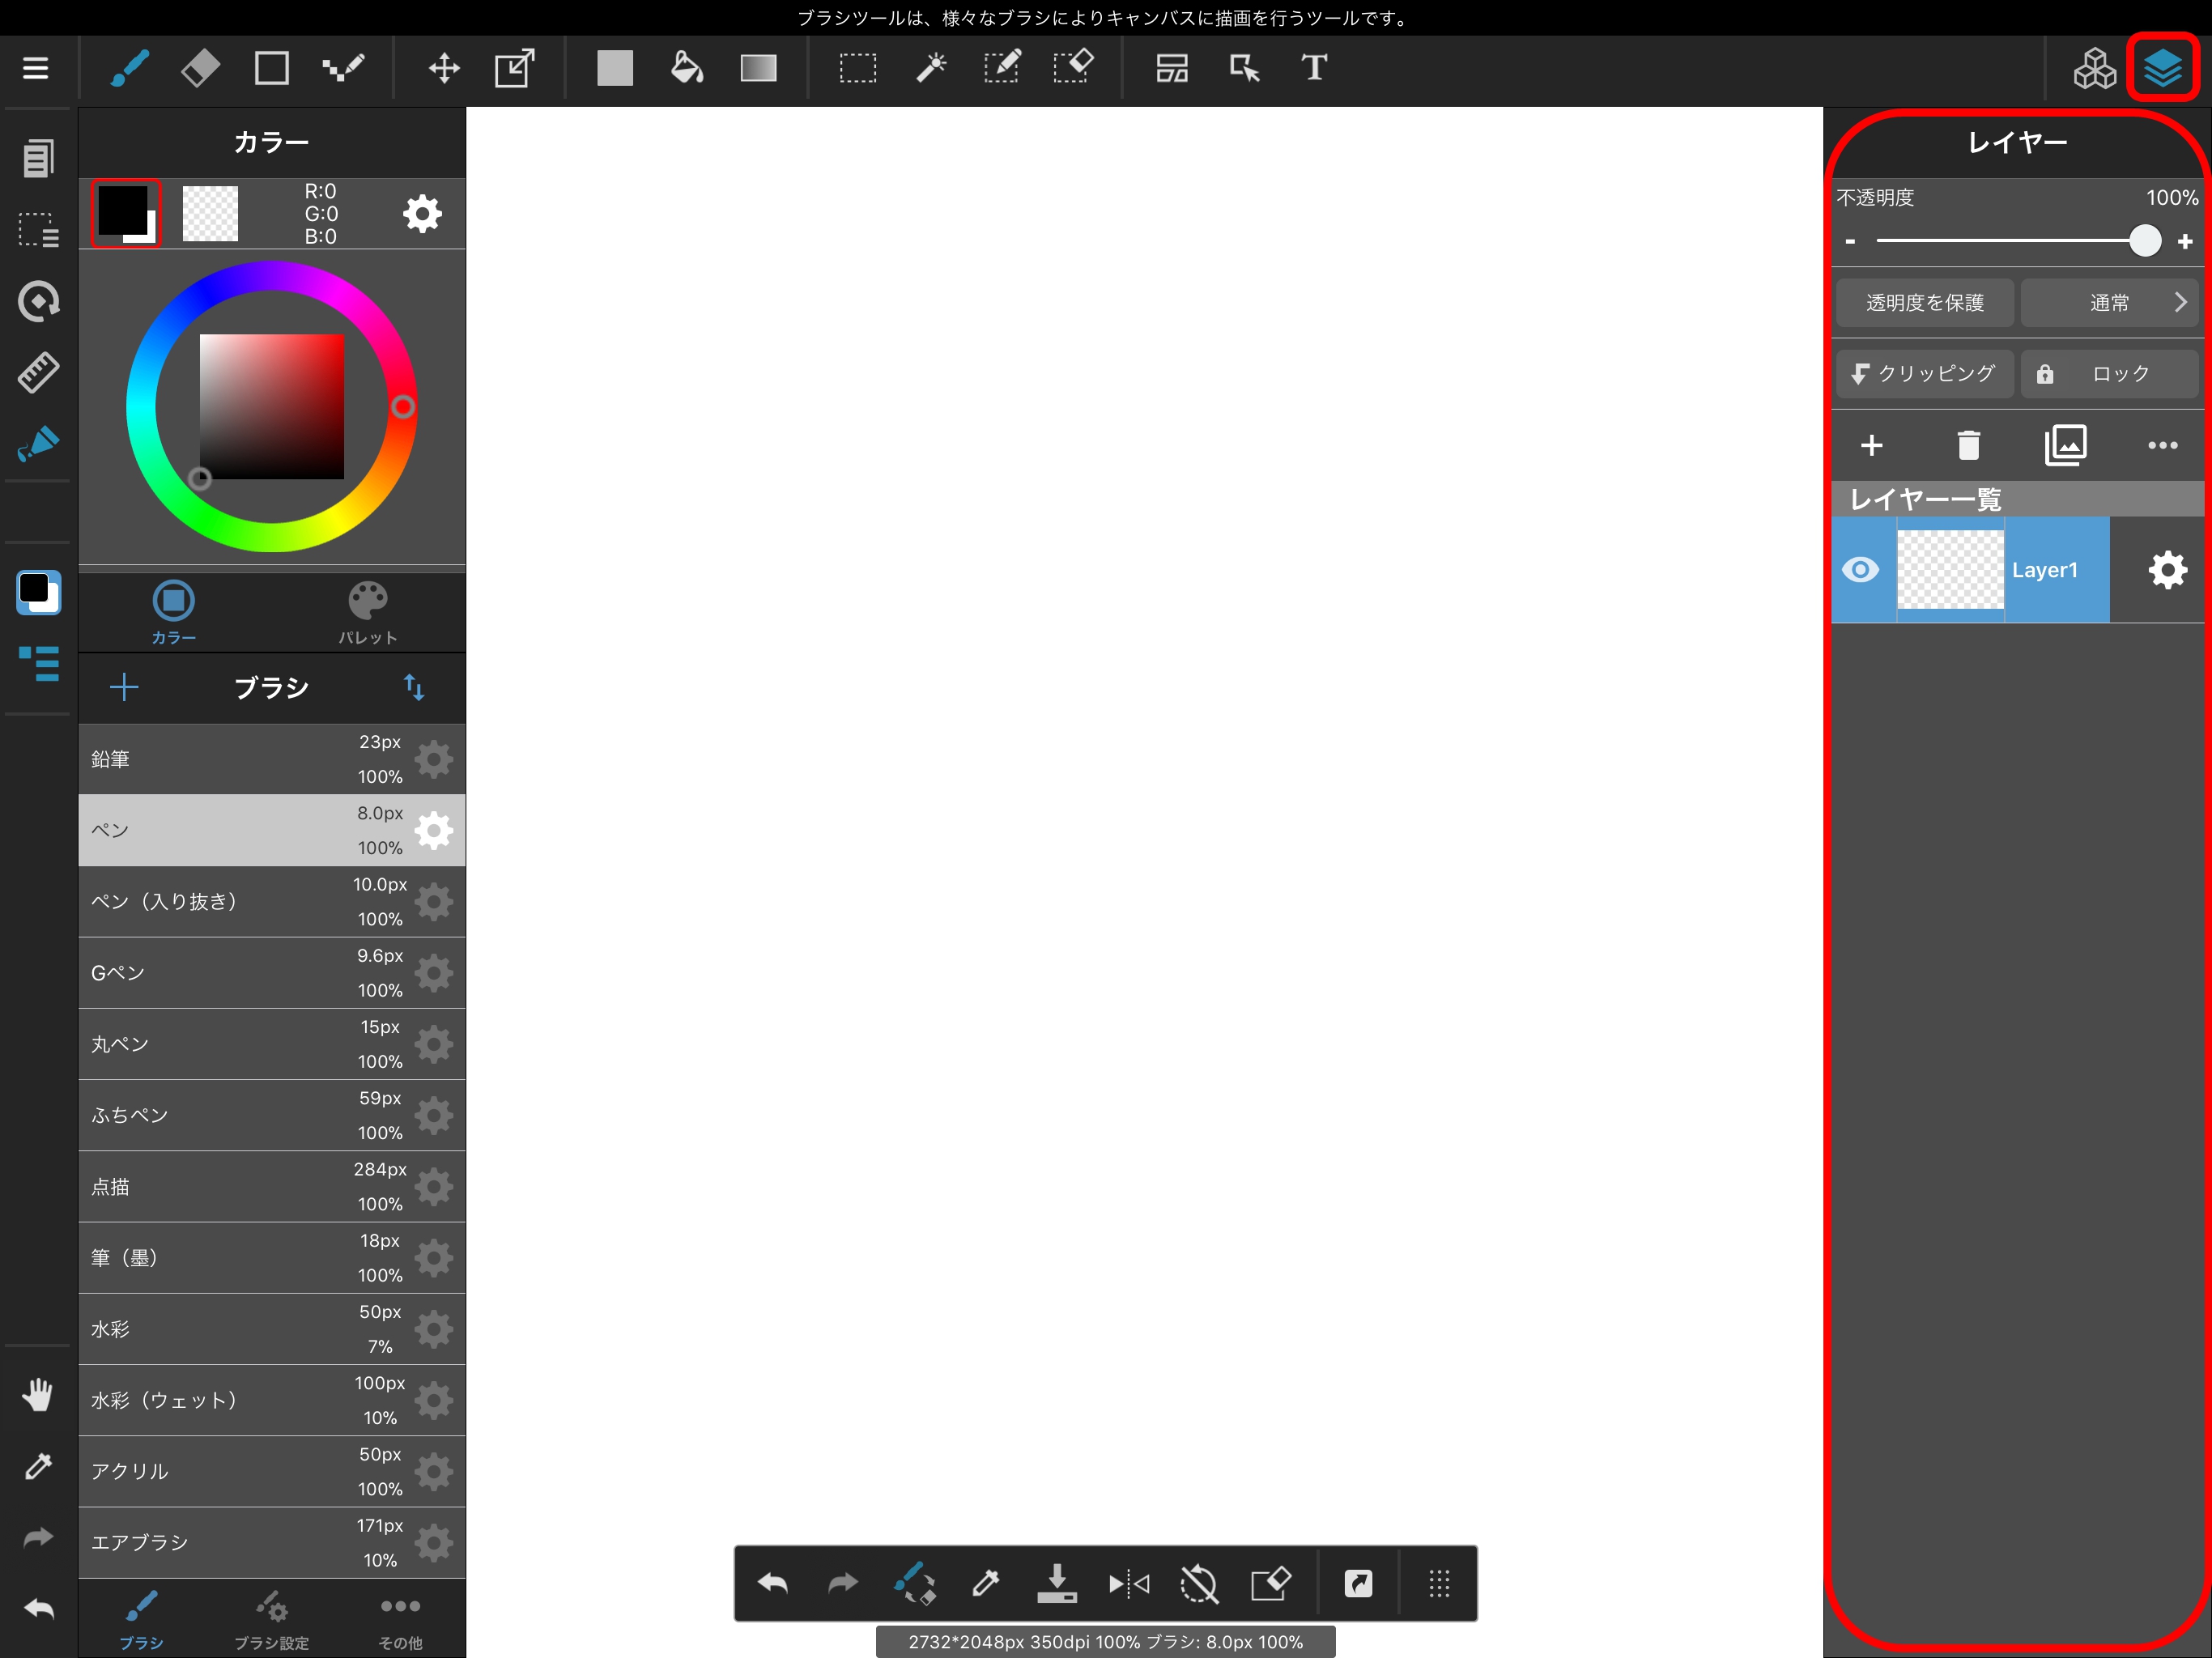
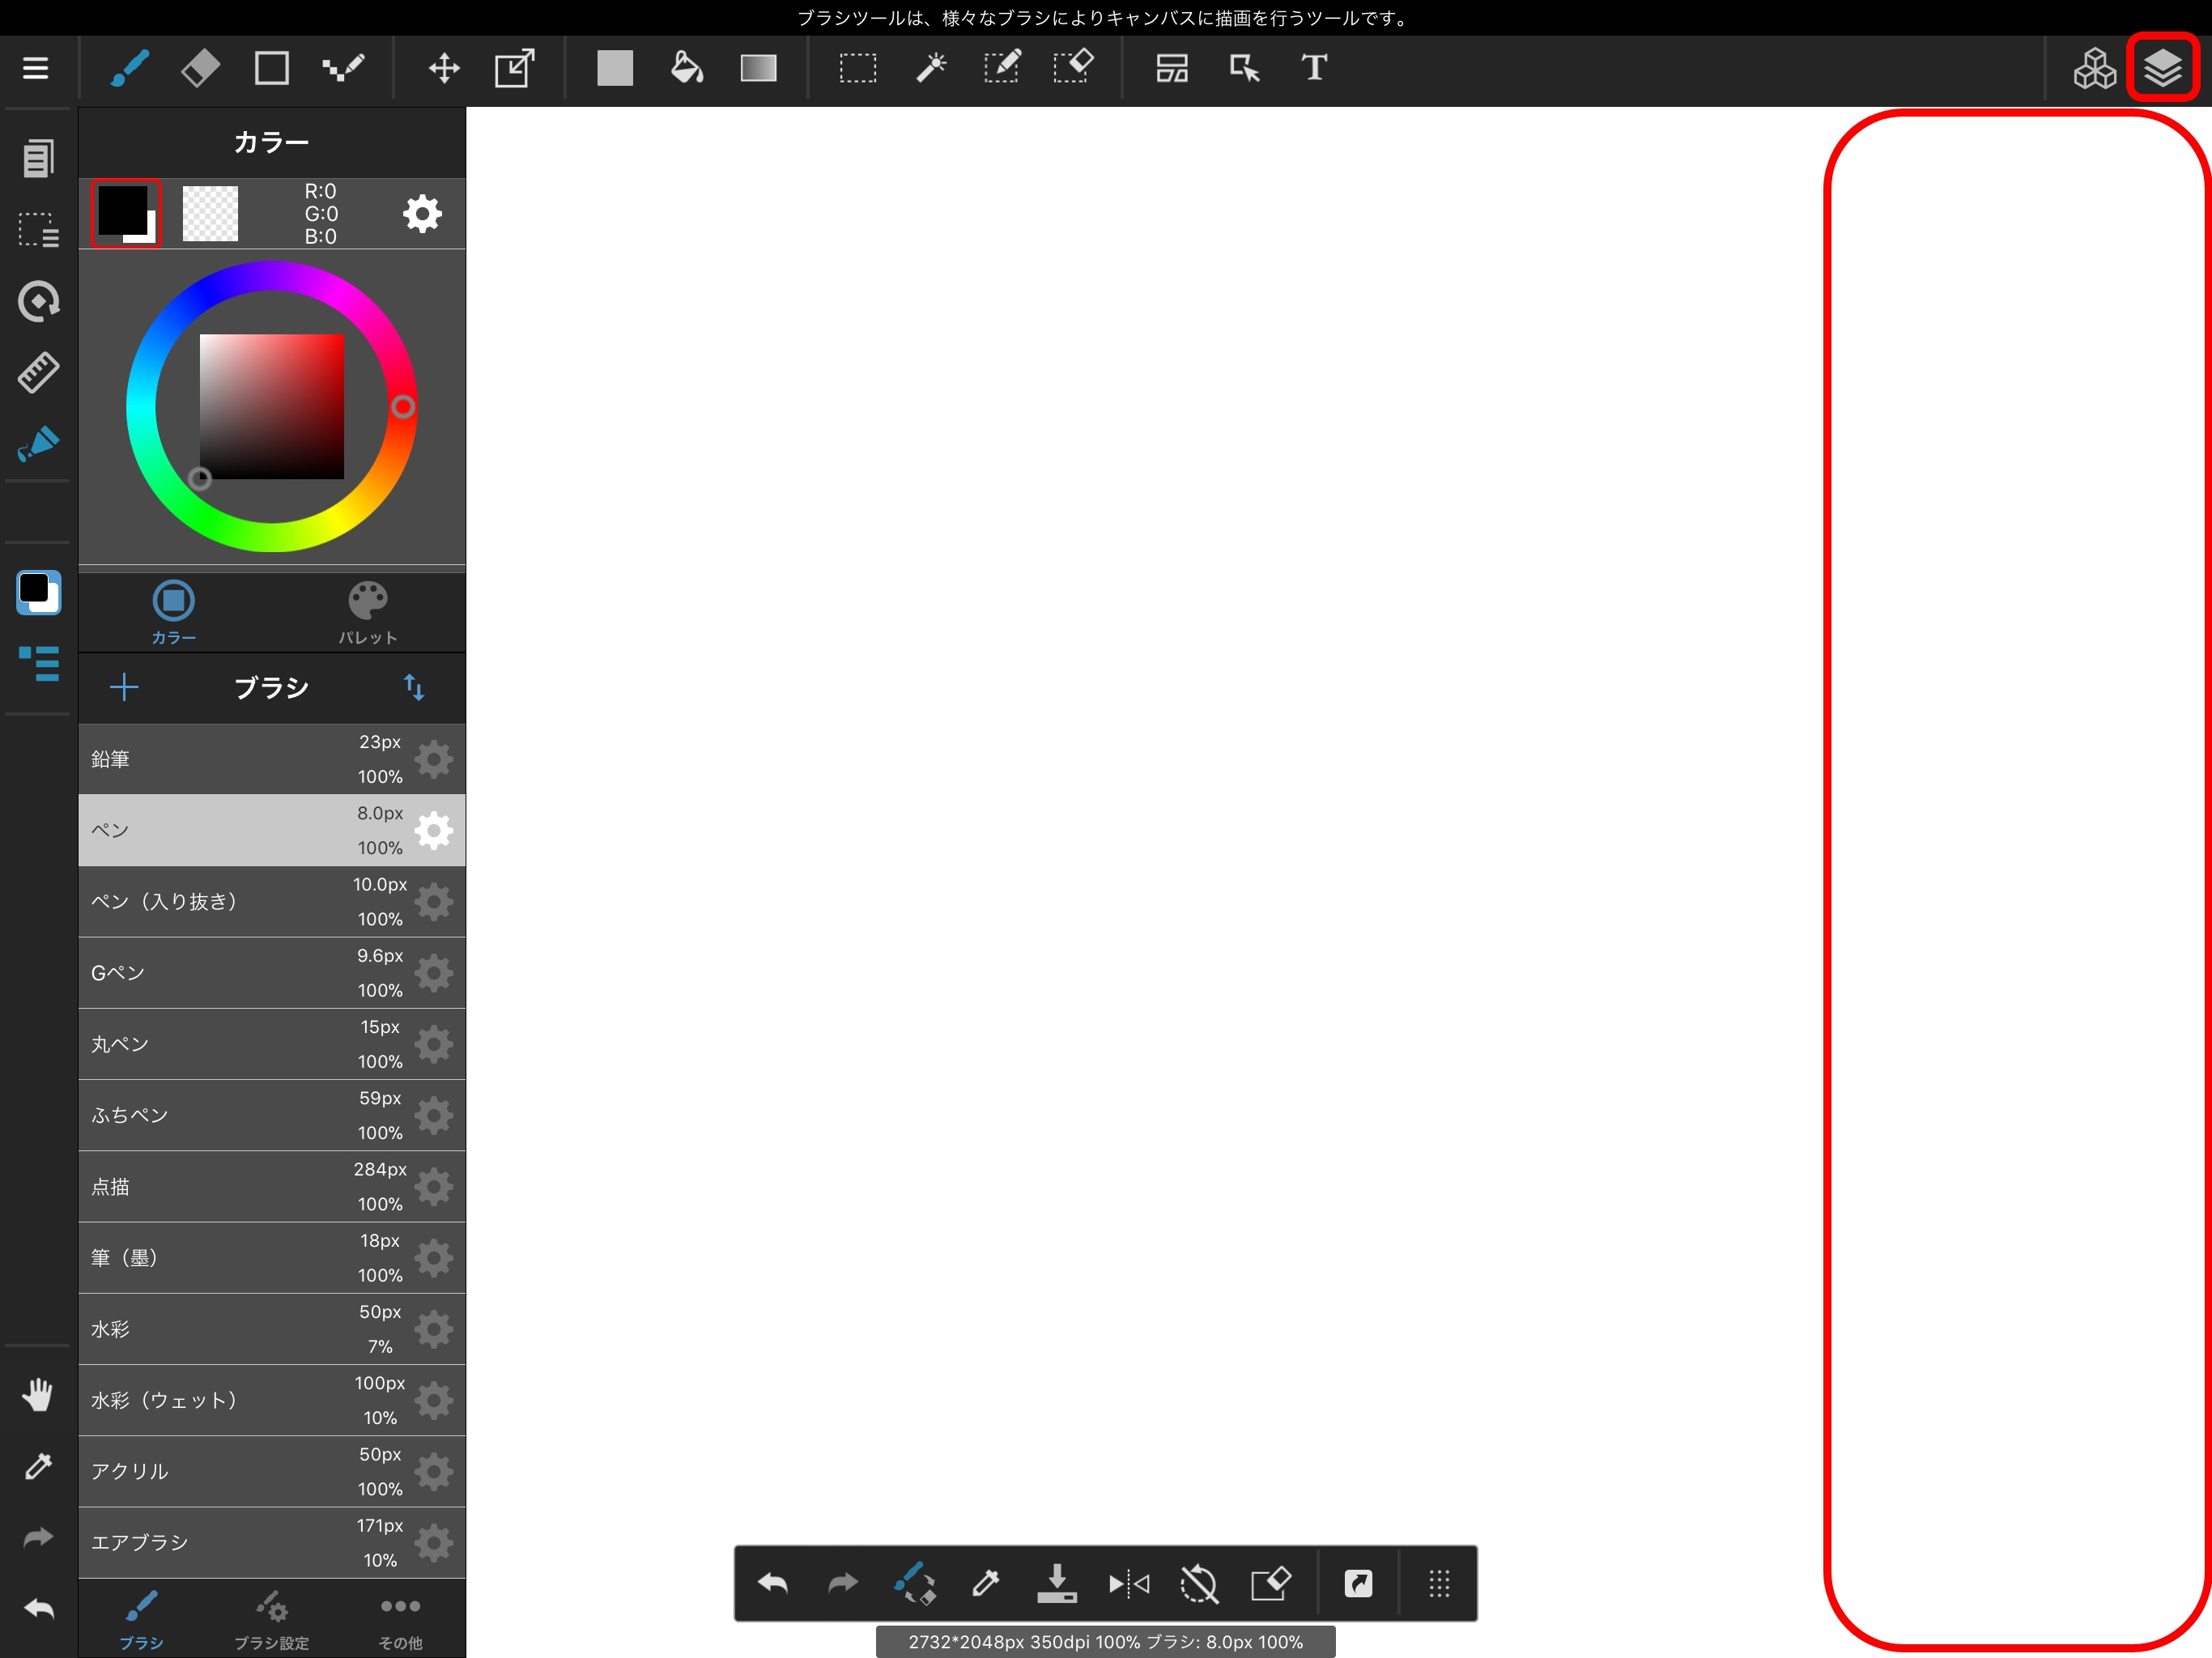
Tap the icon outlined in red in the image below to show or hide the Layers Panel.
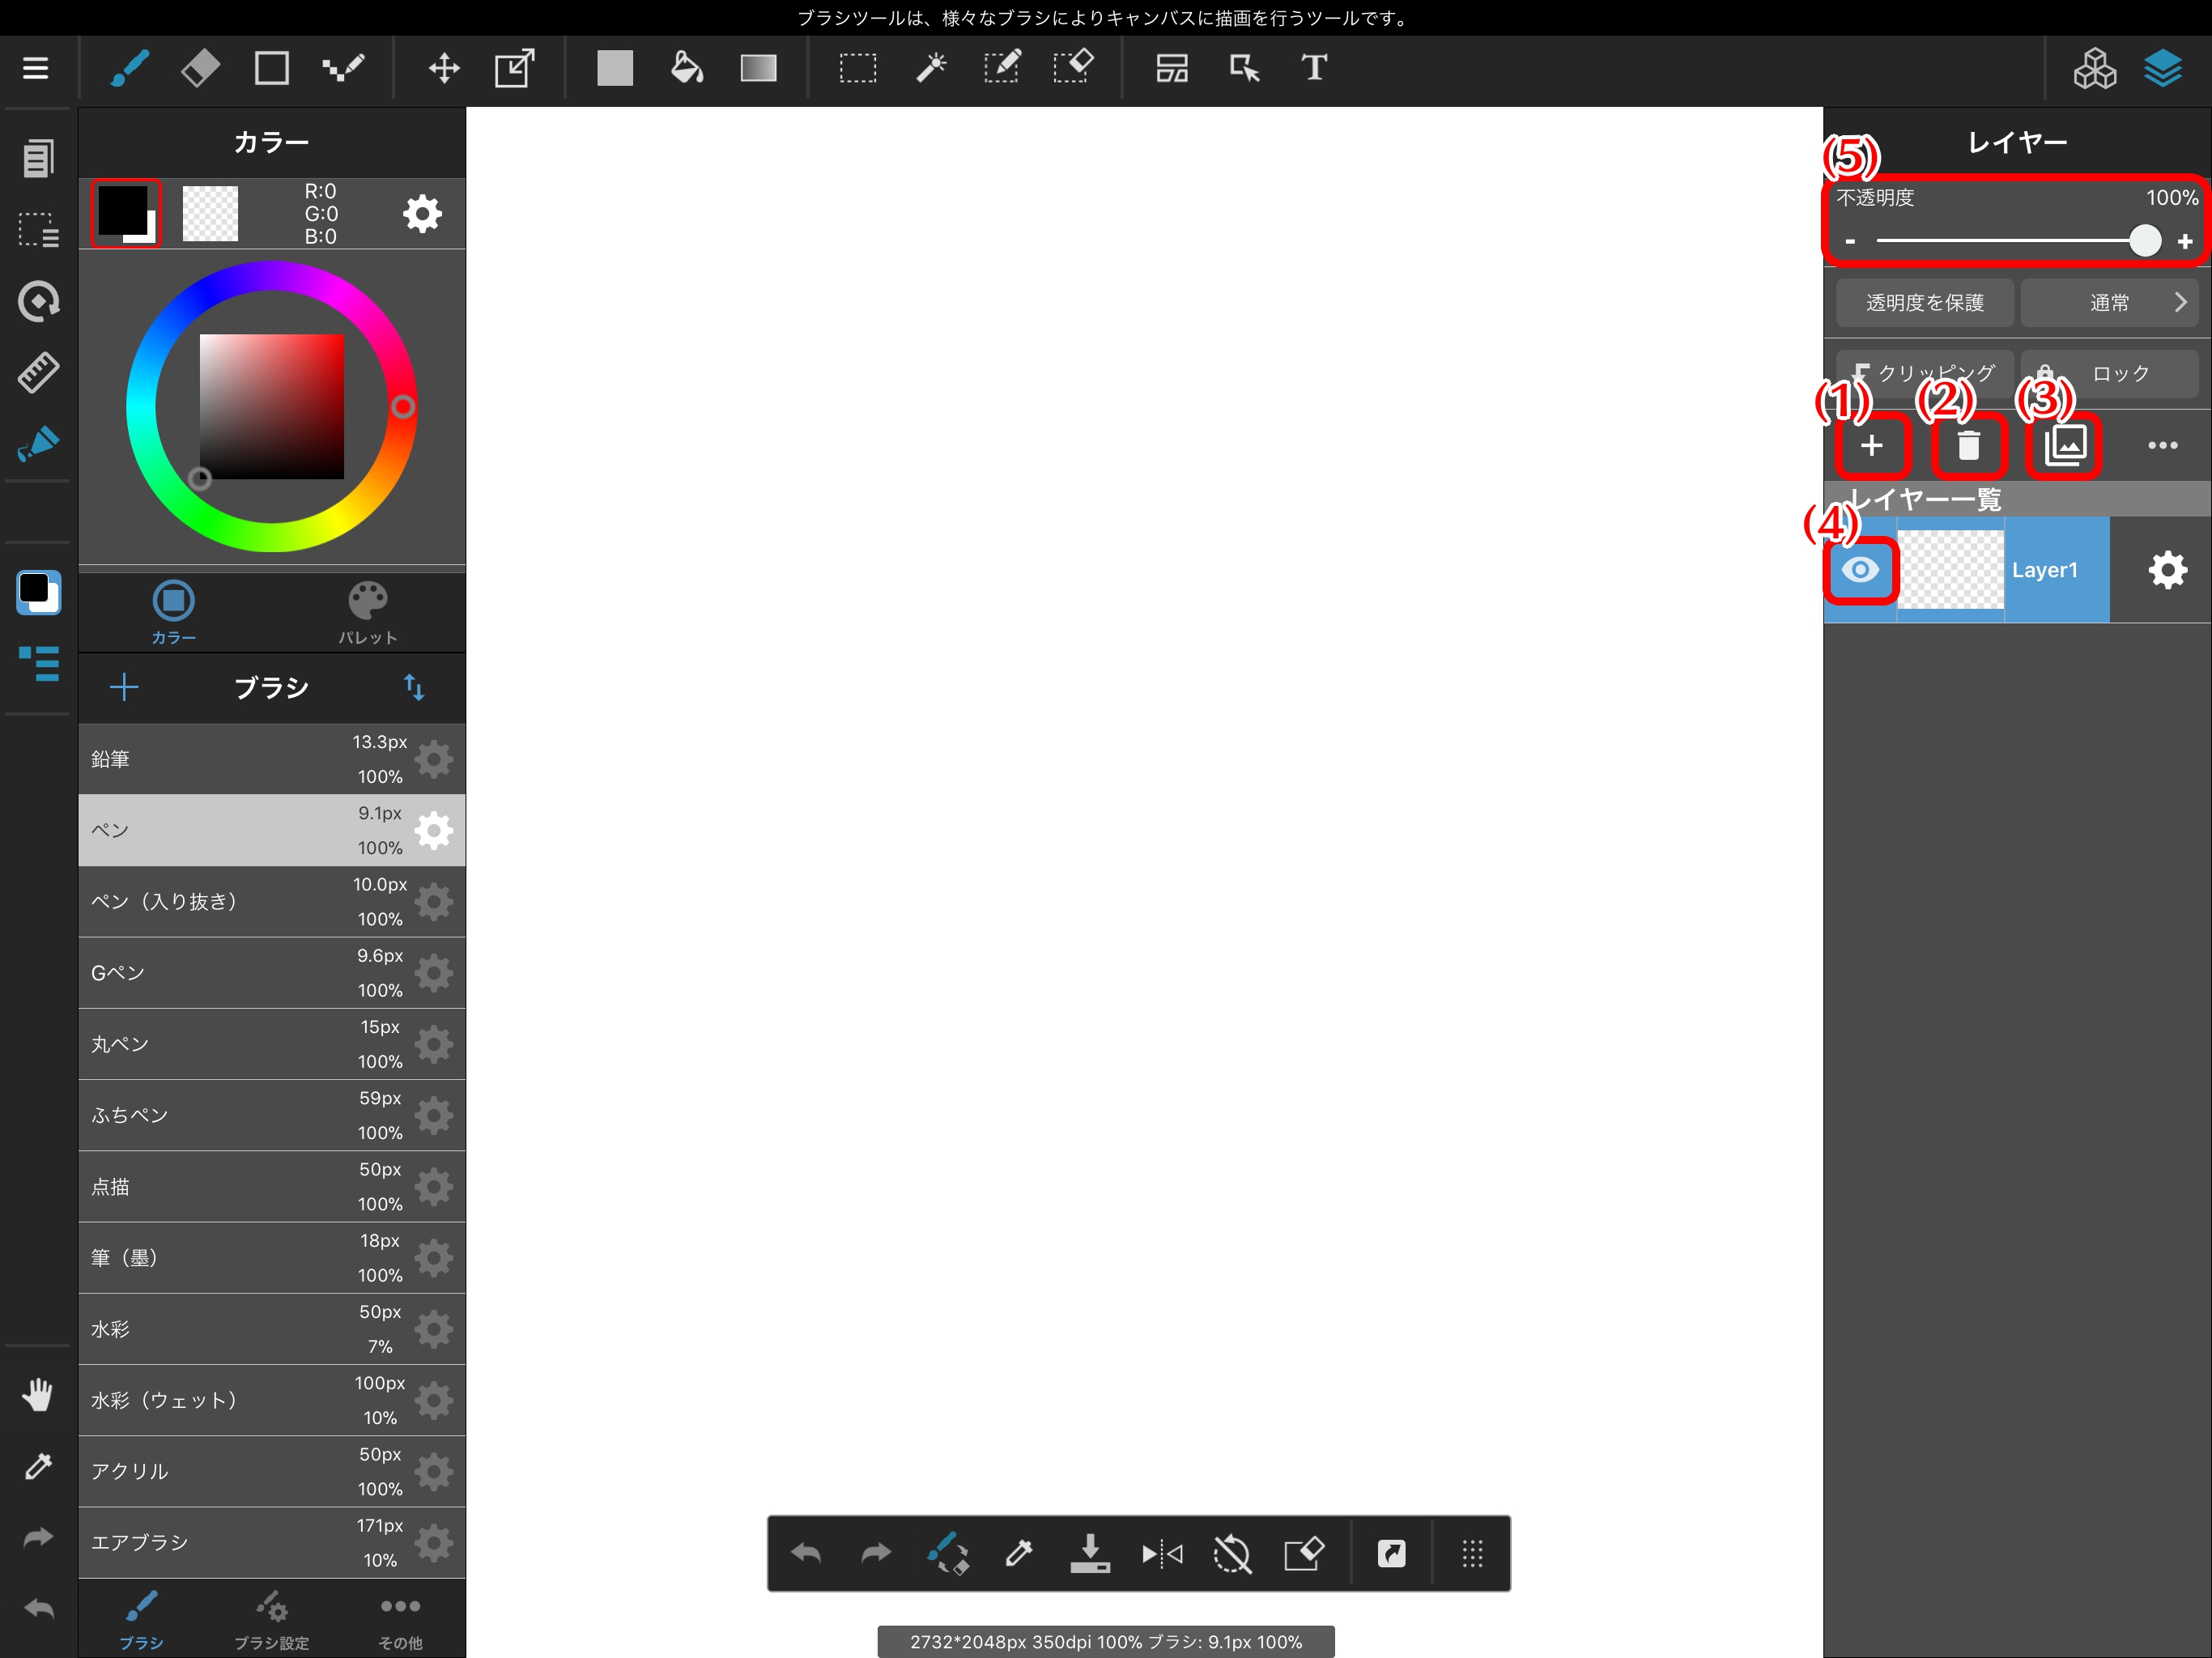
Let’s take a look at the MediBang Paint Layer Menu.
Selecting this option will display a menu for the layer you want to add.We want to paint in full color, so select “Color Layer.”
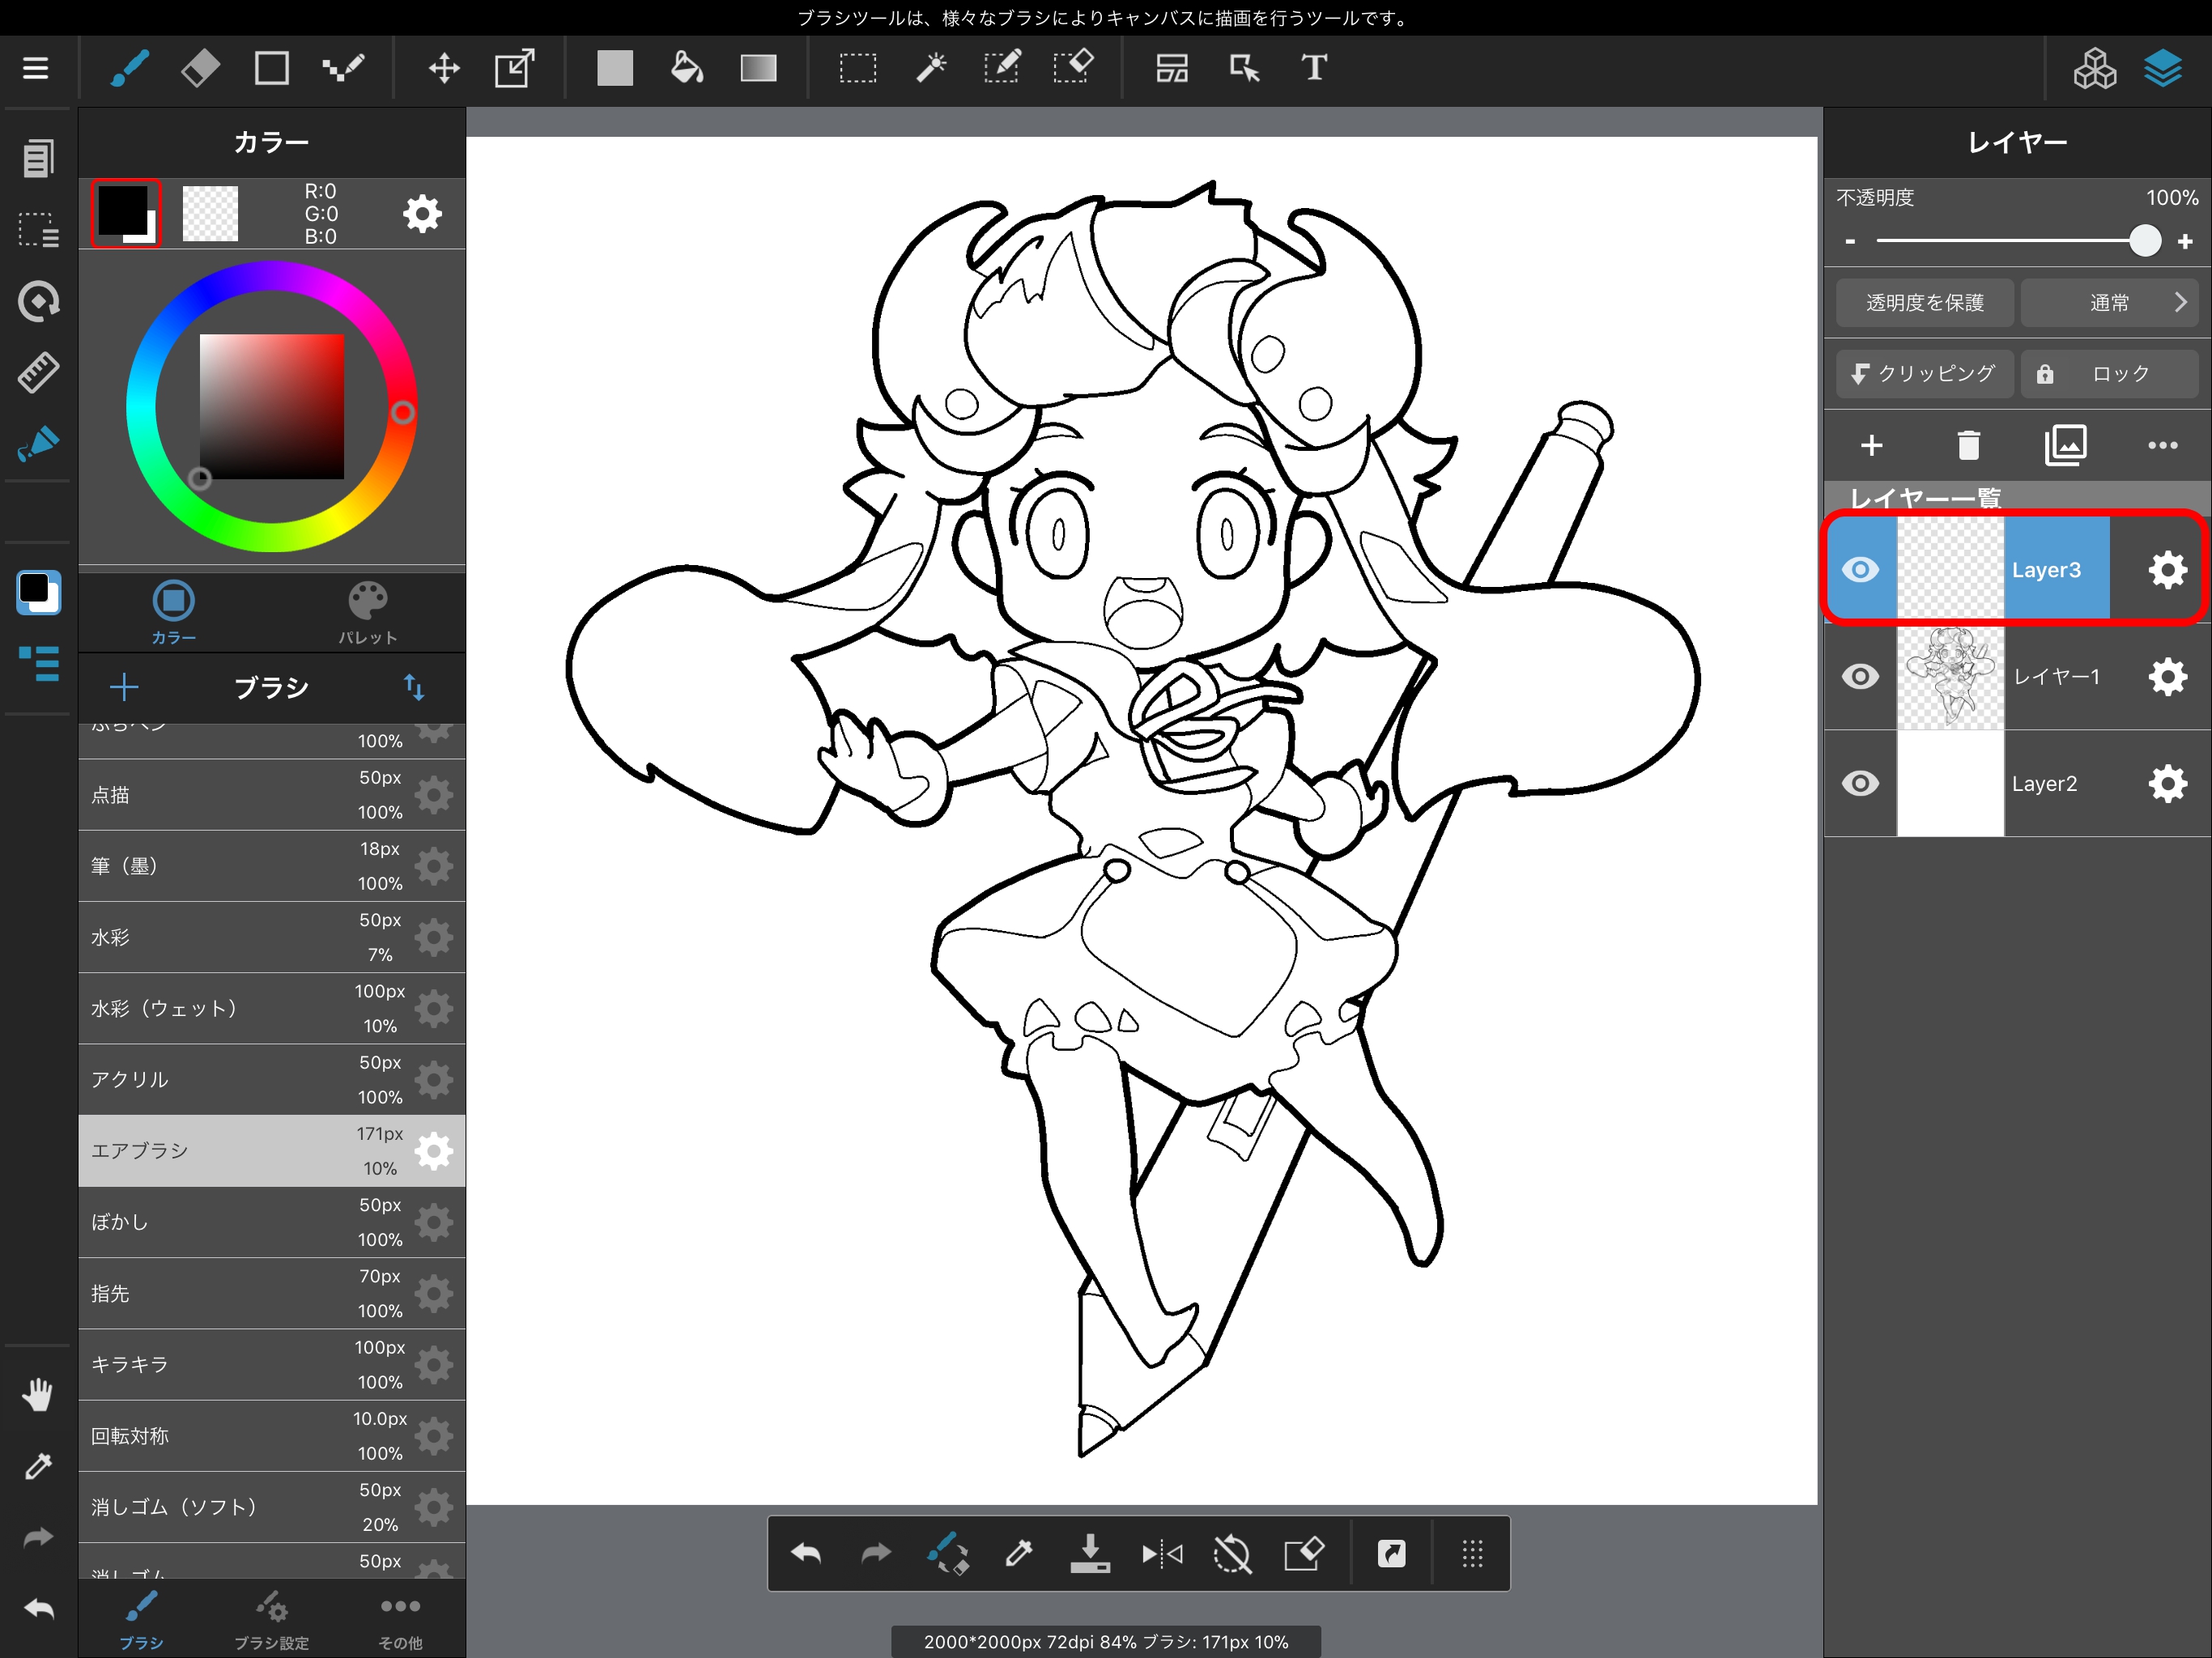
We have now made a new color layer on top of the layer containing our line drawing.
You can easily switch the order of layers by long pressing on a layer and swiping.
Since our color layer is currently above our line drawing, let’s move our new layer so that it is underneath our line layer.
The “Color Layer” is support full color, the “8bit Layer” is support greyscale, and the “1bit Layer” is support monochrome (black and white).
Selecting this option will delete the currently selected layer.
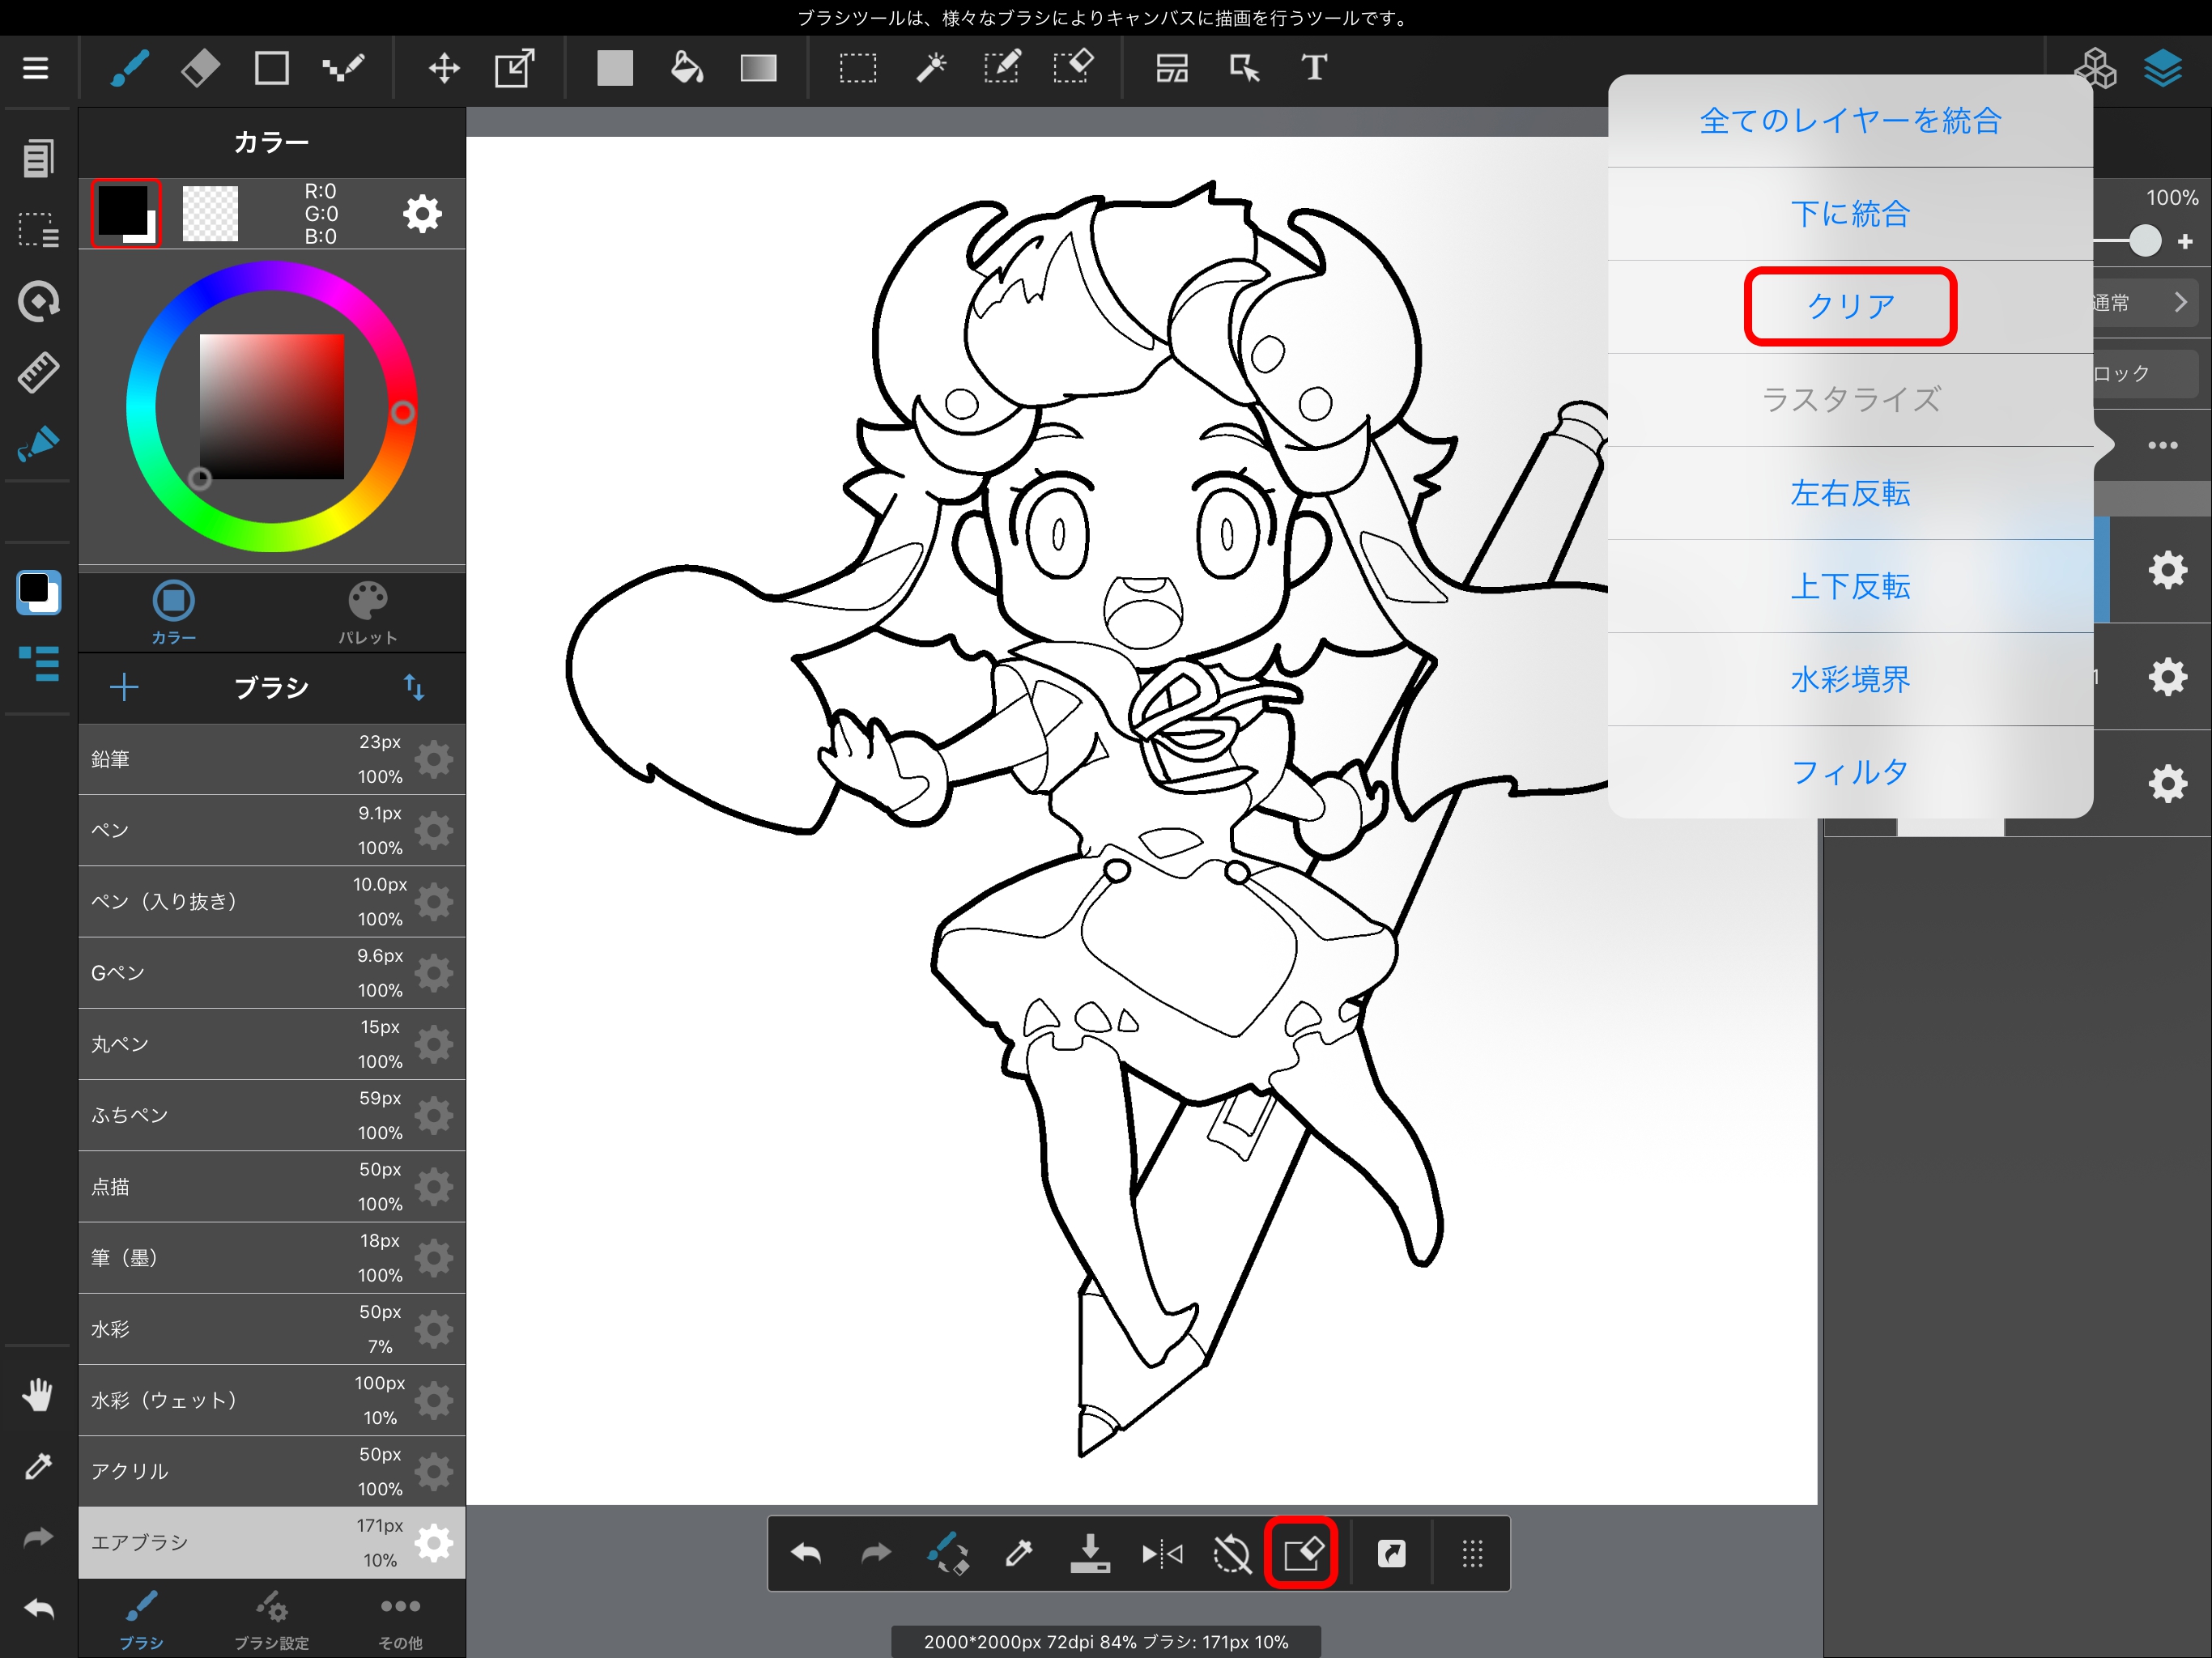
if you want to delete everything on a layer, select “Clear,” or the icon on the shortcut bar beneath the canvas, both outlined in red in the above image, and the layer will be cleared of all its contents without otherwise being changed.
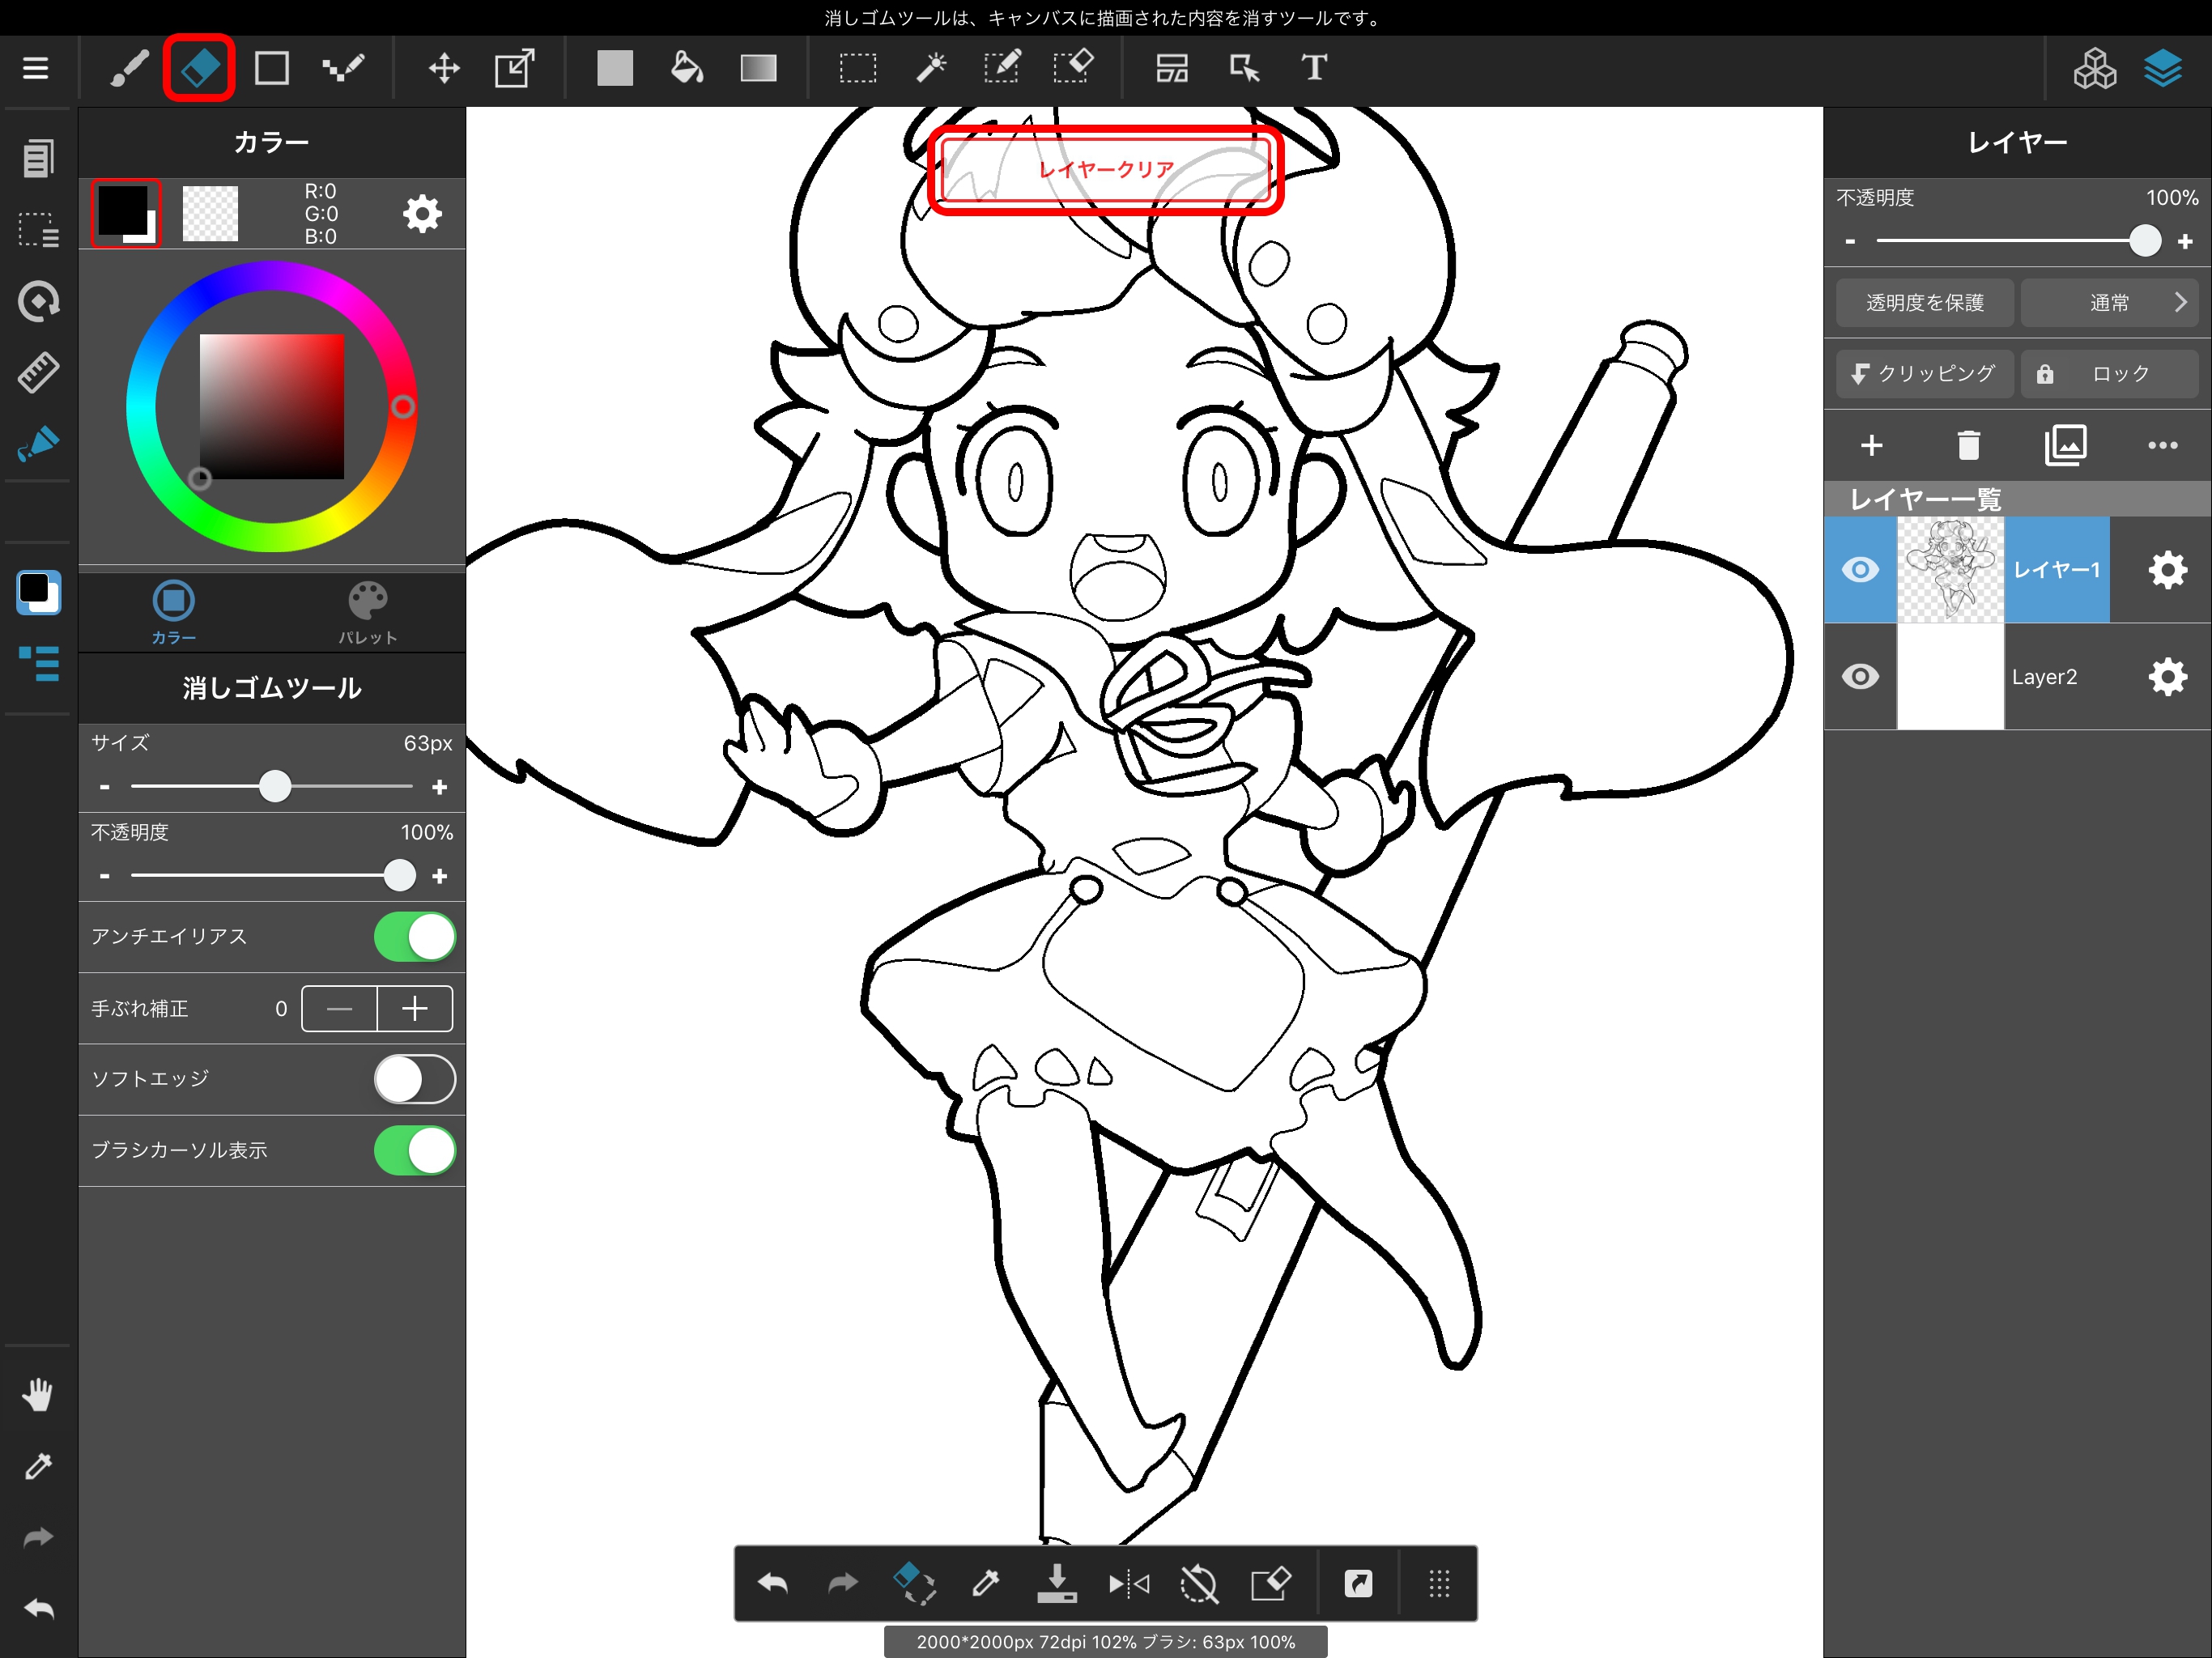
When the Eraser Tool is selected, selecting “Clear Layer” at the top of the screen works the same way.
Selecting this option will duplicate the currently selected layer.
Selectin the eye symbol at the bottom left of a layer will hide that layer.
Tapping the same area again will show the layer again.
Sliding this bar changes the level of transparency for the selected layer.
When you want to draw clean lines over a sketch, reducing the transparency of your sketch layer can make the lines easier to draw.

Now let’s use layers to color this line drawing.
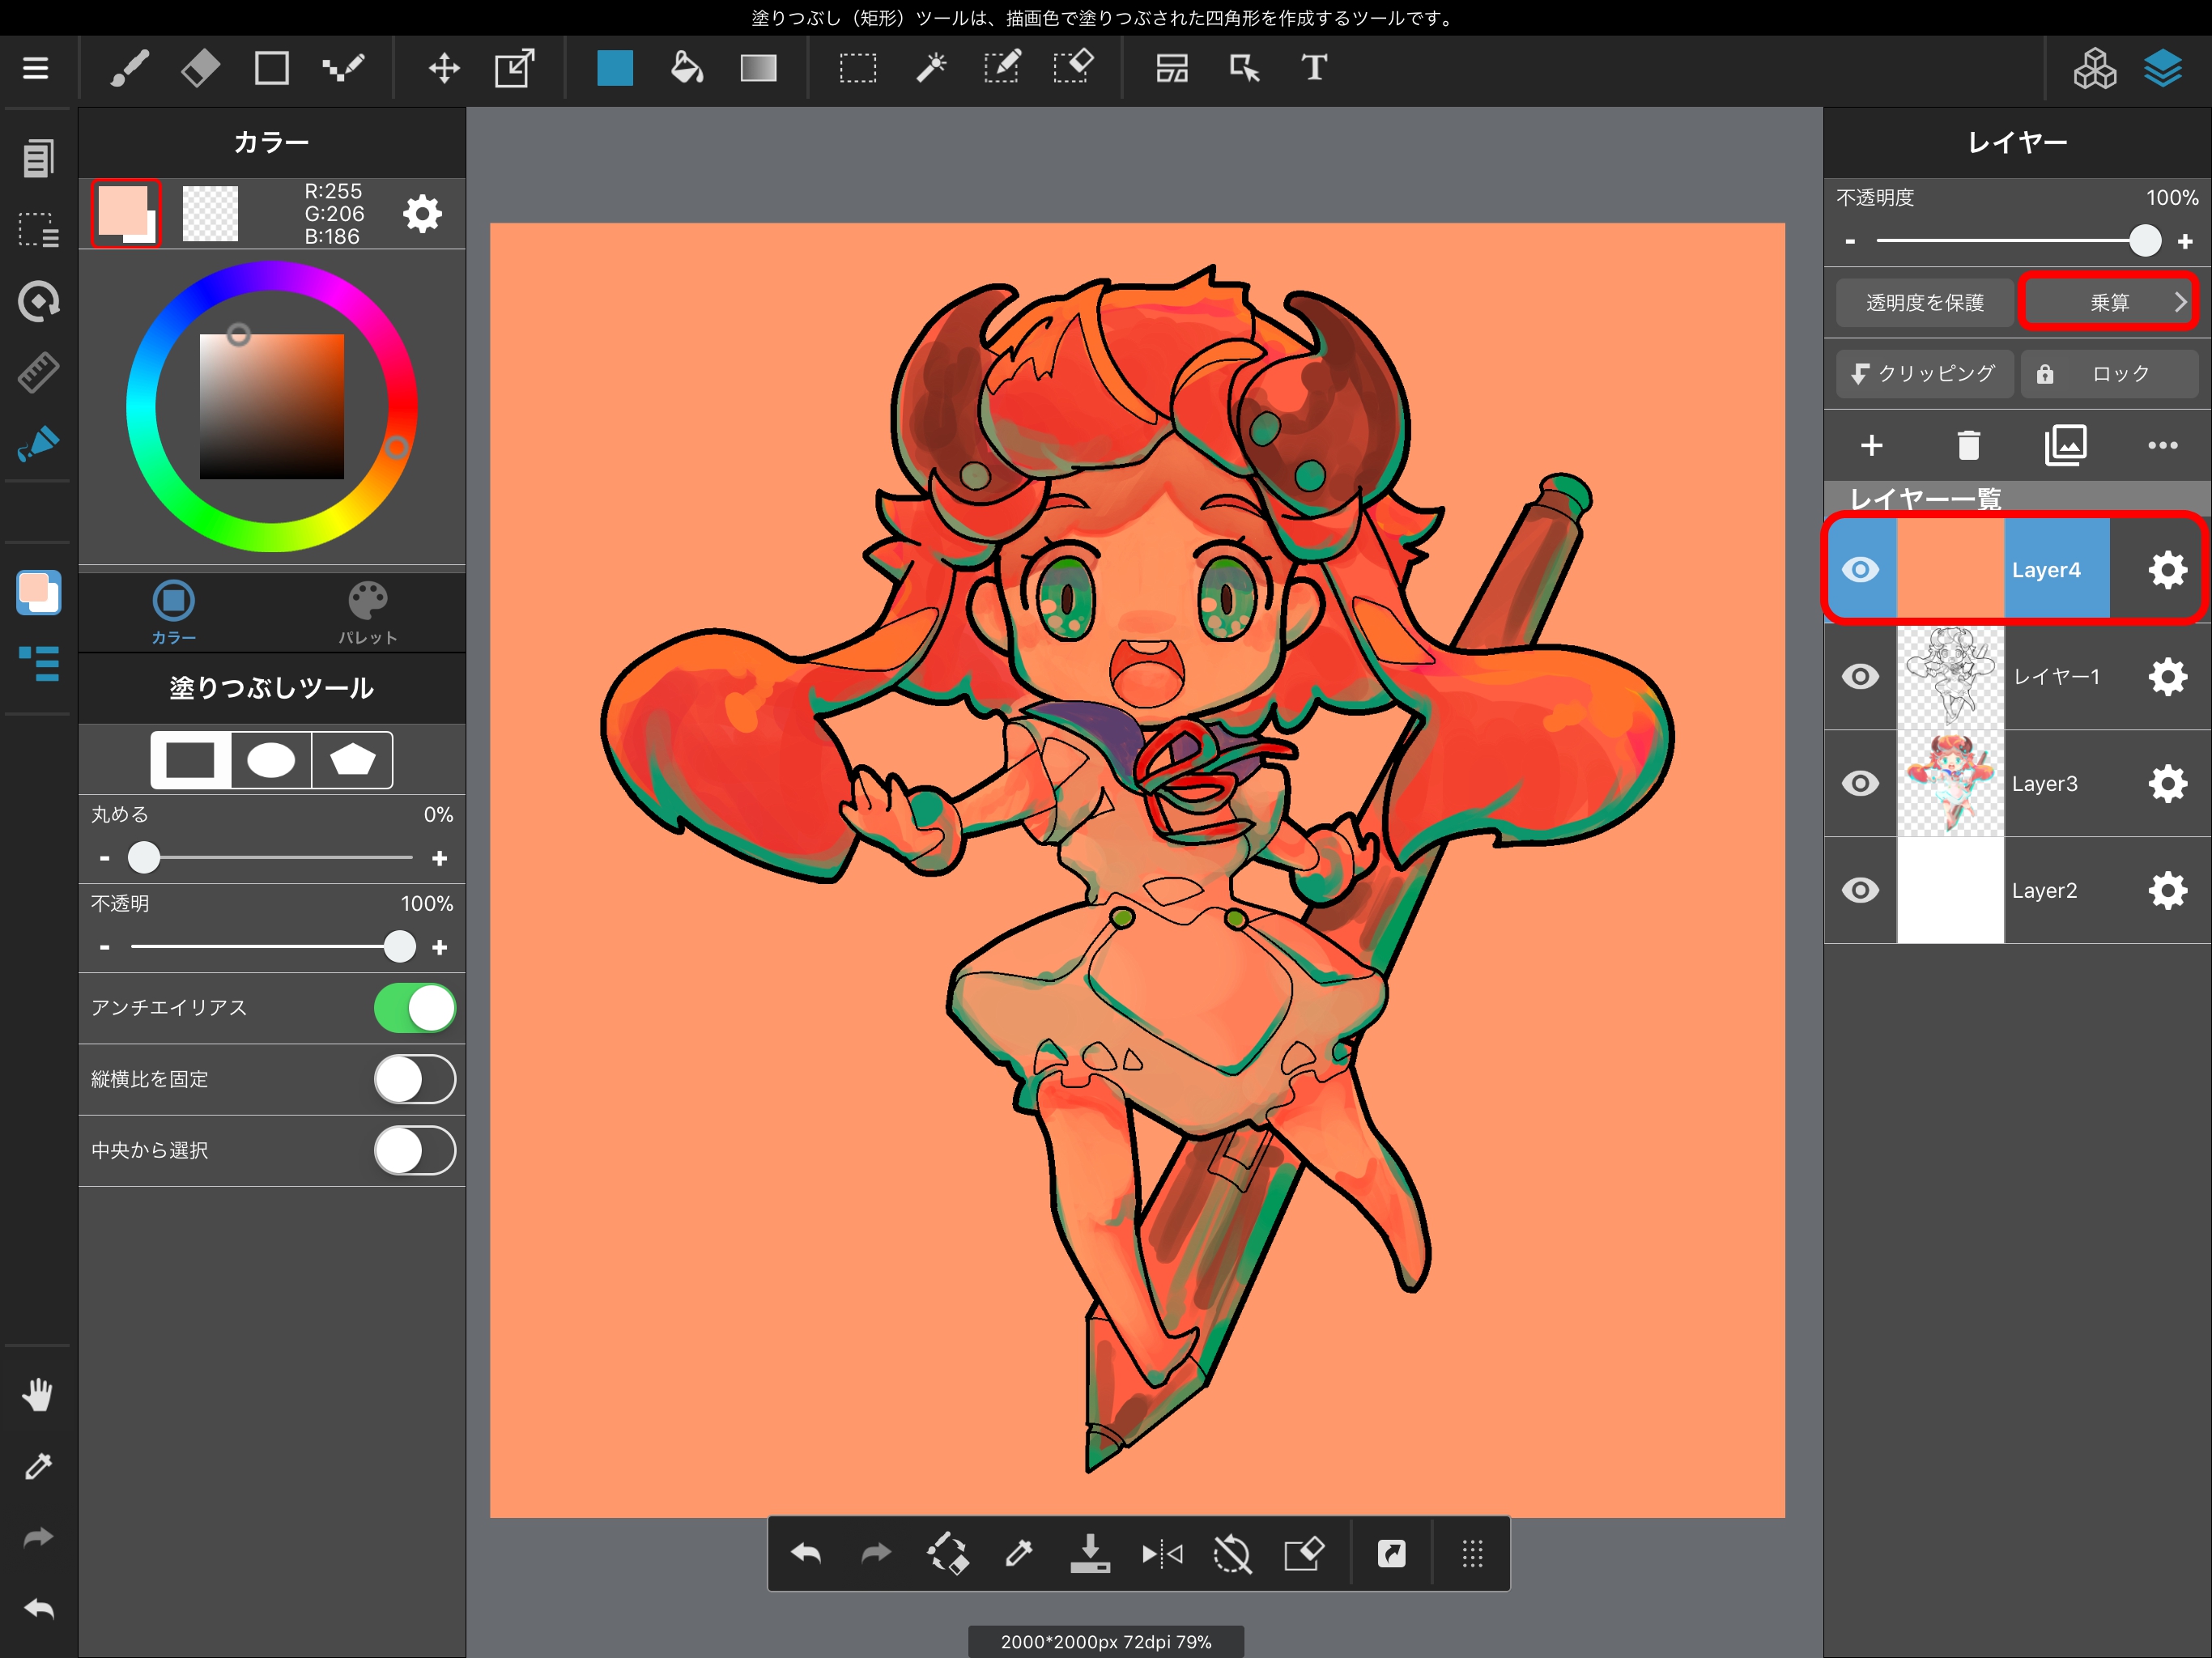
When you’ve created a new color layer, the layer first displays “Normal.”
By selecting this, you can select a variety of options, including “Multiply” and “Add”
This feature is called “layer blending,” and determines what kind of effect the selected layer will have on the layers beneath it.

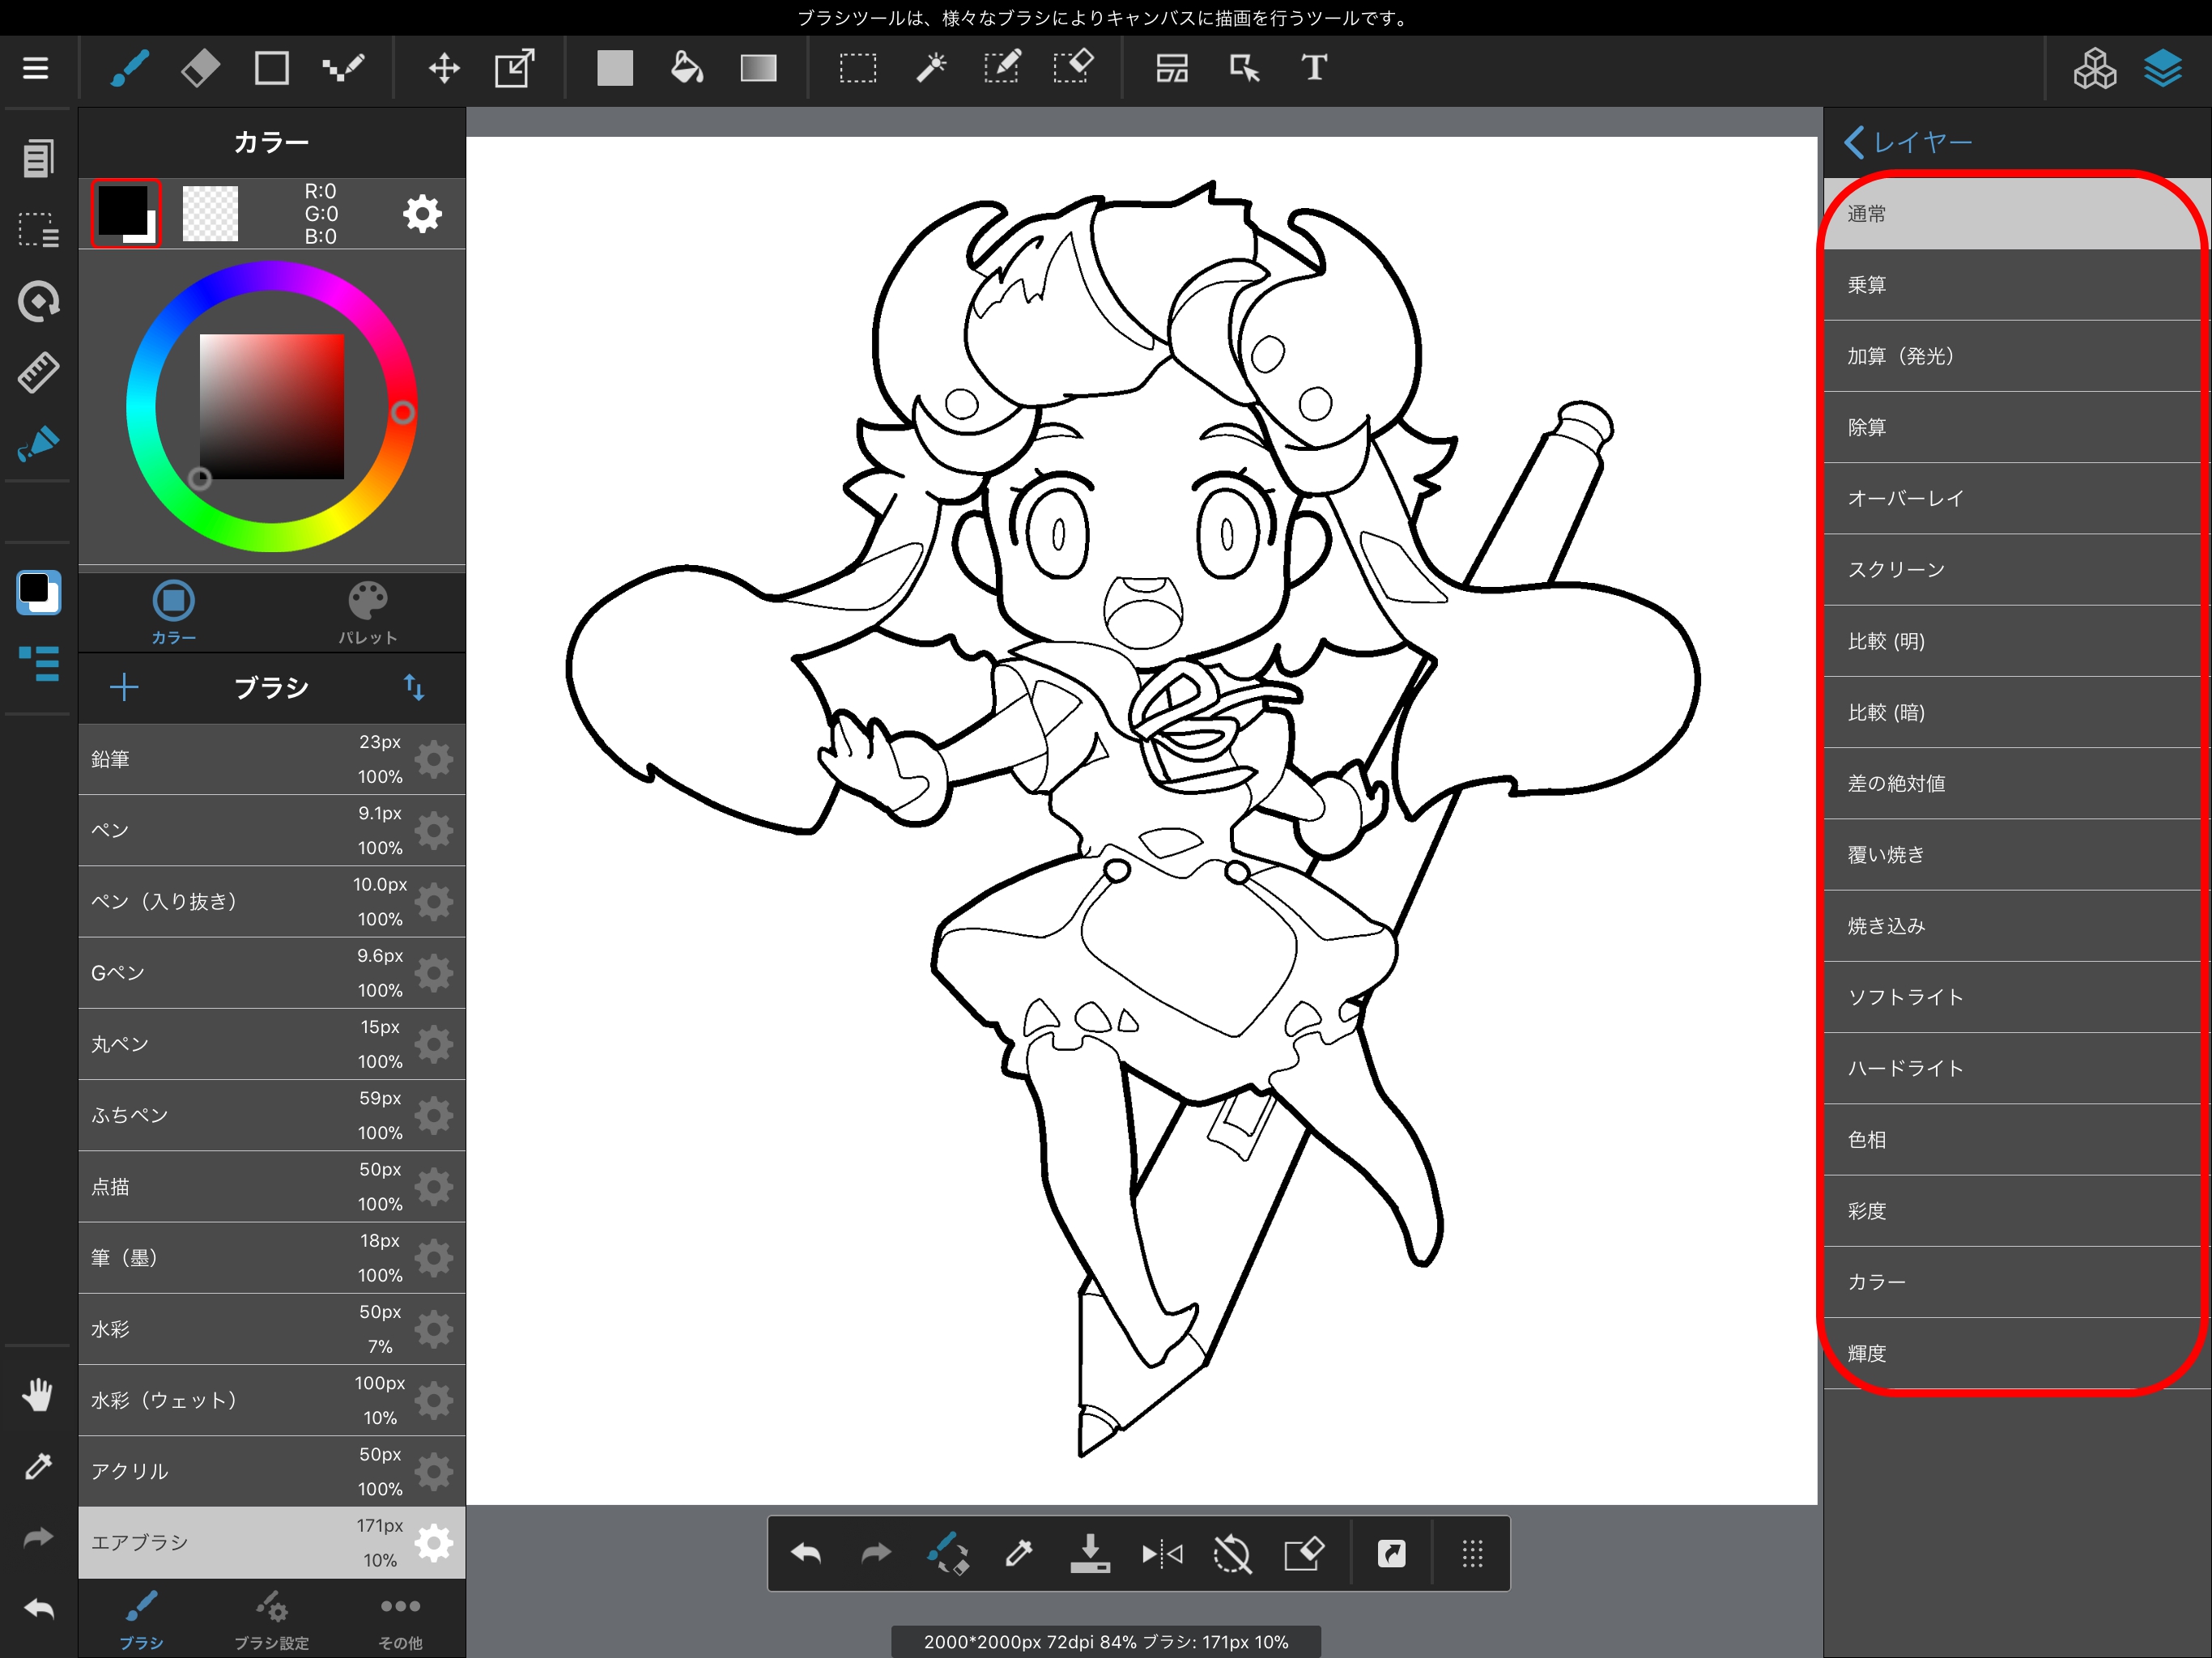
Try out all the different layer blending options once you’re used to MediBang Paint!
The Layer Menu features a “Clipping” option.
The Clipping feature allows you to display the contents of a layer only within a specified area of the layer beneath.
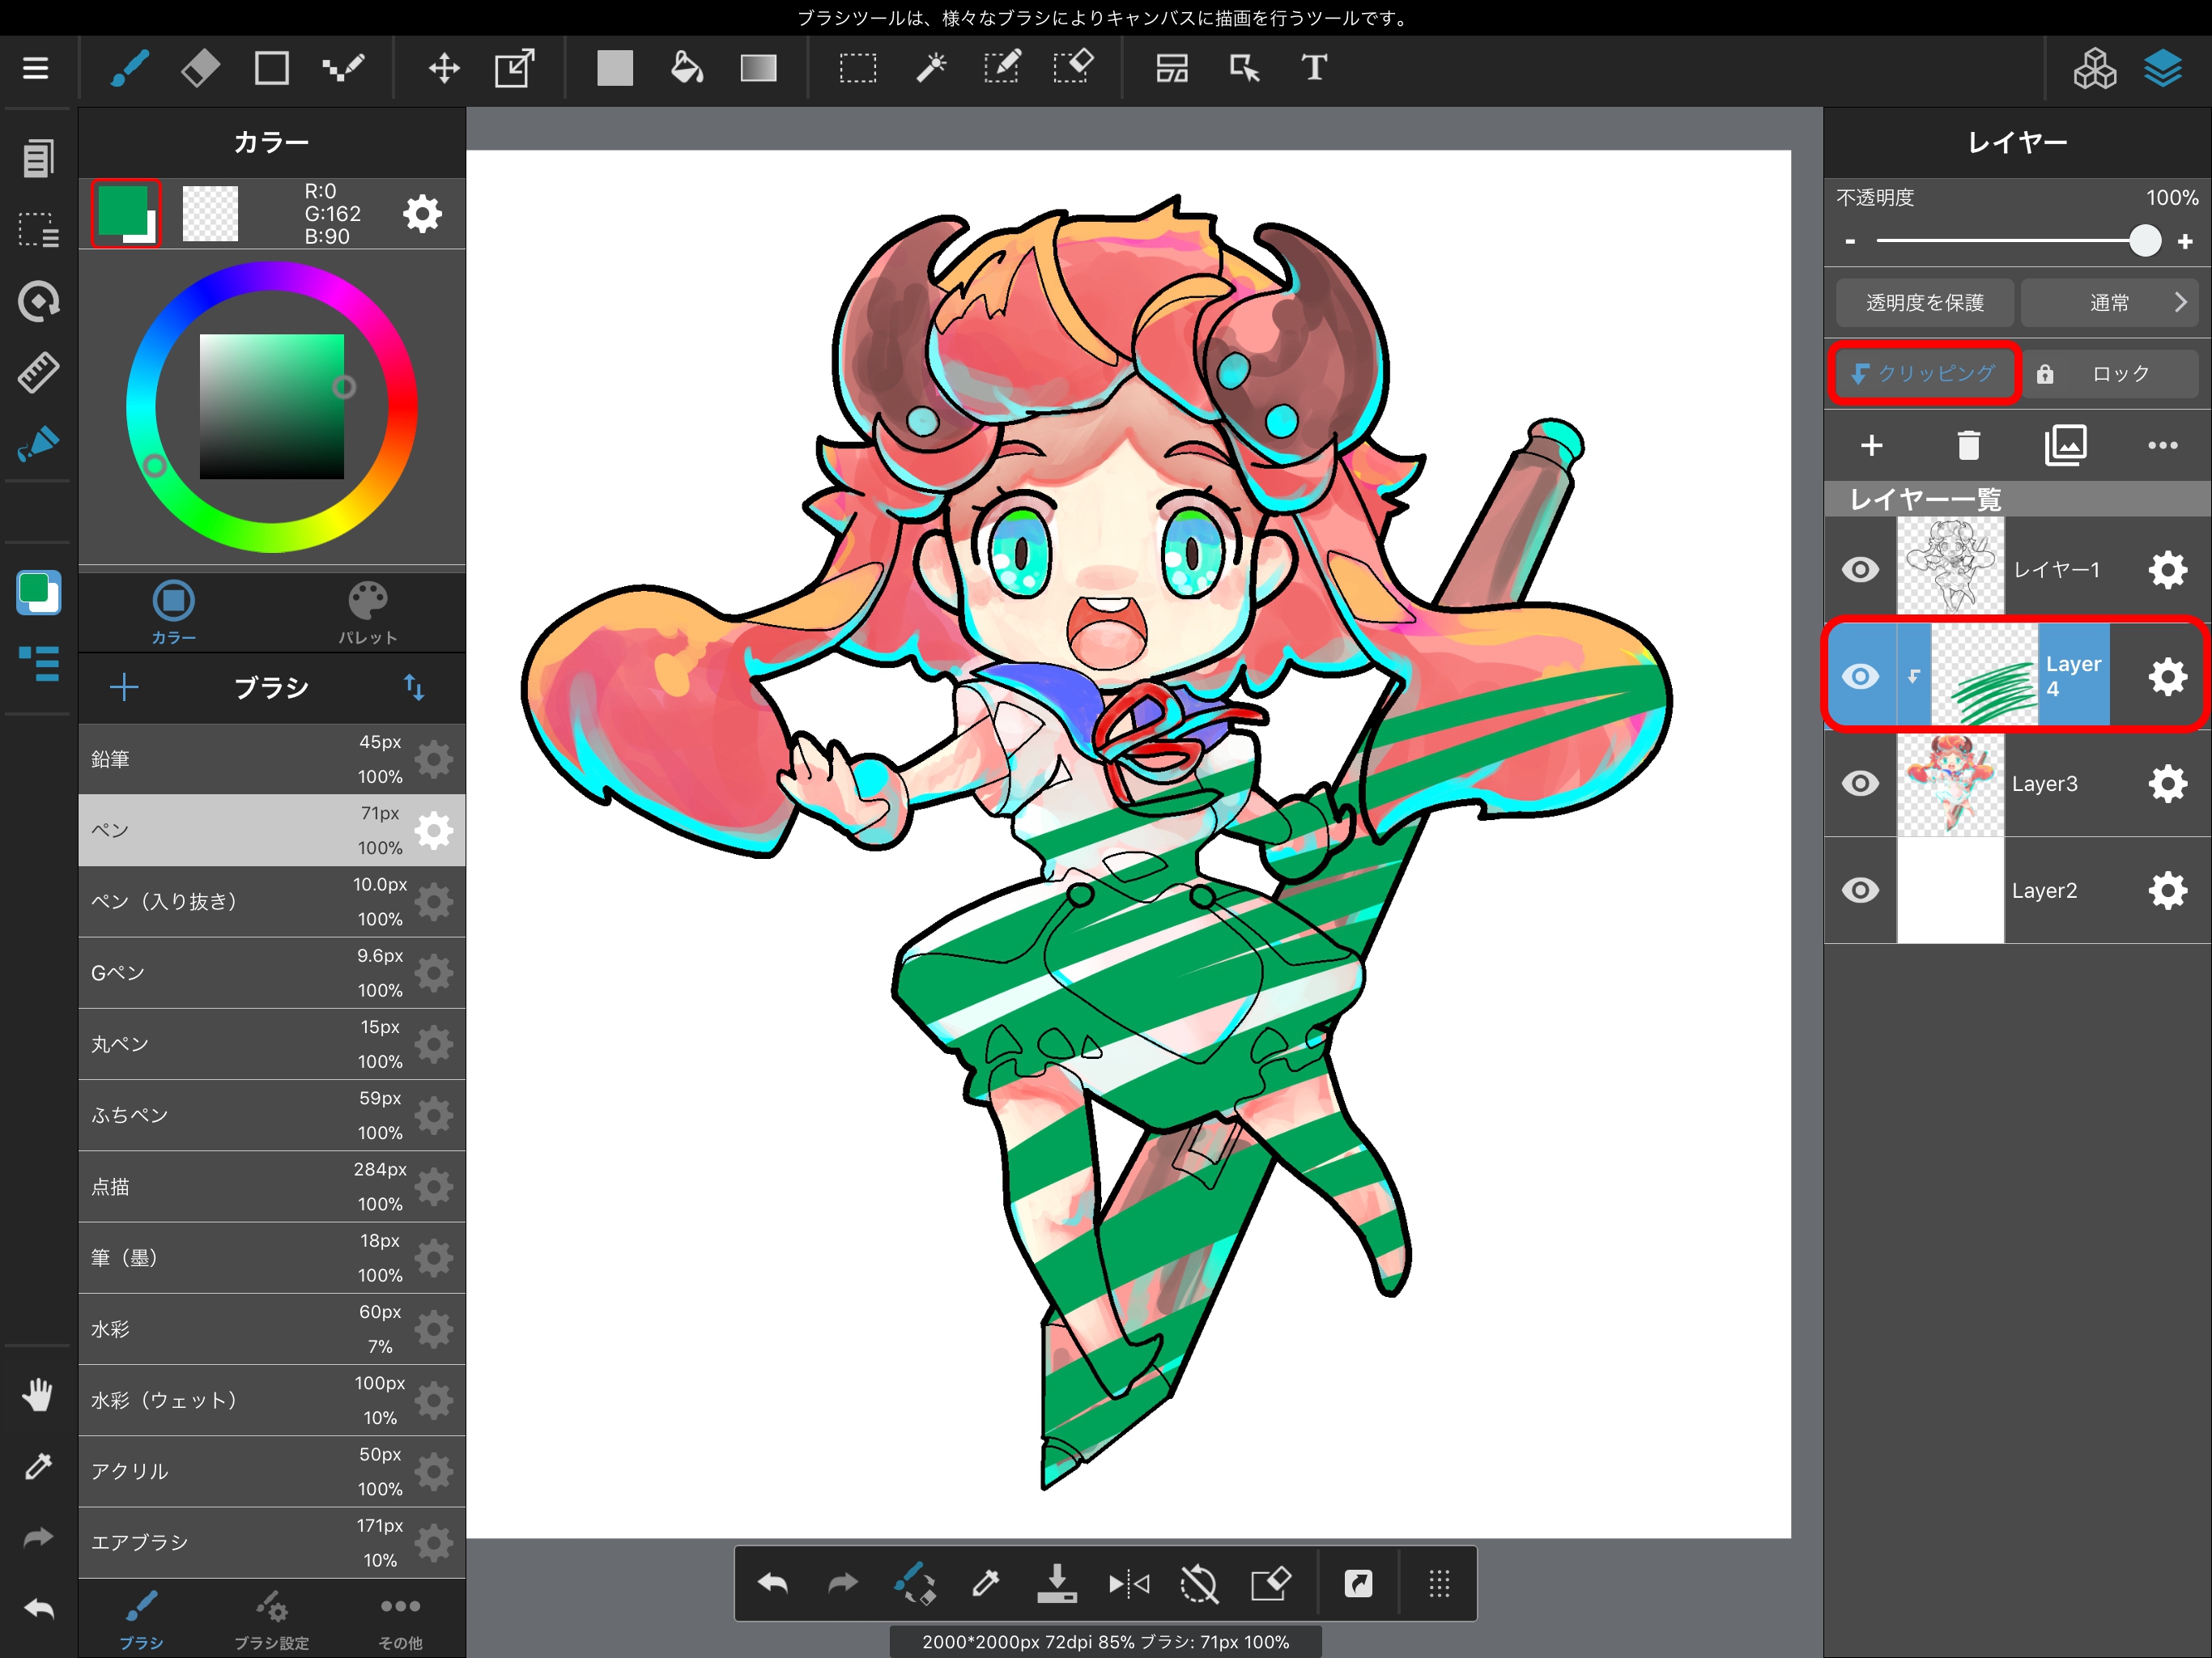
Clipping can make it easier to perform work such as adding shadows when coloring.
We use the color menu to choose our brush color when using the Brush Tool and Fill Tool. On the iPad version of MediBang Paint, it is normally displayed in the top left of the screen.
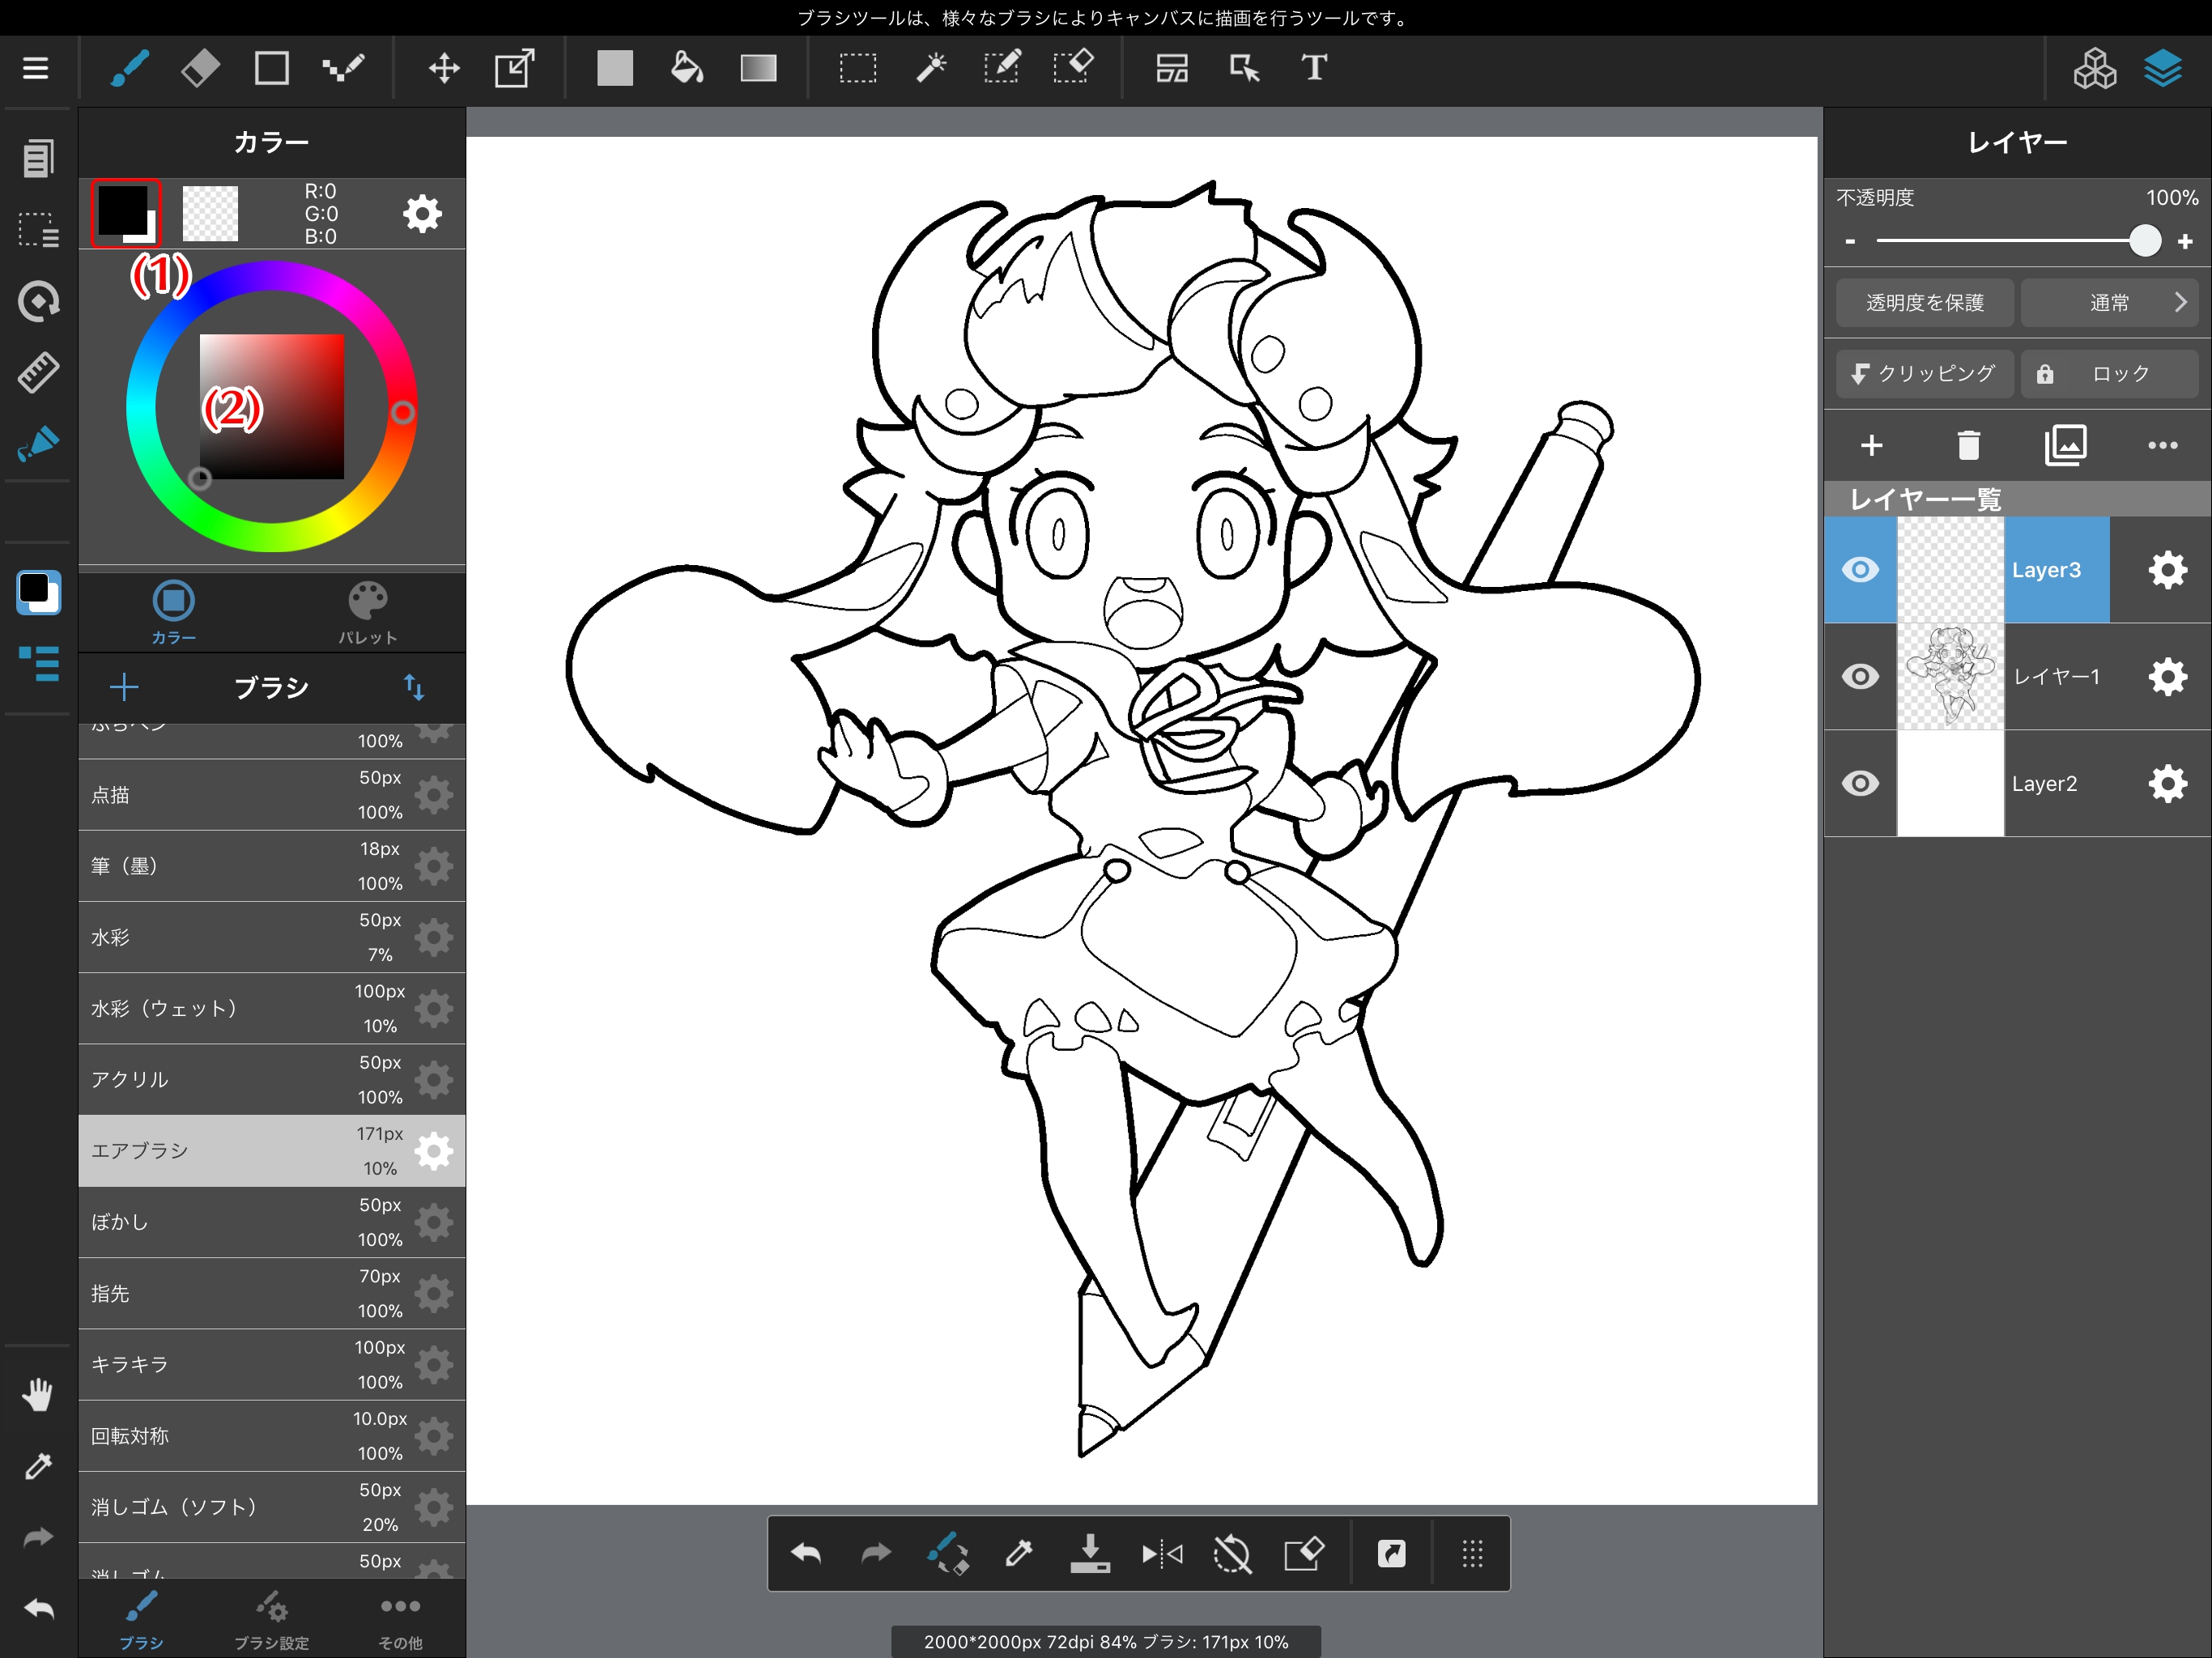
You can select the basic color with the tool marked (1), known as the Hue Ring, and select the brightness of the color using the tool marked (2).
You can record any color in the Palette at the bottom of the Color Menu so that you can use it again later.


You can either click the + sign in the top left, or click on one of the grey sections of the palette to save your color.
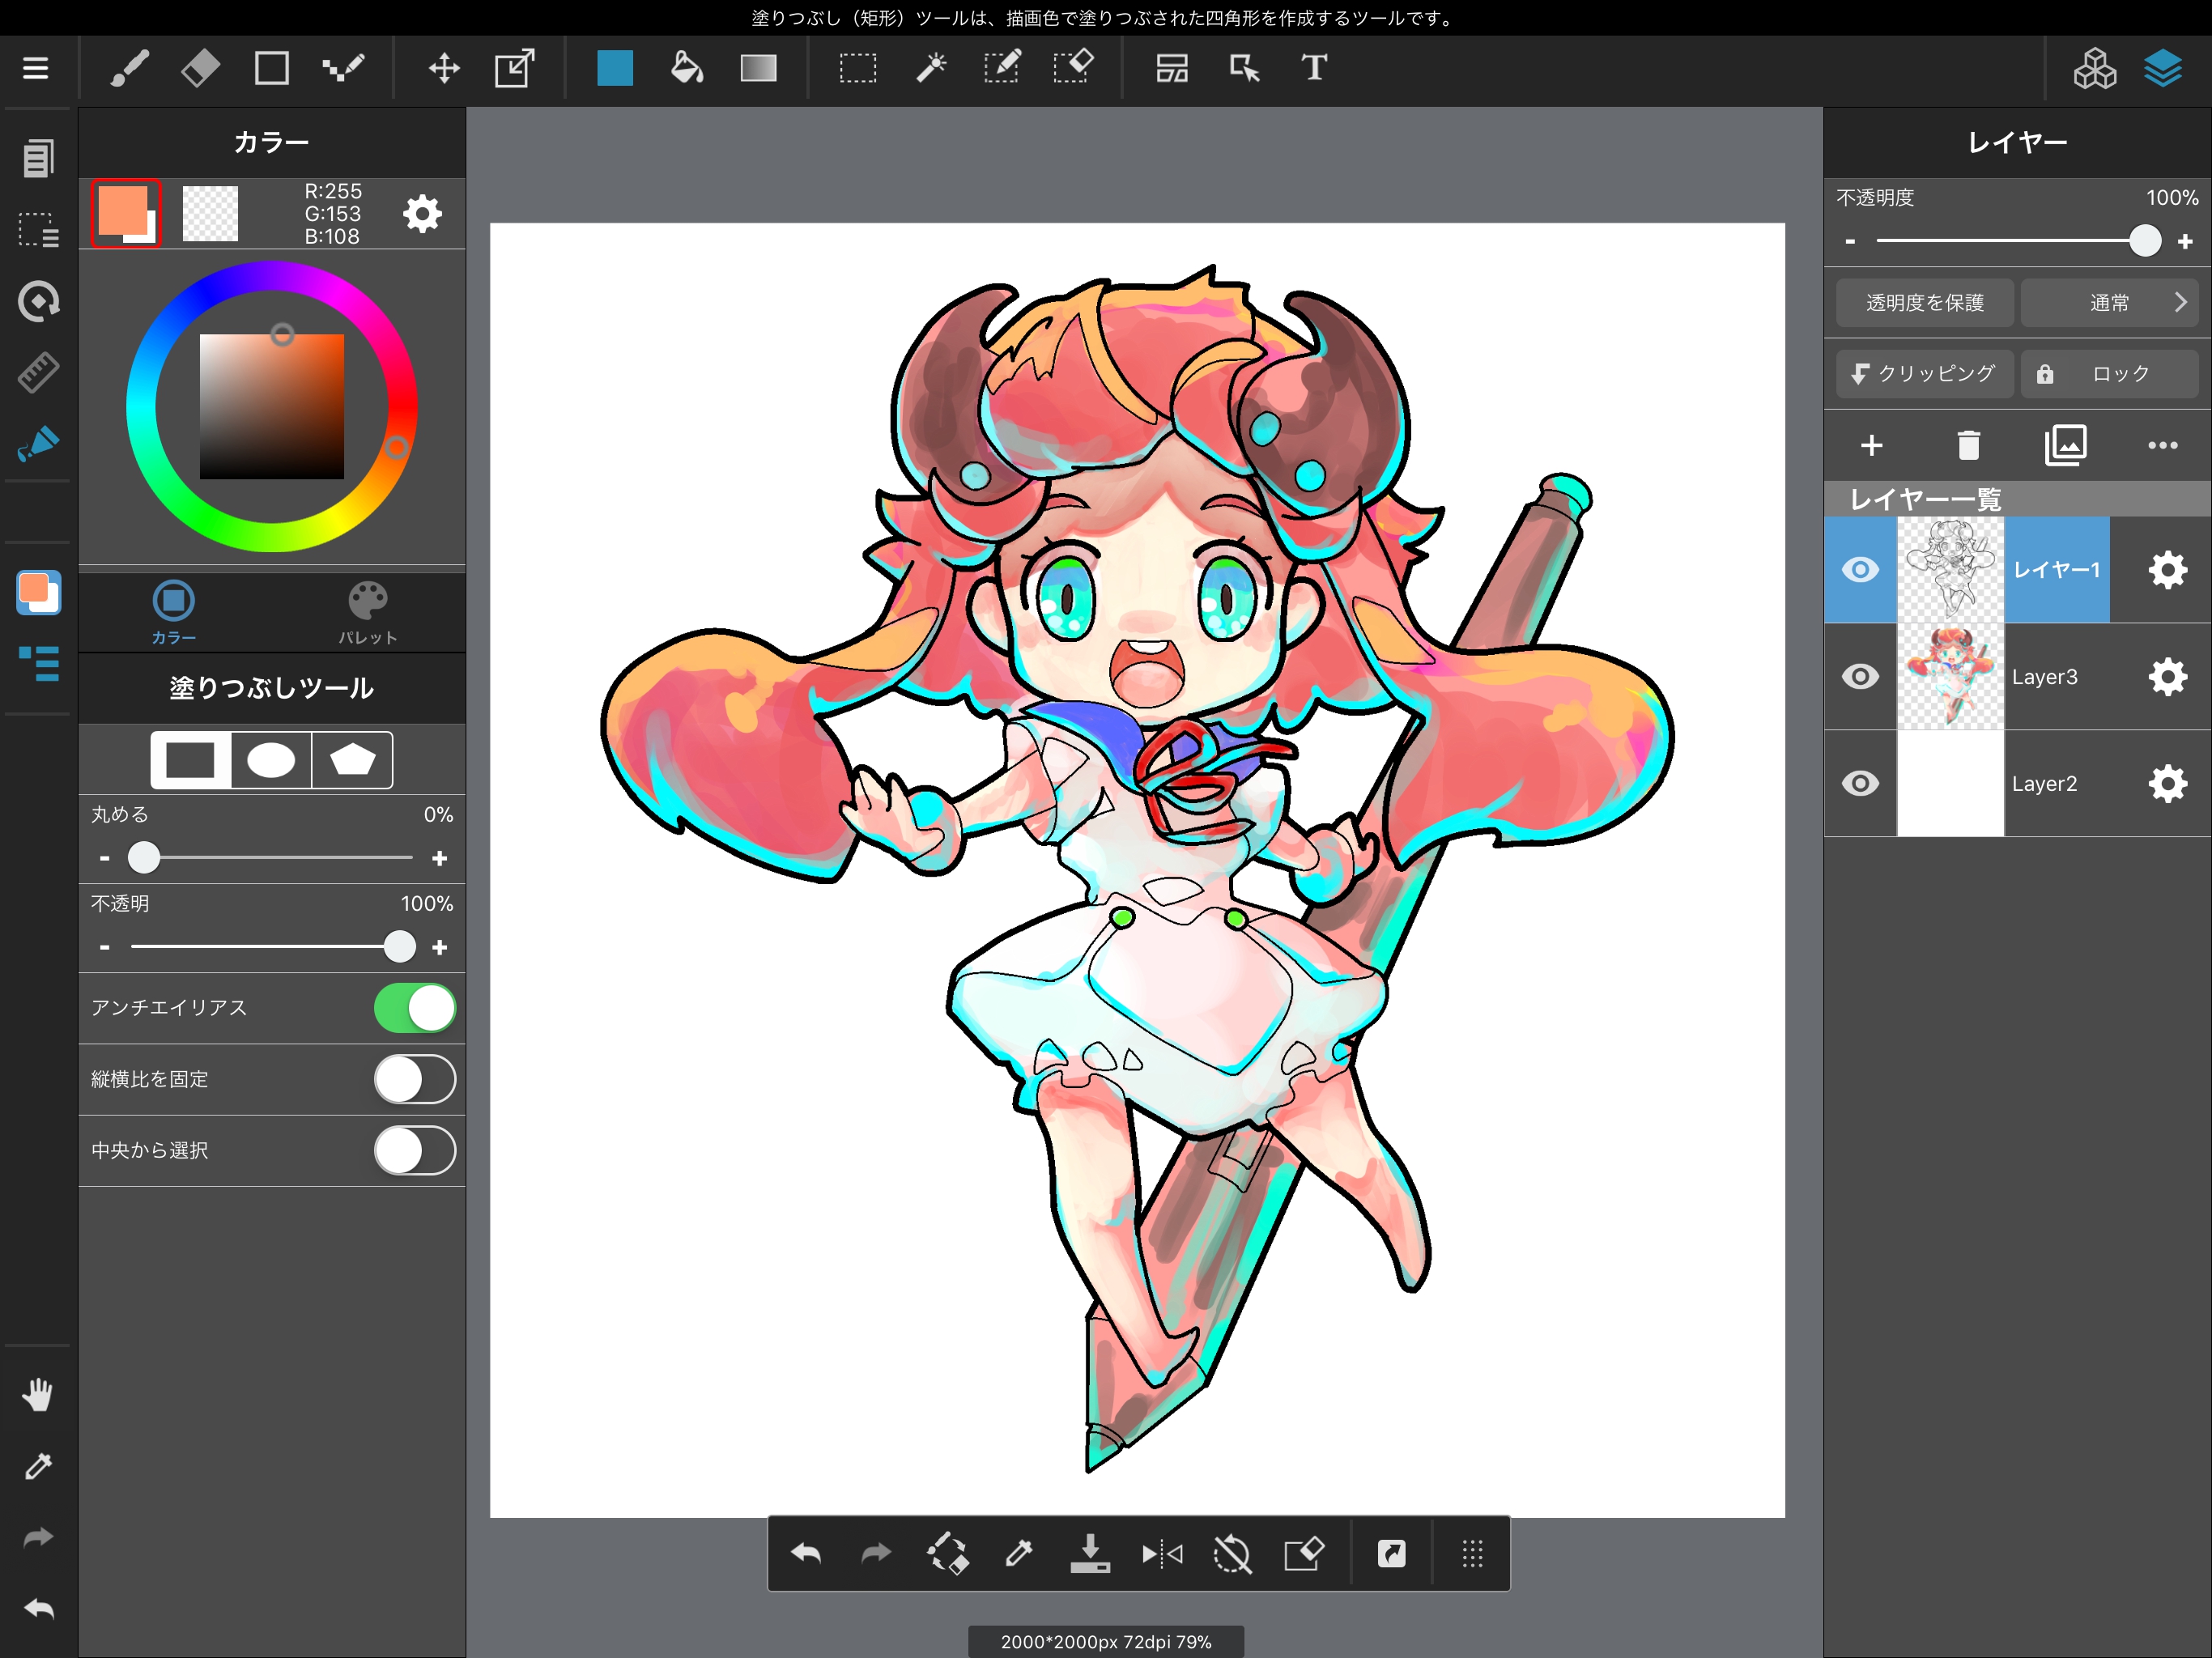
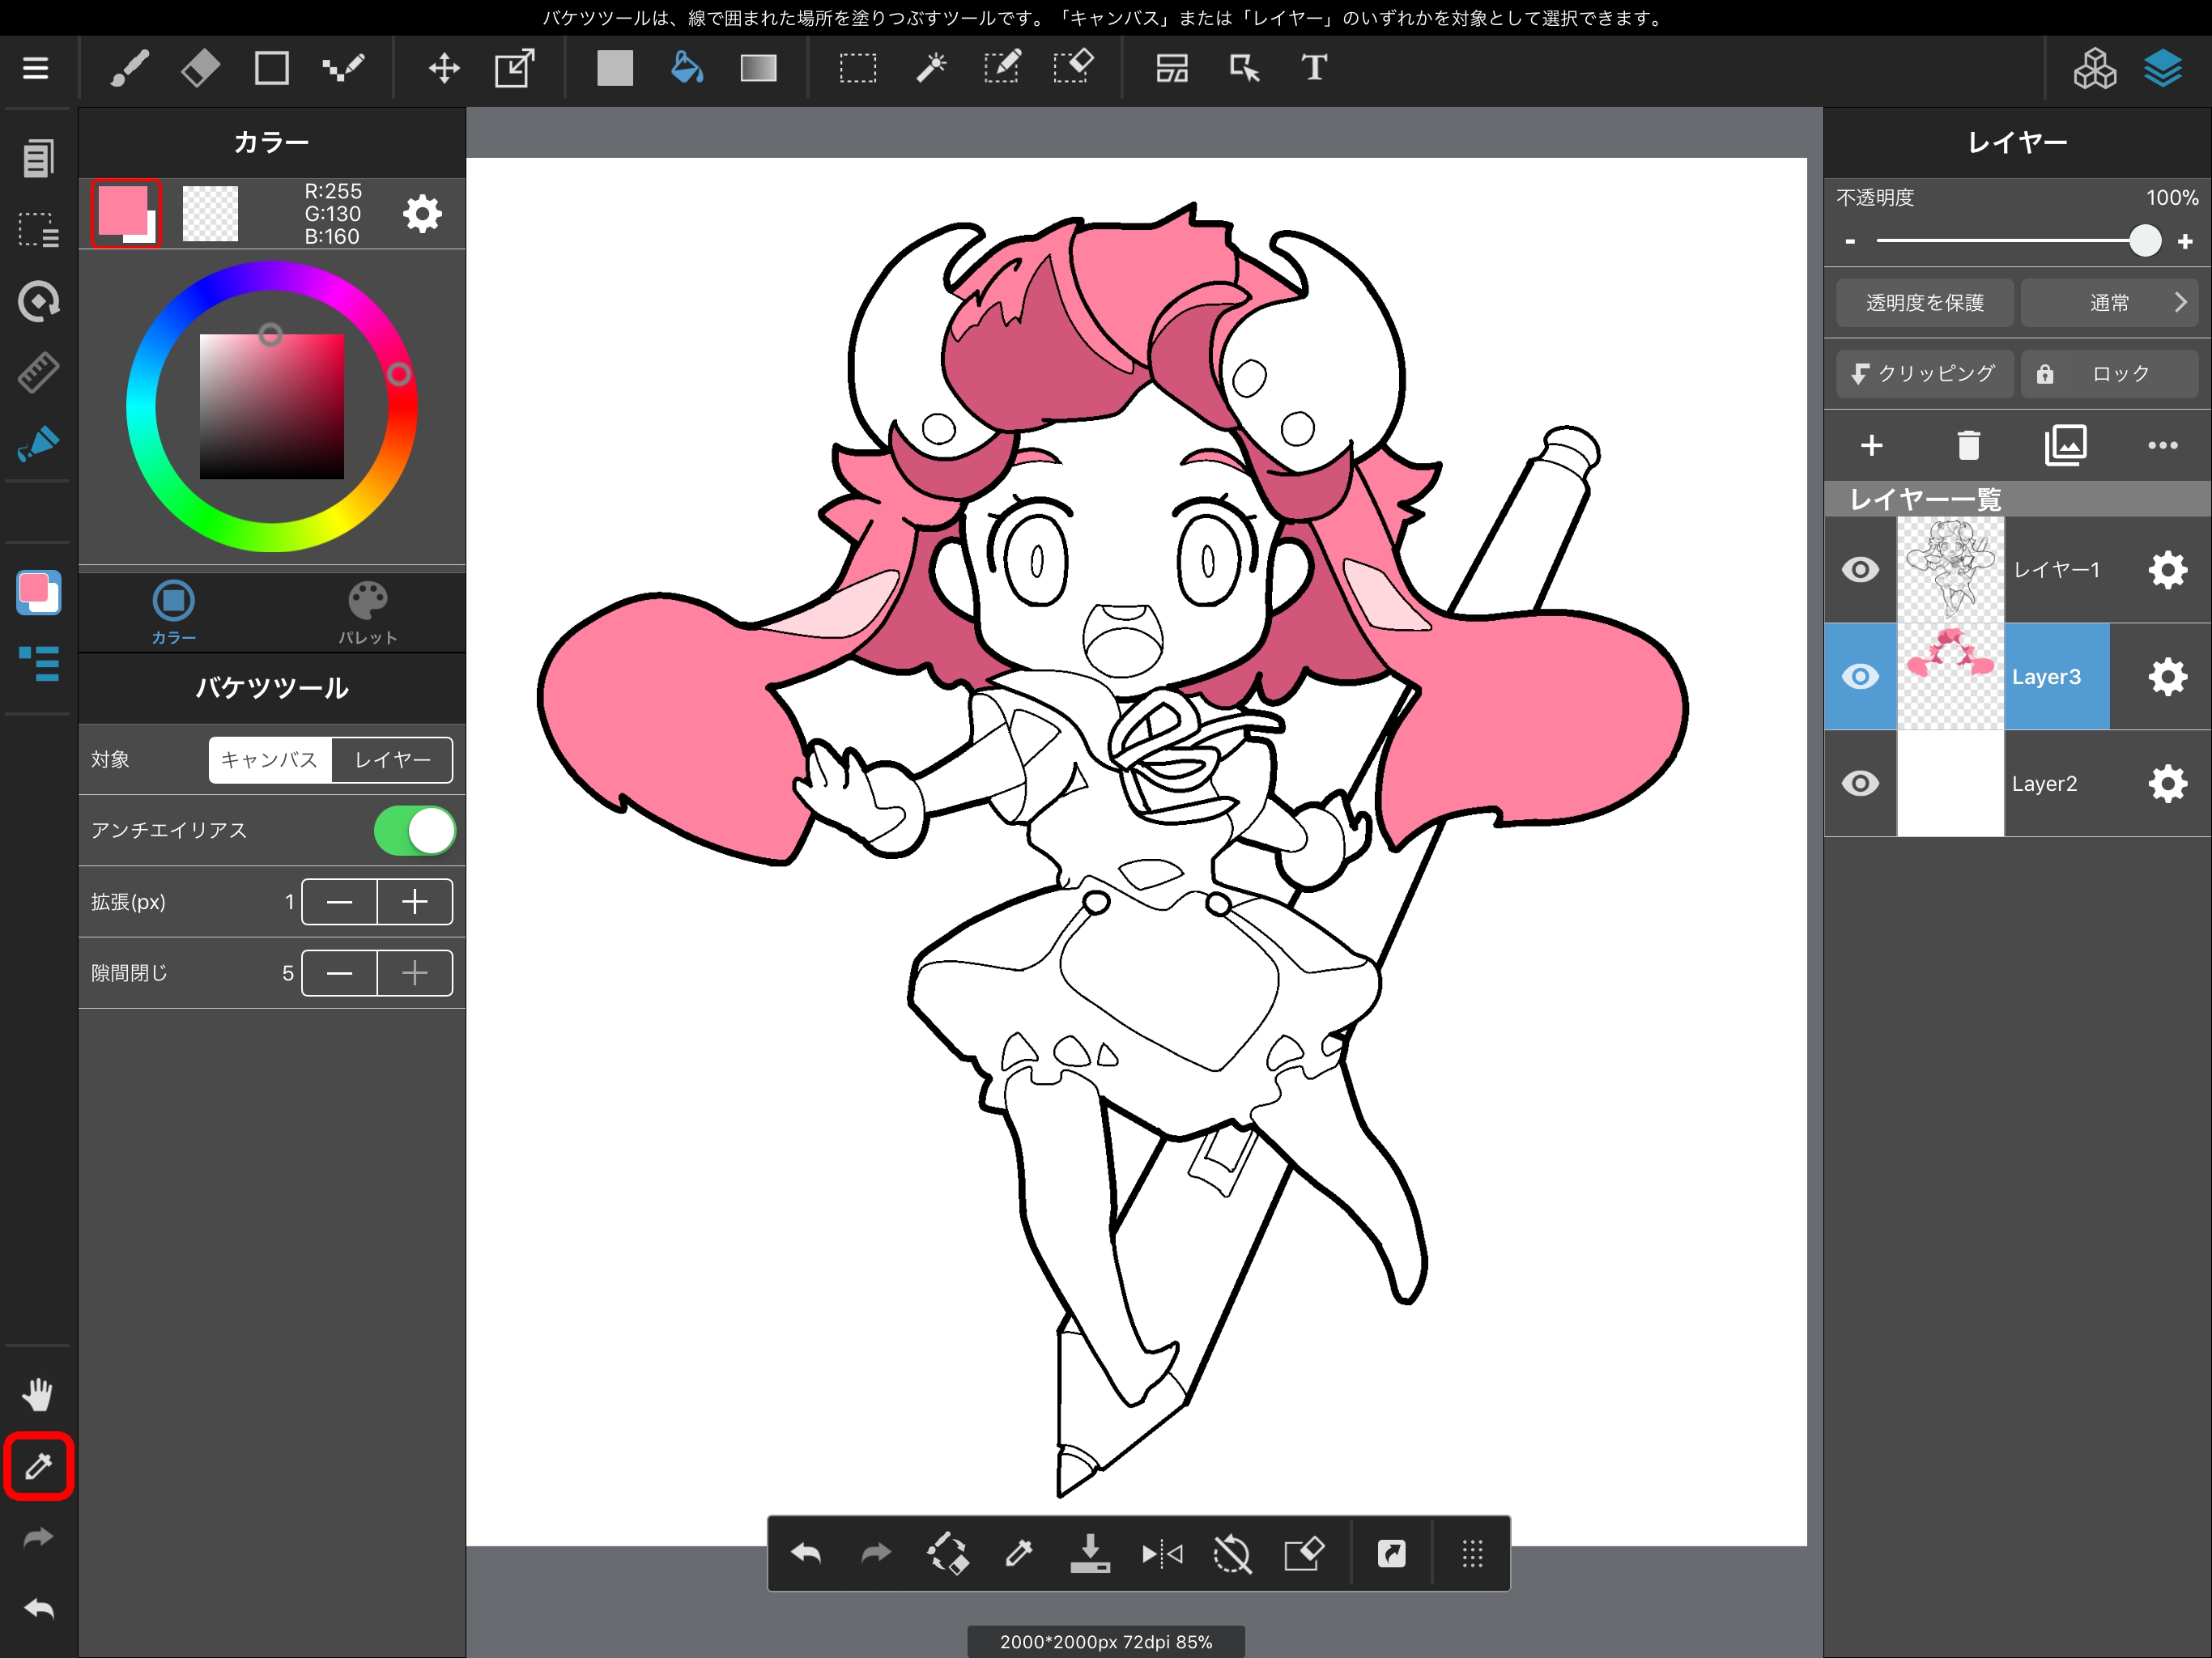
Now that we’ve decided on a color, let’s use the bucket tool to paint with it.
Ensure that your painting layer is beneath the line layer, then tap on the area you want to paint.
What happens next depends on your Bucket Tool settings. If you have the Target set as “Canvas,” the Bucket Tool will fill the line drawing when you tap.
If you have the Target set as “Layer,” the Bucket Tool will fill the layer, ignoring the line drawing.
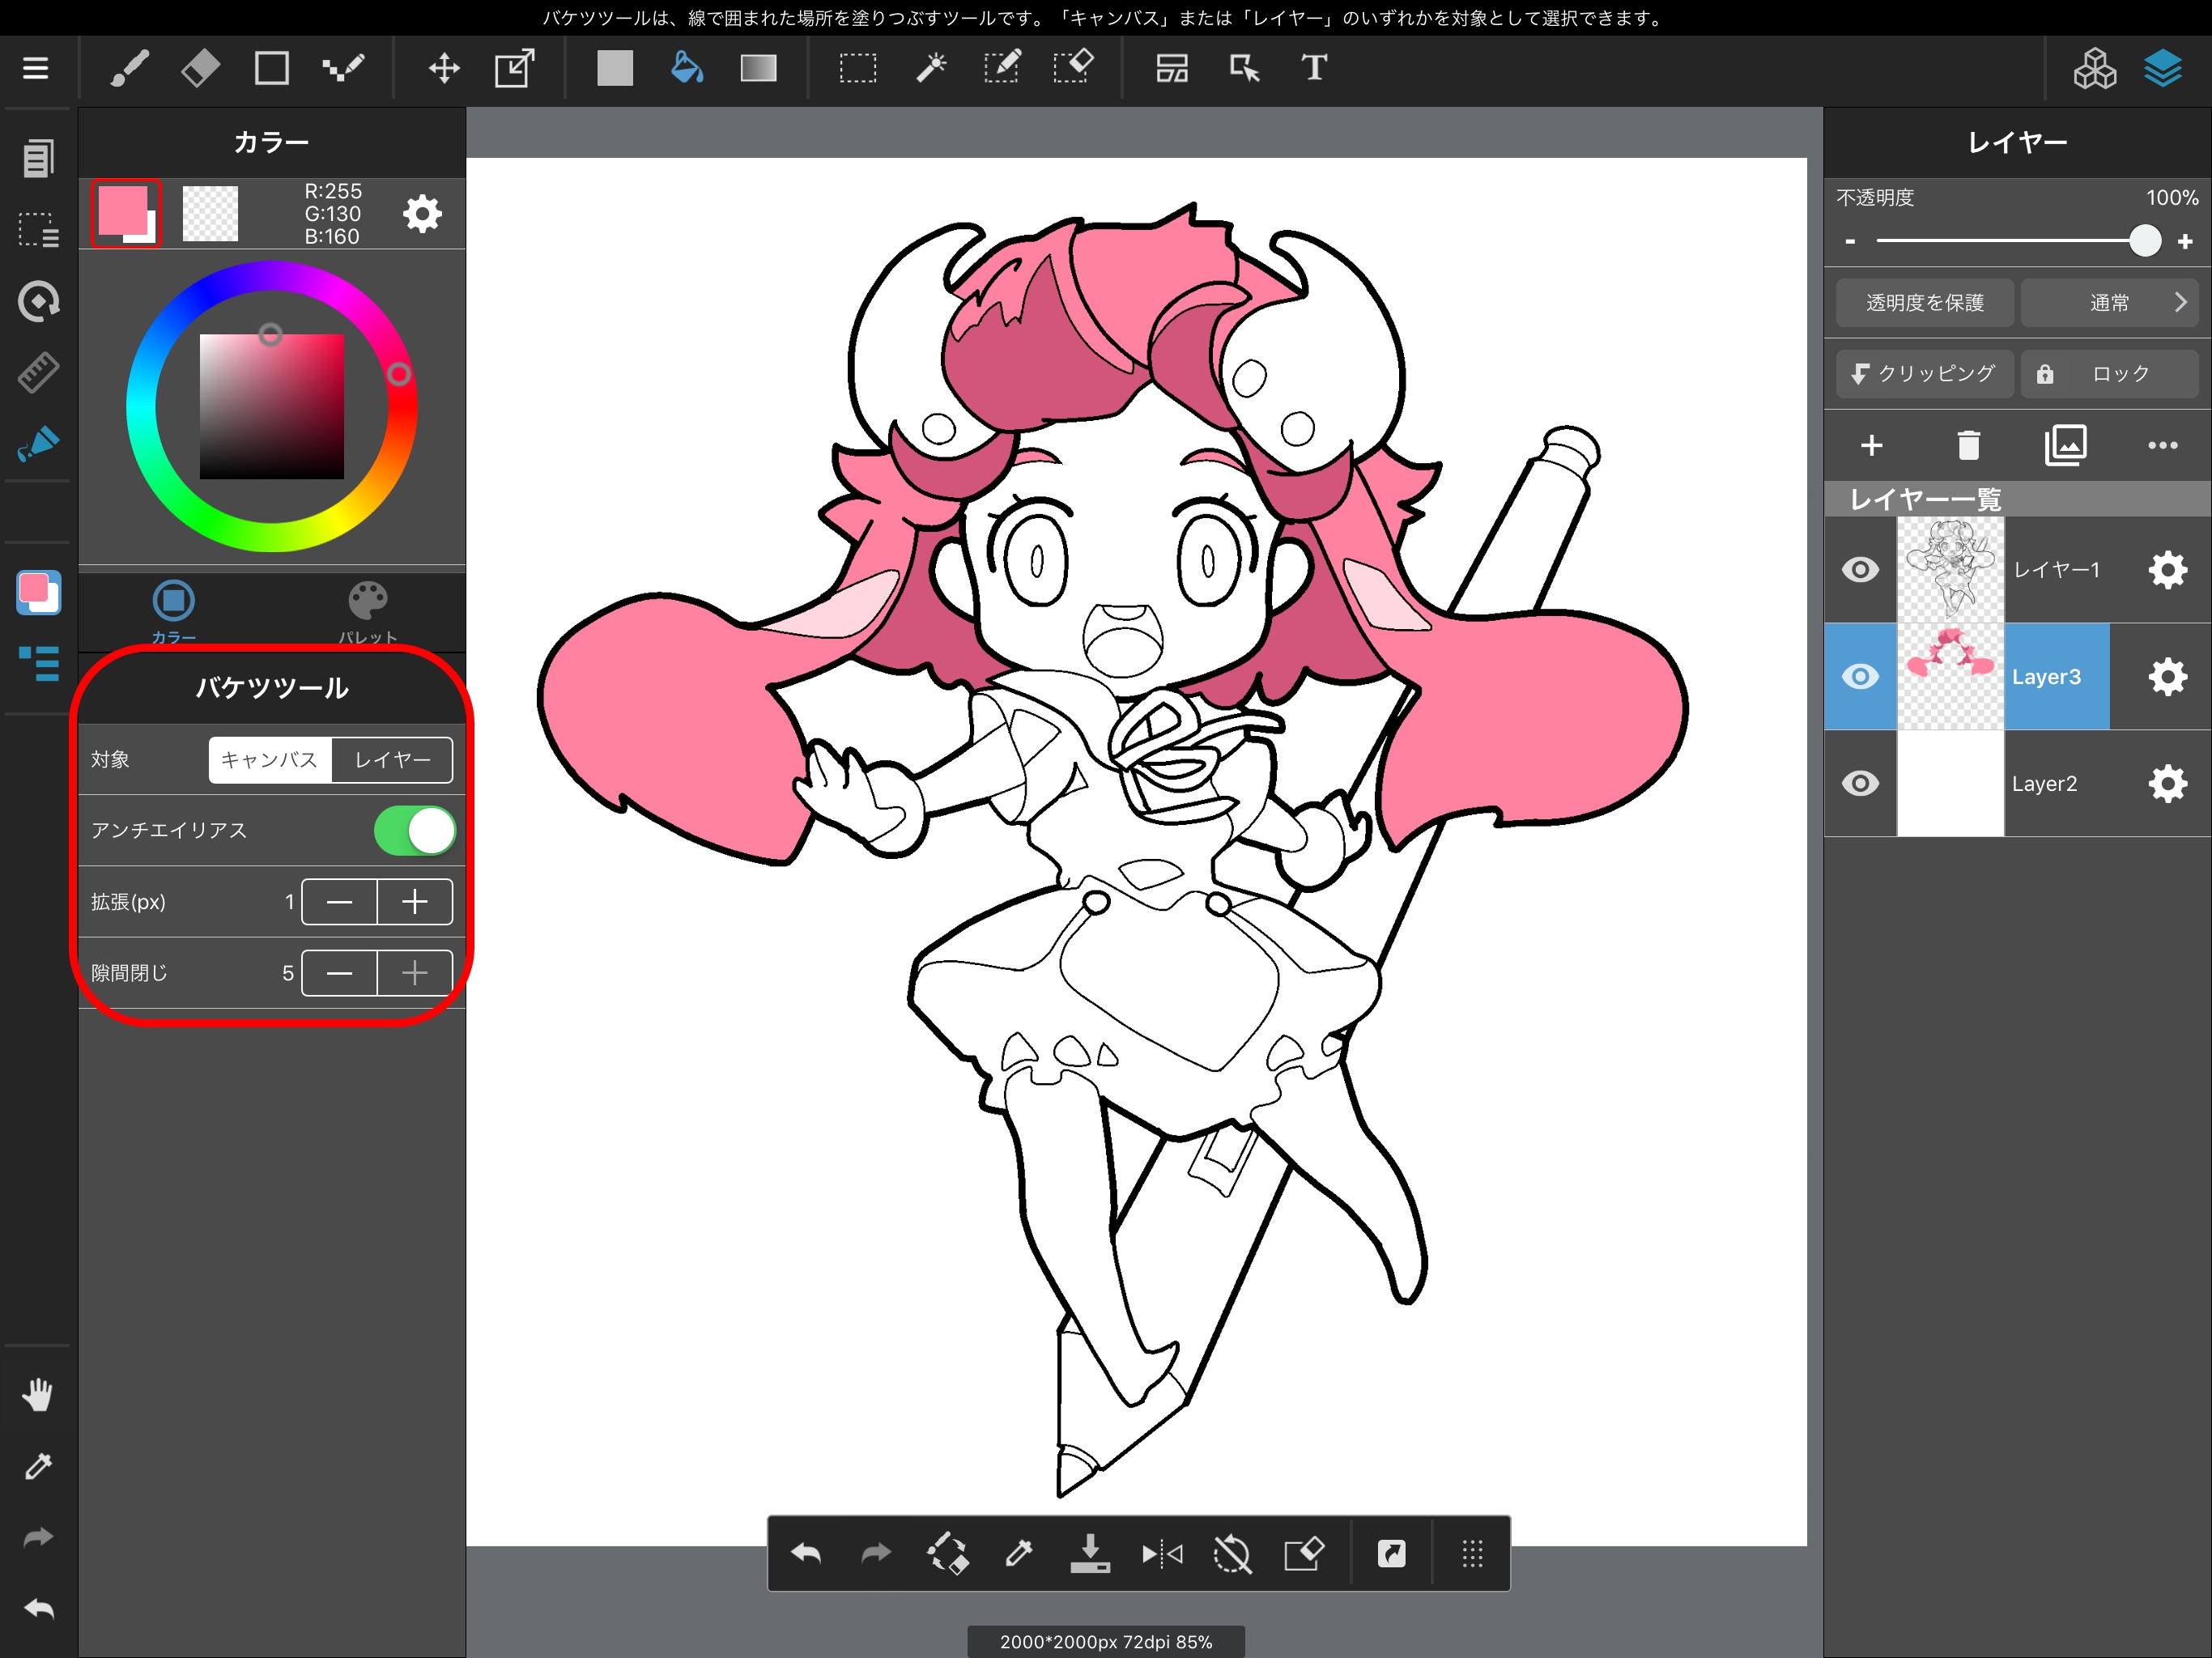
The Bucket Tool also features “Expand(px)” and “Close Gaps” functions. When applying anti-aliasing to your line drawing, gaps may form between your line drawing and bucket fill.
“Expand(px)” fills those gaps.
“Close Gaps” fills without the fill reaching out of small gaps in the line drawing.
You can select from 5 strength levels for Close Gaps.
The Dropper Tool is found at the bottom left of the screen.
The Dropper Tool is used to select any color you like from the canvas you are currently working on.
讓你的創作更有特色
MediBang Paint全新服務,
MediBang Premium登場!
專用筆刷、素材無限使用、
MediBang
Paint全功能開放等,
我們準備了幫助創作的多樣特典。