In MediBang Paint, you can transform the drawing you draw later.
Expansion / reduction / rotation of the most basic transform is done from “Select” → “Transform” of the menu.
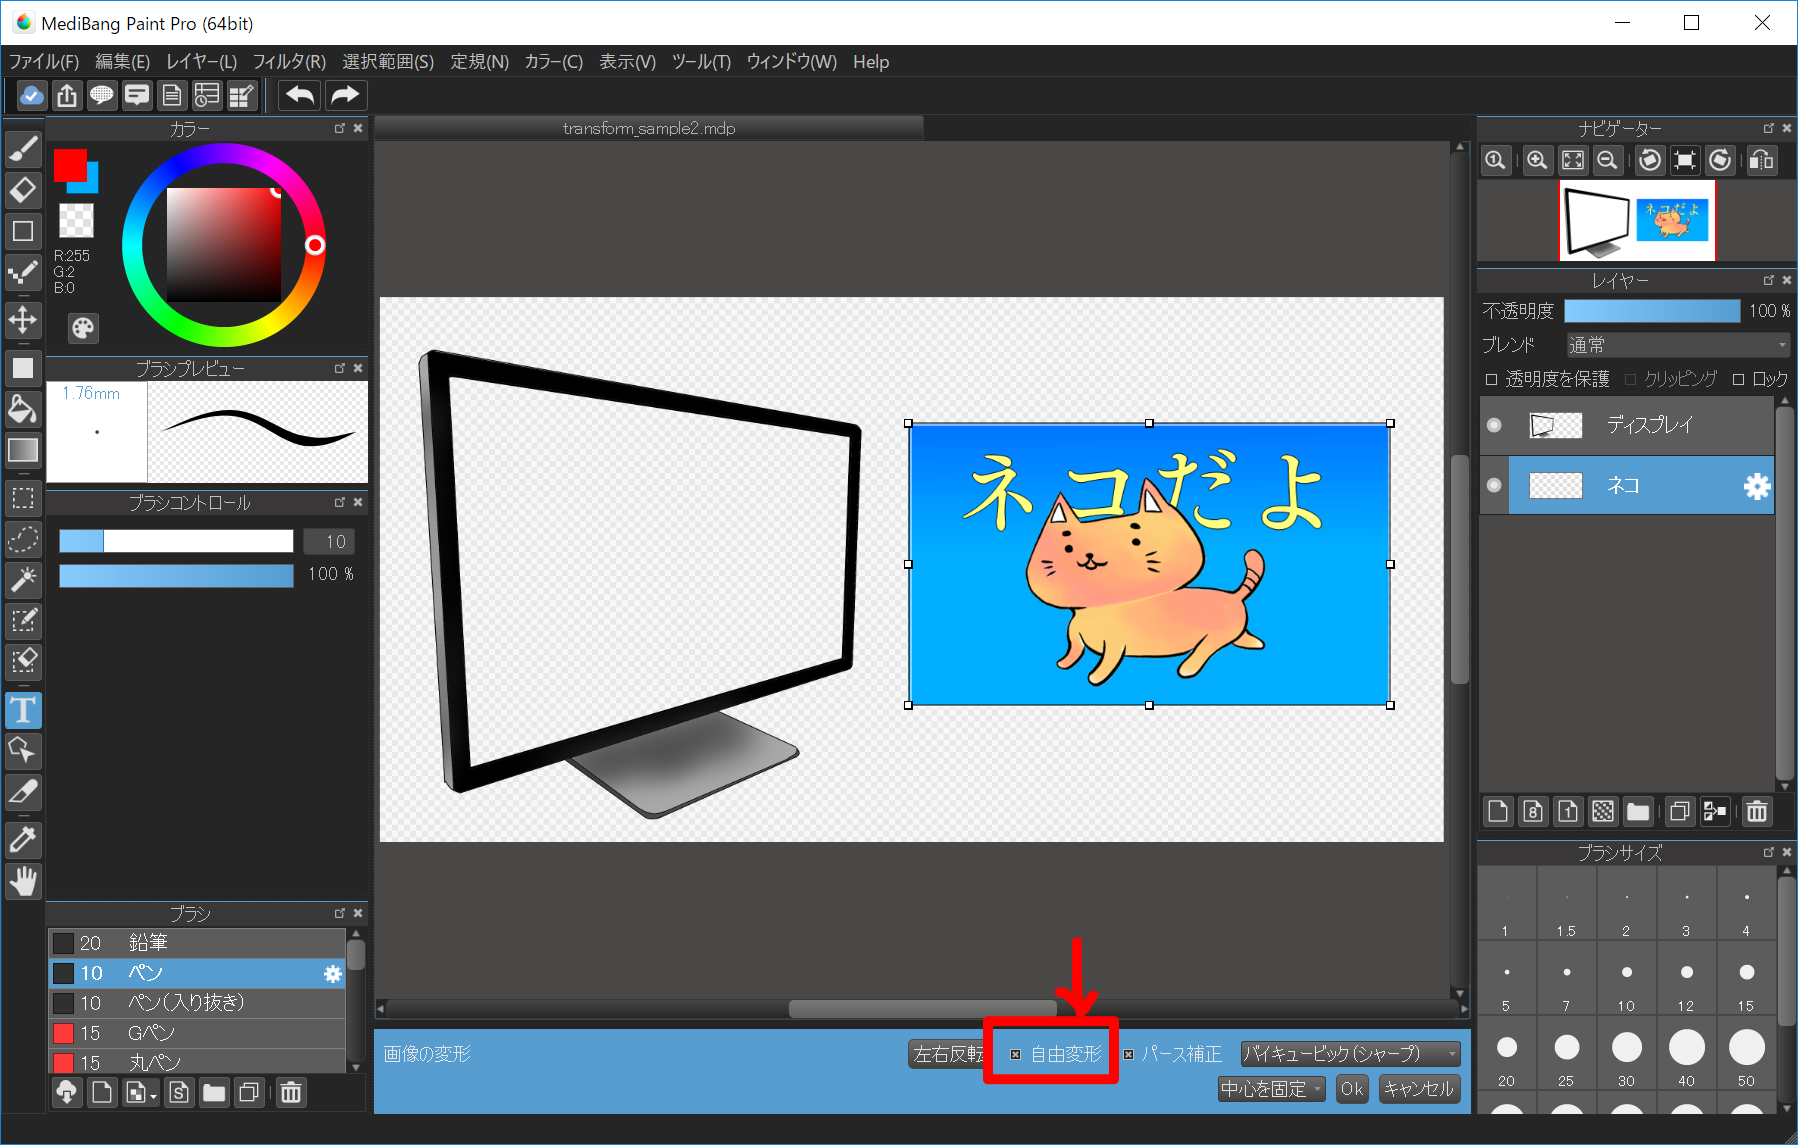
During transformation, a transformation toolbar is displayed at the bottom of the main window.

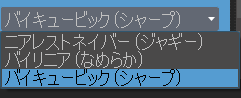
You can choose transform processing from the pull-down list at the far right of the transformation tool bar.
There are three kinds of deformation processing, the image after deformation becomes beautiful as going down.
Choose according to your taste.
First of all, download the sample and open it.
Next, select the “line(face)” layer and execute “Select” → “Transform” of the menu.
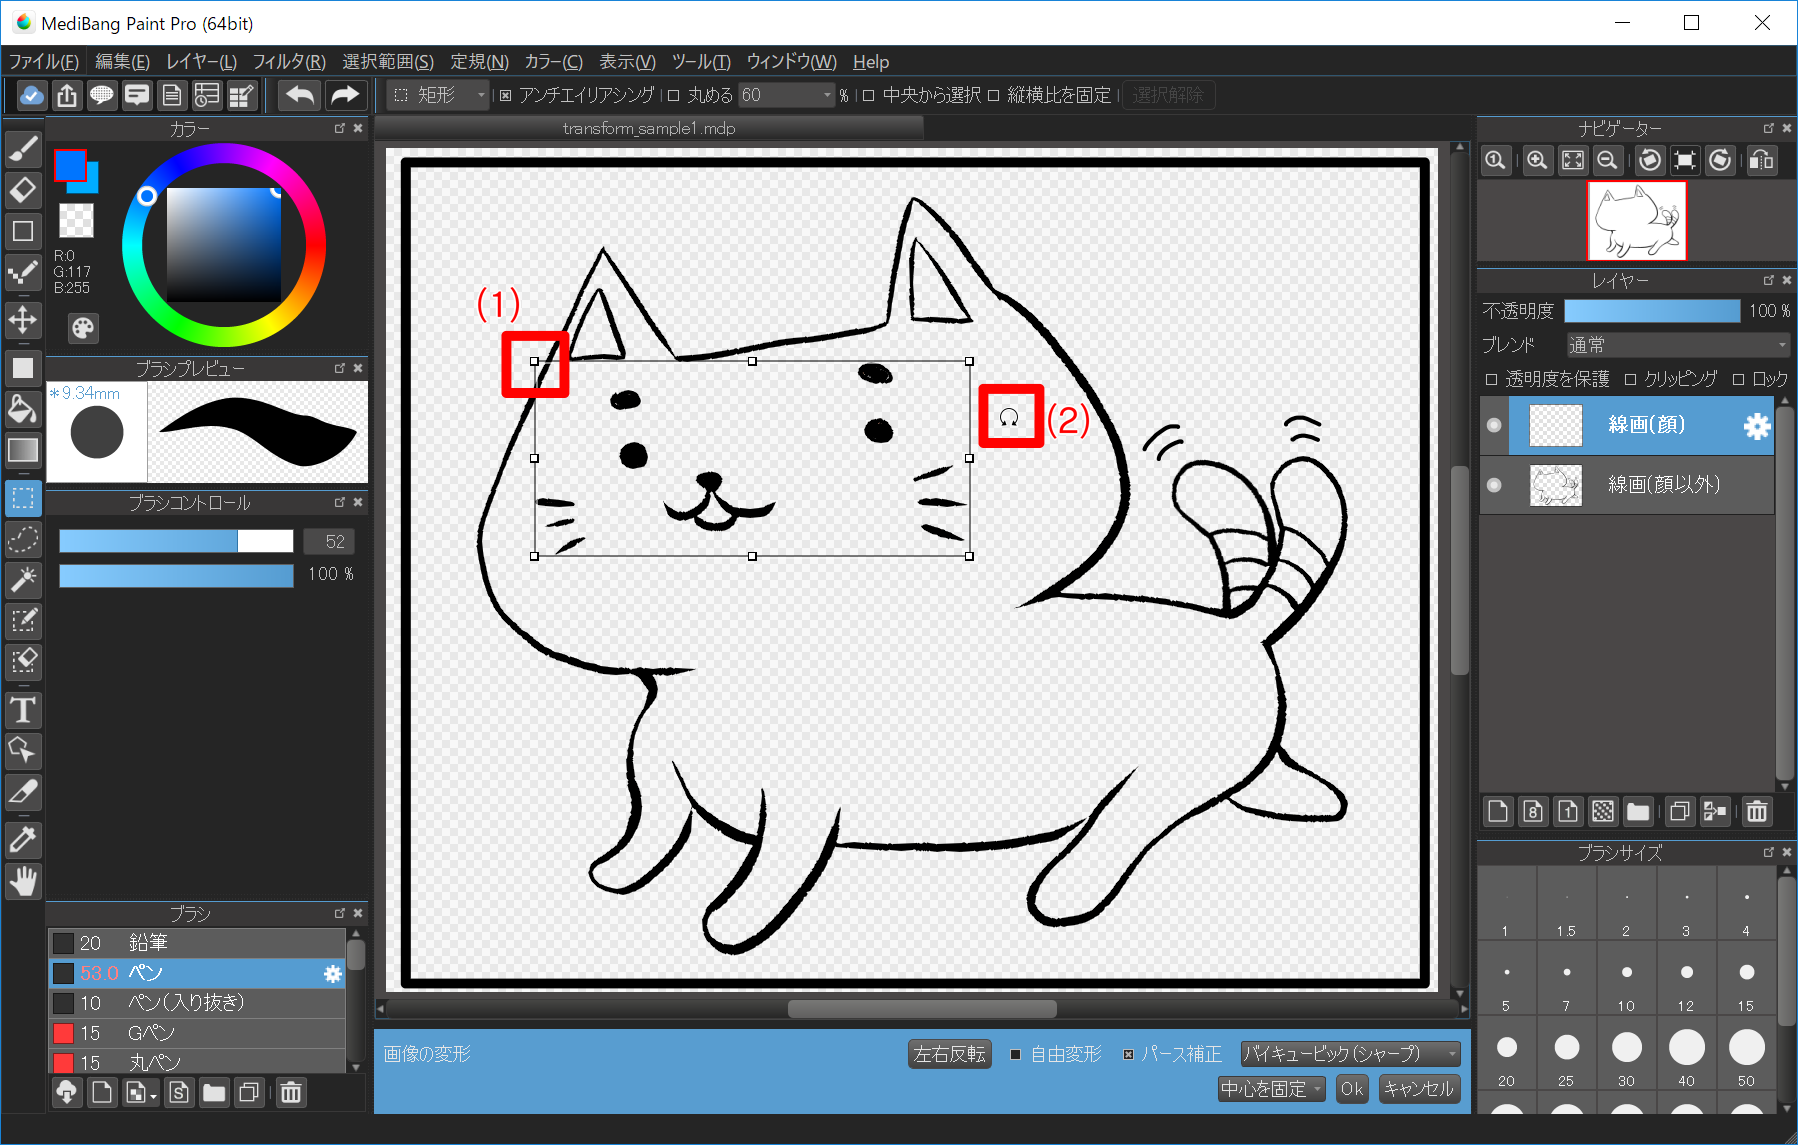
“Transform” is done by dragging “handle (1)” displayed around the image. To rotate, drag the area where the cursor on the outside of the steering wheel changes to (2).
Let’s try to enlarge the cat’s face, rotate it, and so on. When you like the deformation that you like, please press the “OK” button on the “Transform image” toolbar.
If you do not like Transformation and want to return to the state before Transformation, please press “Cancel”.
Next, I will explain “Free Transform”. Executing “Select” → “Transform” of the menu and checking “Free Transform” of the transformation tool bar makes “Free Transform” possible.
I think that “Free Transform” is easier to understand by actually manipulating it, so let’s download the sample and operate it.
First of all, download the sample and open it.
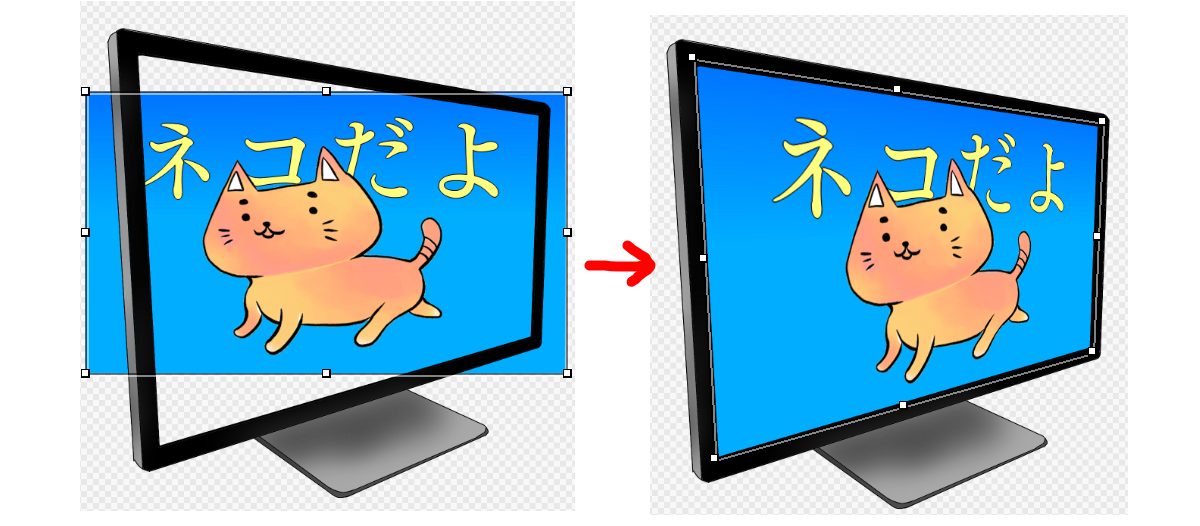
Next, select “cat” layer and execute “Select” → “Transform” of the menu.
Let’s check the “Free Transform” and let’s fit the image of the cat into the display.
Let’s change the check of “Perspective” and check the difference.
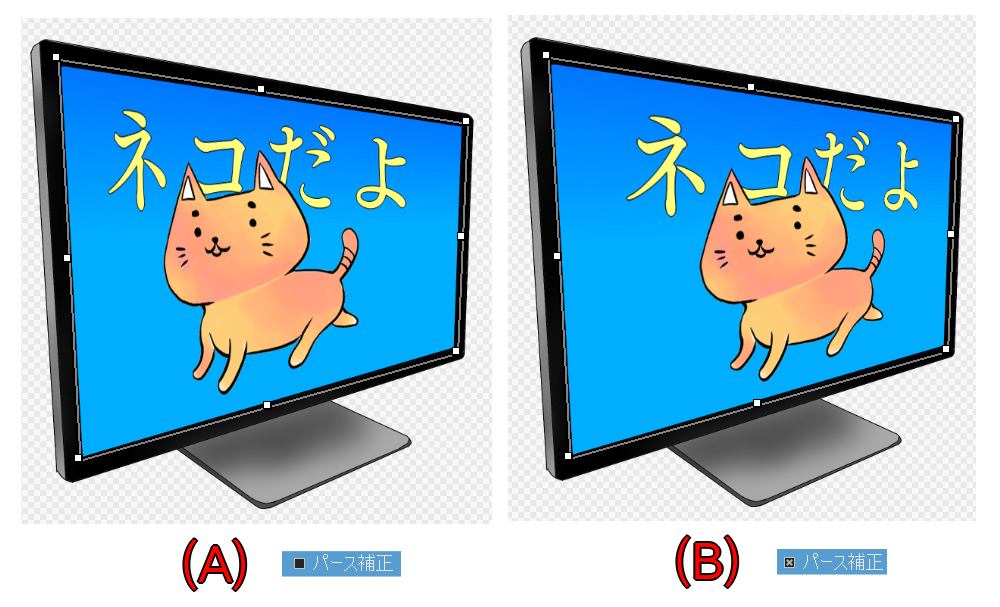
Since there is a depth in the display in this sample, it seems natural to freely deform with “Perspective” checked.
When you can deform well, please push the “OK” button on the “Transform Image” toolbar.
In accordance with the picture being drawn, let’s properly use the “Perspective” check appropriately.
Please switch on/off check of “Perspective” during deformation, please use one with less discomfort.
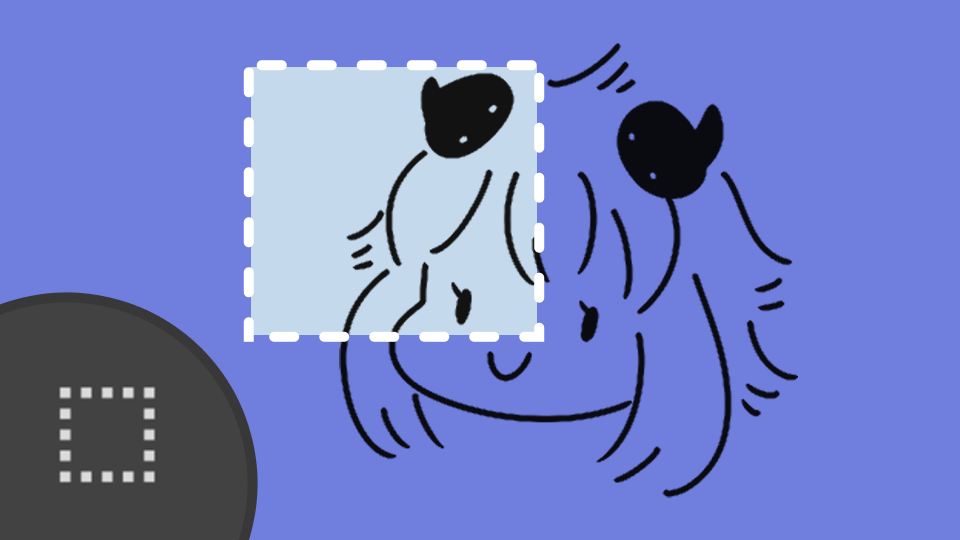
Using “Mesh Transform”, you can distort a part of the screen.
For details click here.
First of all, download the sample and open it.
Let’s transform the sample “cat tea” layer mesh and put it on the picture of “can” layer.
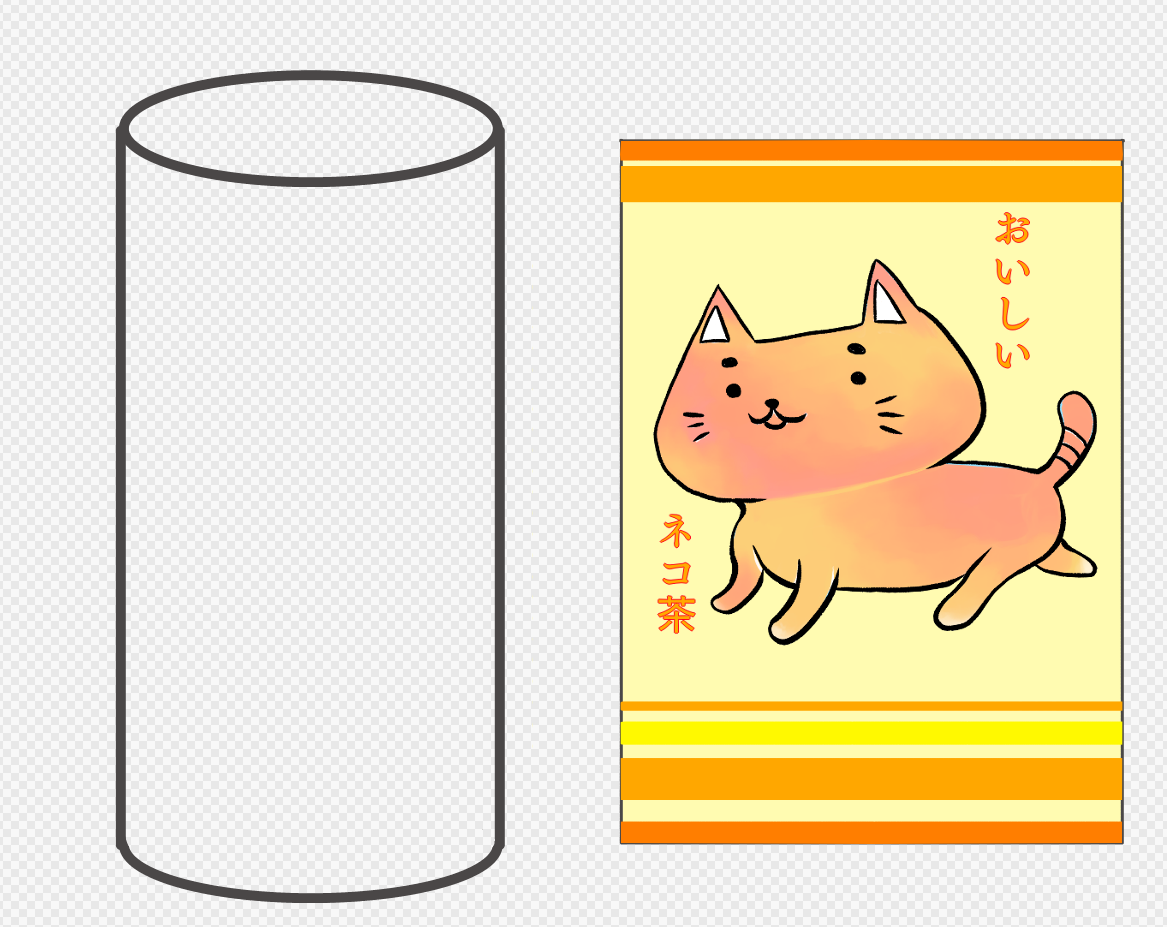
Select the “cat tea” layer and move it from the “Select” of the menu to “Mesh Transform” and move it on the can.
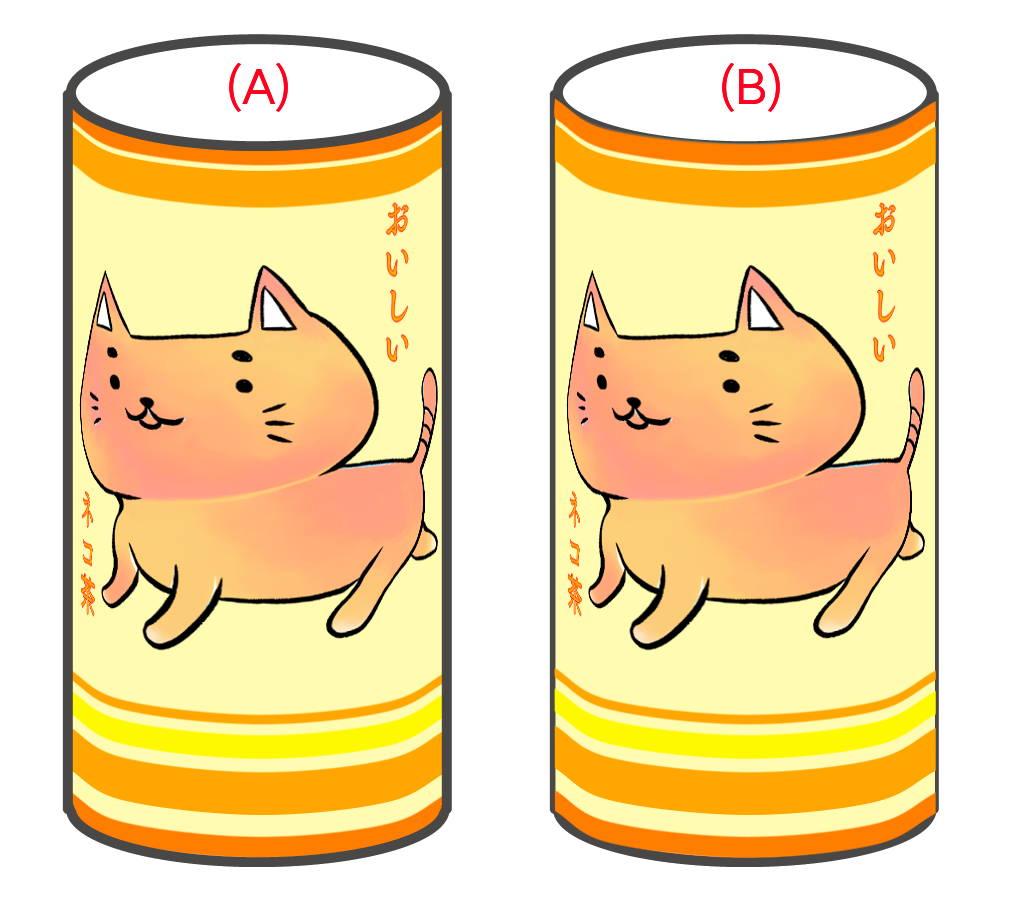
Later, let’s deform it according to the shape of the can. (Check it “Vertical Link” to make it easier.)
If you can not see the can draft and it is difficult to deform, temporarily try to reduce the opacity of the “cat tea” layer, or move the “can” layer above the “cat tea” layer.
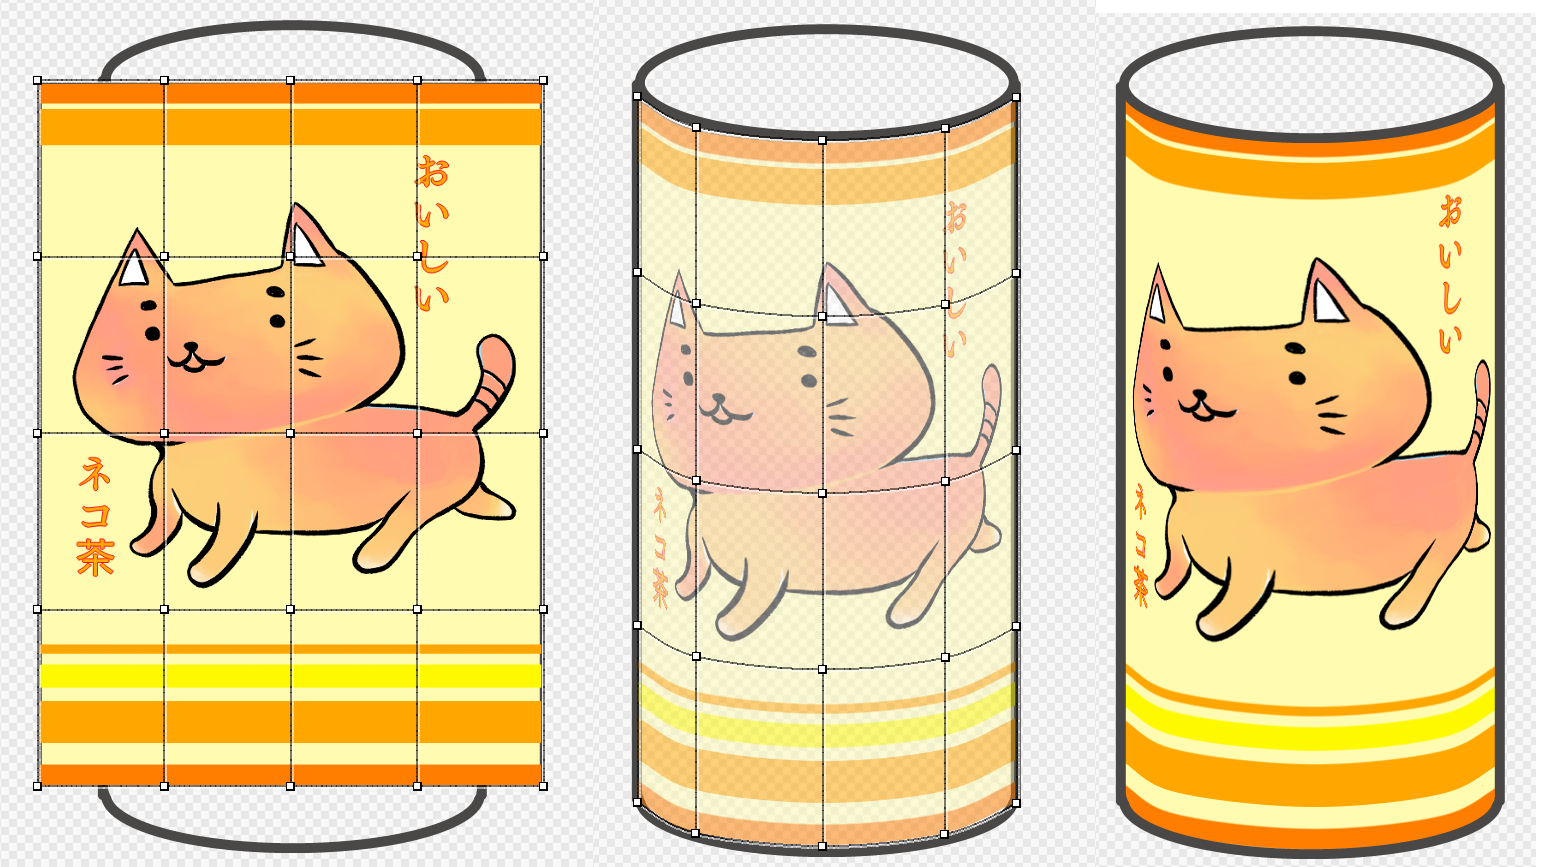
In the sample, we are daringly putting the “cat tea” layer on the “can” layer, but unless there is special circumstance, it is better to have the “can” layer (line drawing) on the “cat tea” layer (paint) It will be better.
讓你的創作更有特色
MediBang Paint全新服務,
MediBang Premium登場!
專用筆刷、素材無限使用、
MediBang
Paint全功能開放等,
我們準備了幫助創作的多樣特典。