2020.03.20
The Rule of Concentrated Linework! How to draw water splashes with a Japanese brush
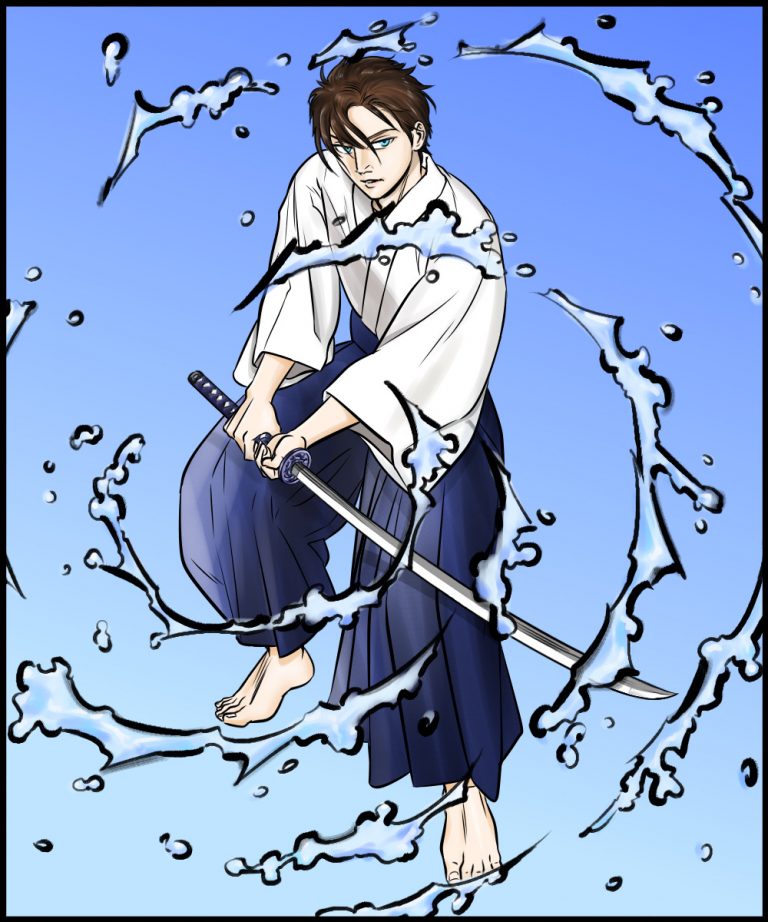
Wouldn’t it be cool if you could add splashes to people and sea illustrations?
Unfortunately, they are surprisingly difficult to draw.
So this time, I will show you how you can easily draw splashes!
You can also add a Japanese touch to other illustrations, so it will come in handy someday!
1.The Rule of Concentrated Linework
Before drawing a splash, I will first introduce a rule that makes the screen feel much tighter when you look at the whole picture.
It is “the Rule of Concentrated Linework.”
I think everyone has seen the concentrated linework used in comics, etc. at least once.
It has the effect of directing the reader’s eyes to a certain area that needs emphasis.
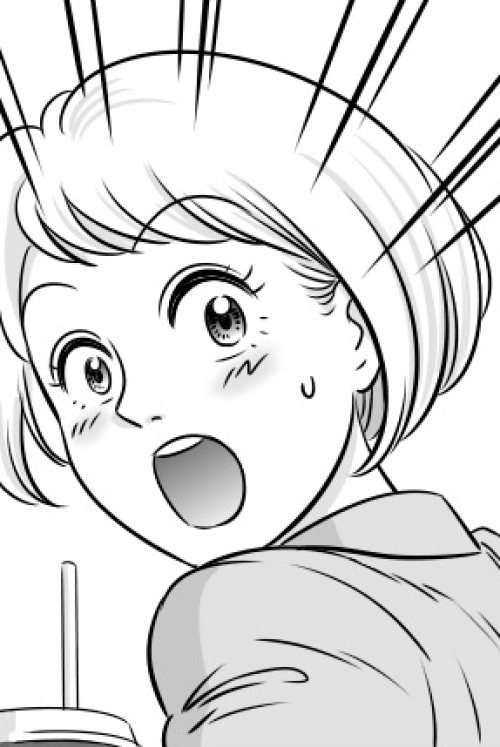
In fact, this rule is also used on illustrations and paintings without outlines!
The effect of the concentrated linework is achieved by the background and the shape of the blank spaces.
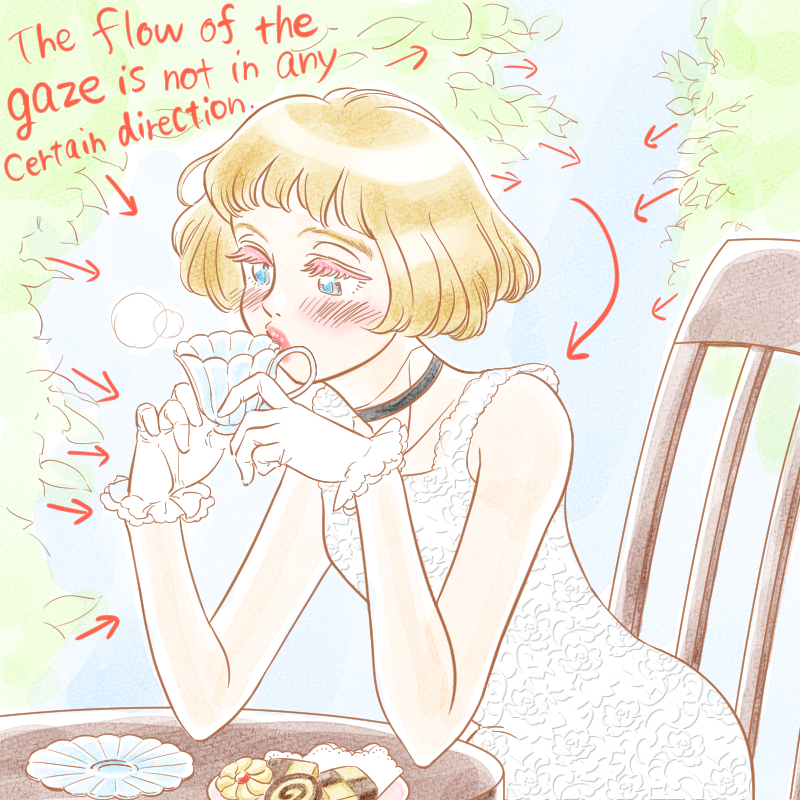
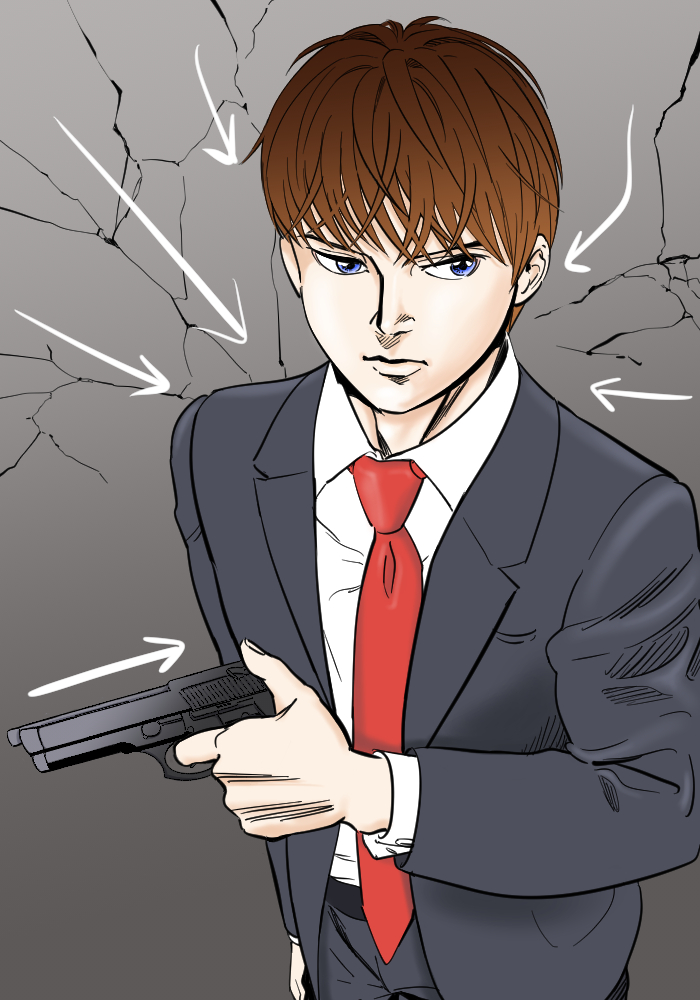
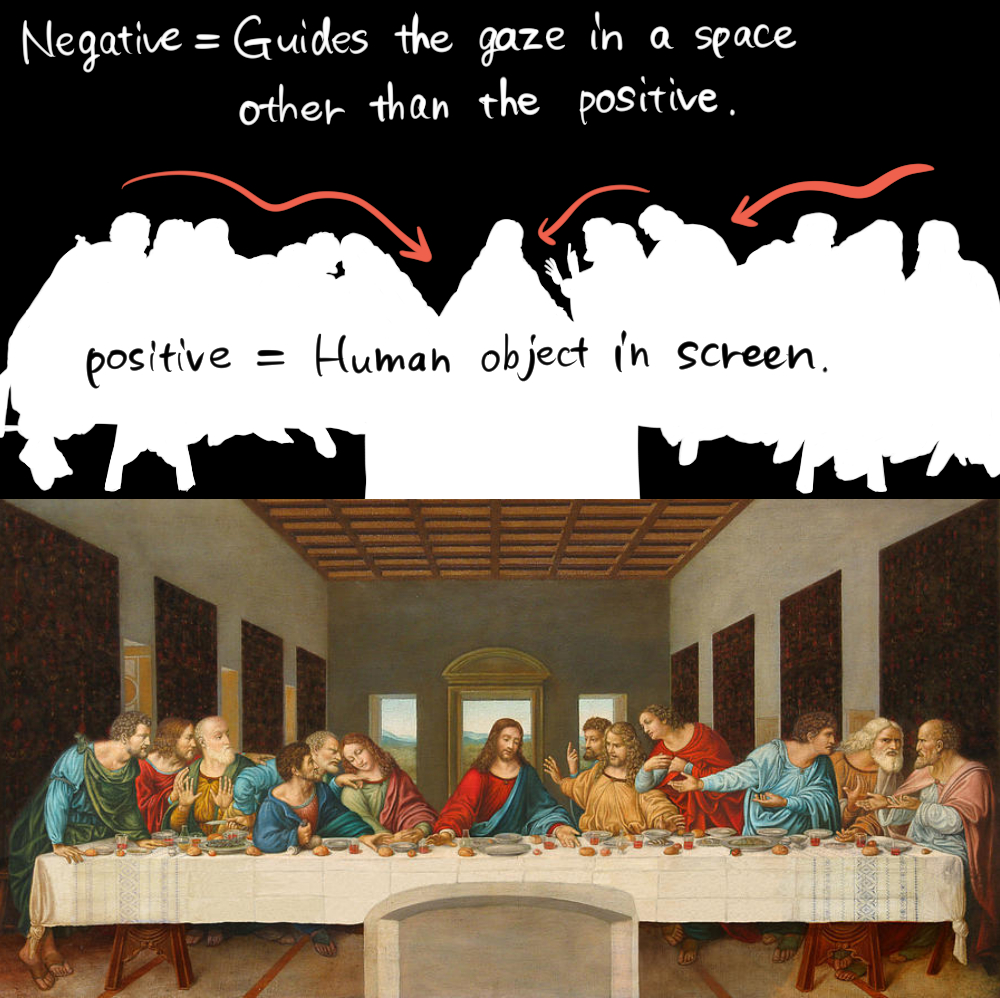
If you are having trouble drawing a splash, try following this rule.
Since the splash also creates a concentrated linework, it’s like killing two birds with one stone.
2. Prepare an illustration
Let’s get into the main topic.
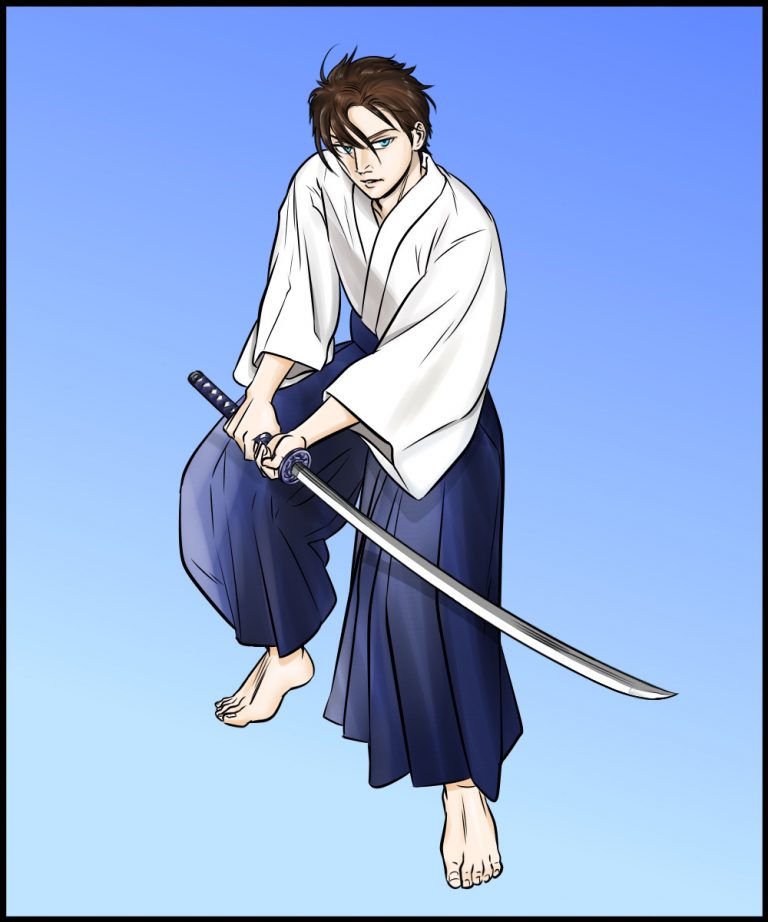
Prepare an illustration of a person or a boat that you want to draw splashes on.
If there isn’t, start with the image of a splash heading towards the center of the screen.
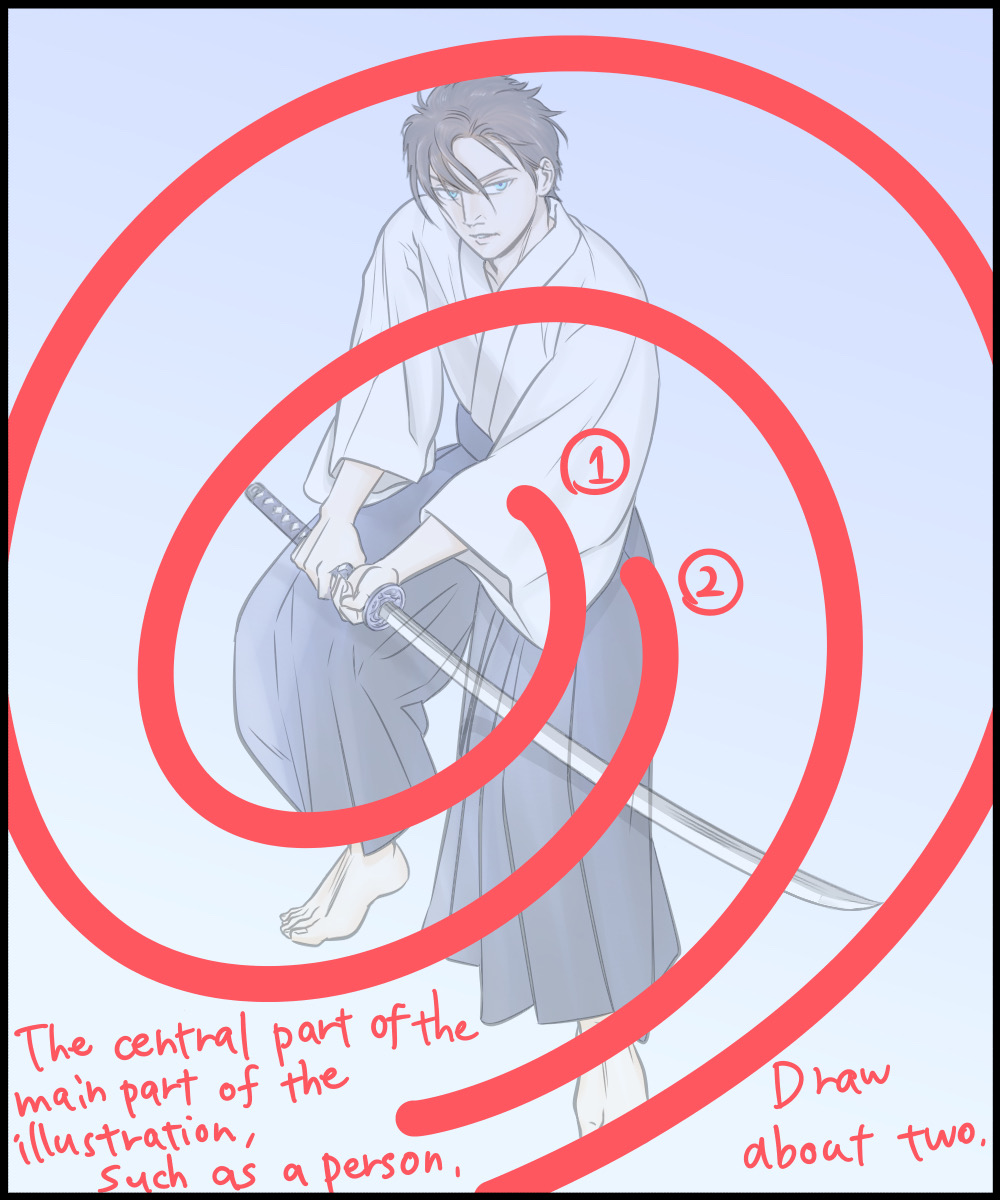
3. Guide line①
Draw a spiral guide line on the new layer with the pen tool as shown.
Any color that can be easily spotted is OK.
Use the area you want to emphasize as the center point.
It is easier to work by hiding the illustration at 2. or lowering the transparency.
4.Guide line ① in dashed line
Use the eraser tool and erase some places on 3. so that the line becomes a broken line.
An important point is that the length of the remaining lines is not uniform.
The part where the splash starts and ends is as shown in the figure.
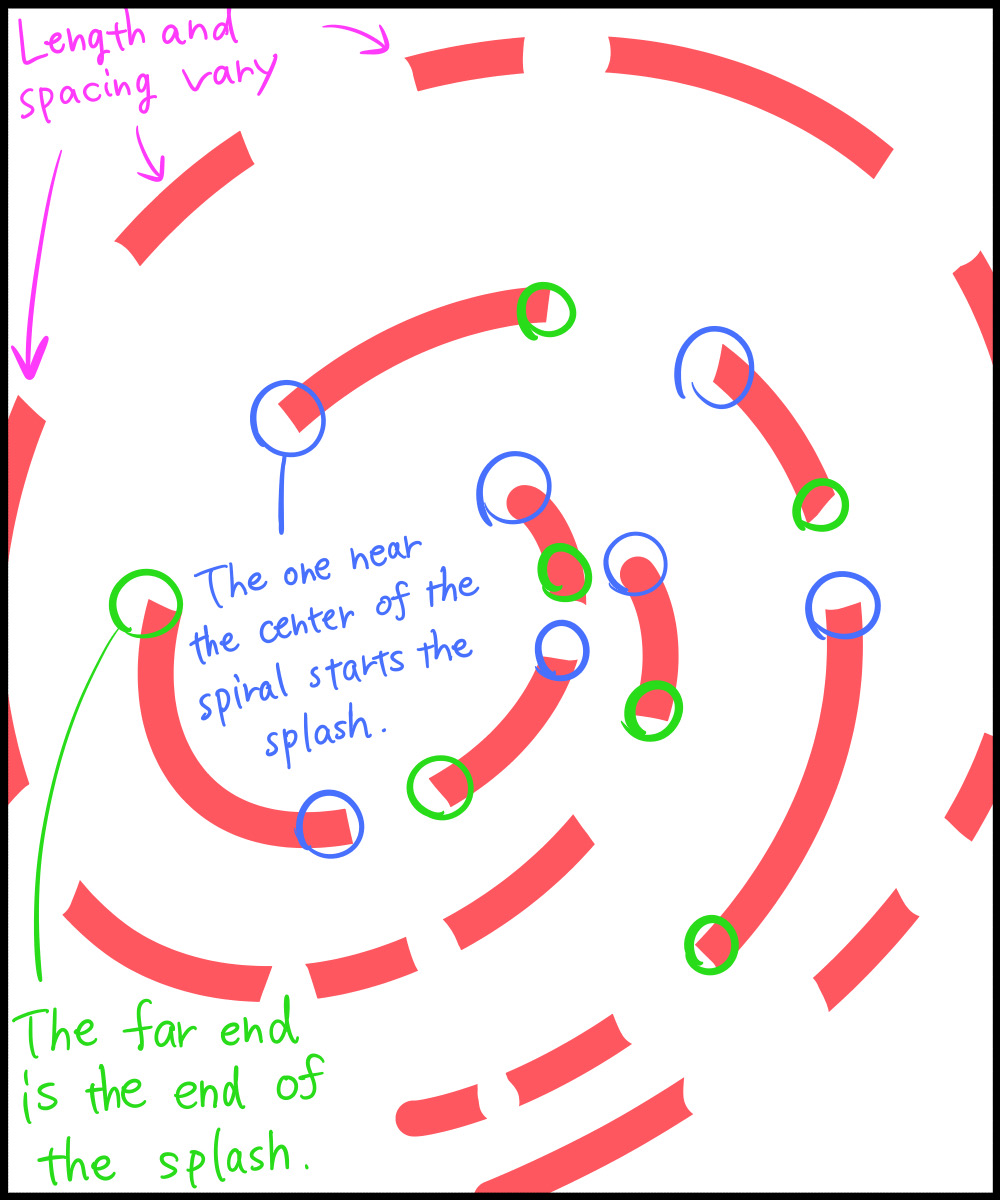
(The original illustration is hidden for clarity)
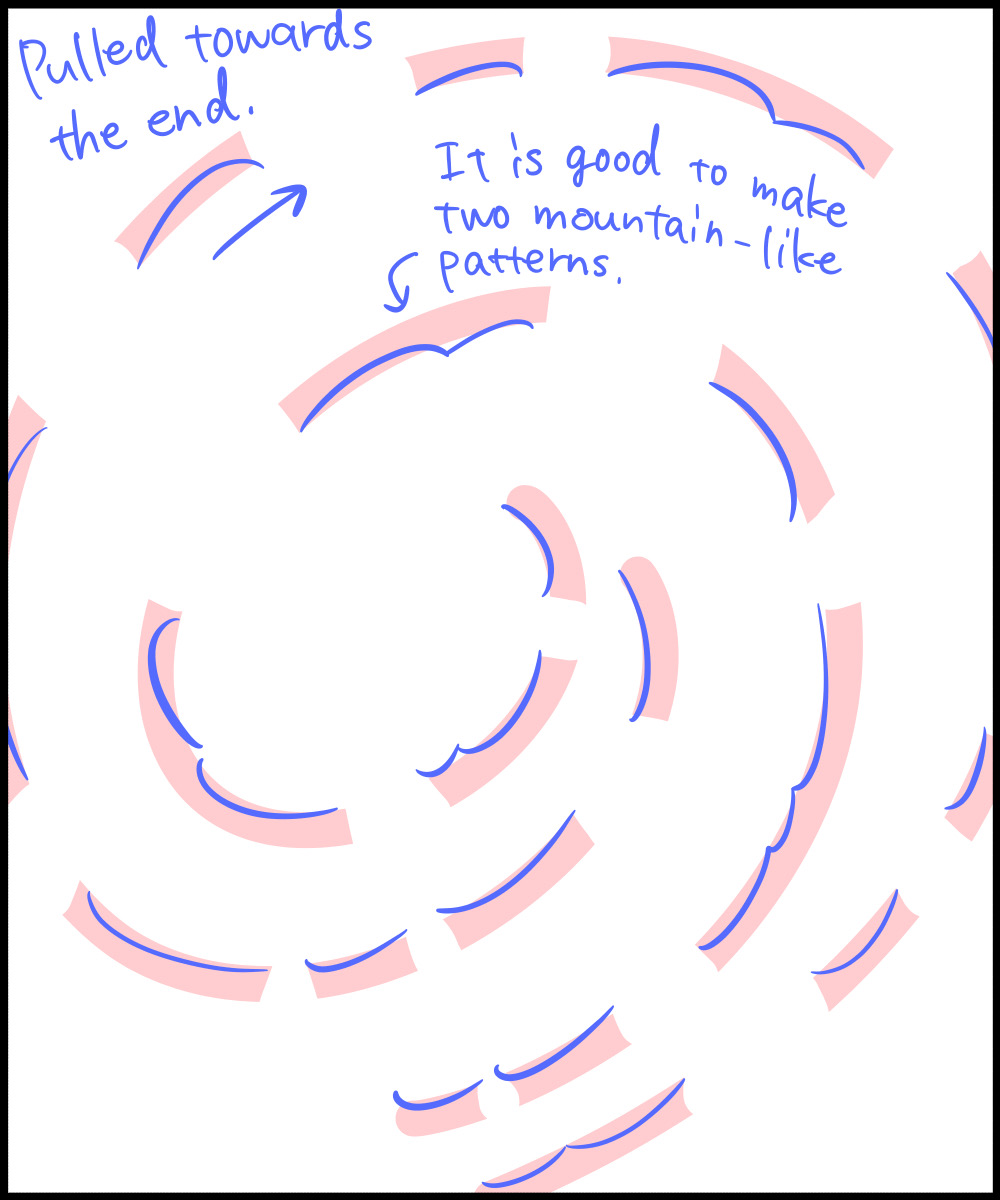
5.Guide line ②
Place a new layer and draw a mountain-shaped guide below the dashed line.
◎ when it is being pulled toward the end.
Again, make sure that the length and curve size are not uniform.
6.Guide line ③
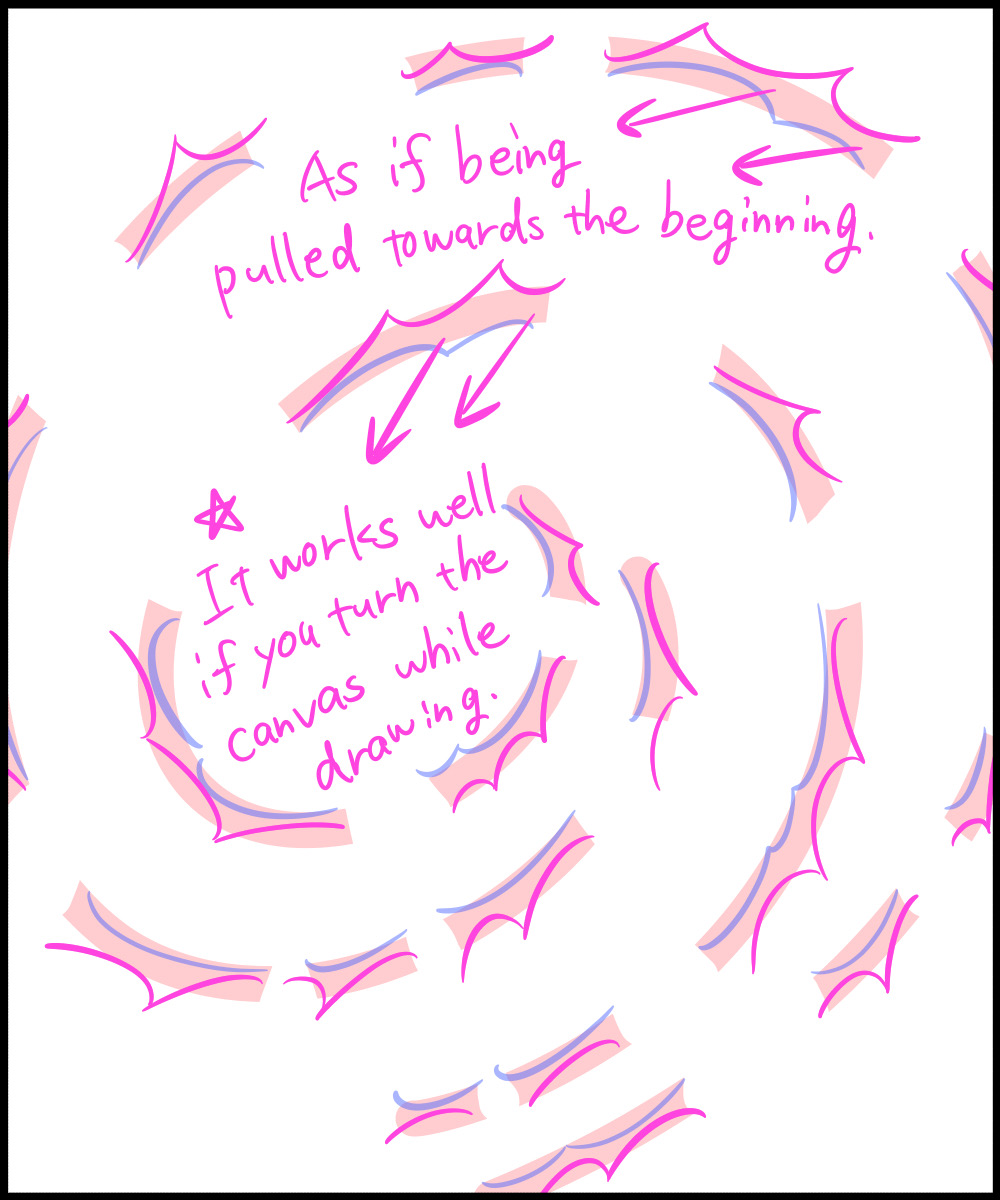
Draw a new curved guide on the new layer, this time above the dashed line.
This time, draw it as if being pulled towards the beginning of the dashed line.
Repeat. Try to be as uniform as possible as you draw them.
7.Draw a ball
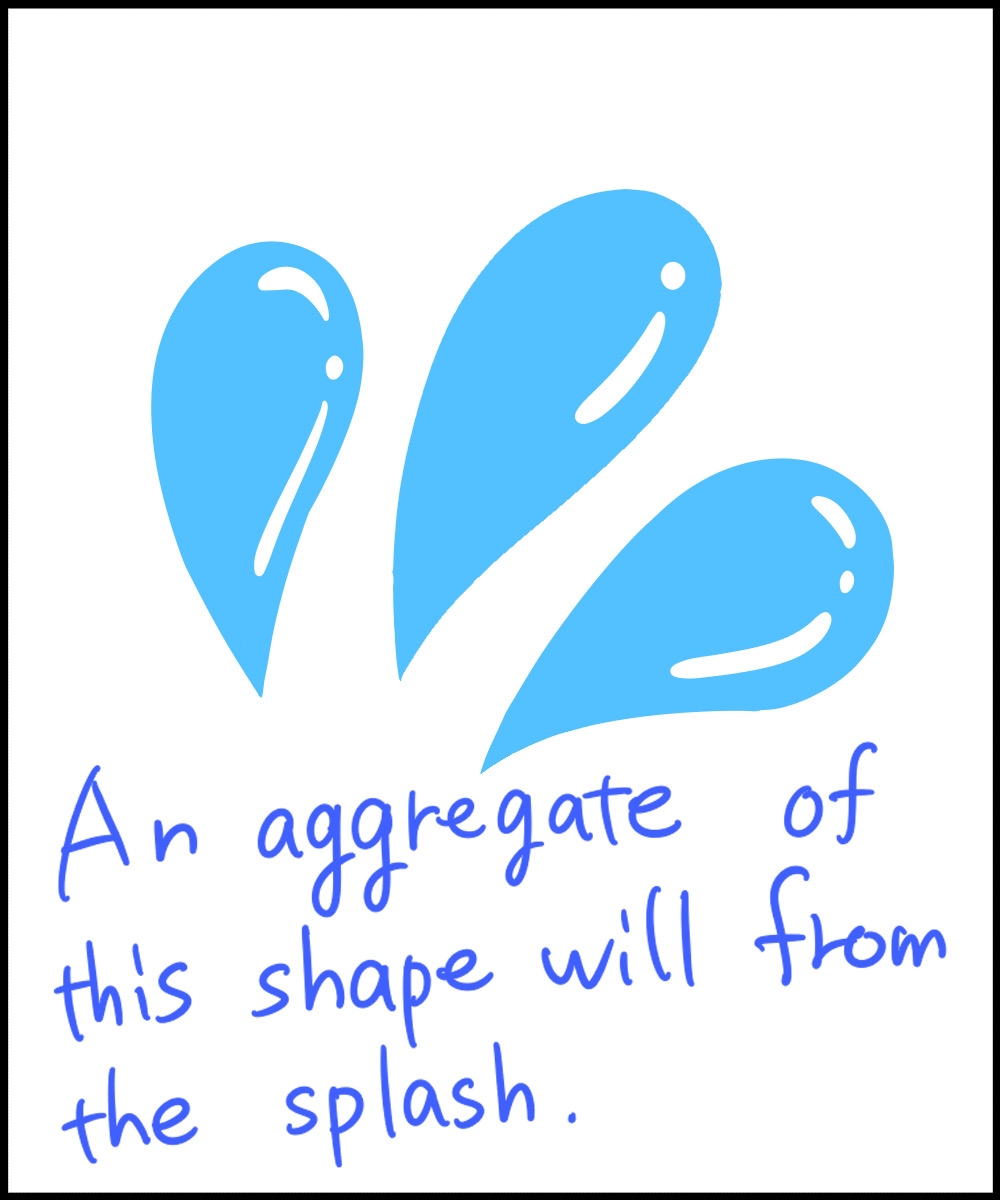
The splash is a group of drops as shown in the figure.
With that in mind, place a new layer and scatter circles around the guide line with the pen tool.
Make sure that many gather toward the end of the broken dashed line.
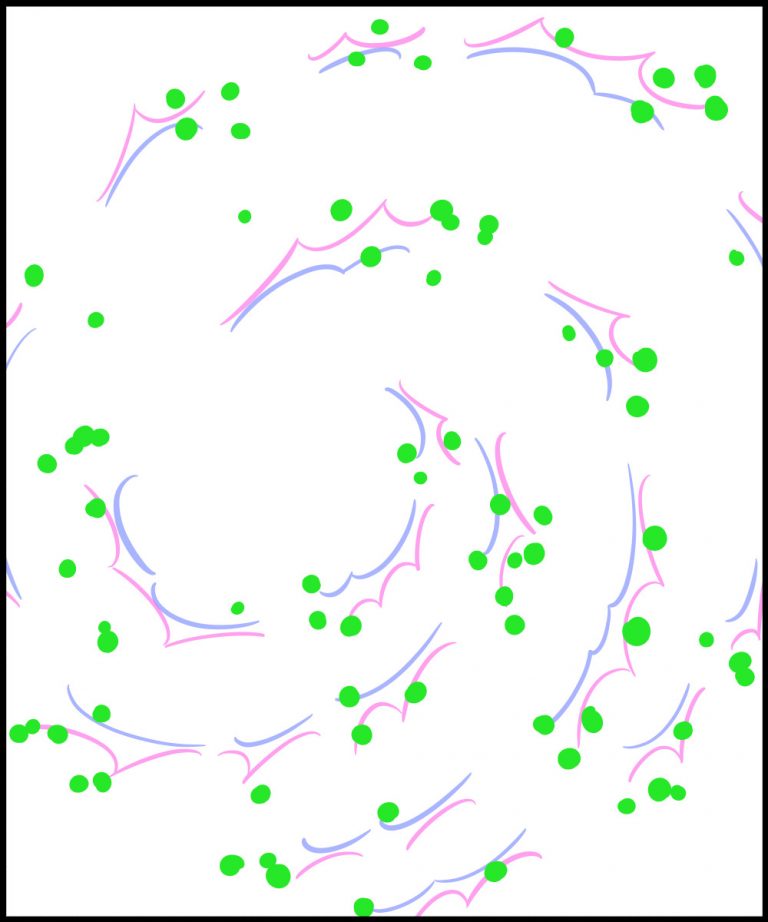
(Guide line ① not displayed)
8.Trace with the brush tool
If you can do this, you are almost done.
After that, place a new layer and trace it with the brush tool.
The trick is to be aware of sharp lines at the beginning and wavy lines at the end.
Tracing it quickly with a little shake of the hand makes it look more natural.
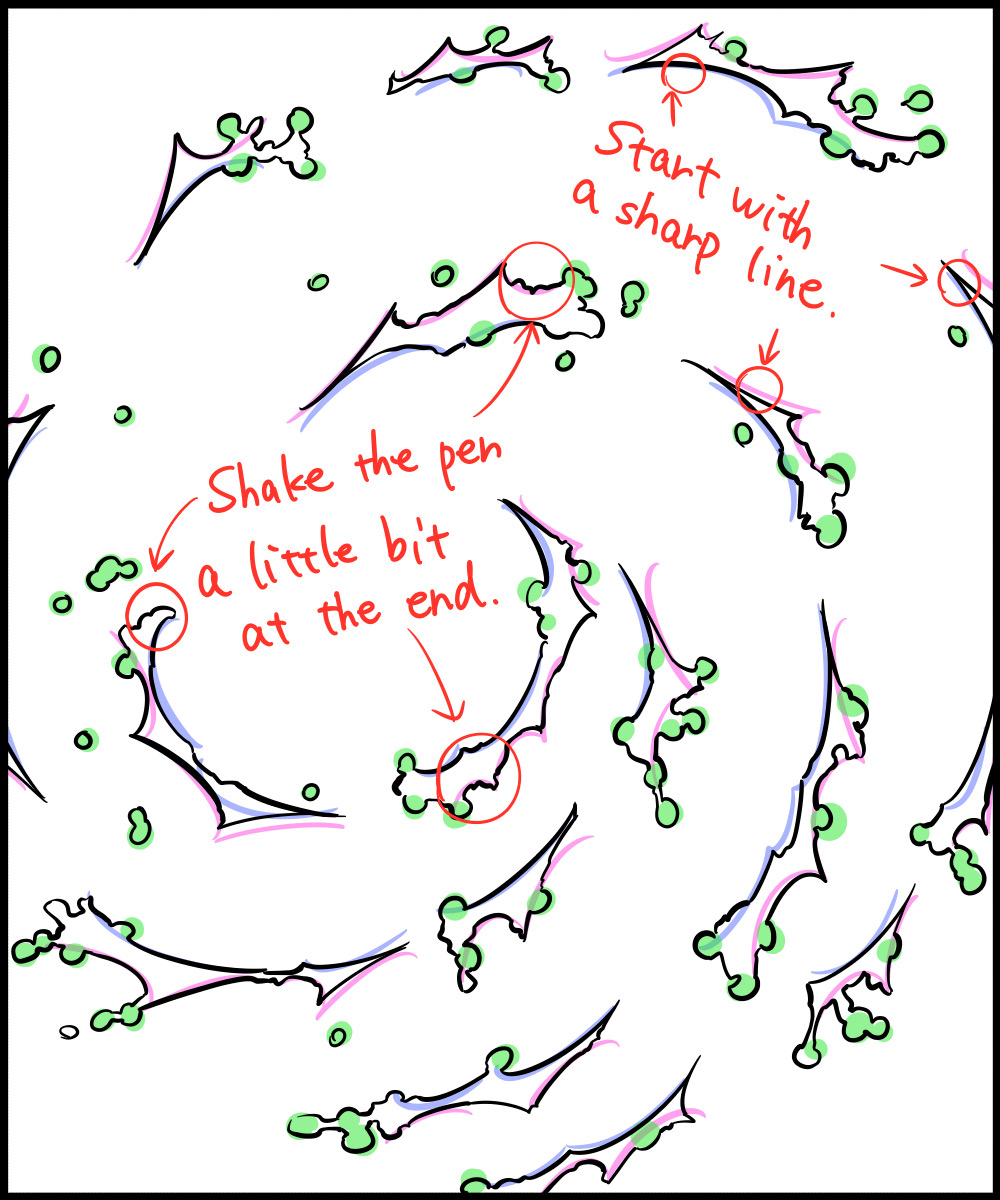
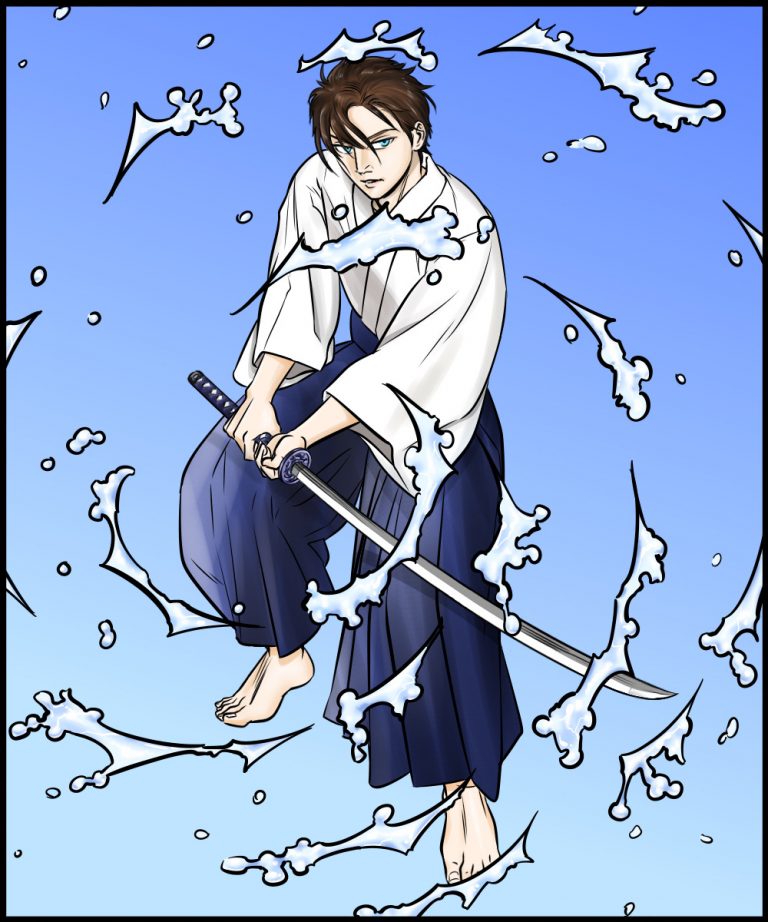
For a Japanese touch, use a brush.
In the same way, while imagining a calligrapher’s hand, try using “Tome (stop)” and “Hane (upward brushstroke)” at the beginning and the end.
It is still ◎ if you add strength to the pen pressure!
It is also more natural to leave a handwriting style made by chance.
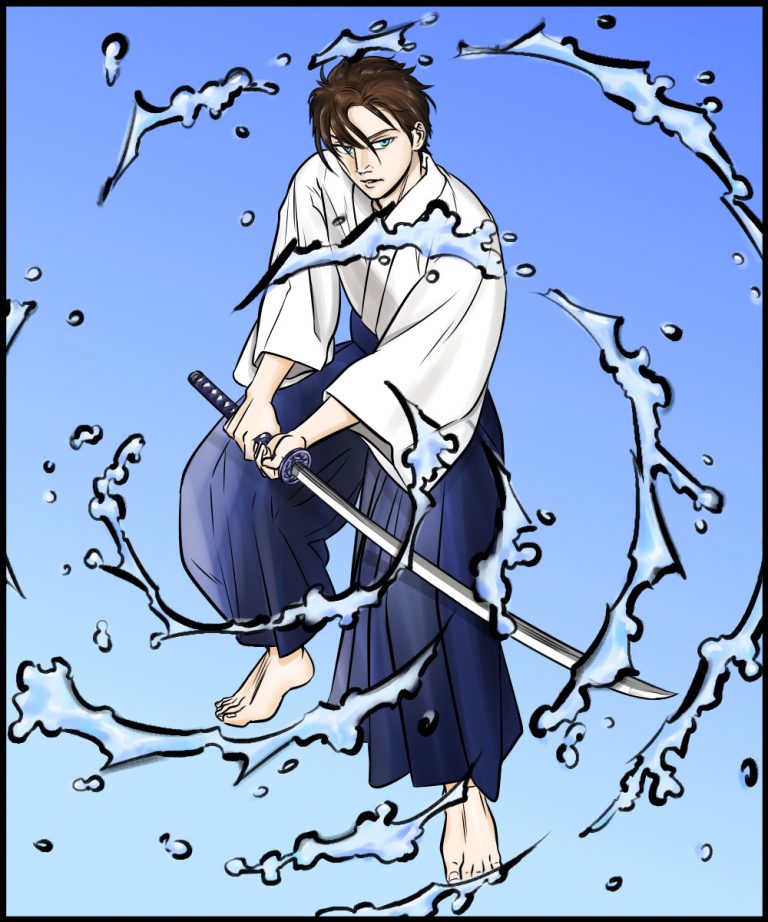
(The image uses “brush (ink)” and “flat brush (dry)”)
How do you like it?
Once you get used to it, you can draw all kinds of guide lines on the same layer.
If you get used to it, you will even be able to draw freehand!
Apply to various scenes and draw your own illustrations!
\ We are accepting requests for articles on how to use /

