2019.12.23
Easily change the color of your line art with 8bit layers
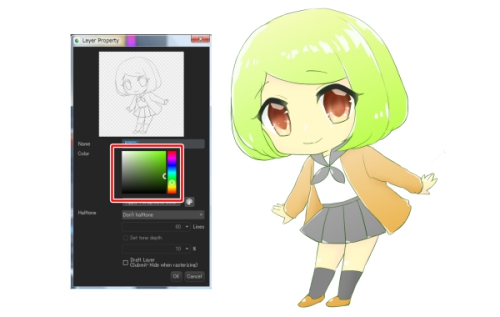
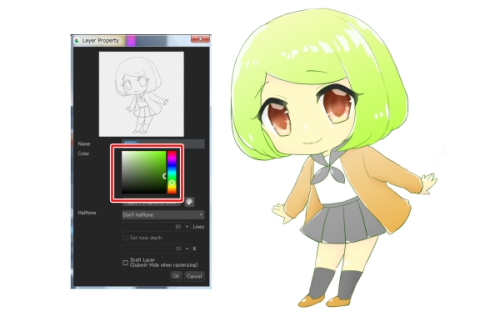
There are many ways to change the color of your line art, including Clipping Layers and Preserve Opacity. This time, we’re going to introduce a method that uses 8bit layers.
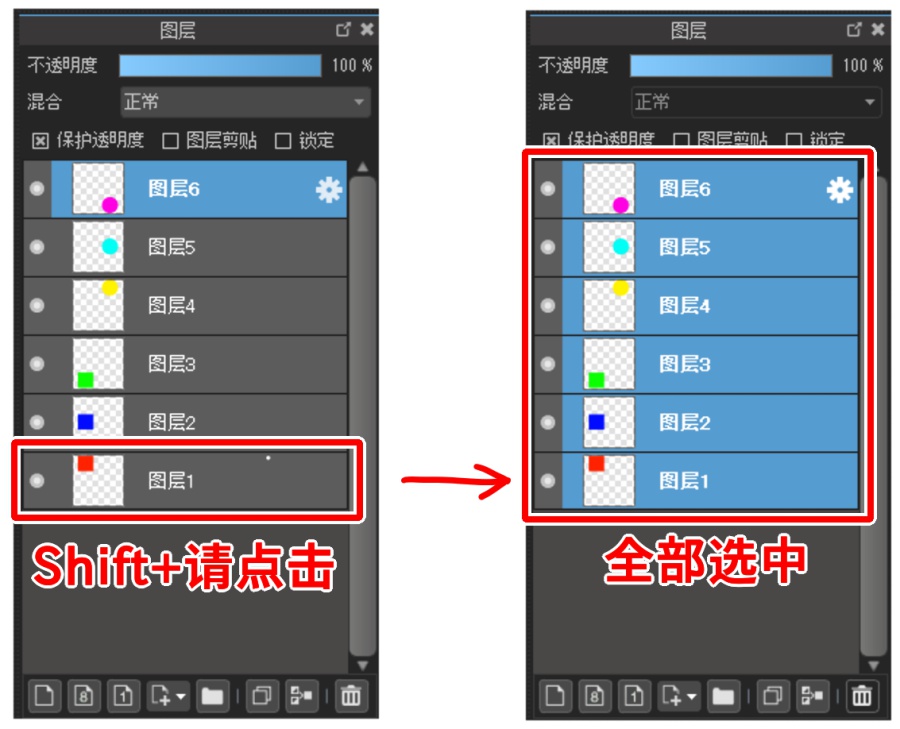
8bit layers are different from regular layers, and you can add one by clicking on “Add/8 bit” in the Layer tab or by selecting the “8” layer icon on the bottom of the layers window.
By adding an 8bit layer, you will create a layer that has an “8” symbol next to the layer’s name.

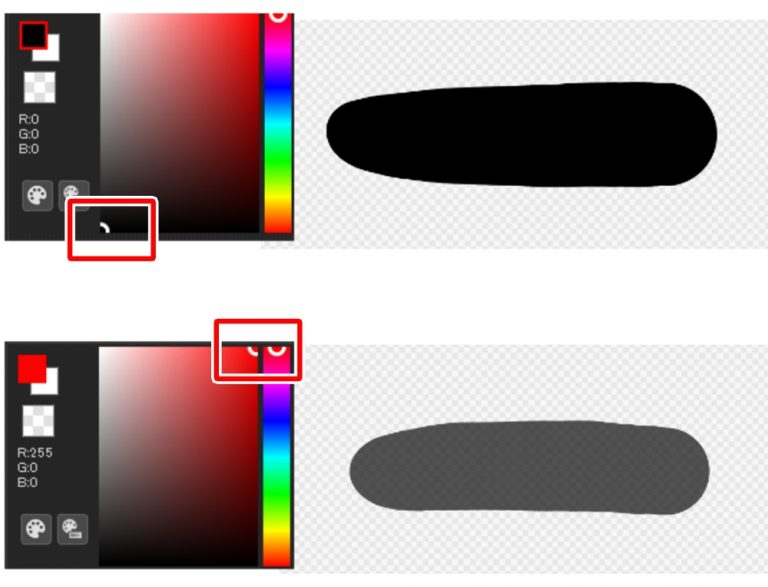
You can only use this type of layer in greyscale.
Even if you select a color, it will be reproduced as a shade of grey when drawing.
White has the same effect as a transparent color, so you can use white as an eraser.
After drawing in grey or black, you can add colors from the Settings screen that appears by clicking on the layer’s gear icon.

Select your desired color from the color panel on the Settings screen in order to change color.
The color change will be reflected in everything drawn in the 8bit layer, so you have now easily changed your line art color.

If you want to convert a regular layer into an 8bit layer at a later time, you can do so from Layer → Convert → Convert to 8 bit Layer.

8bit layers can be used for several different purposes, and not only to change the color of your line art.
We hope this was useful.
How to convert layers to Halftone in MediBang Paint Pro
Coloring Tones in MediBang Paint
\ We are accepting requests for articles on how to use /


