Next, we’ll try drawing a comic with MediBang Paint.
Now let’s try making a comic book style canvas. Tap “New canvas” on the left of the screen and select “New canva”
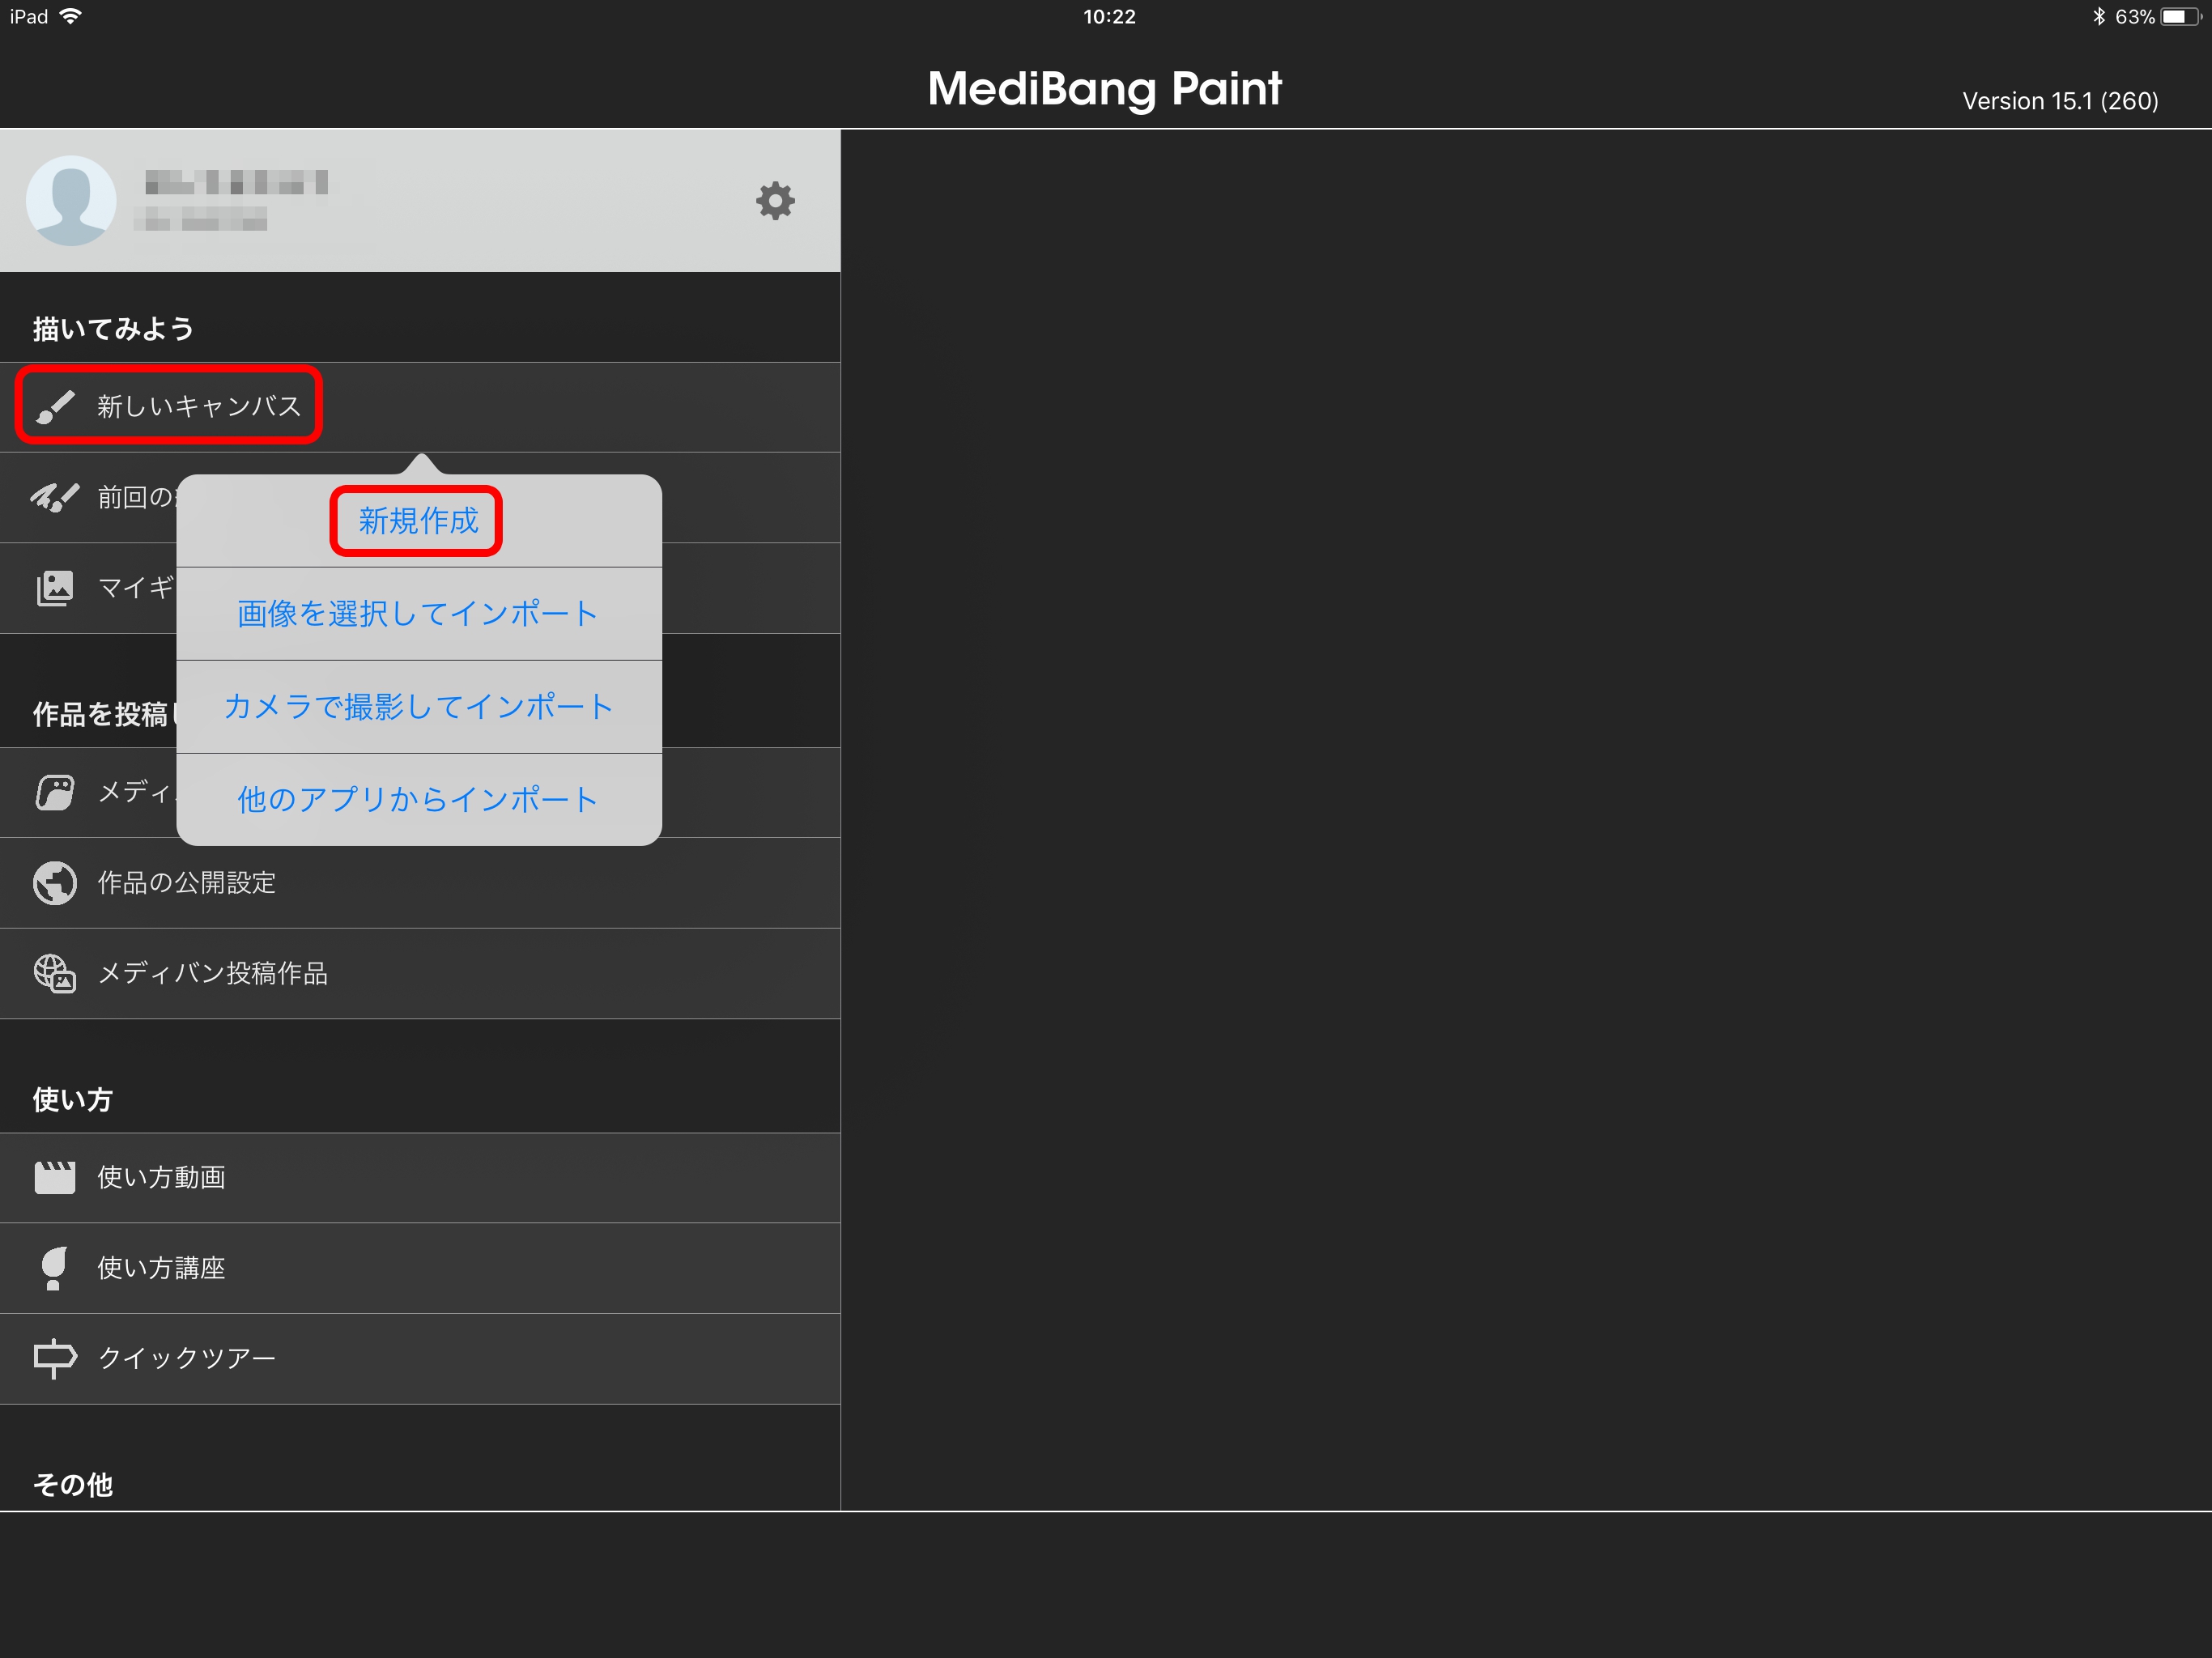
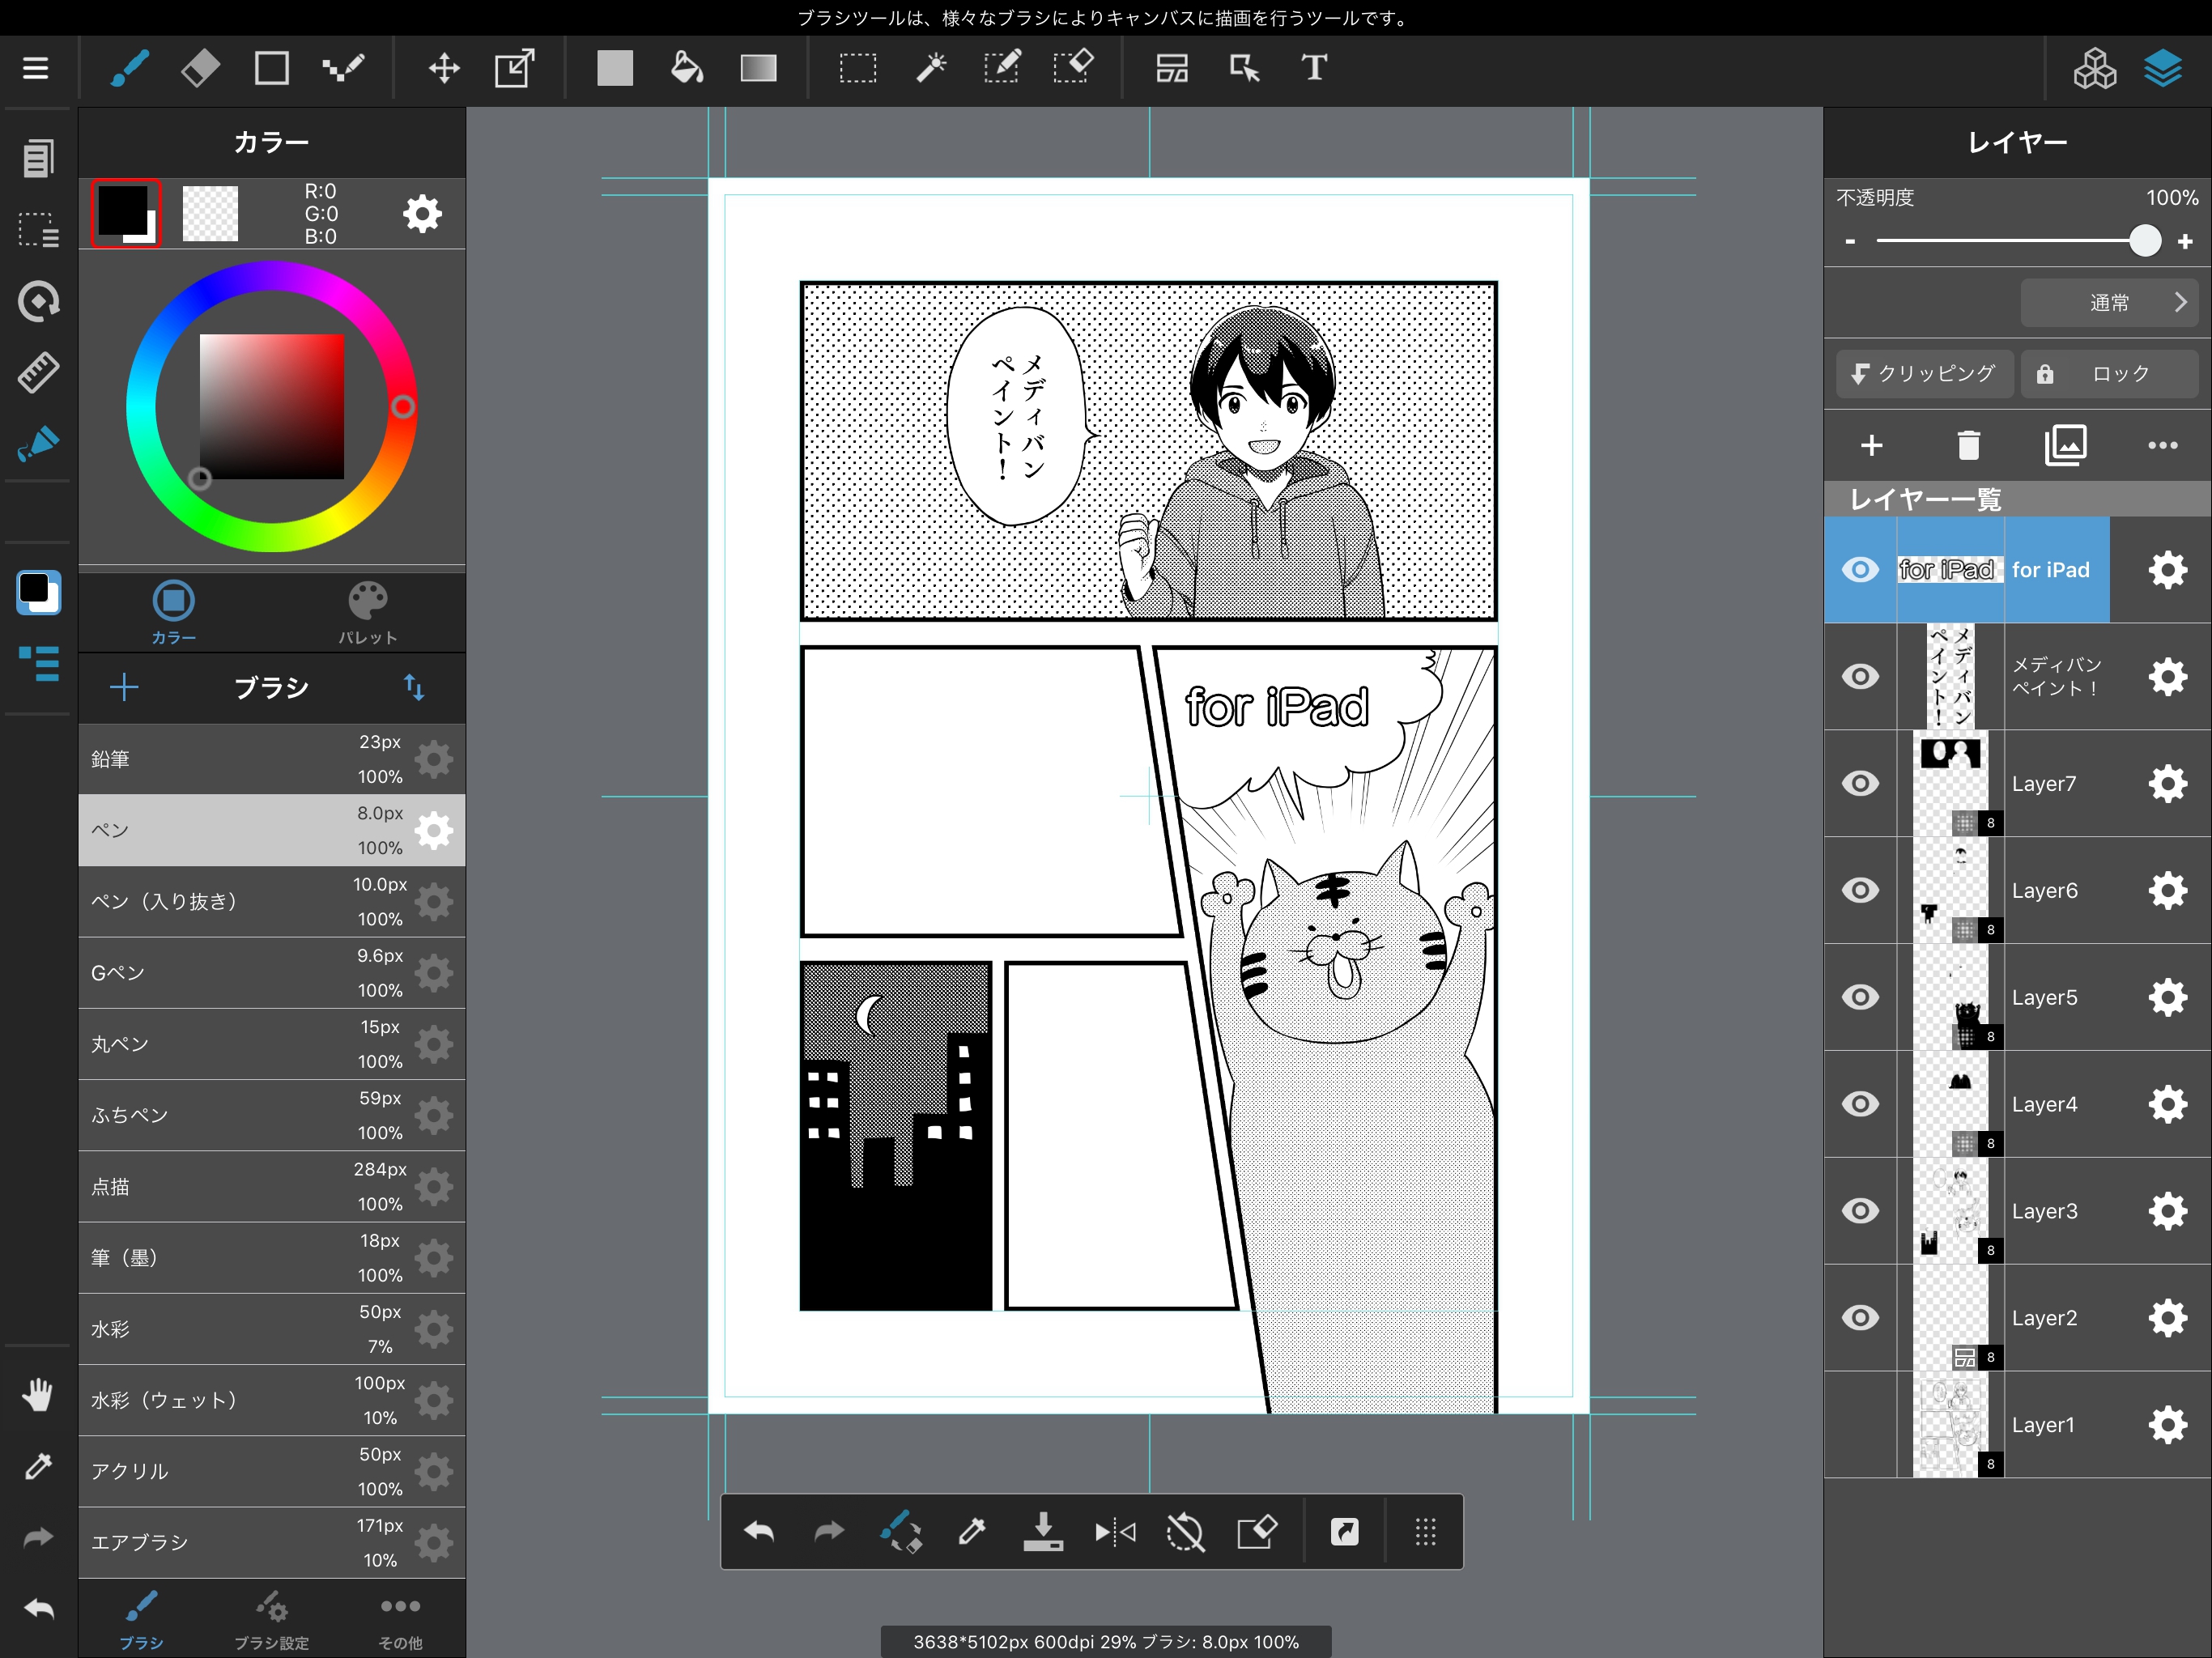
Selecting “New Canvas” will display a screen for configuring the details of your new canvas on the right side of the screen.
Since we’re making a comic book canvas, tap the “Comic Template” tab.
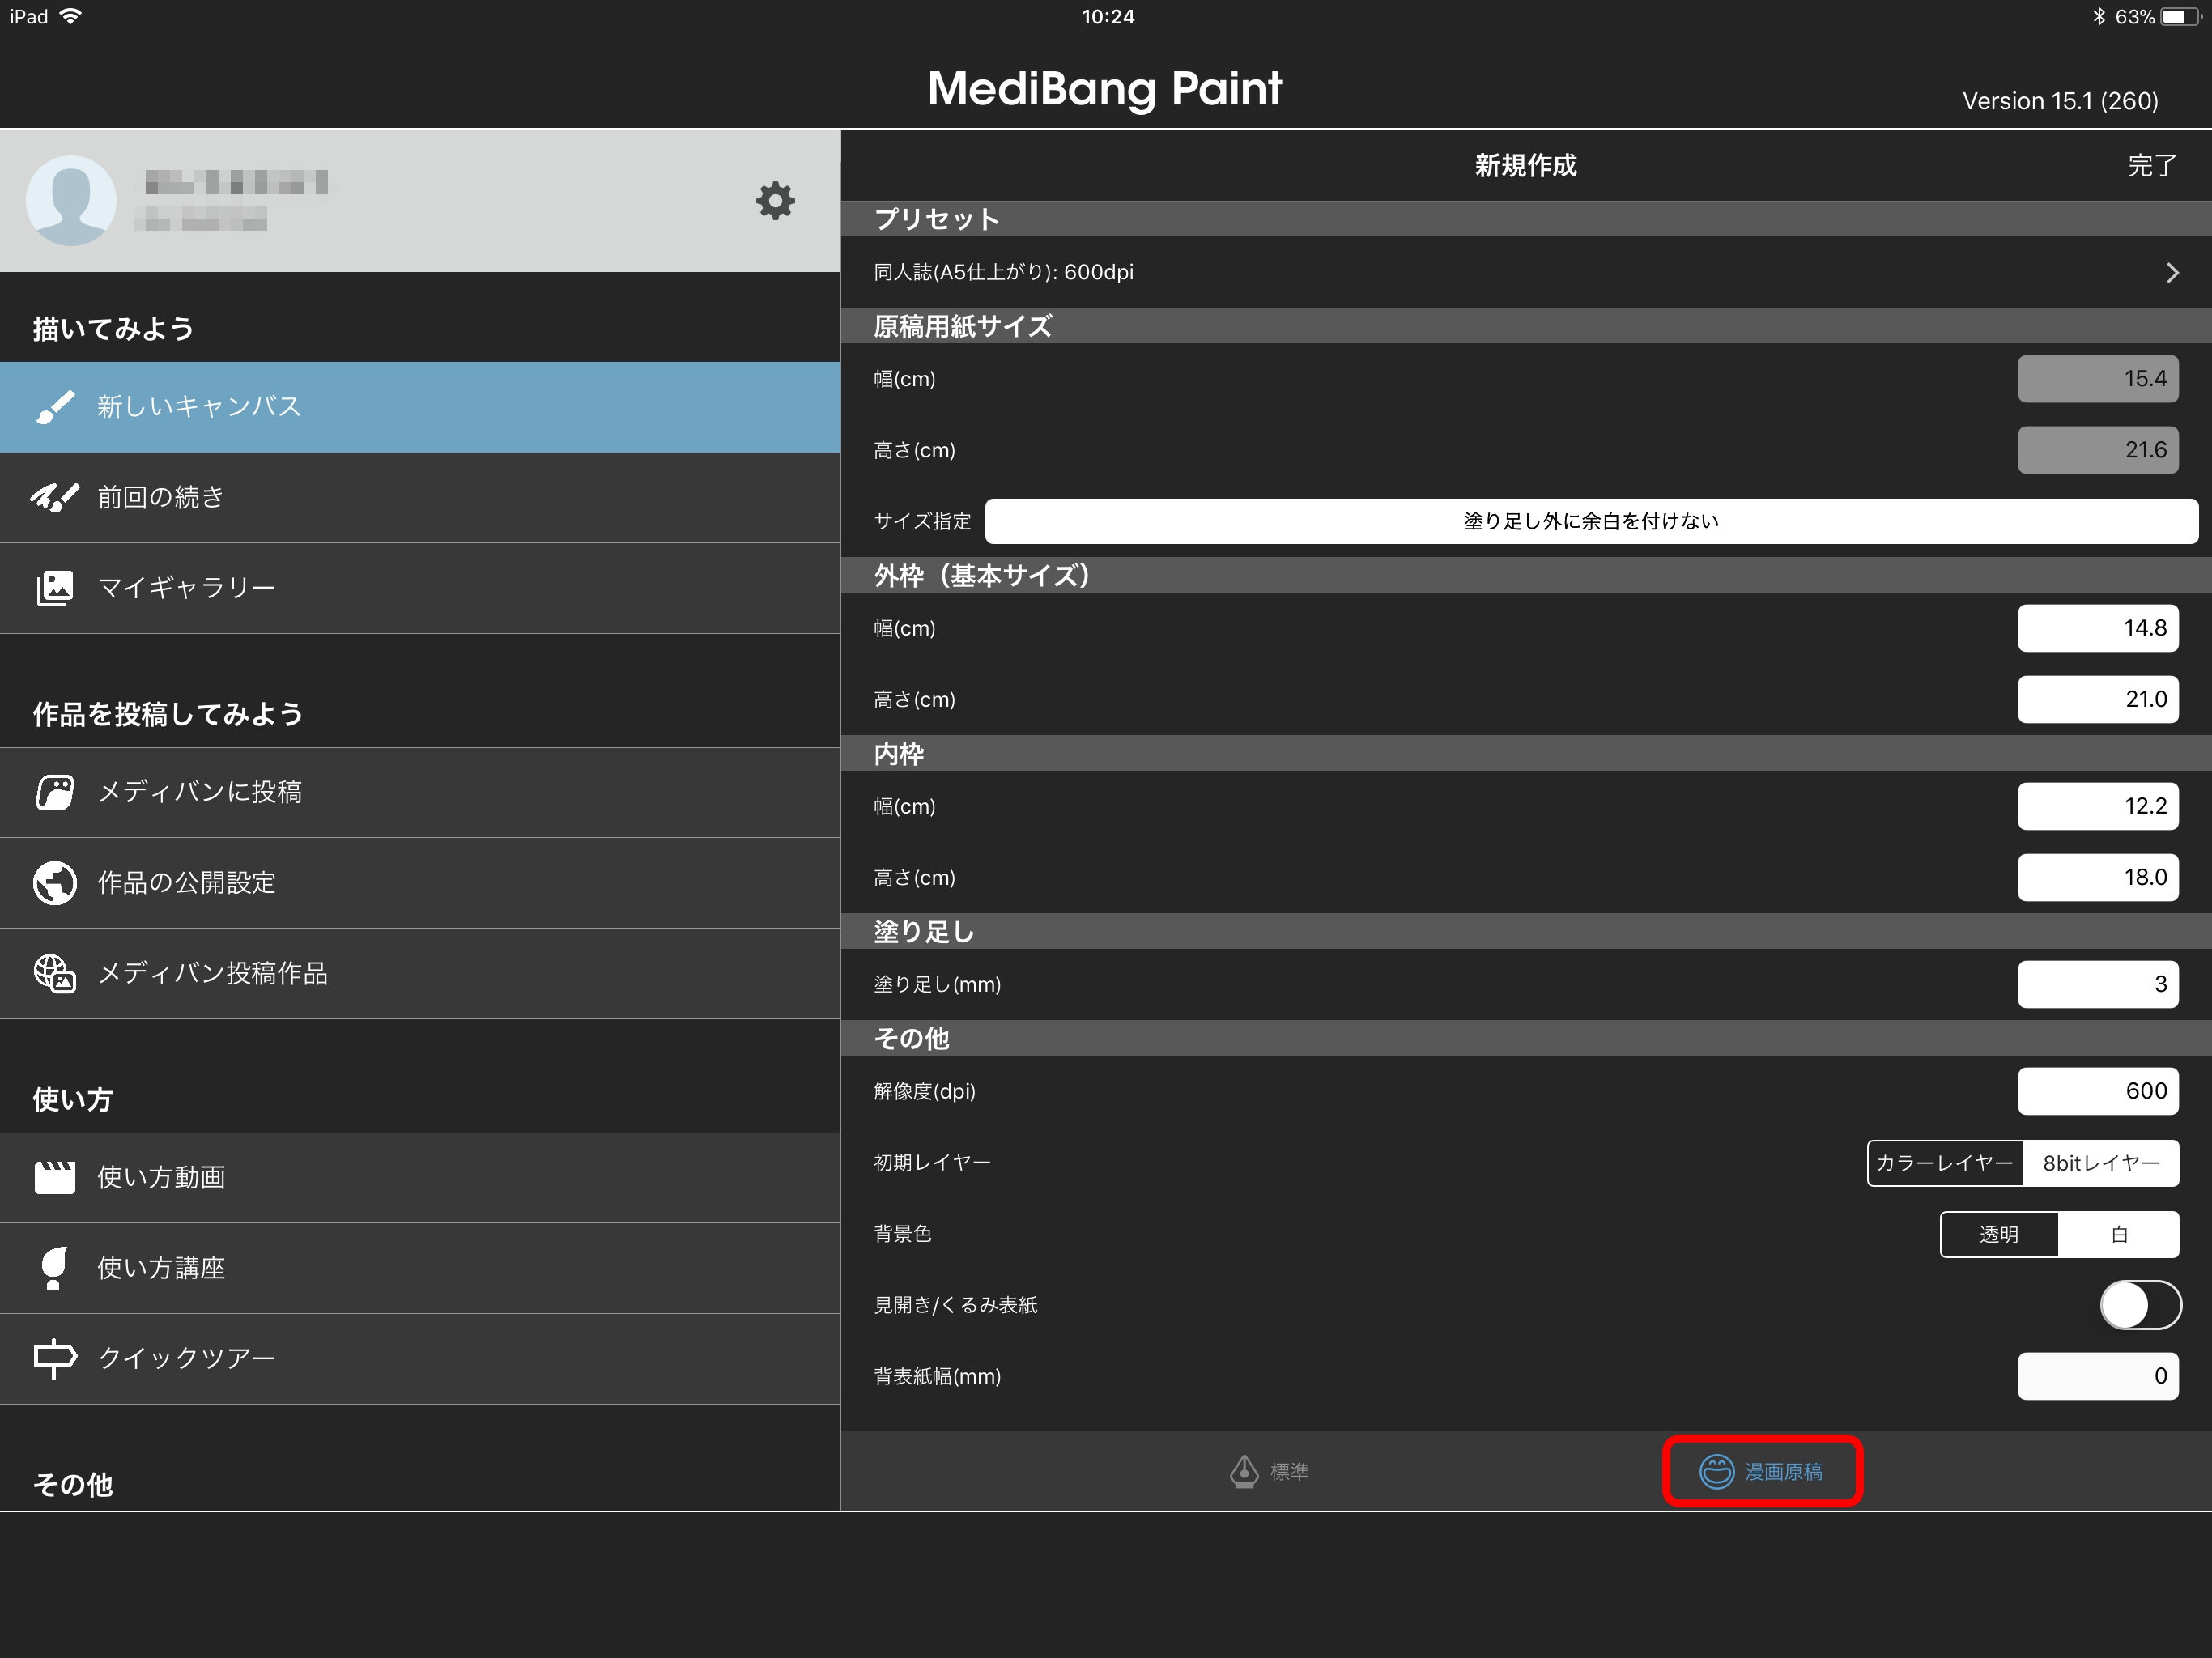
We’re going to make a comic book page with the A5 size, 600 dpi preset.
At 350 dpi, the starting layer is set as a color layer, while at 600 dpi it’s set as an 8-bit layer.
n 8-bit layer allows us to draw in a variety of shades of a single color (i.e. greyscale).
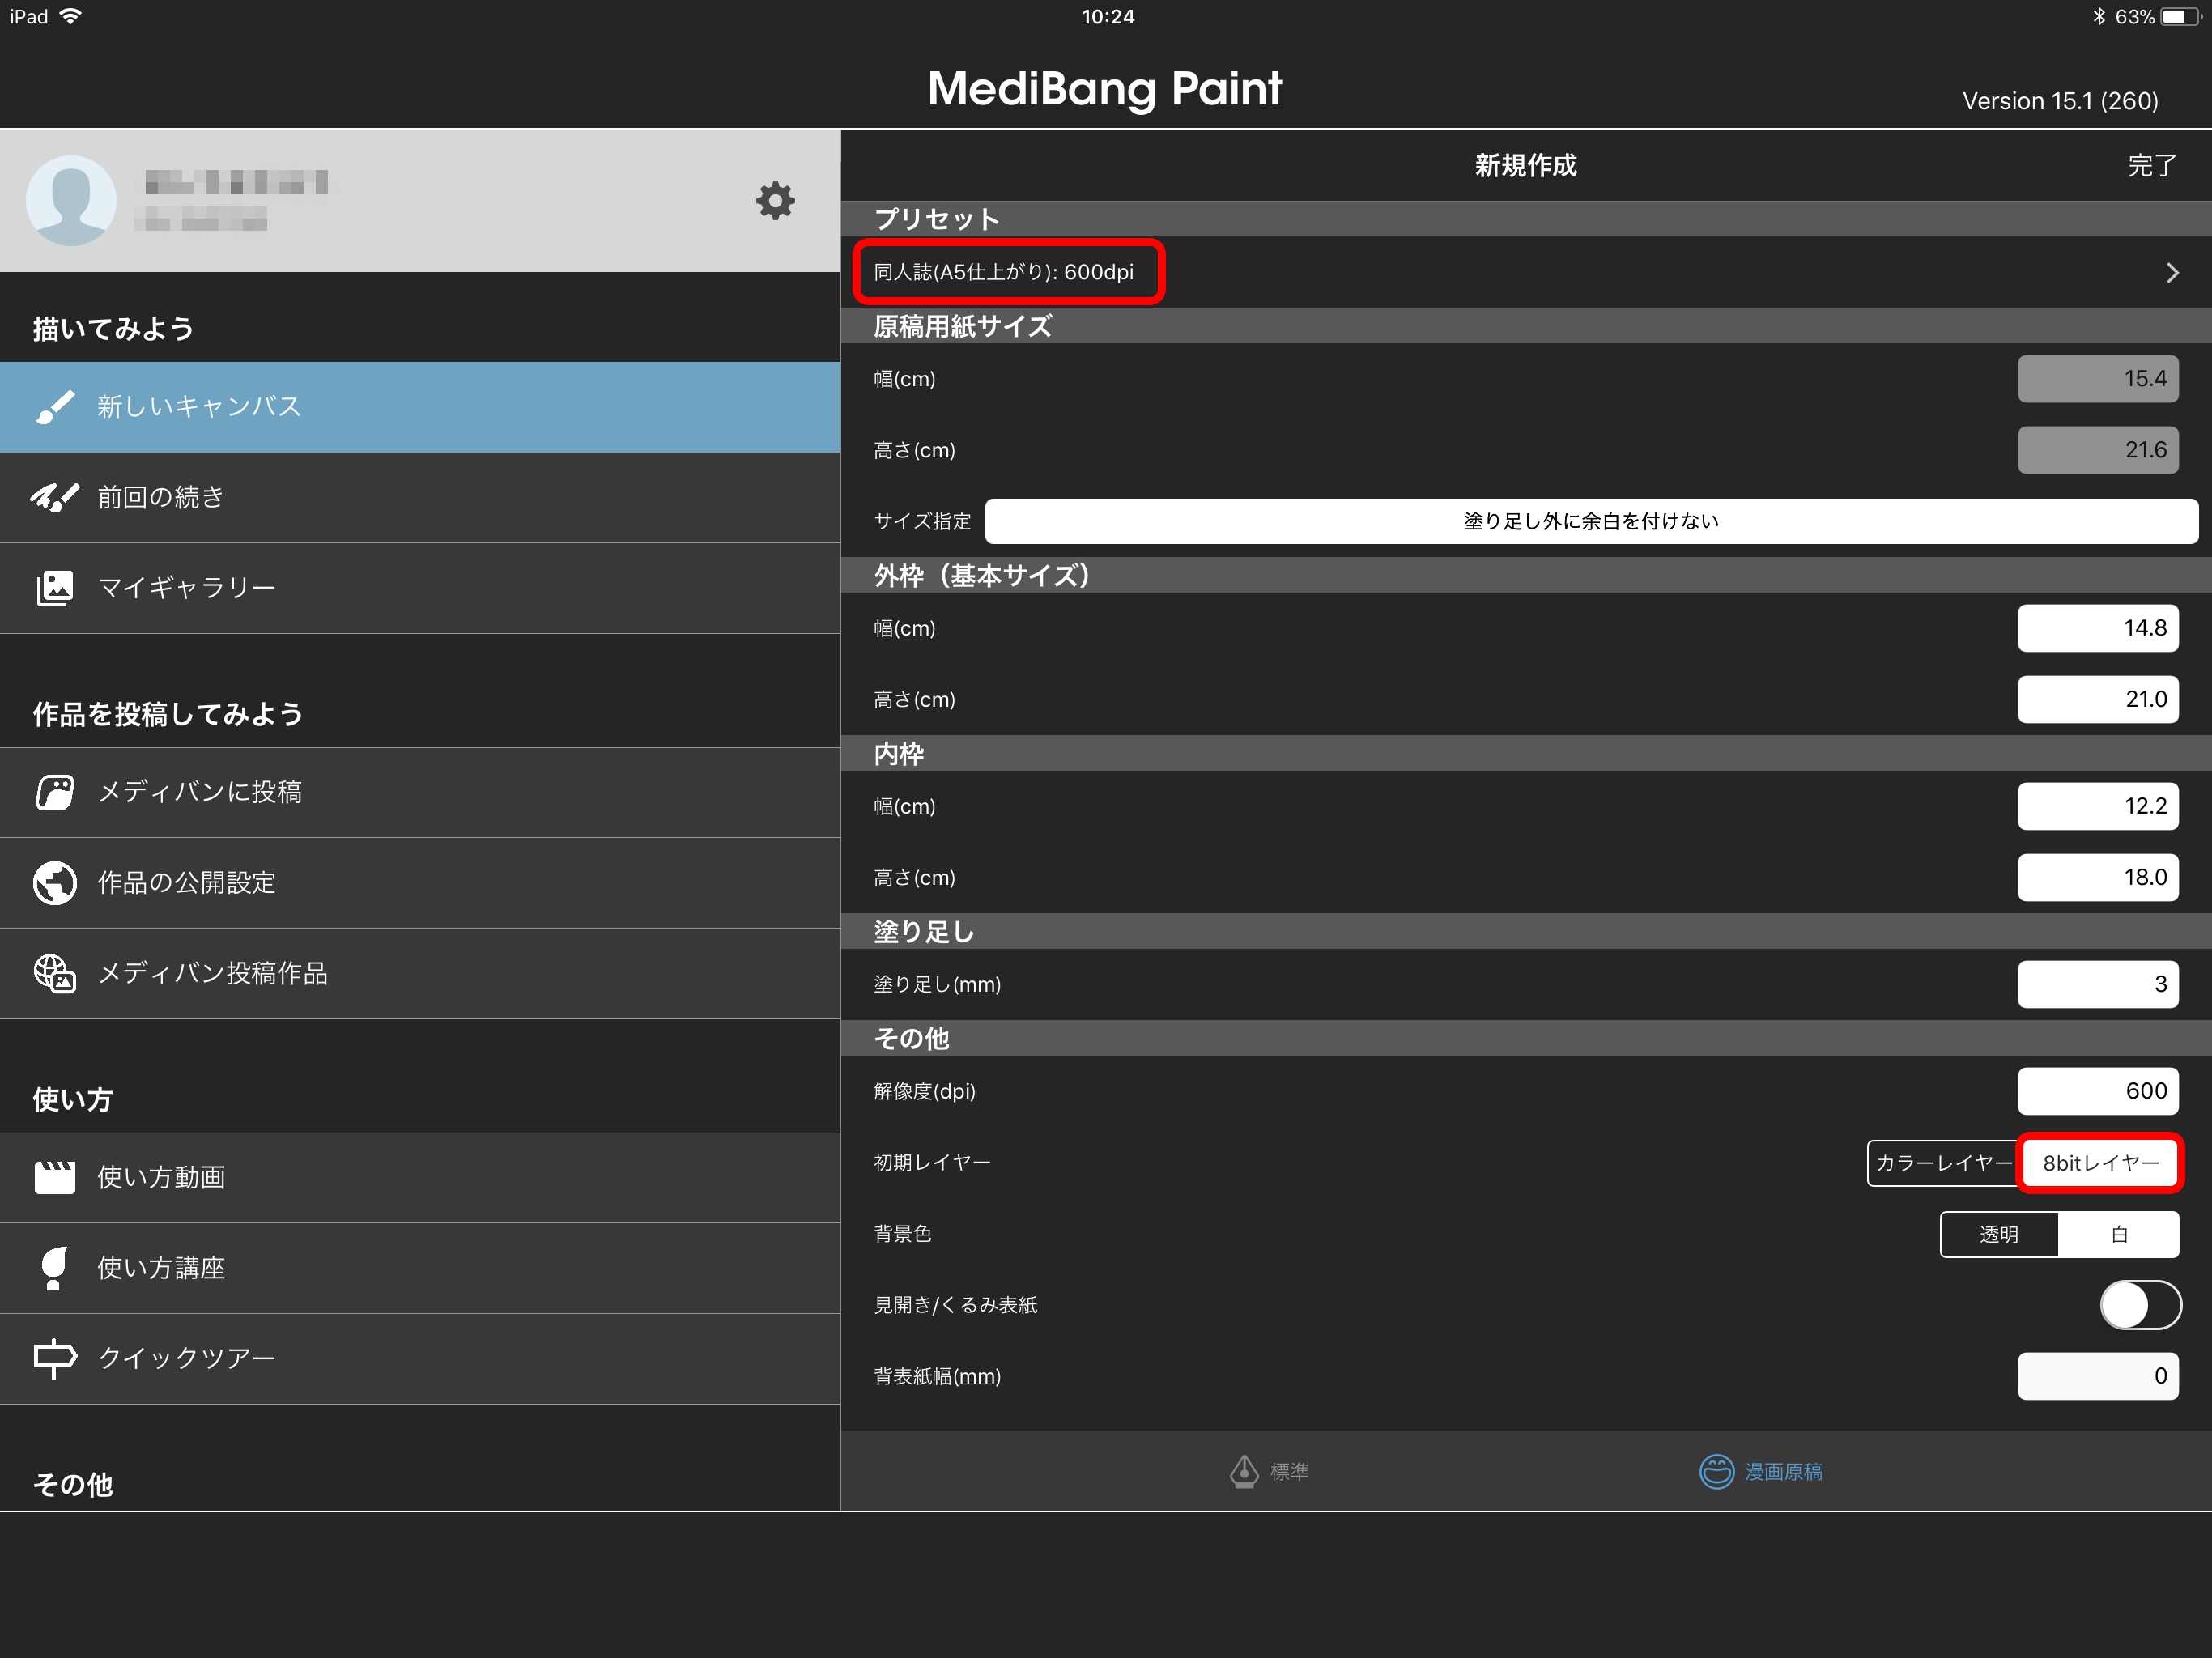
Select the “Doujinshi (A5 Size): 350dpi” preset, then select “Done” in the top-right corner.
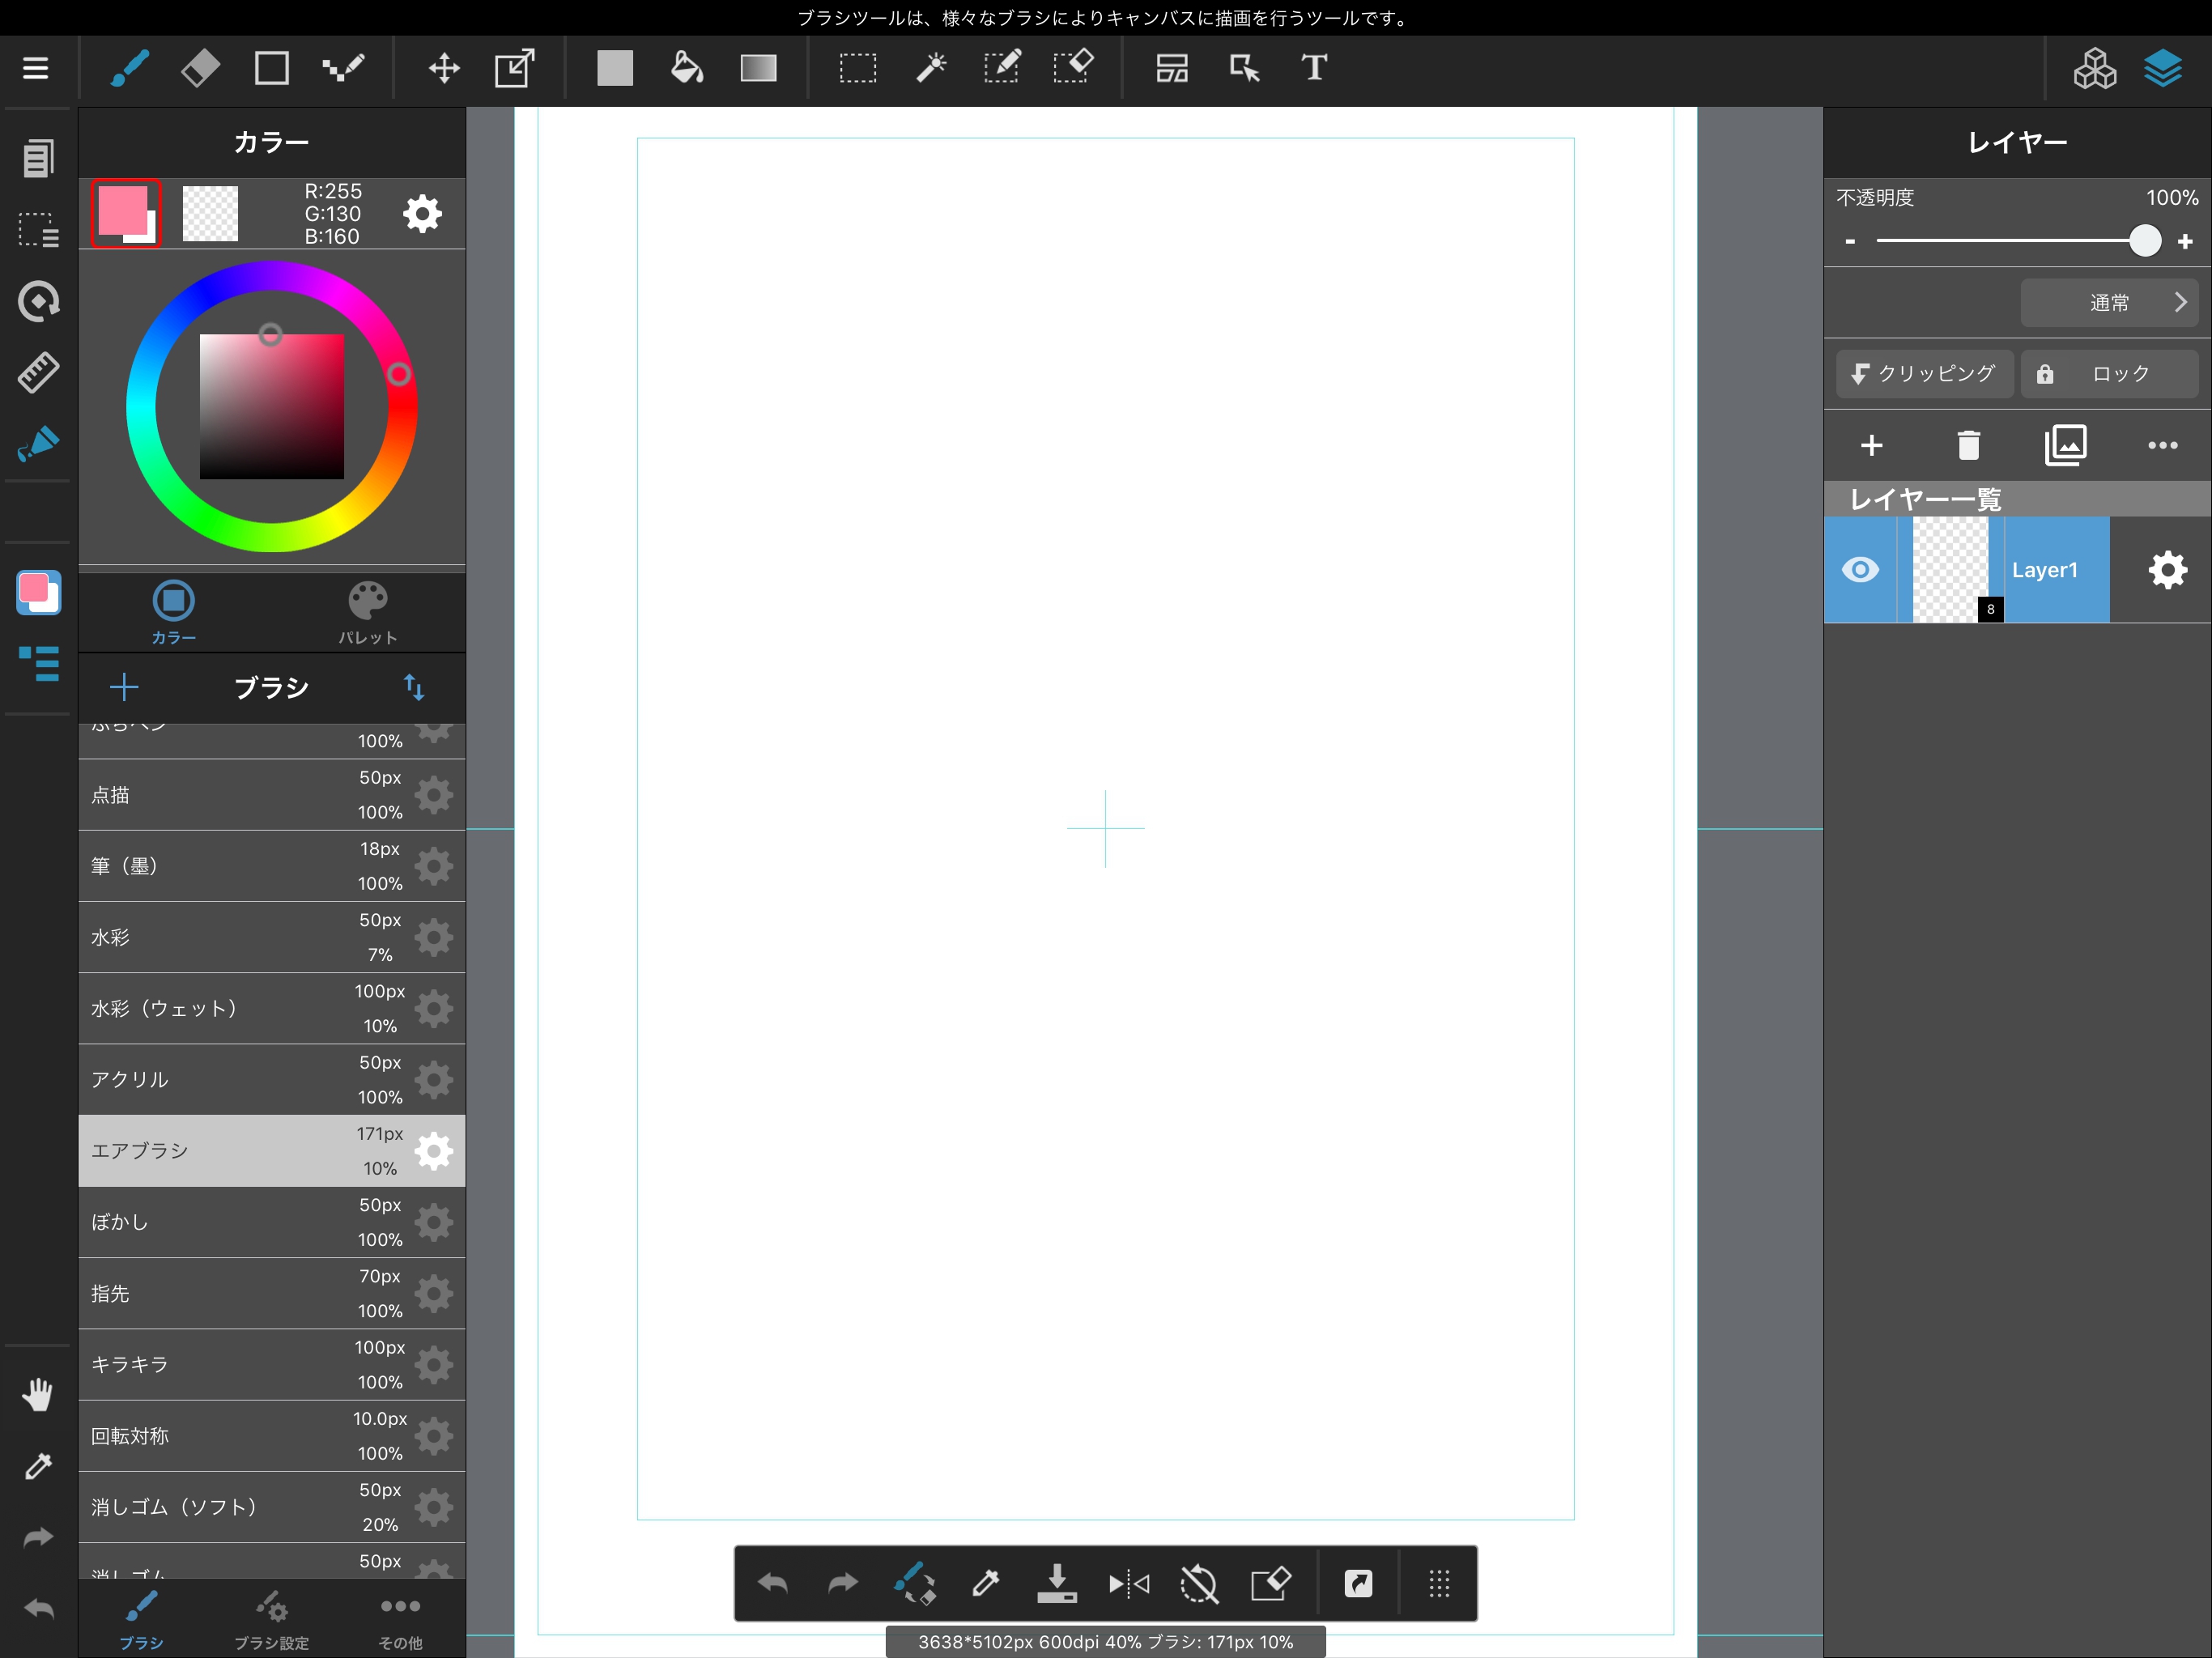
We have now created our comic book canvas.
Let’s sketch out our comic and make some panels.
First off, create a separate layer from our sketch, and select the “Panel Layout Tool” from the Toolbar.

A panel configuration screen will appear. Set up the line thickness of the panel and tap “Done.”
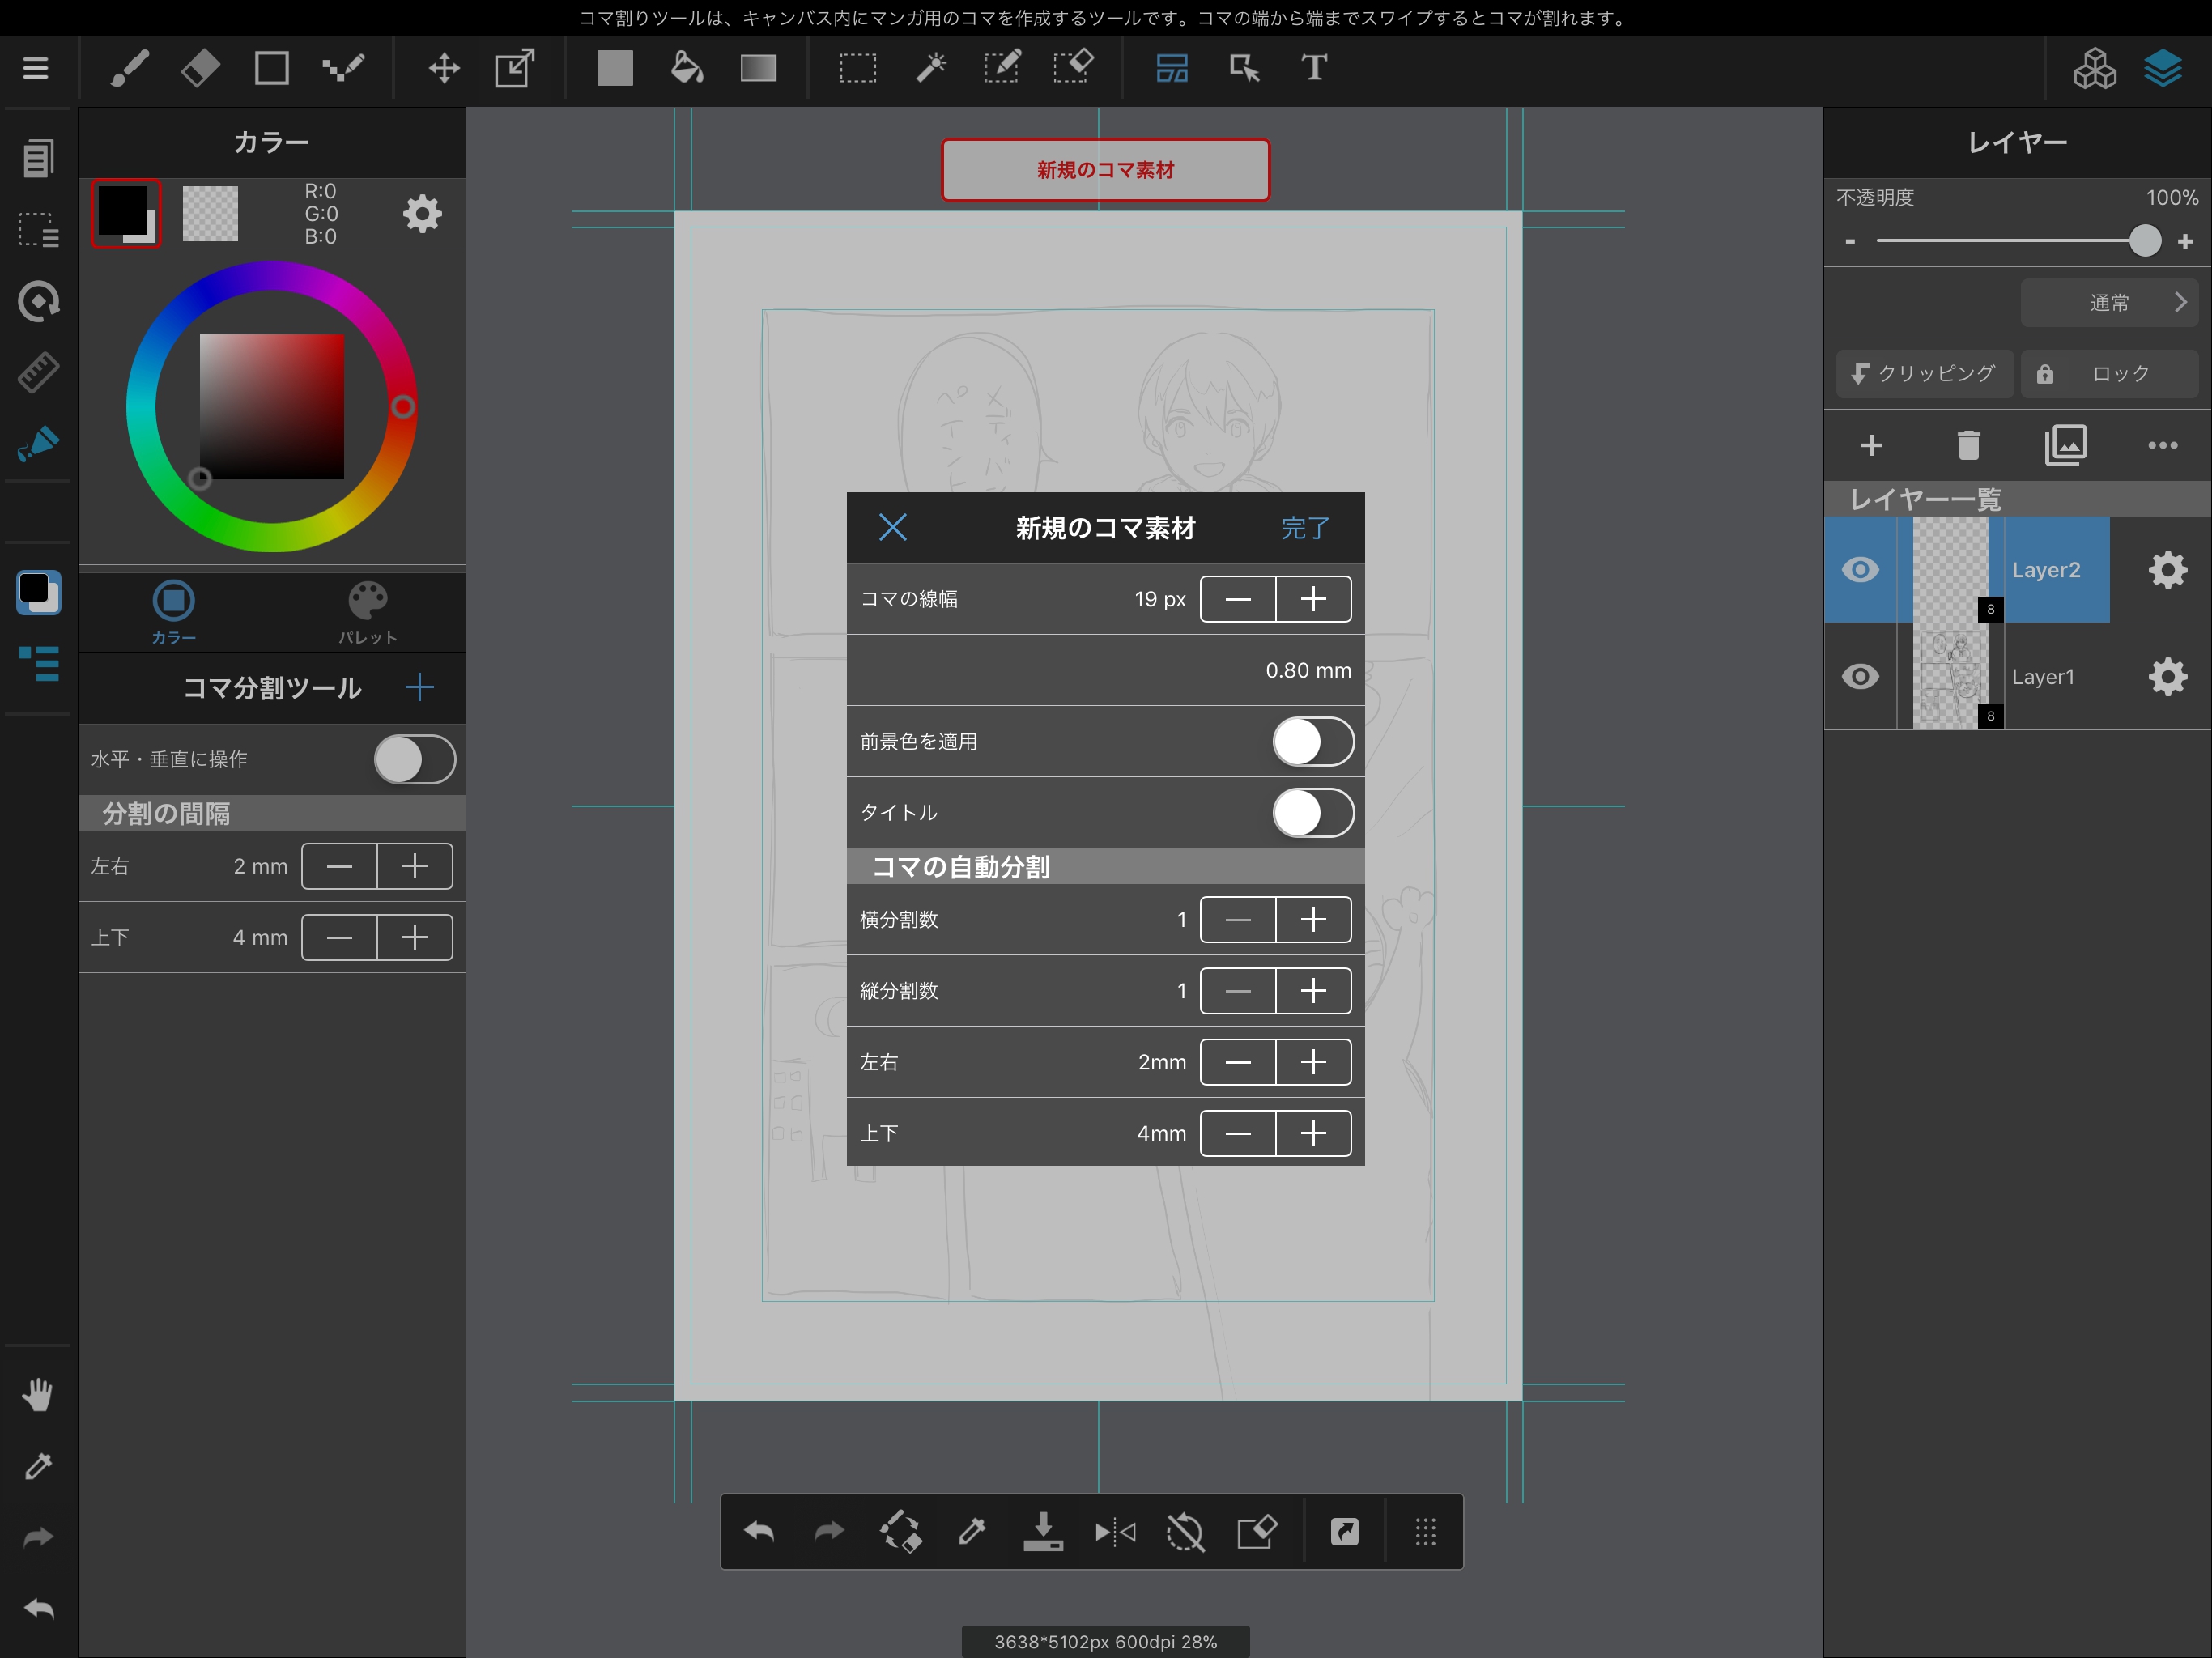
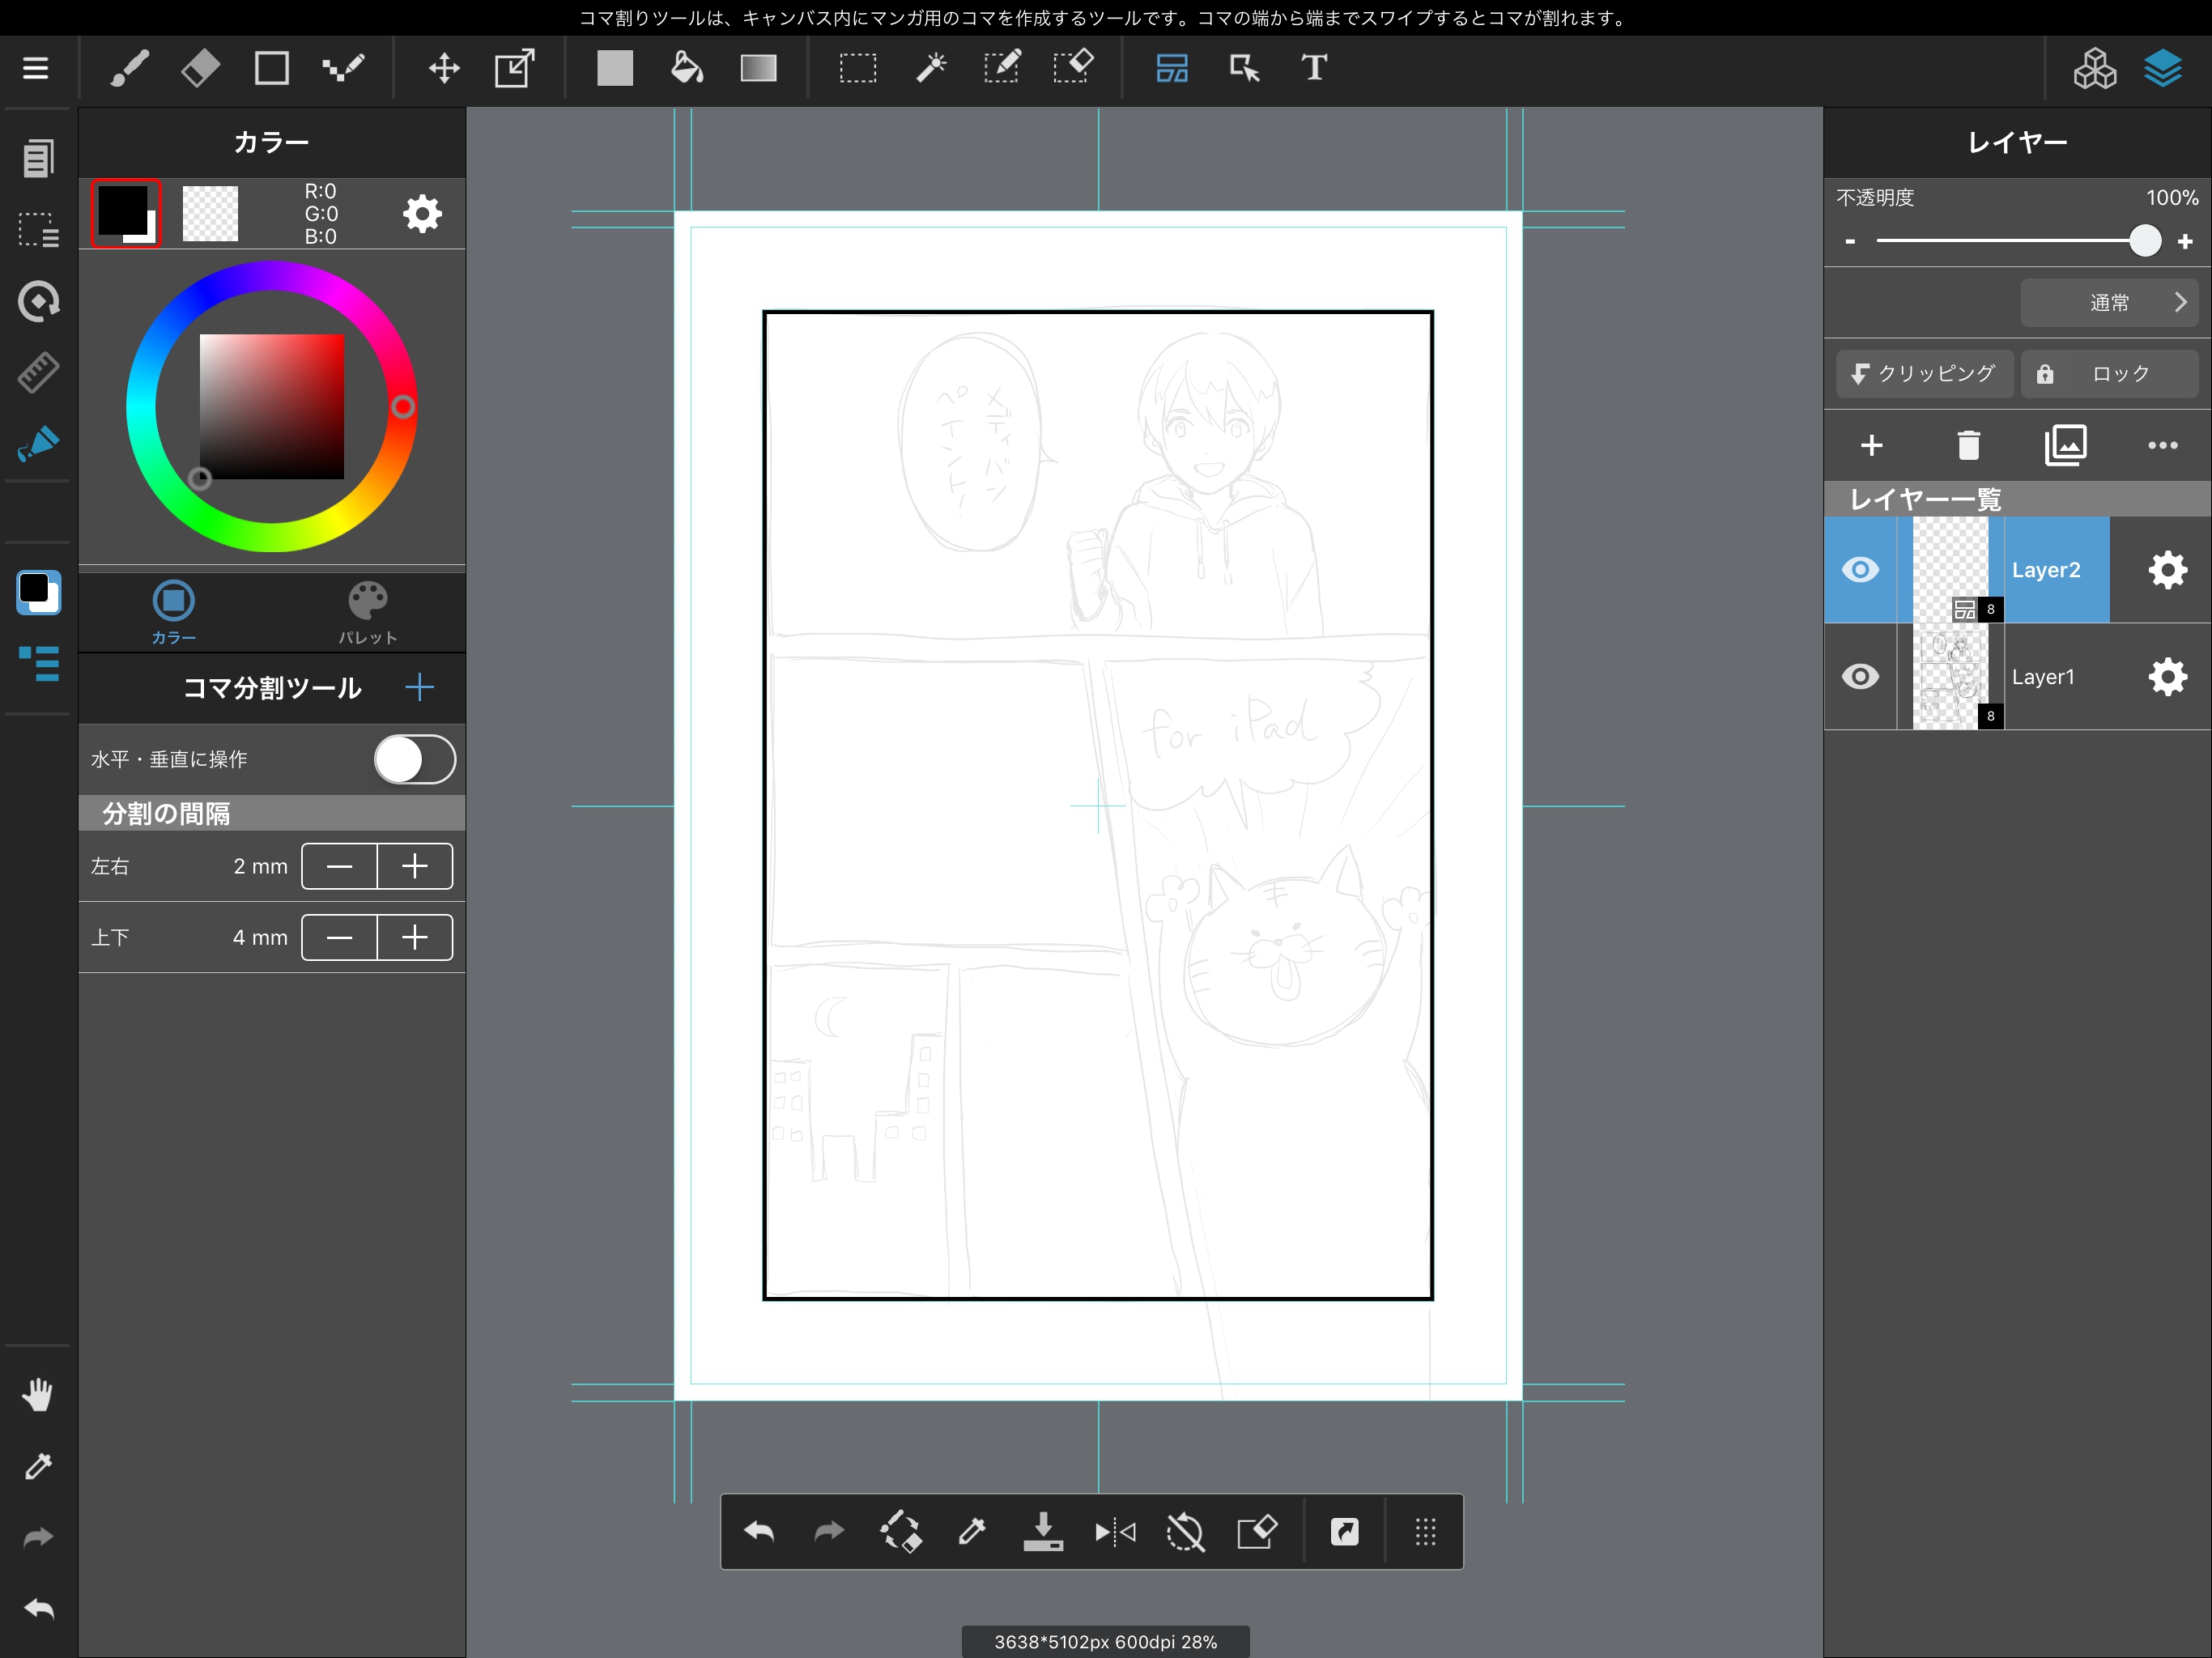
We have now created an exterior panel.
Now let’s divide our drawing into panels according to our sketch.
With the Panel Layout Tool selected, tap outside the panel to be divided, and draw a line in the direction of the divide to divide it into two.
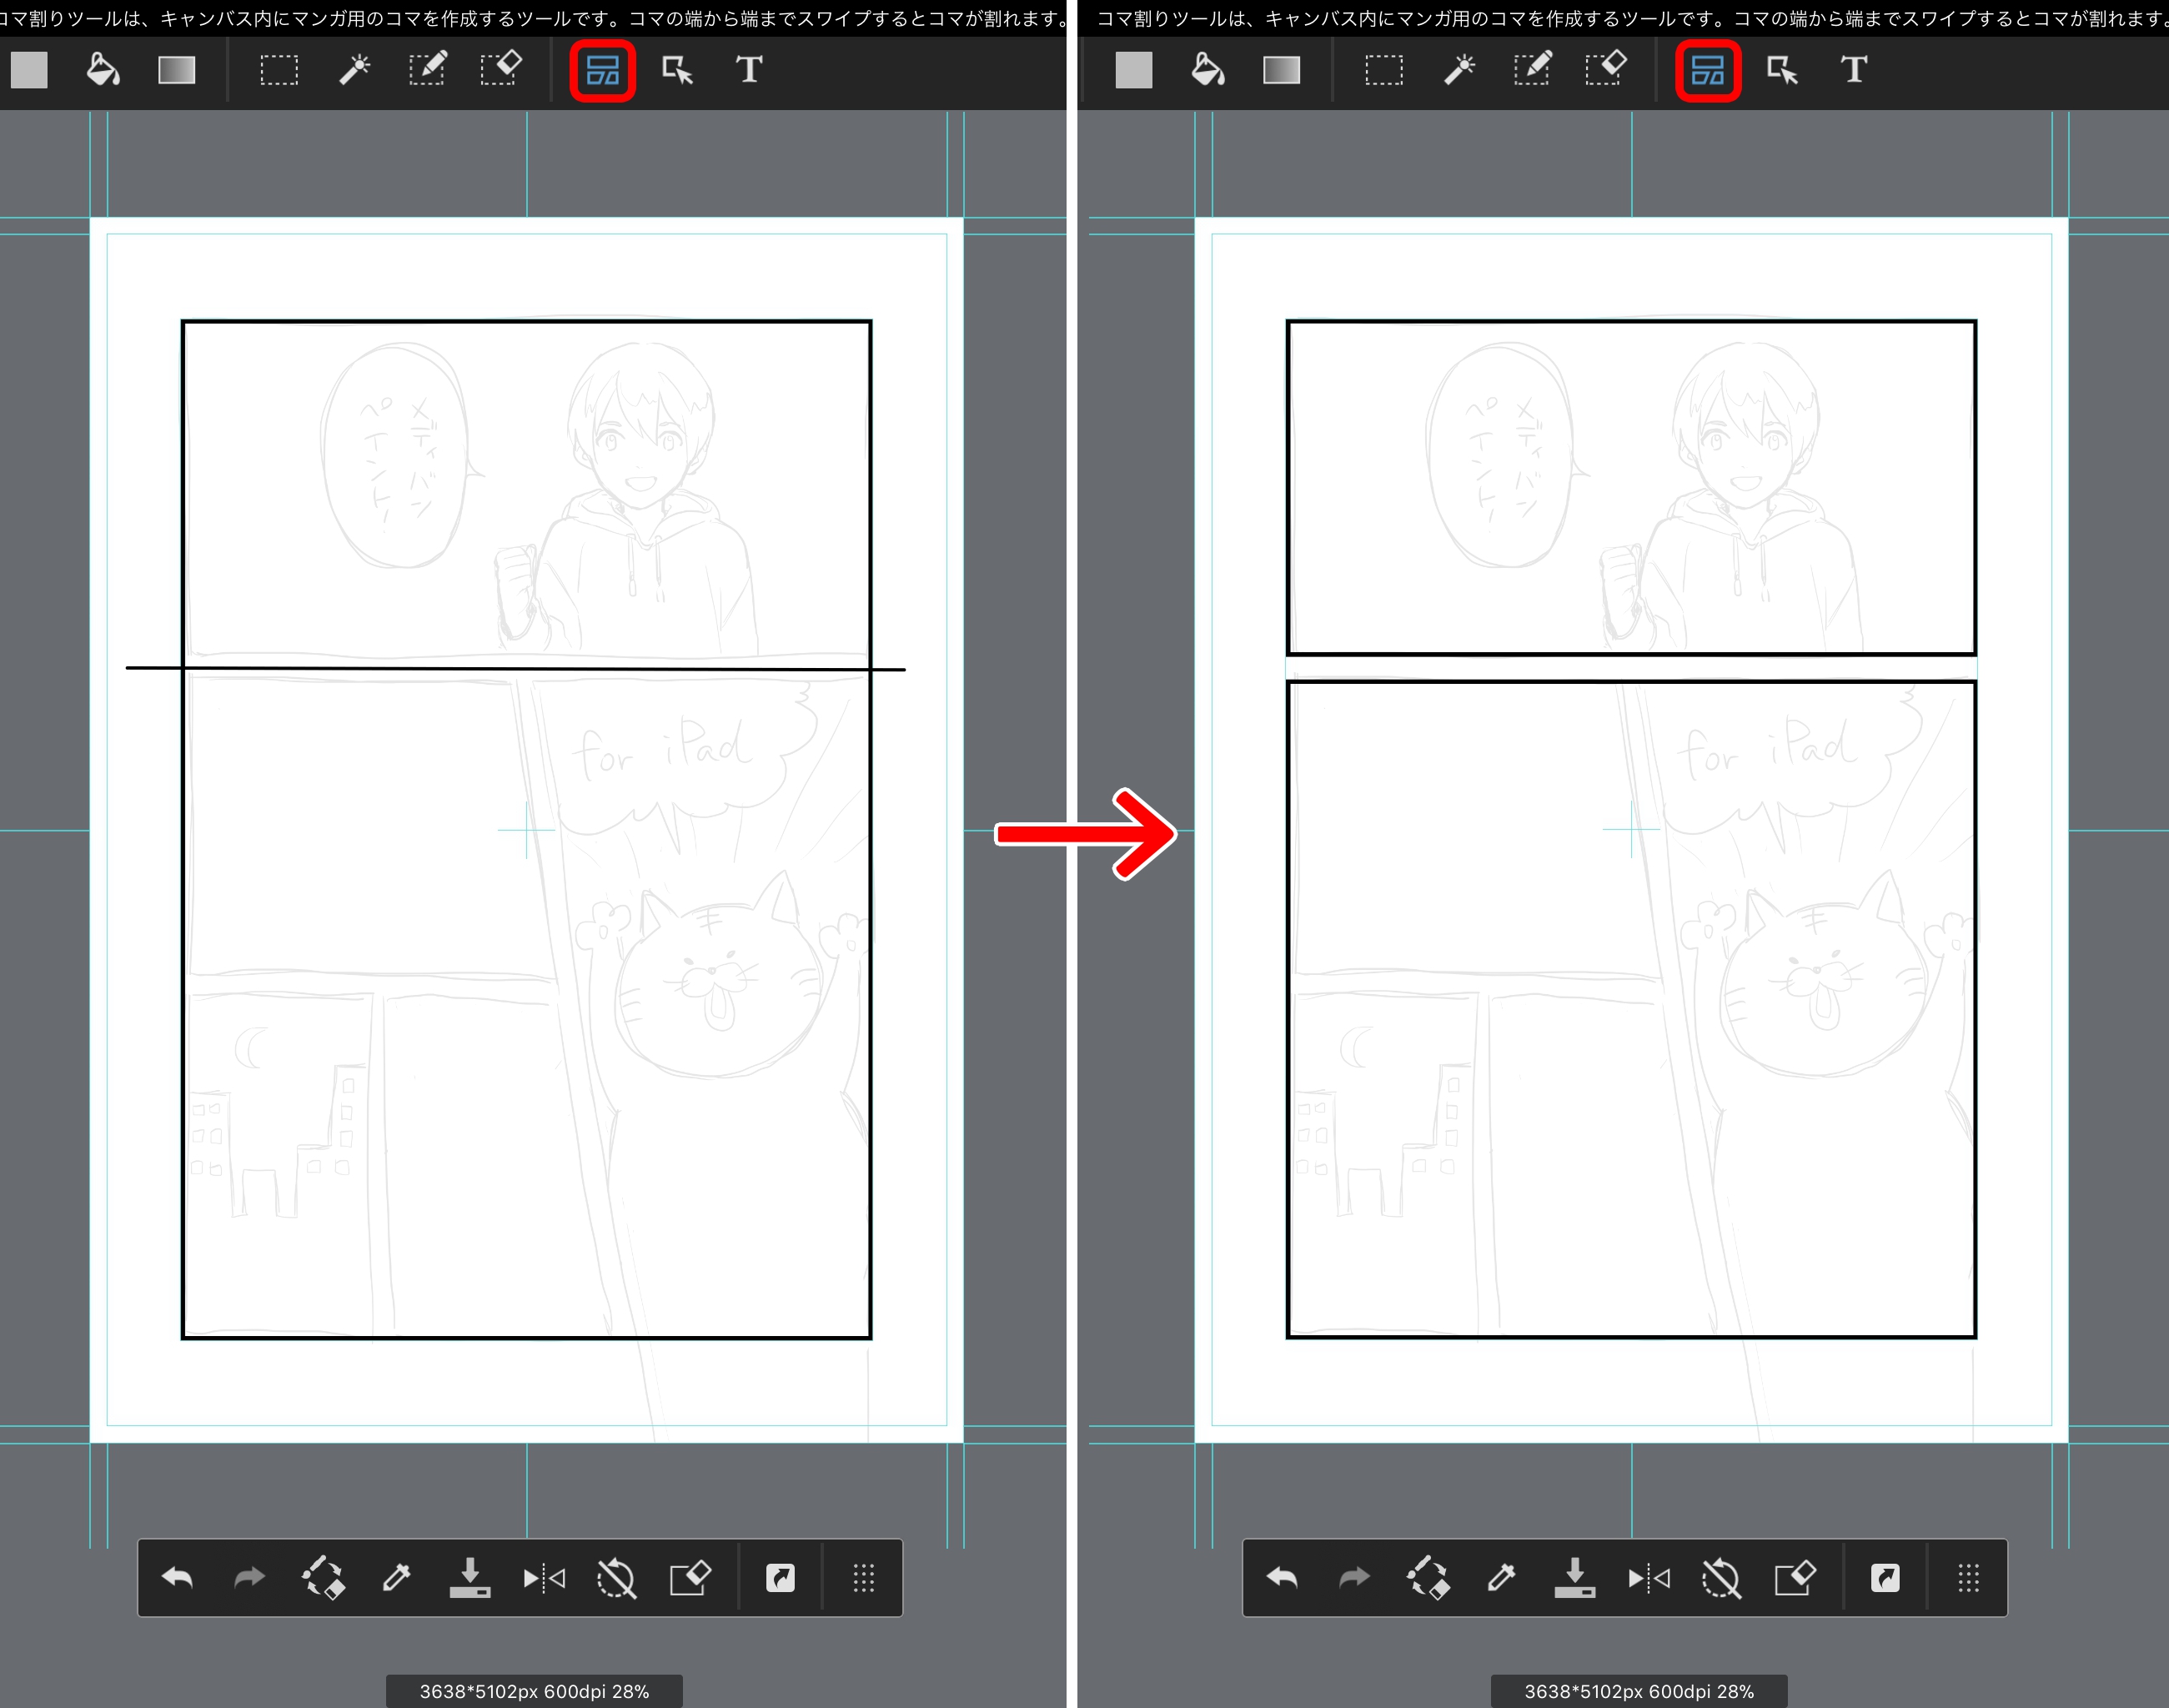
The panel will not be divided if the line is not drawn fully to the outside of the panel.
We can use the “Automatic Panel Creation” feature to divide panels evenly.
This feature divides the currently selected panel in half, so you must have a panel already selected with the Manipulate Tool before using it.
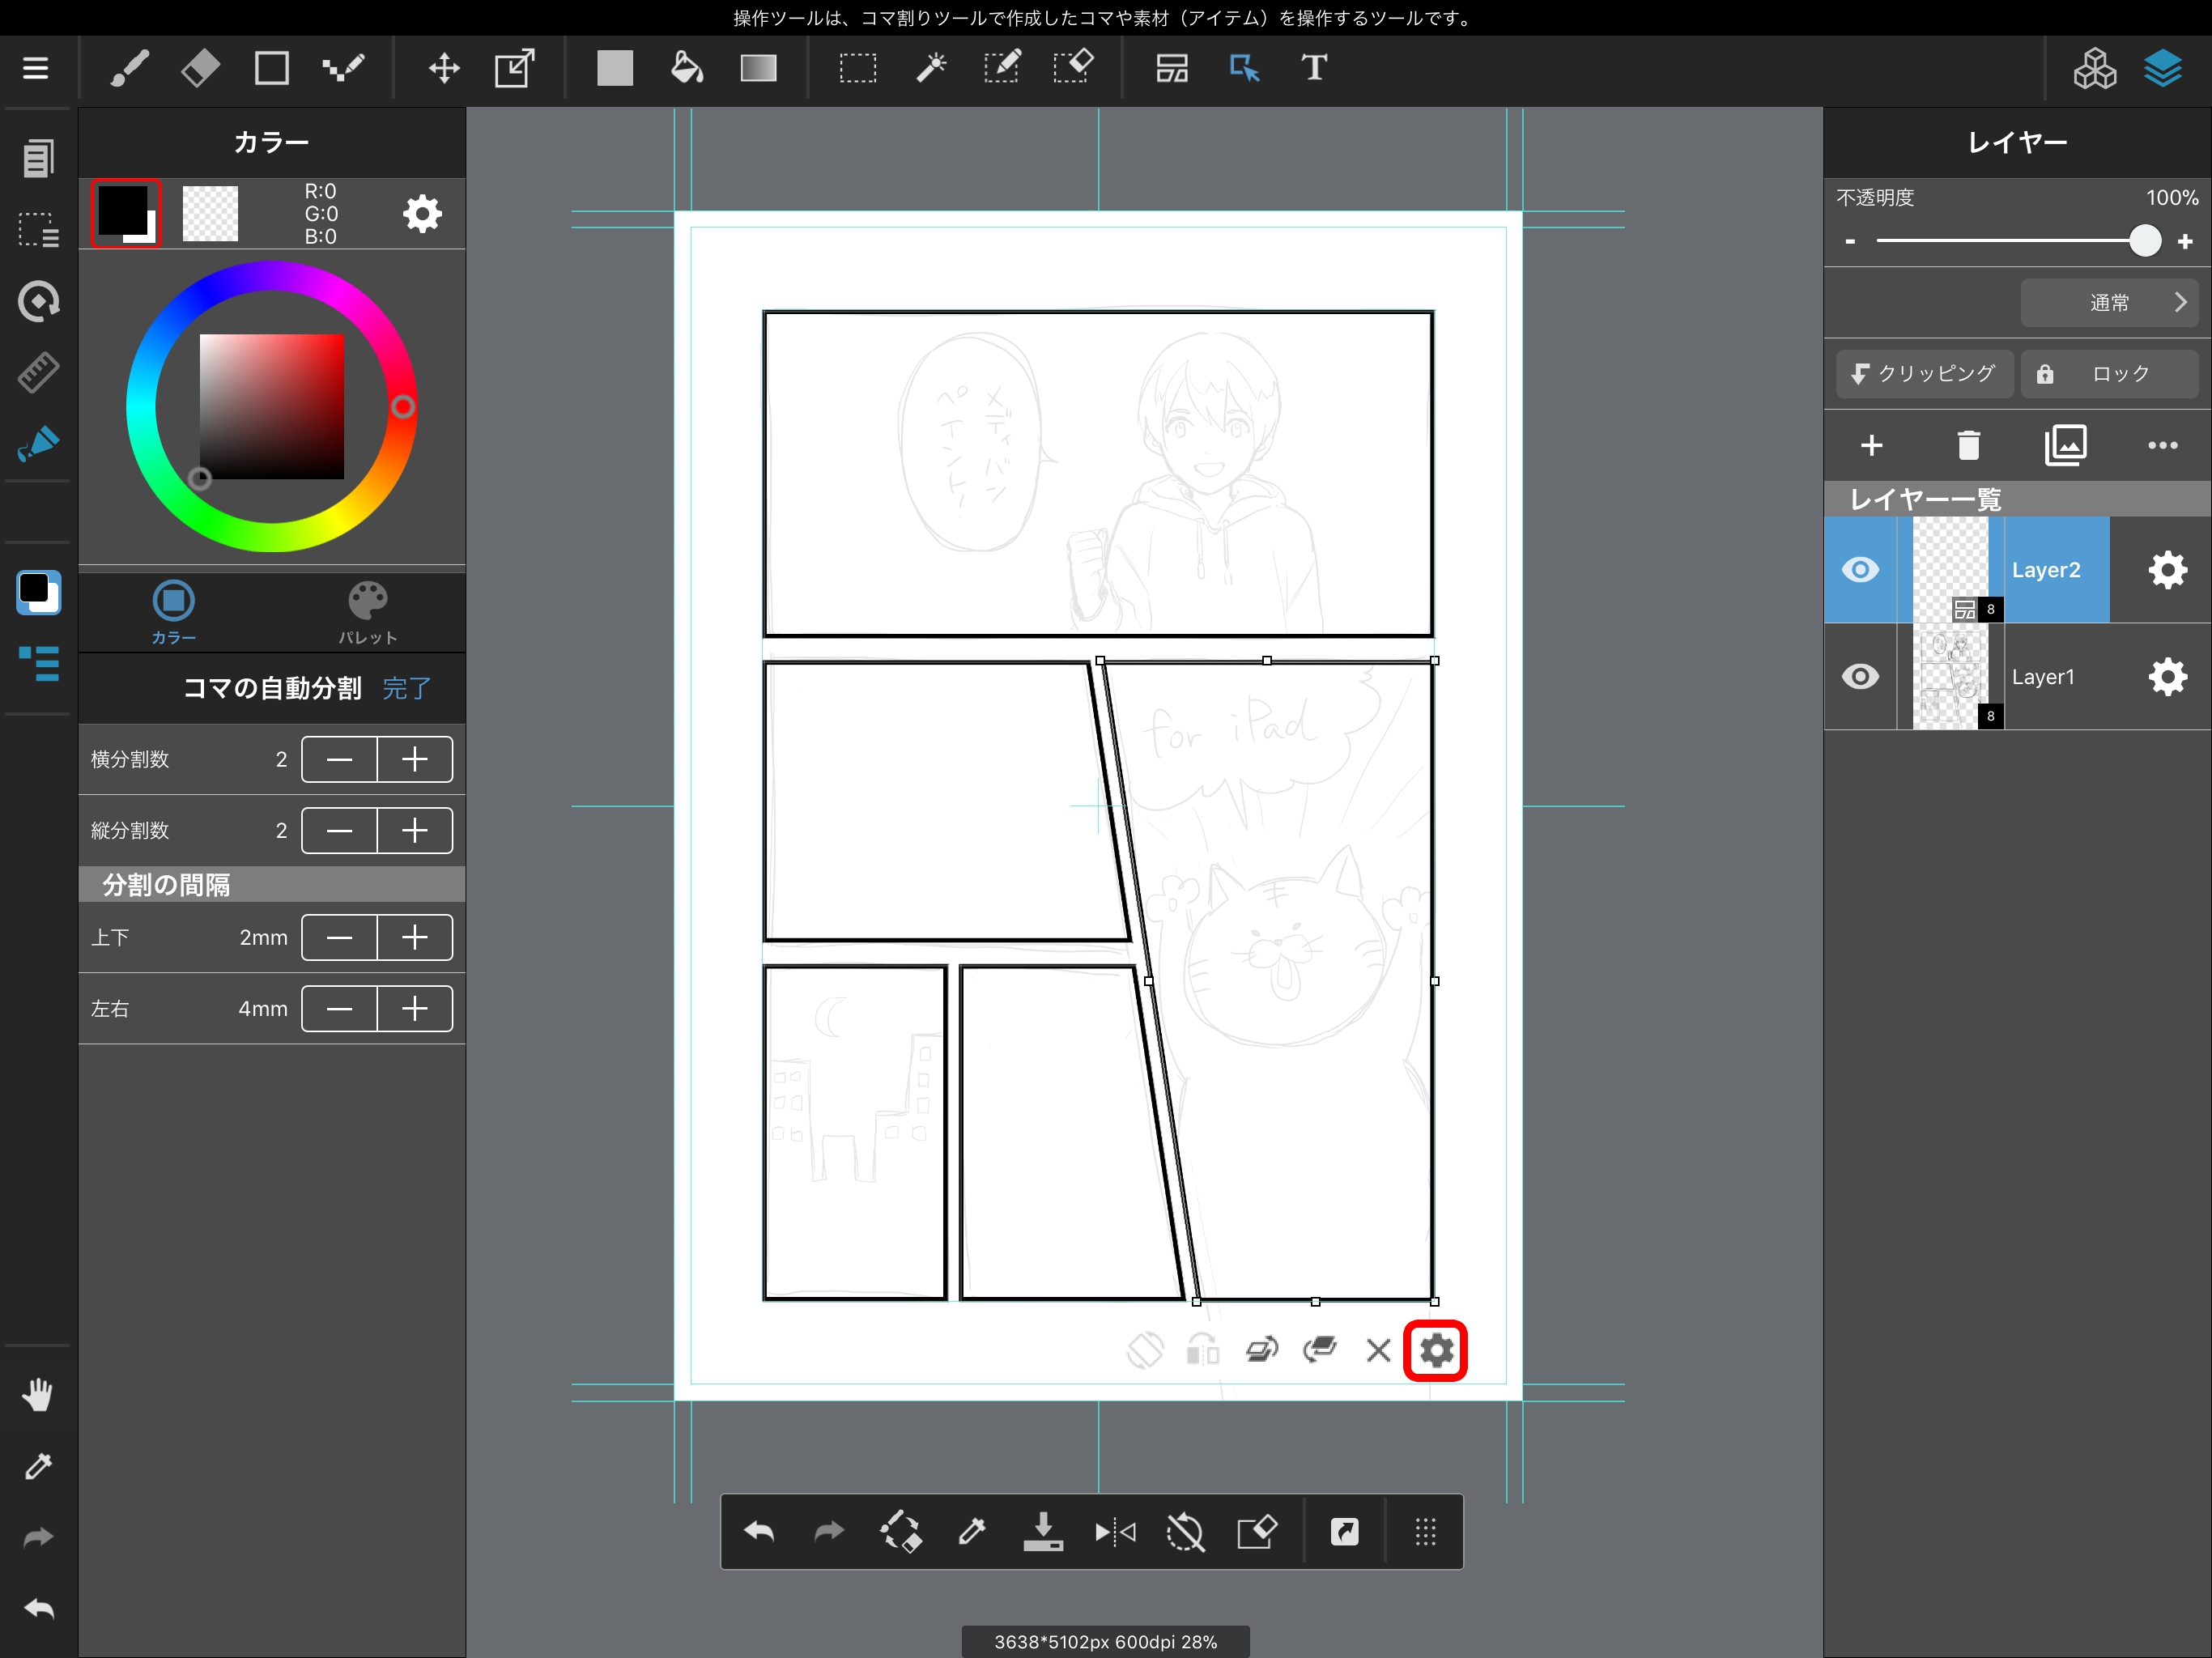
We can use the Manipulate Tool to transform, move, and delete panels.
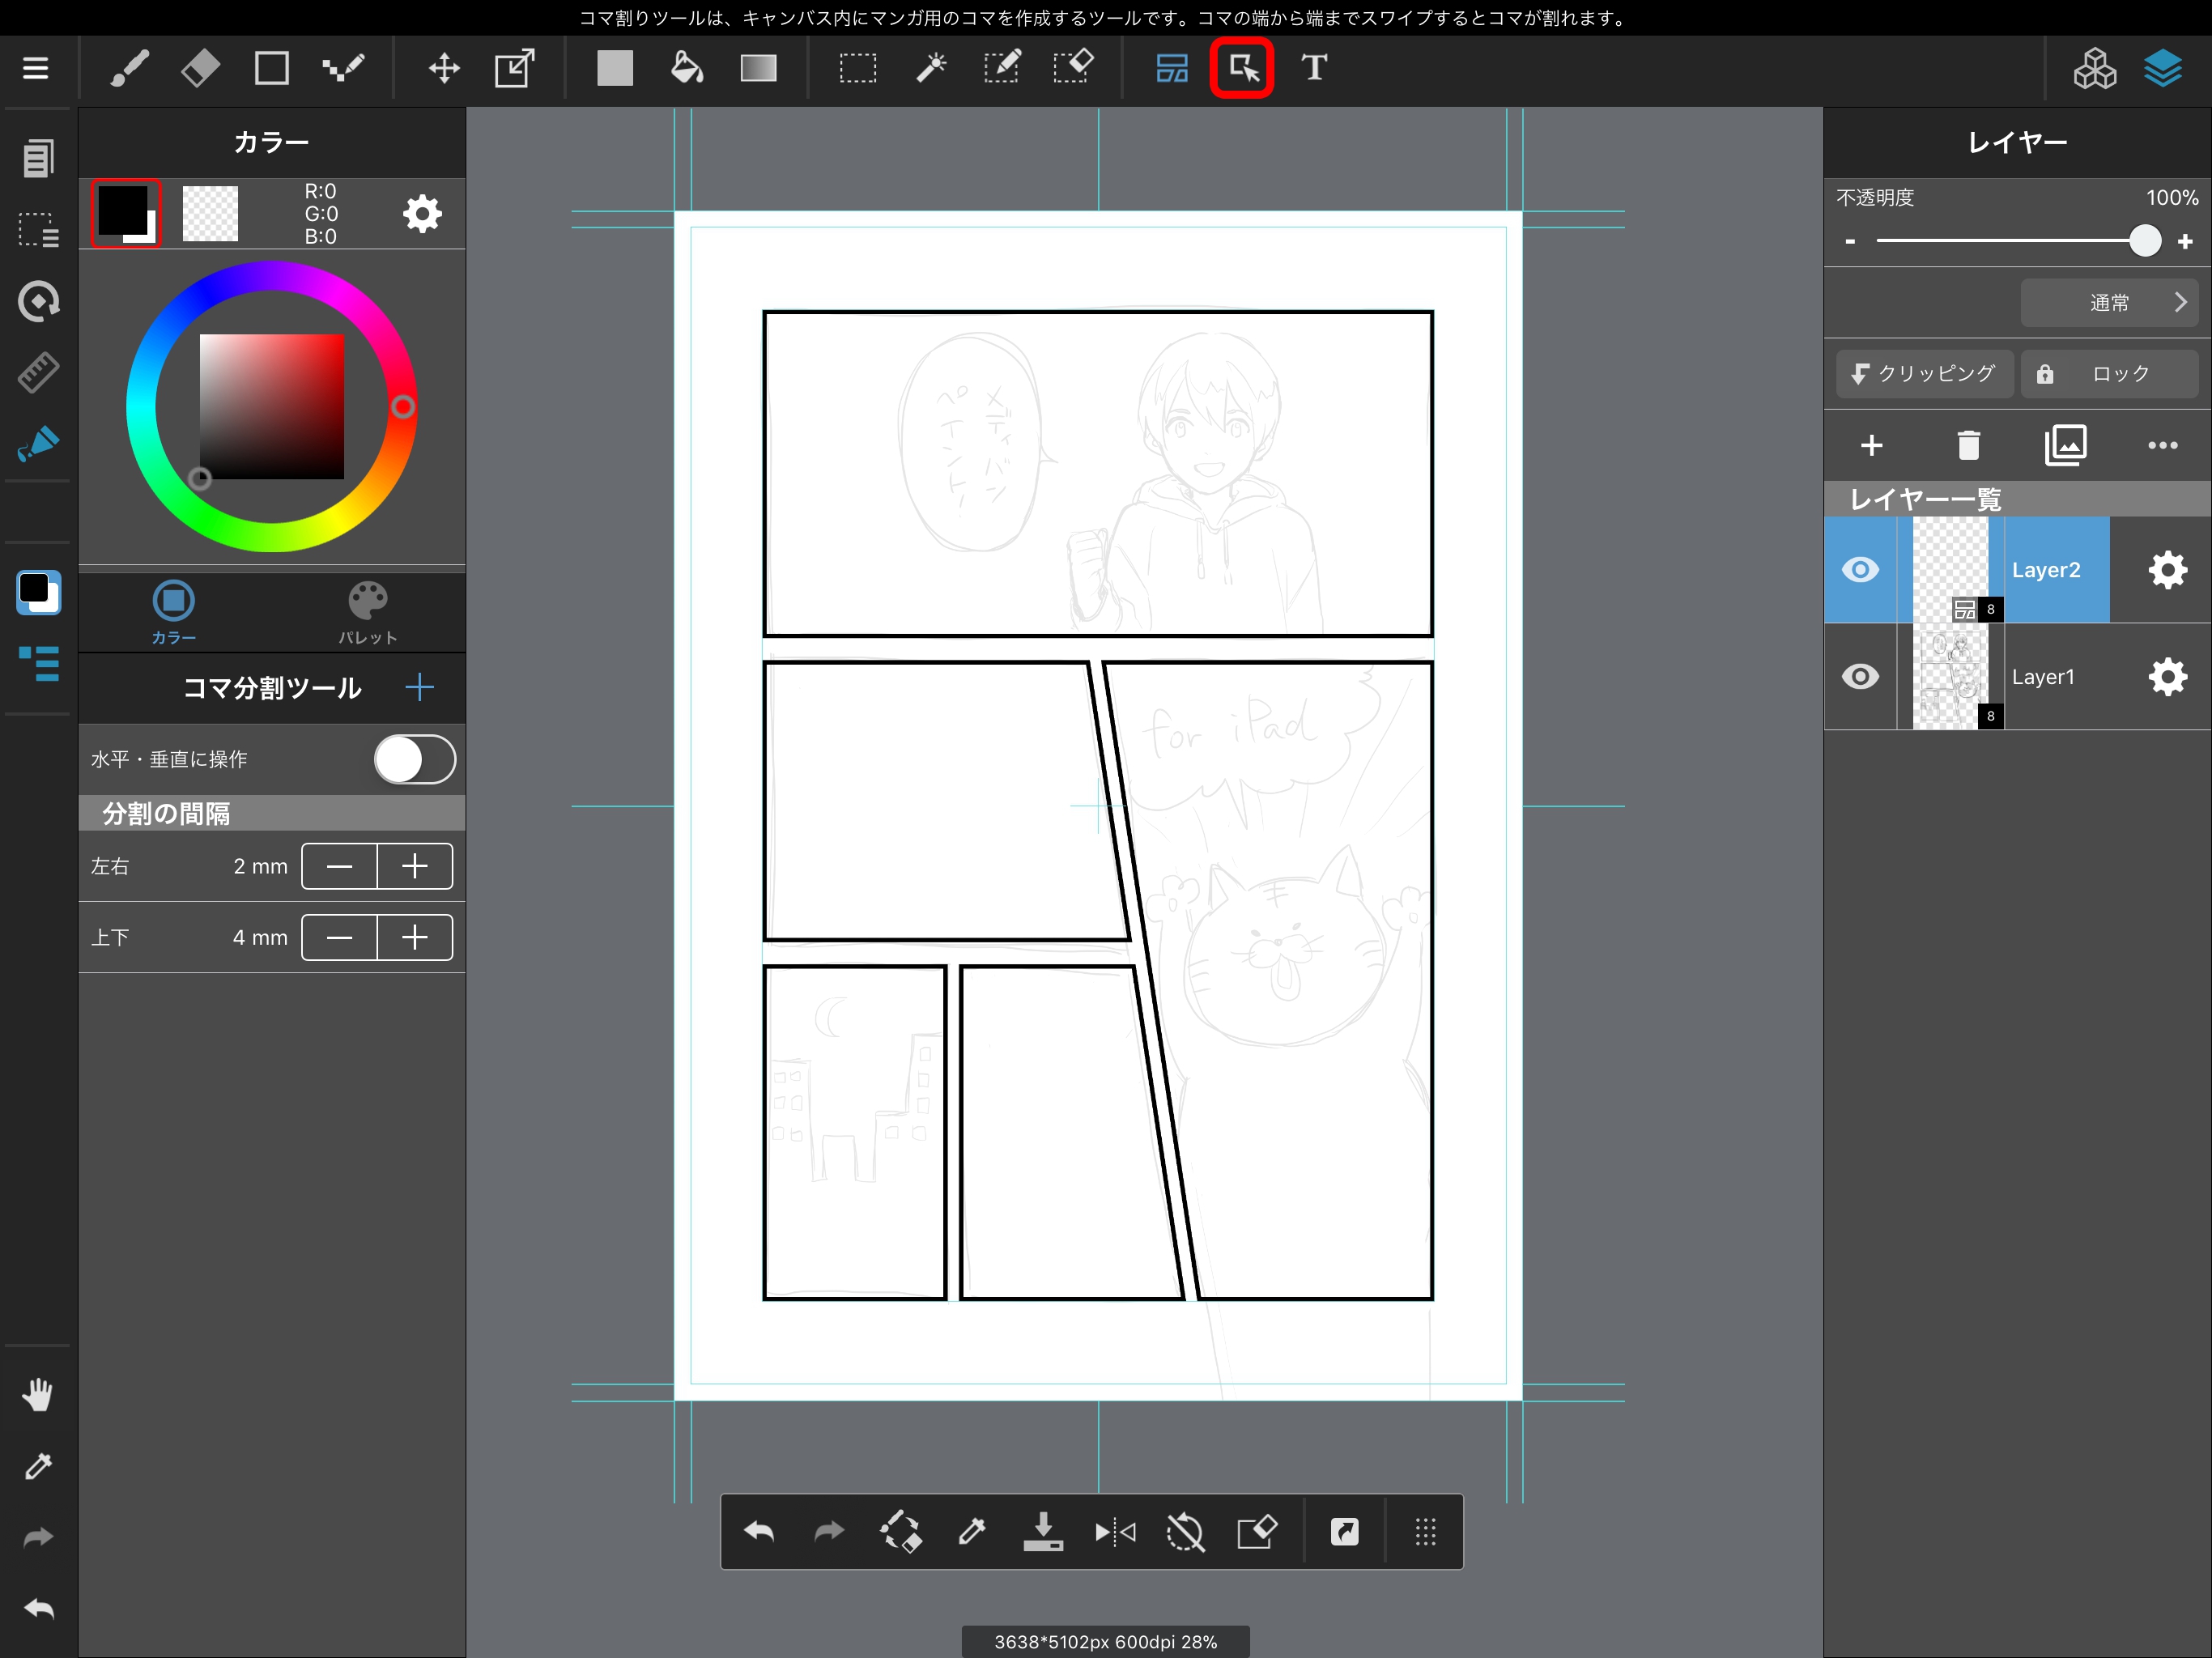
Select a panel with the Manipulate Tool and the panel will be surrounded by small squares.

While a panel is selected, you can change its width and the thickness of its lines from the gear symbol that appears underneath the panel.
Now that we’ve made some panels, let’s ink our sketch on a new layer.
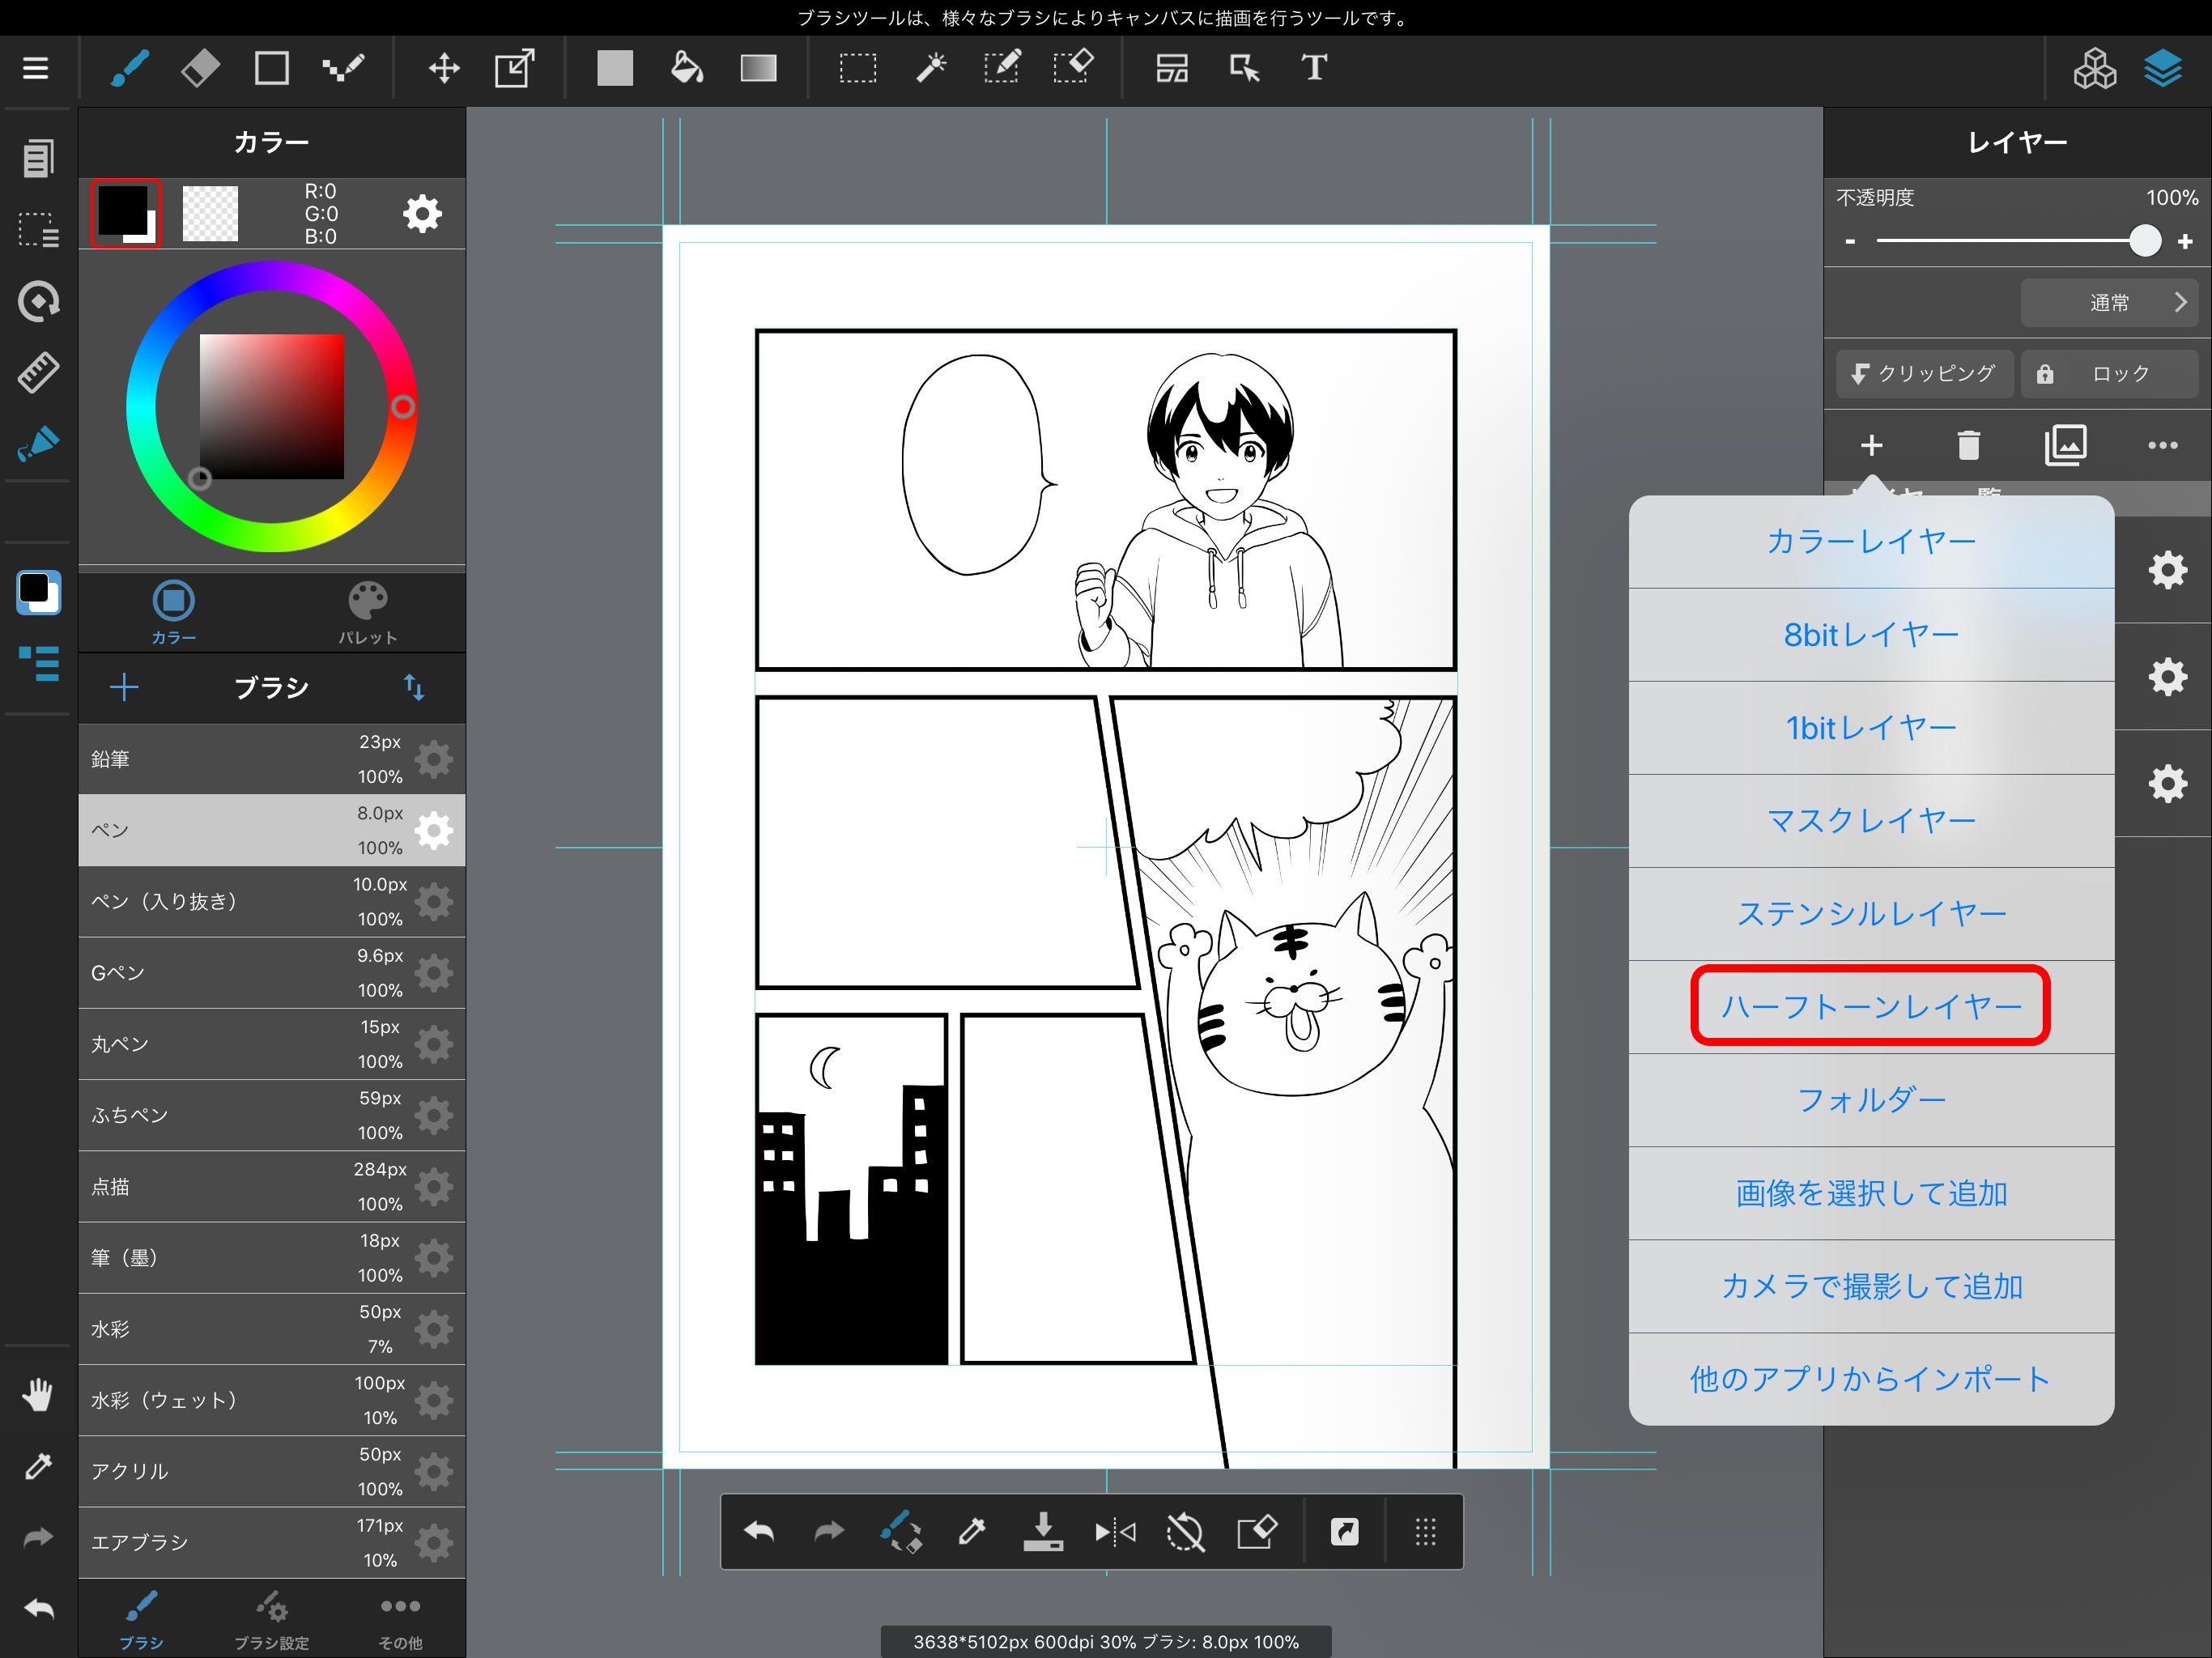
When we’re done inking, let’s add screentone to our image.
First, select “Halftone layer” from the New Layer menu.
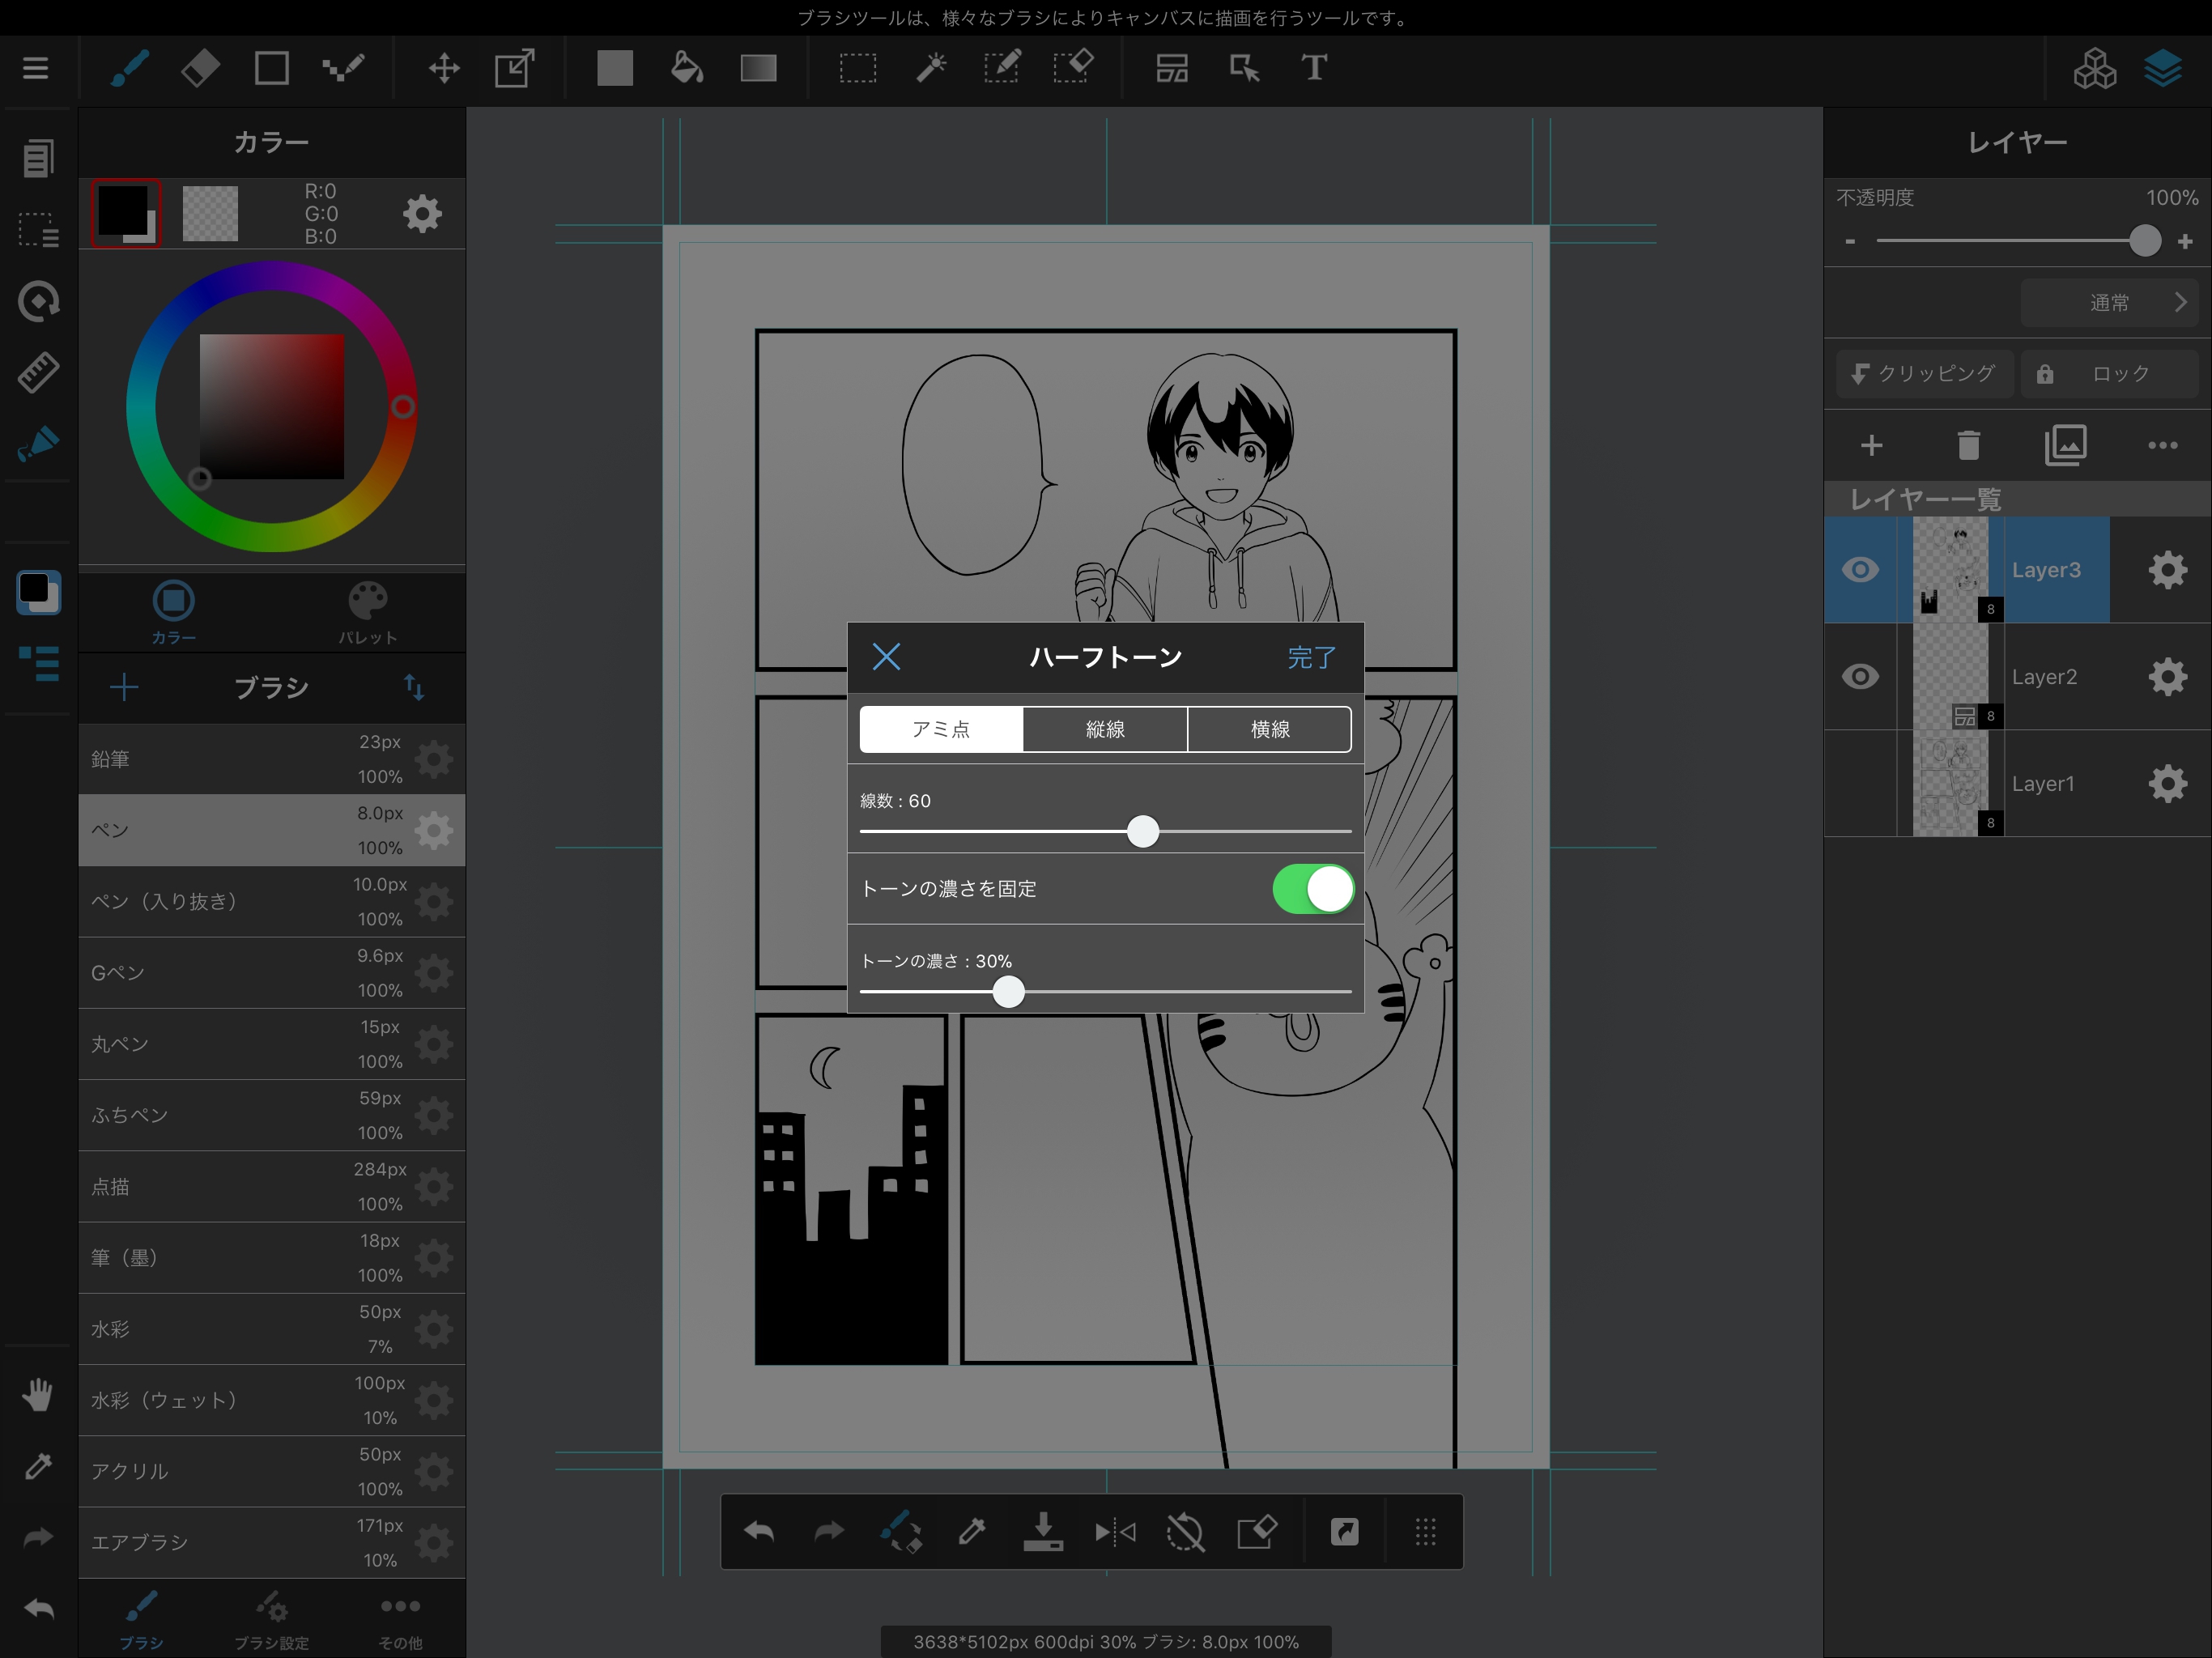
This will open a menu where we can configure our screentone settings. Set the line count to 60, check “Fix tone depth,” and set the depth to 30%.
We’re done setting up, so let’s fill the areas we want to fill with screentone.
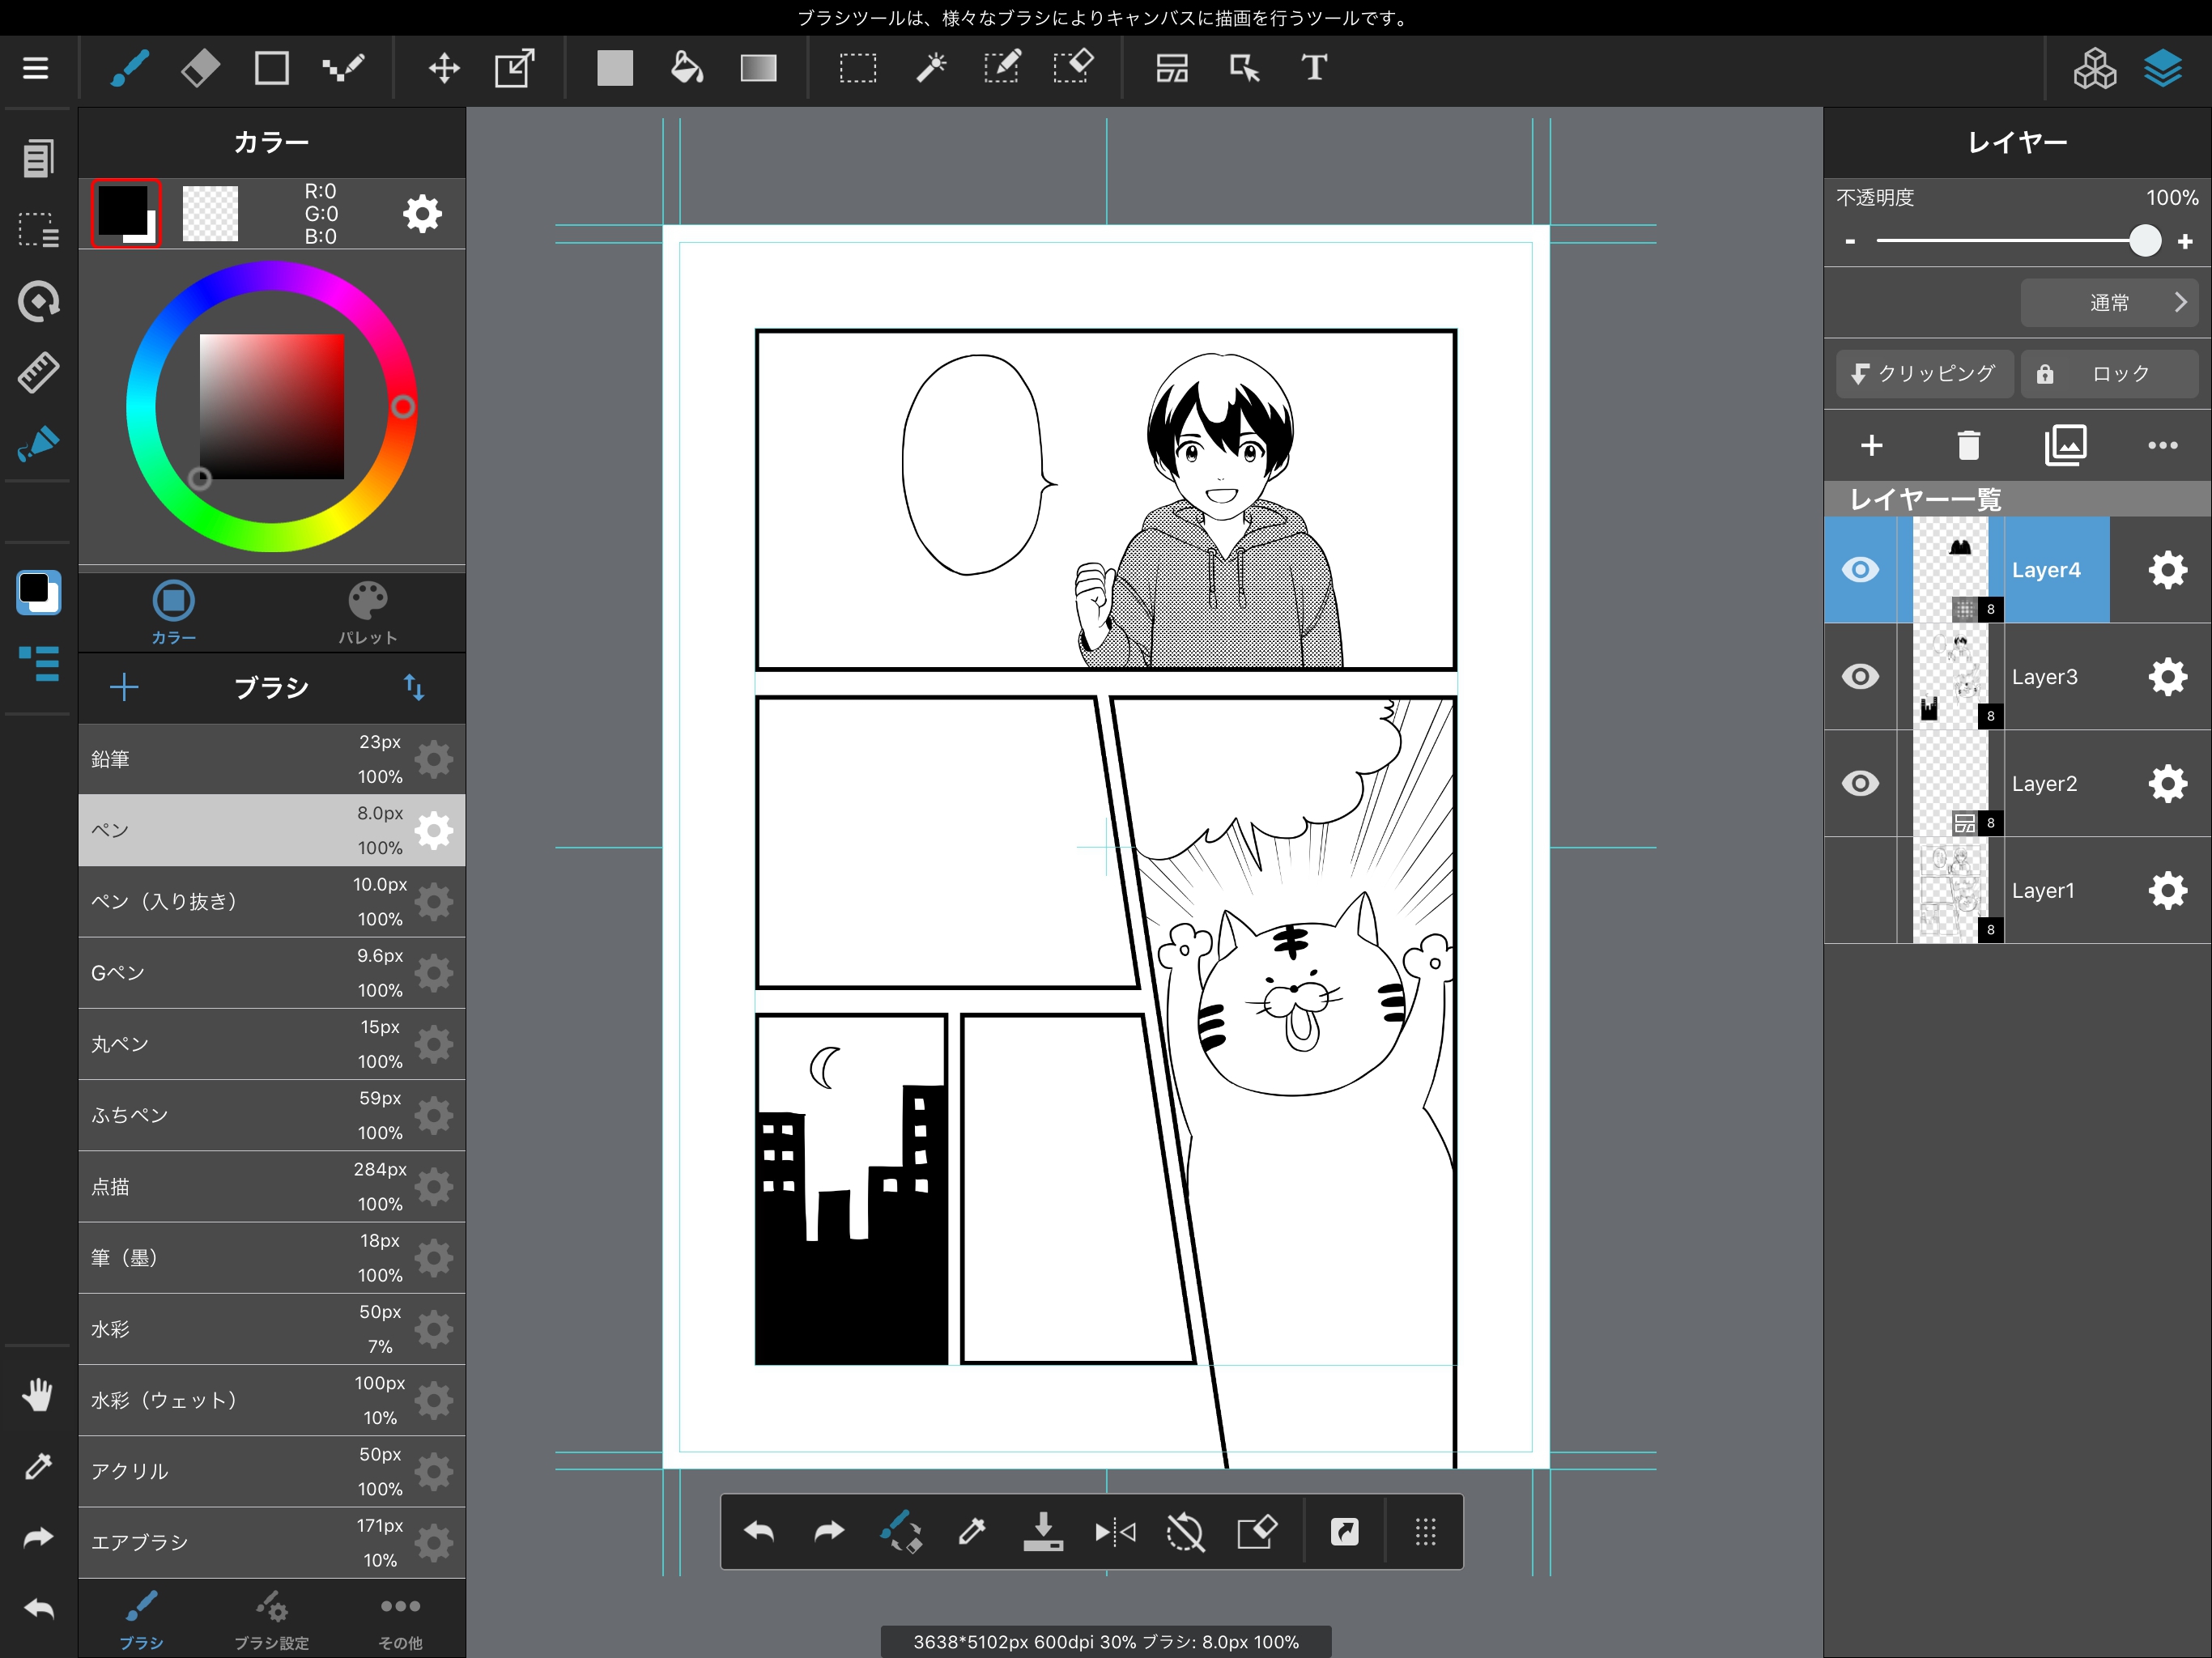
We can now apply halftone using the brush or bucket tool, just as if we were painting it on.
Let’s start applying screentone using our halftone layer with its line count and tone depth changed.
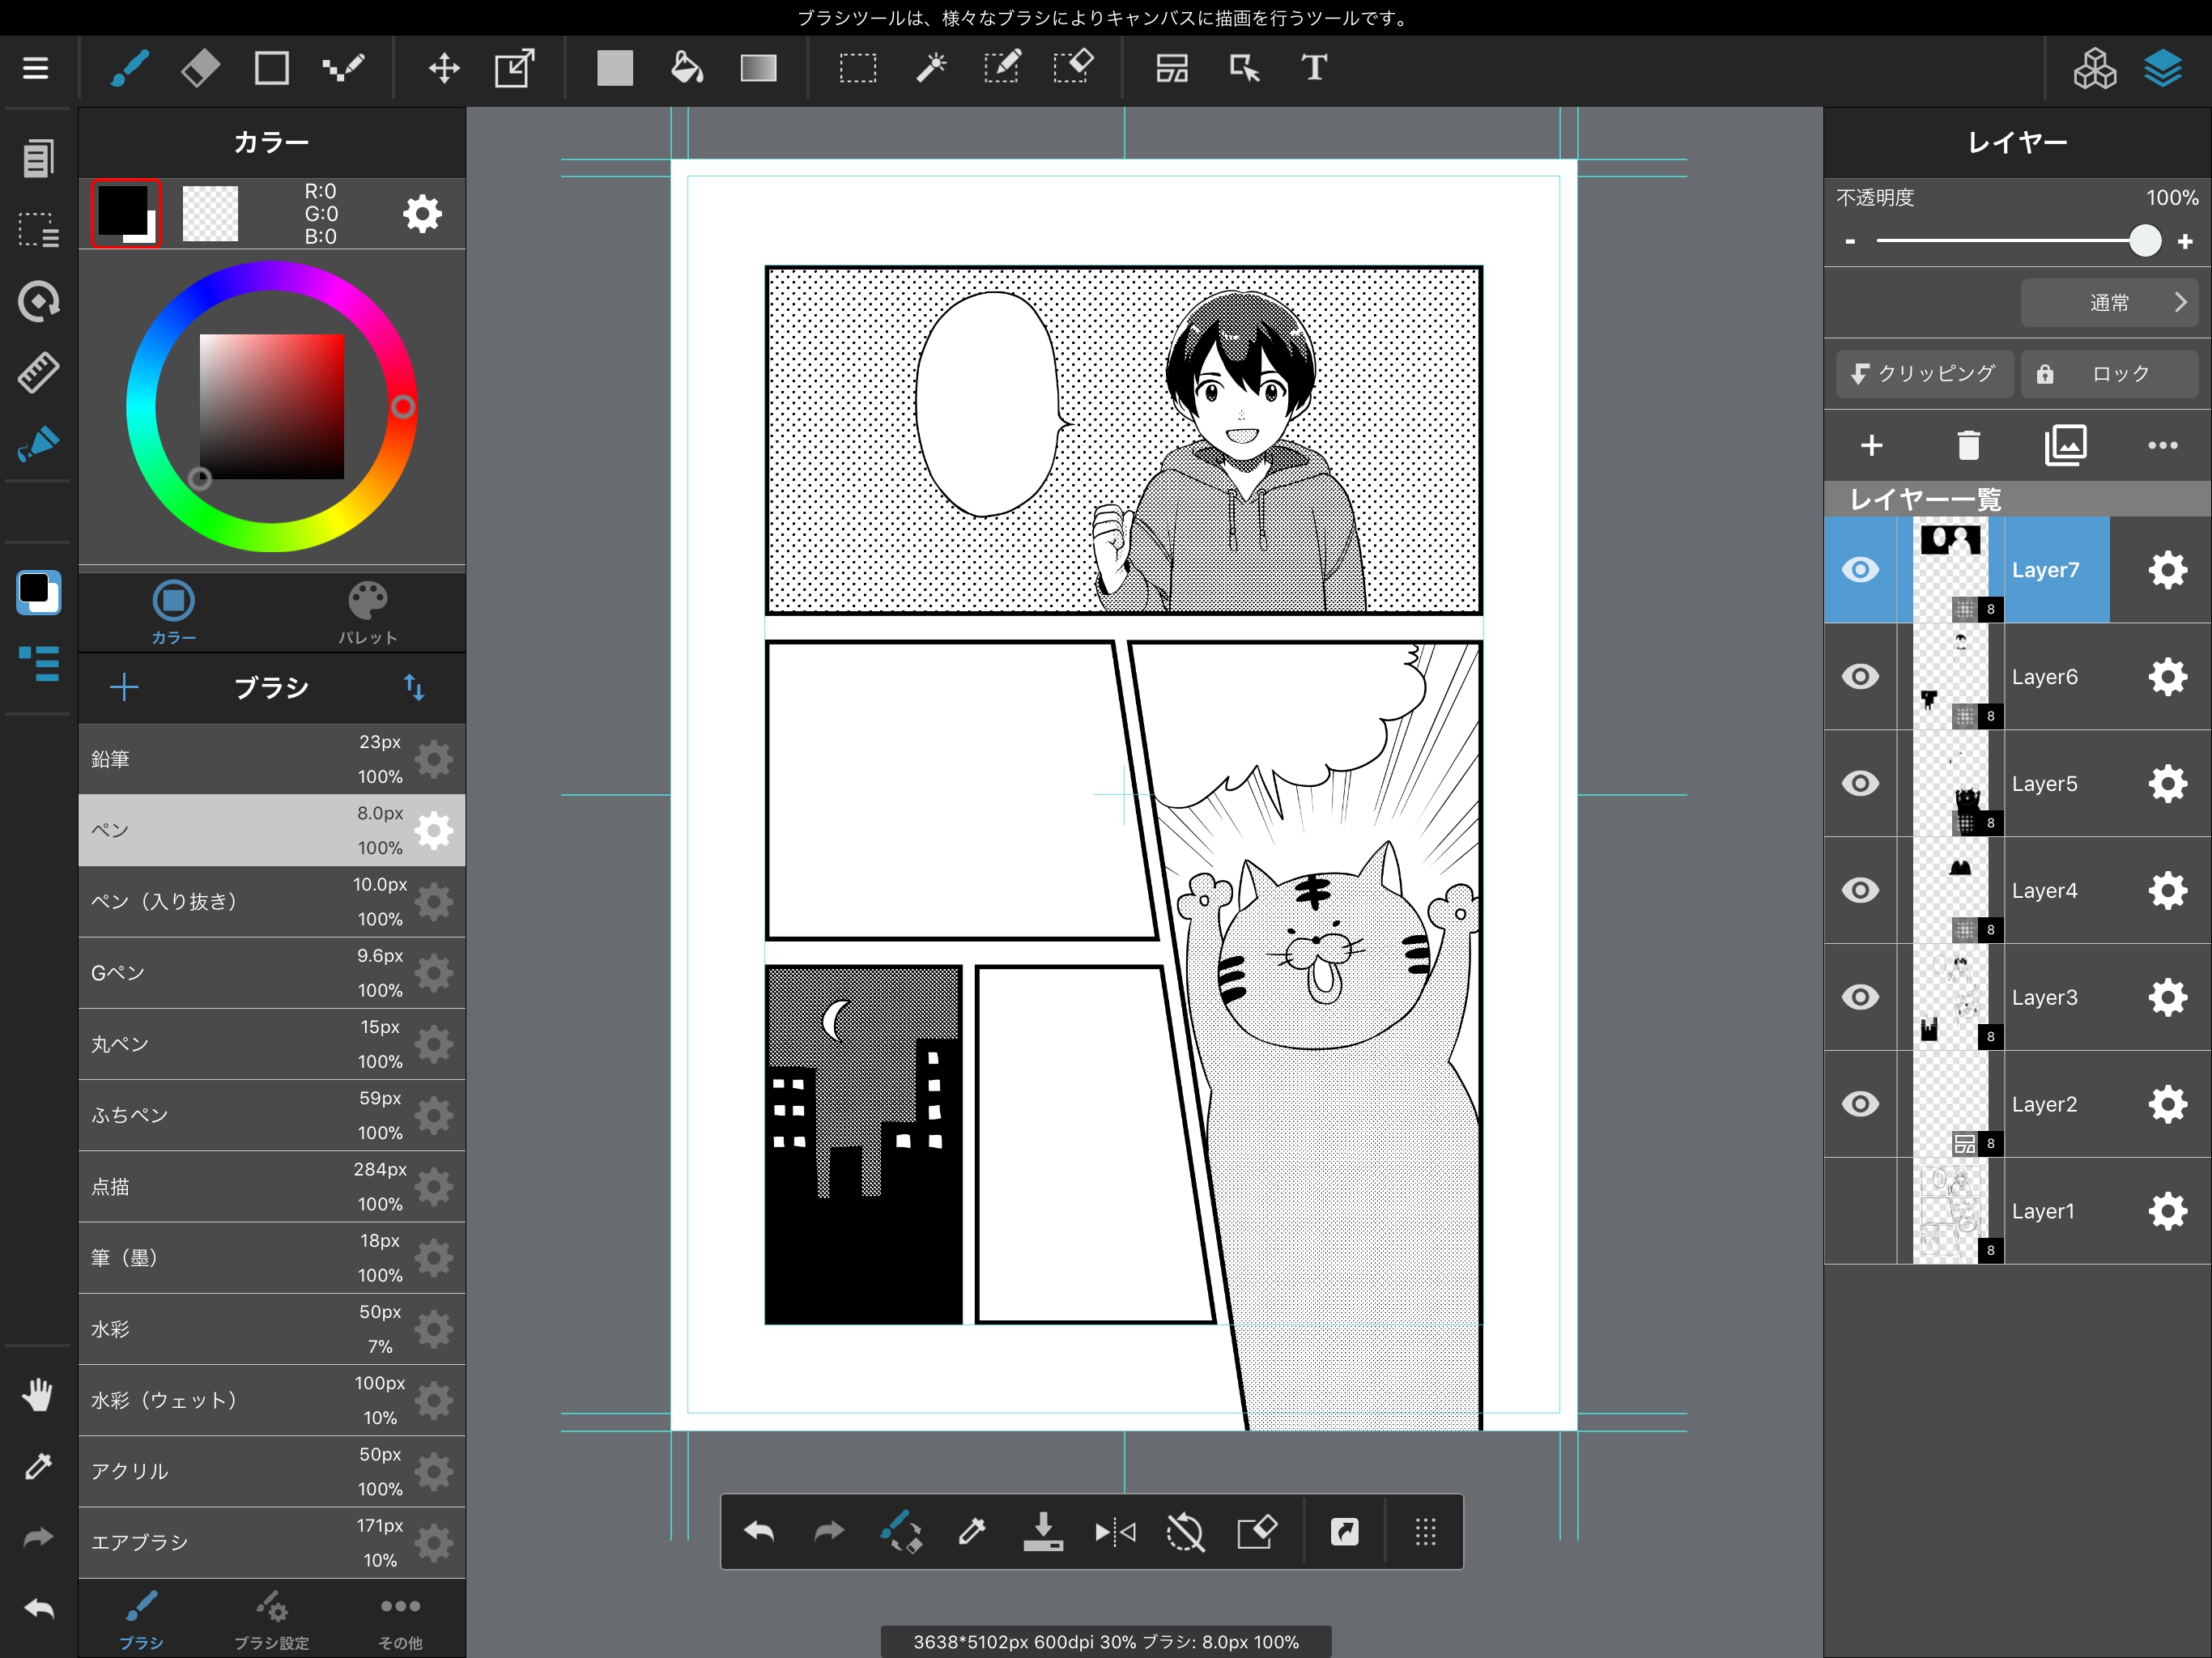
If you want to change the type of tone, line count, or tone depth later, you can do so from the gear icon found to the right of the halftone layer.

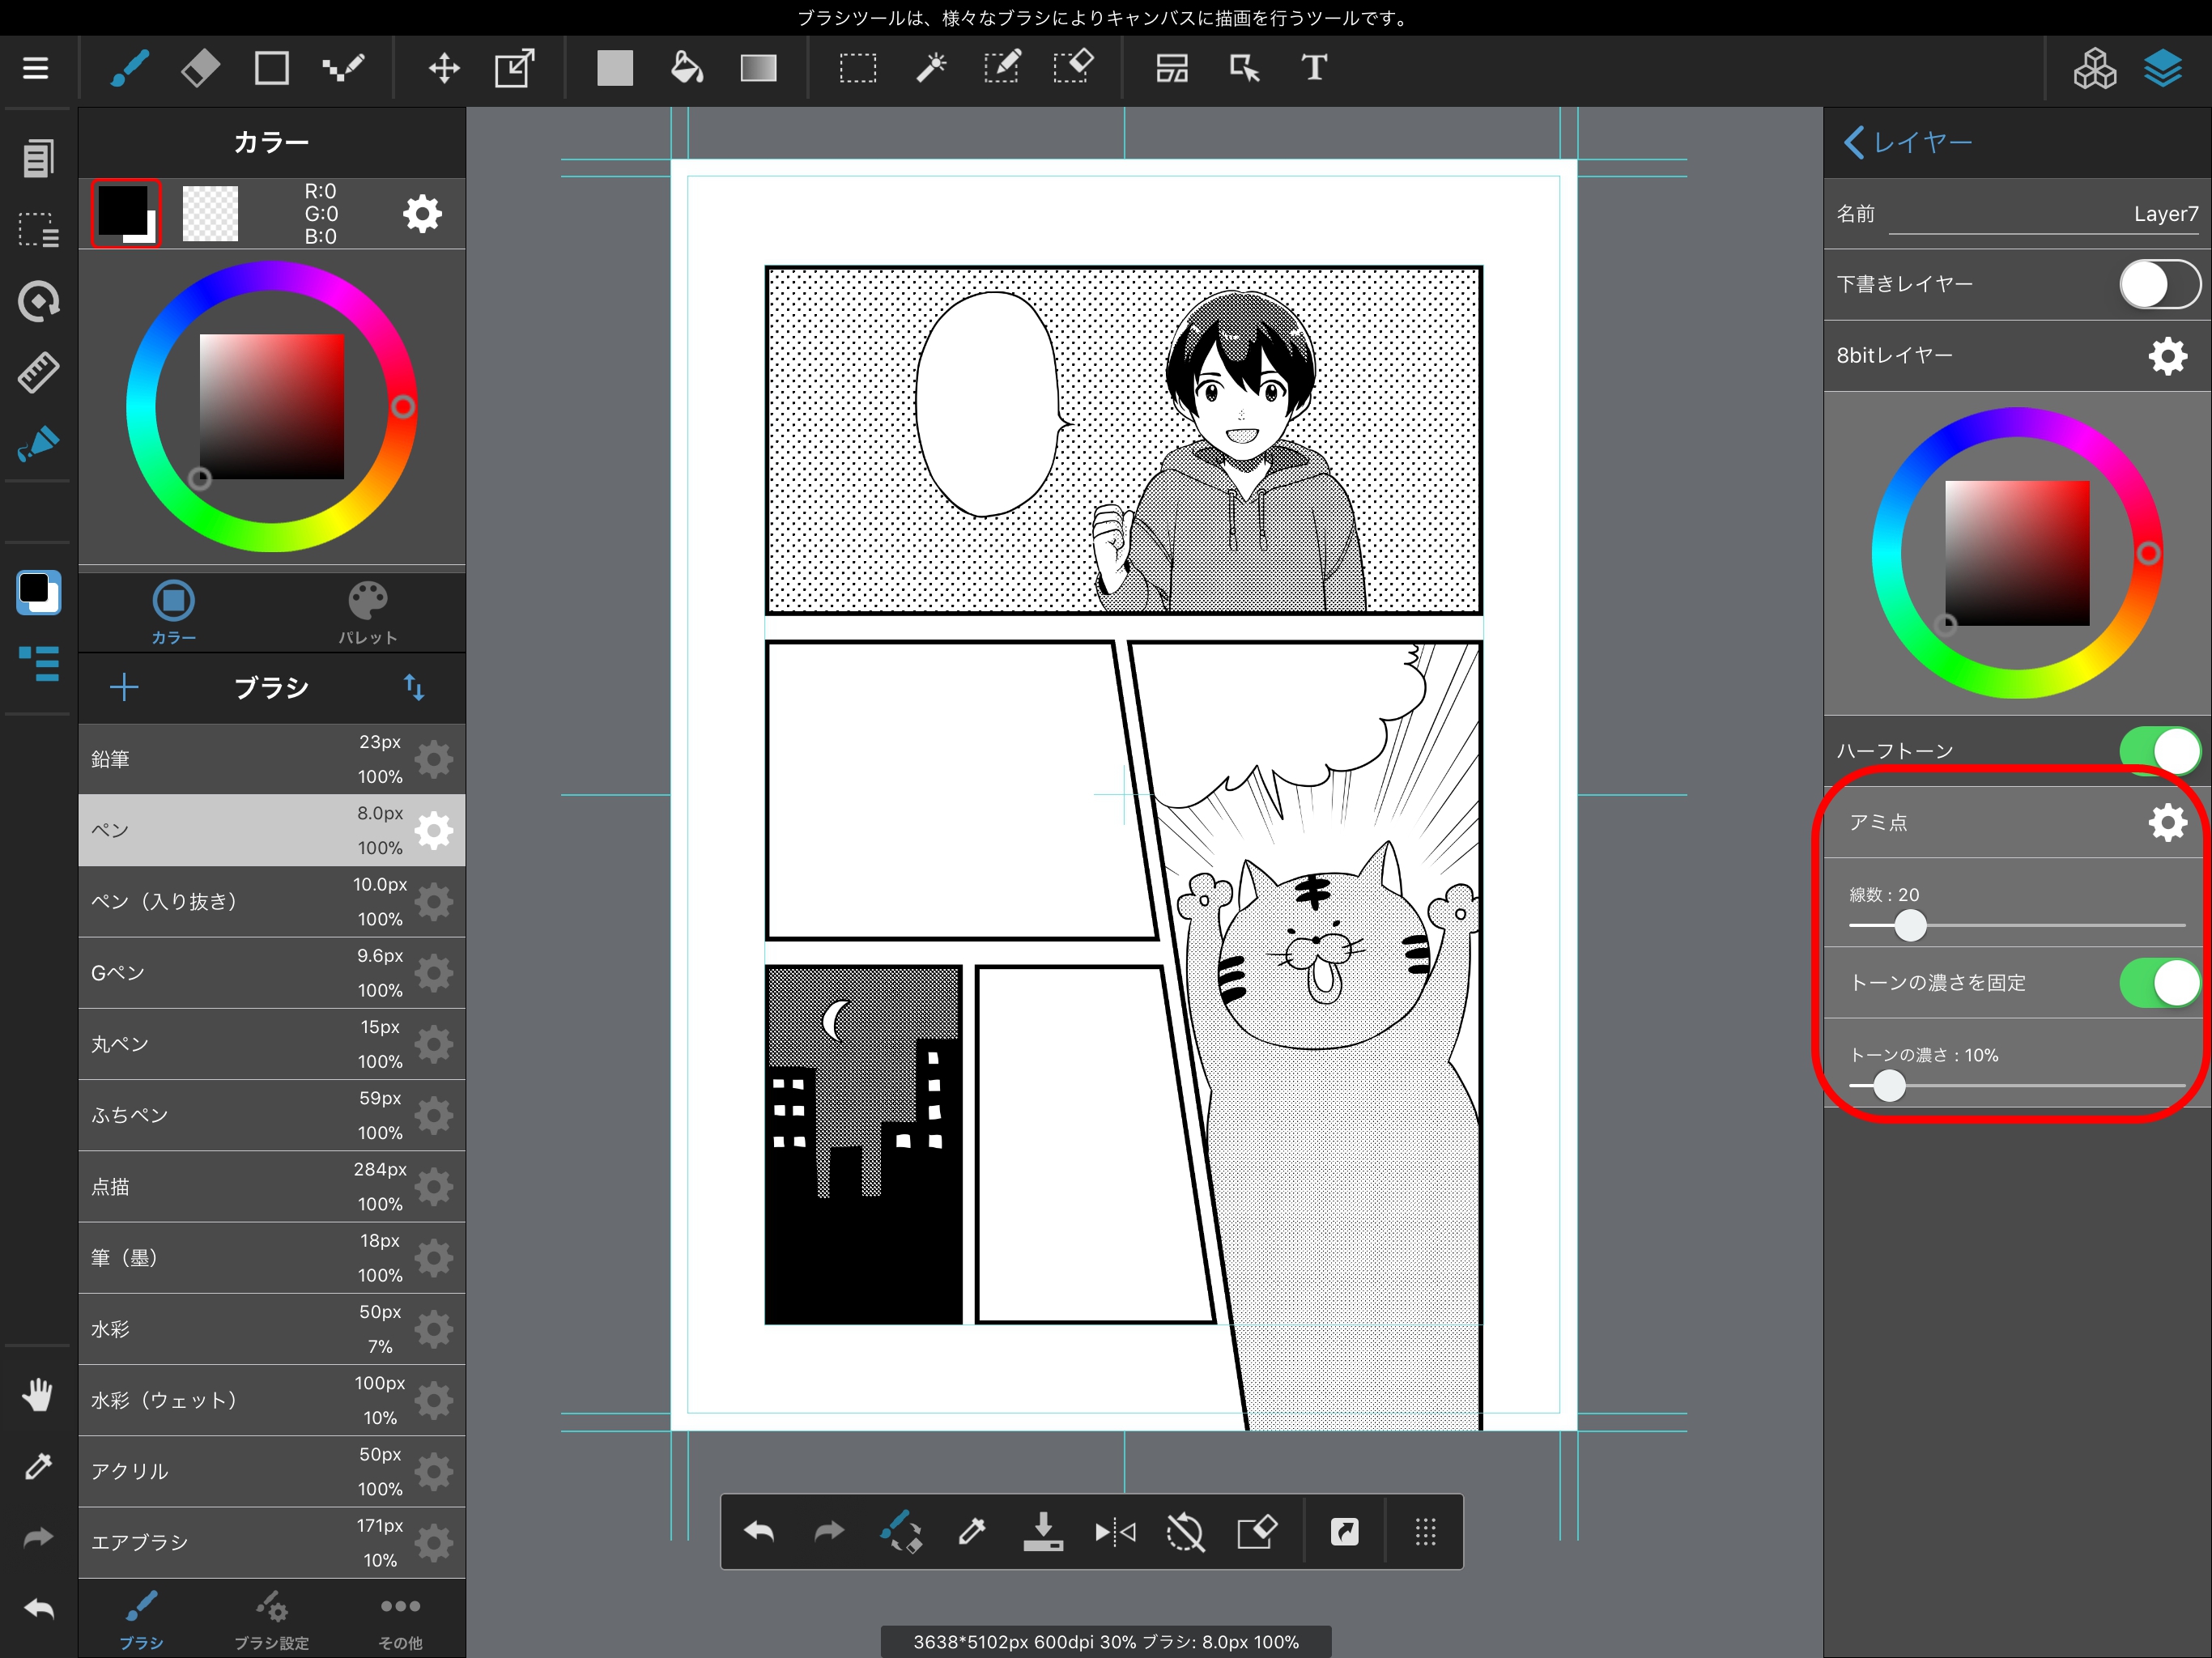
If you don’t check “Fix tone depth” when setting up your screentone, the tone depth may vary according to the color you select.
Finally, let’s add text to our comic.
We can use the Text Tool to easily add text.
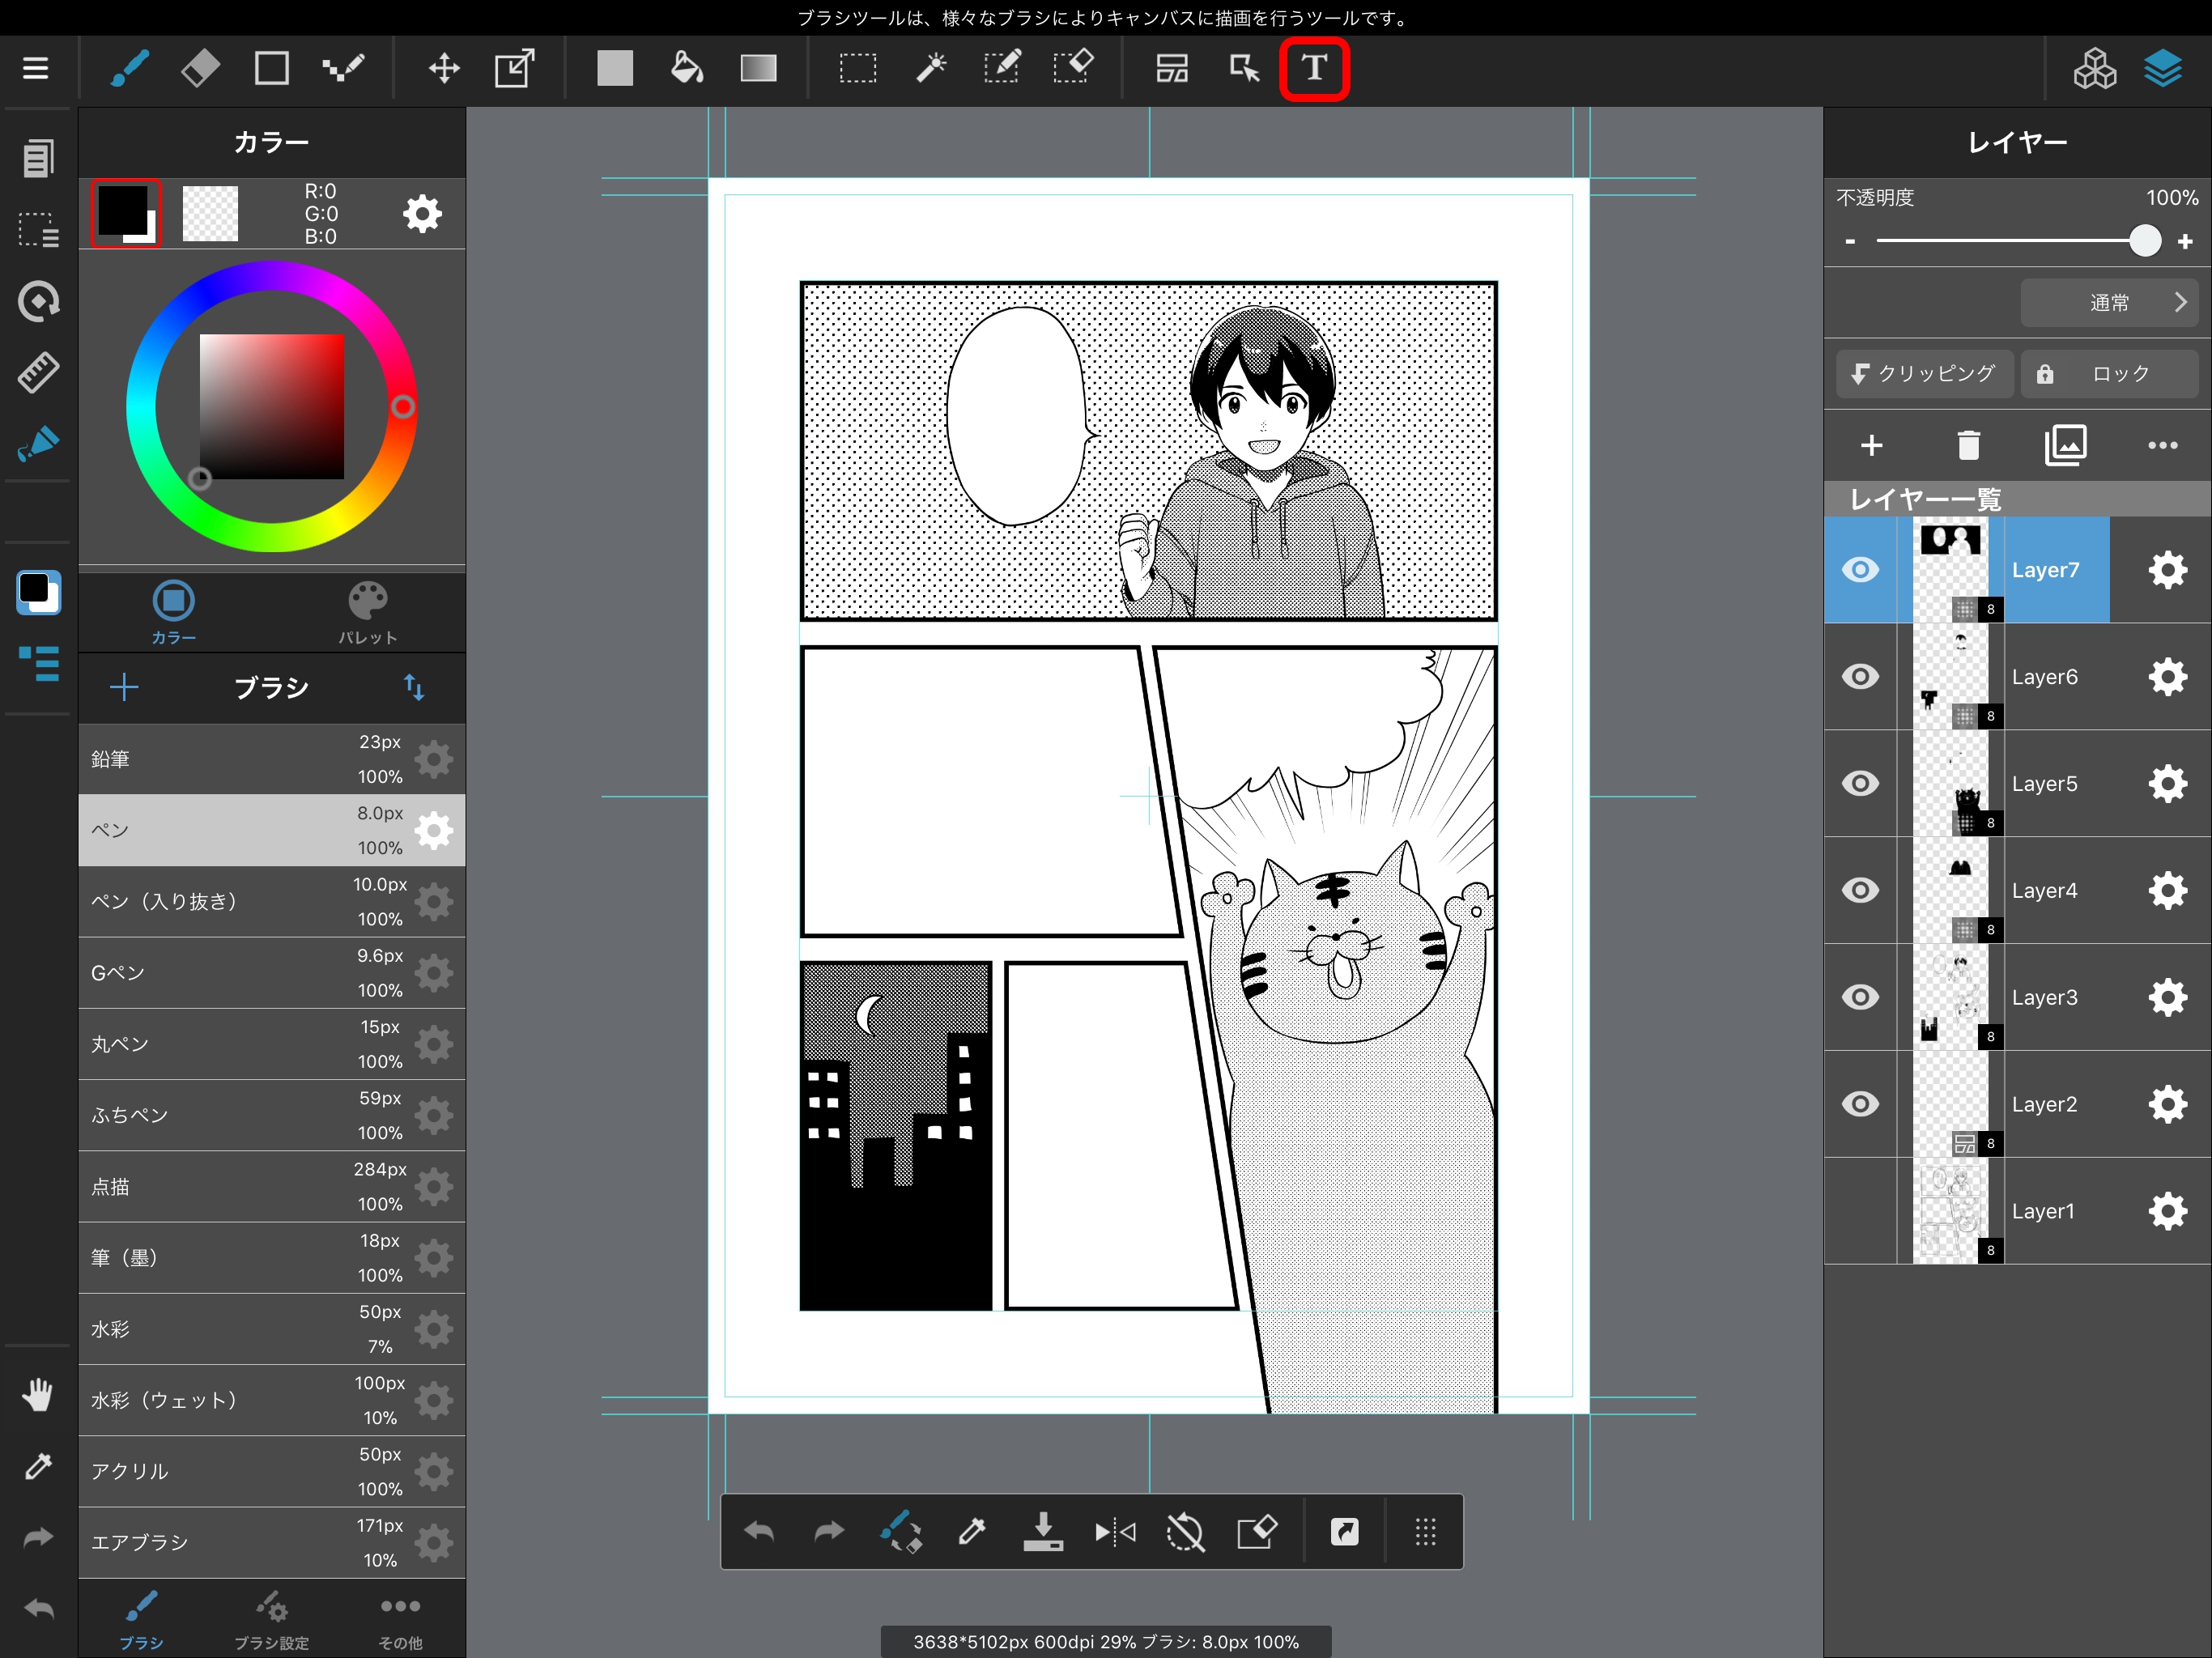
Select the Text Tool from the Toolbar and tap the location where you wish to add text.
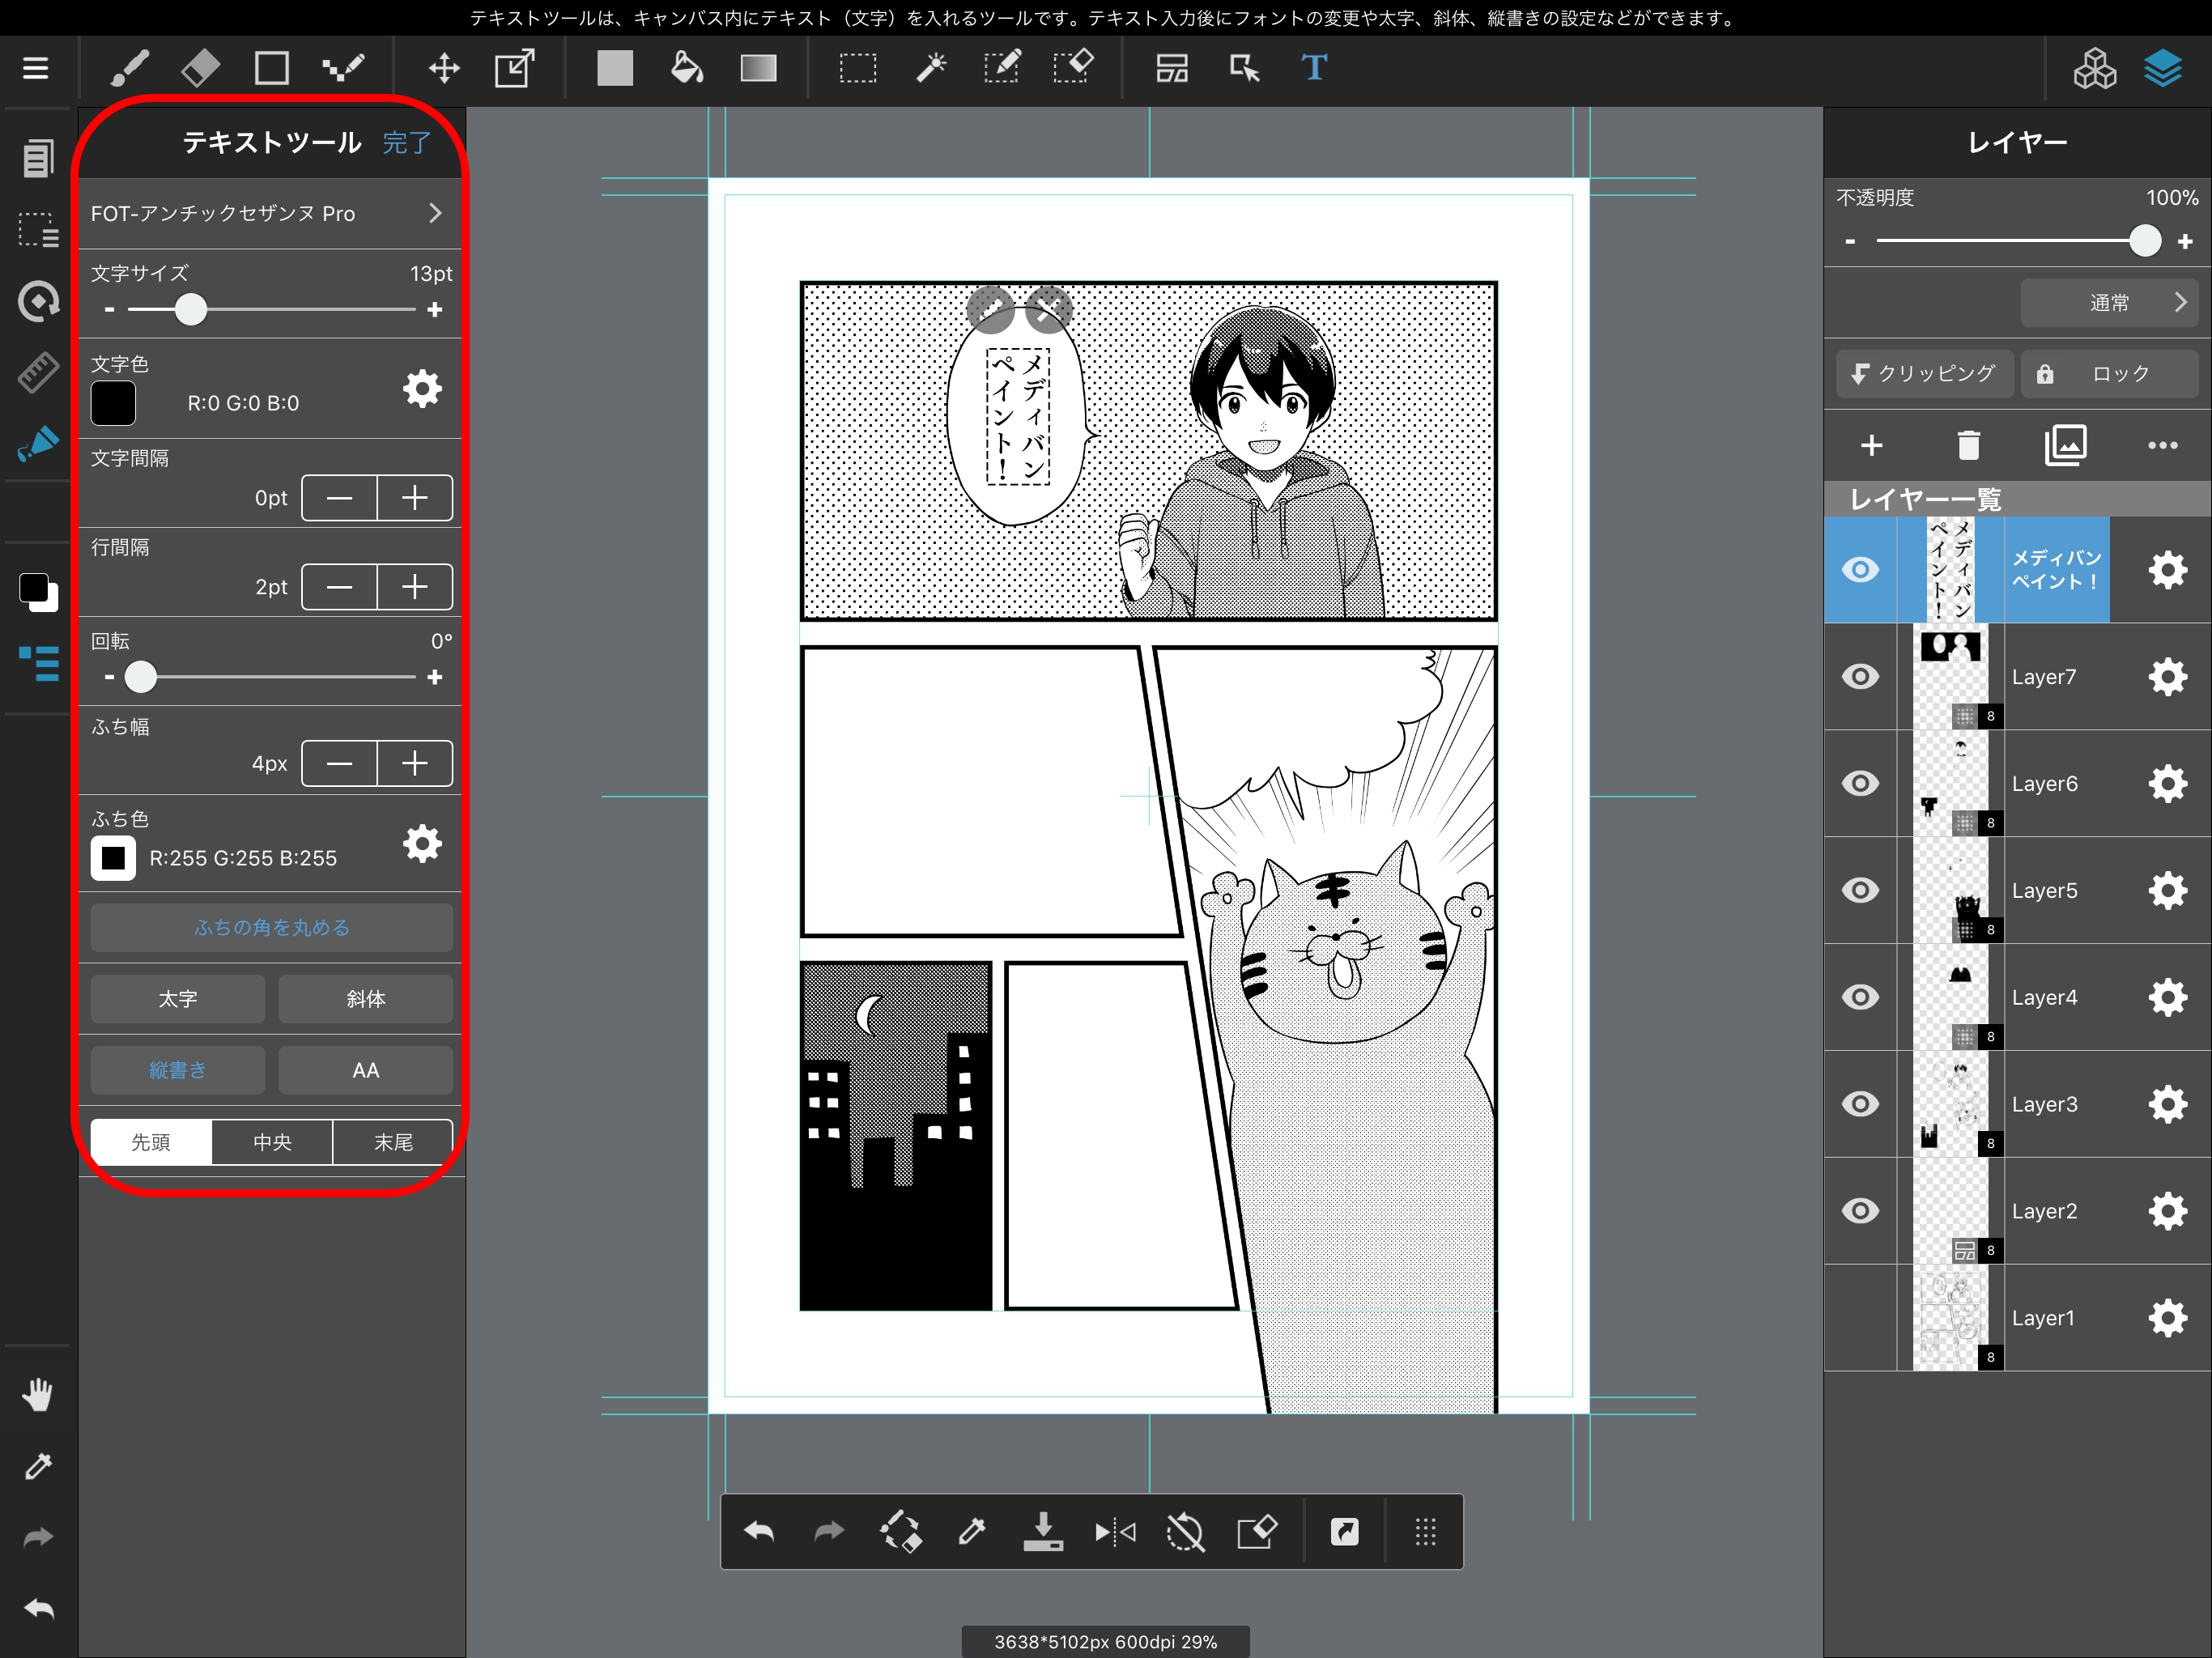
Input the text you want to display and press the “Done” button. A text layer will be added, and your text will be shown on top of the canvas.
This text can be moved with both the Text Tool and the Move Tool.
After inputting your text, its font, border, size, and orientation can be changed from the Subtool Menu outlined in red in the image below.
讓你的創作更有特色
MediBang Paint全新服務,
MediBang Premium登場!
專用筆刷、素材無限使用、
MediBang
Paint全功能開放等,
我們準備了幫助創作的多樣特典。