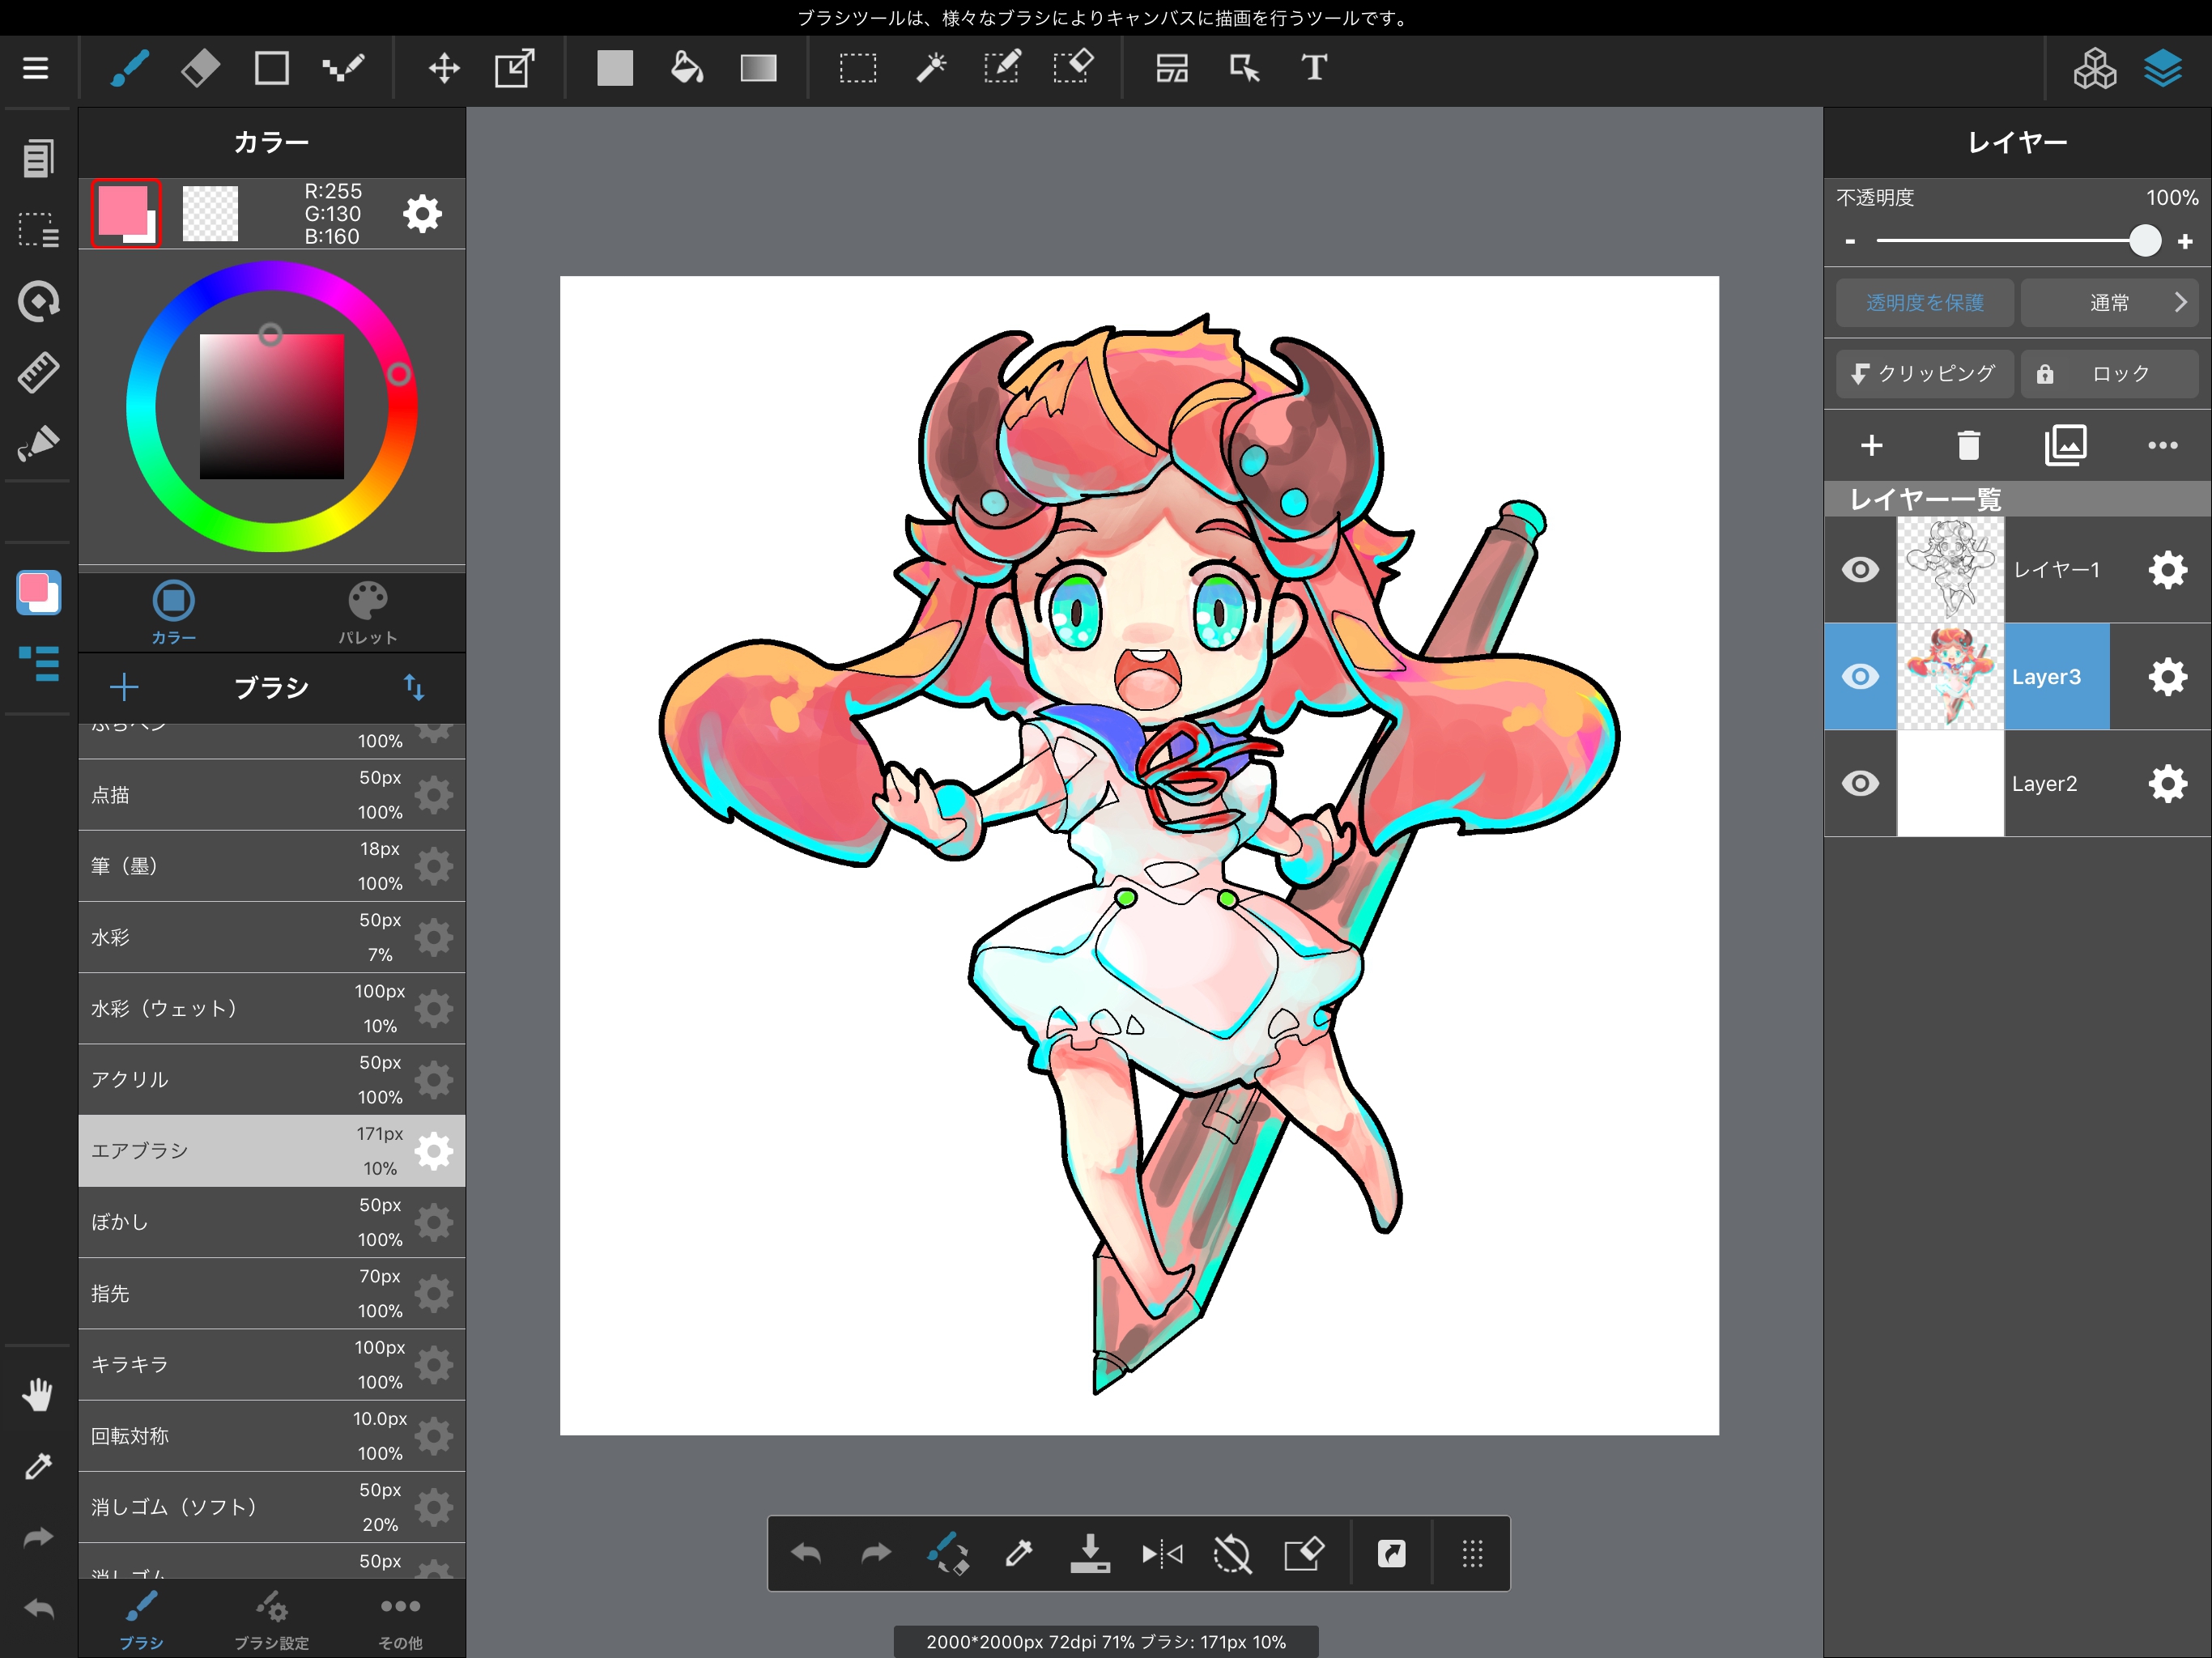
MediBang Paint features a variety of convenient tools.
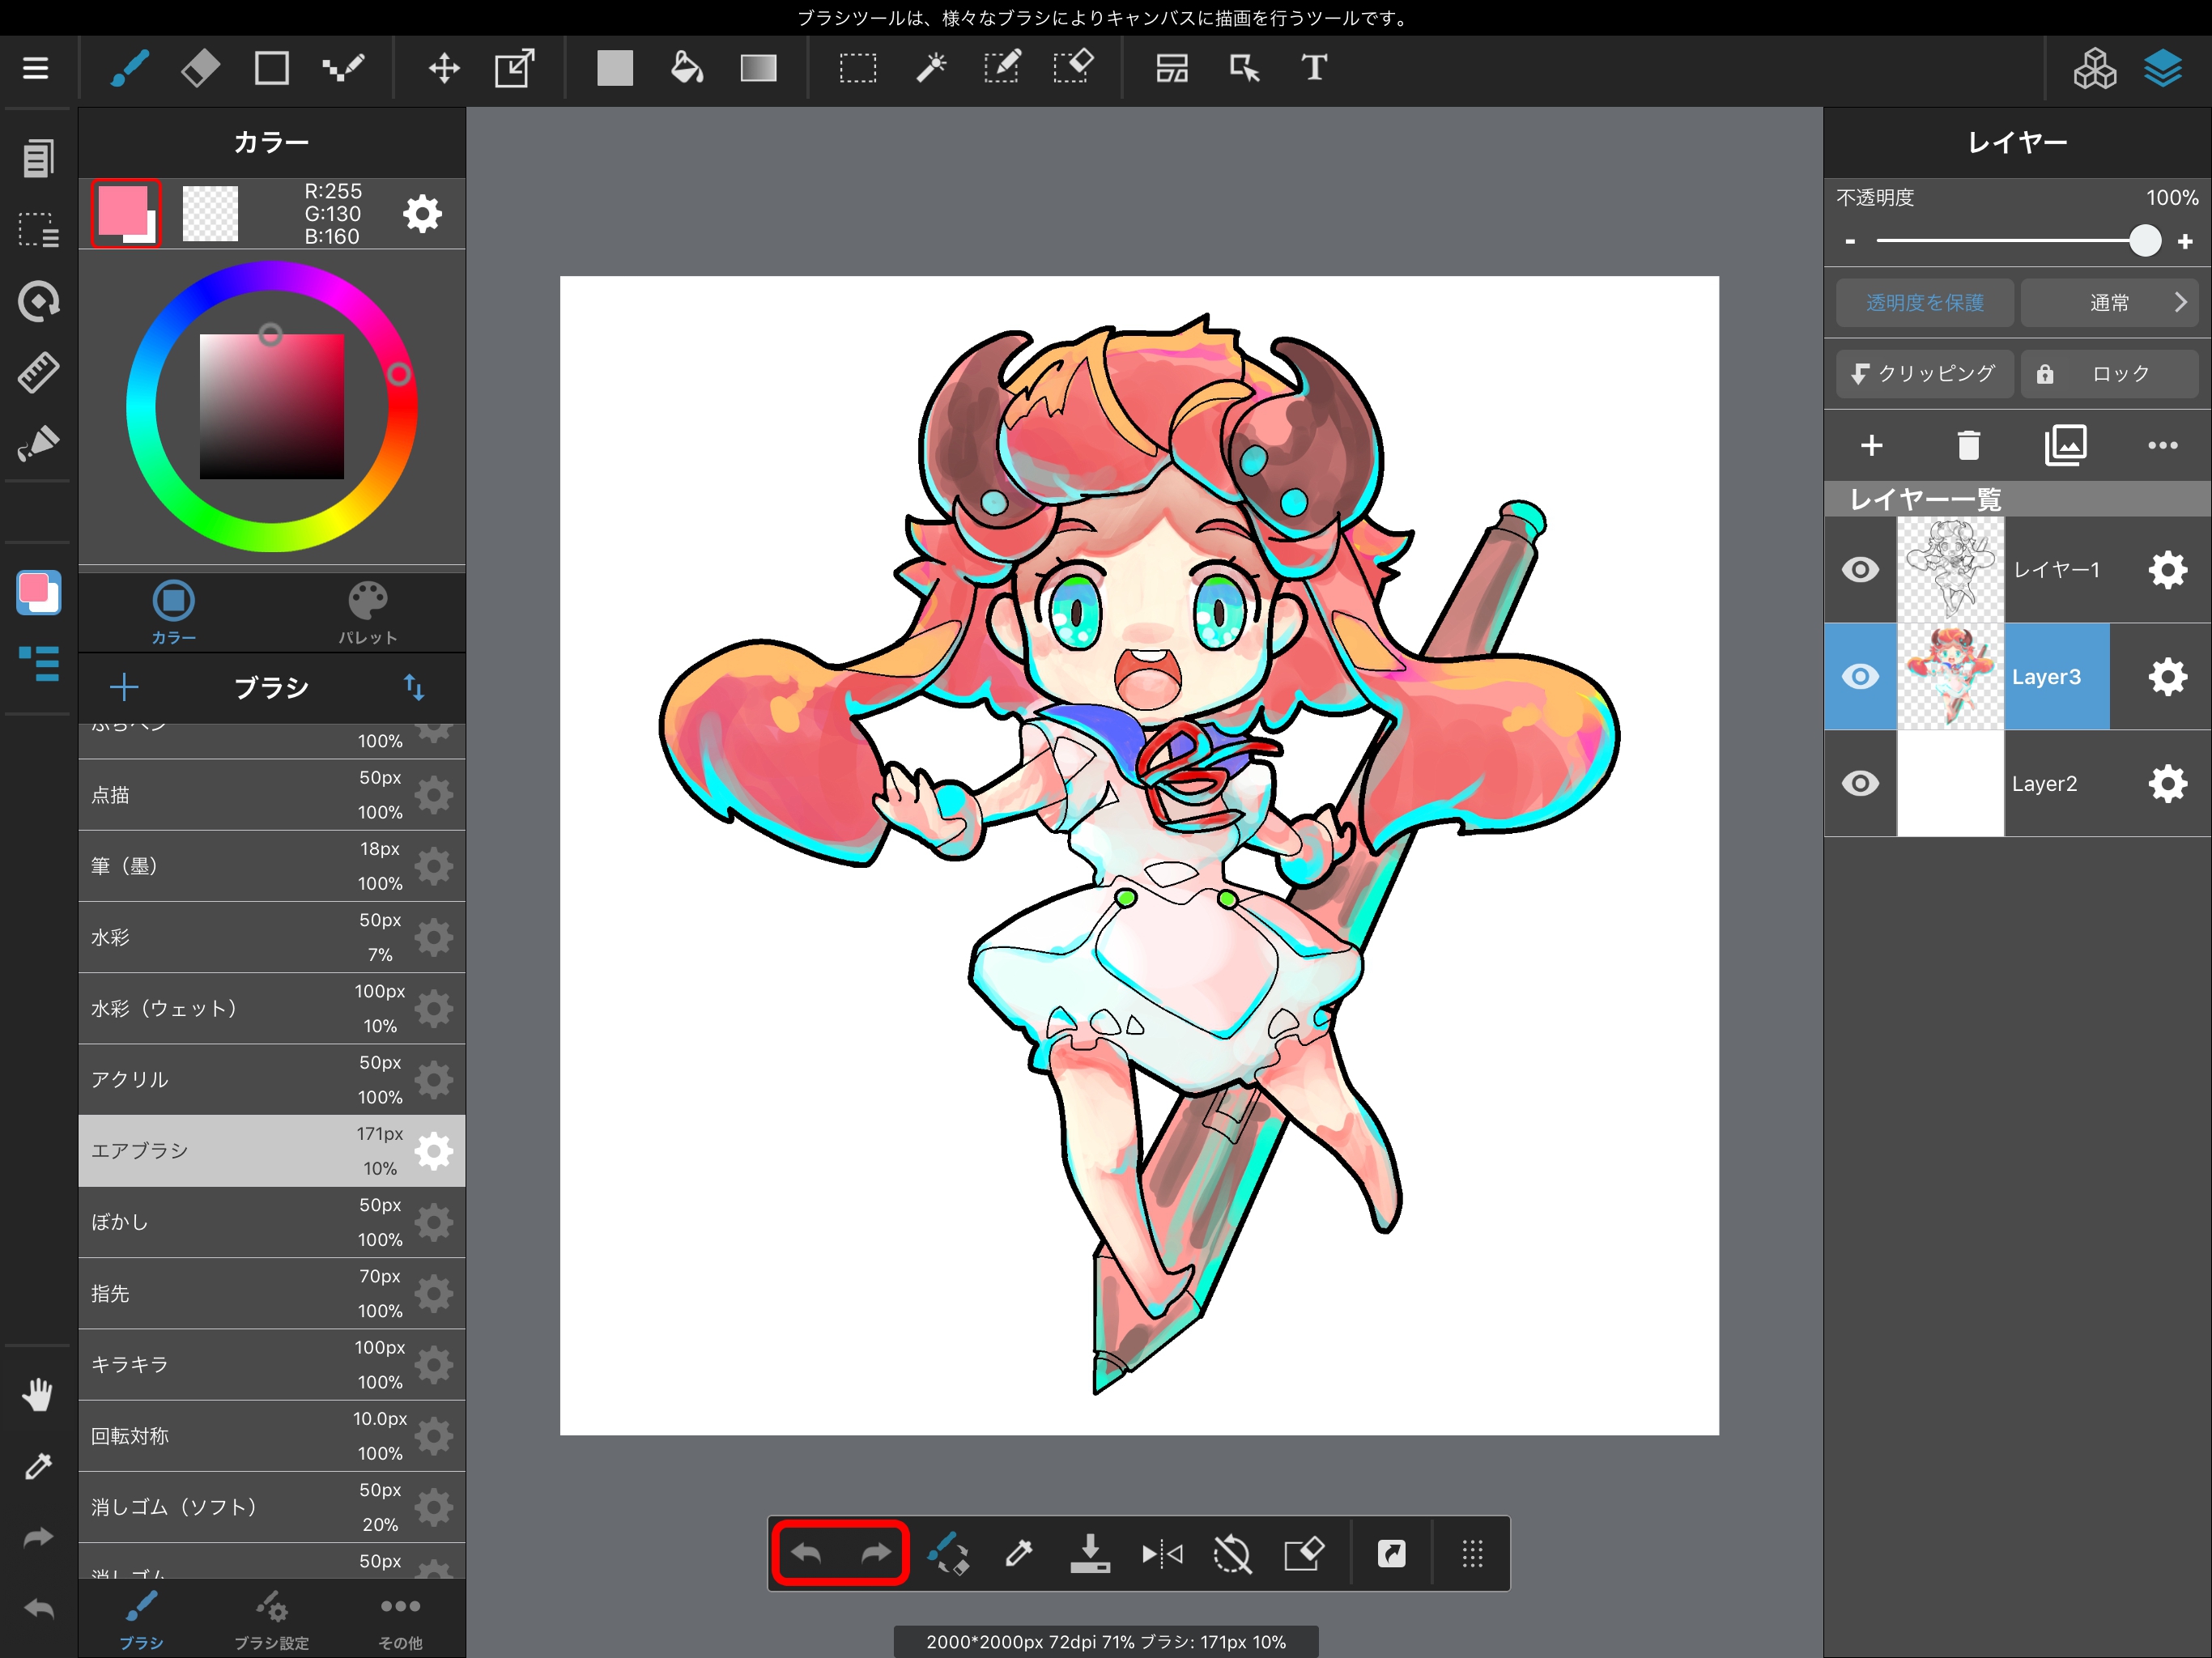
The iPad version of MediBang Paint features two arrows for “Undo” and “Redo” at the bottom left of the screen.
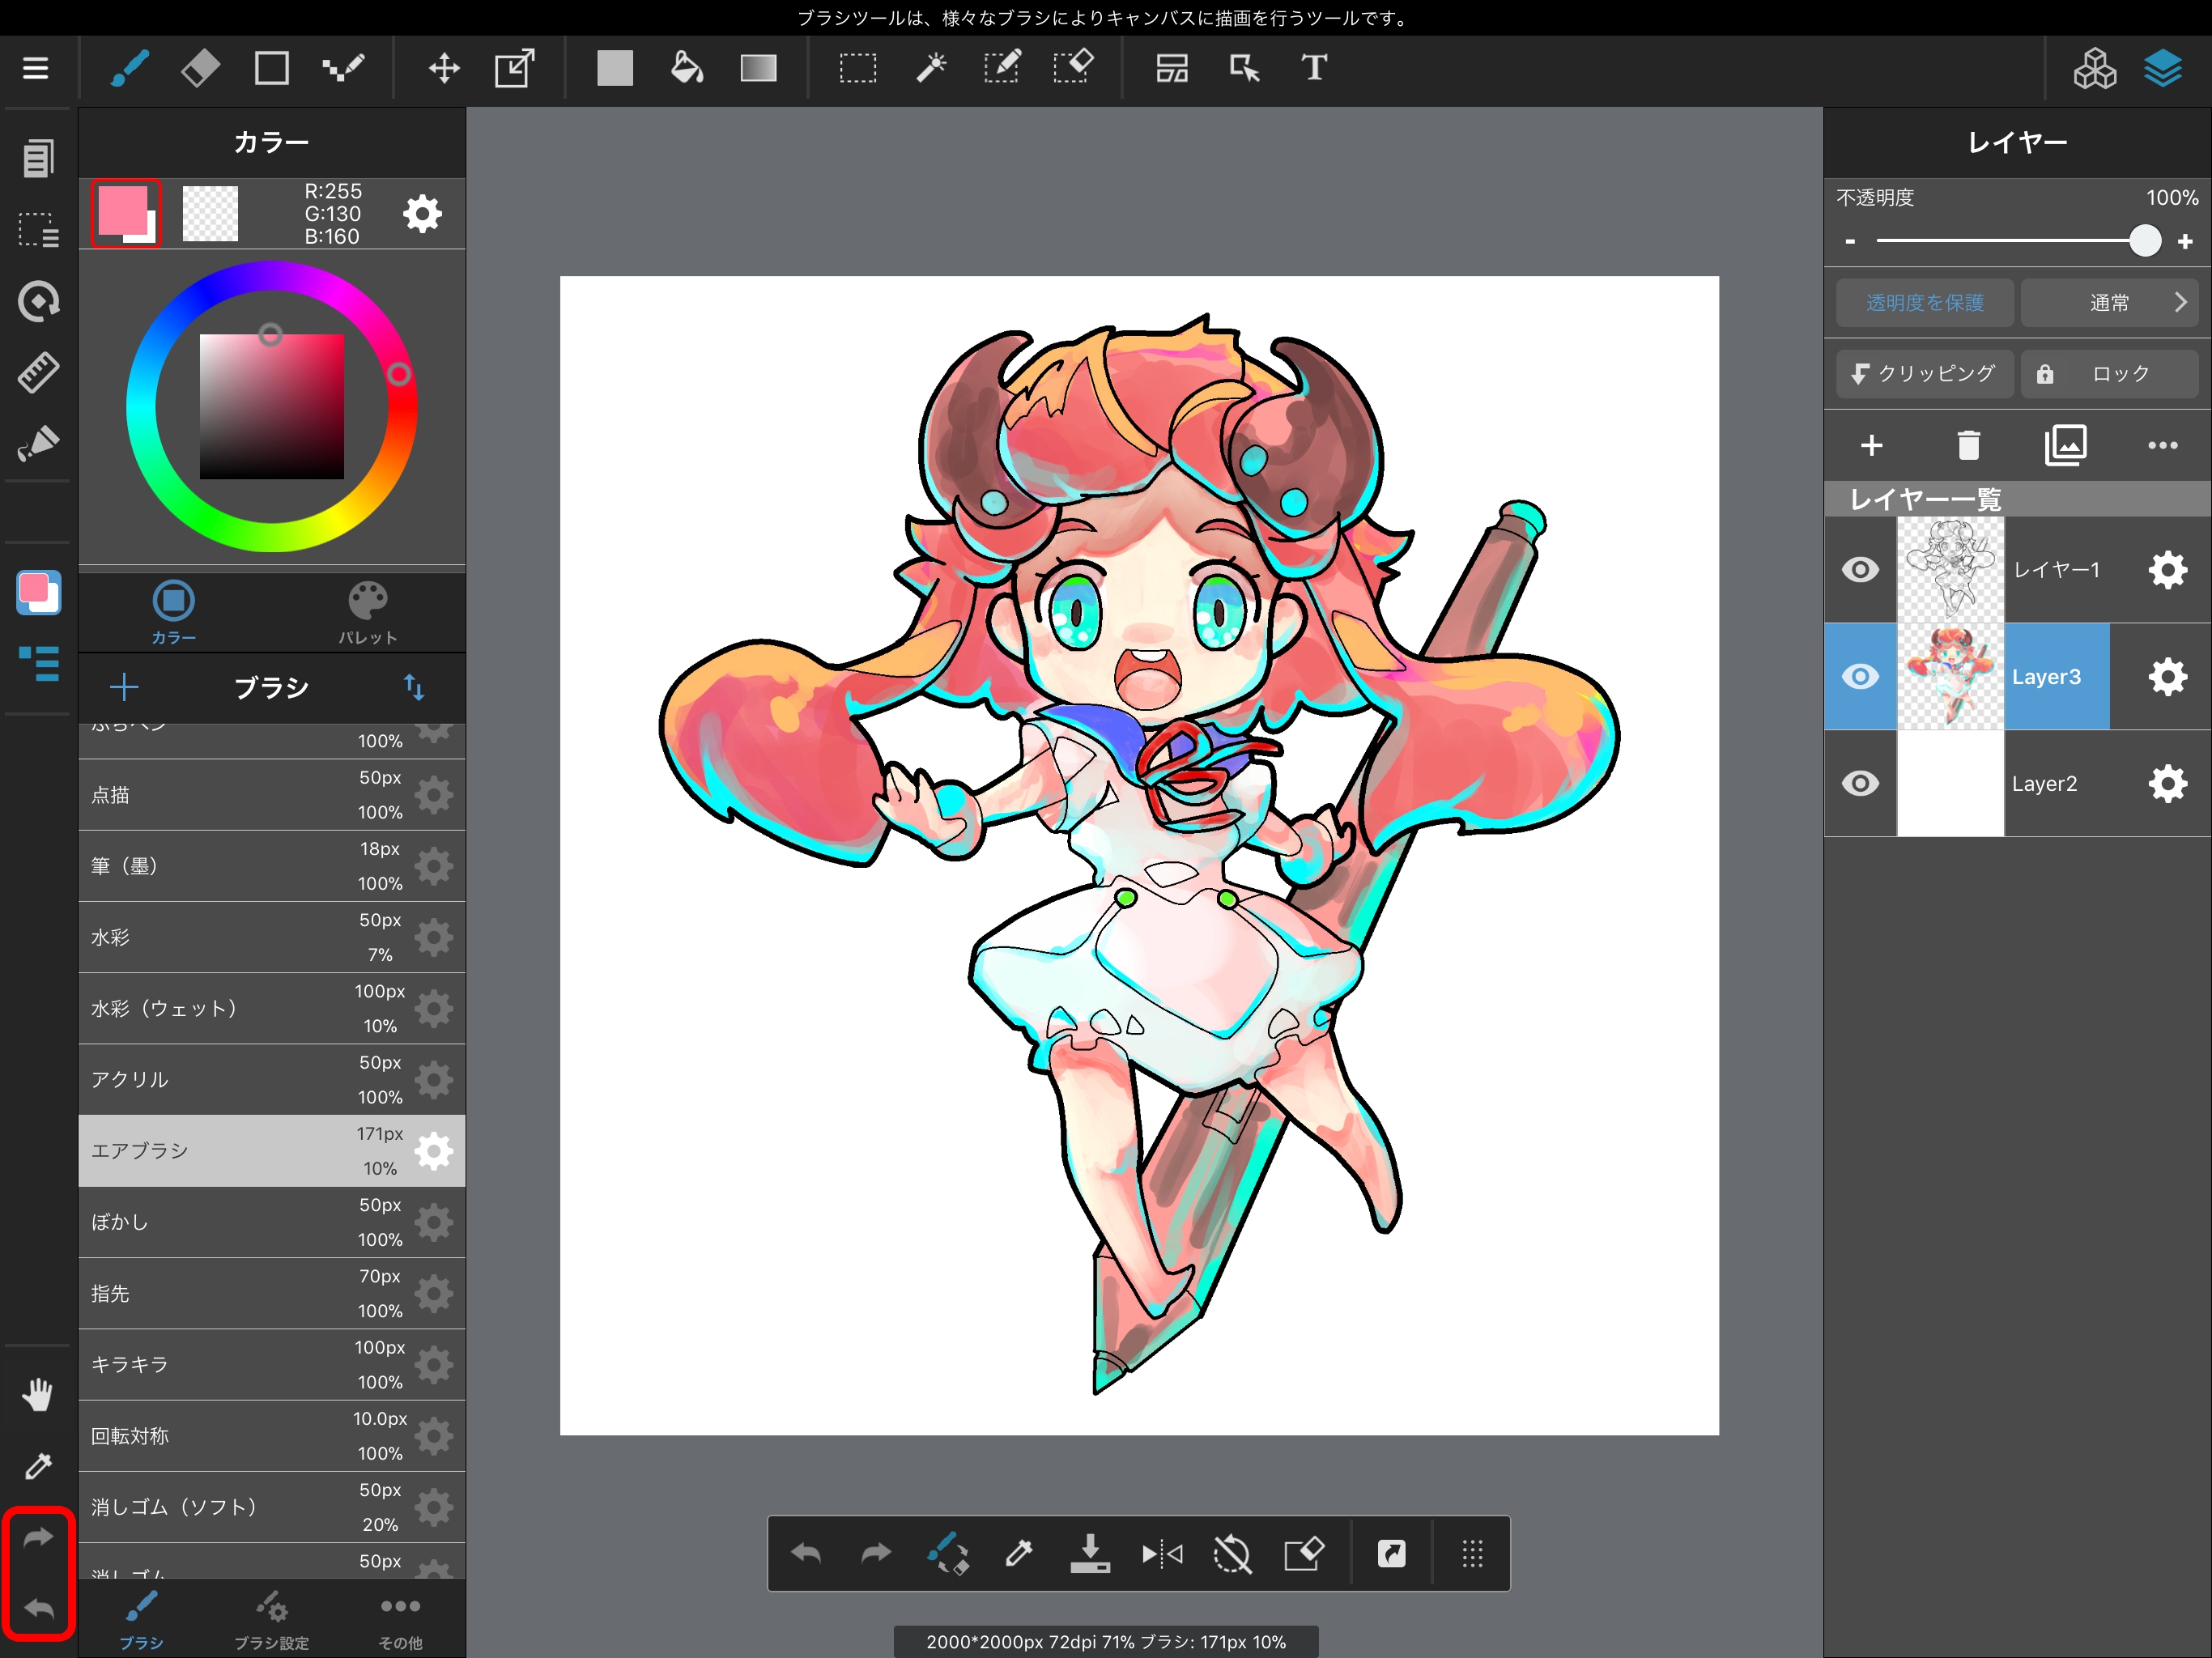
Undo and Redo are also on the Shortcut Bar at the bottom of the screen.
There is no limit to the number of times you can Undo; you can go right back to your work’s original state, so long as memory allows.
If the memory for Undo runs out, the oldest Undo information in memory will be lost.
MediBang Paint features a variety of ways to flip and rotate. Let’s learn the difference between the them.
First off is “Rotate/Flip whole canvas.”
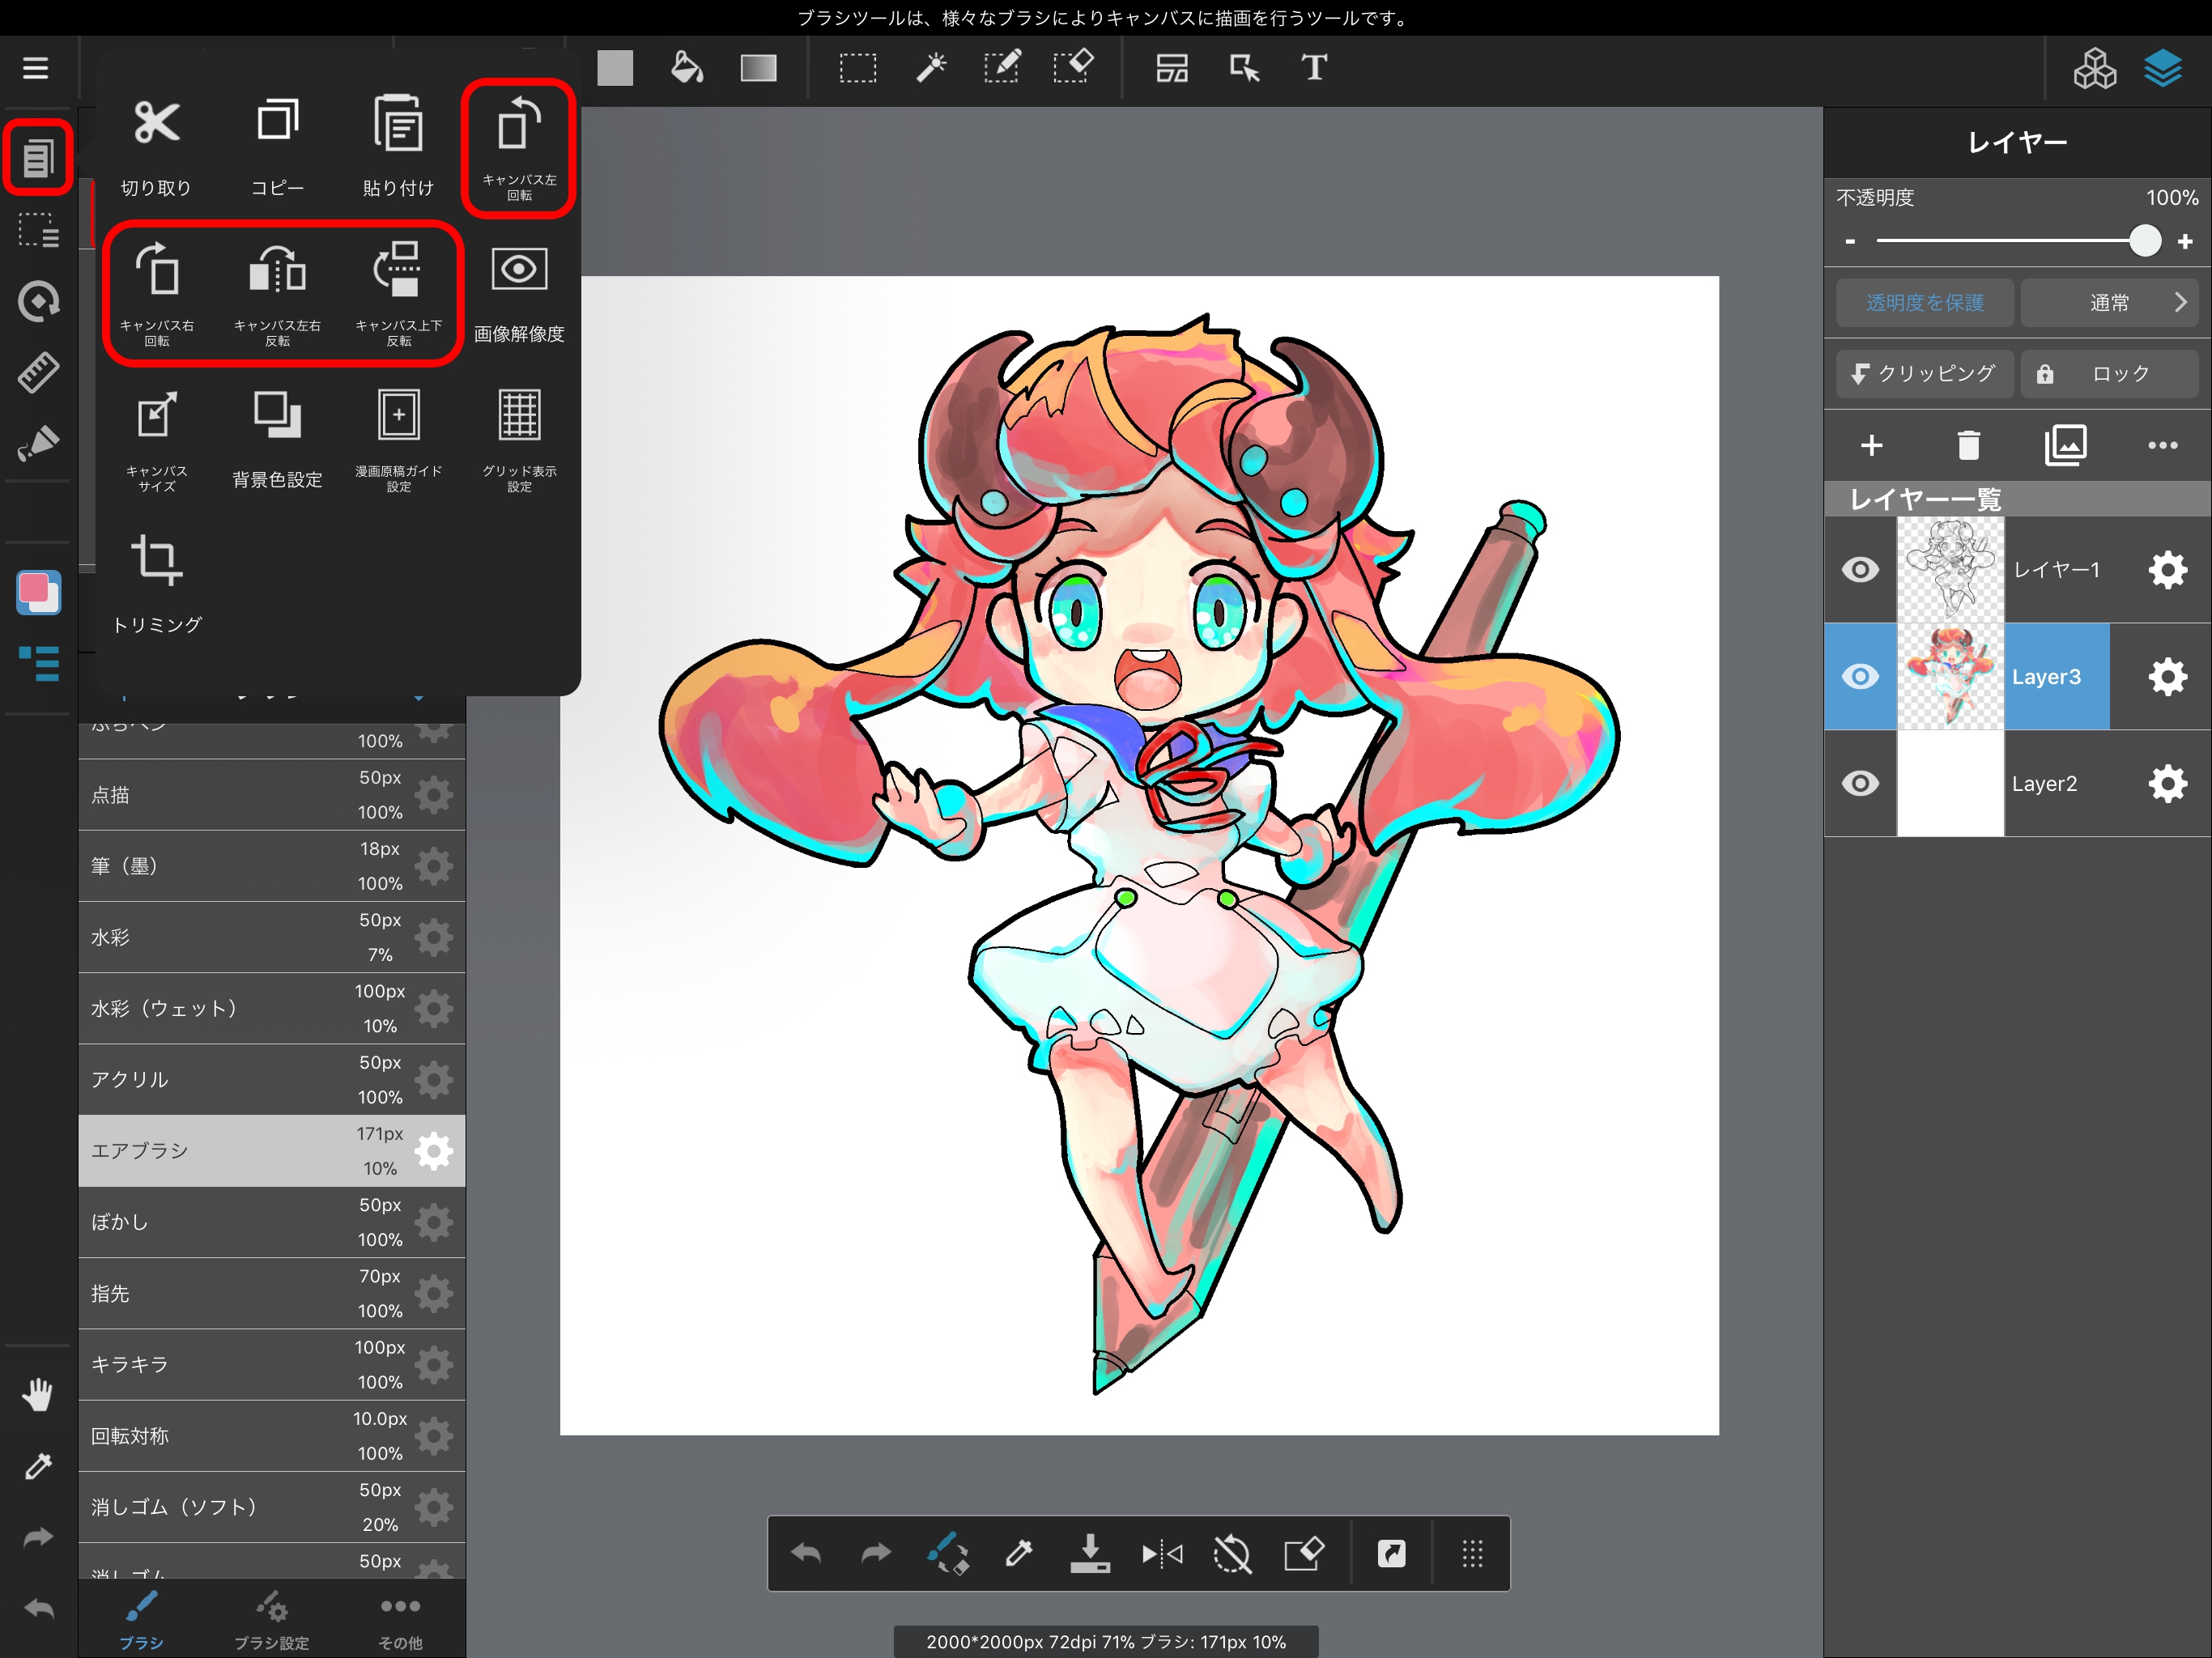
Selecting the area outlined in red in the above image from the Edit Menu allows you to rotate or flip the entire canvas.
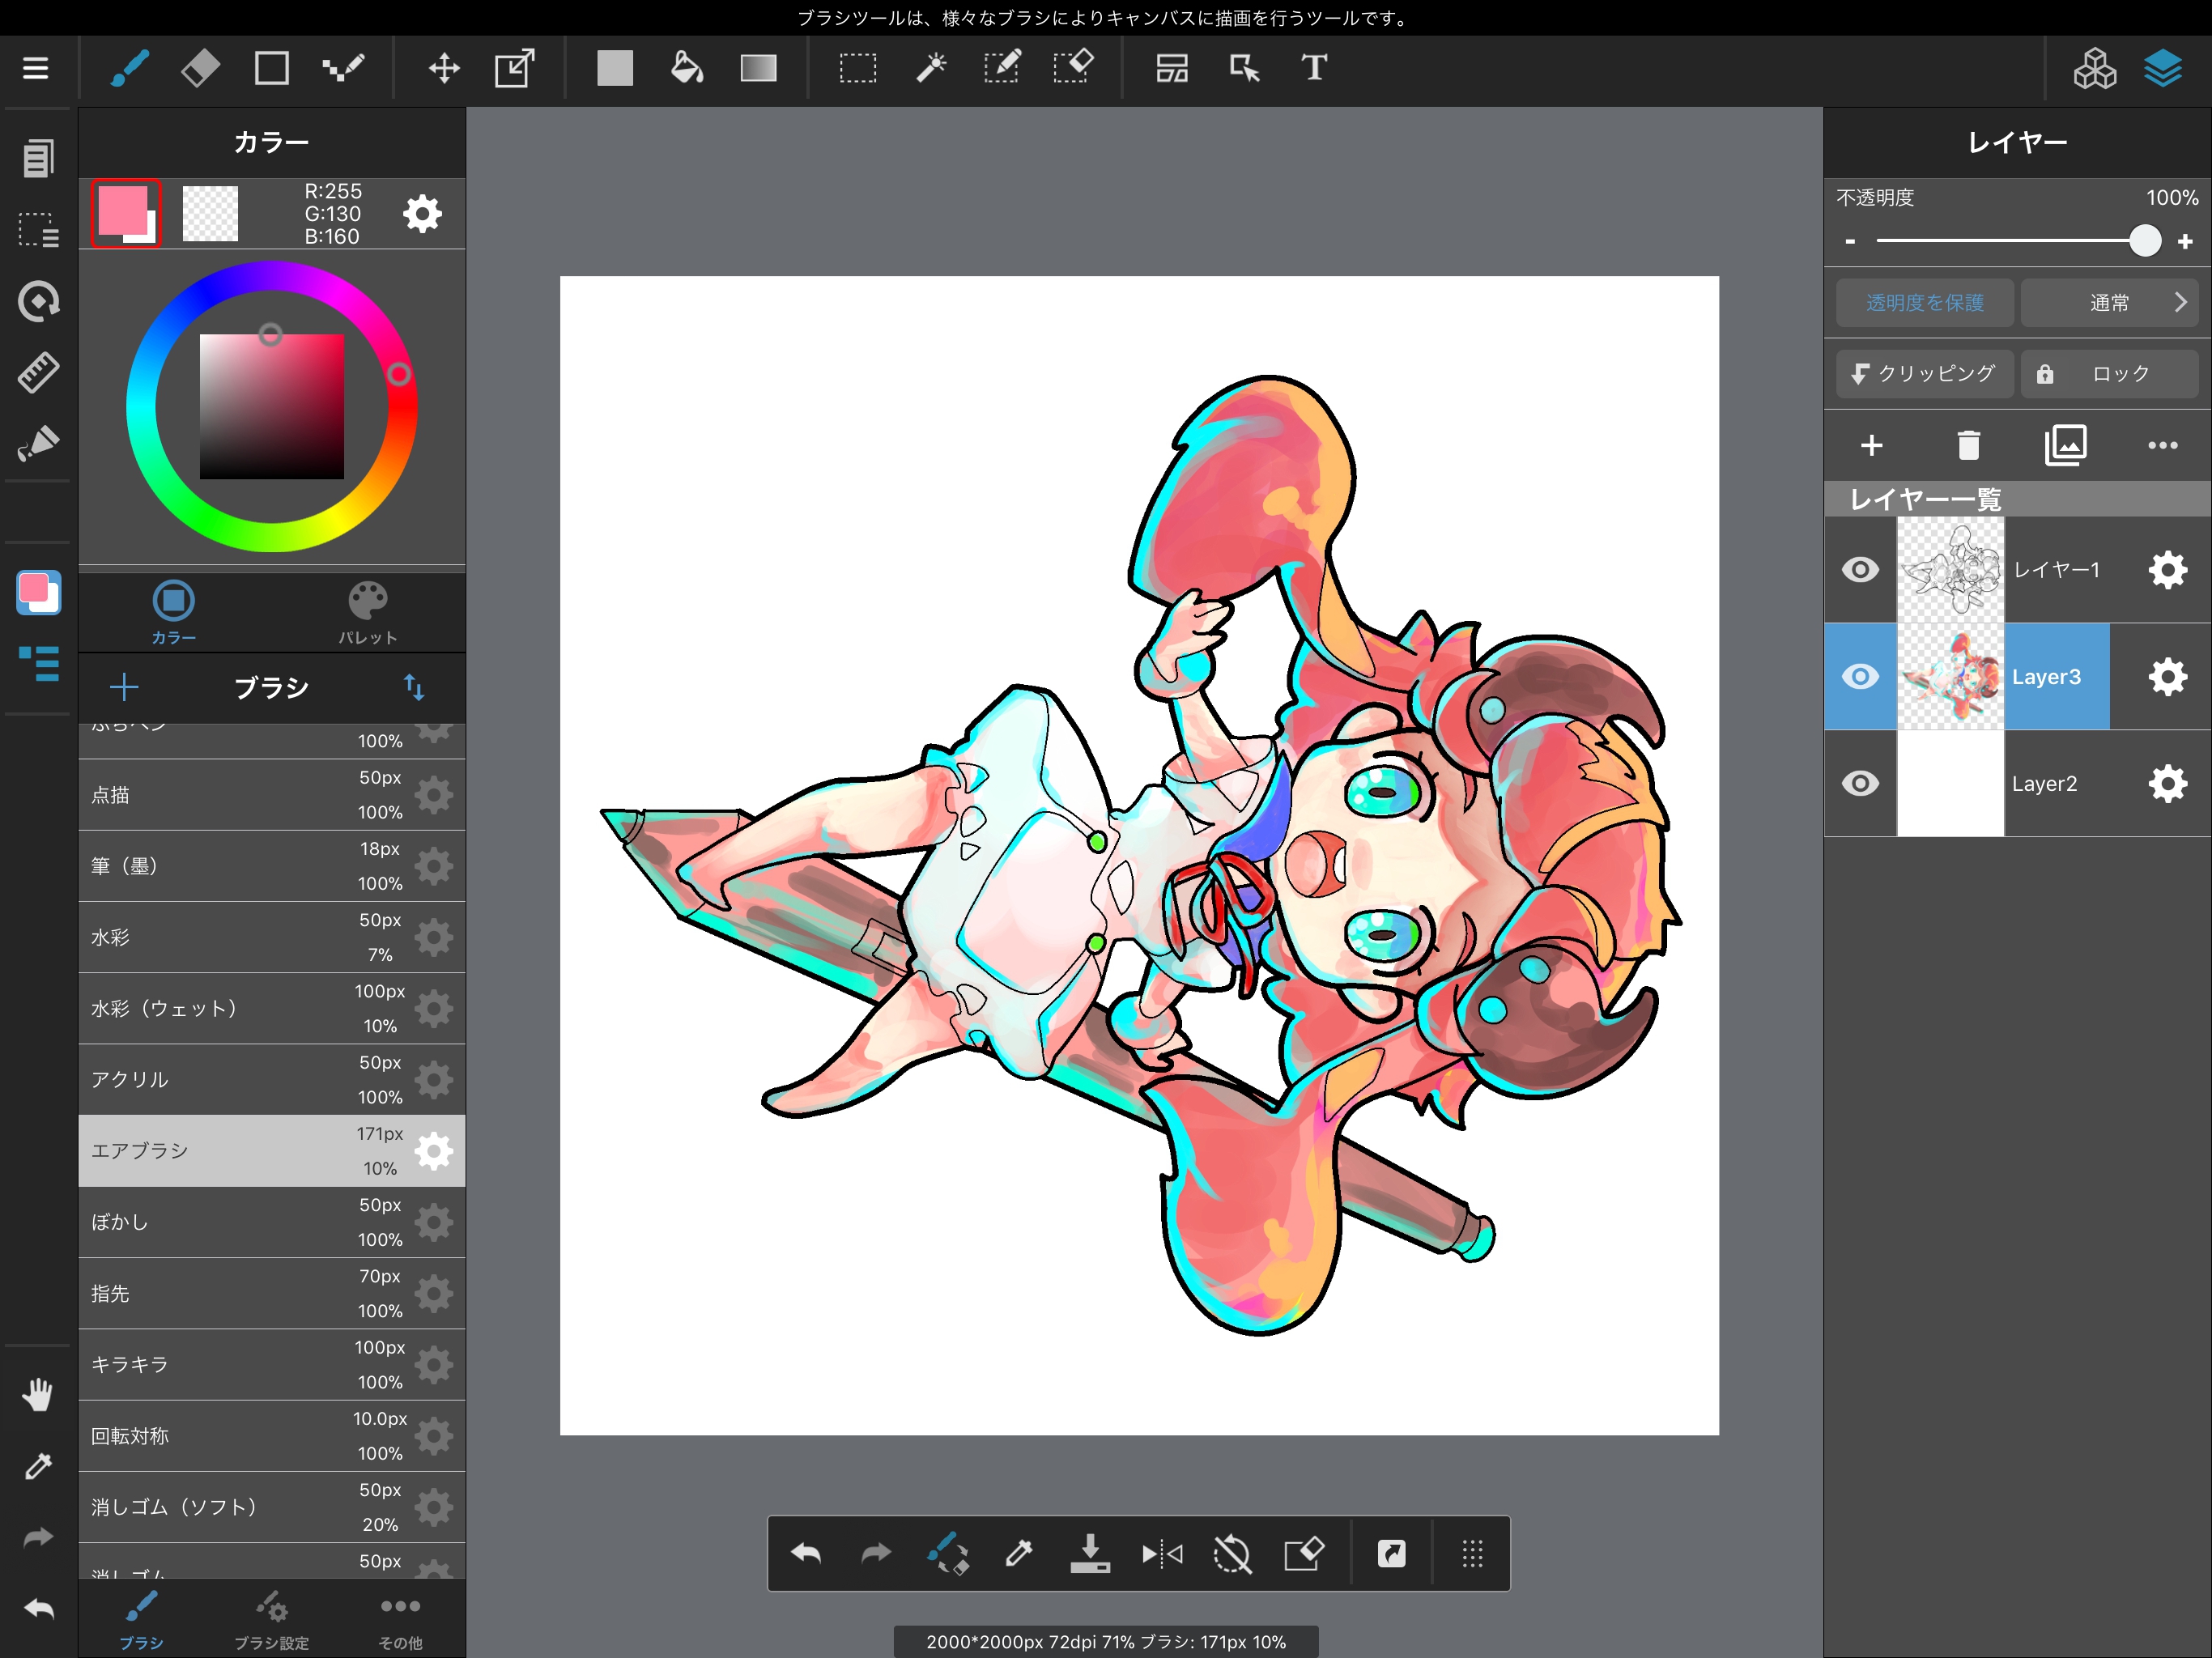
Rotating the entire canvas causes all layers to be rotated. Saving now will result in the entire canvas being saved in this state. The same is true for flipping.
The second method is “Rotate/flip canvas display”.
We can select how we’d like to display the canvas from the Display Menu.

When rotating the appearance of the canvas only, the state of the layers is not changed.
Even if we save, the canvas will not stay rotated or flipped.
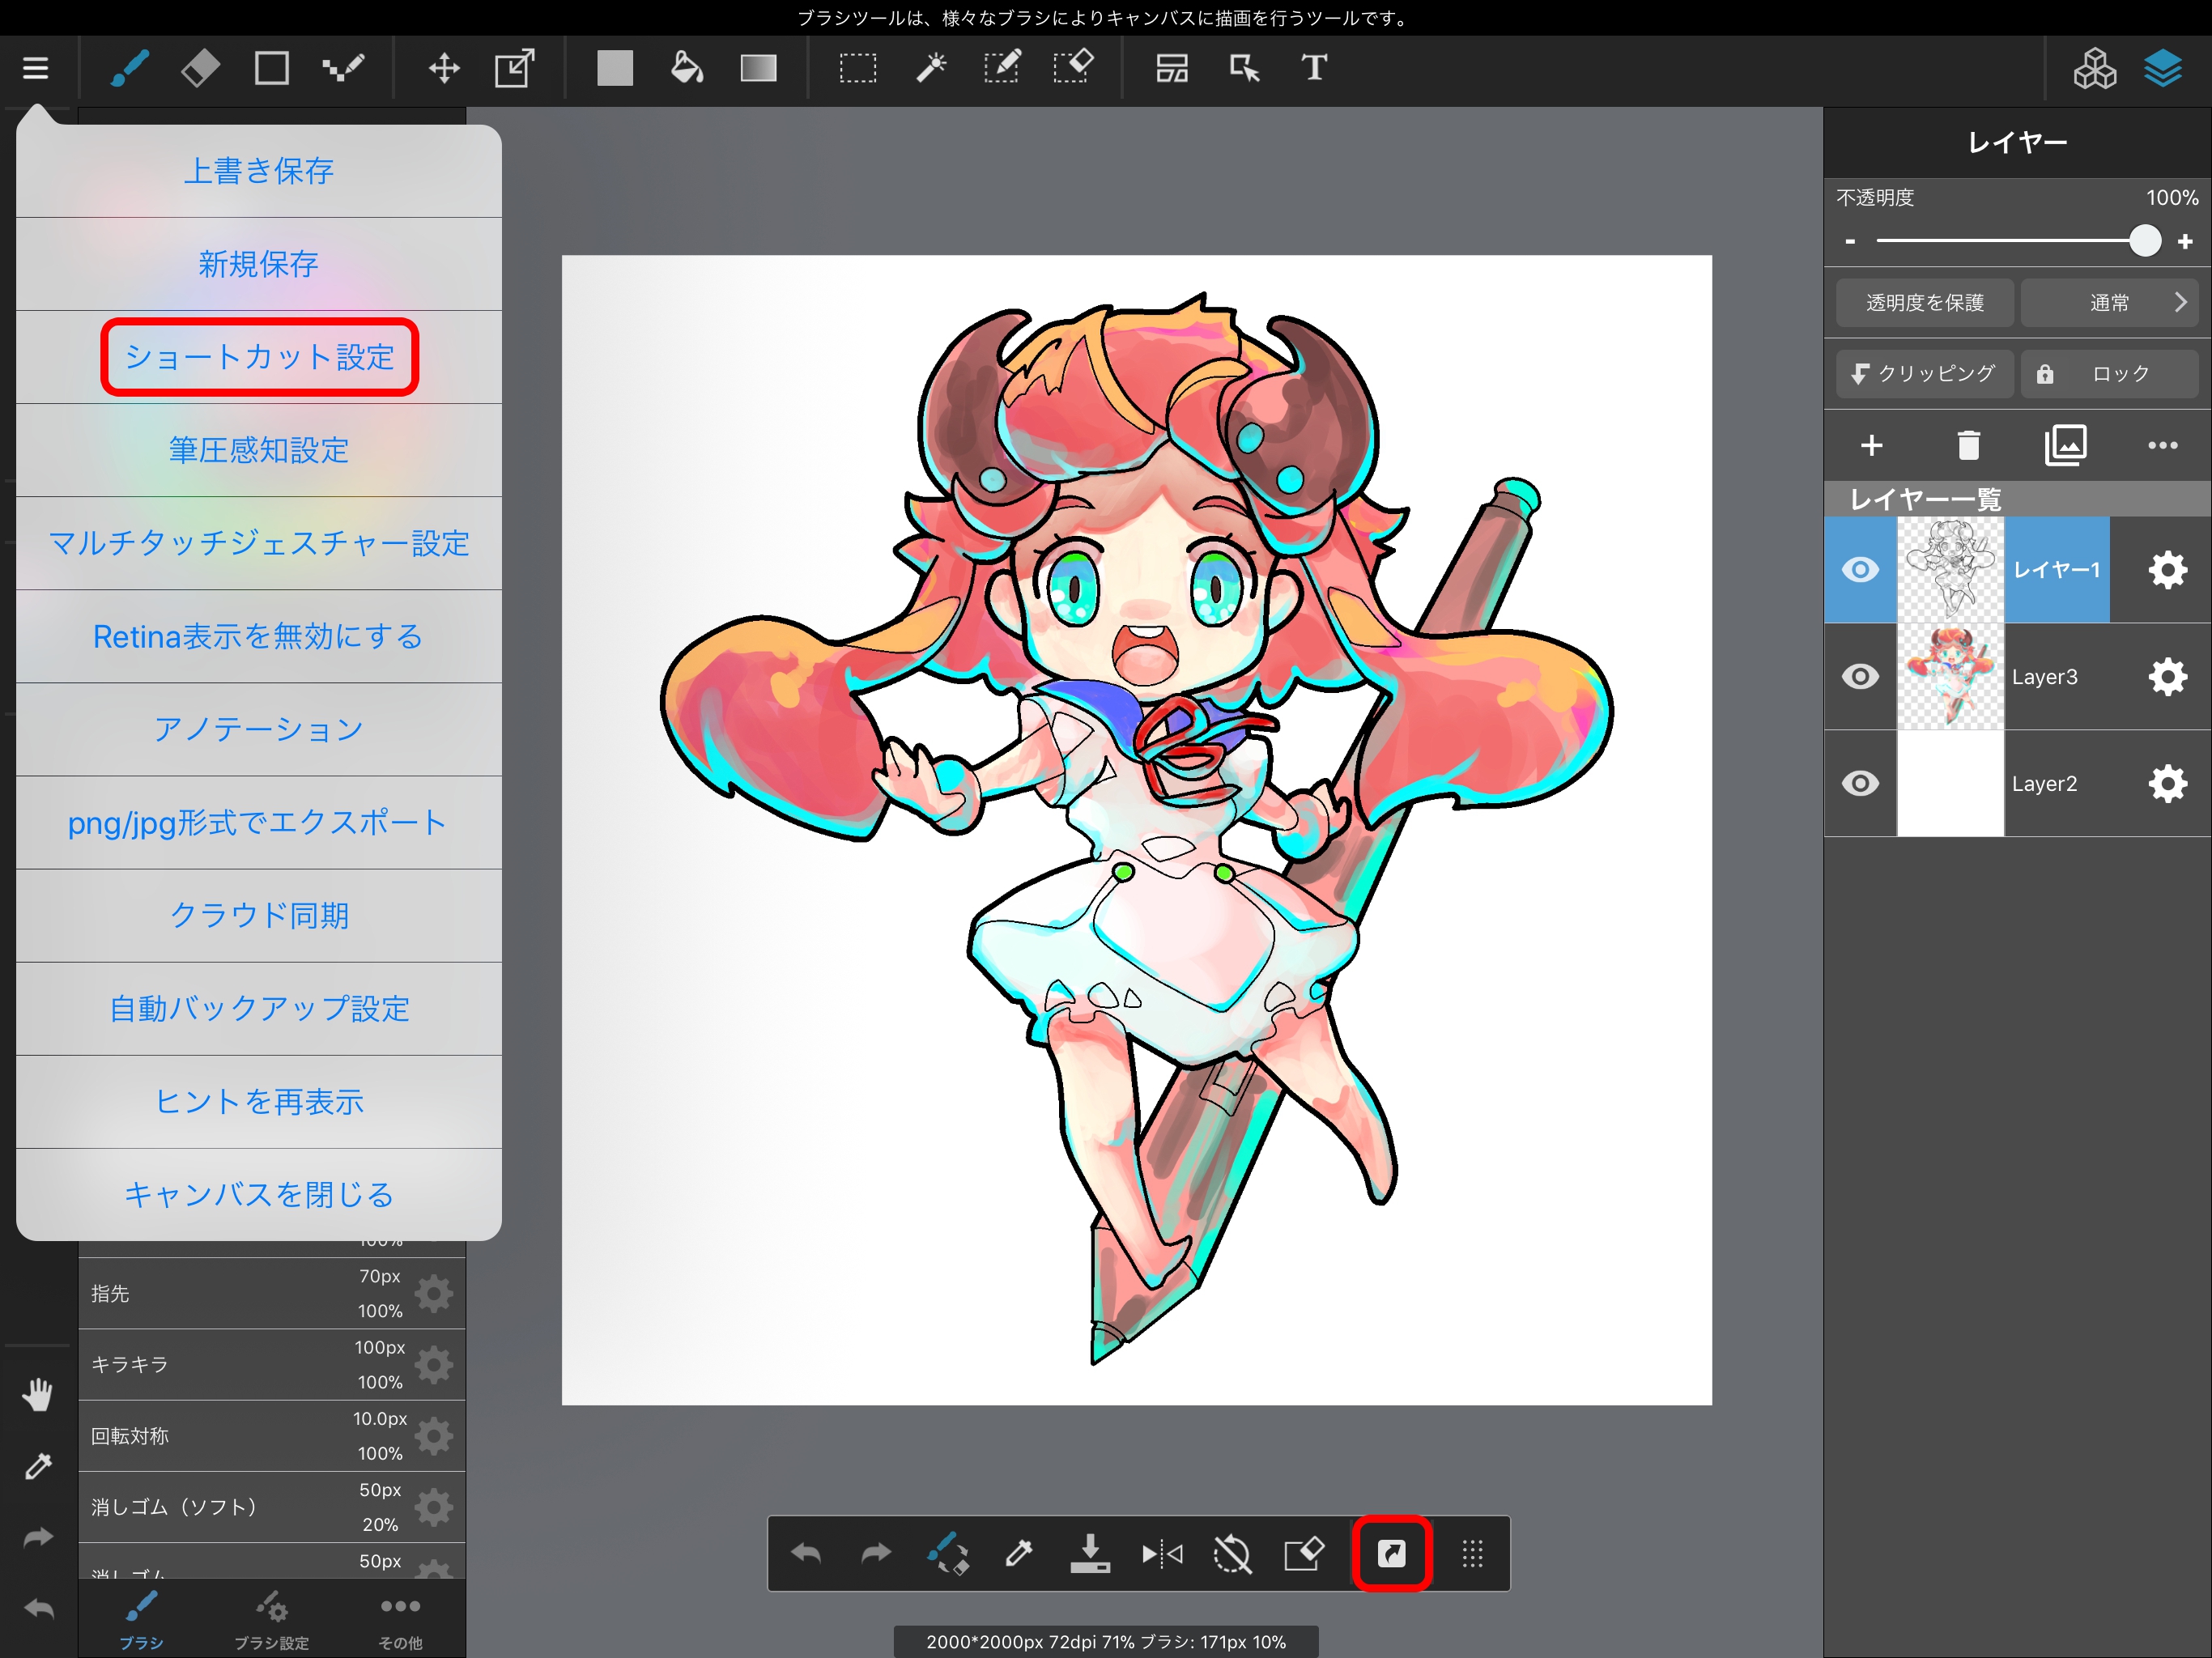
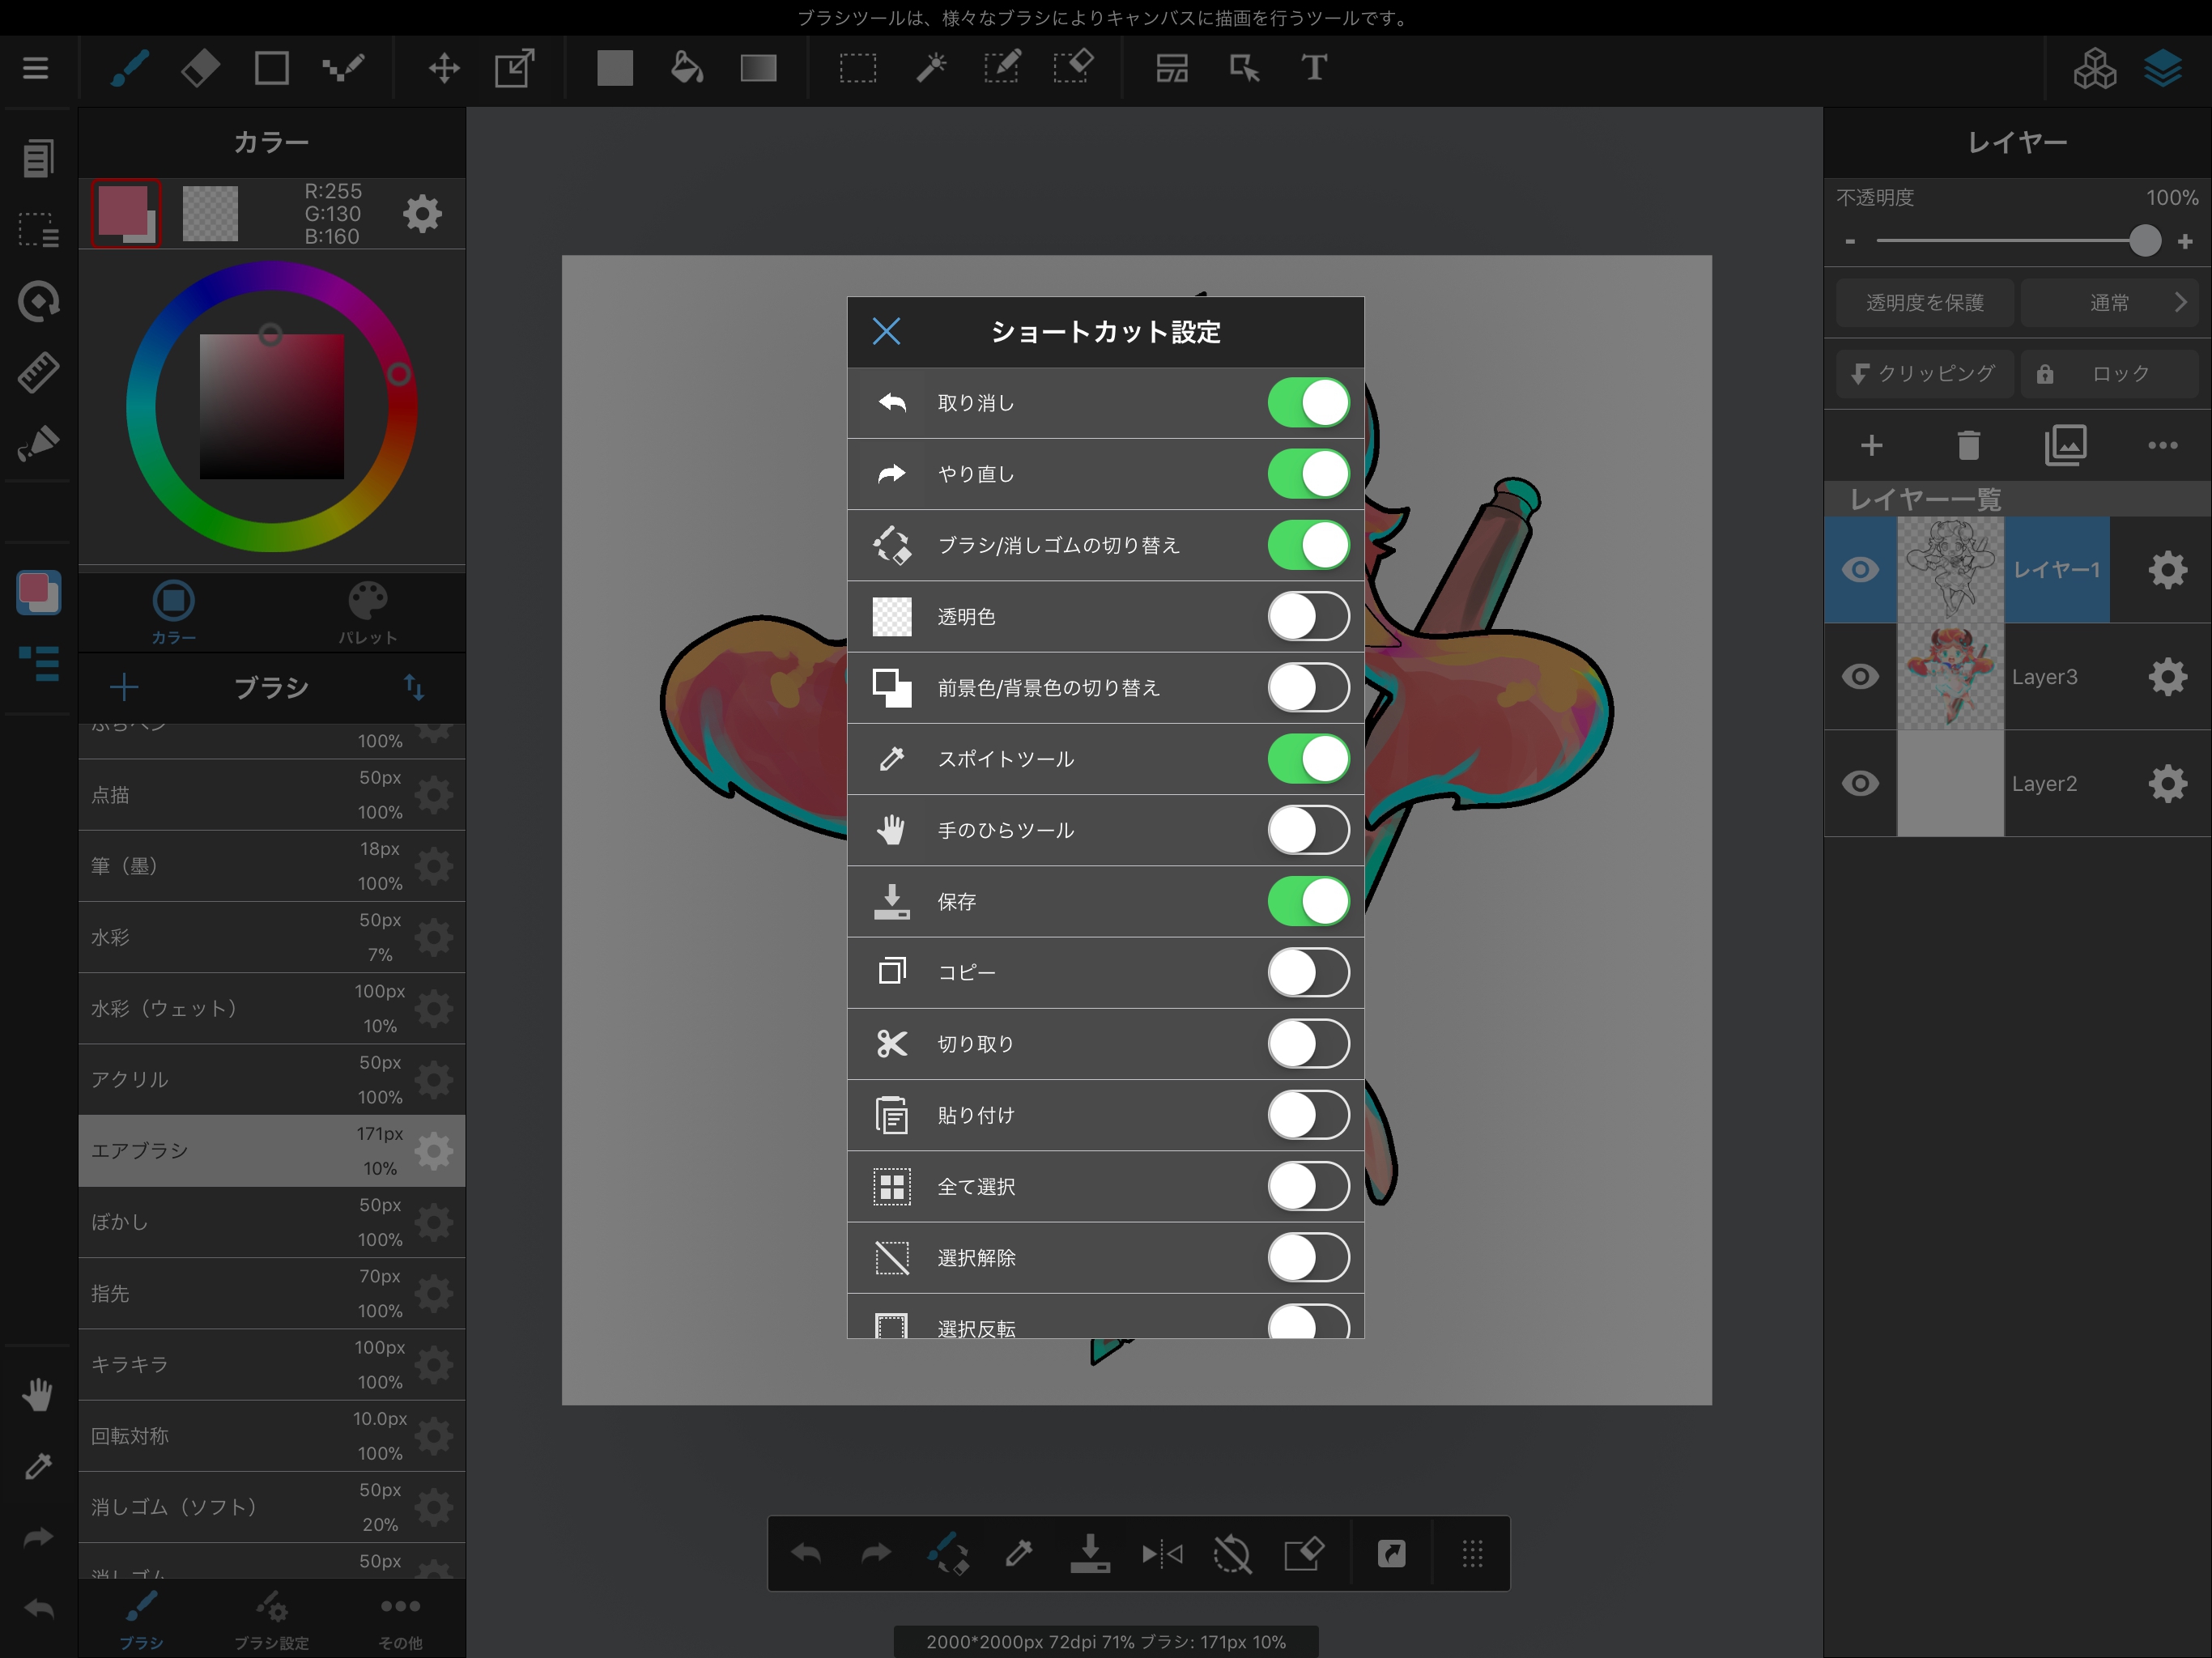
By enabling multi-touch gestures, you can easily perform these rotations with two fingers.
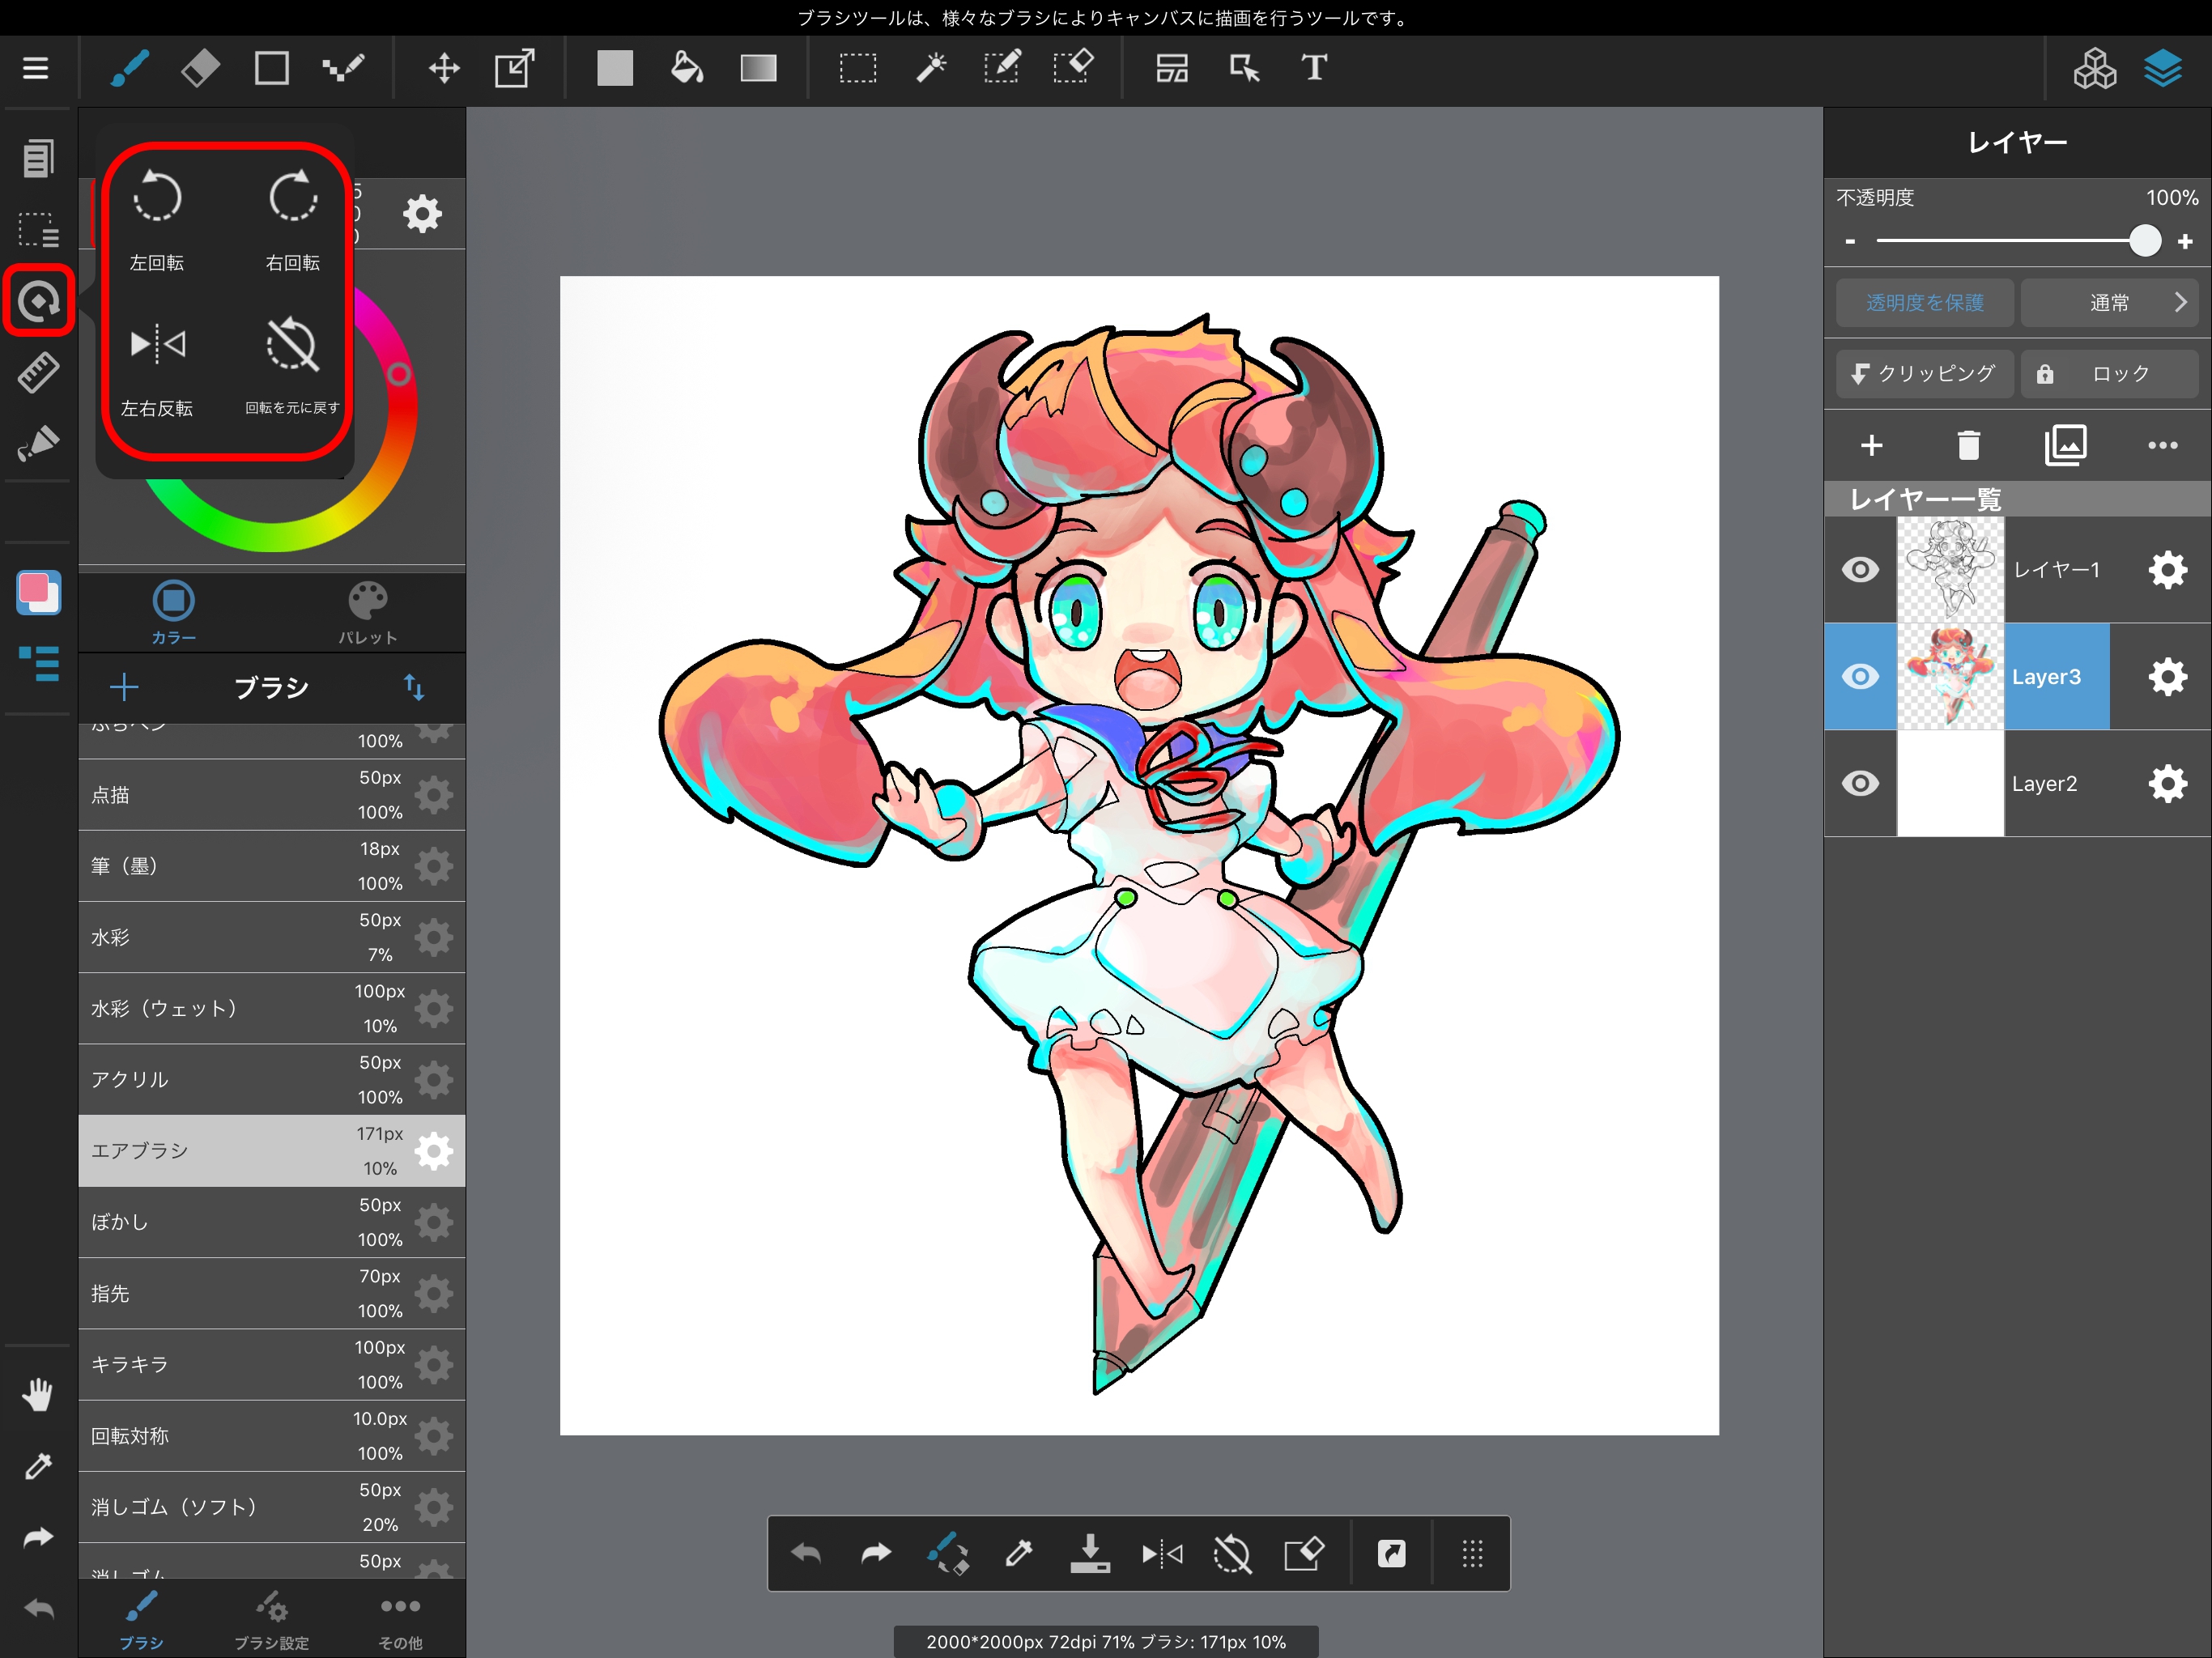
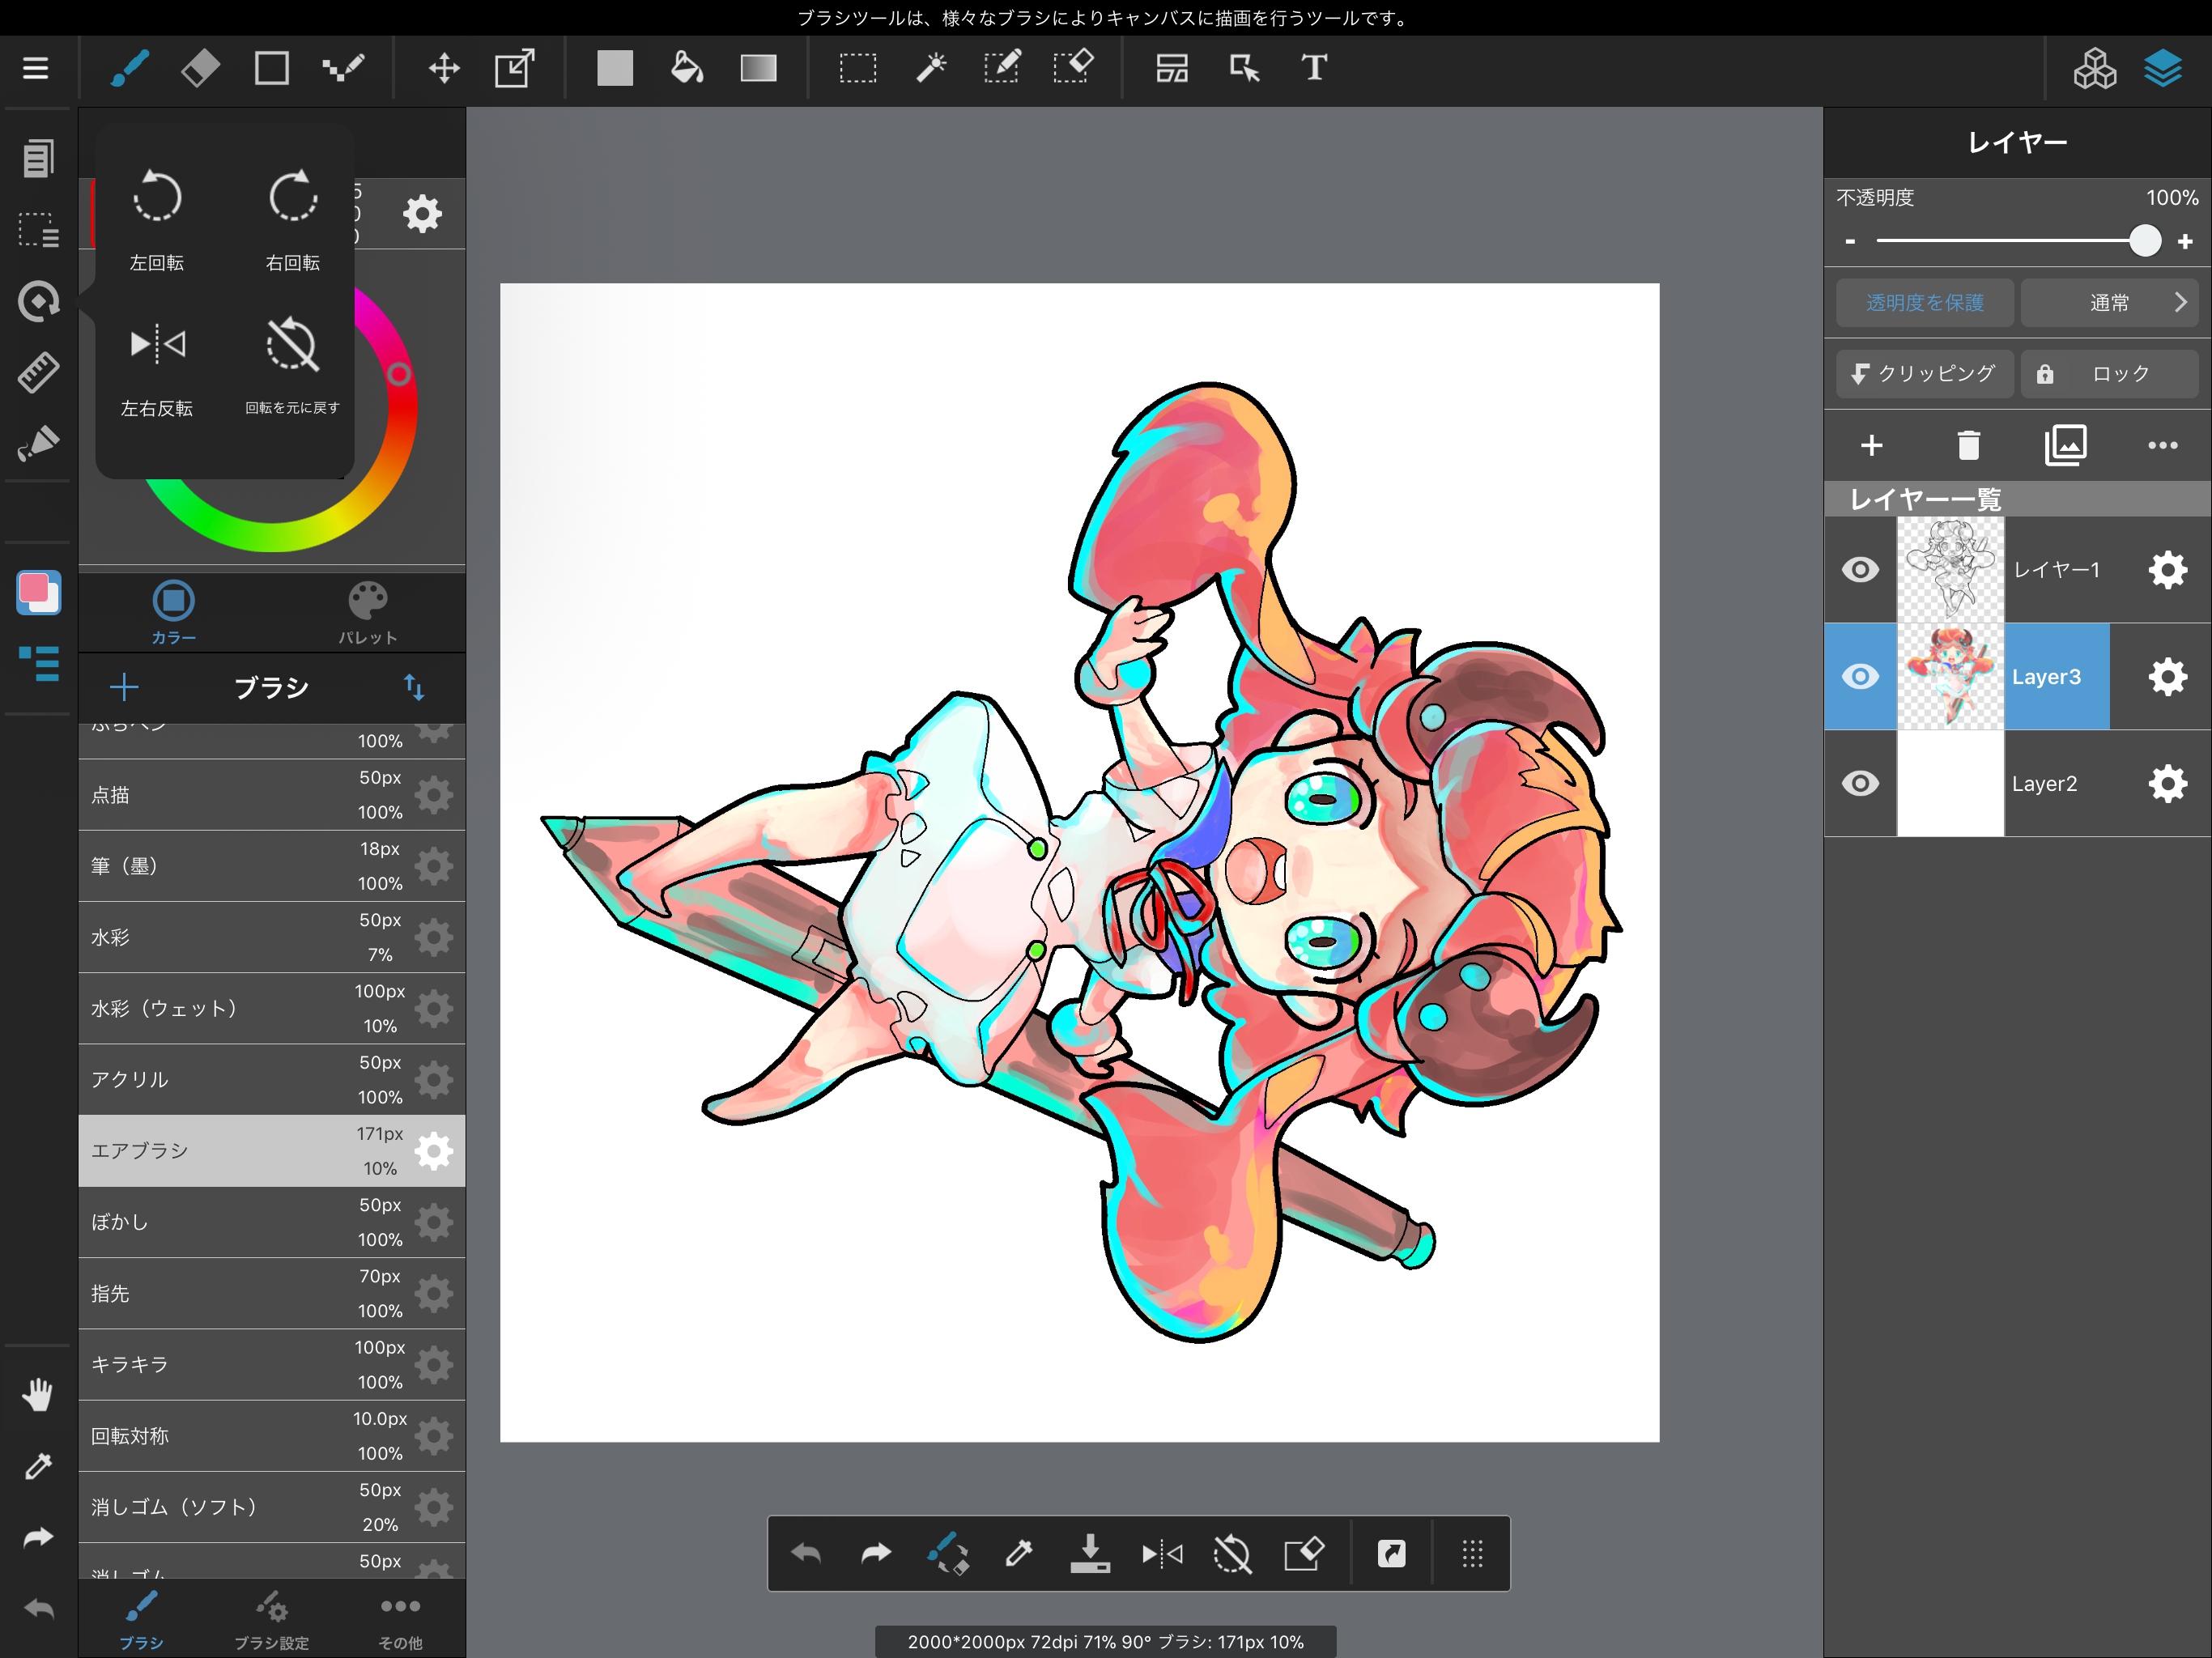
The final method is “Rotate/flip layer”.
To rotate or flip the image on a layer, we use the Transform Tool.
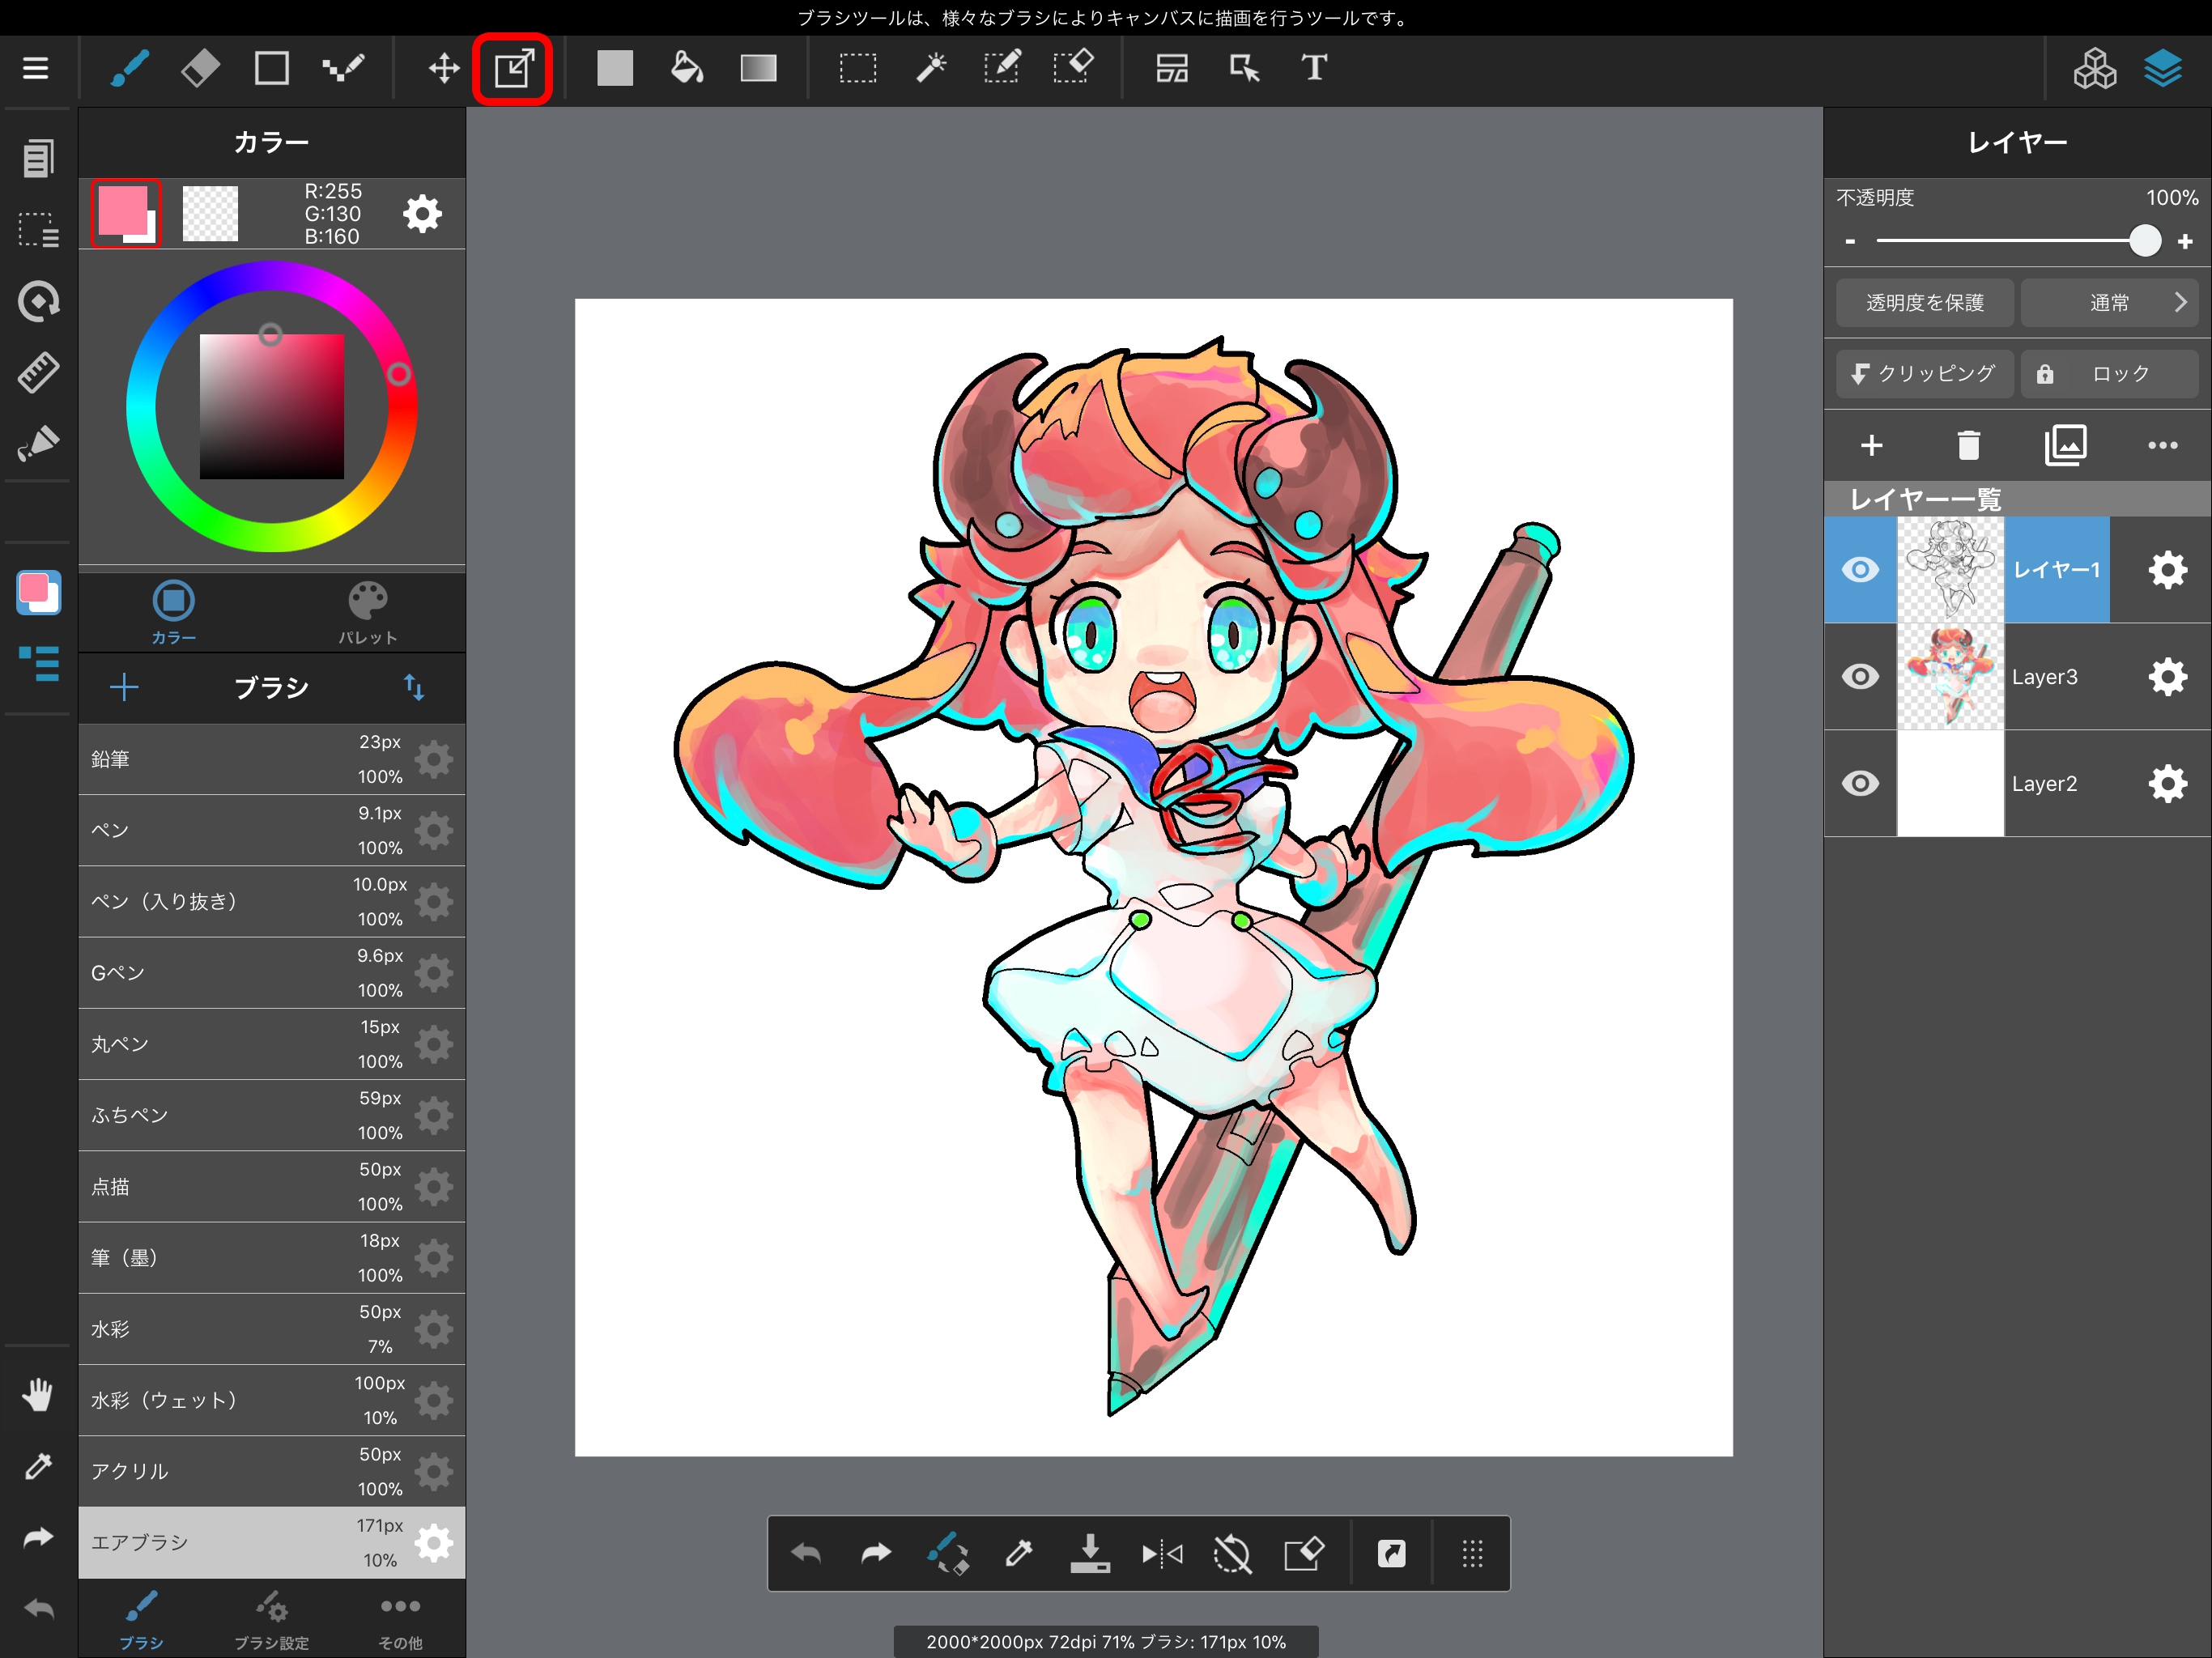
Selecting the Transform Tool allows us to transform the currently selected layer alone. By swiping anywhere outside of the area outlined in red in the below image, we can rotate the layer.
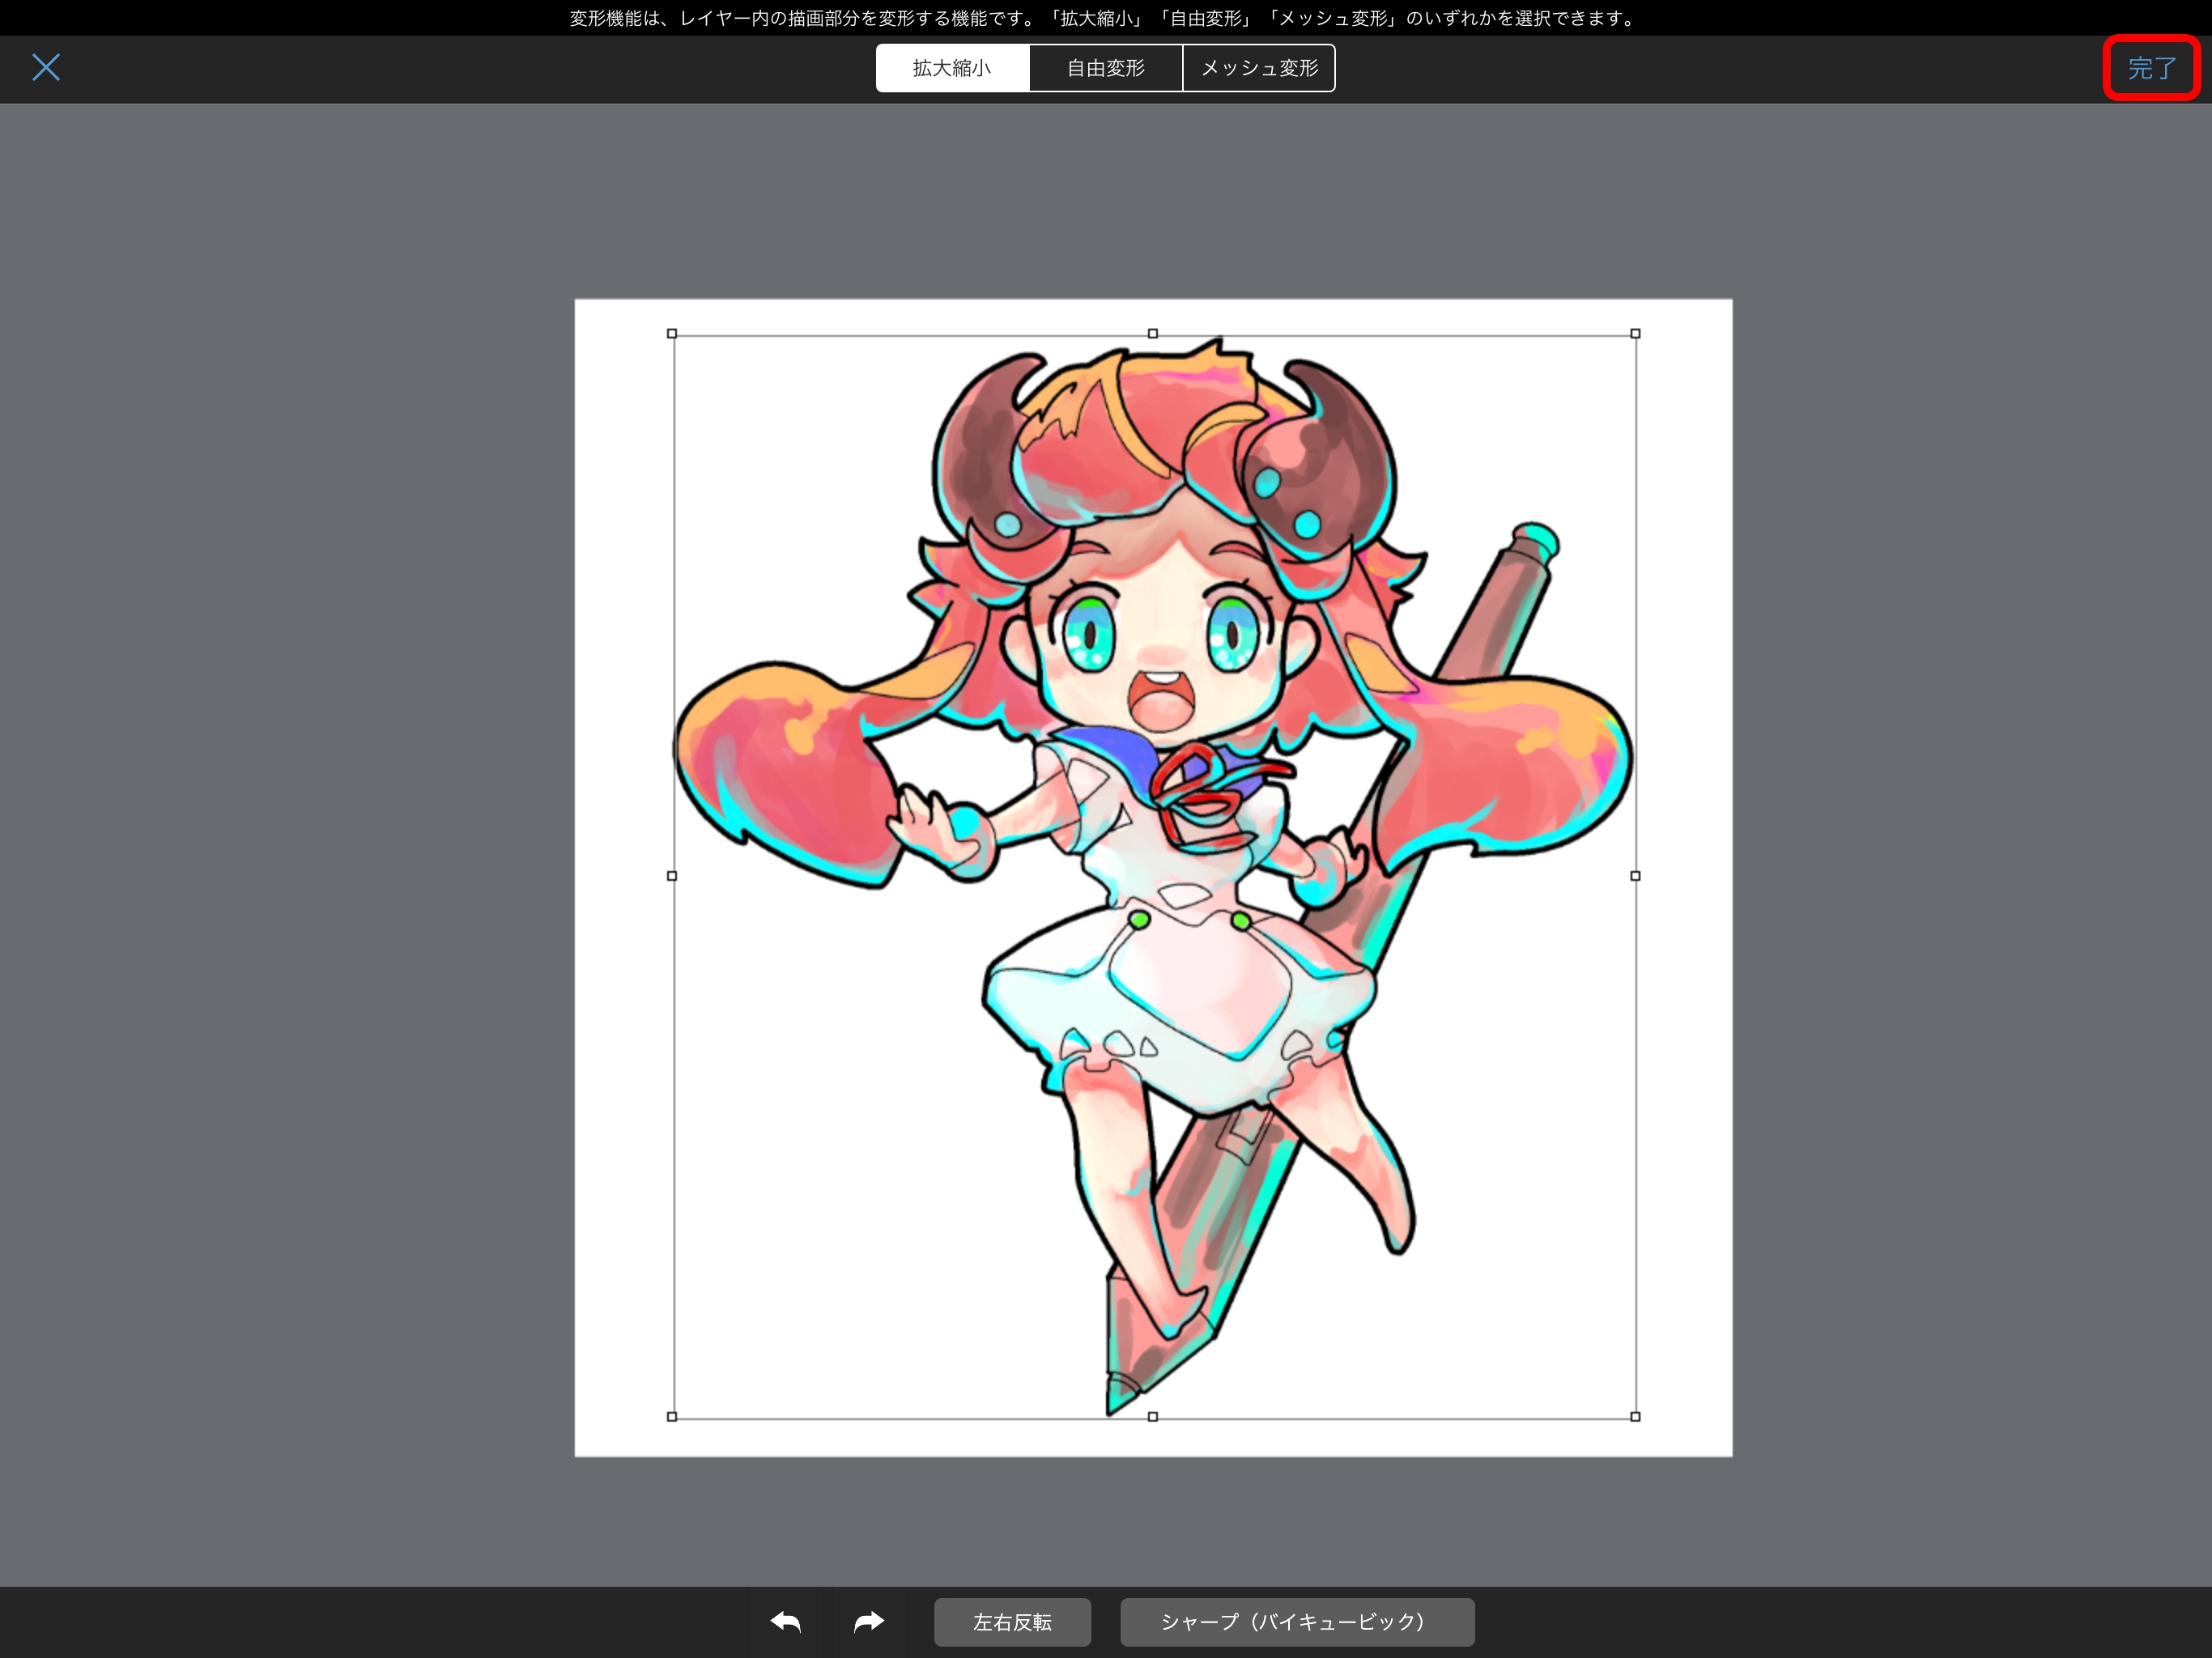
When you’re done rotating, tap “Done,” outlined in red in the above image.
To flip the image from left to right, select “Flip image left/right,” then select “Done.”
The Transform Tool also features Scale, Free Transform and Mesh Transform options in addition to Rotate and Flip.
“Scale” changes the size of the image while preserving its ratios. “Free Transform” changes the size of the image while ignoring its ratios. “Mesh Transform” applies a grid pattern to the image, allowing you to resize the image by swiping across the points of intersection on the grid.
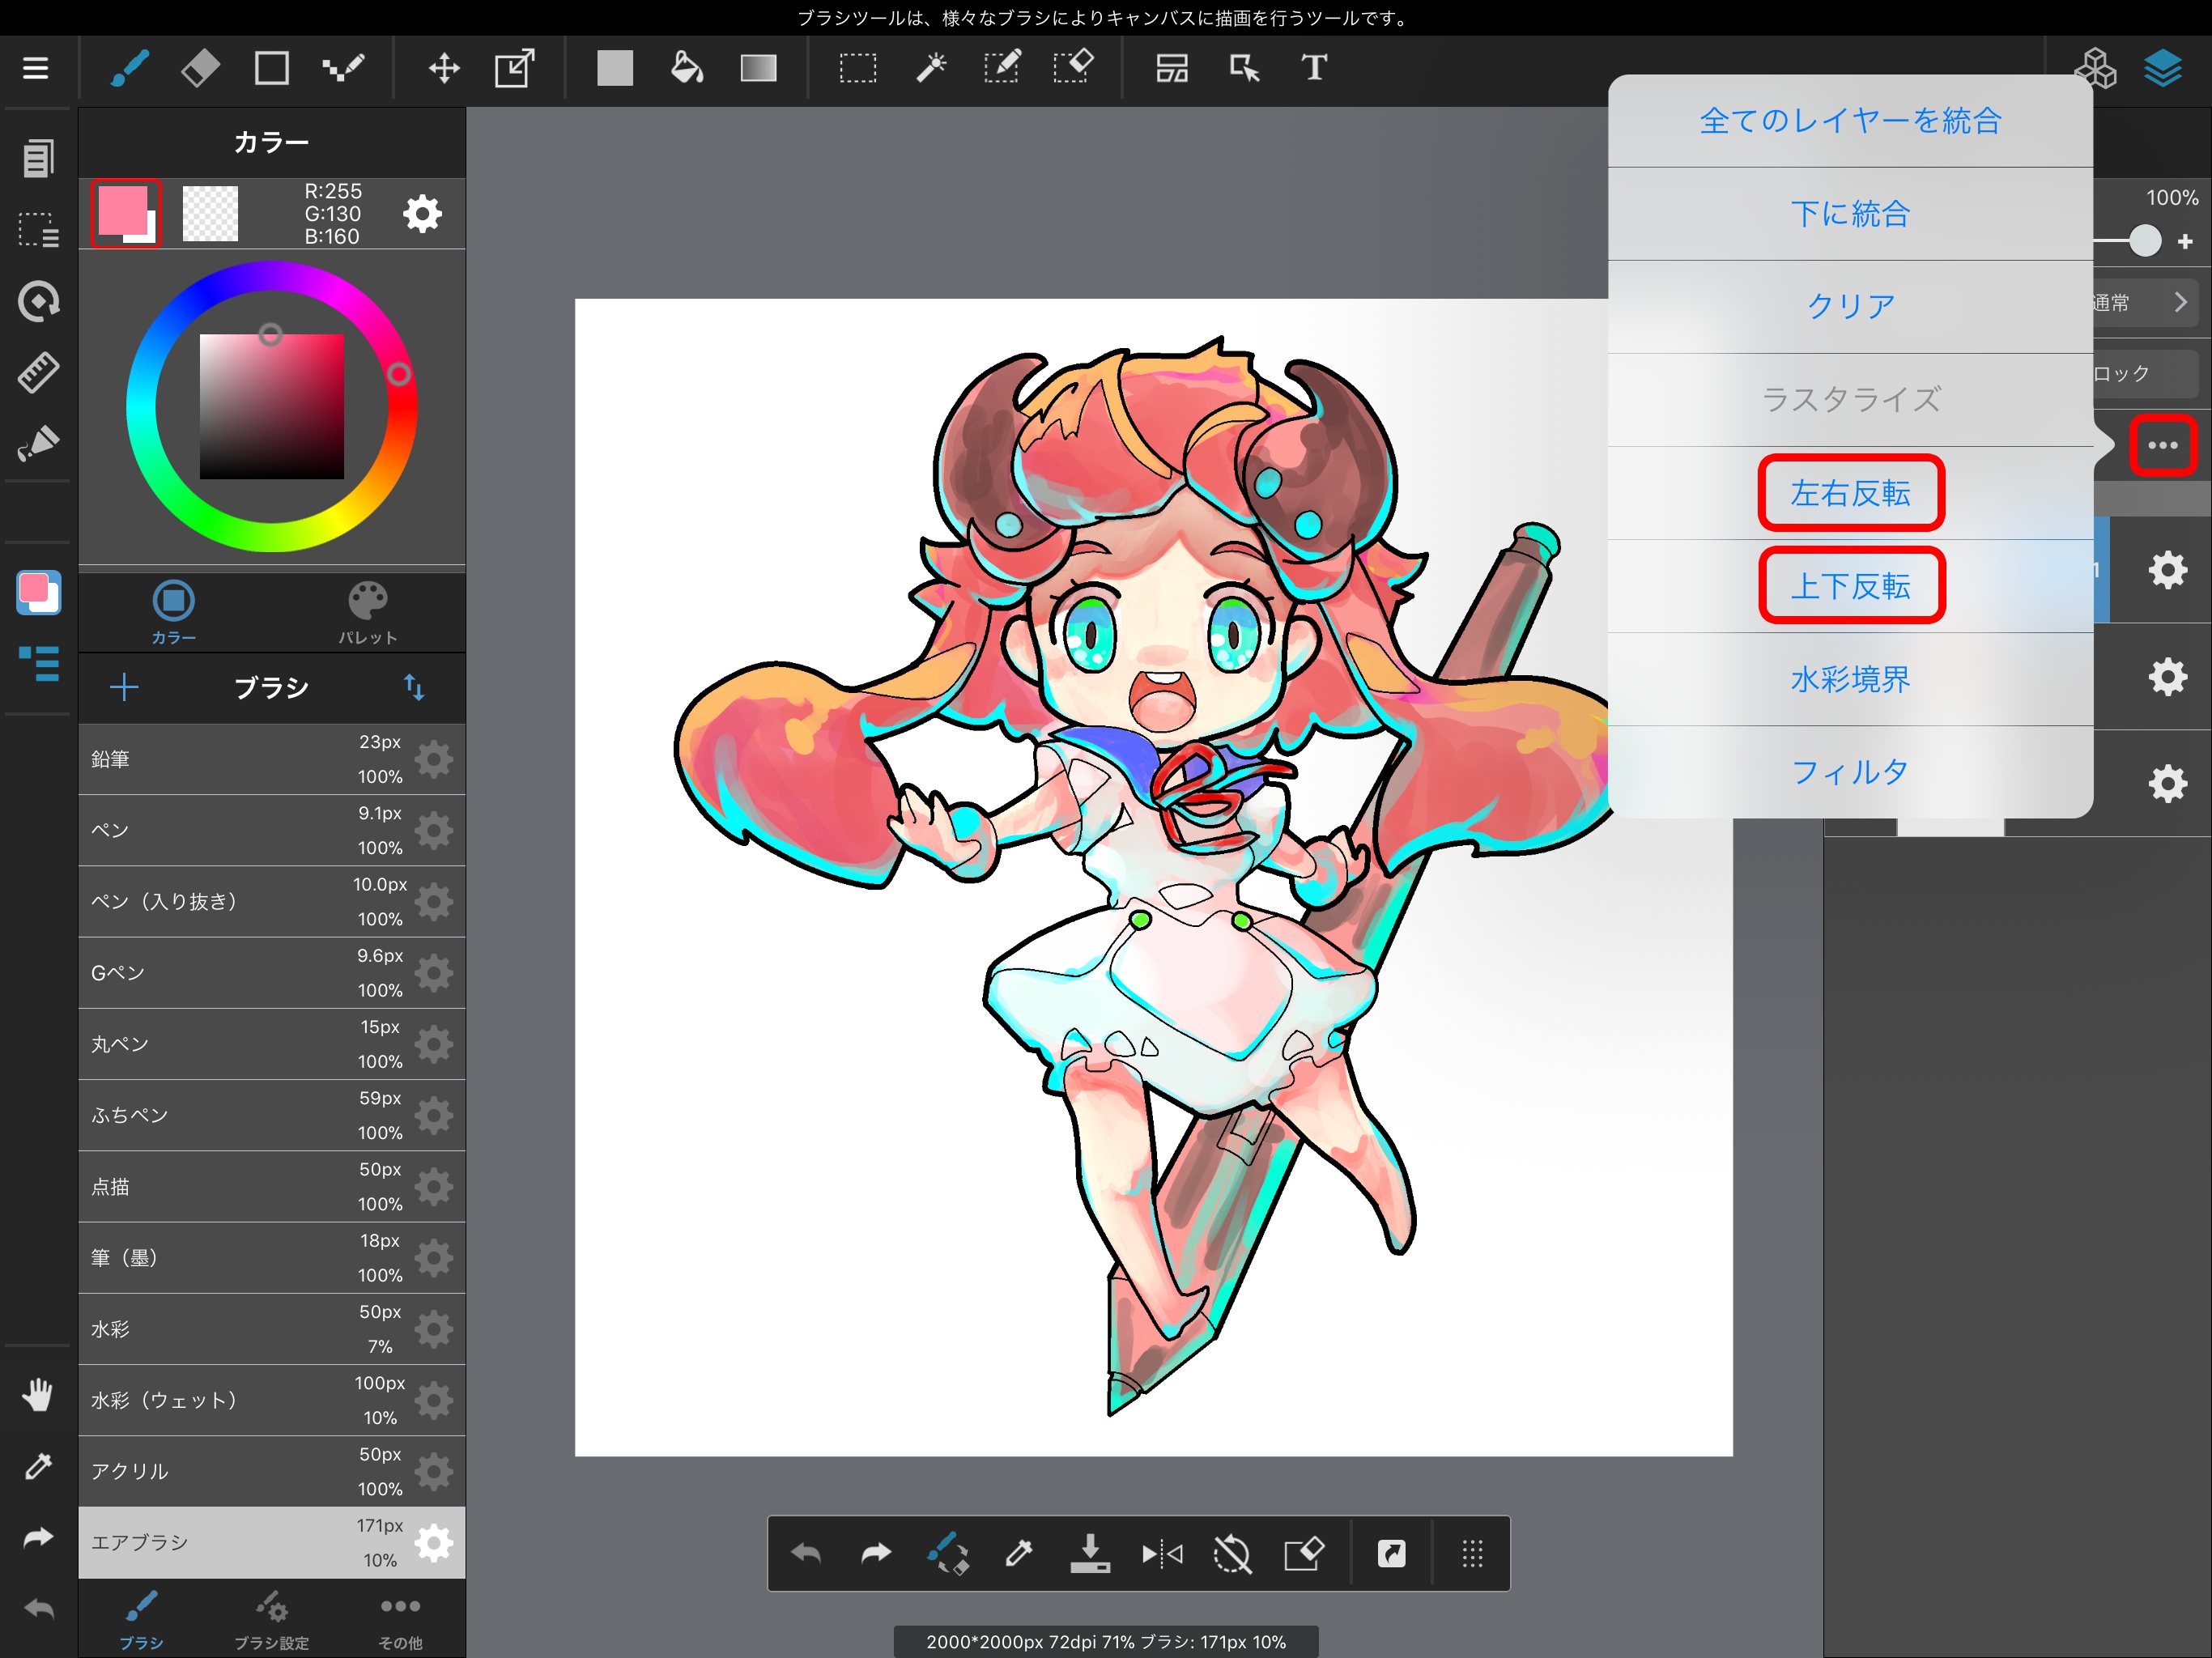
To rotate a layer, you can also tap the area outlined in red in the above image to display the menu.
This menu also features “Flip up/down” in addition to “Flip left/right.”
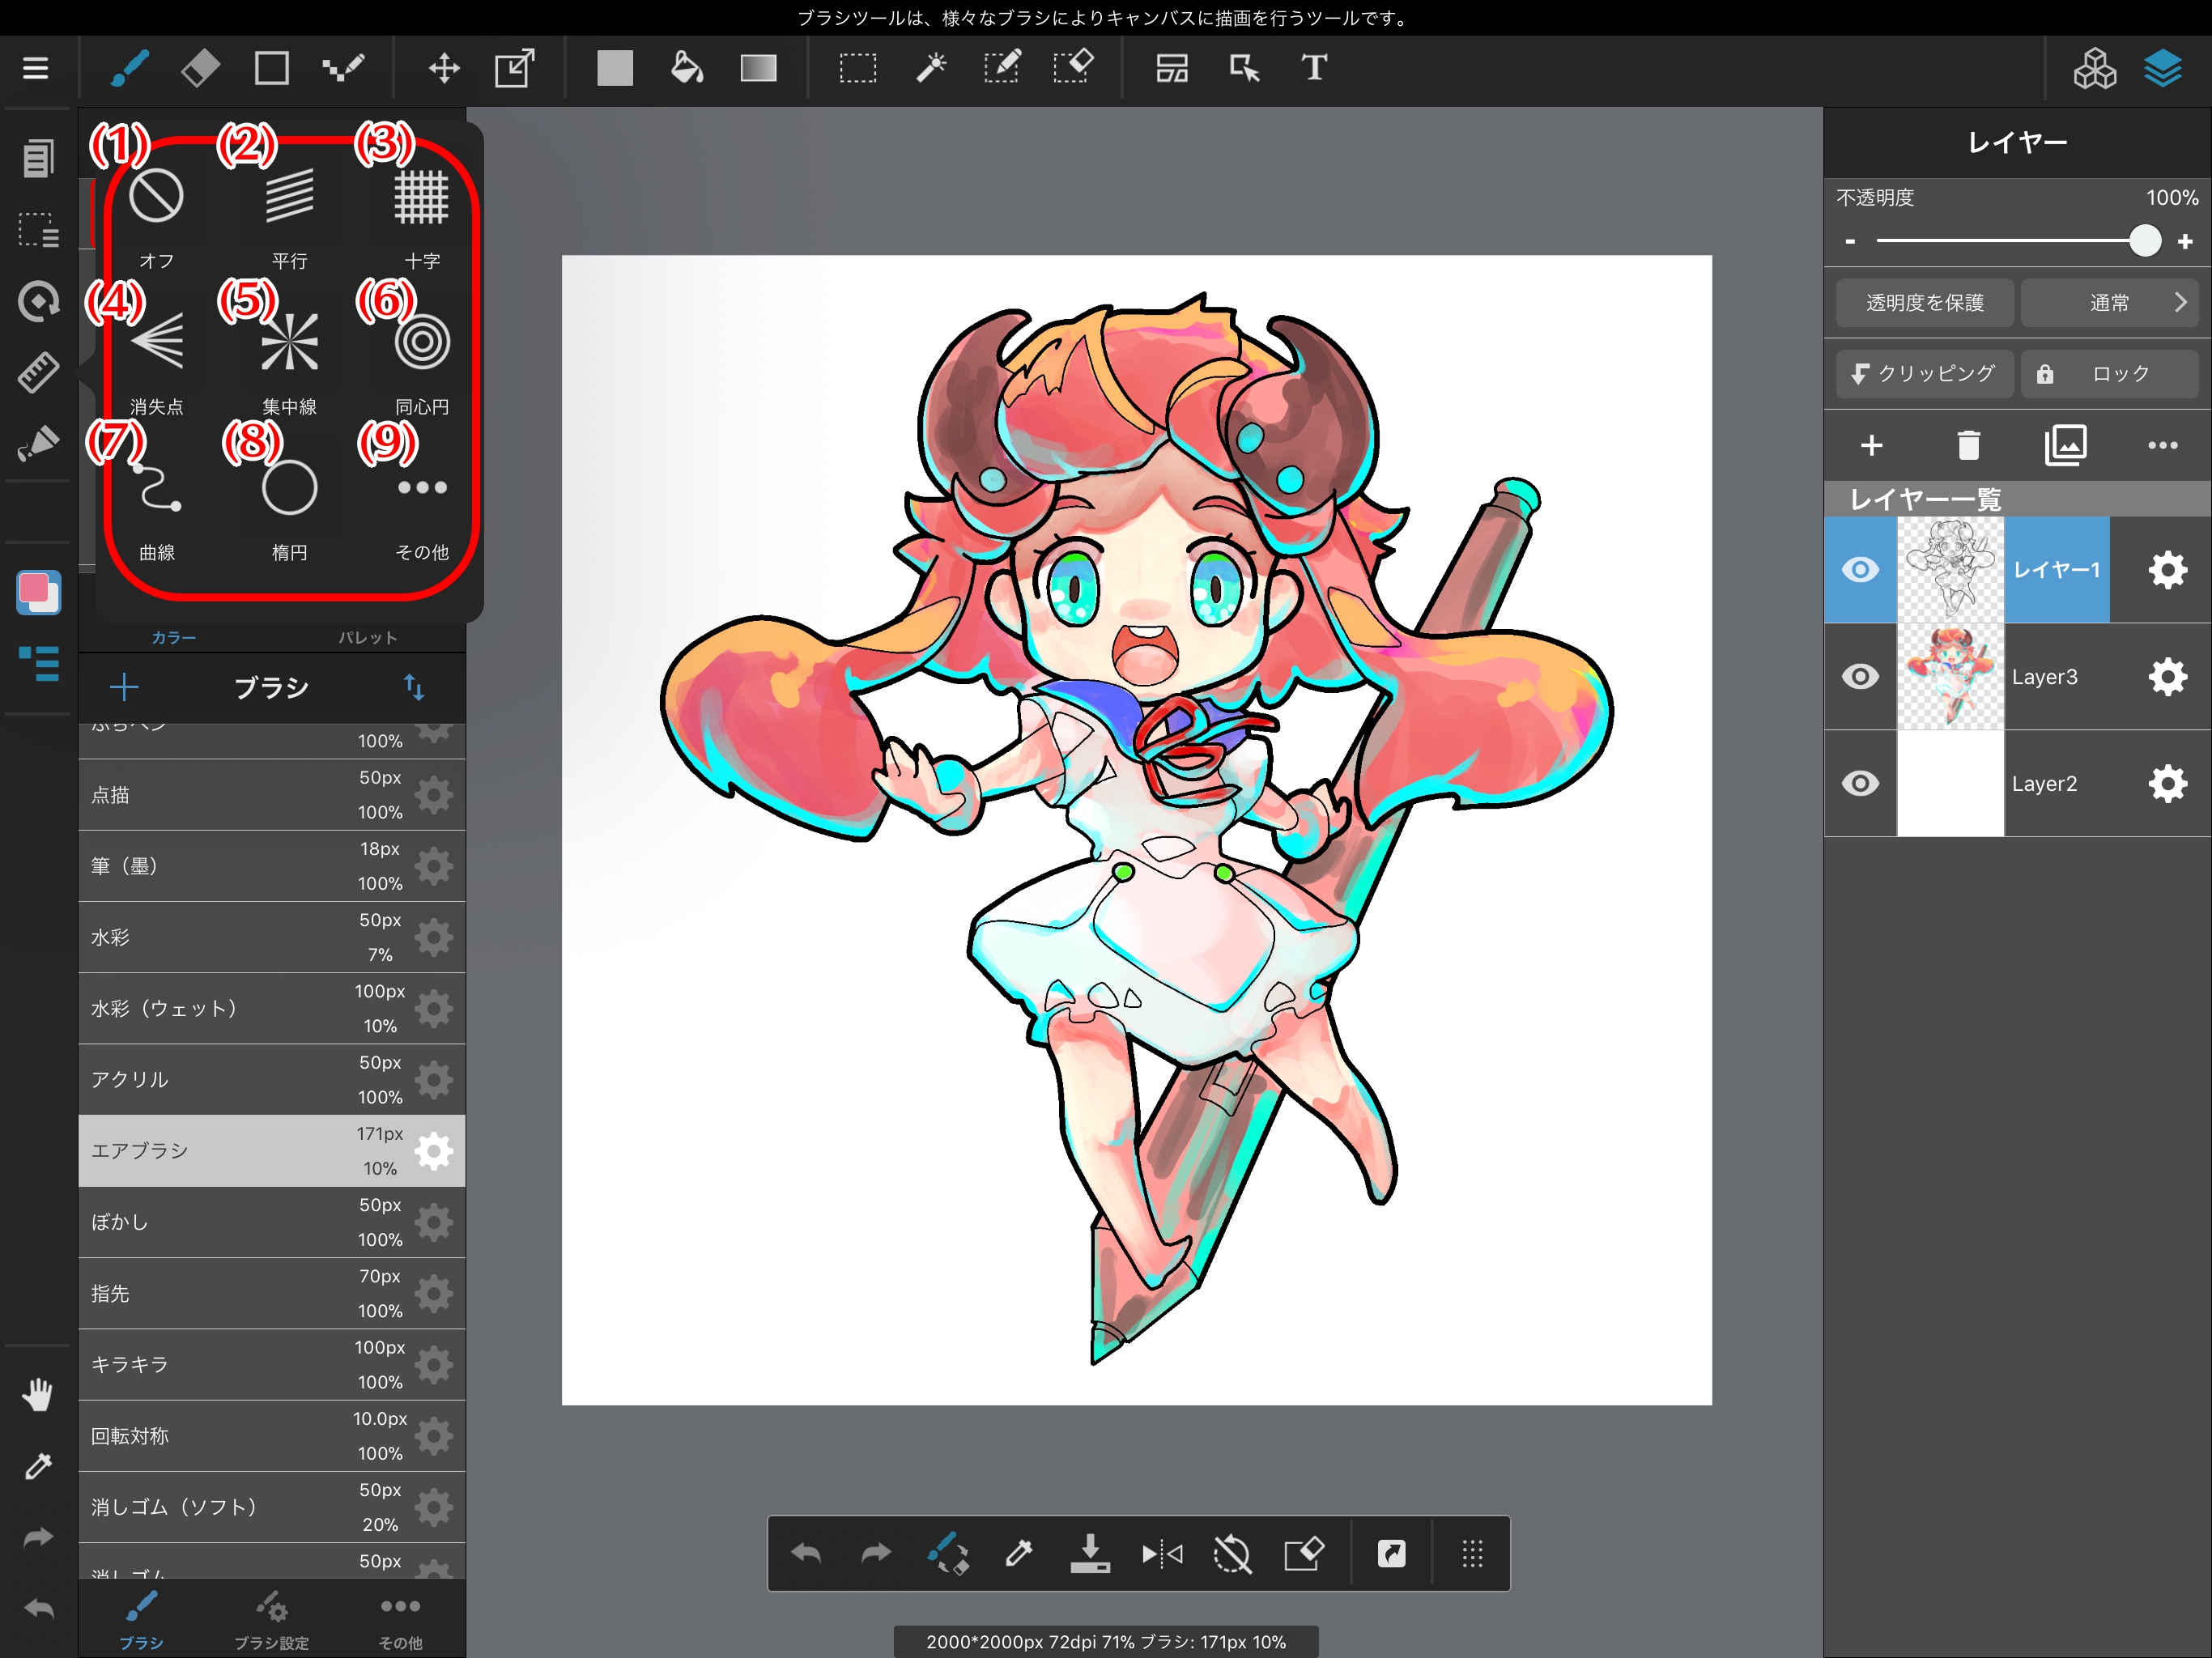
We can use the Guide Menu to create guides for drawing lines for comics or illustrations.
The Hand Tool icon is located at the bottom left of the screen. The Hand Tool can be used to move the canvas itself. We’ll try moving our work along with the canvas itself.
You can also move the canvas by dragging it with two fingers.
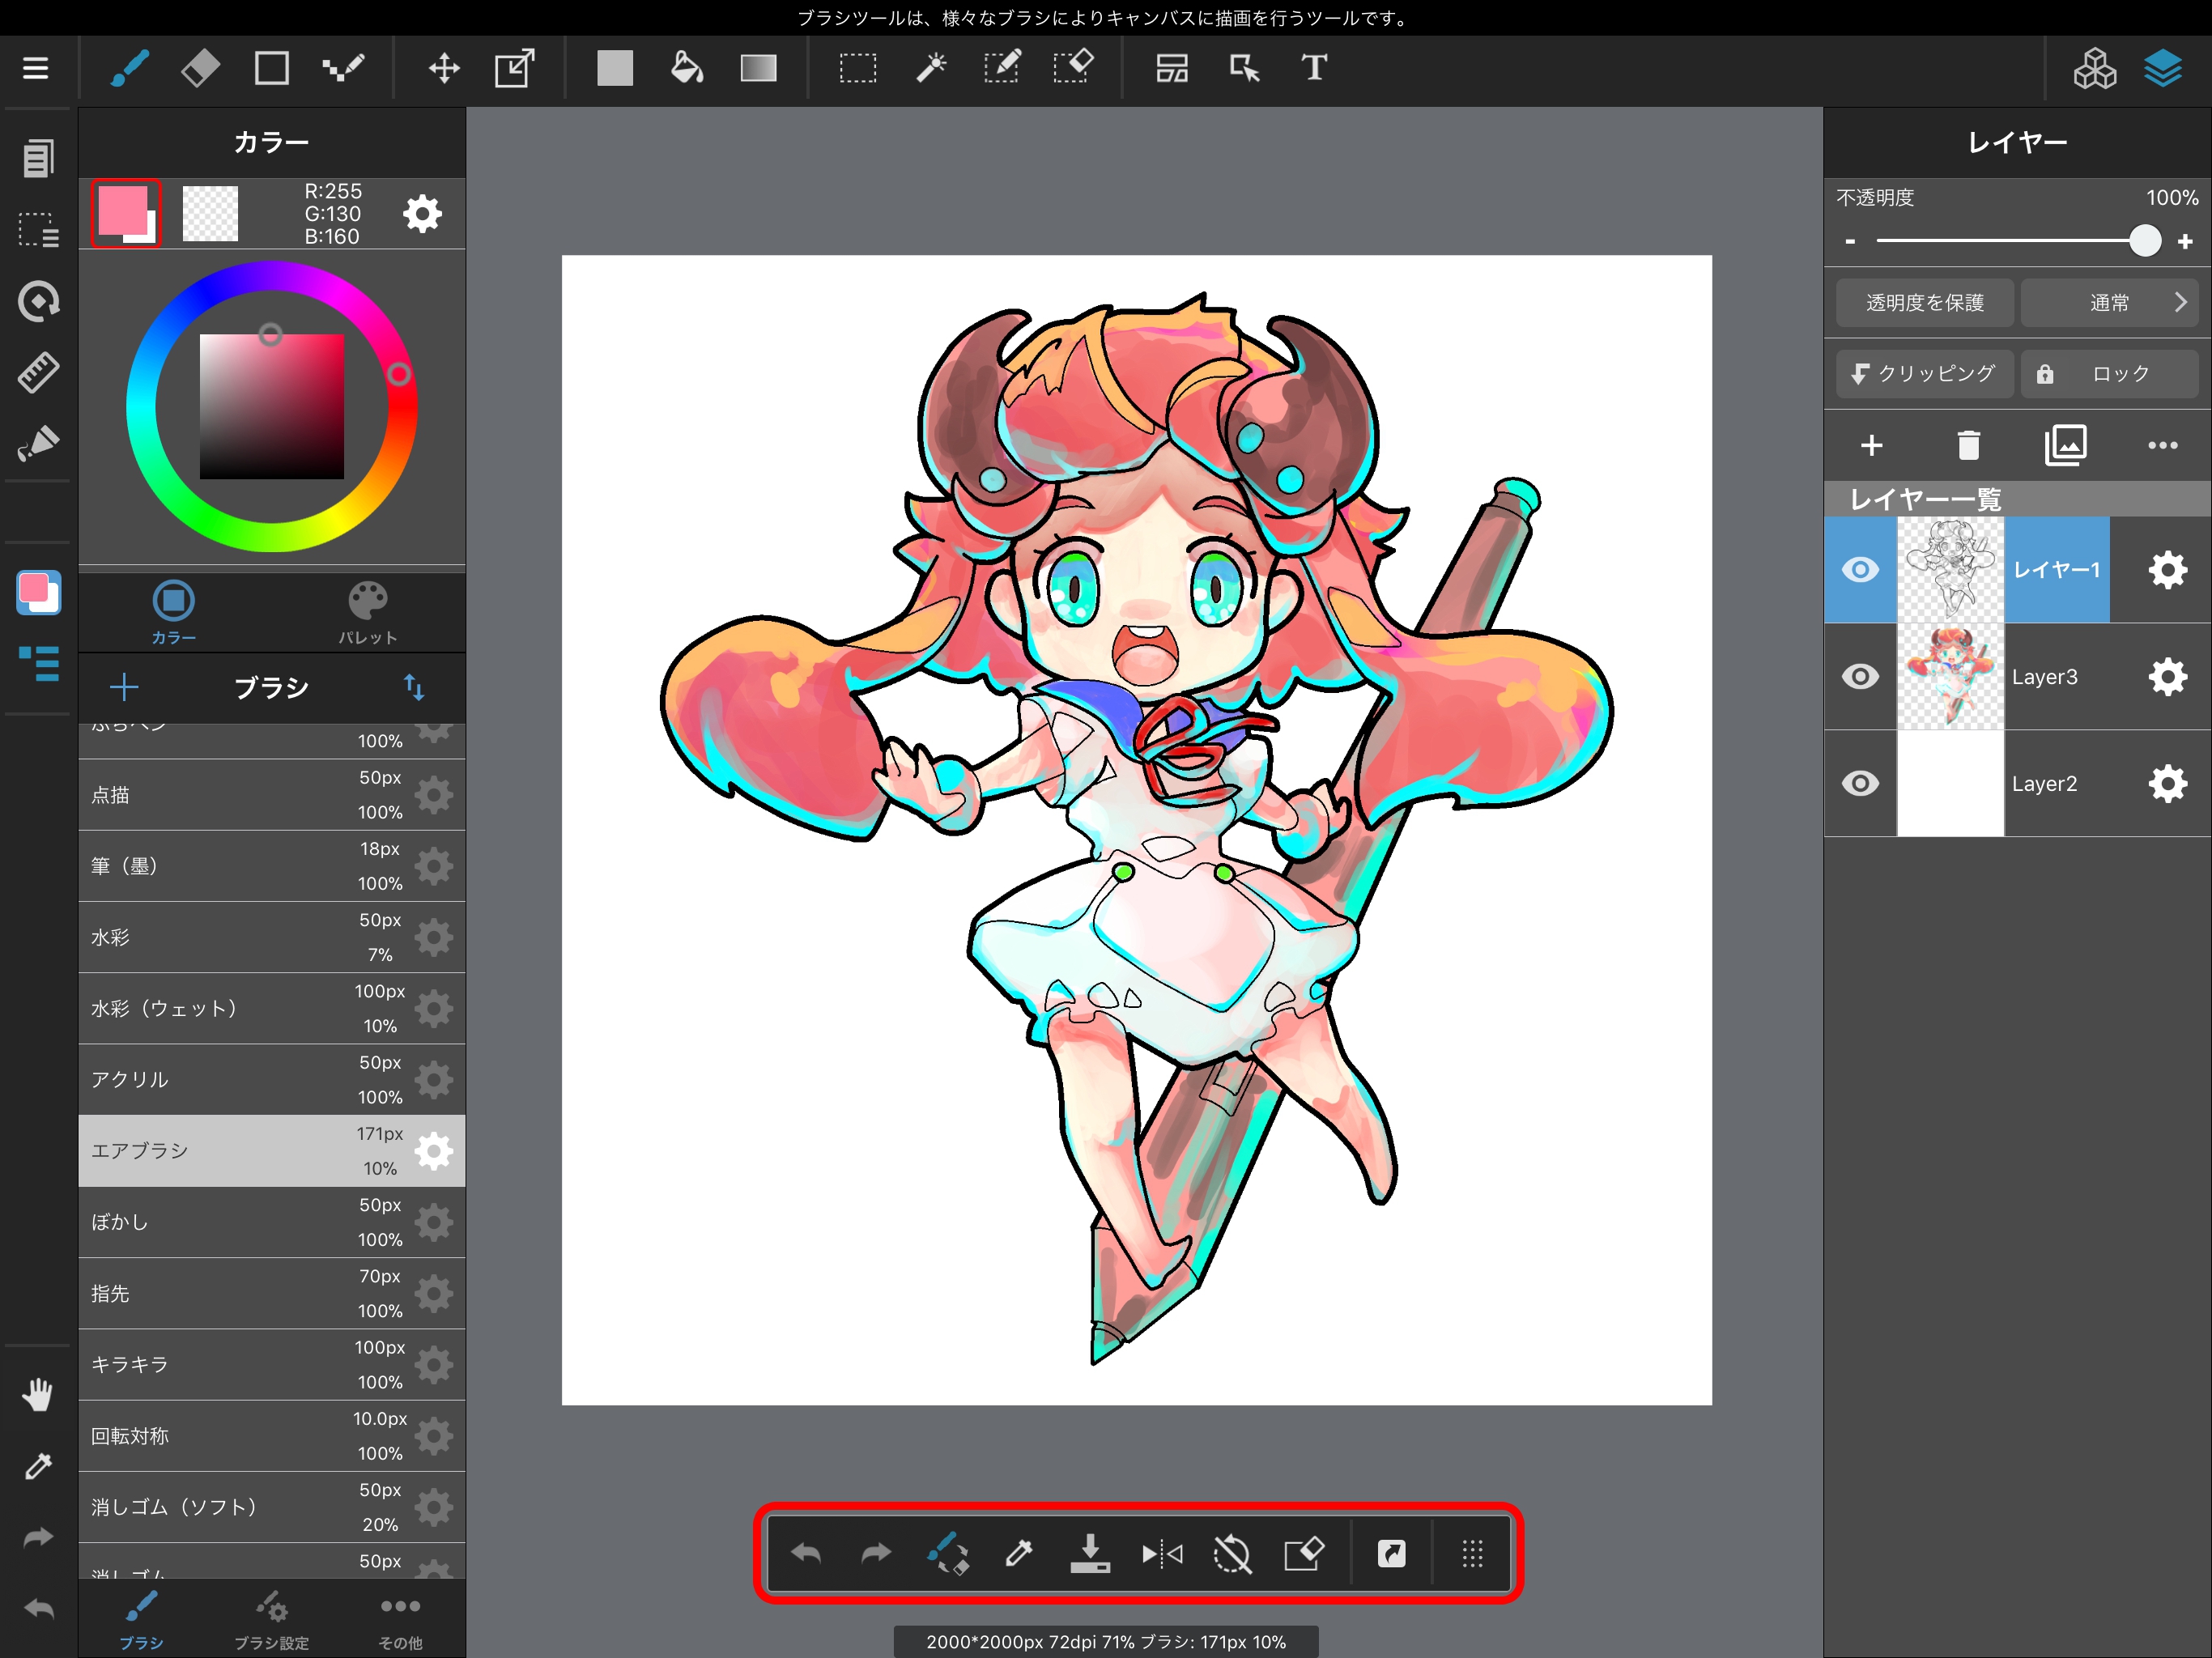
The iPad version of MediBang Paint features a Shortcut Bar in which we can choose to display our most frequently-used tools.
The Shortcut Bar can be customized both from the Main Menu and from the Shortcut Bar itself.
Make sure to set up the Shortcut Bar to make MediBang Paint easier for you to use!
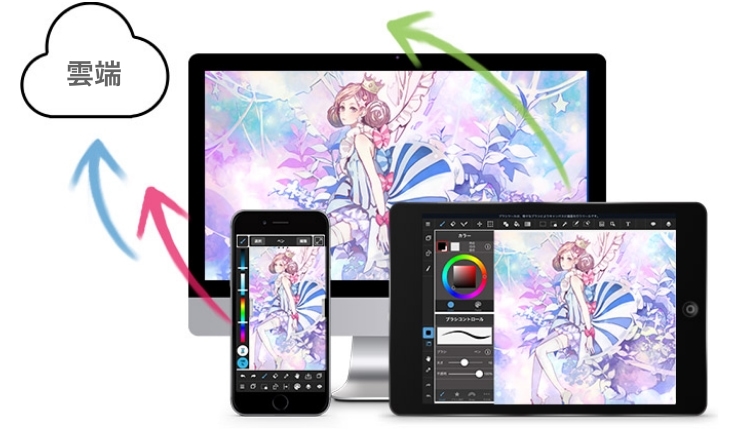
讓你的創作更有特色
MediBang Paint全新服務,
MediBang Premium登場!
專用筆刷、素材無限使用、
MediBang
Paint全功能開放等,
我們準備了幫助創作的多樣特典。