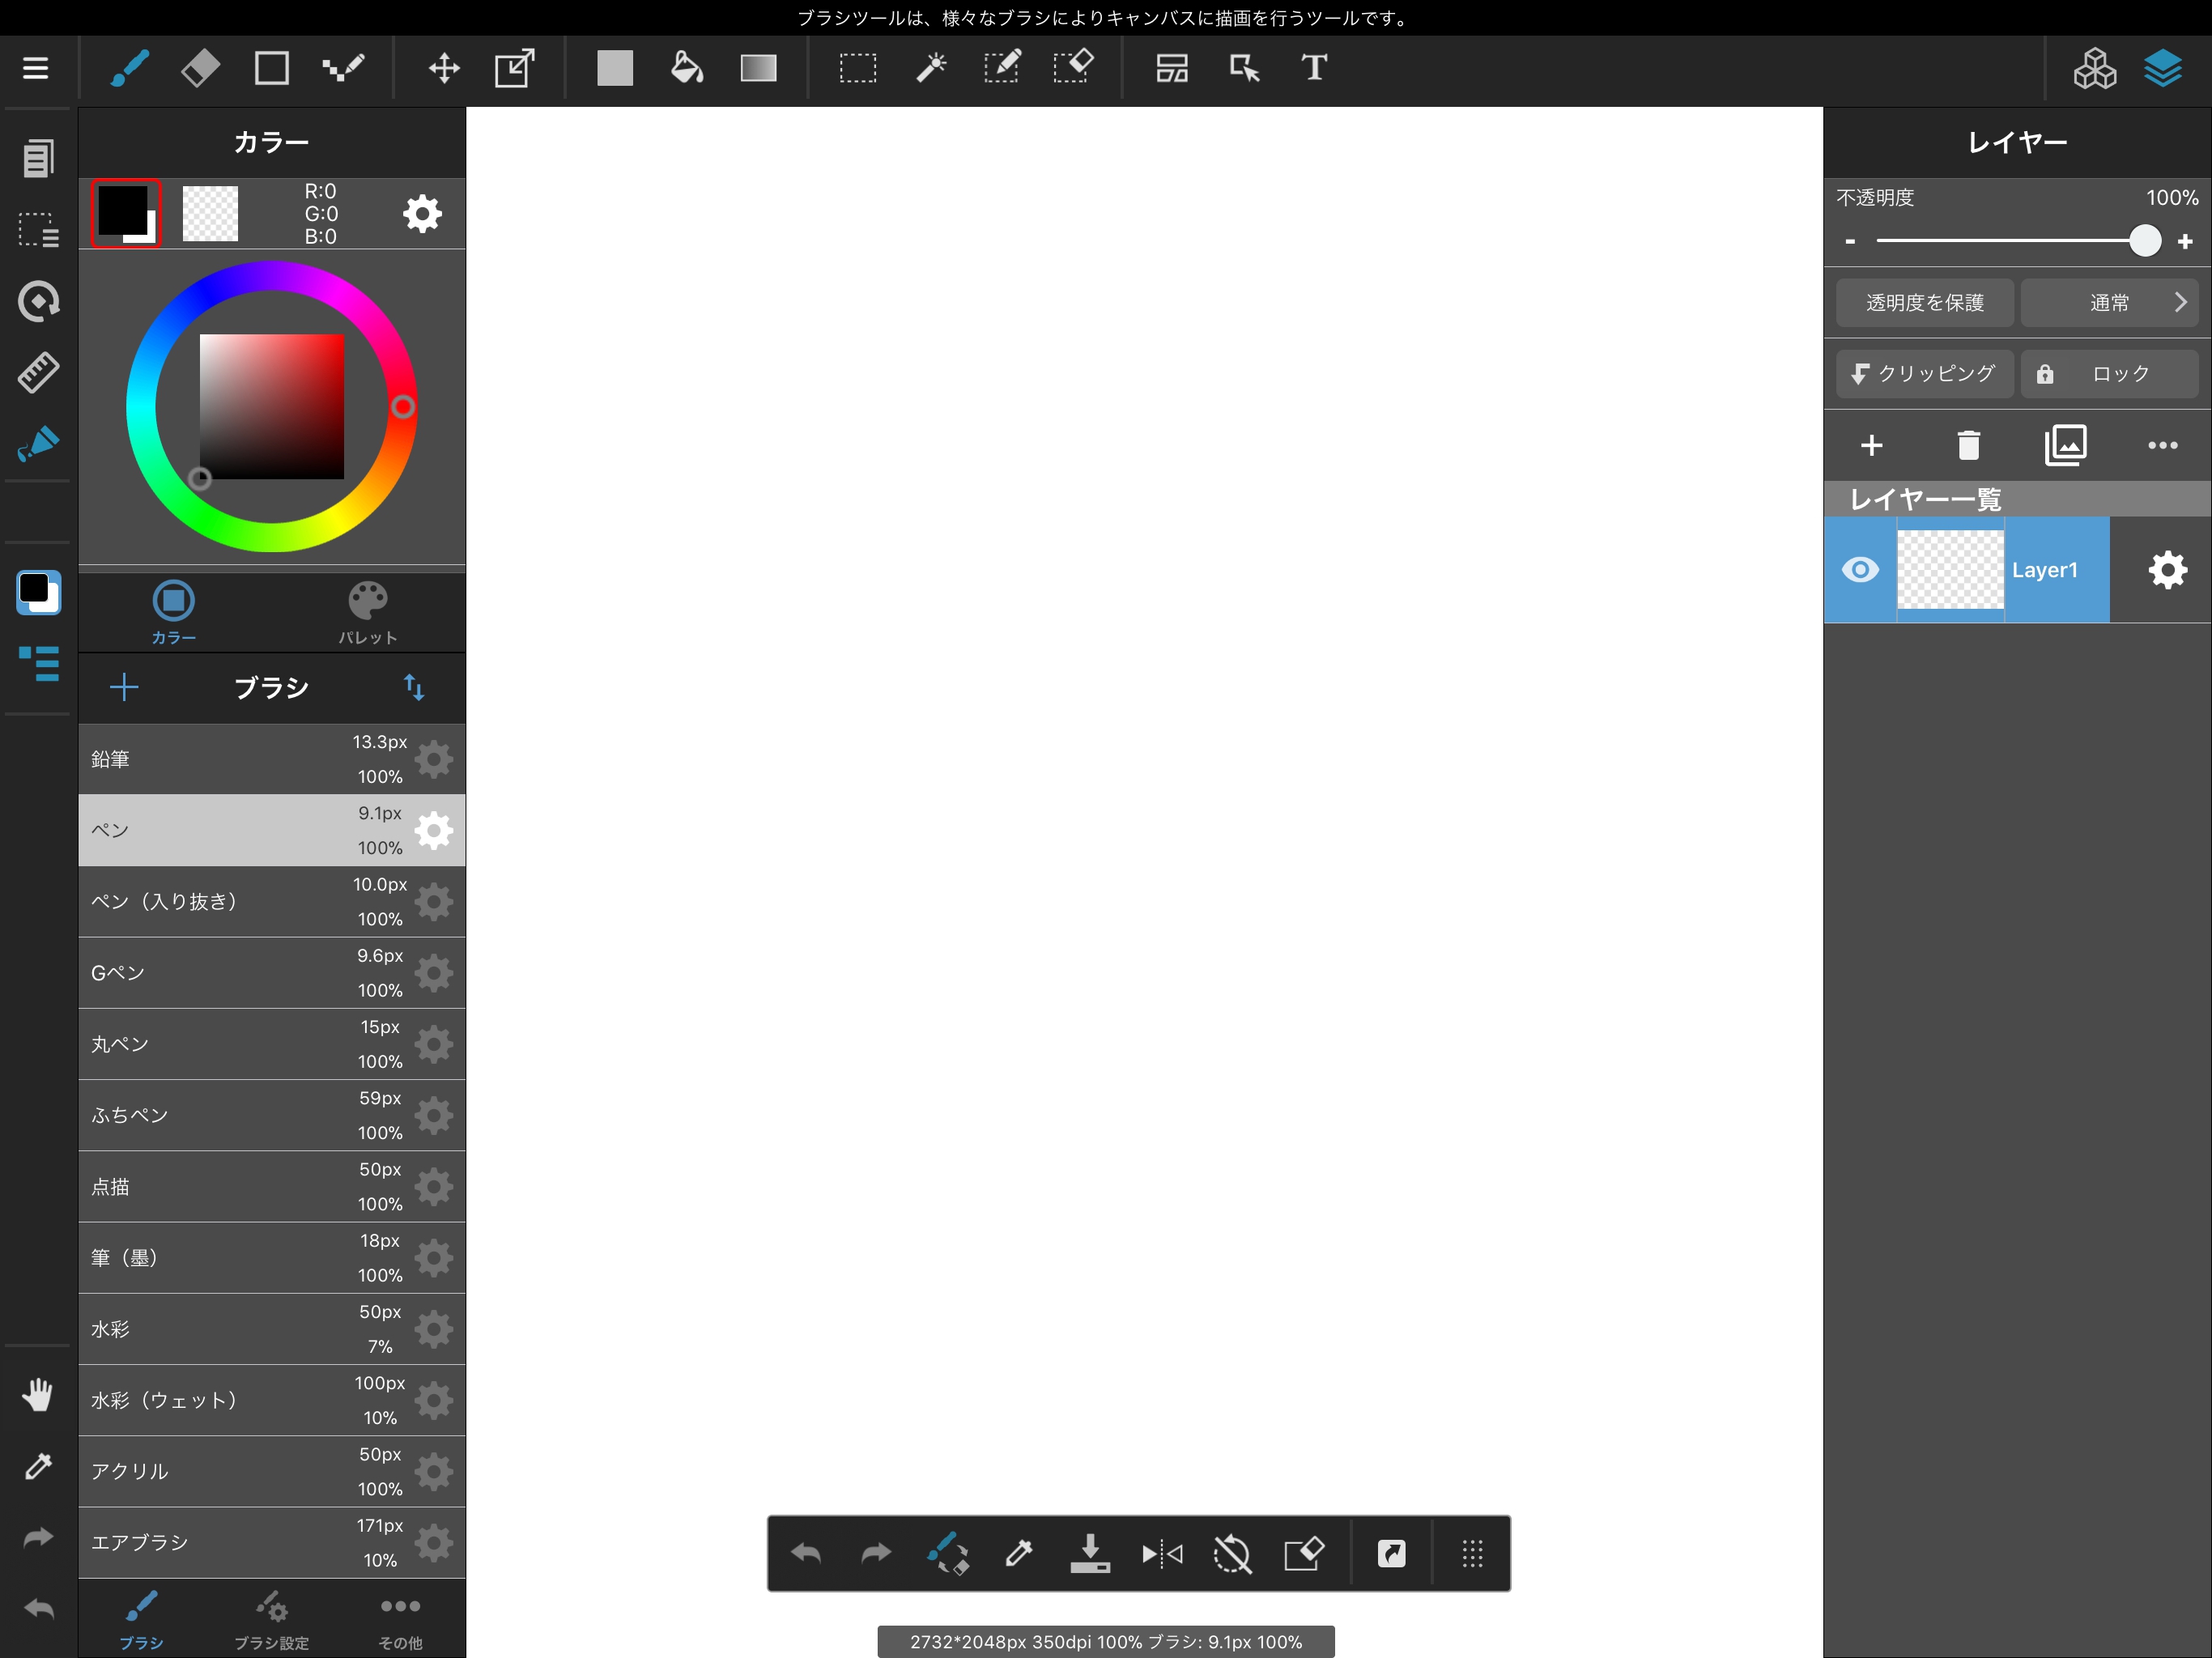
The iPad version of MediBang Paint supports both portrait and landscape layouts.
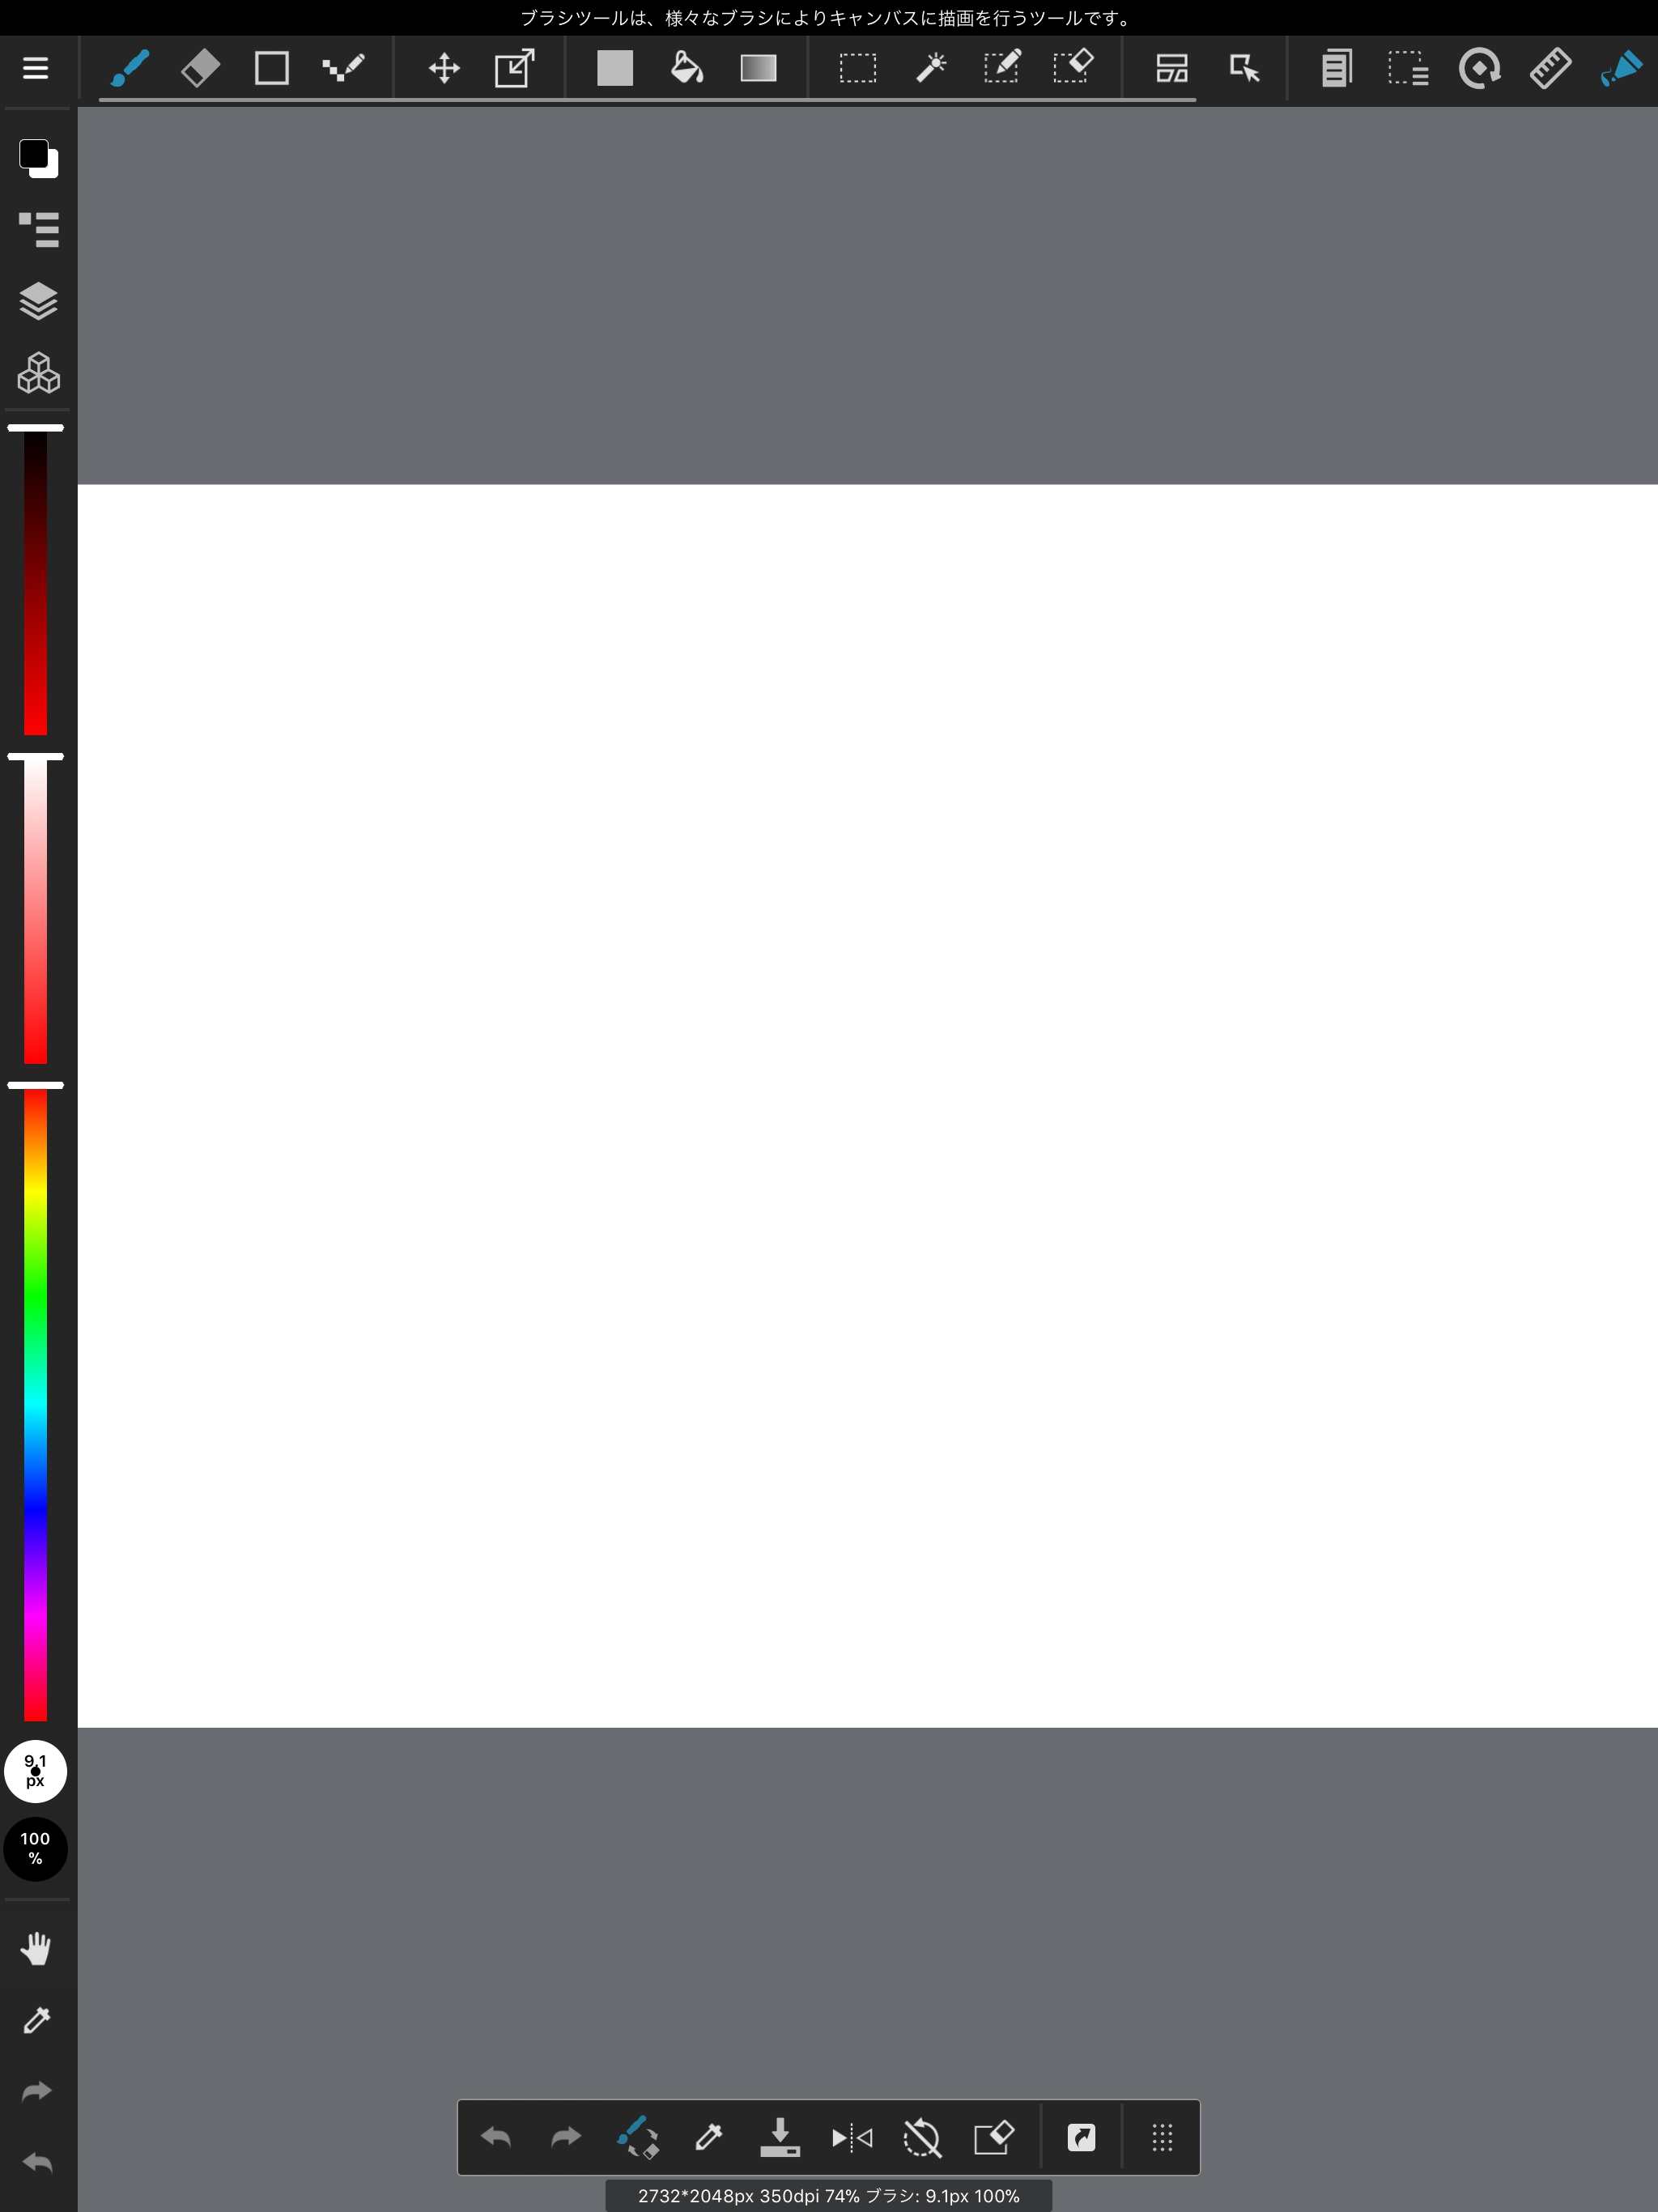

Portrait layout is recommended if you’d like the canvas to fill the screen, or if you’d like to draw with a portrait canvas, such as for manga. Landscape layout is recommended if you’d like to draw without features such as the brush settings and layer panel covering the canvas.
This tutorial will generally use landscape layout.
Now, let’s get to know the main tools.

The Edit Menu is for editing your work by cutting and pasting.
Features such as flipping and trimming the canvas are also provided here.
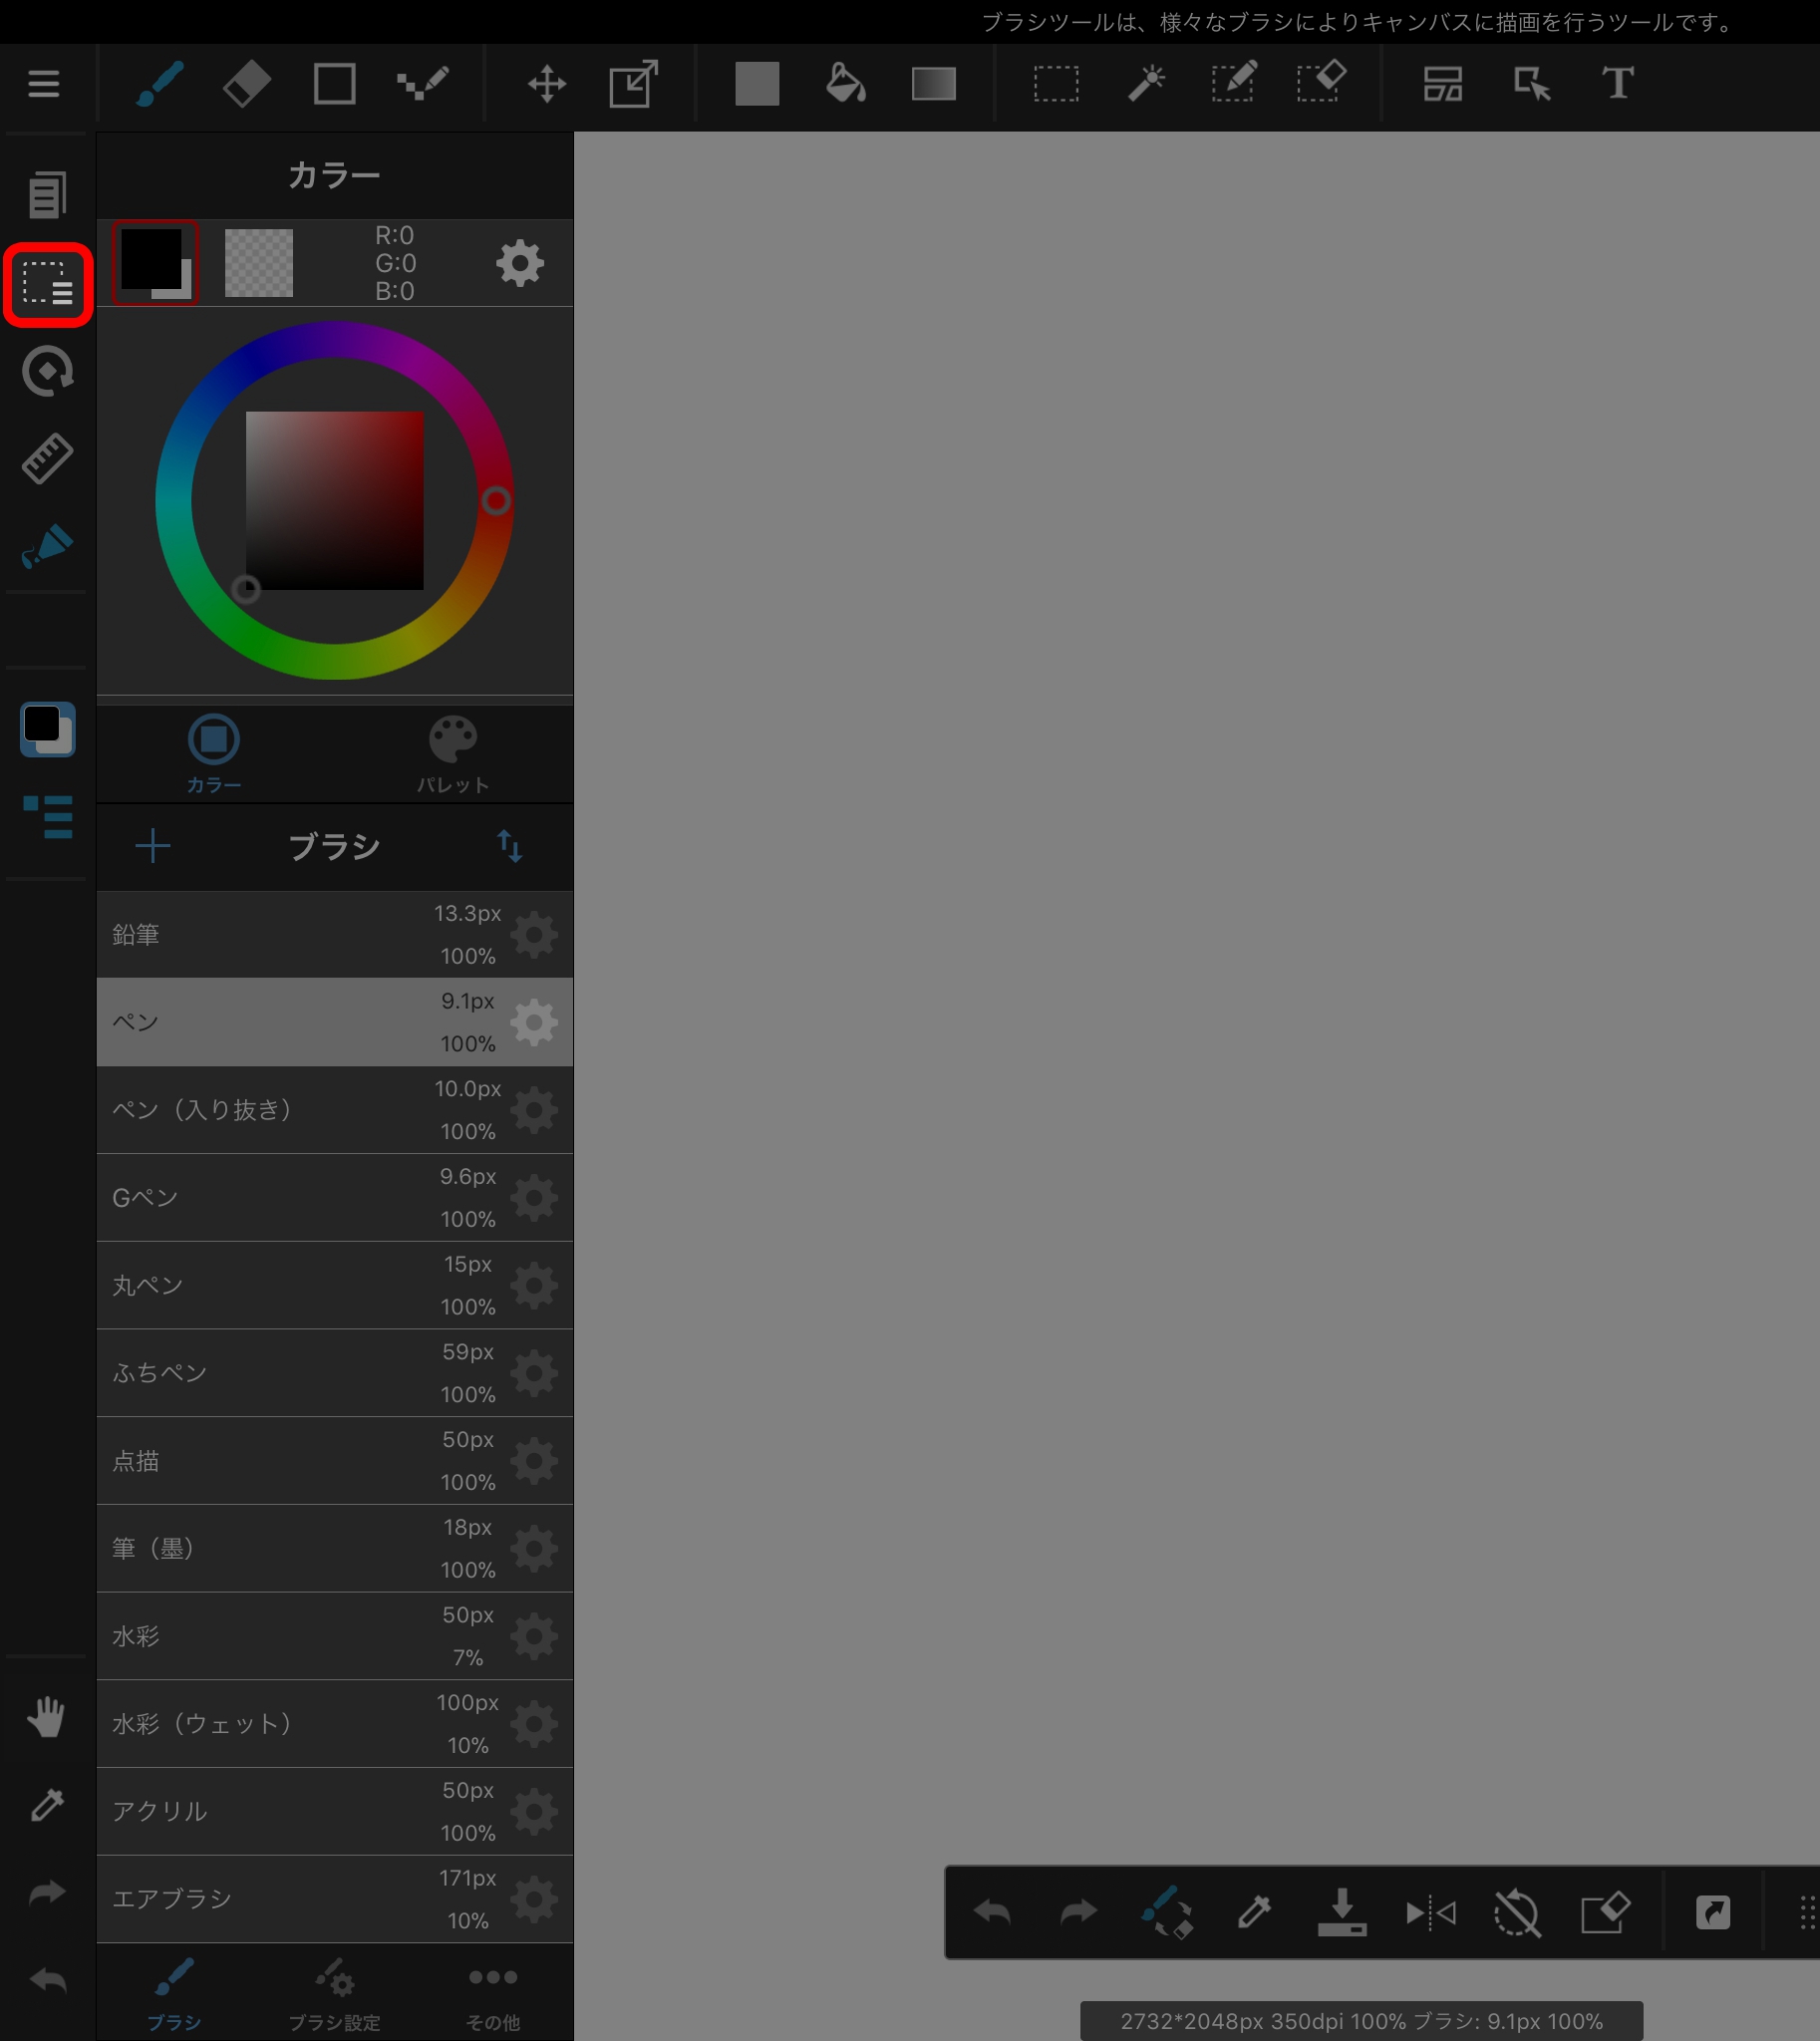
The Select Area Menu is for controlling select areas.

The Display Menu is for rotating or flipping the how the canvas is displayed only.
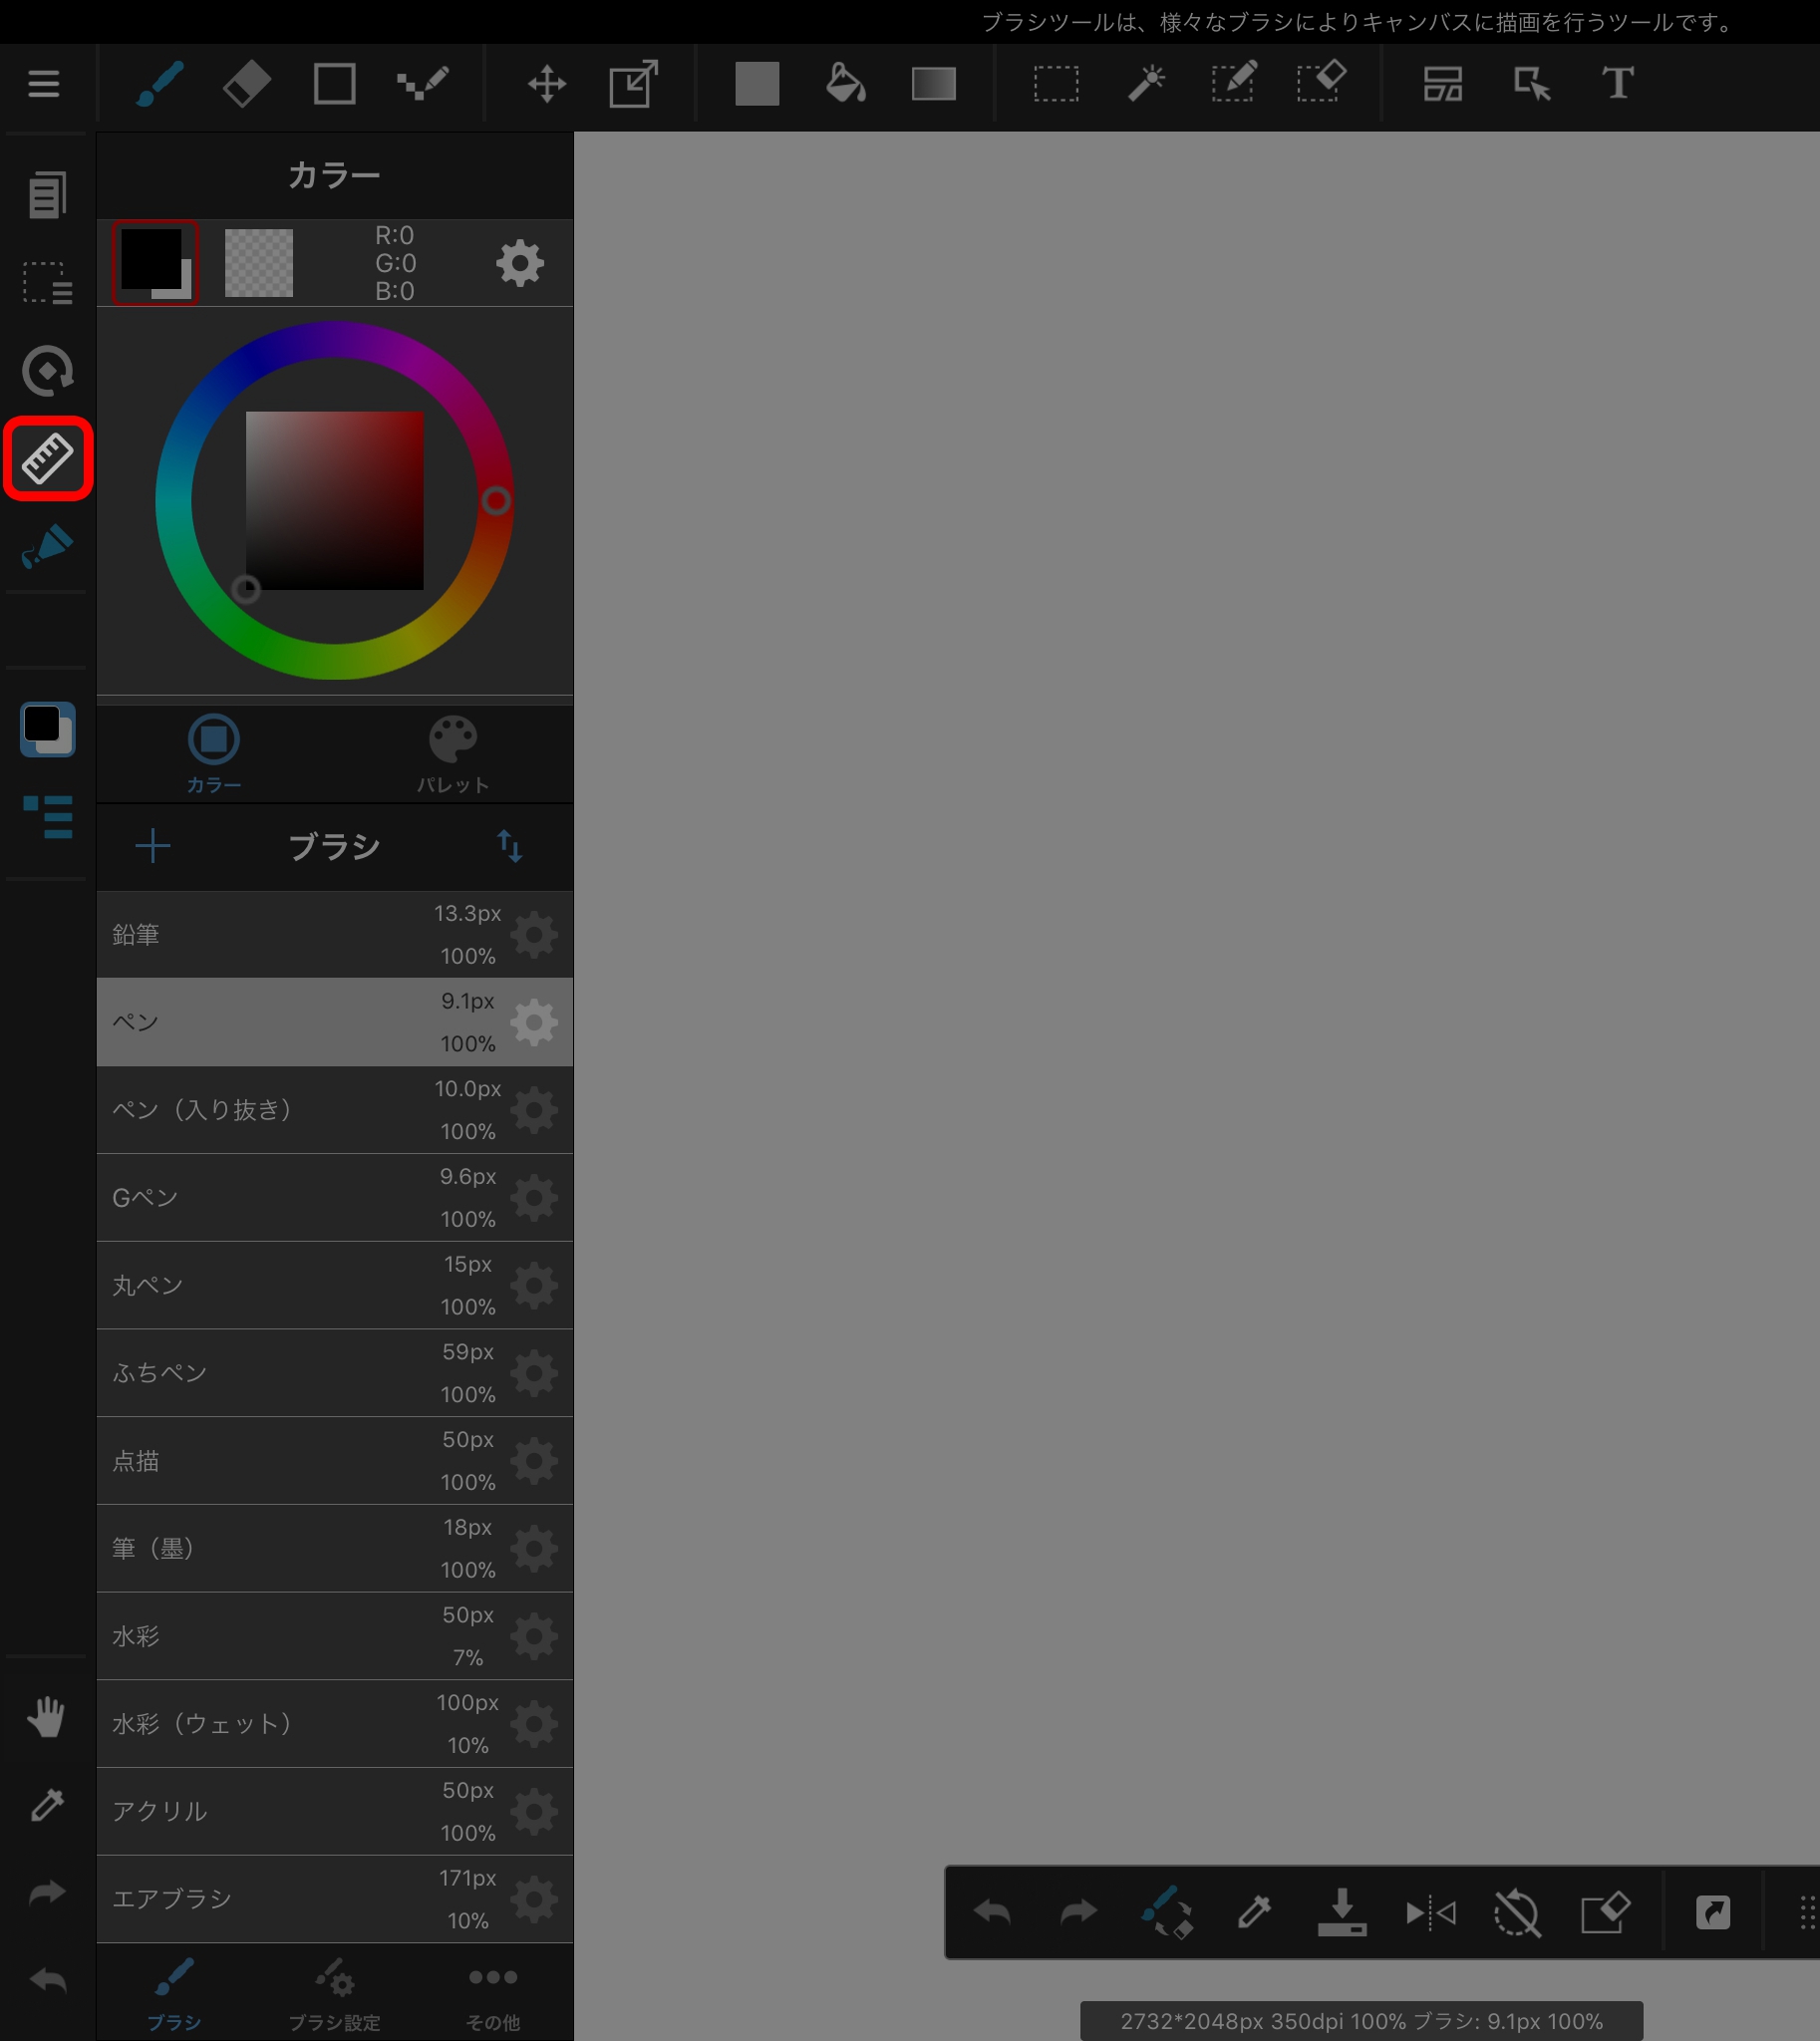
The Guide Menu is for creating guide lines, including straight, curved and special lines.

The Pressure Sensitivity Settings are for configuring pressure sensitive mode when using a stylus.
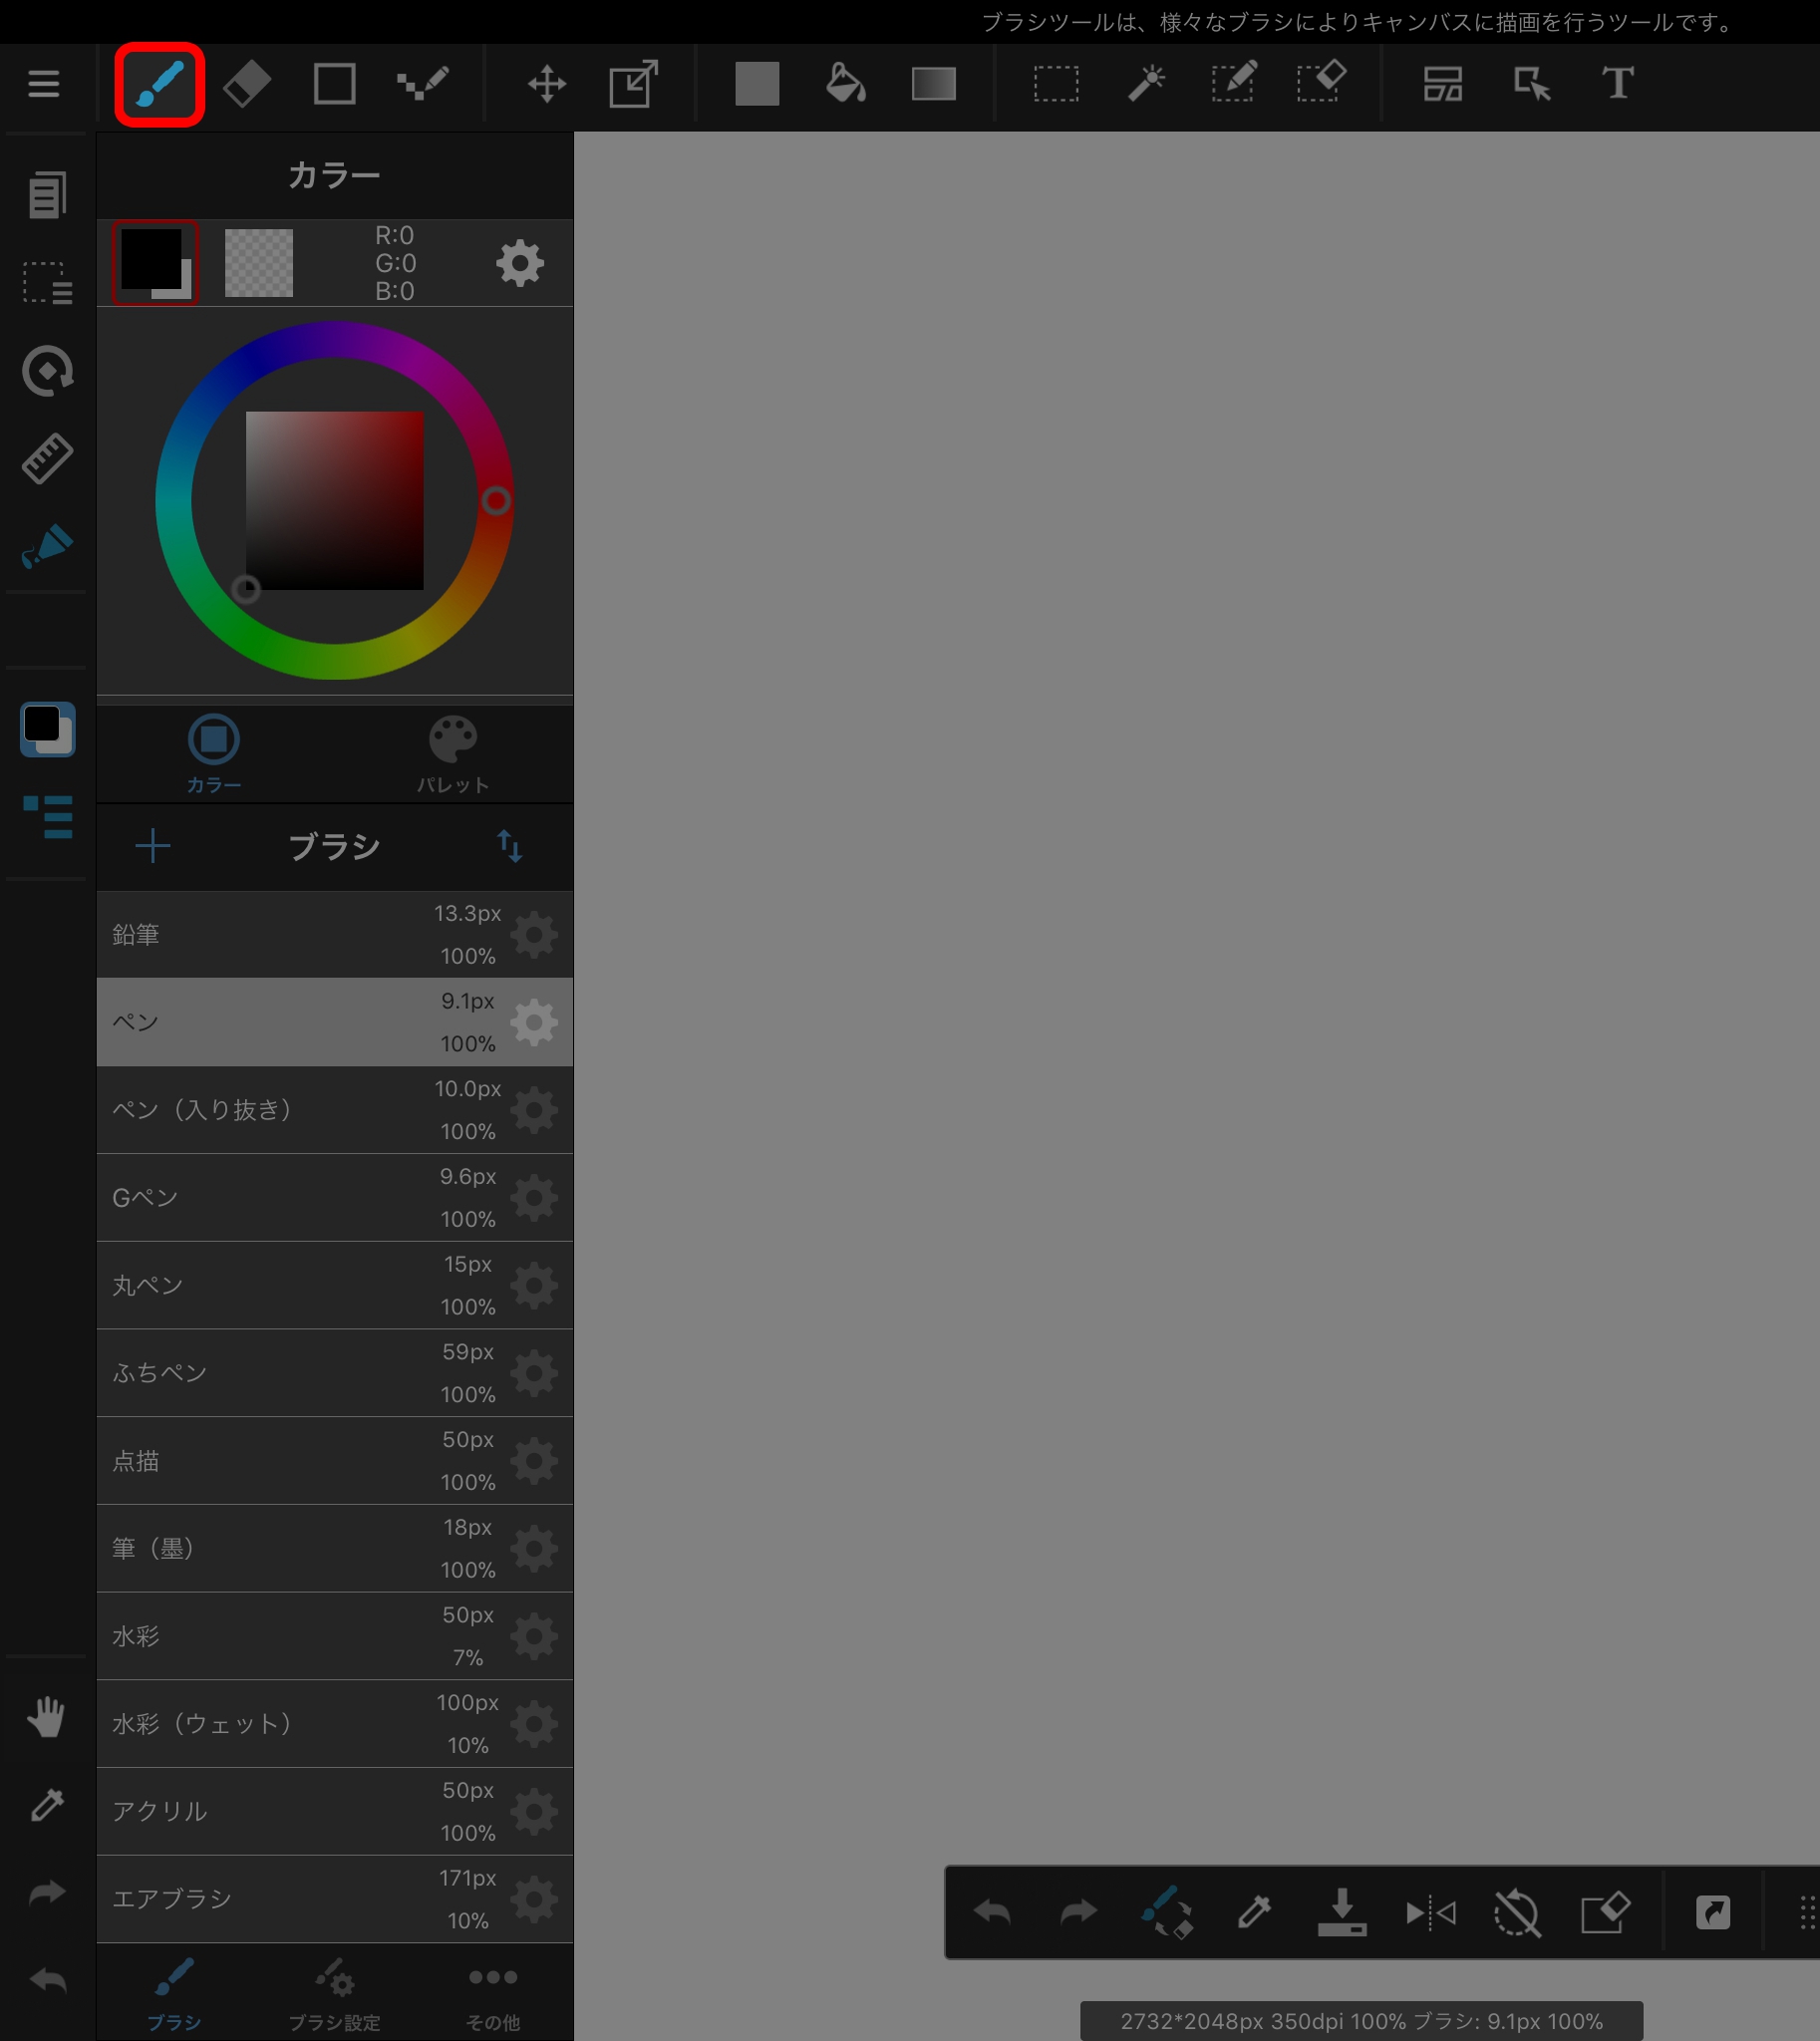
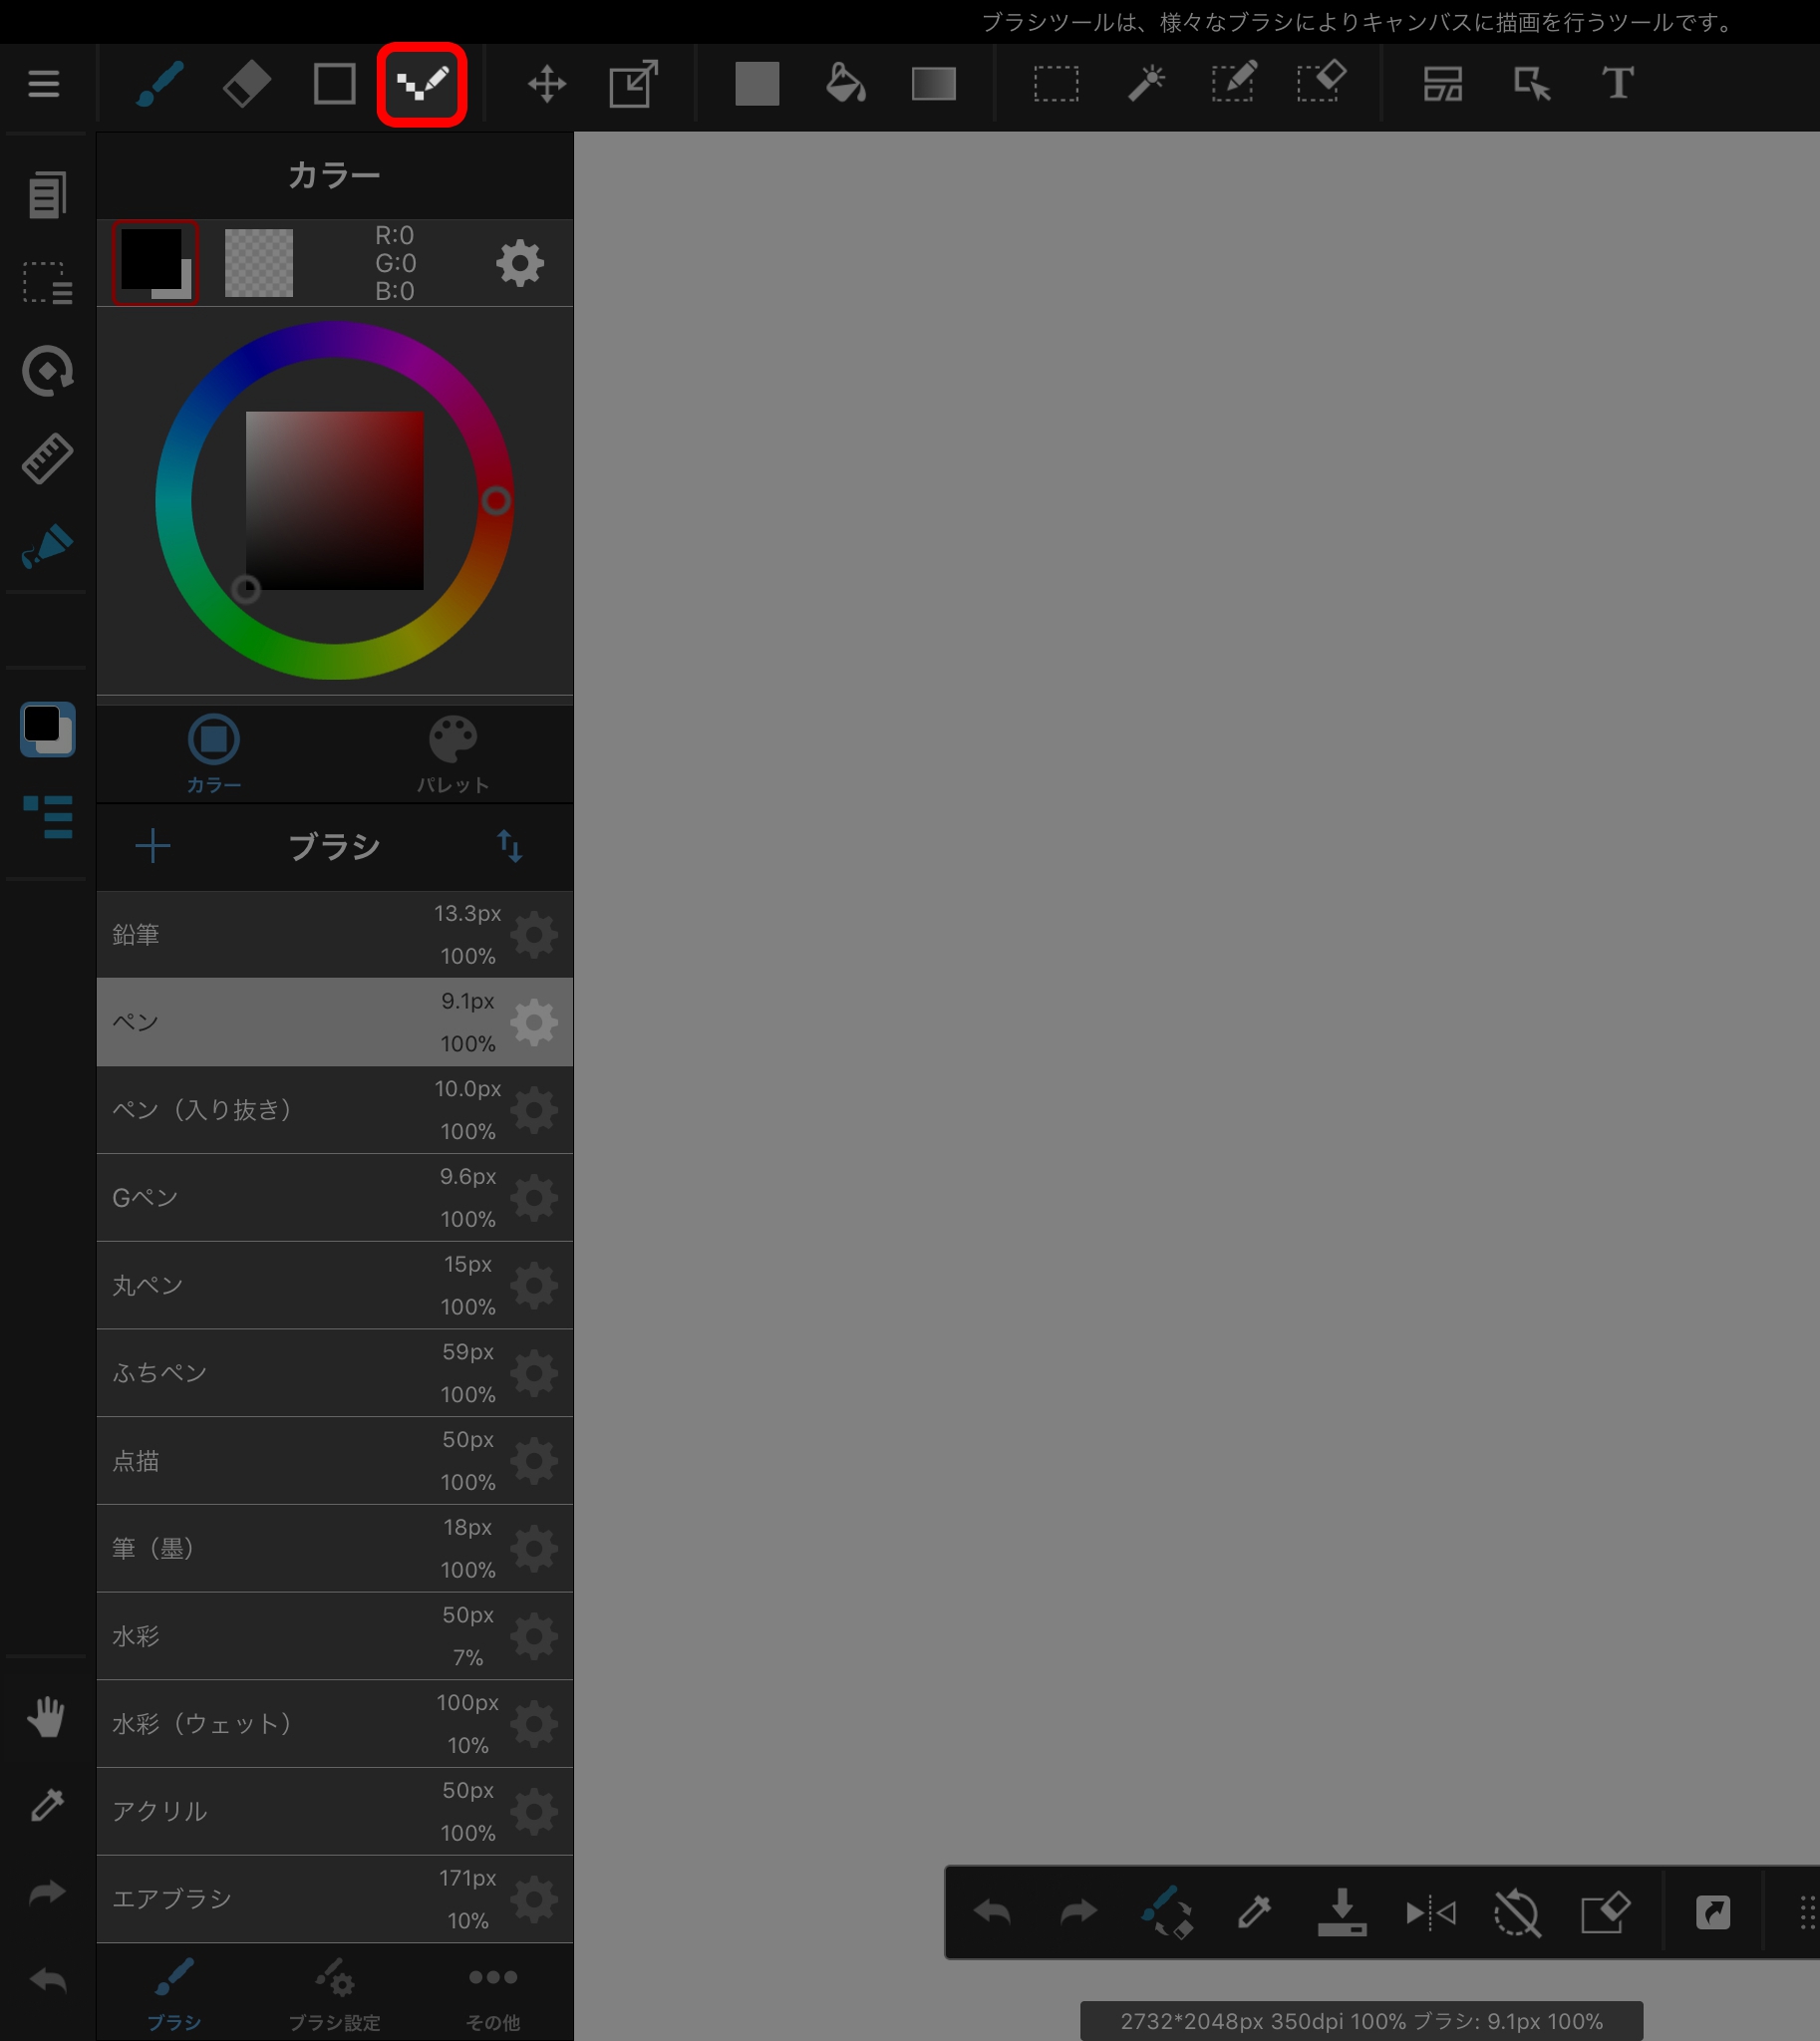
The Brush Tool is for drawing on the canvas using a variety of brushes.

The Eraser Tool is for erasing the contents of the canvas.

The Shape Drawing Tool draws shapes such as straight lines, rectangles, and ellipses.
The Pixel Tool is for drawing pixel art. Using this tool, you can draw lines that are not anti-aliased.
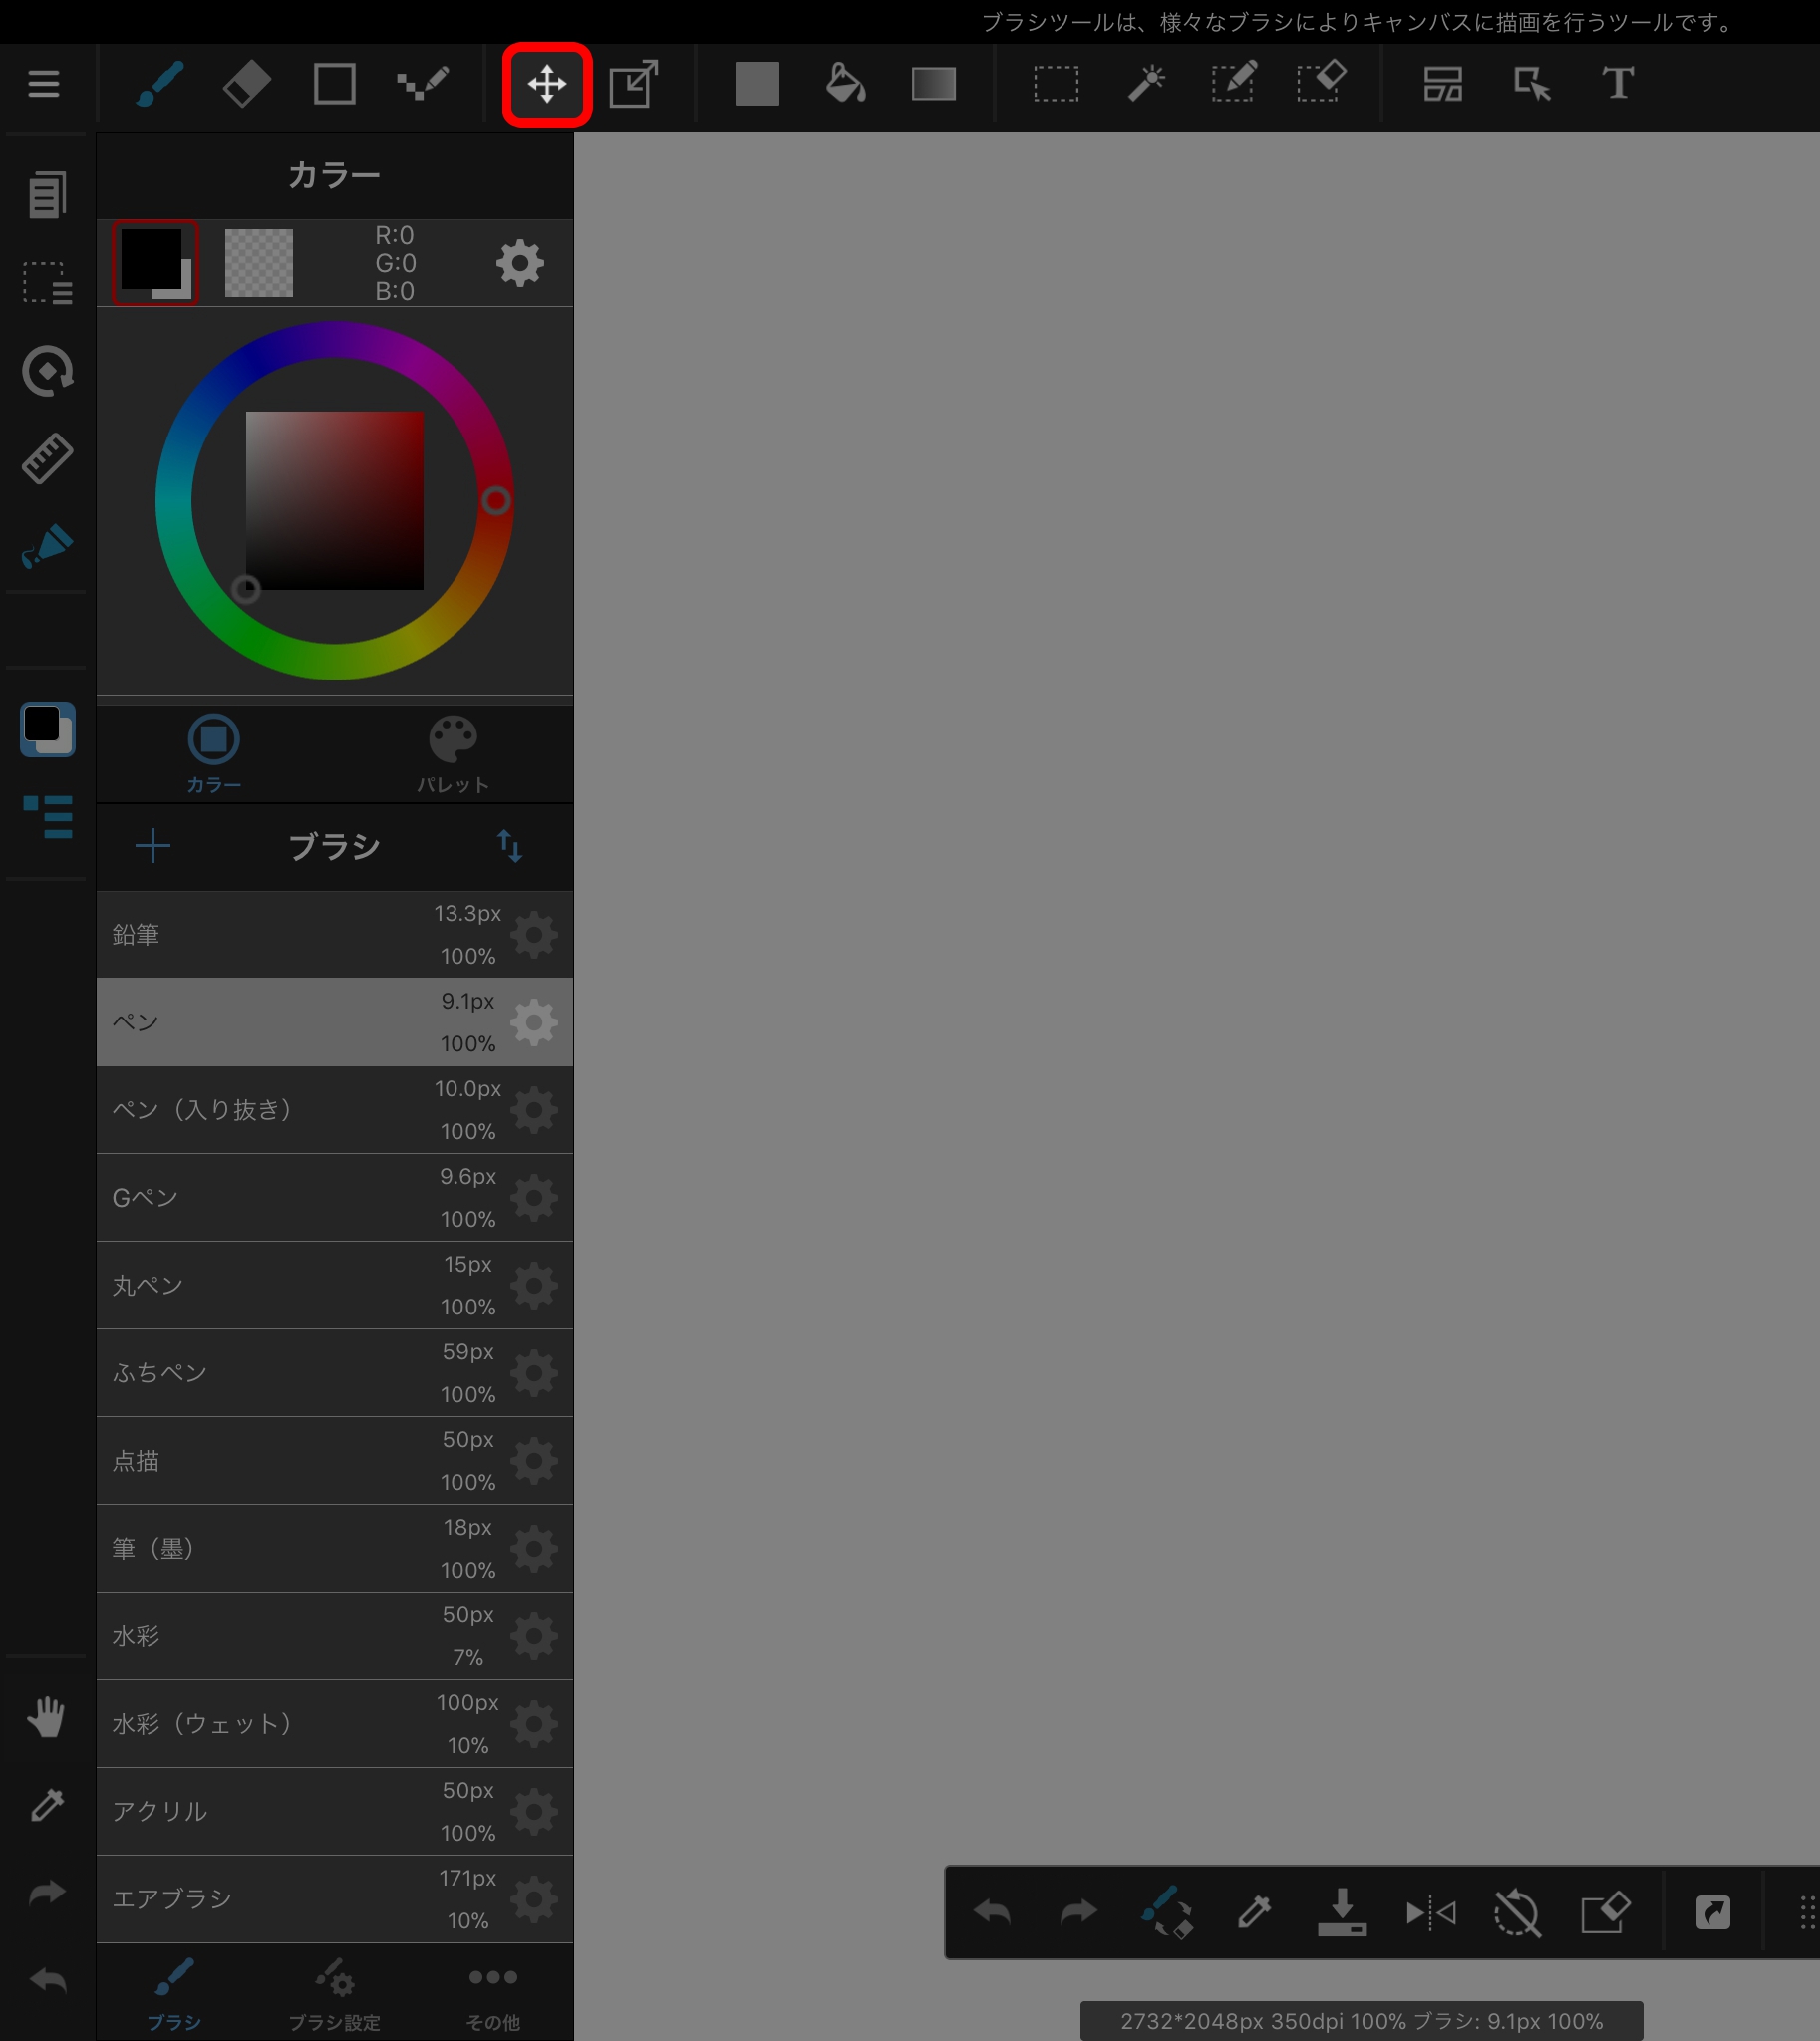
The Move Tool moves the image.
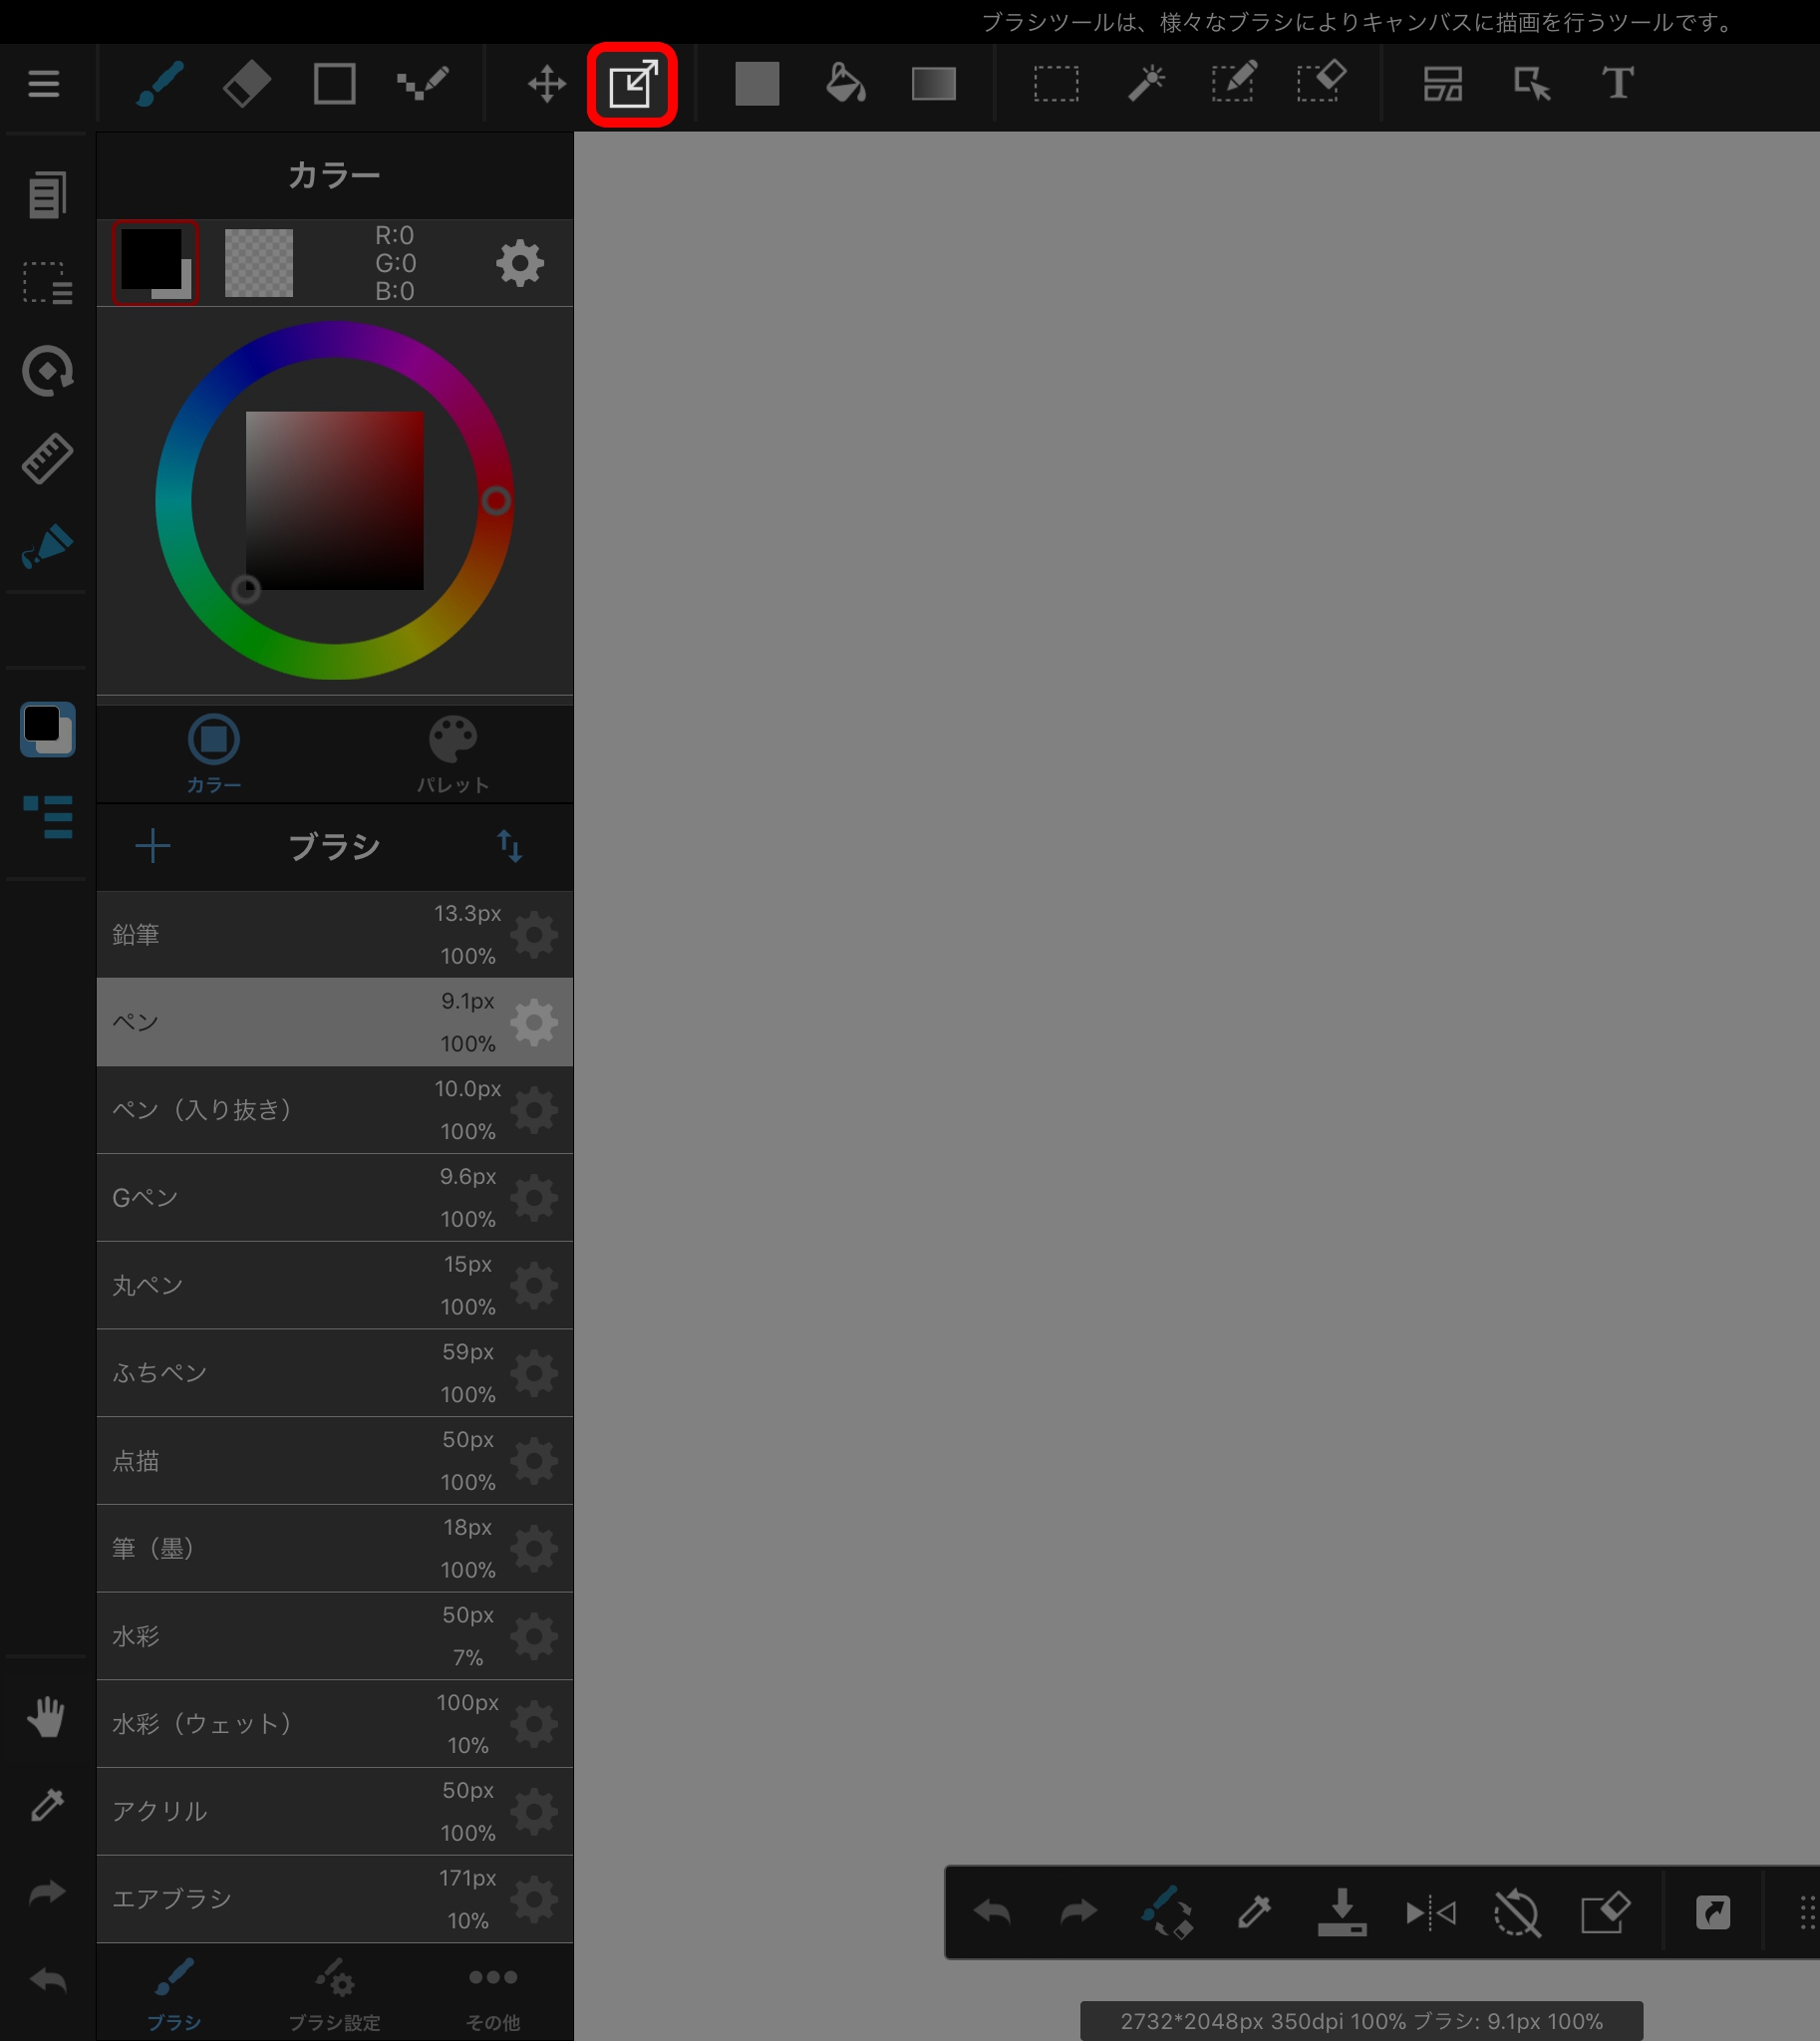
The Transform Tool transforms the image. “Scaling,” “Free Transform,” and “Mesh Transform” options are available.
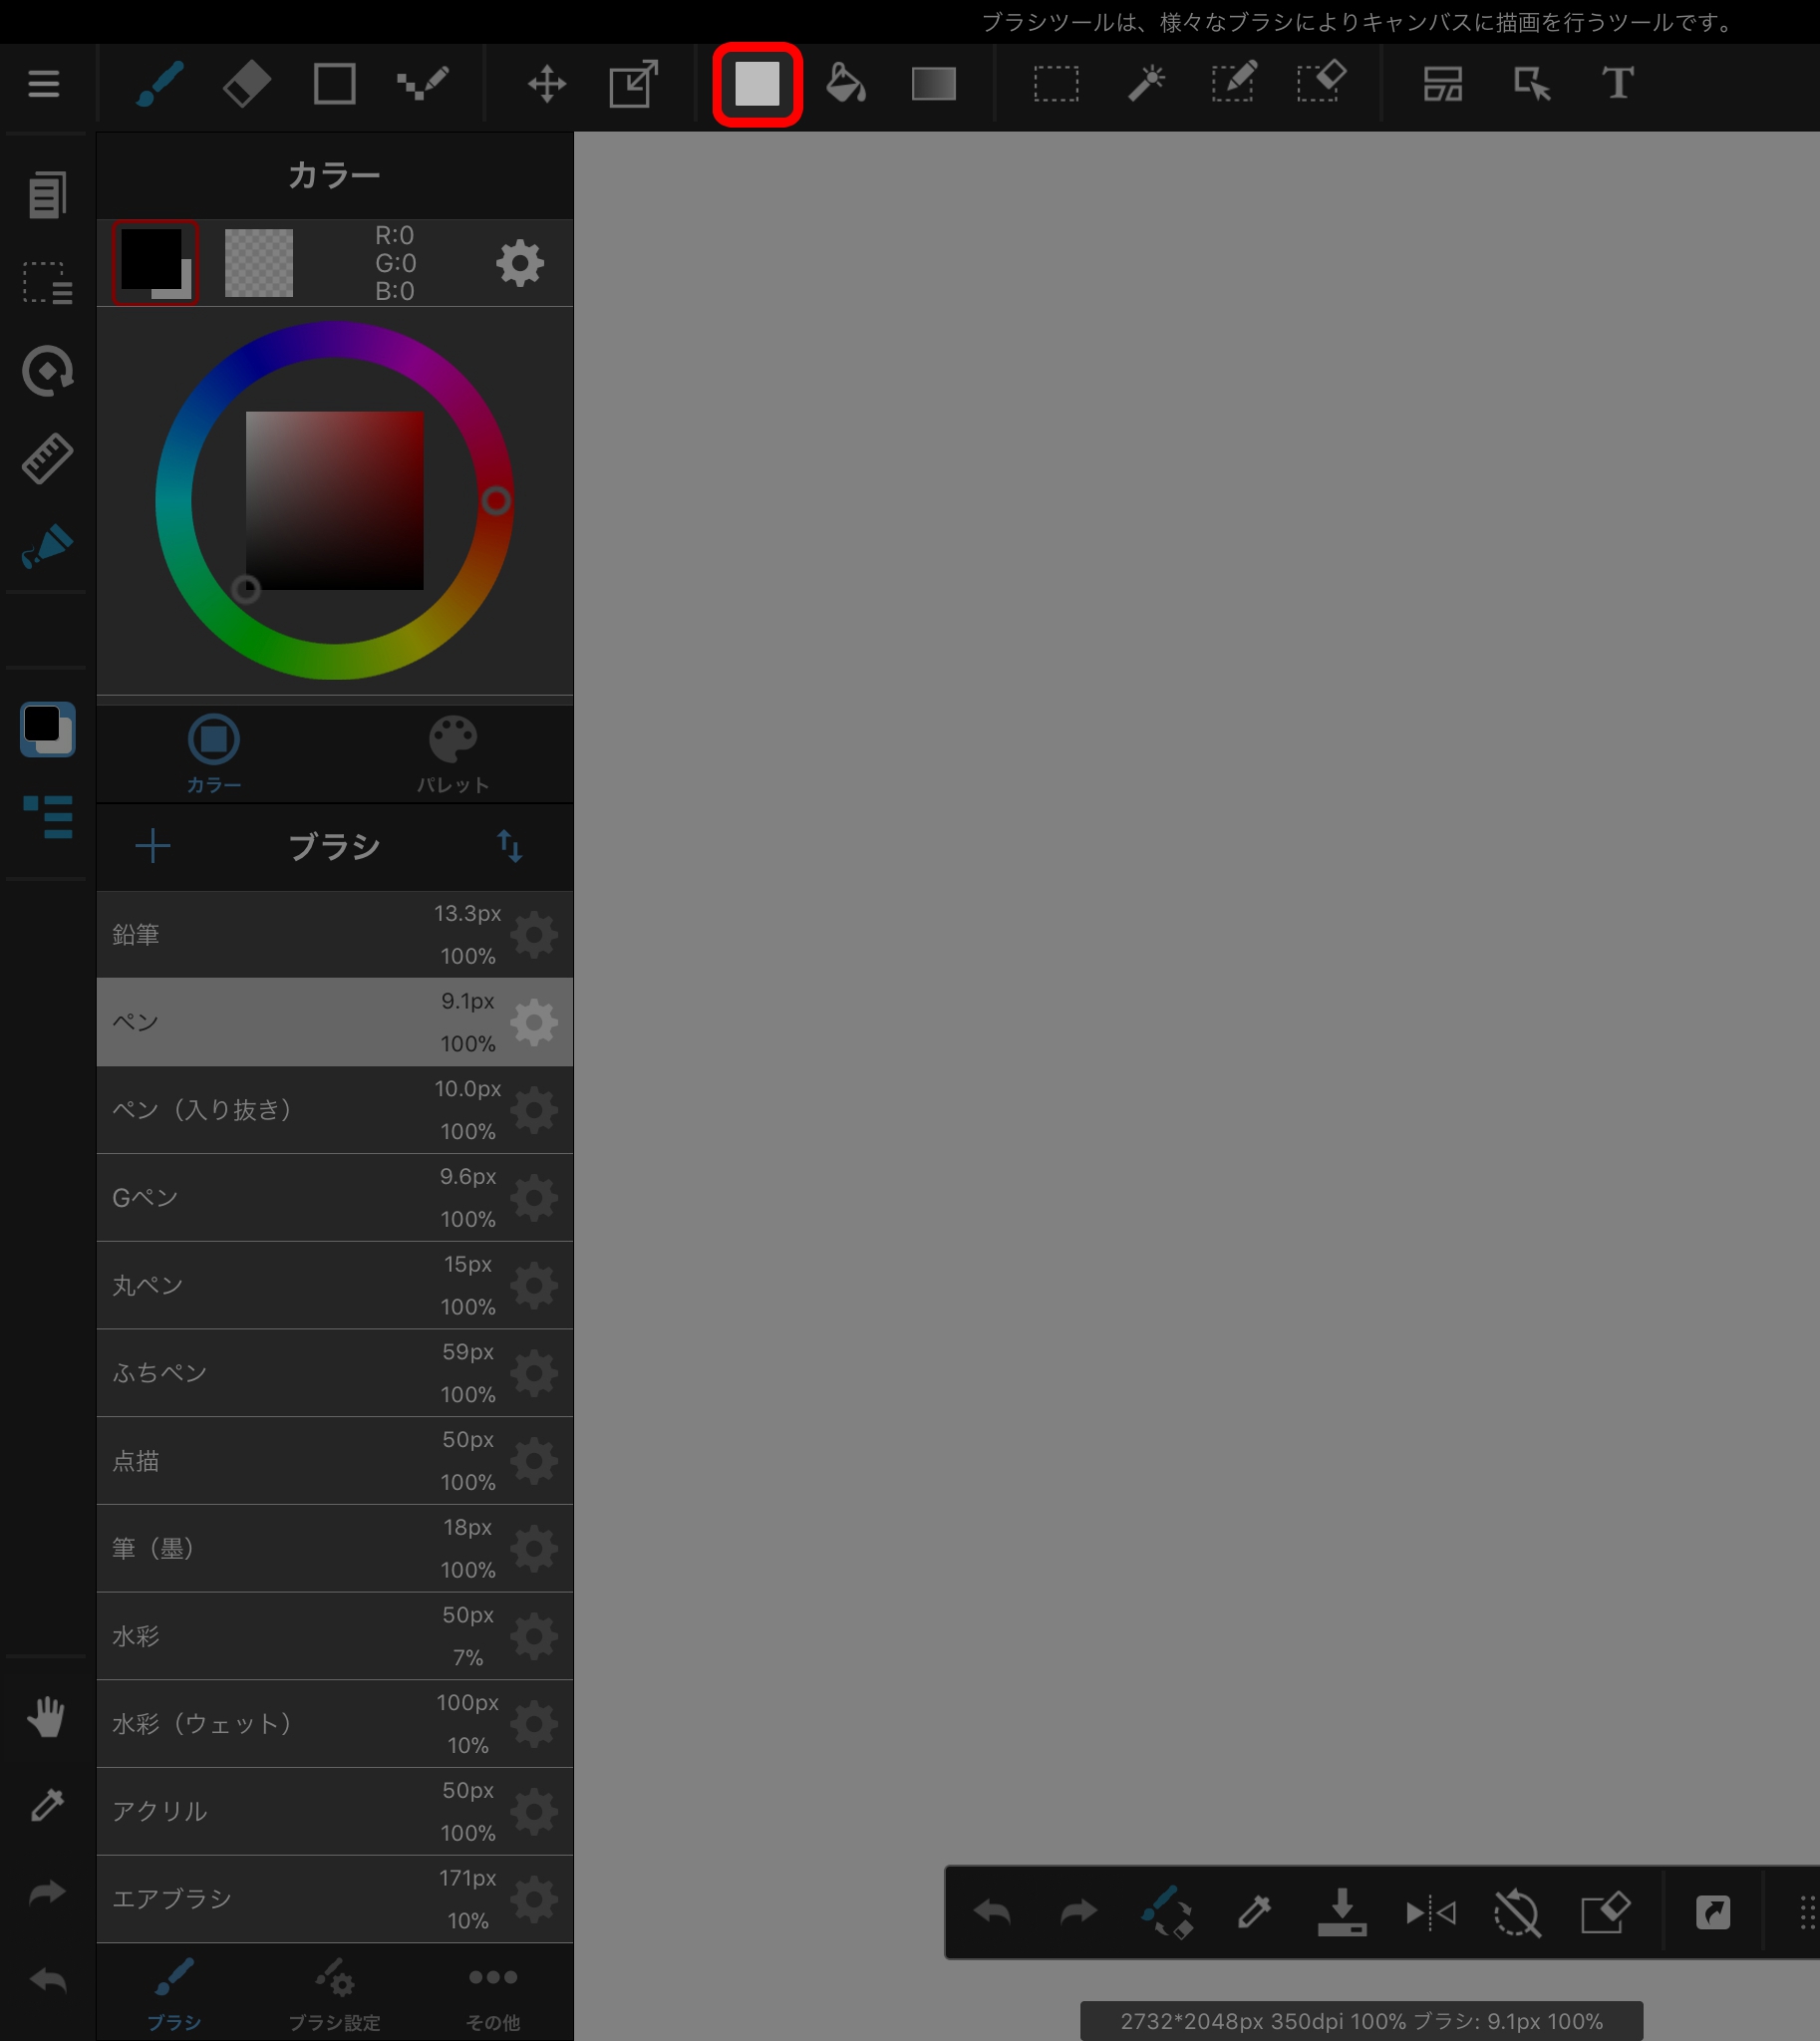
The Fill Tool creates shapes filled with a color. You can create square, ellipse, and polygon shapes.
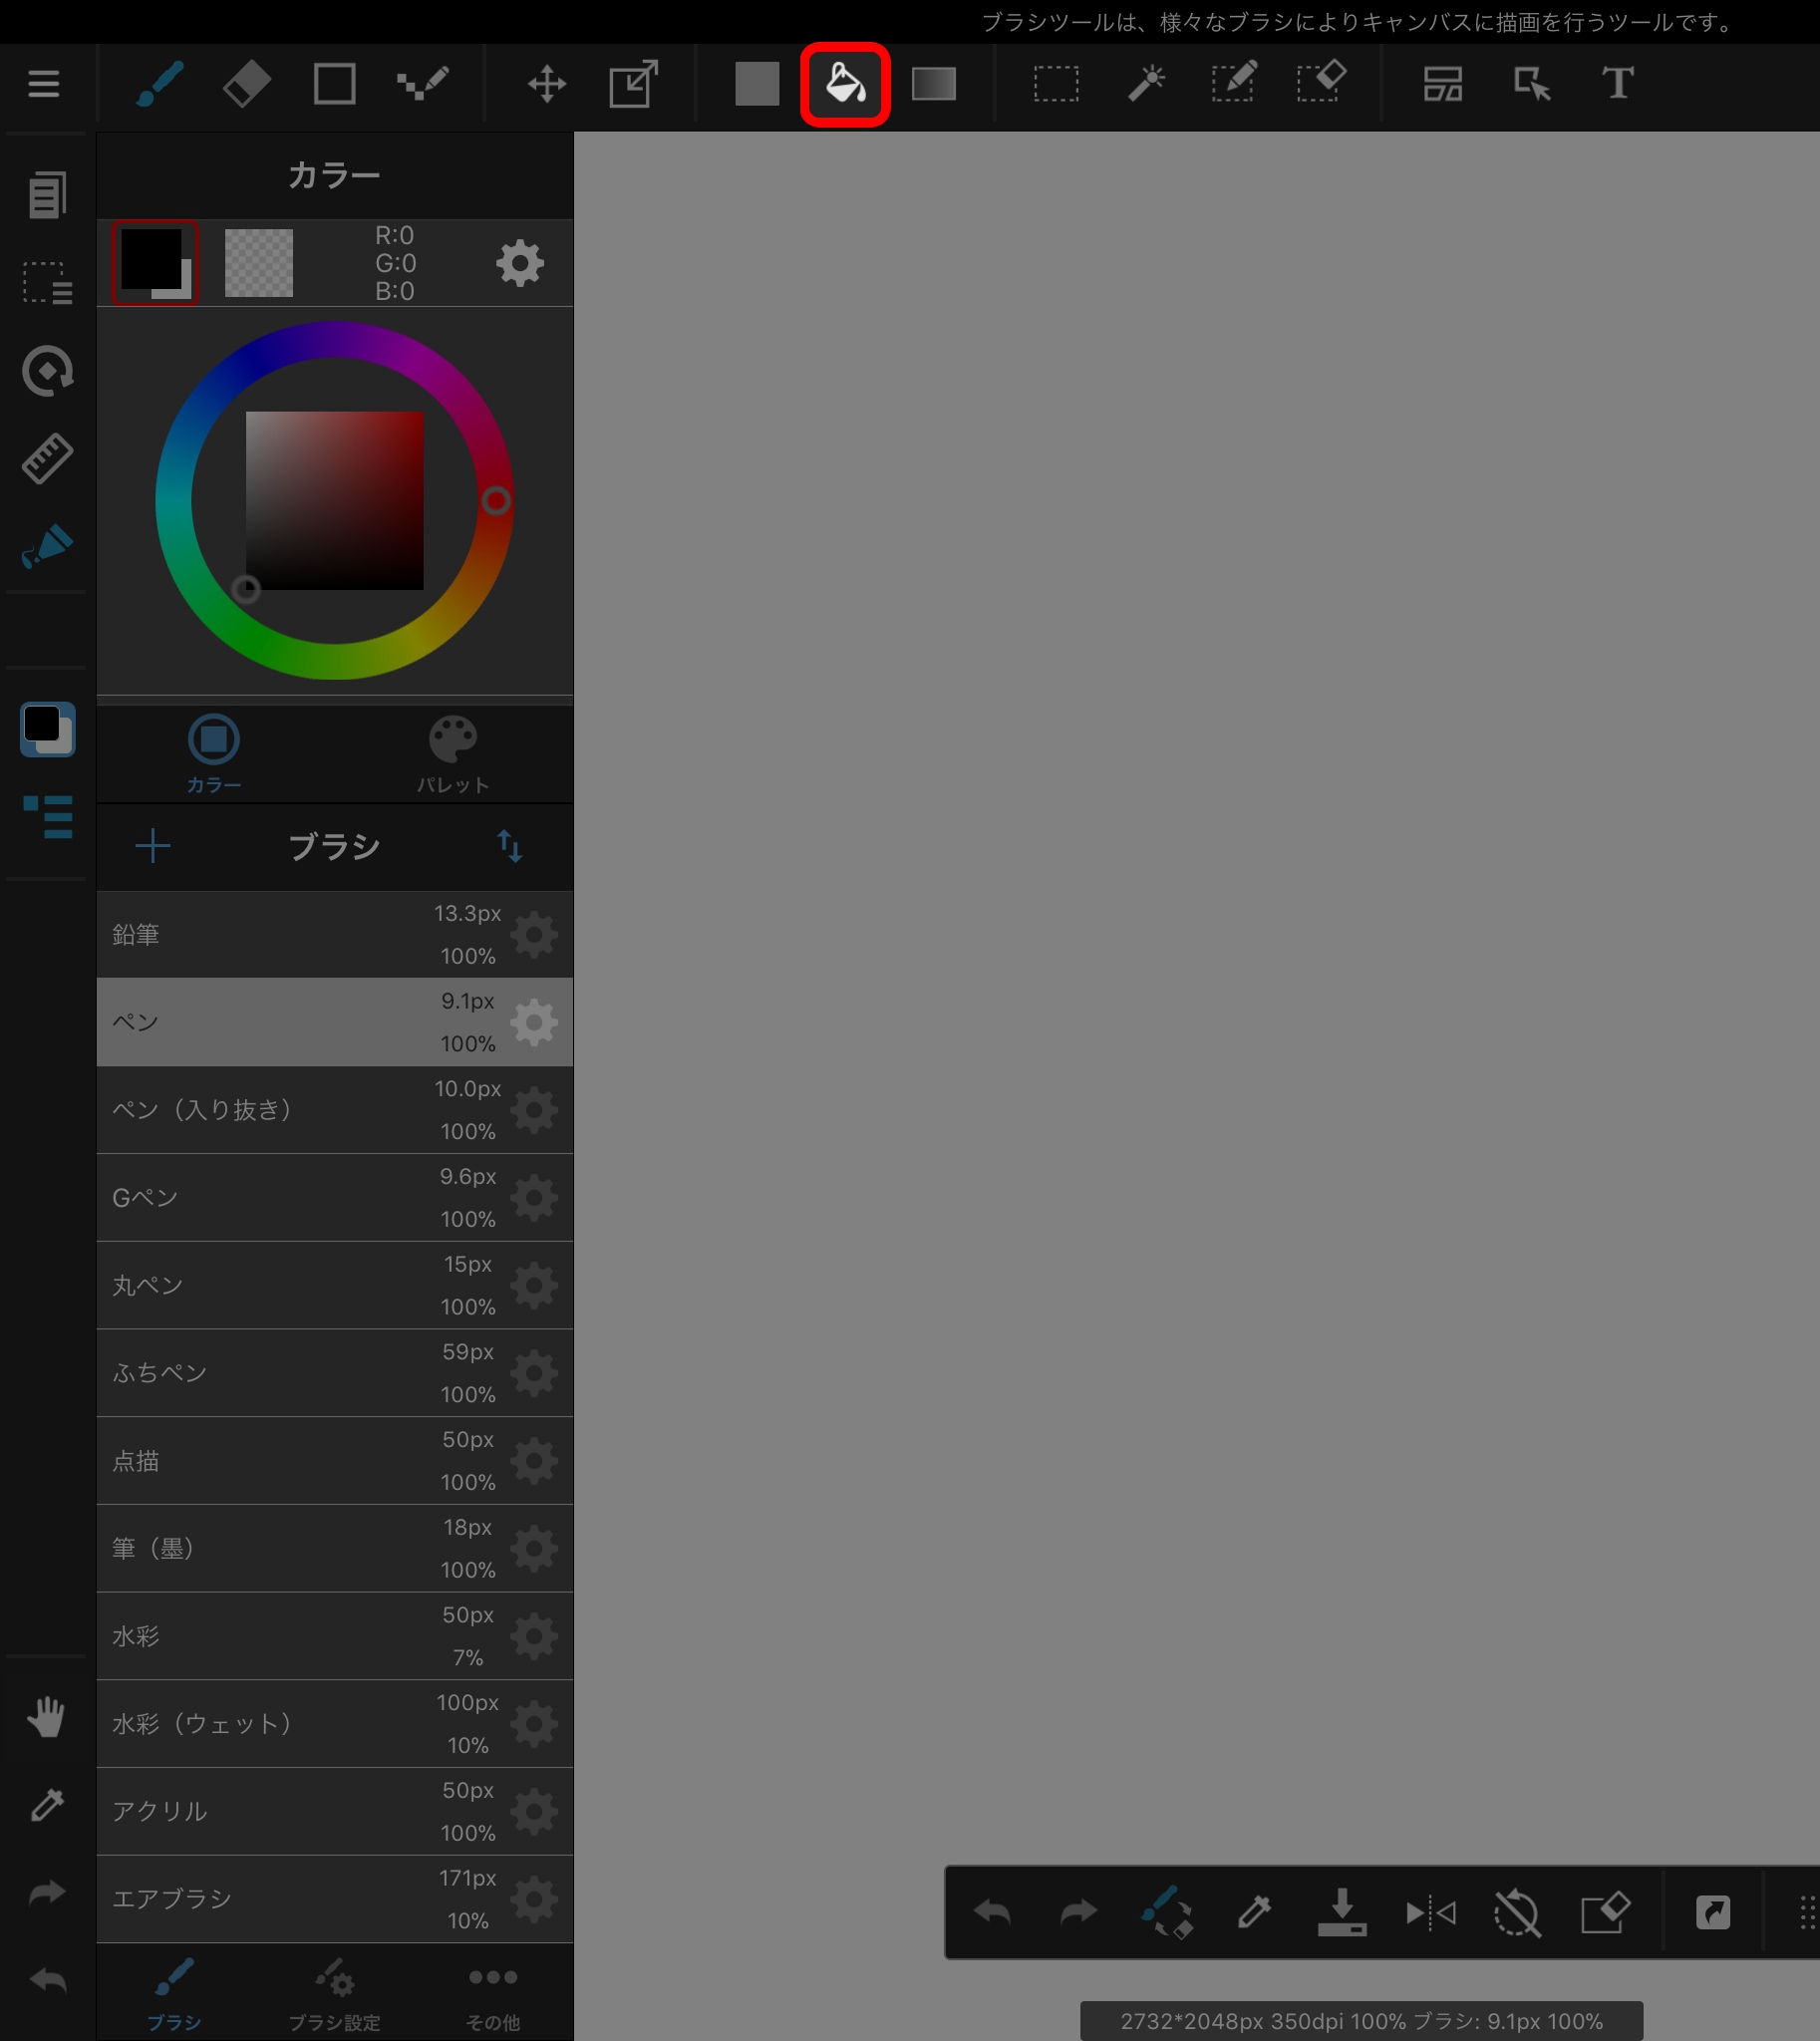
The Bucket Tool fills an area surrounded by a line by tapping on it. You can select either “Canvas” or “Layer” as the target.
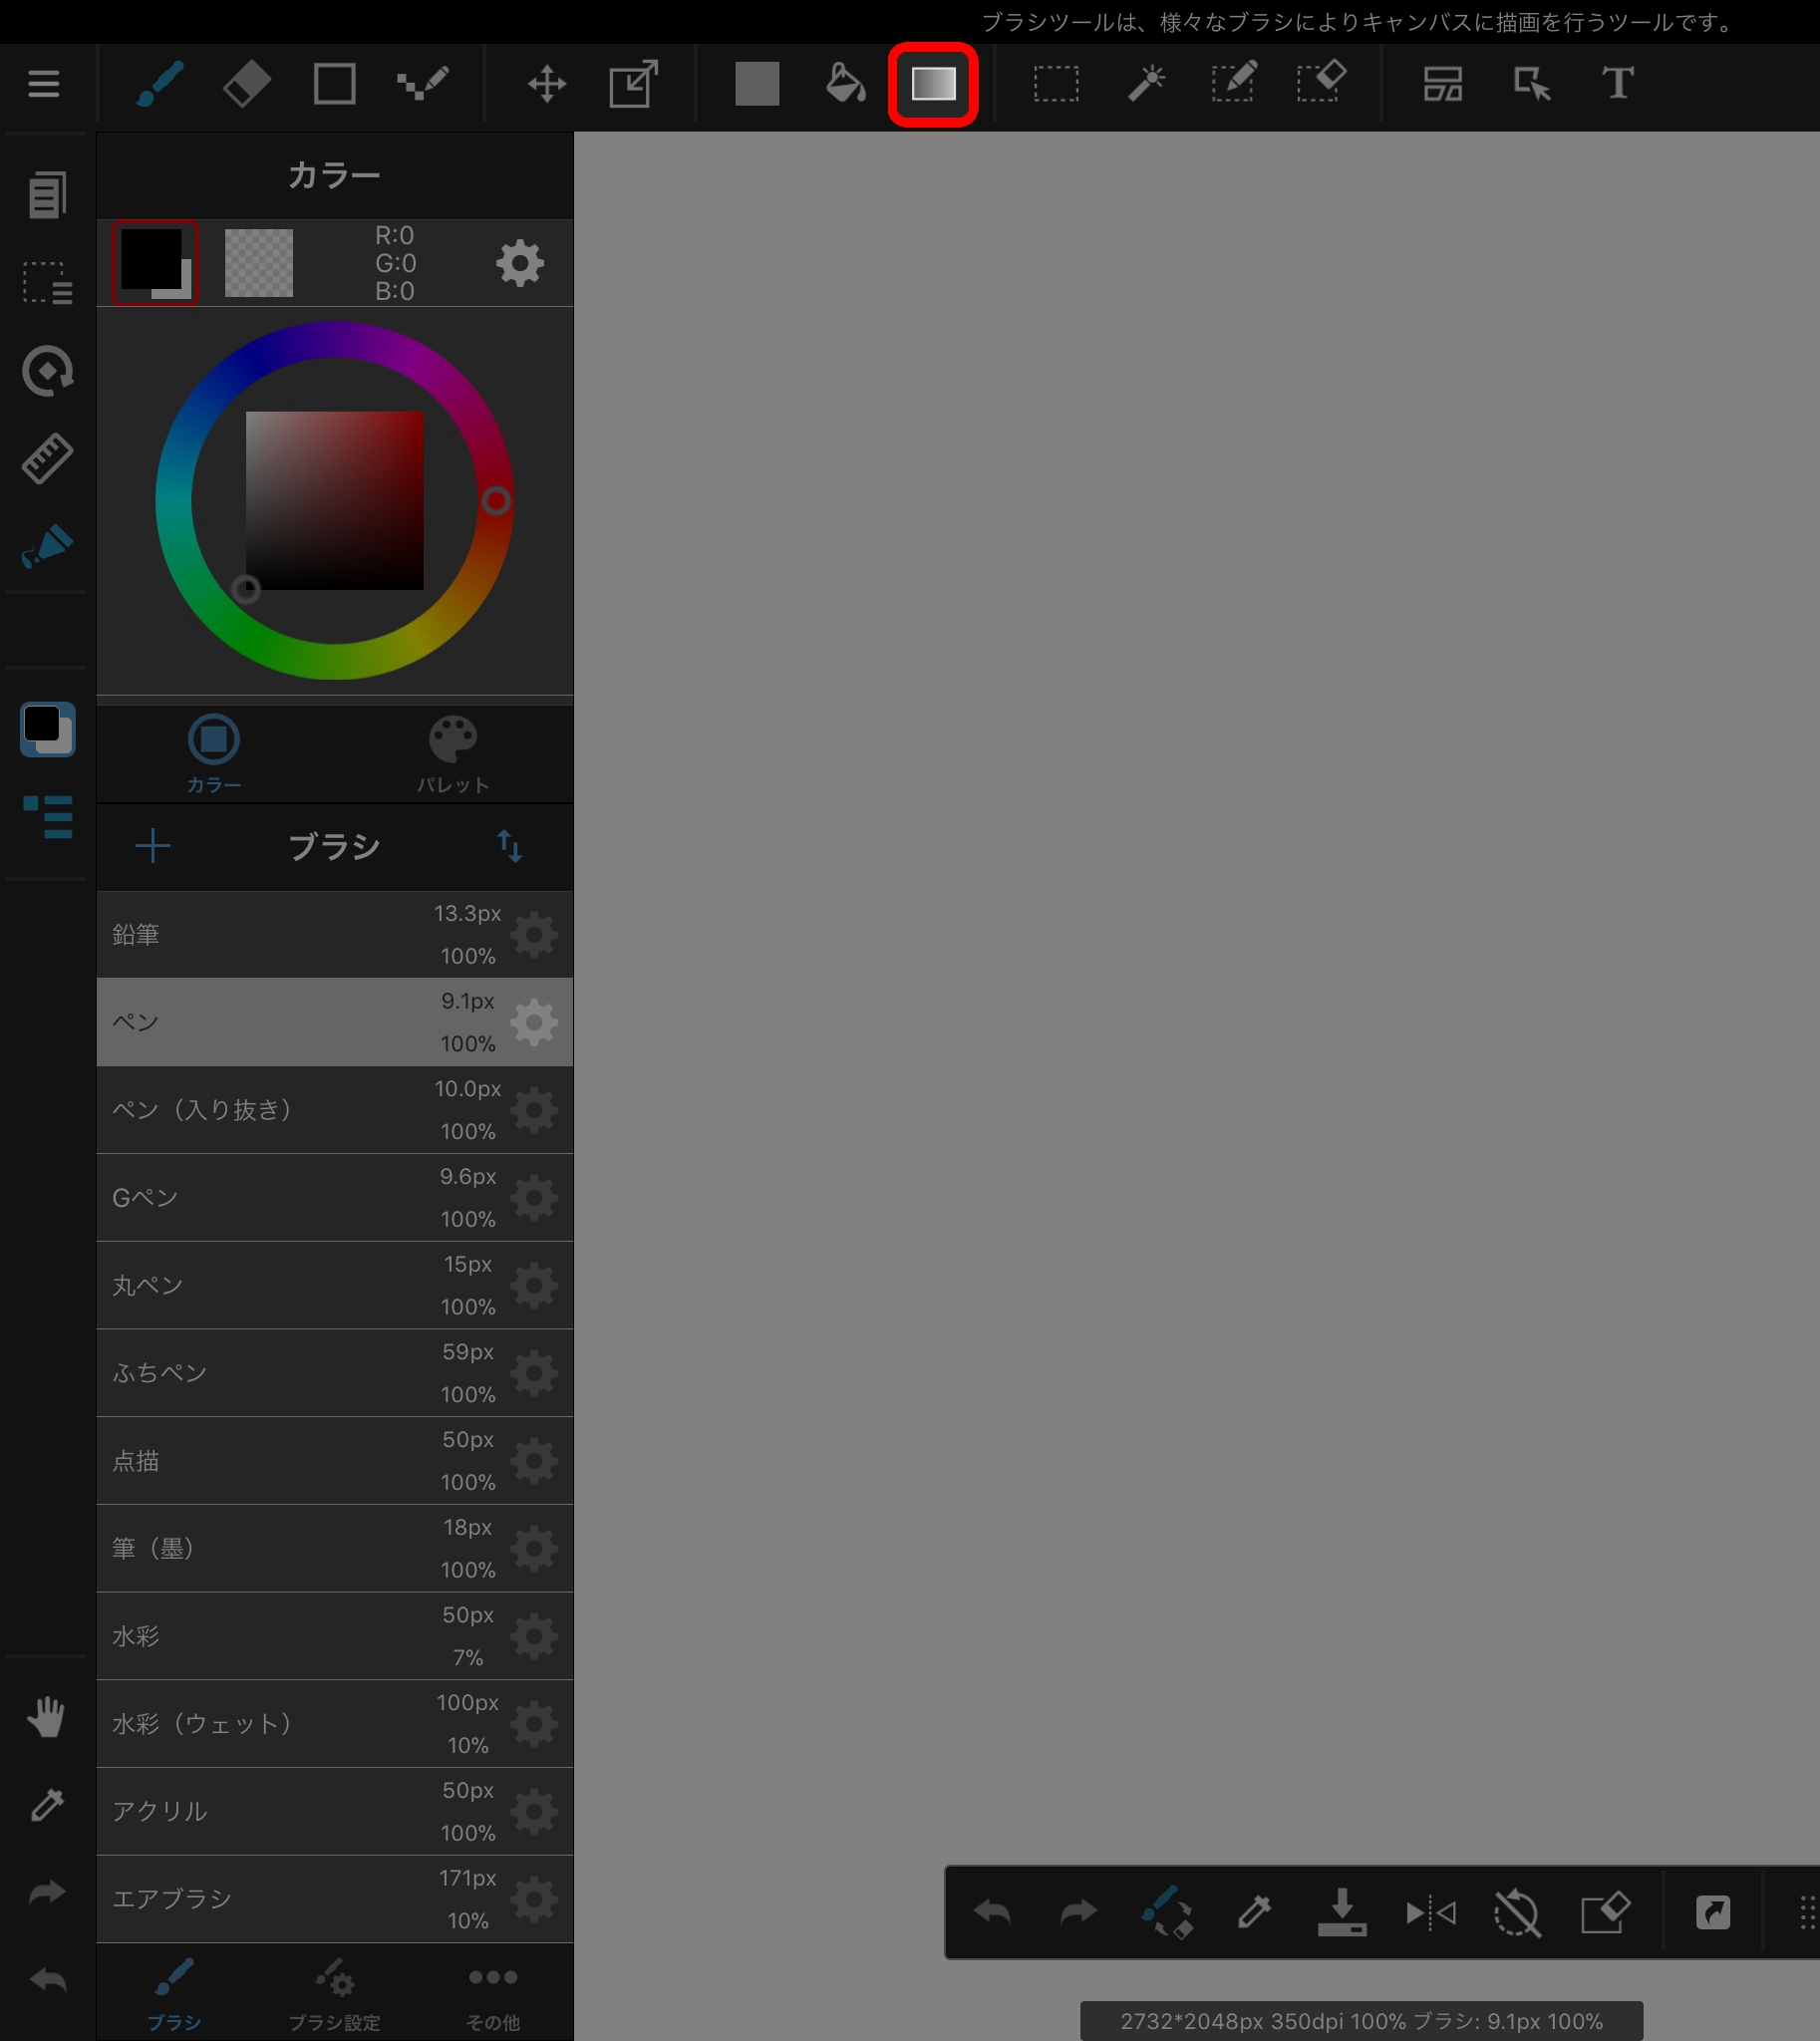
The Gradient Tool creates gradients. You can create both linear and radial gradients.
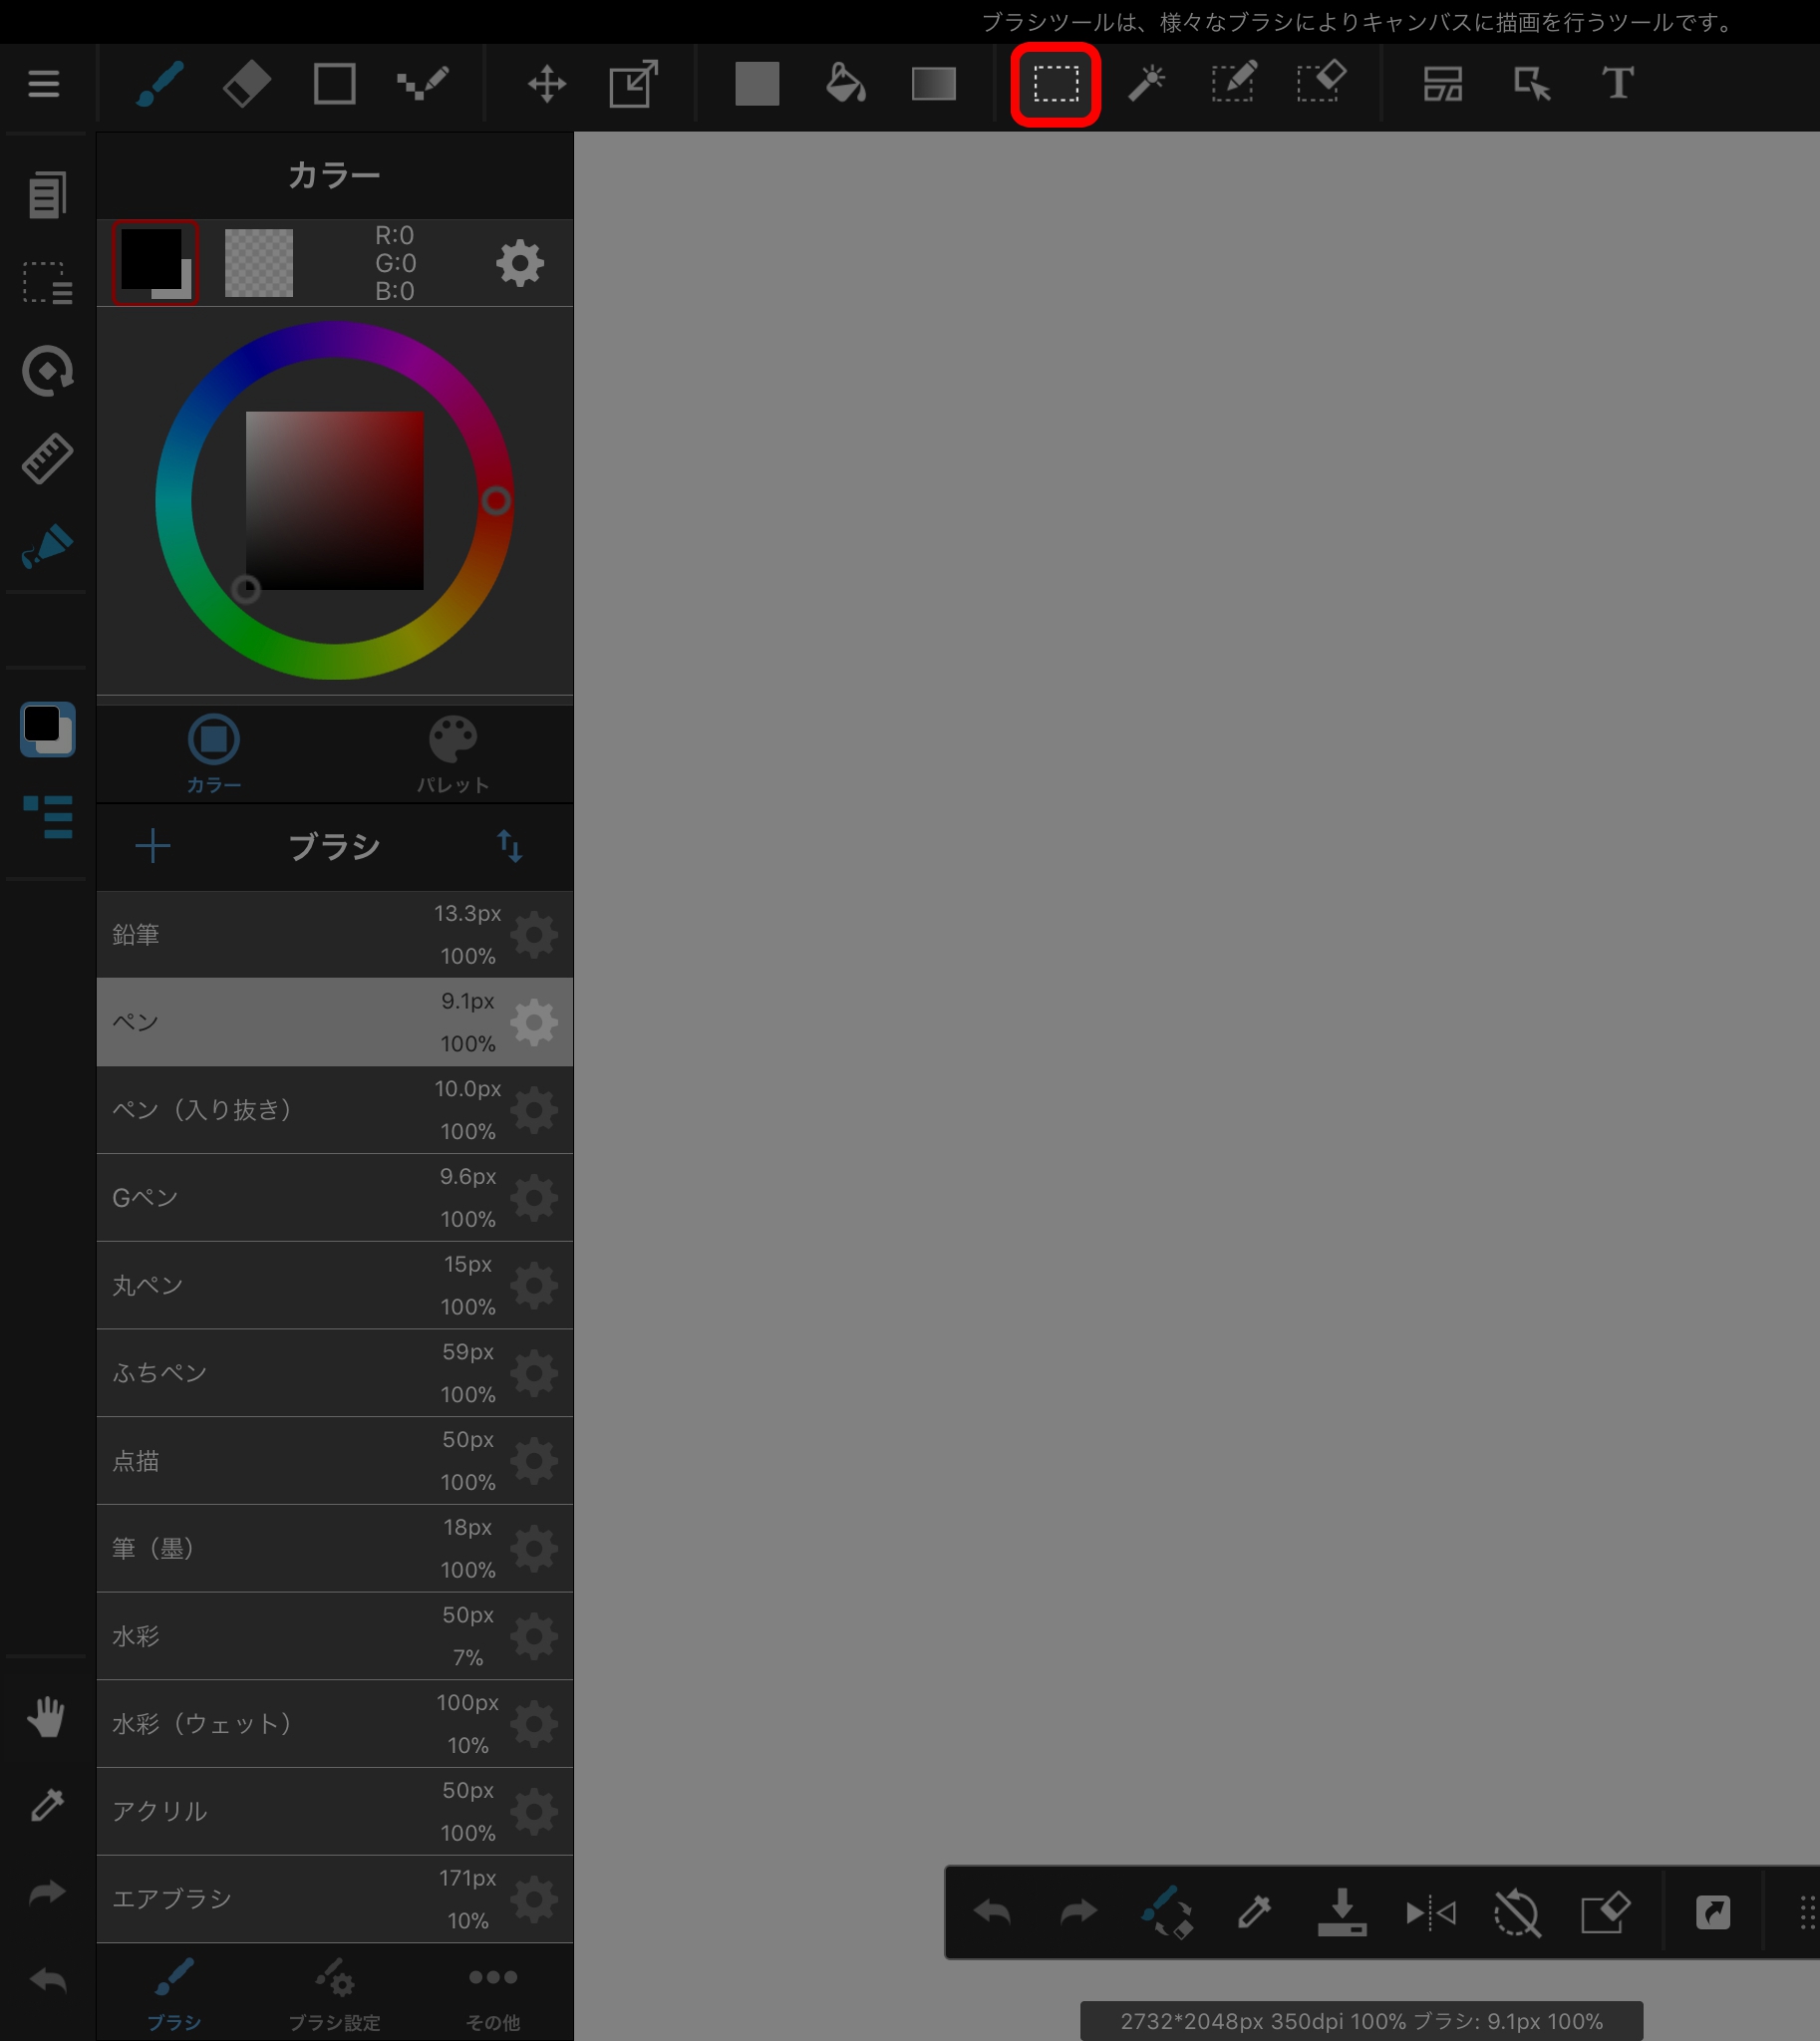
The Select Tool creates a selection area. You can create selection areas in square, elliptical, polygonal, or arbitrary shapes.
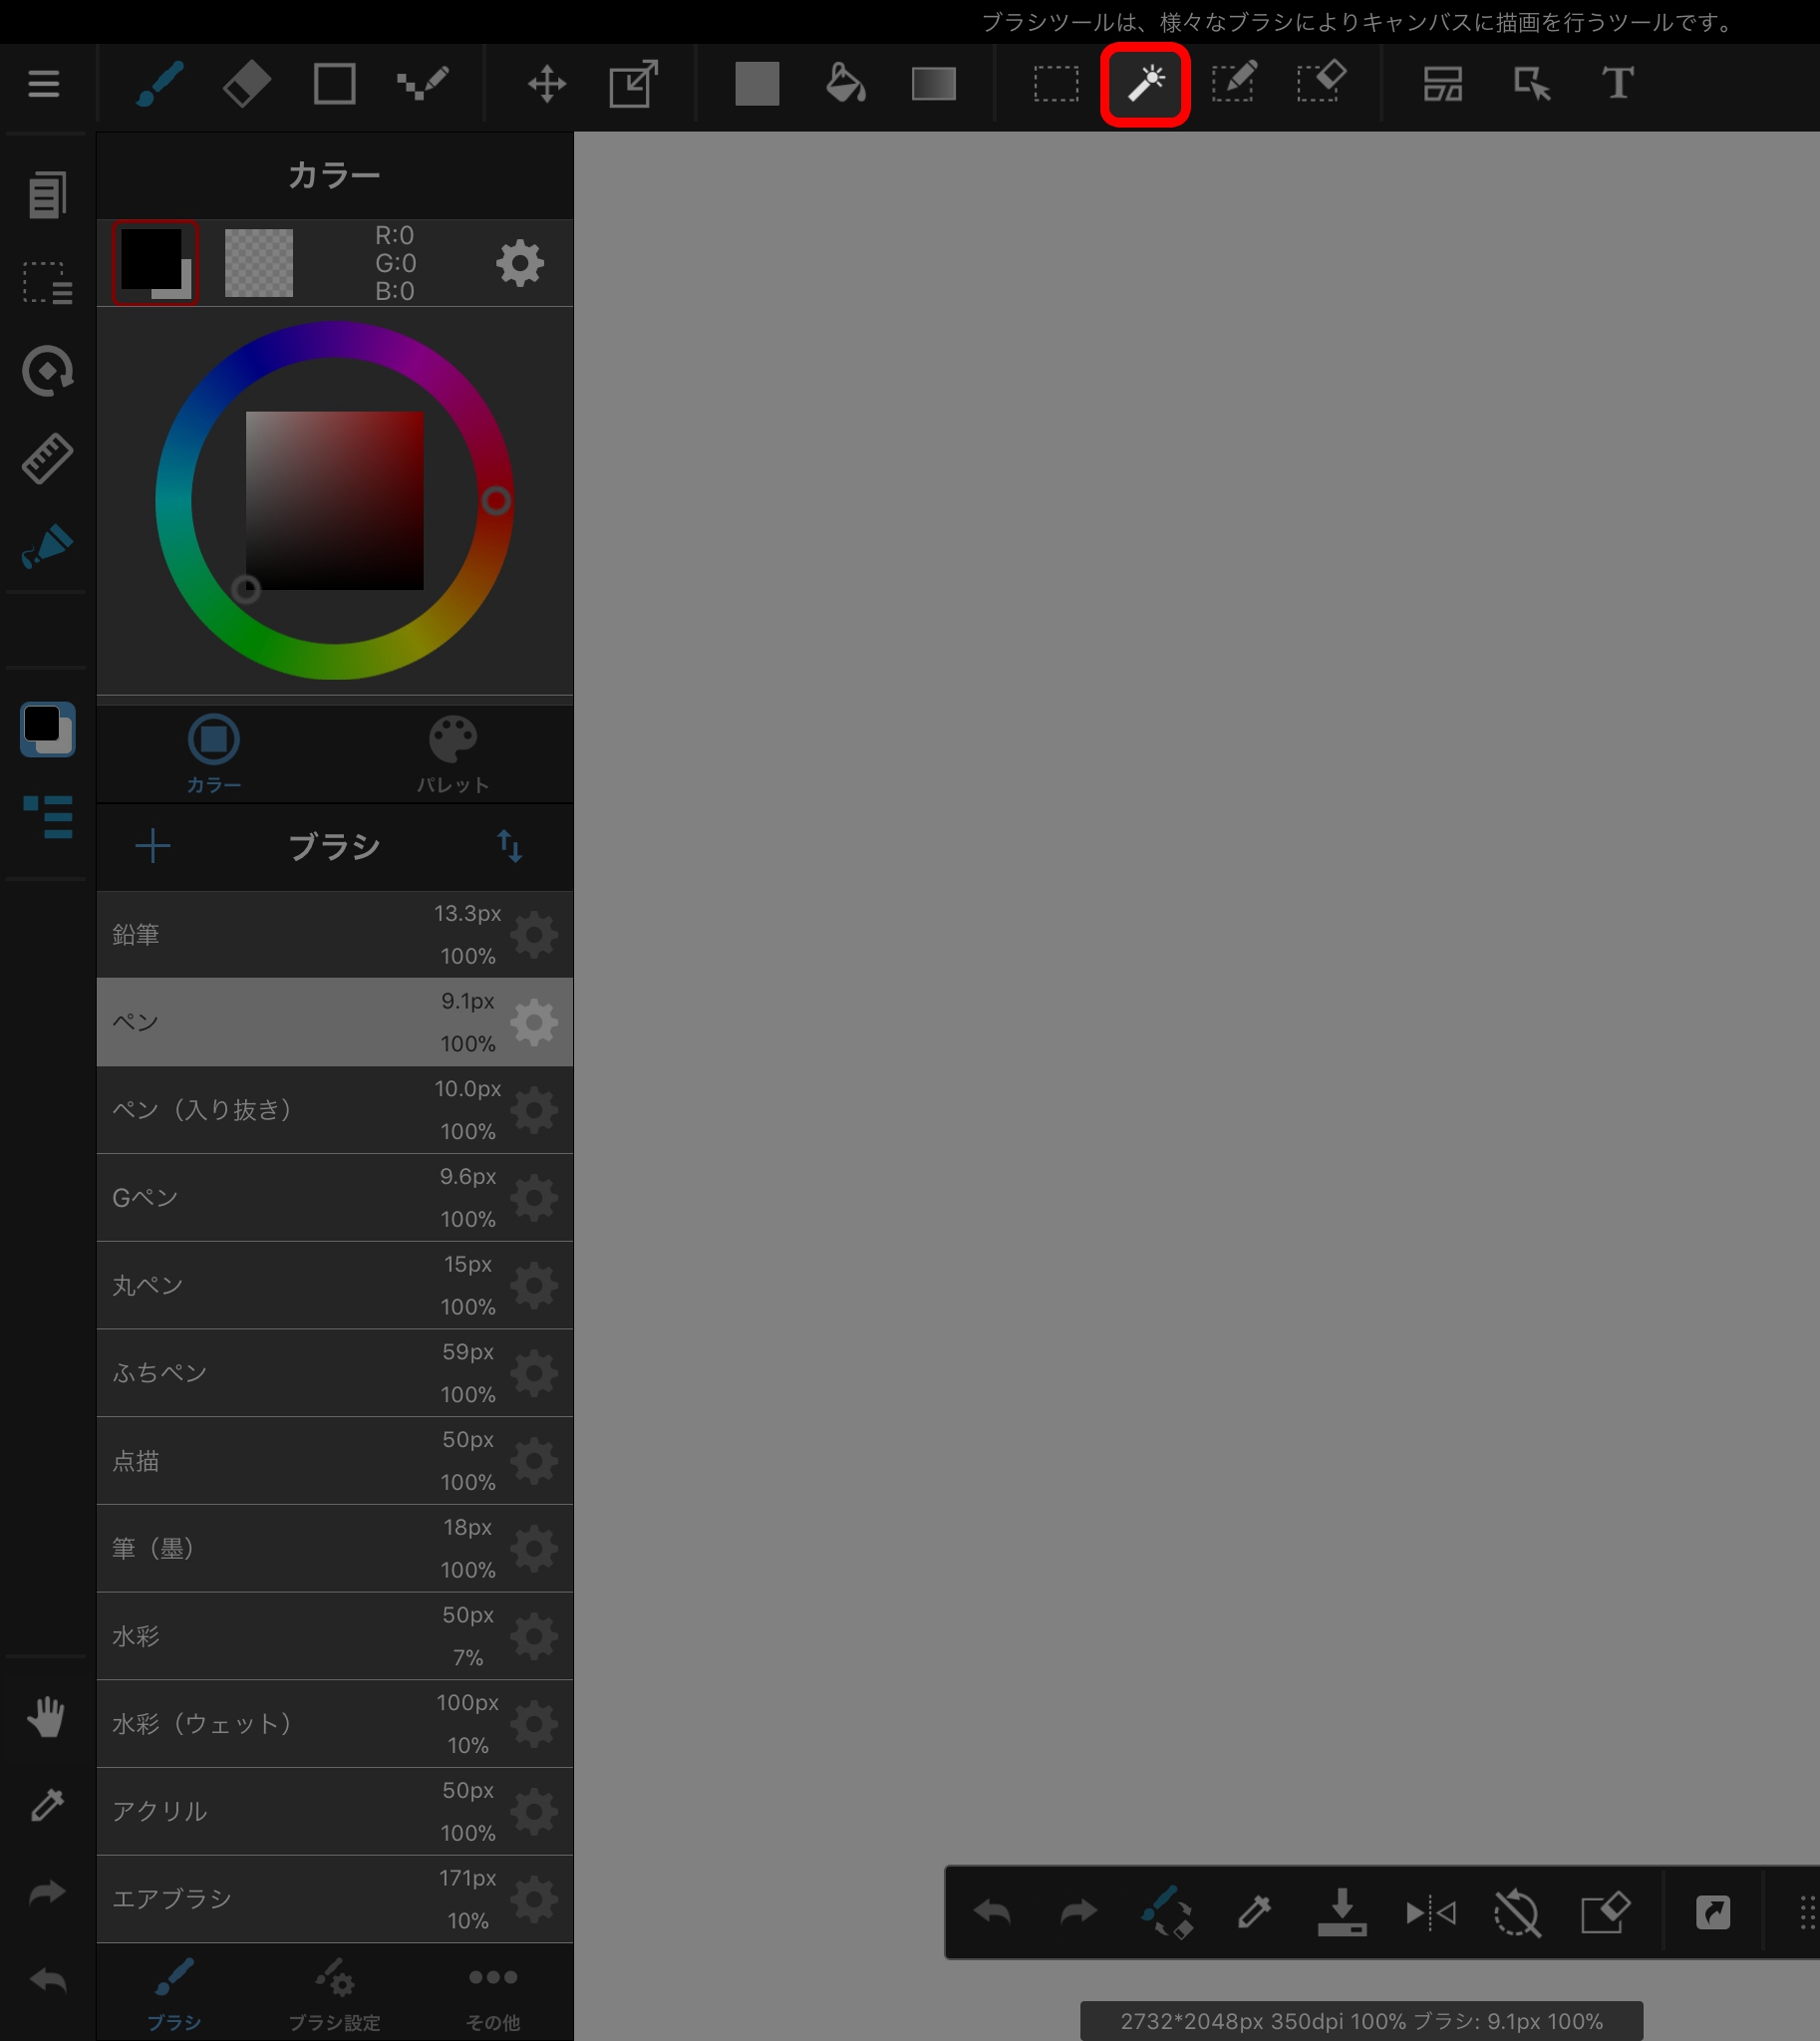
The Automatic Selection Tool automatically selects an area surrounded by a line by tapping on the area. You can select either “Canvas” or “Layer” as the target.

The Select Pen Tool uses the Brush Tool to create a selection area.
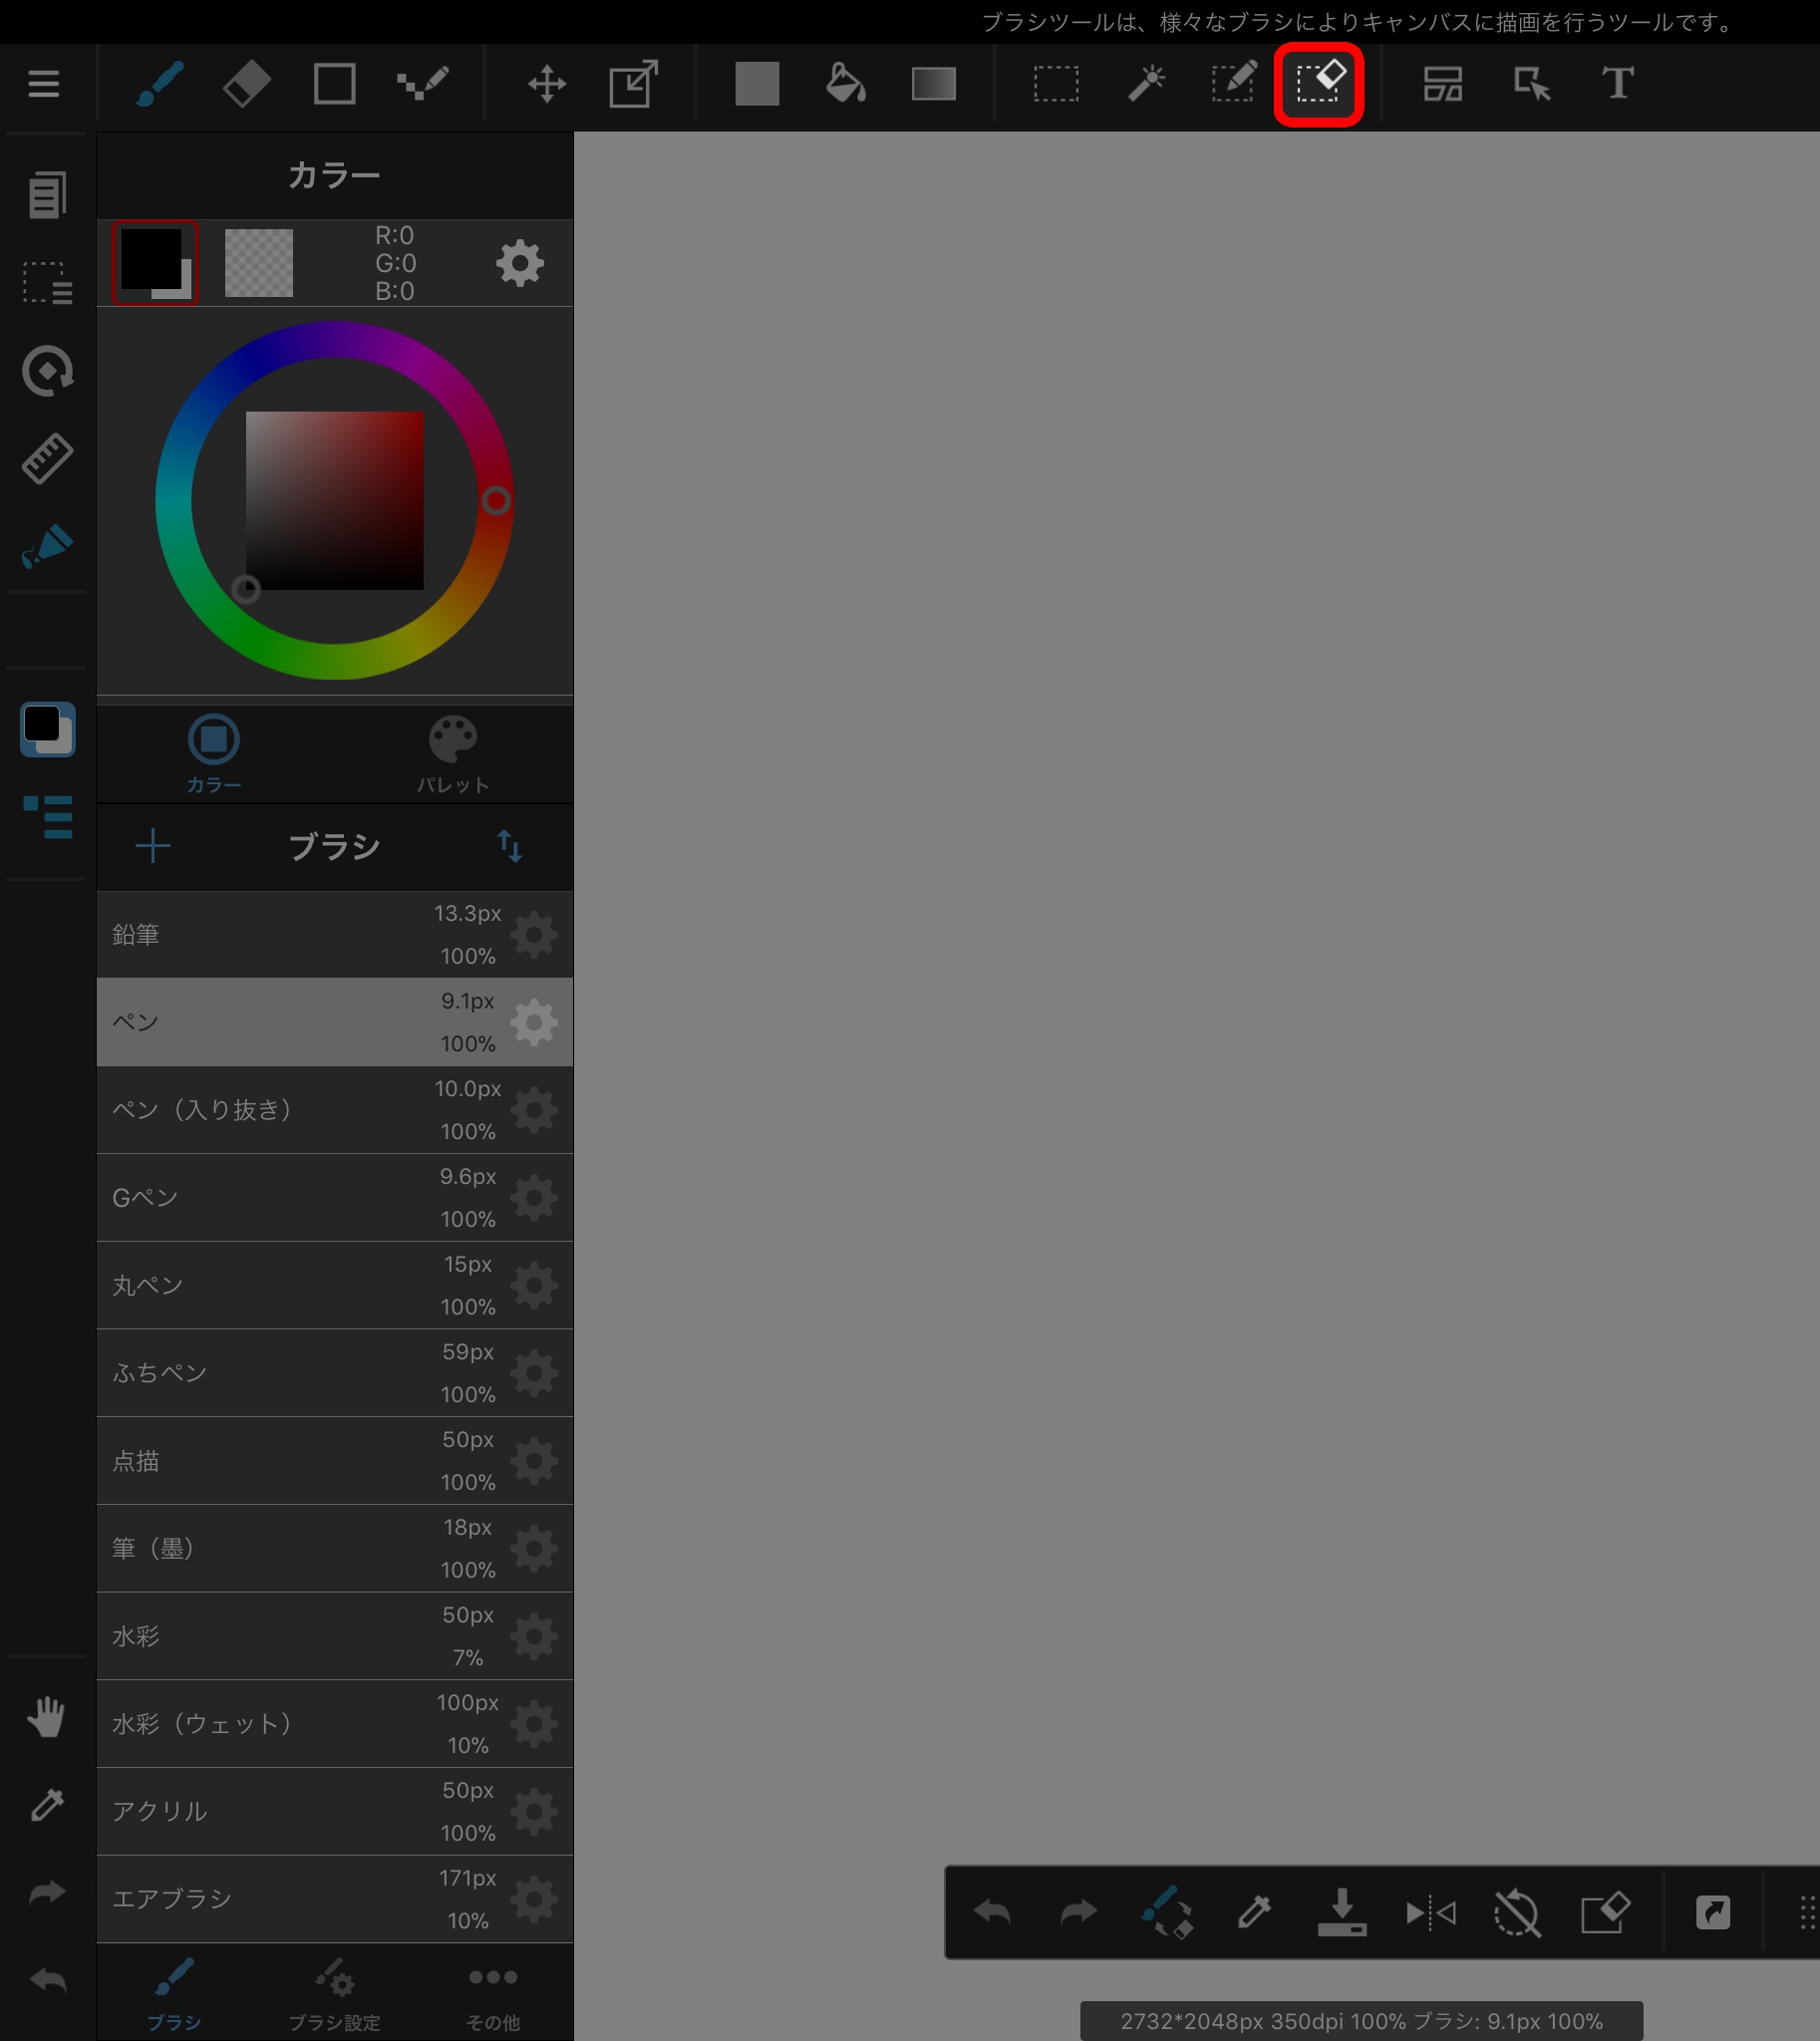
The Selection Eraser Tool erases a selection area created with the Brush Tool.
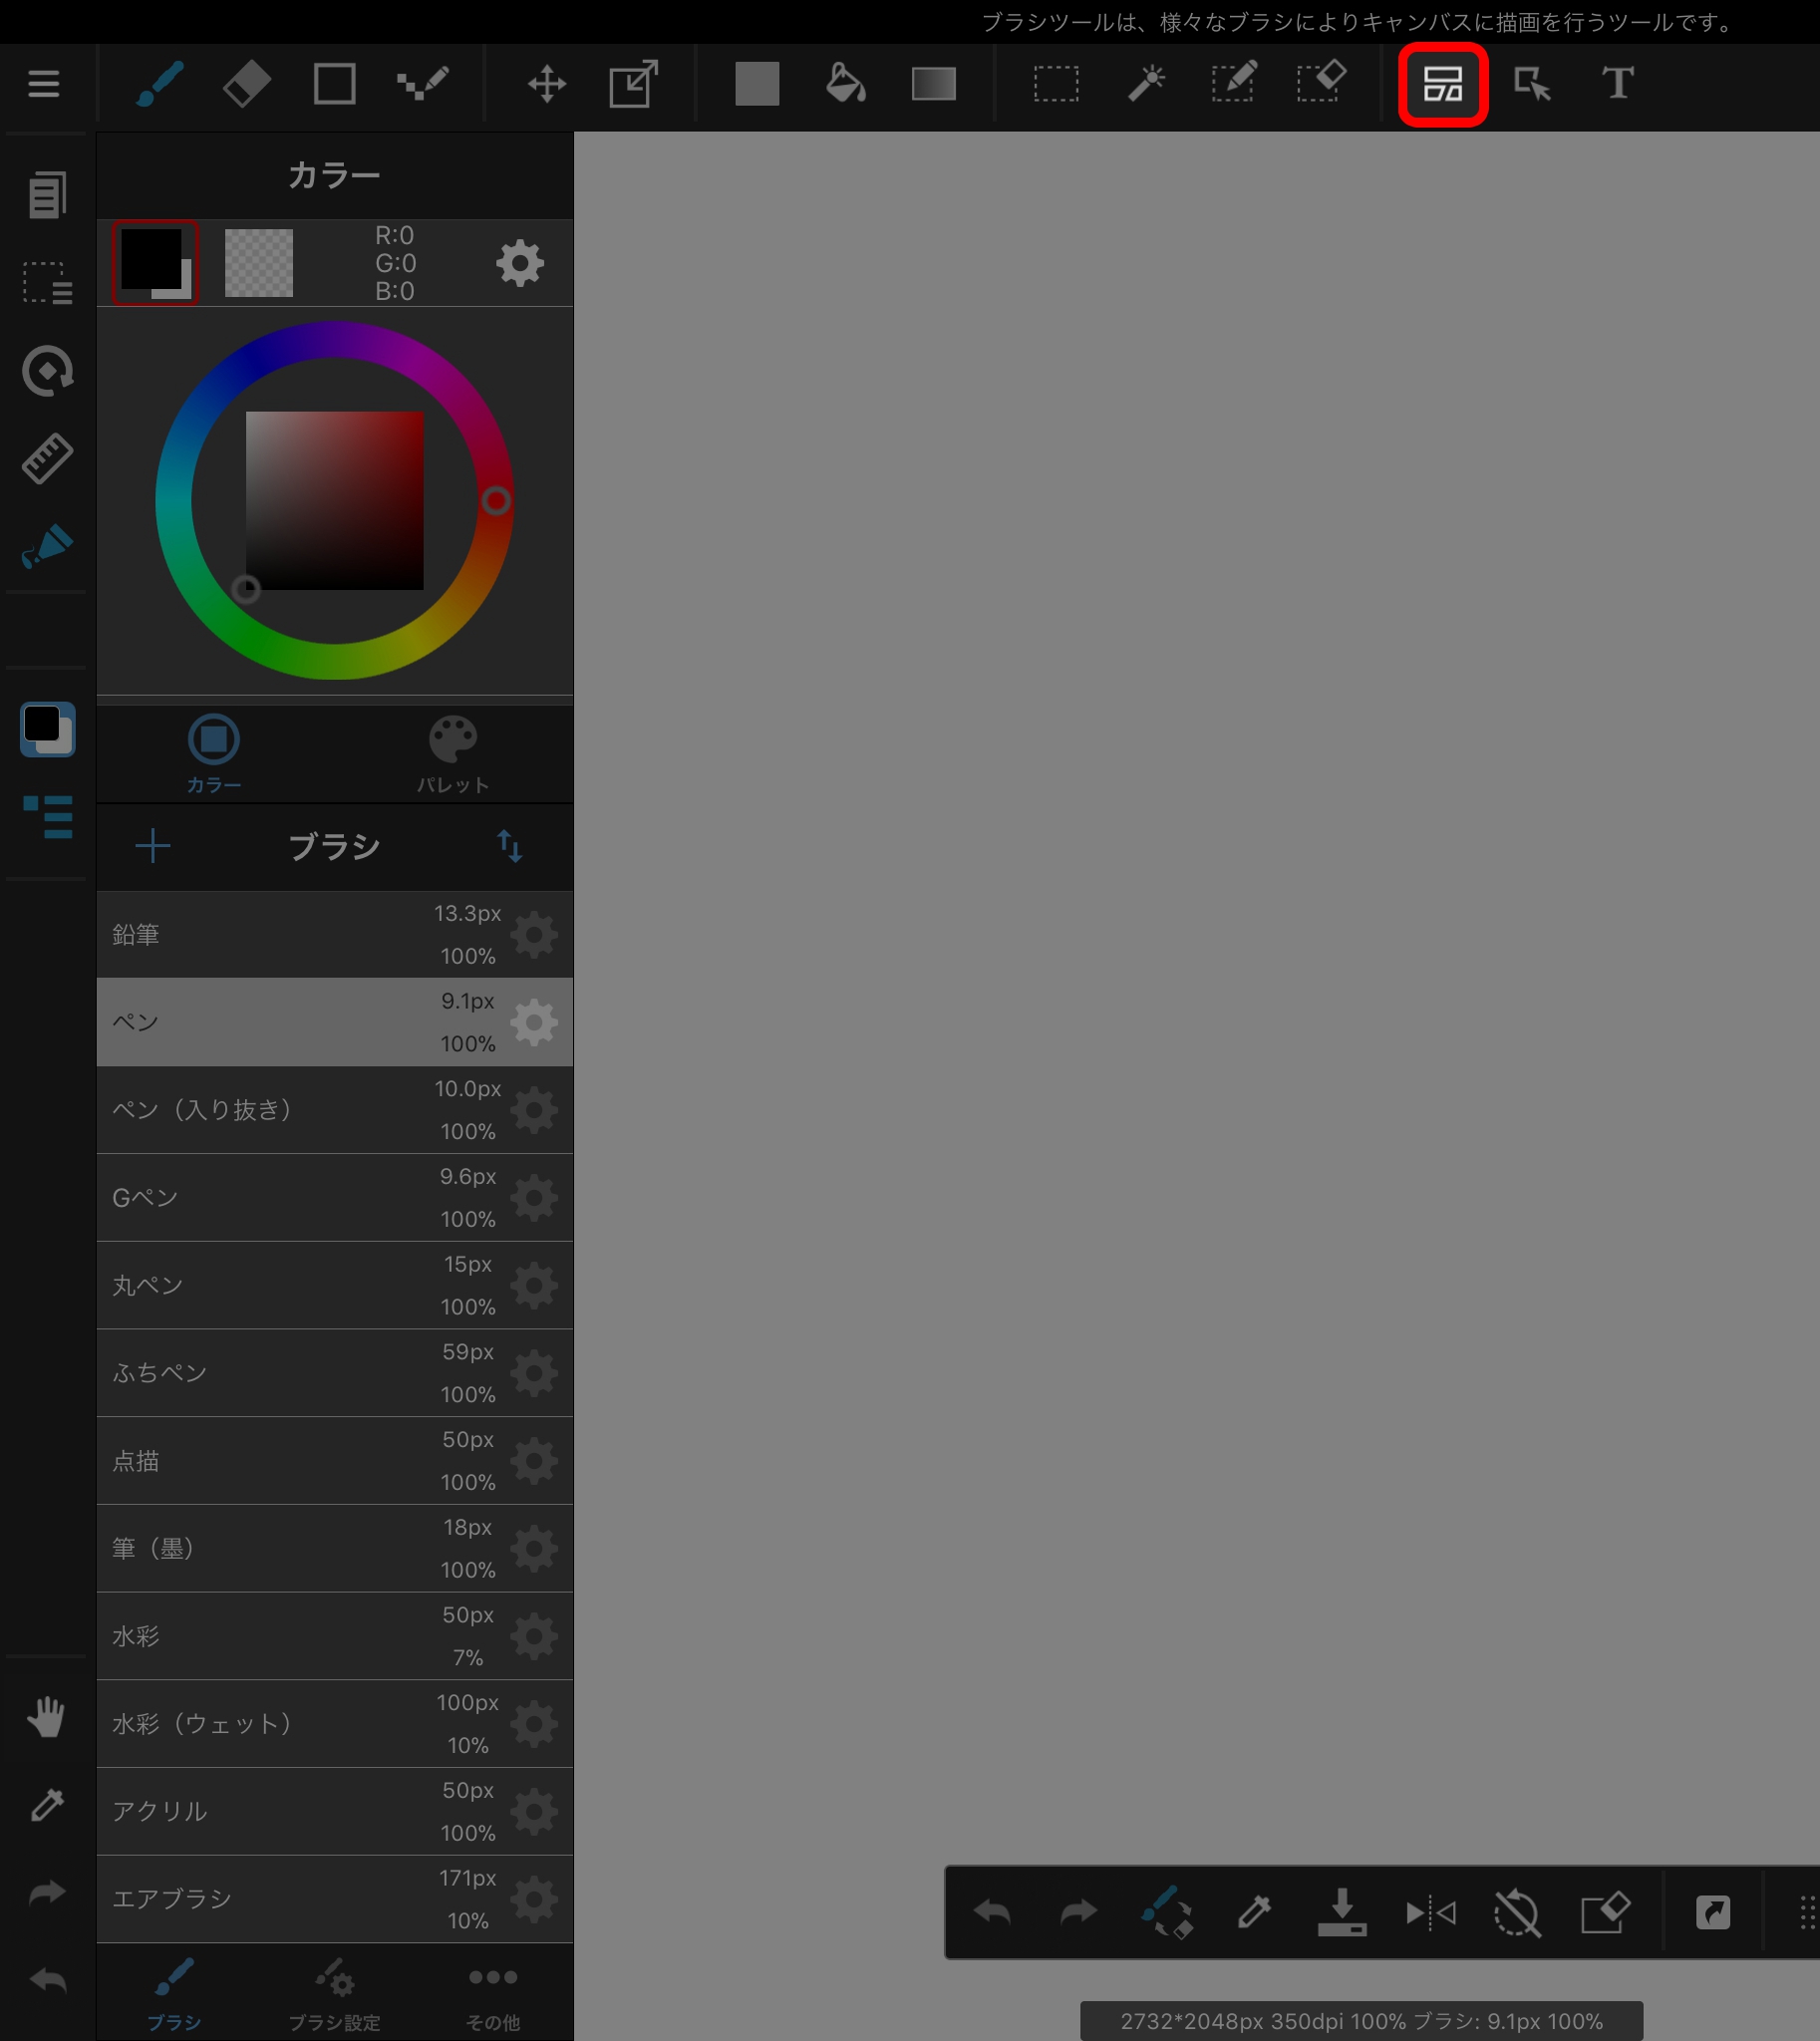
The Panel Layout Tool creates comic-book-style panels on the canvas. You can divide panels by swiping from one end of the panel to the other.
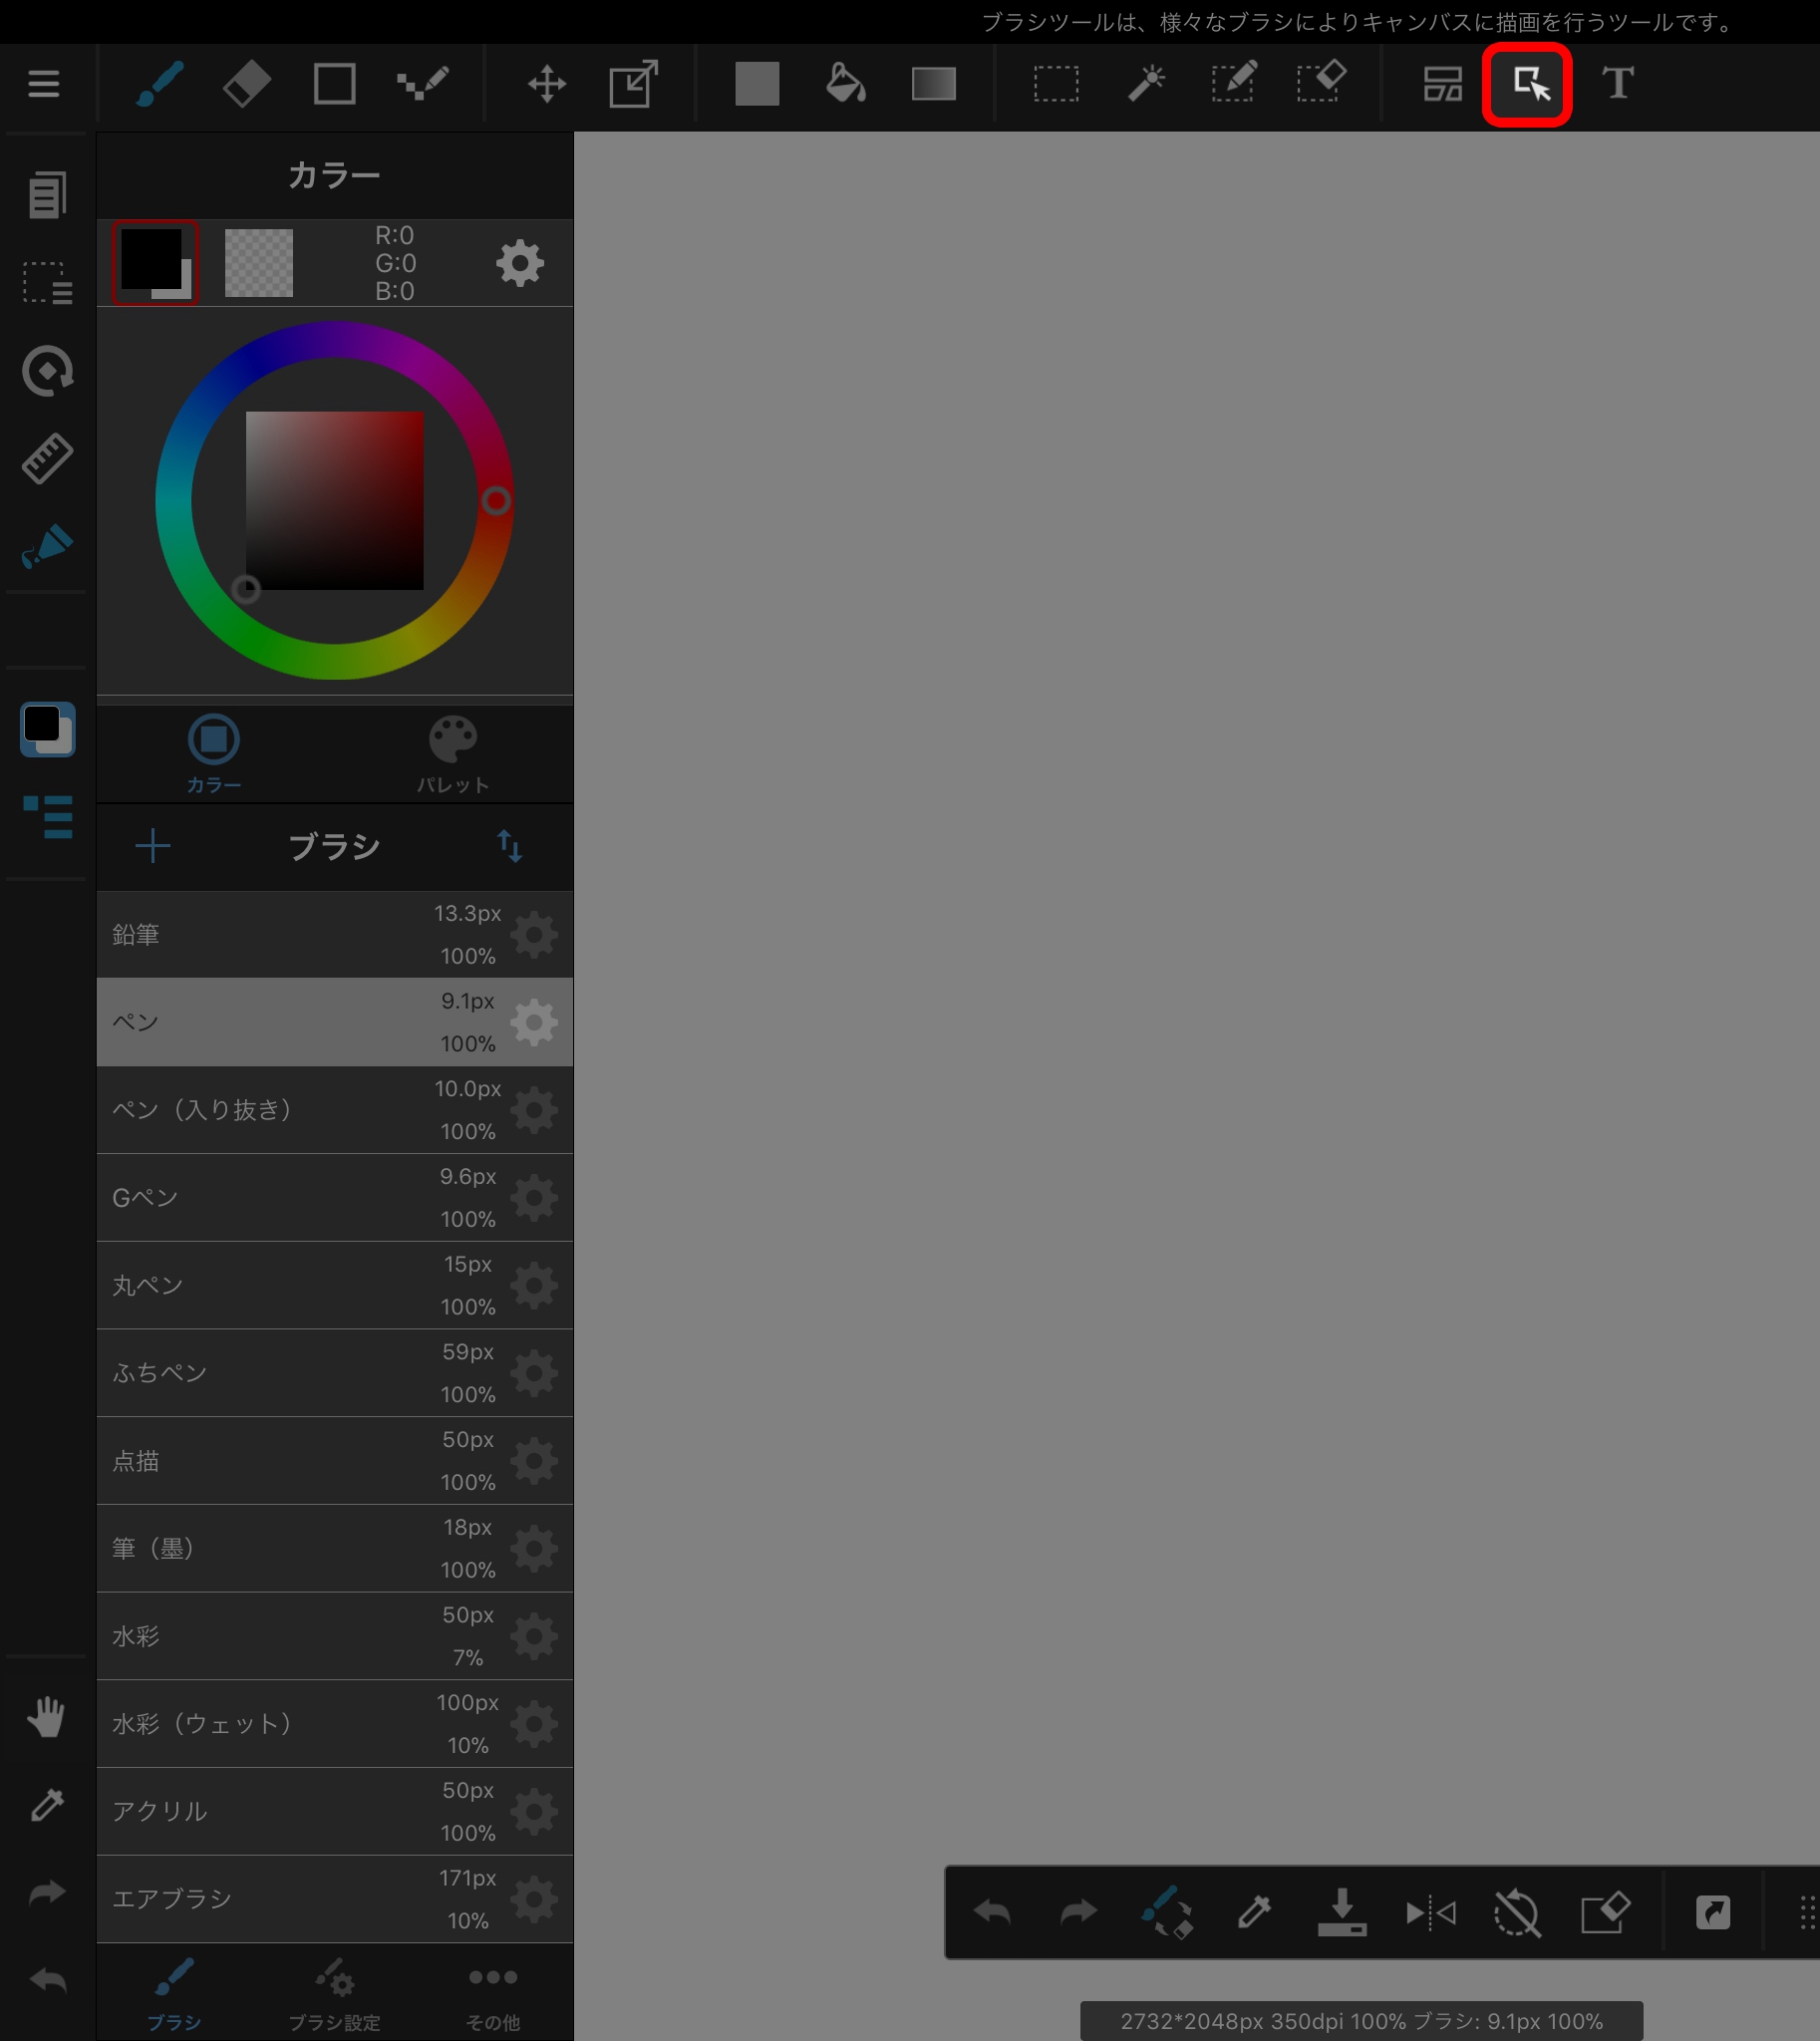
The Manipulate Tool manipulates panels created with the Panel Layout Tool. You can reshape and delete panels and change the line width.
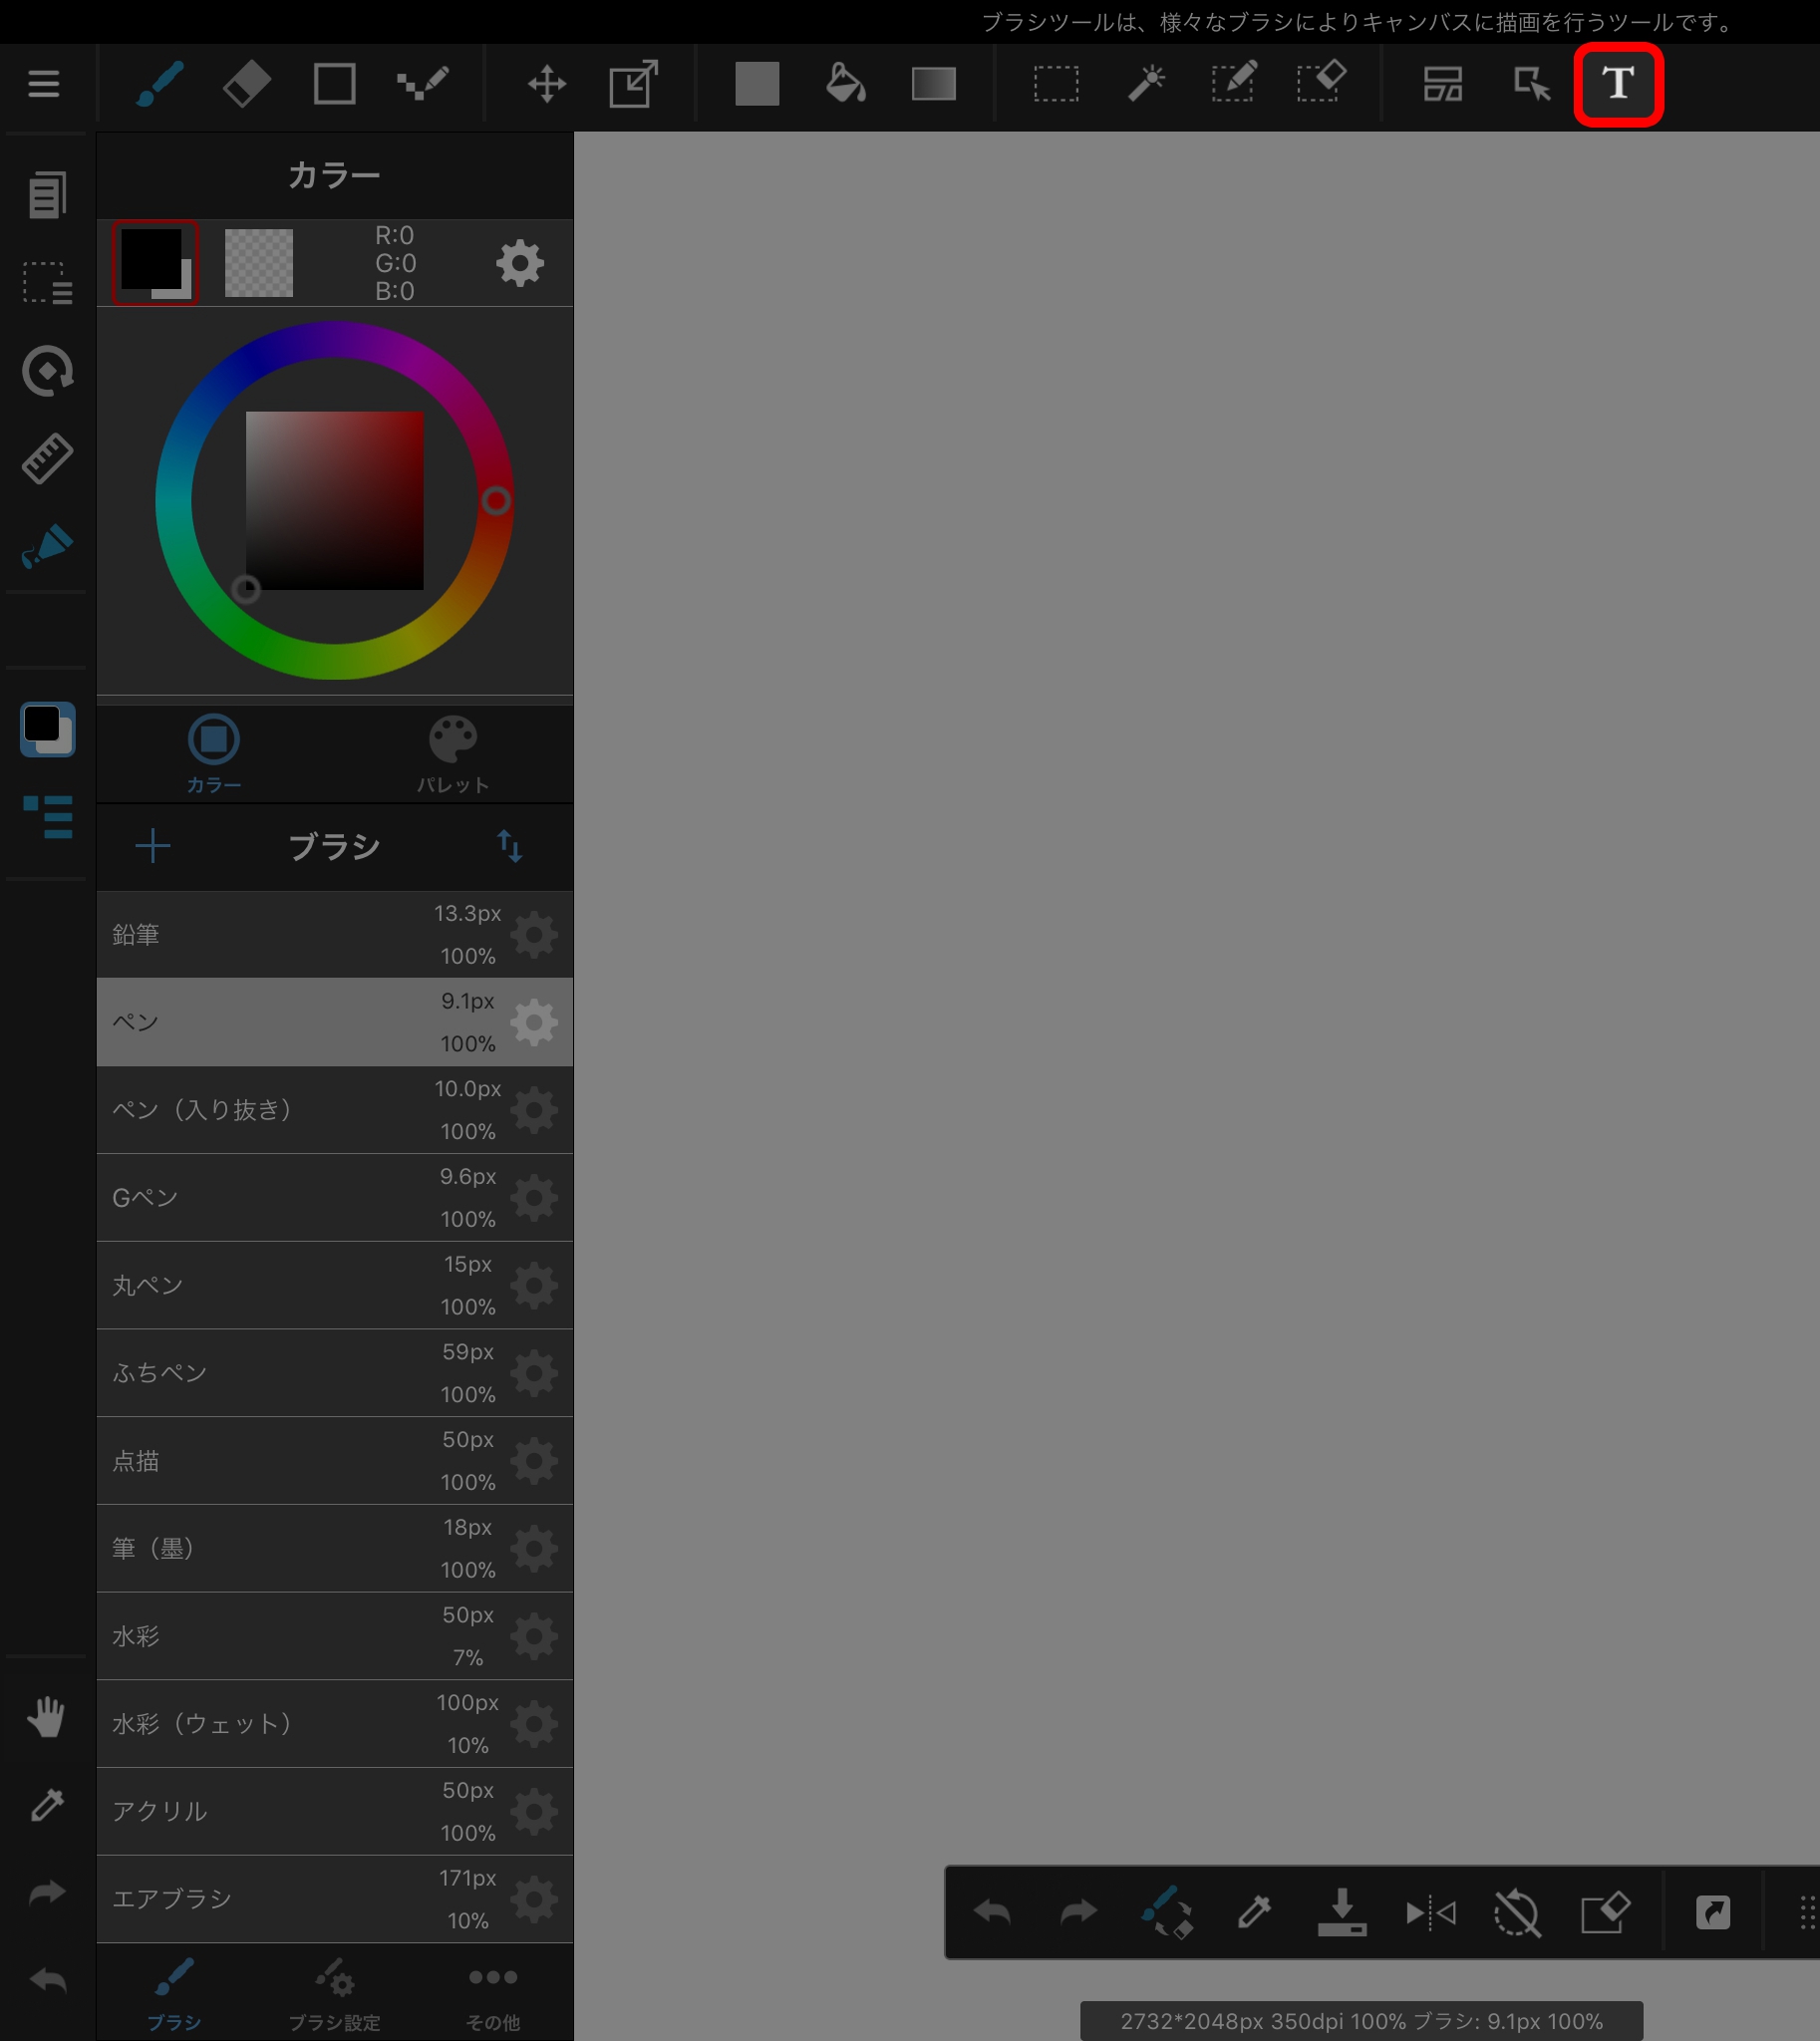
The Text Tool inserts text on the canvas. After inputting text, you can configure settings such as font, bold, italic, and orientation.
讓你的創作更有特色
MediBang Paint全新服務,
MediBang Premium登場!
專用筆刷、素材無限使用、
MediBang
Paint全功能開放等,
我們準備了幫助創作的多樣特典。