Simply launching MediBang Paint does not allow you to begin drawing.
Before we can begin a new drawing, we must create a canvas.
Here, we will explain the process of opening a new canvas and preparing to actually start drawing.
Now then, let’s try making a new canvas!
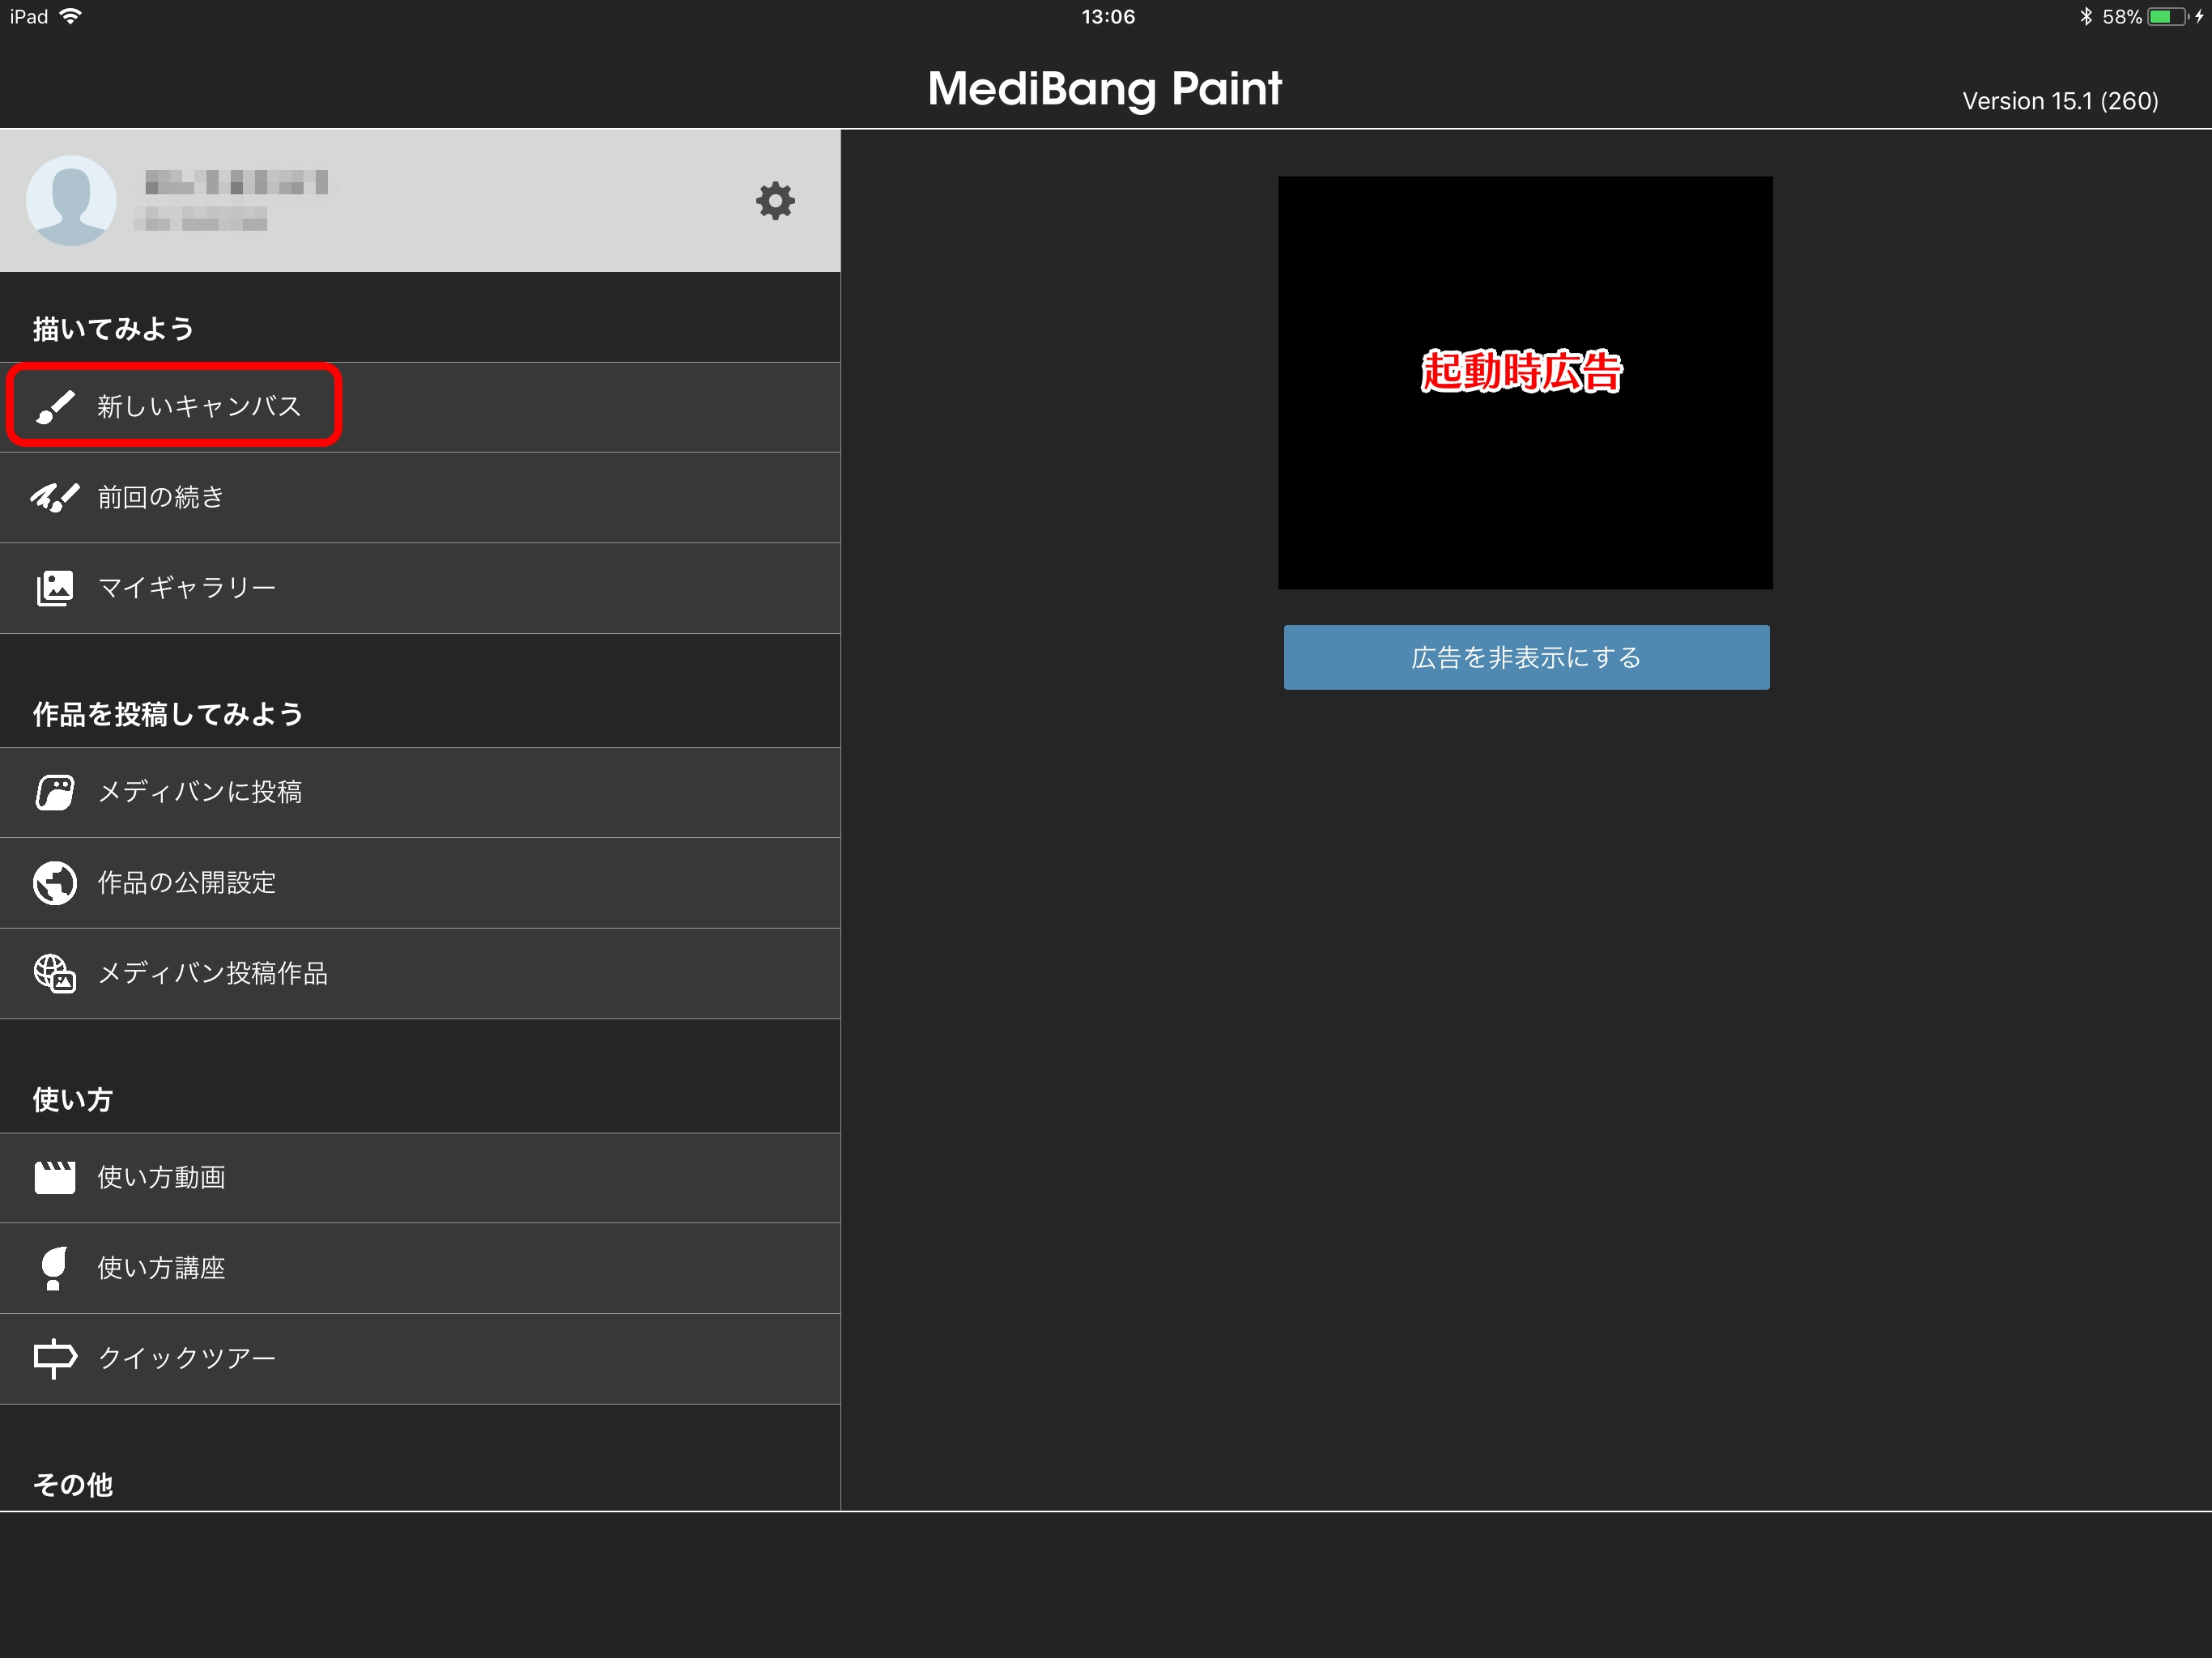
Open MediBang Paint and tap “New canvas” on the left-hand side.
Select “Create new” and a screen for setting up the details of your new canvas will appear on the right.
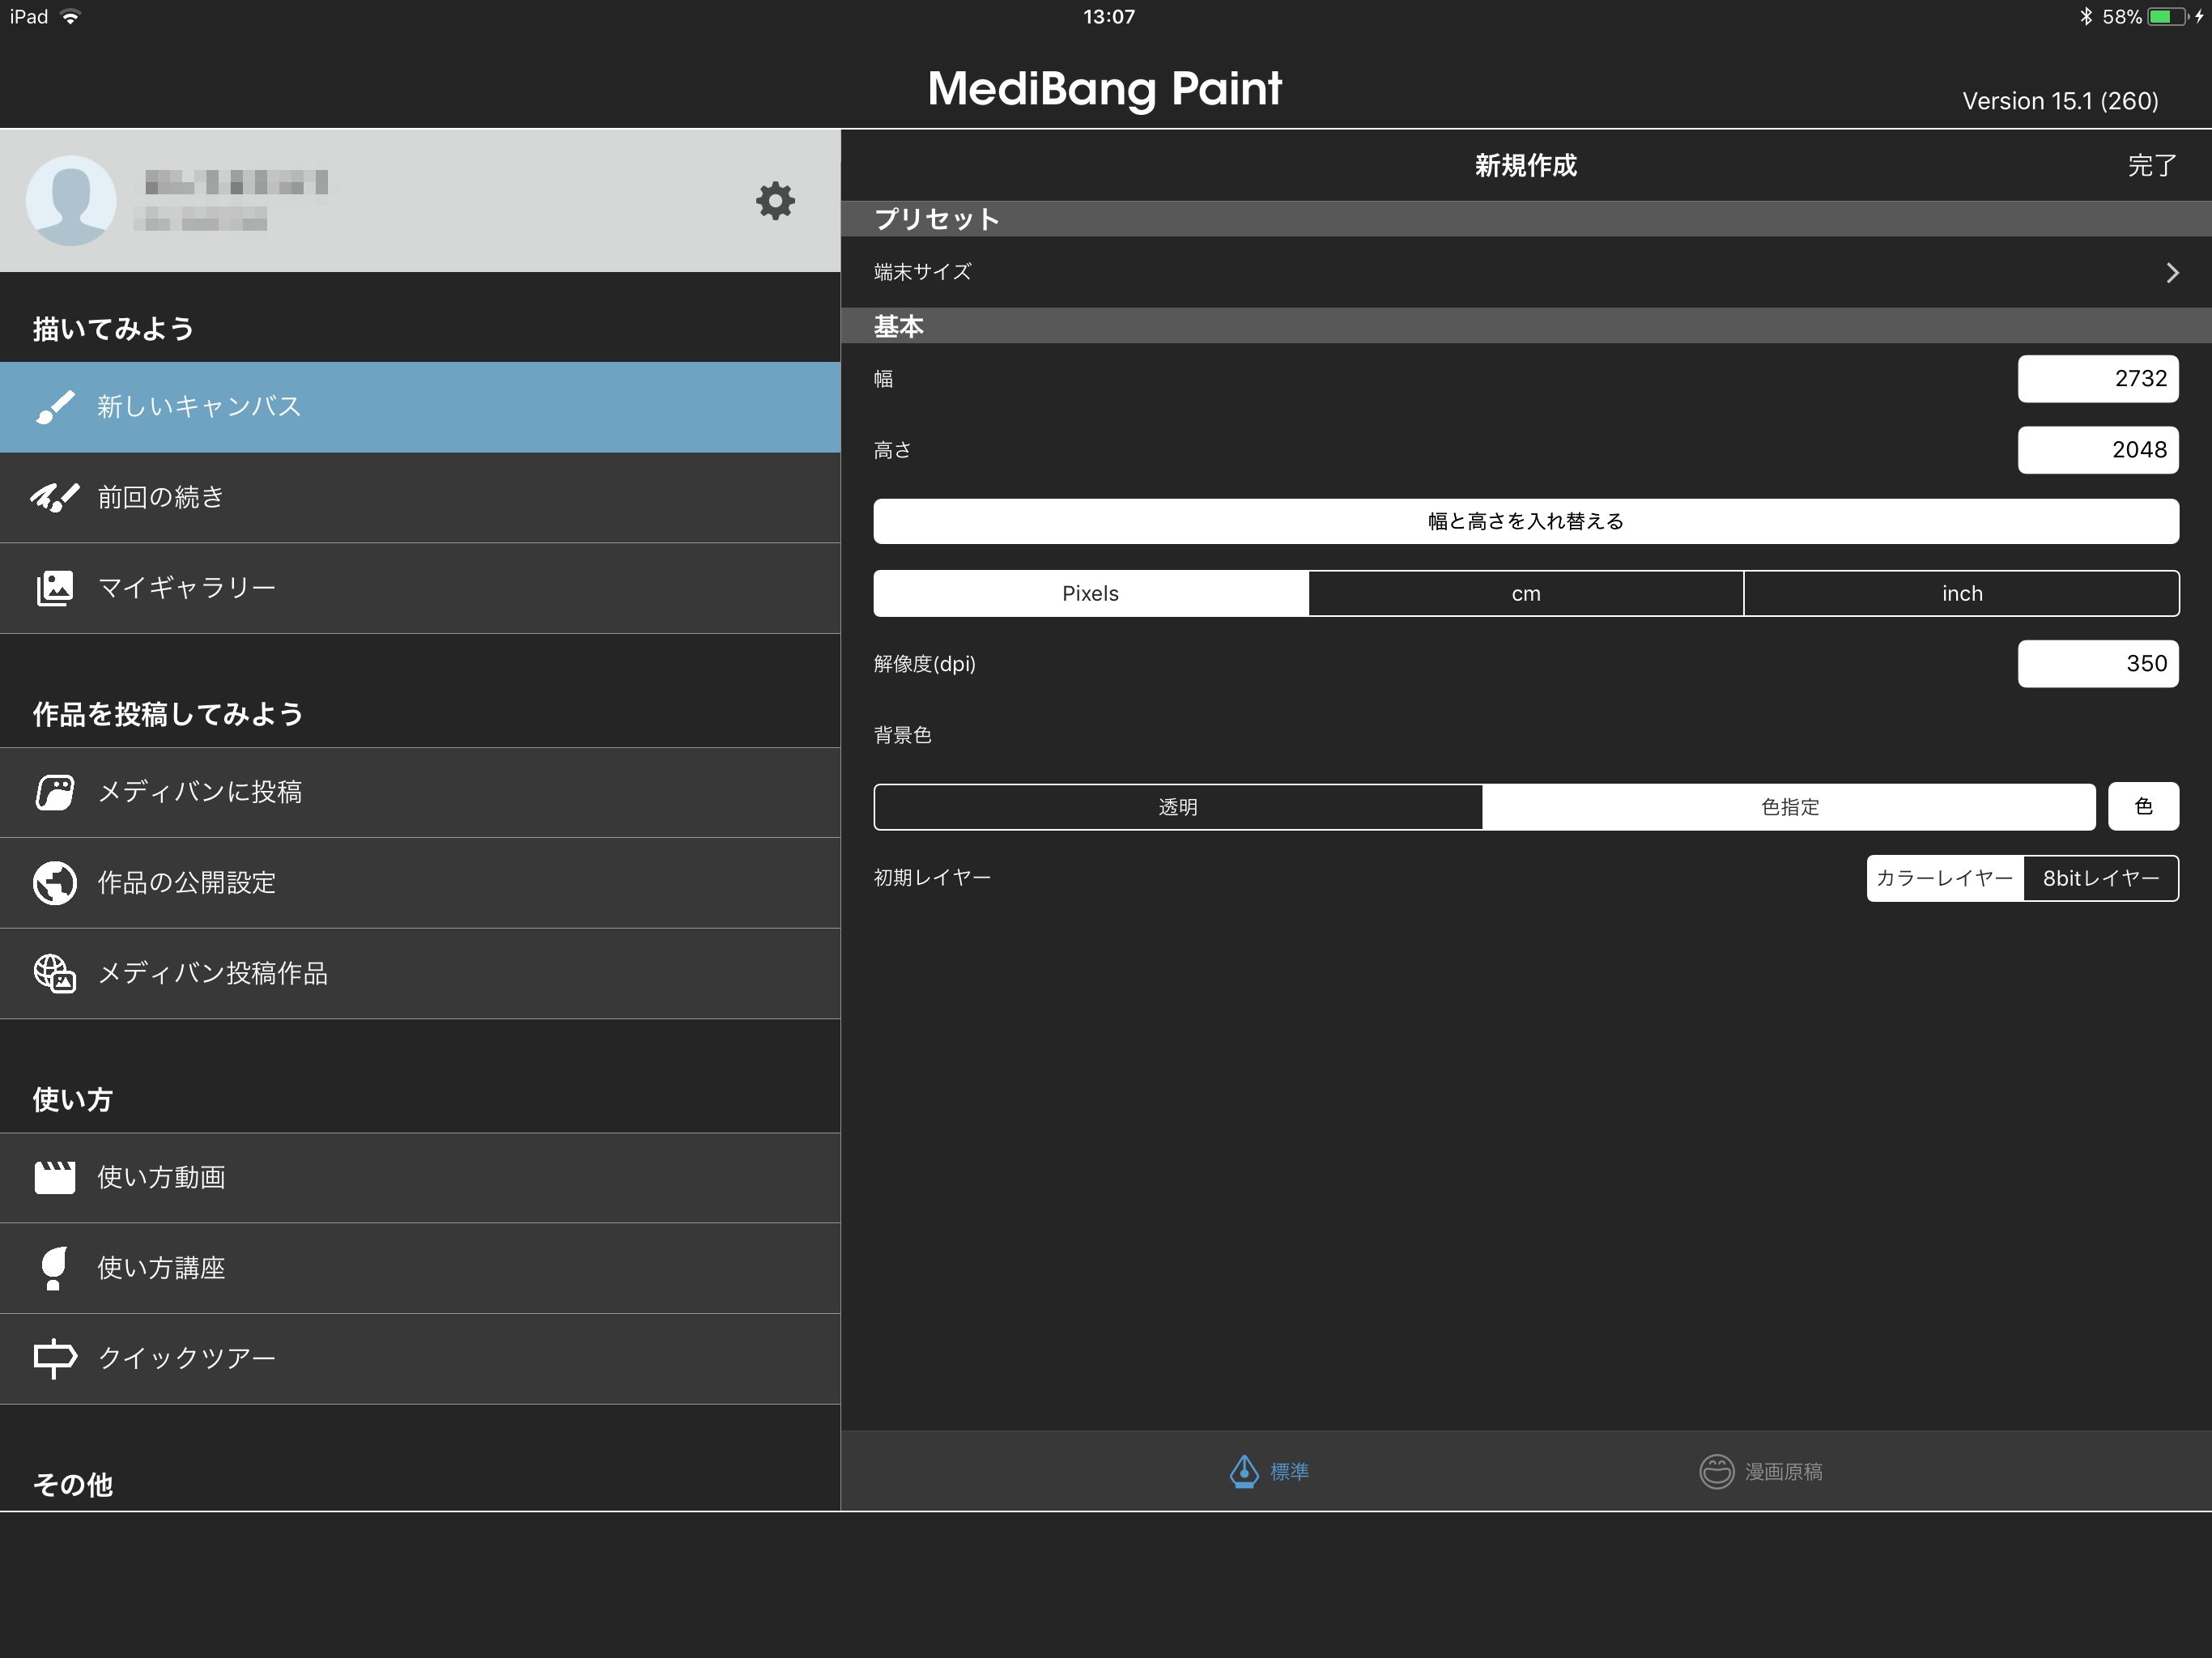
Let’s start by creating a “Device-sized” canvas.
Select “Device-sized” from the presets, and tap “OK” in the top right.

You have now created a device-sized canvas.
Let’s quickly configure some settings in the main menu before we start drawing.
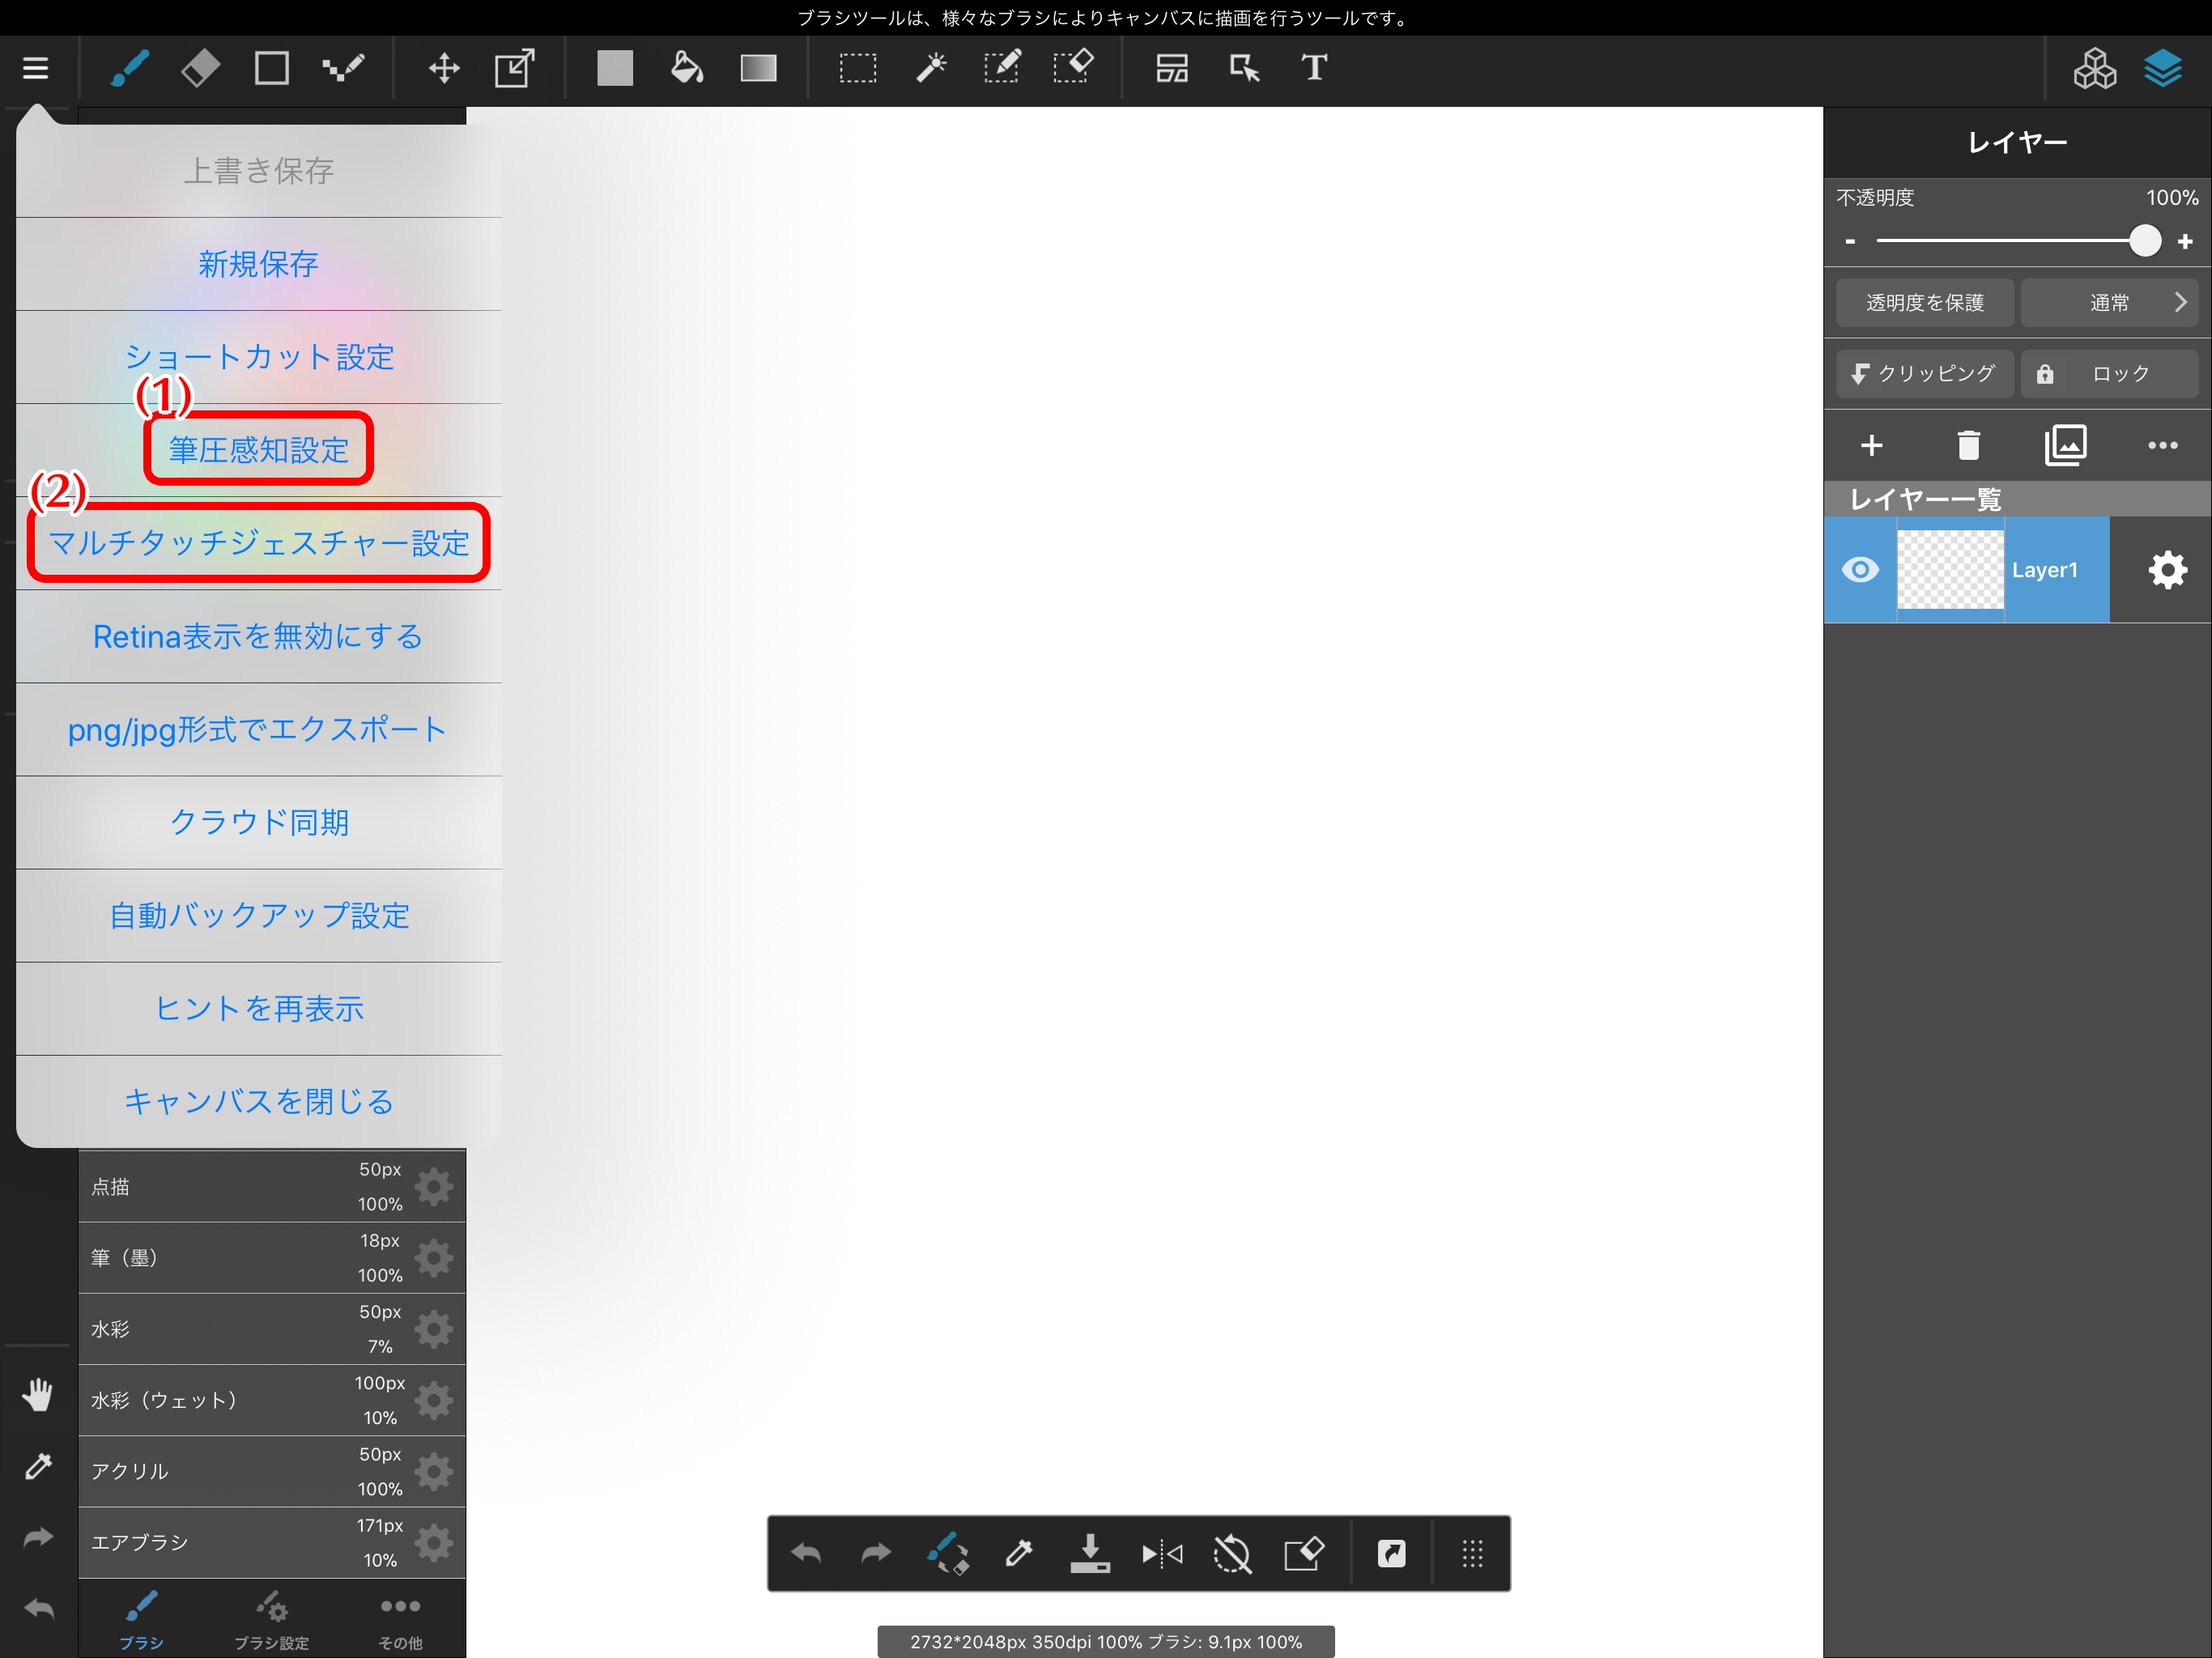
When using your own stylus pen, turning on Pressure Sensitivity will enable Pressure Sensitive Mode.
How to connect your stylus depends on whether it is an Apple Pencil or a Wacom/Adonit stylus.
Follow the connection procedure that applies to your stylus.
Wacom & Adonit の接続方法
Apple Pencilの接続の仕方
You can use multitouch gestures to control the canvas with your fingers.
You can use gestures to move, zoom, and rotate the canvas.
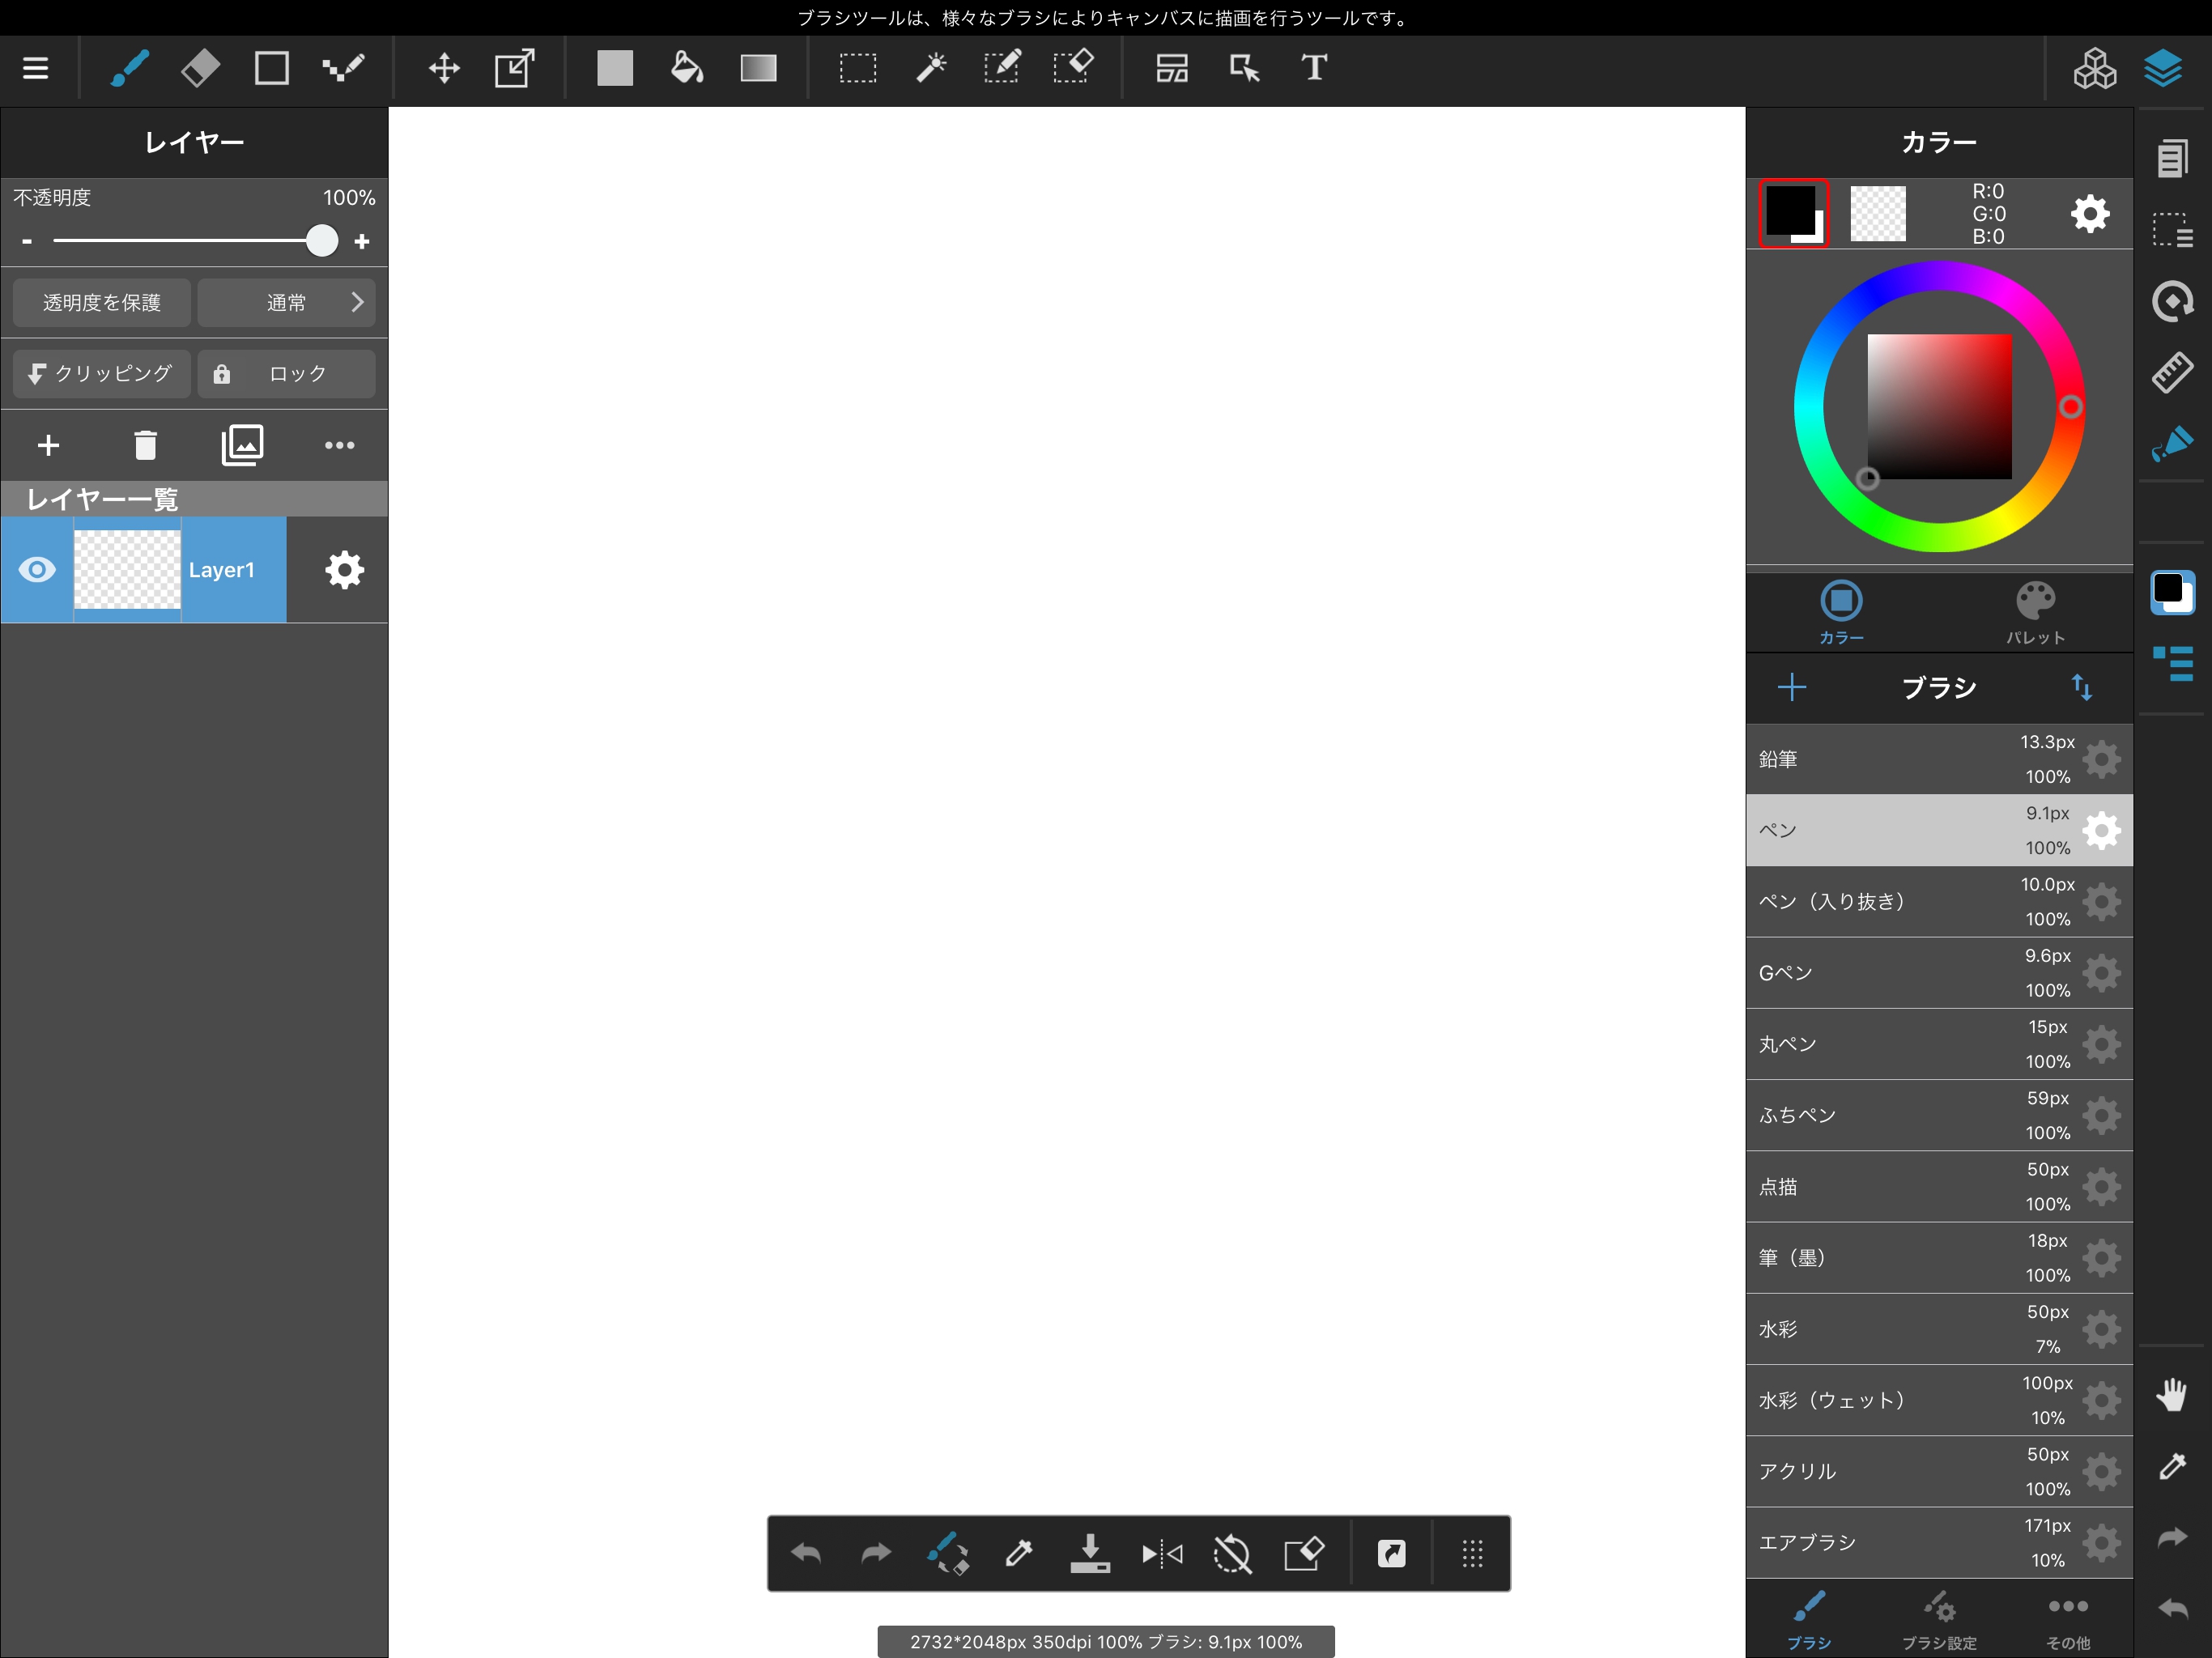
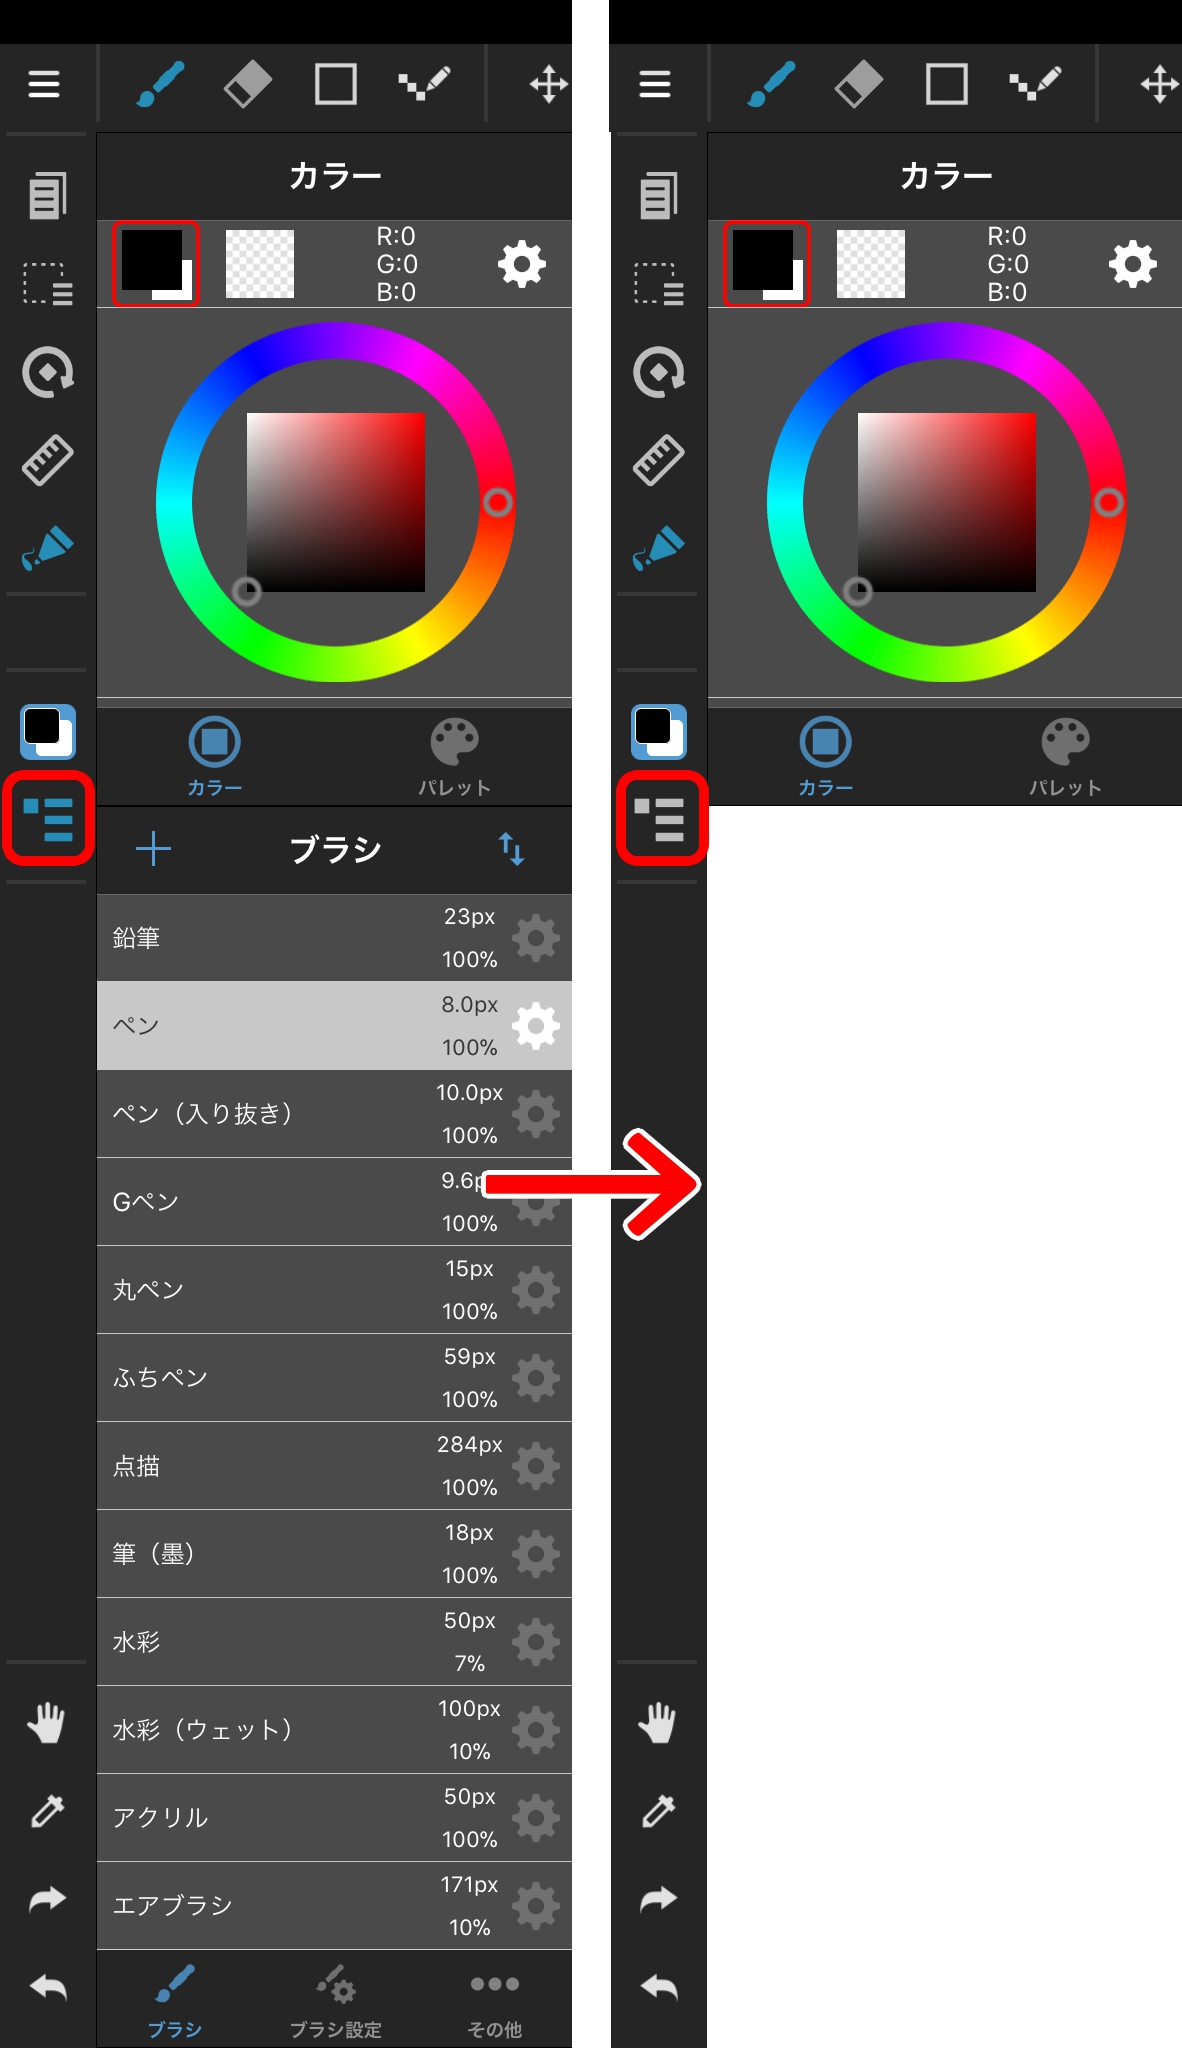
In the iPad version of MediBang Paint, you can also swap the panels around.
By swiping on the area outlined in red in the image below, the locations of the Color Menu and Layer Menu will be swapped.
Set it up however works best for you!
Now that we’re done with setup, we can finally start drawing!
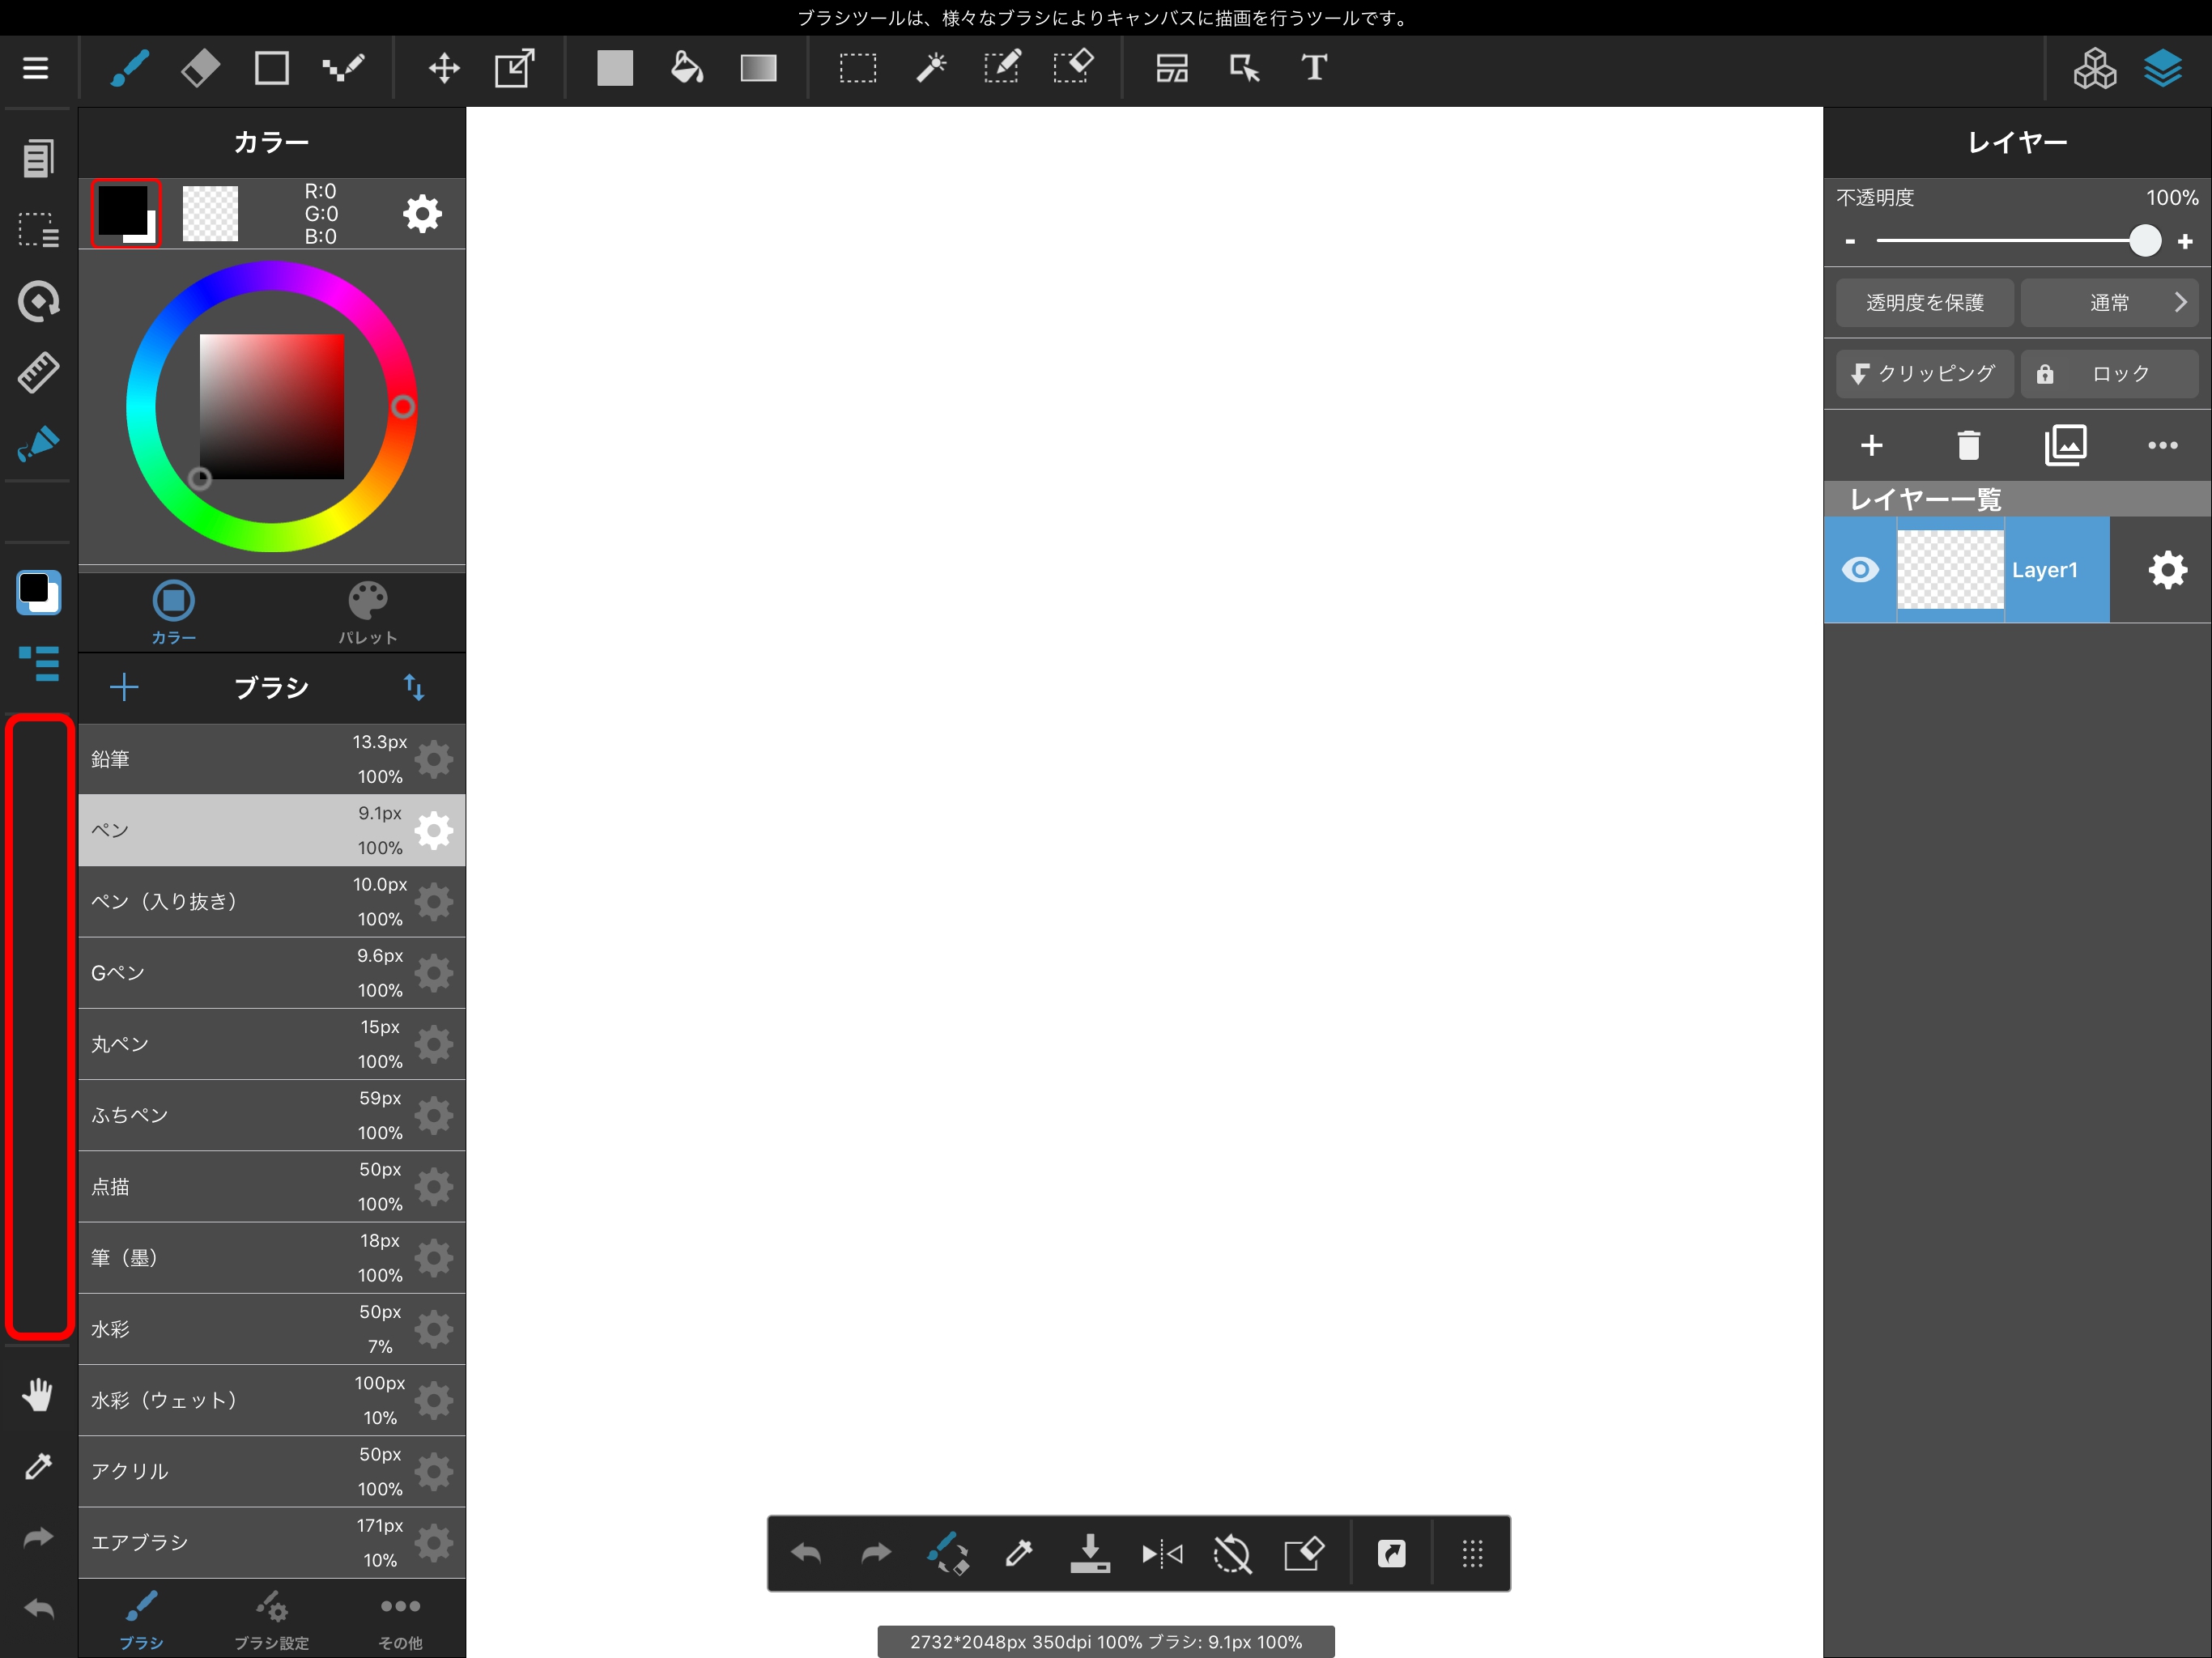
Select the Brush Tool from the toolbar icons, and let’s start drawing on the canvas.
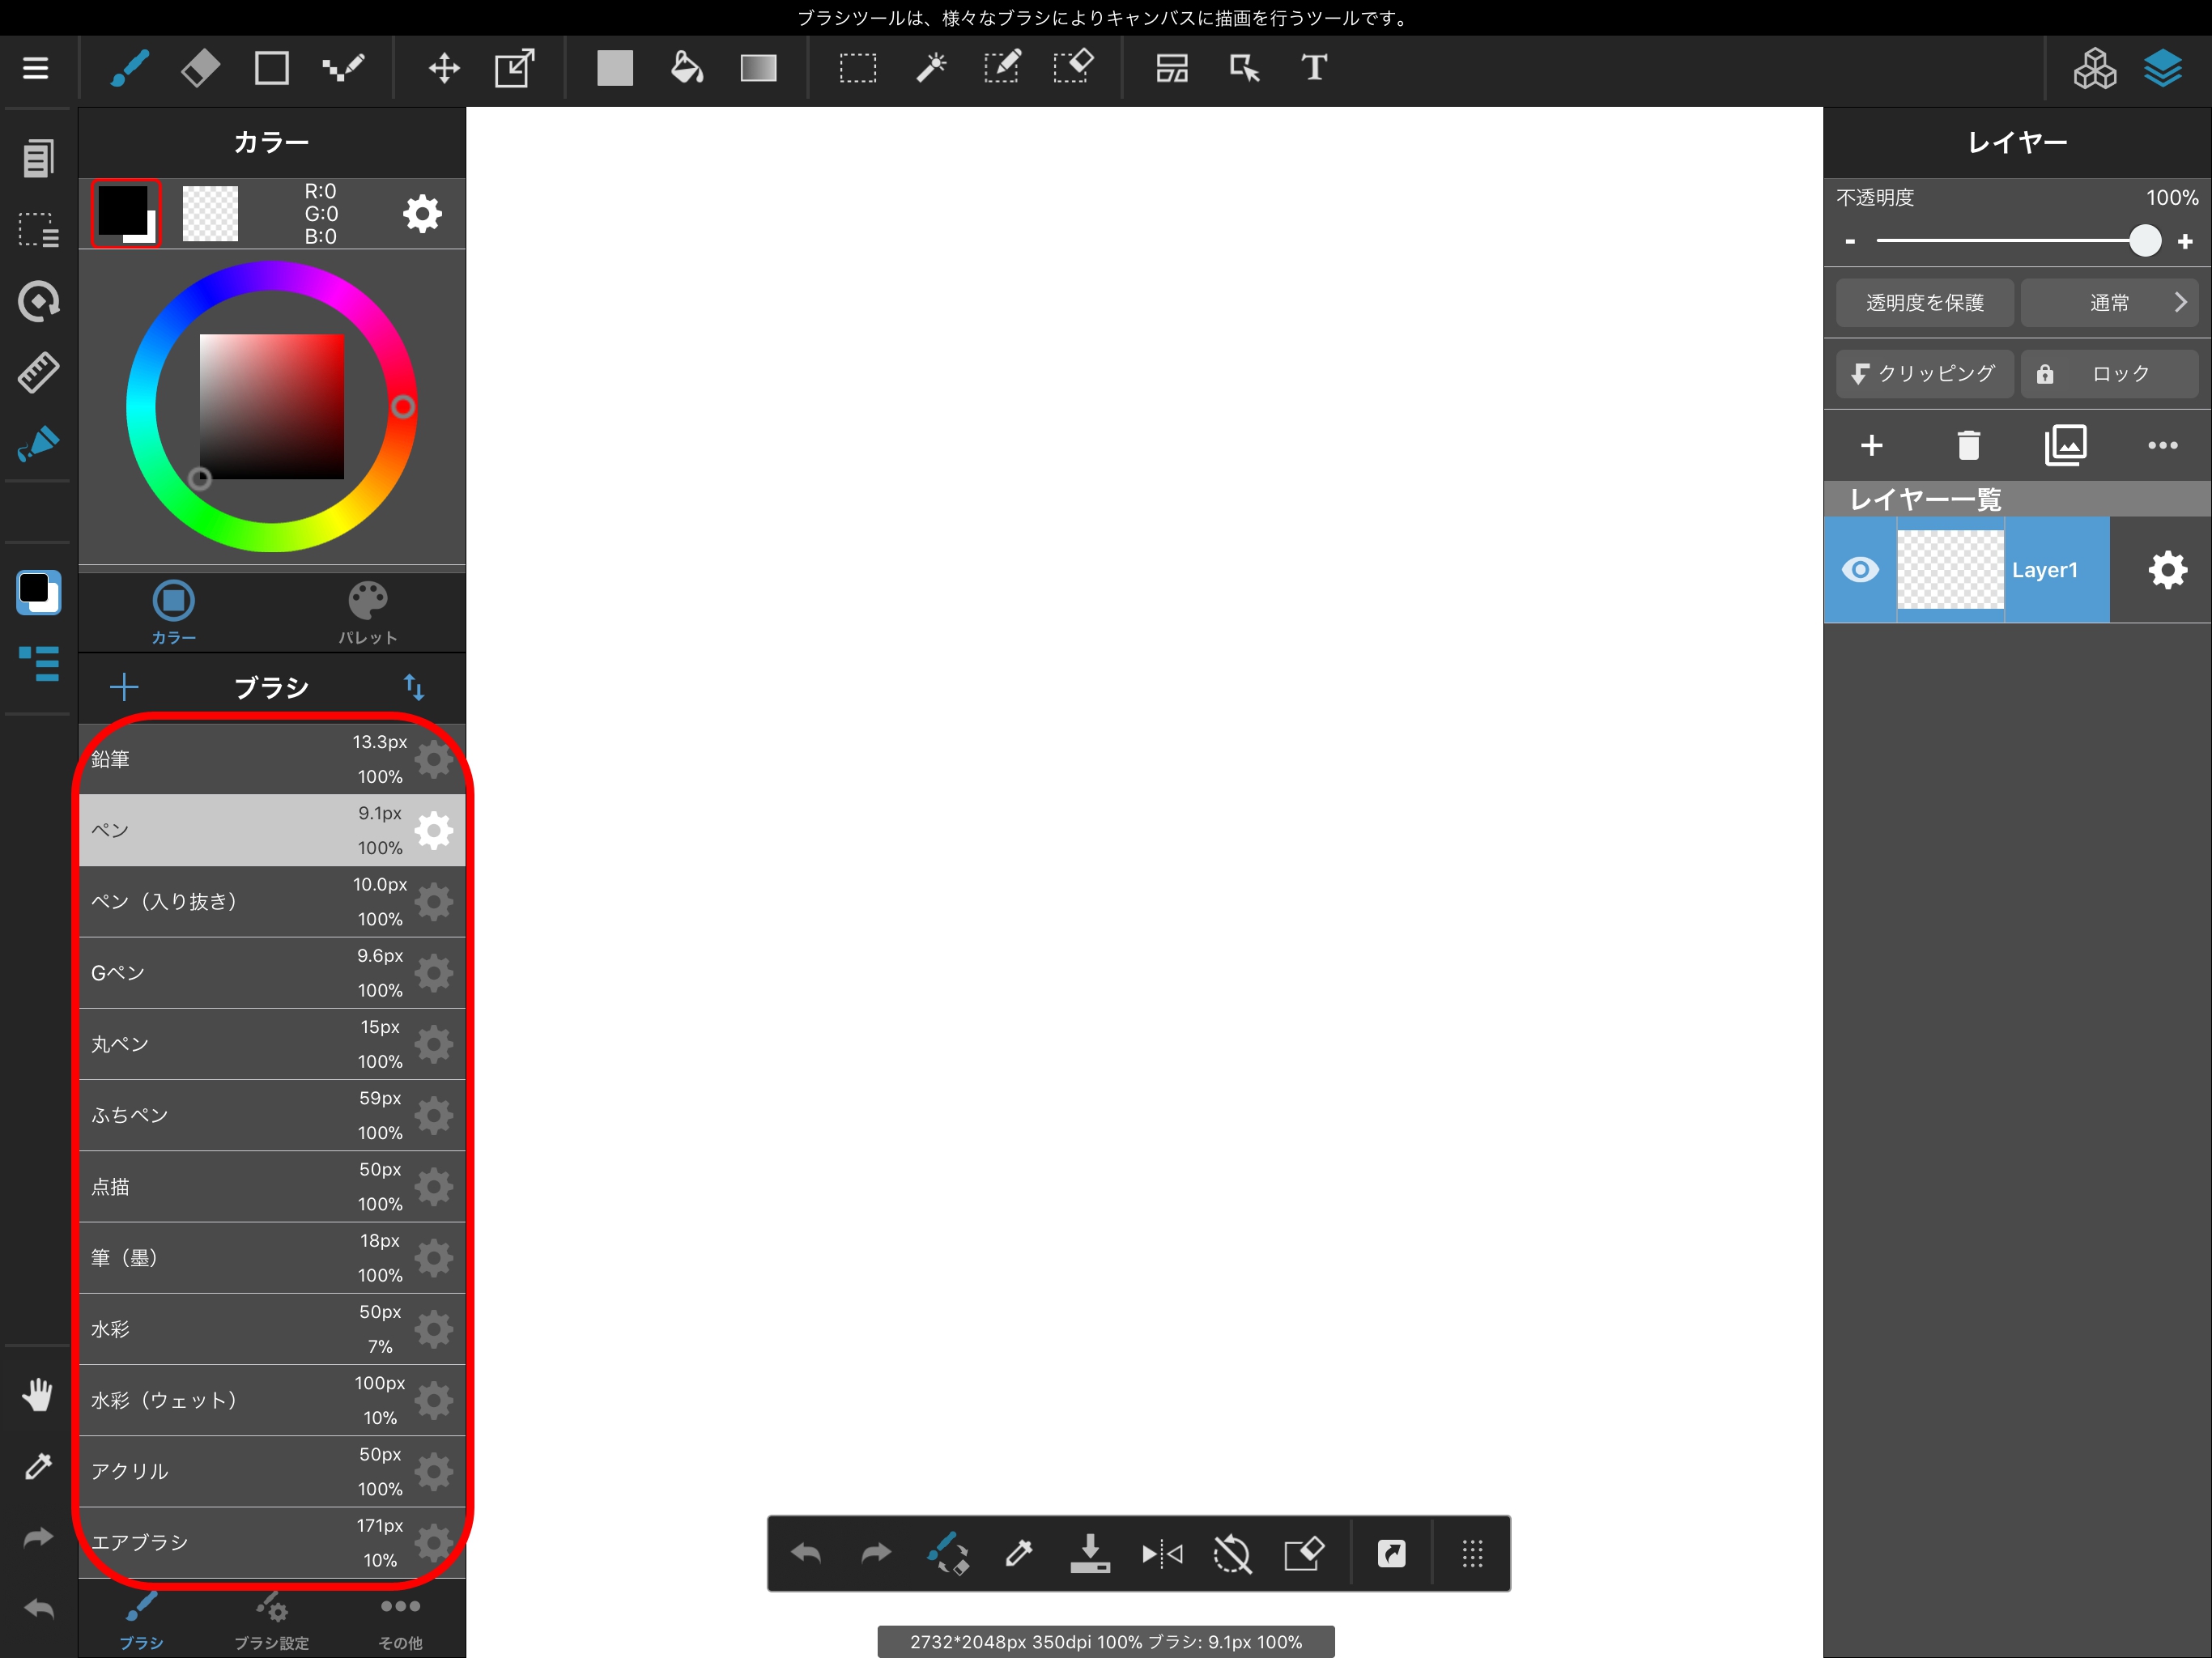
You can select the type of brush from the Brush Window, outlined in red in the above image.
The Brush Window is displayed when you tap the Brush Tool’s toolbar icon.
After tapping the icon outlined in red in the above image after tapping an icon on the Toolbar, you can show or hide the menu for the tool you have selected.
When the menu is shown, tapping the Toolbar icon again will hide it.
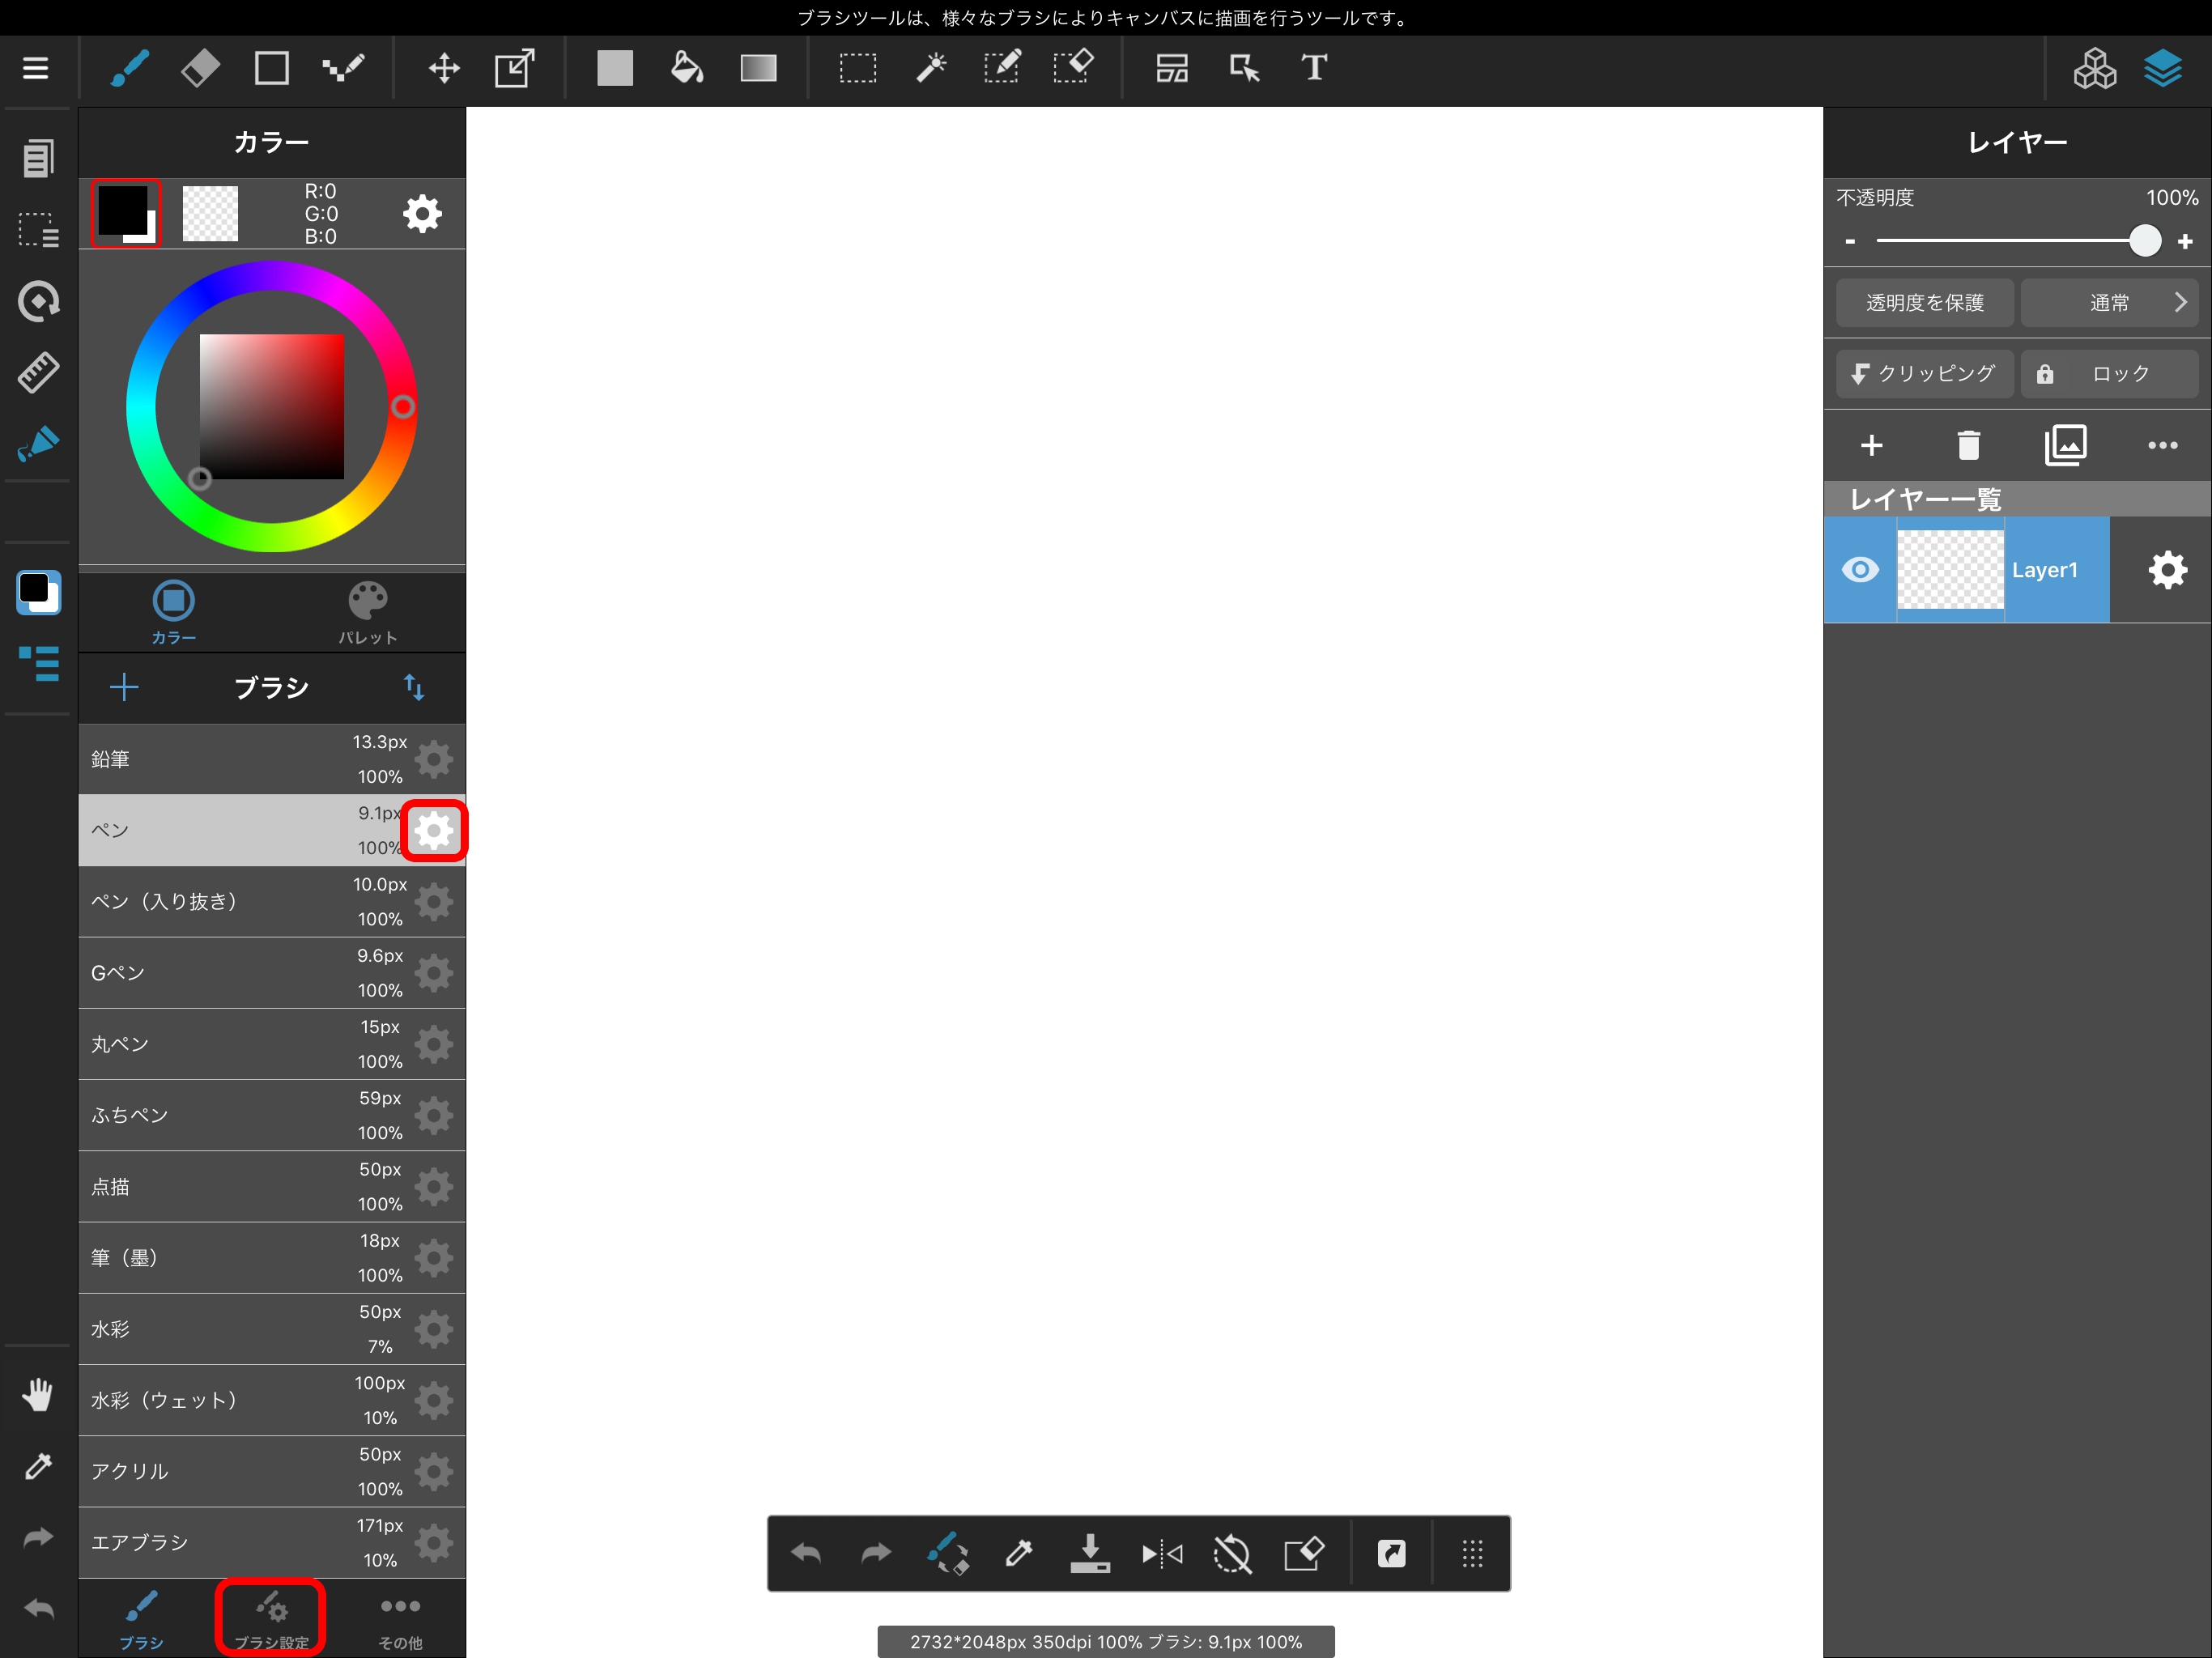
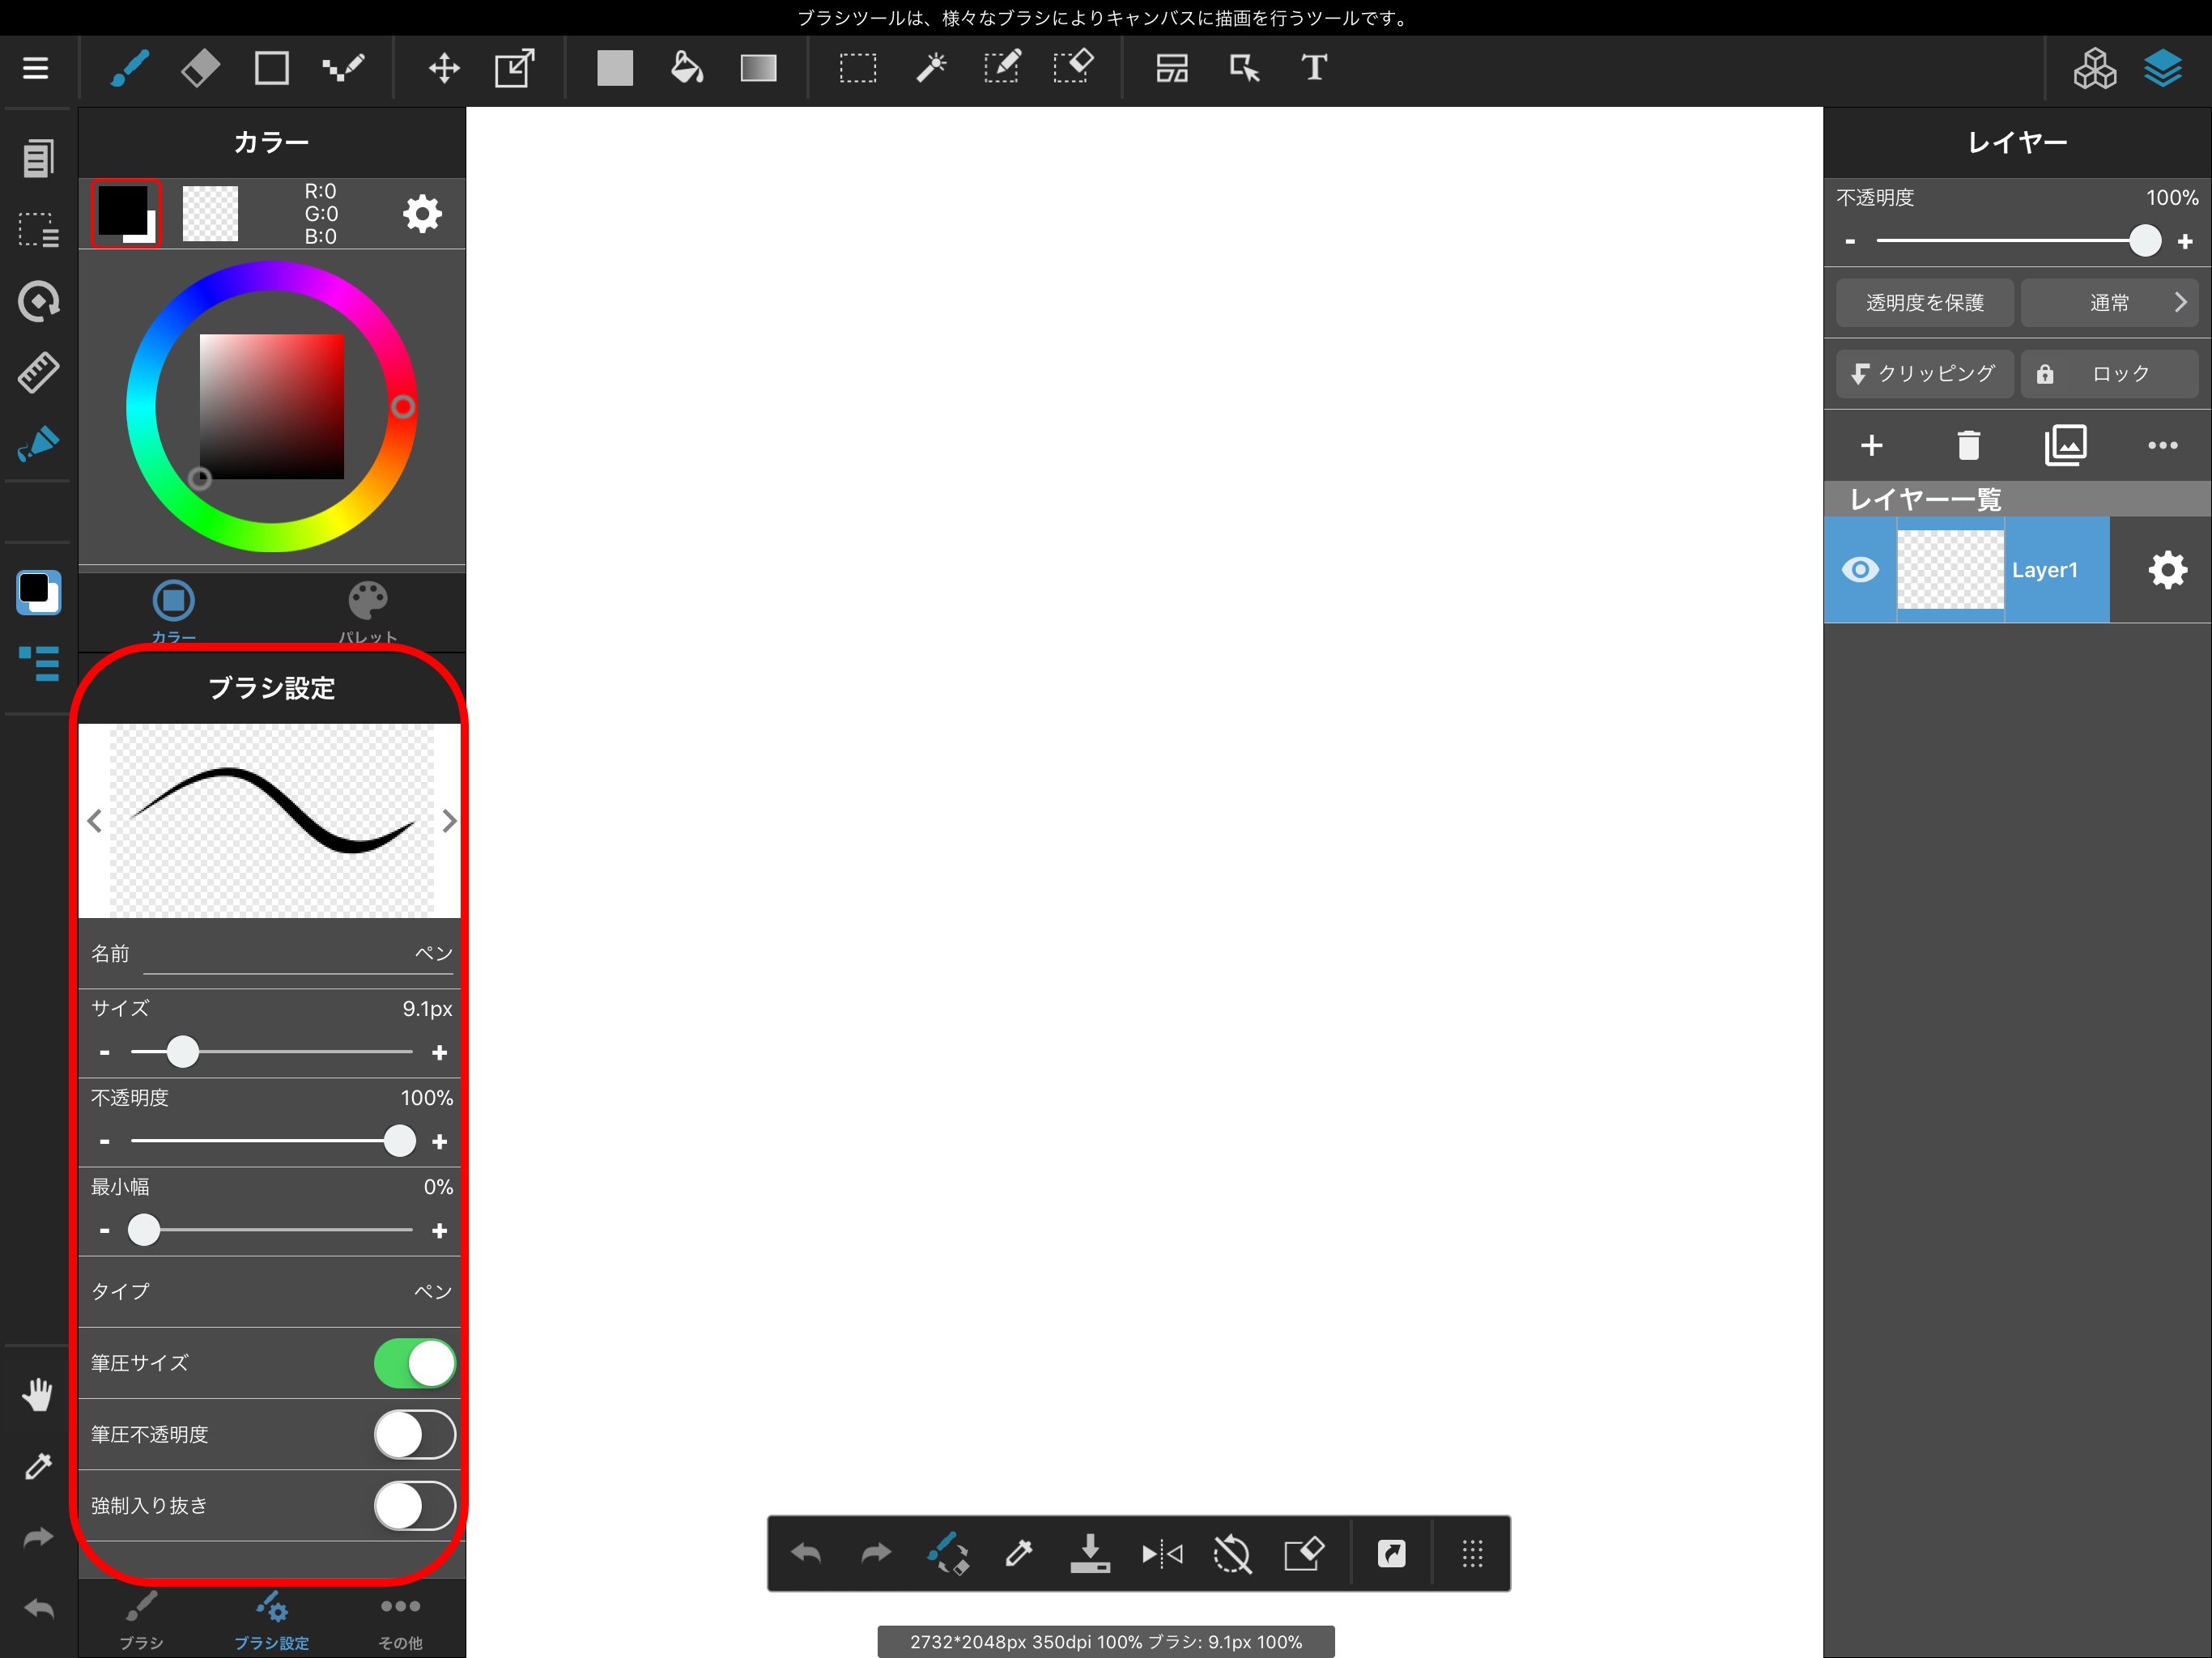
By tapping Brush Settings at the bottom of the Brush Window, or by tapping the gear symbol to the side of a brush, you can change the brush’s size and transparency.
Try using a variety of brushes!

By selecting “Other” at the bottom of the Brush Window, you can configure shake correction.
This feature will automatically correct shaking from your hands when drawing straight lines, etc. The higher the number, the slower the speed of drawing will be, and the stronger the correction.
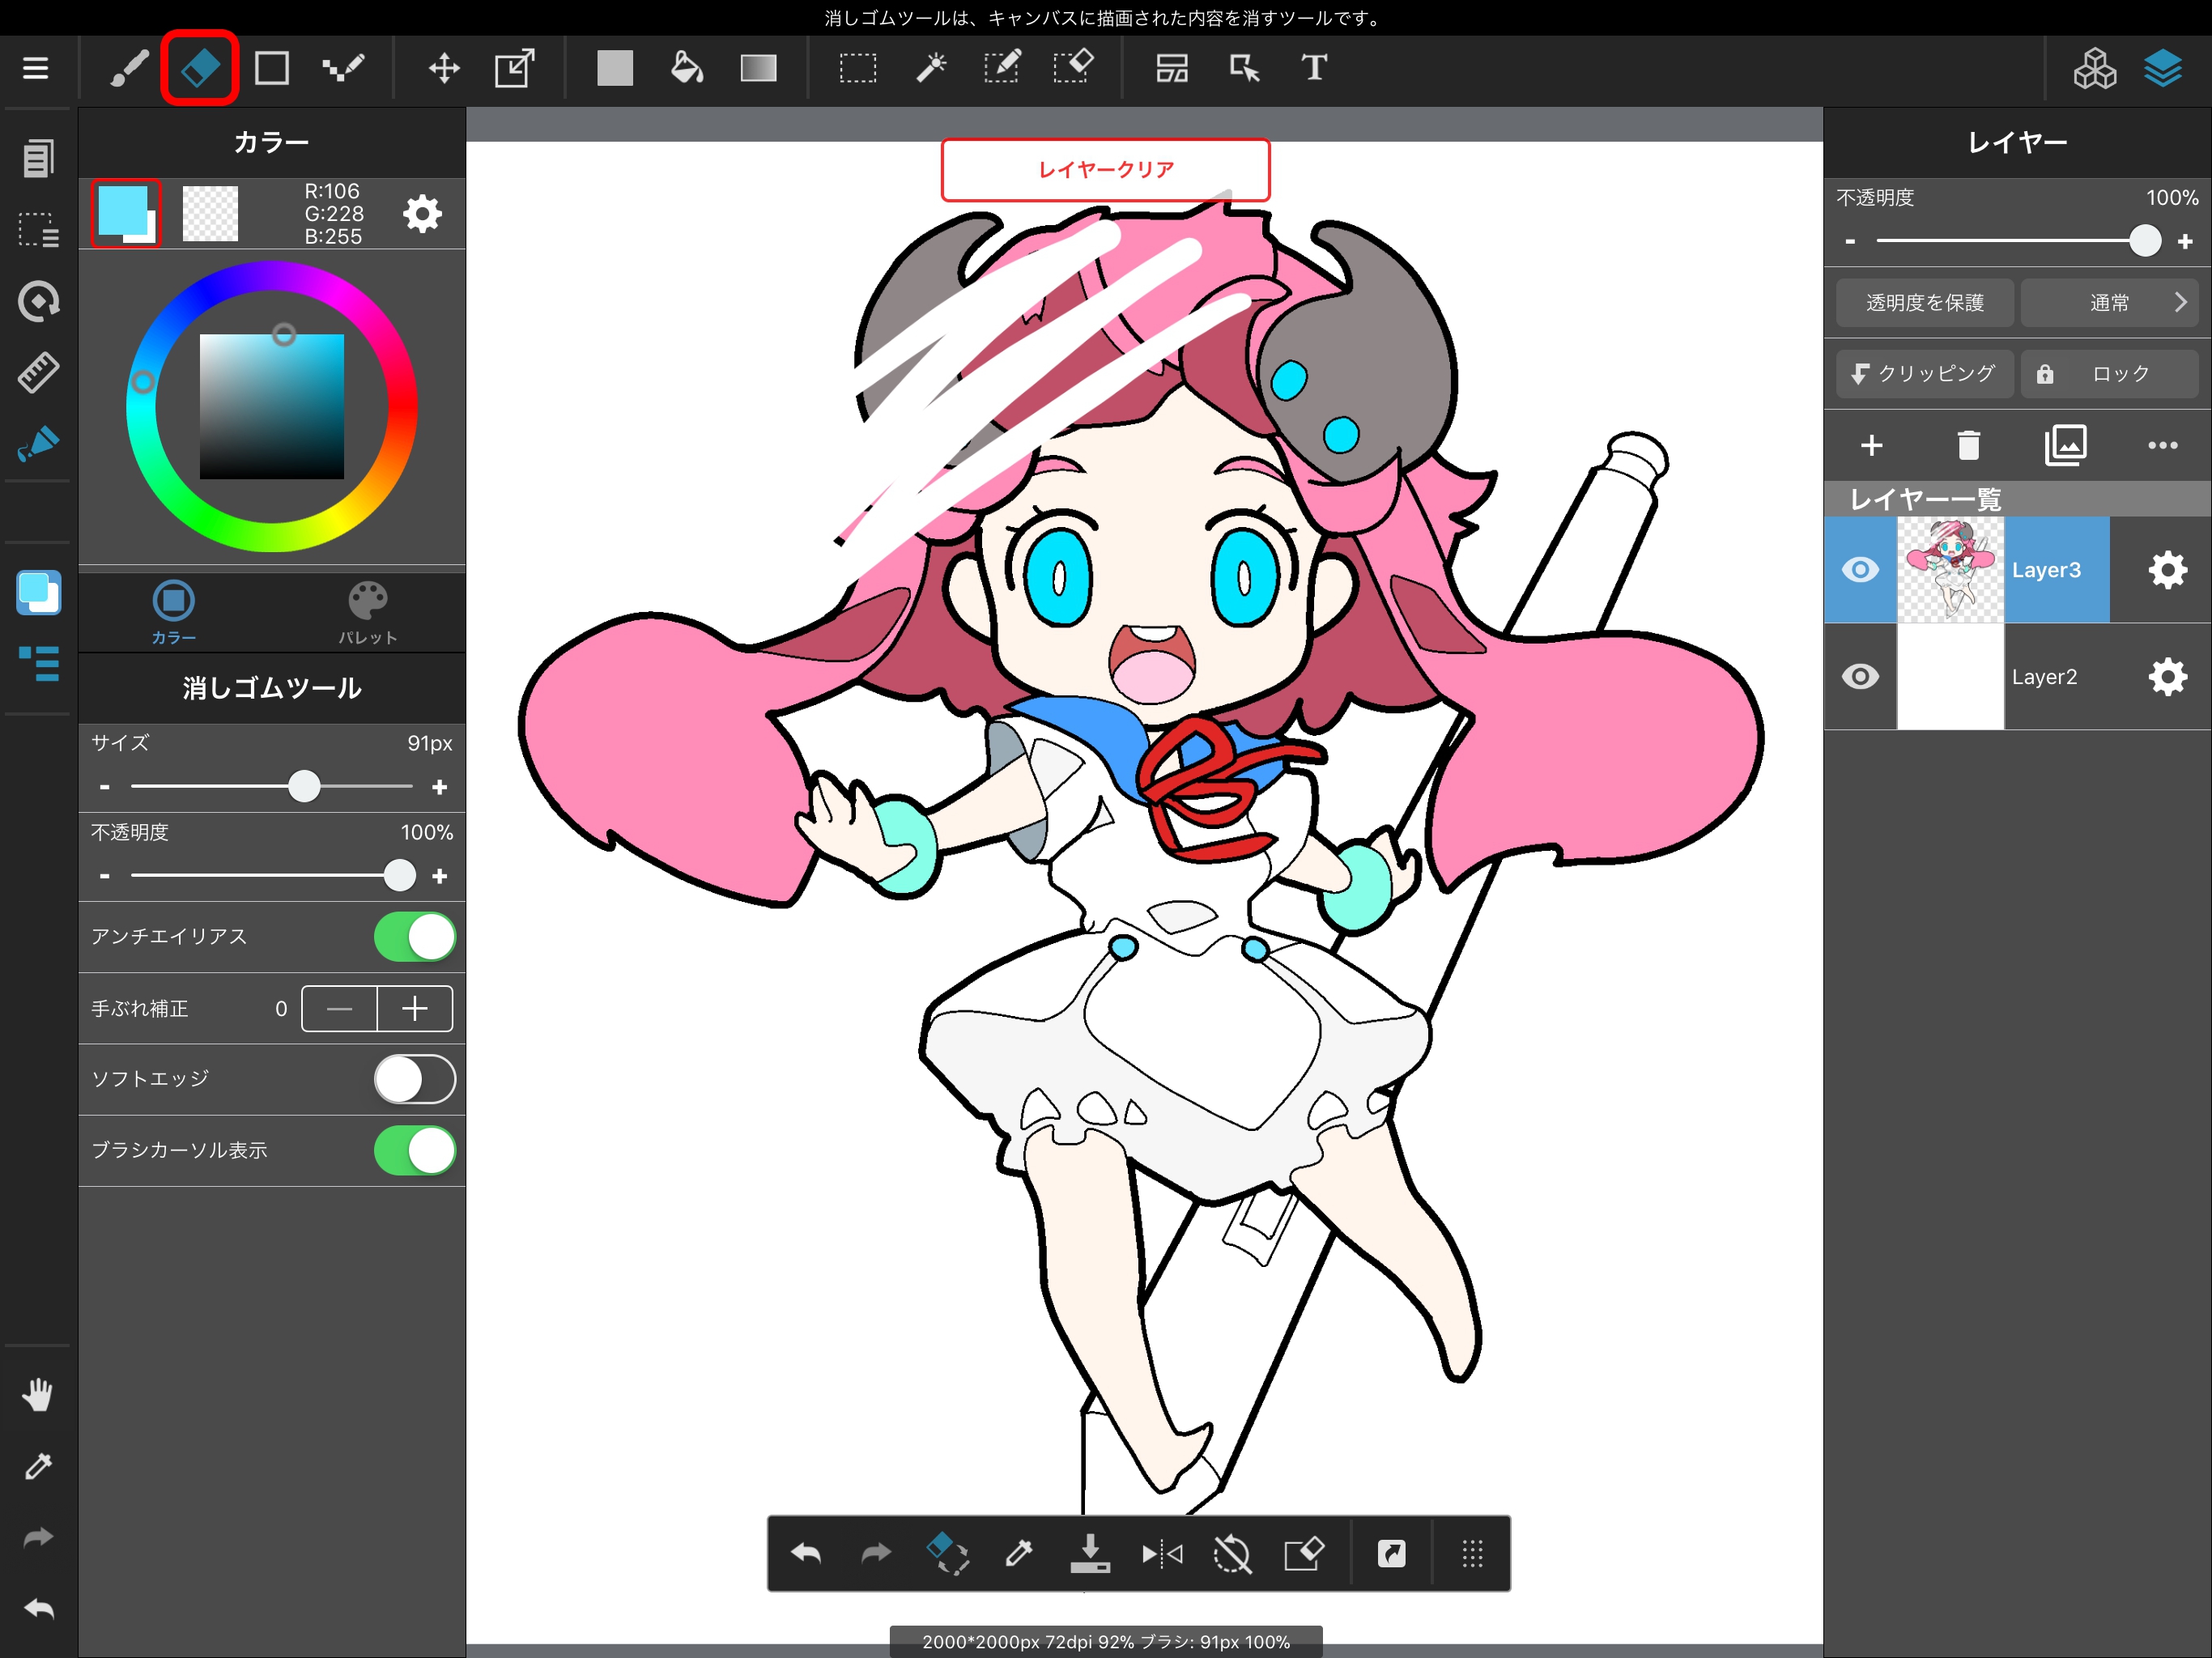
To erase something you’ve drawn, select the Eraser icon from the Toolbar.
You can configure the brush size and transparency of the Eraser just as with a Brush.

By tapping the icon outlined in red in the above image, you can easily change Brushes and Erasers.
讓你的創作更有特色
MediBang Paint全新服務,
MediBang Premium登場!
專用筆刷、素材無限使用、
MediBang
Paint全功能開放等,
我們準備了幫助創作的多樣特典。