The following is an explanation of MediBangPaint’s basic manga drawing functions.
The Manga Manuscript Guide refers to the lines that act as guides for making manga to be printed.
First, let’s open a new A5 canvas.
Once you have opened the canvas screen, open “Edit Menu” → “Canvas Settings” → “Comic Template Settings”.
Tap “Templates”, select “Doujinshi (A5 Size)” and press OK.

The sizes of the canvas and the guide lines do not match, so tap “Canvas Settings” → “Canvas Size” → “FIT TO MANGA GUIDE SIZE.” and press OK.
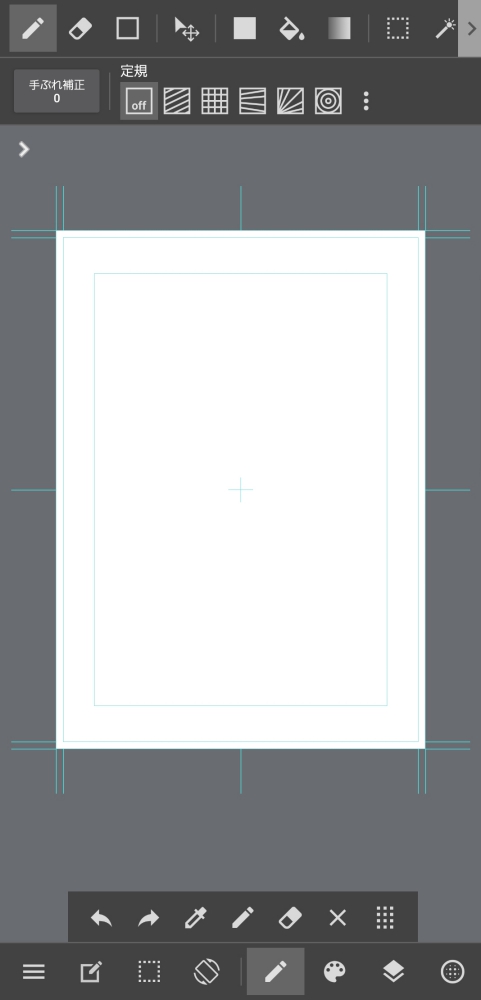
This gives us a canvas for a manga manuscript. The light blue lines are the manuscript guide.
Please see this article for more about guide lines.
By adding a check mark to “Spread/Cover Page” in “Comic Template Settings” you can create a guide for a center page spread.
Removing the check mark from “Use Manga Crop Marks” will hide the guide display.
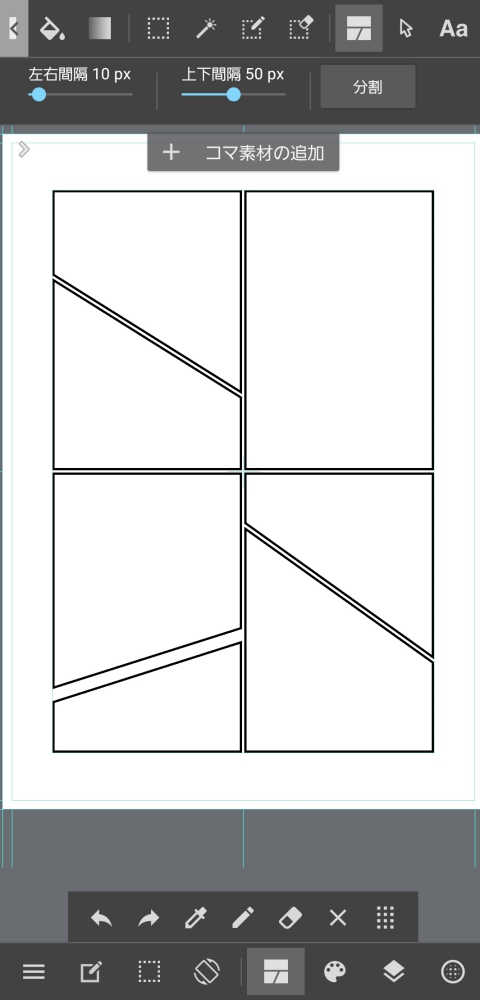
MediBangPaint allows you to easily set the panel layout needed for drawing manga.
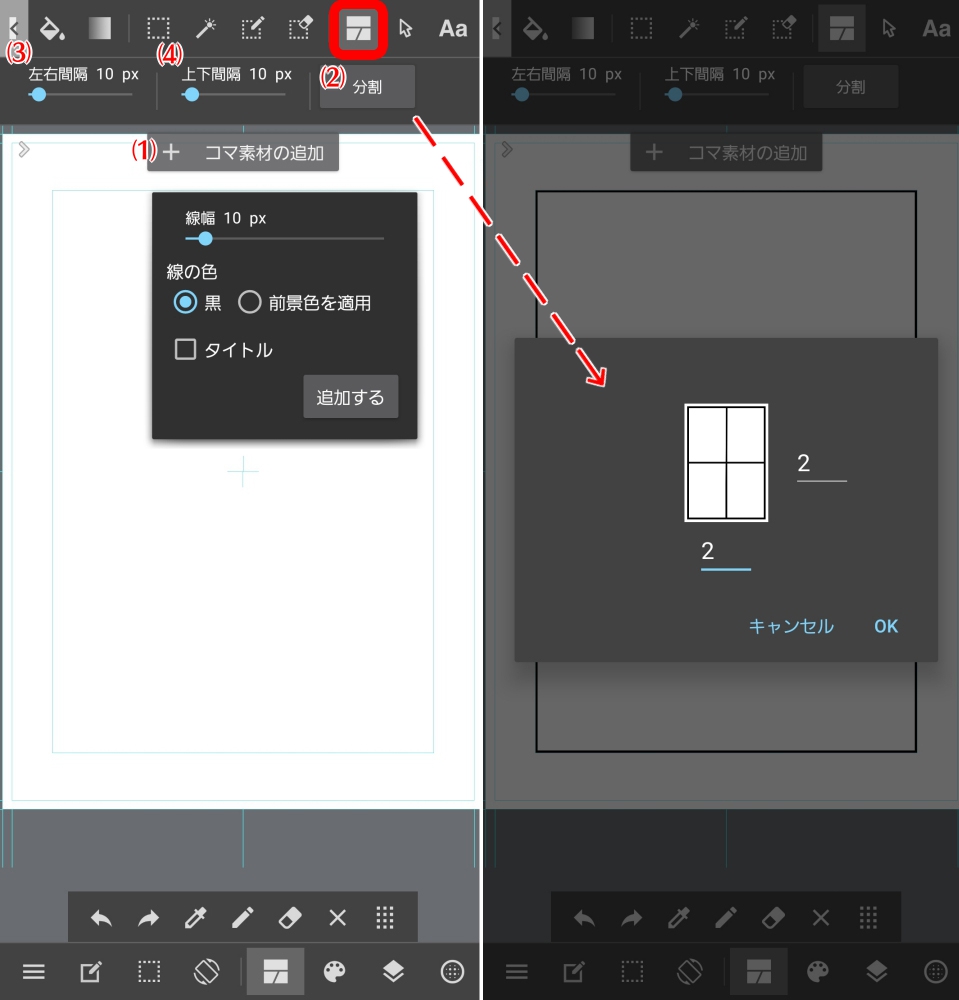

You can manually add angular divides to your panels. Tap to outer edge of the panel you would like to split, and drag the line in the direction you would like to make a divide in. Be sure to drag the line all the way out, otherwise it will not divide the panel.
The Operation Tool allows you to move and alter the shapes of panels.

Tapping a panel you would like to transform/move will select it.
Expanding/shrinking or transforming a panel can be done by moving your pointer on one of its lines.
Moving a panel can be done by tapping and dragging it.
MediBangPaint allows you to select materials for your panels such as tone, etc.
The following are the three types of material available.
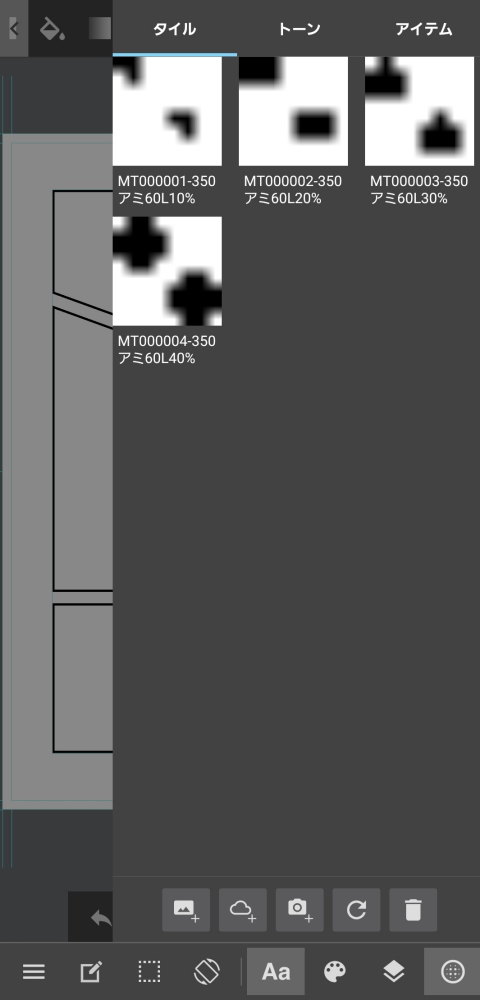
The Materials Menu is located on the bottom right of the canvas screen. Tapping tiles, tones, or items on the upper portion will bring you to a new tab.
This tutorial is working with no log in, which limits the number of downloadable materials.
To remove the limit on the number of downloadable materials, please make an account and log in.

Adding materials can be done through options (4) through (6) listed above. This explanation will cover downloading materials from the cloud.
Tap the cloud icon from (5) to move to the download page as seen below.
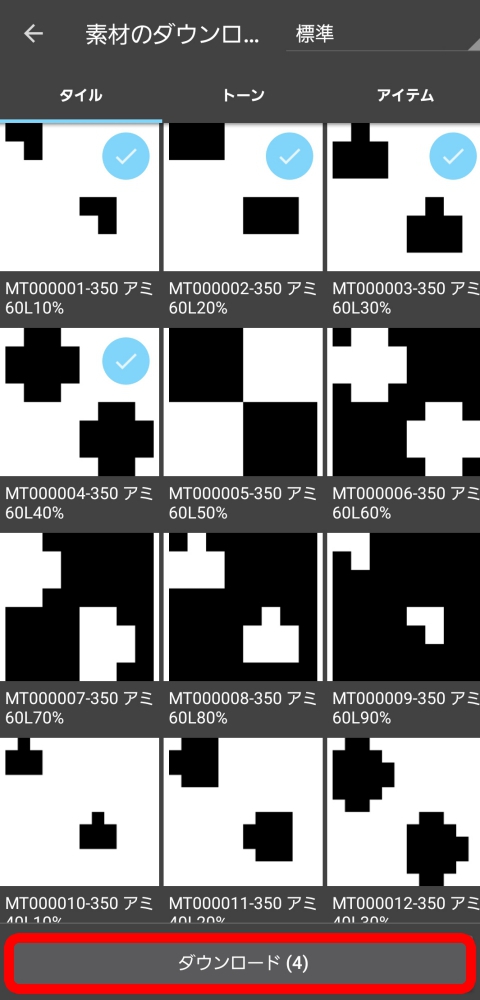
After selecting the materials you would like to download, tap “Download” to add them to your materials tab. When you want to delete a material from your tab, tap the garbage bin icon and then select the materials you would like to delete.
Once you’ve downloaded your materials, let’s give them a try.
First, add the layer you want to add your material to.
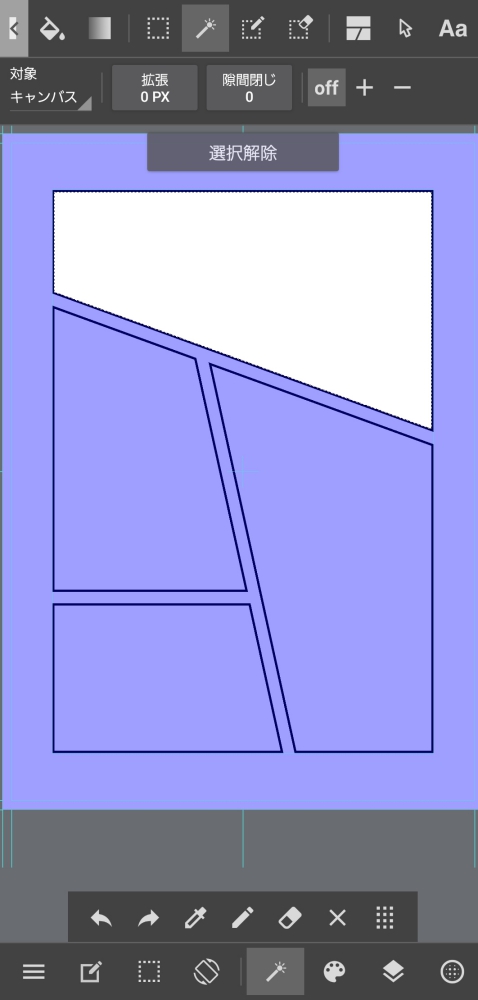
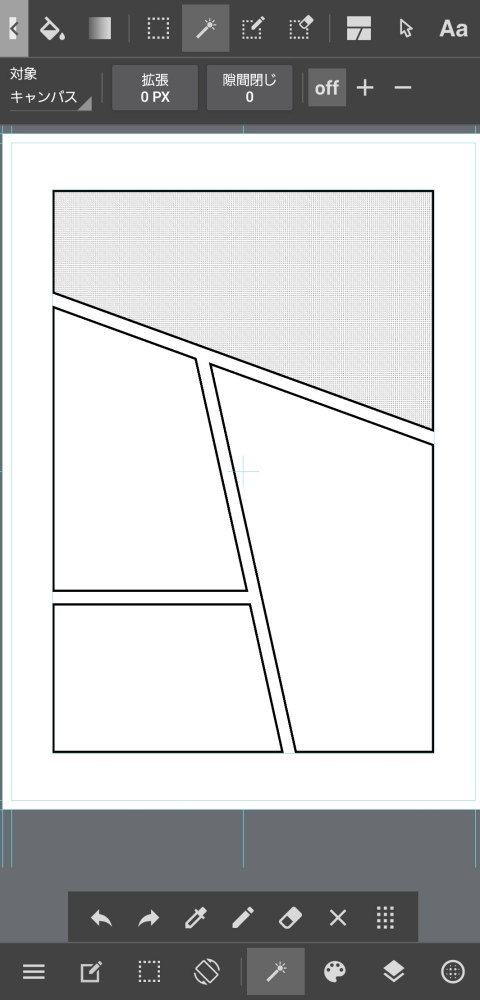
Next, select the panel you want to add your material tool with the Select Tool.
Here, open the Materials Menu, and tap the material you want to use. This will bring up the following screen.
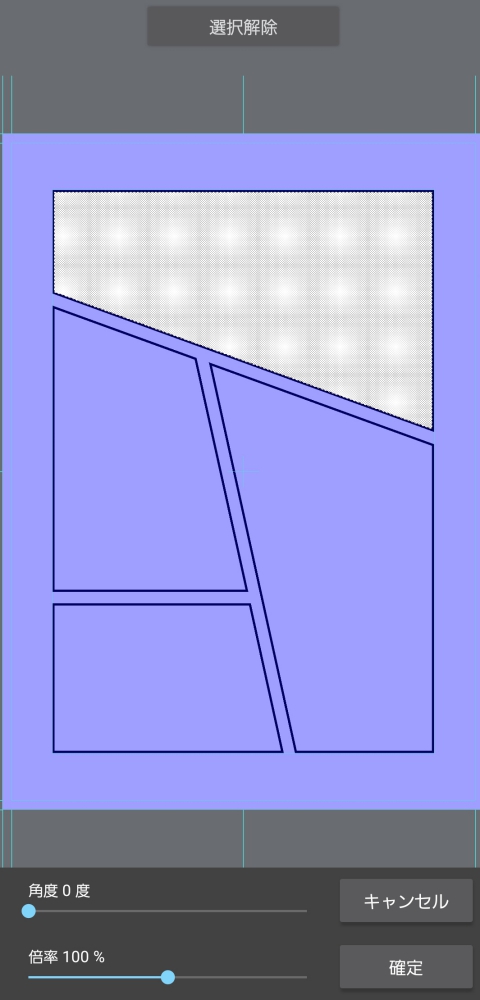
Here, you can adjust the angle and magnification of the material. After making your adjustments, tap confirm.
Release the selected range and you’re done. Adding materials after making a selected range allows you to add the material only where you specifically want it.
Using translucent colors when sharpening tone makes things more convenient.
See the Tone Sharpening article for details.
Rasterizing Materials…If you do not rasterize your panels or item materials, you will not be able to erase them with the eraser. By setting “Layer Menu” → “Layer Operations” → “Rasterize”, you will be able to draw or erase on them.
The Text Tool allows you to type letters on your canvas.
After selecting the Text Tool, tap the area on your canvas where you would like to place your text.
The following “Edit Text” dialogue will be displayed.
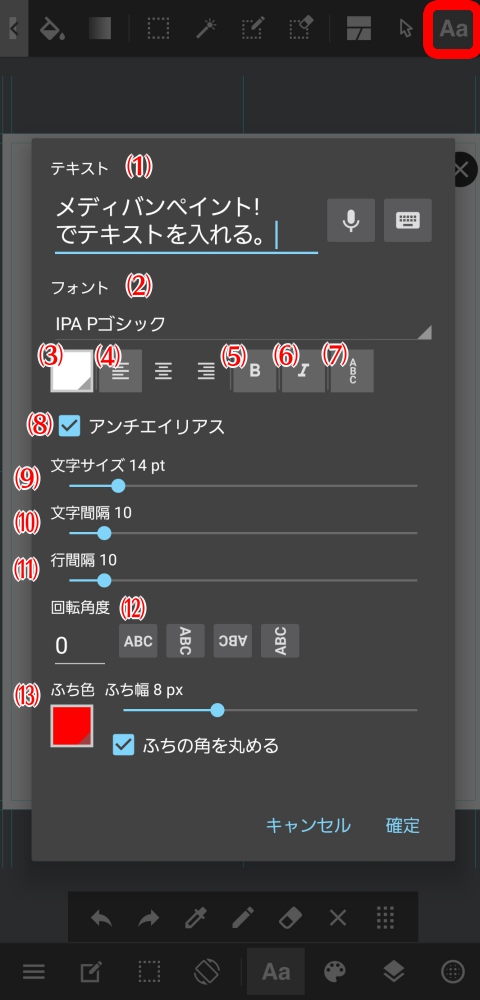
Once you’re done editing, tap “Confirm” on the bottom right.
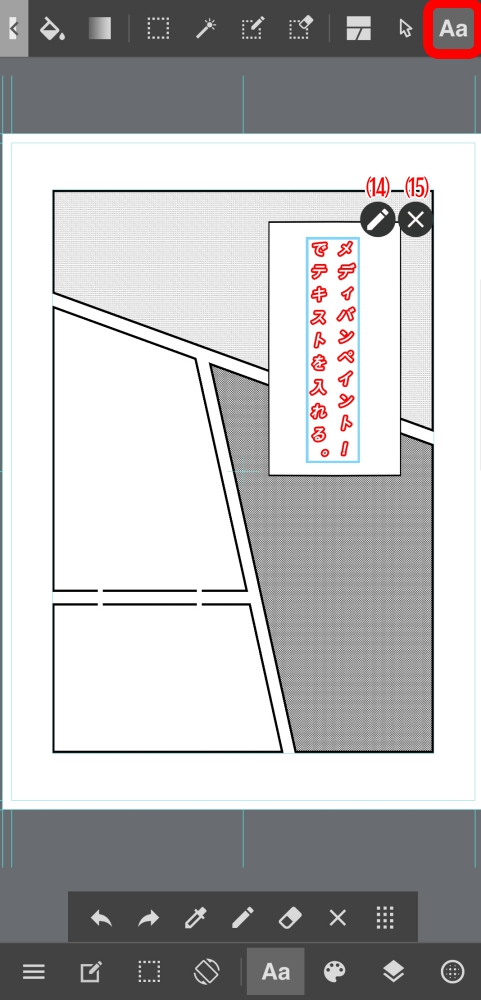
You can move the text by dragging as long as you have it selected with the Text Tool or the Move Tool.
When you want to make additional edits to your text, tap the pen icon at (14) or go to “Layer Menu” → “Text Layout Gear Icon”, which will bring up the text edit dialogue box.
Tap the icon at (15) to delete text.
Using the text tool will generate a “Text Layer”. You cannot draw on or transform it. While you can draw on it by turning on rasterization from the Layer Menu, you will no longer be able to make edits via the text dialogue box.
Lançamento do MediBang Premium com um novo serviço no MediBang Paint!
Uso ilimitado de pincéis e materiais exclusivos,
acesso total a todas as
funções do MediBang Paint e outros inúmeros benefícios disponíveis que o ajudarão nas suas atividades criativas!
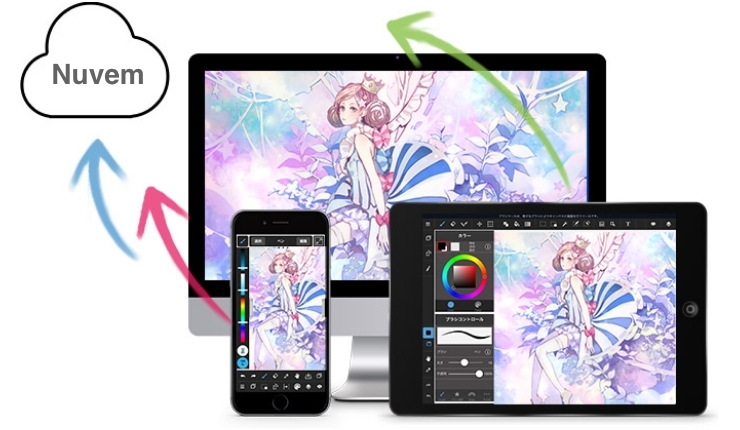
Saiba mais sobre as funções das nuvens disponíveis no MediBang Paint.

Aqui estão alguns exemplos específicos de como usar o MediBang Paint e o Manga Name para criar um projeto em equipe.
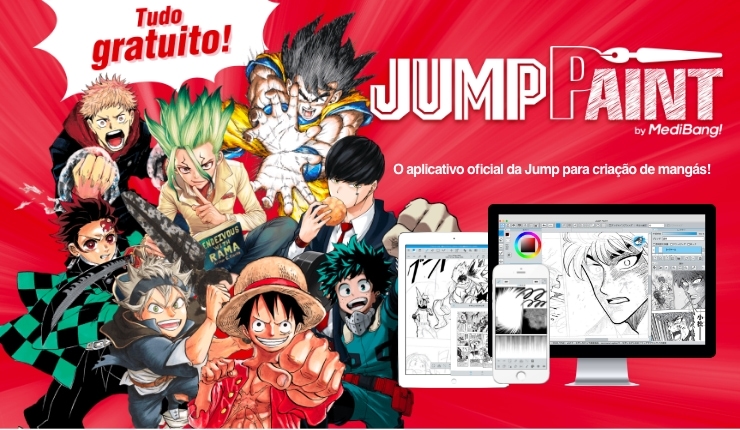
Introdução ao "JUMP PAINT", o software e aplicativo oficial de produção de mangá JUMP.