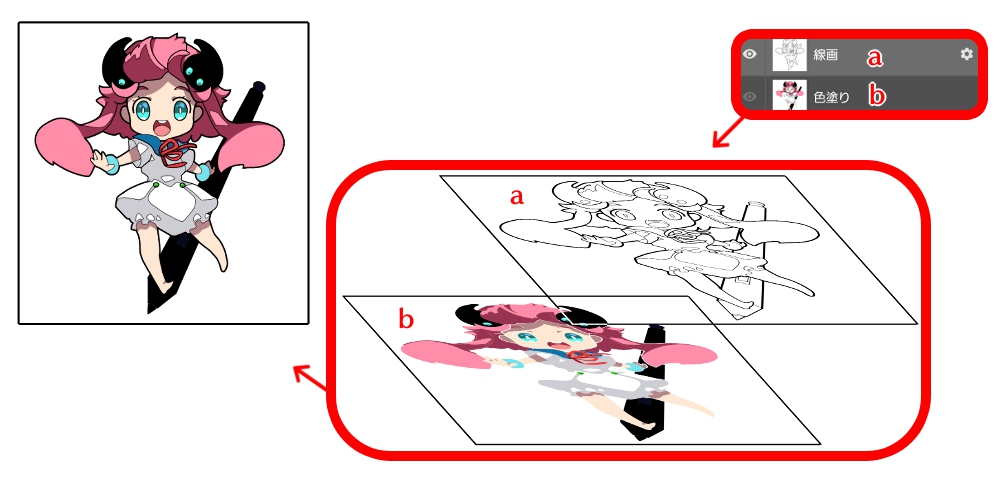
We will now move into an explanation of the “Layer” feature, which is only available on digital mediums.
“Layer” refers to a feature that allows you to paint one portion of a picture at a time, like layering clear film over it.
For example, by separating your image into “line” and “color” layers, you can erase just the colors if you make a mistake, and leave the lines in place.
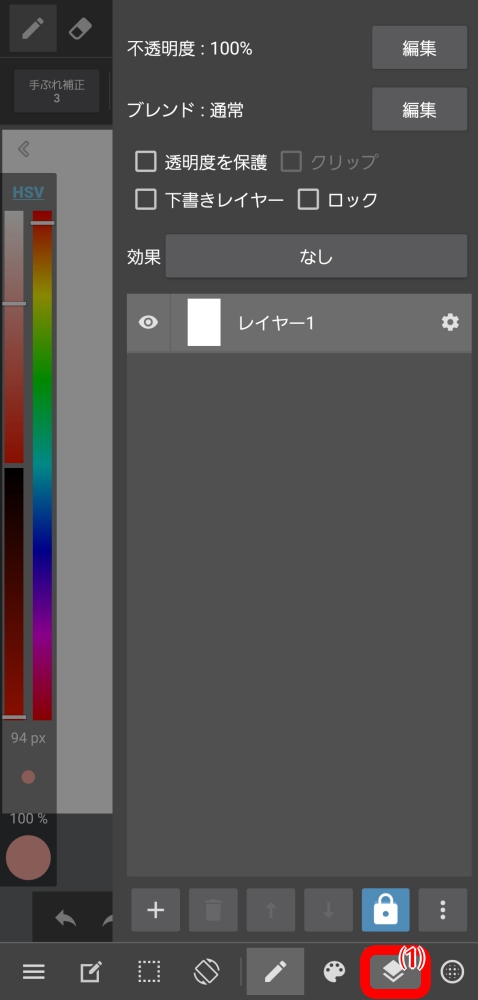
The layer menu will appear when you tap the icon (1) located on the bottom right of your canvas.
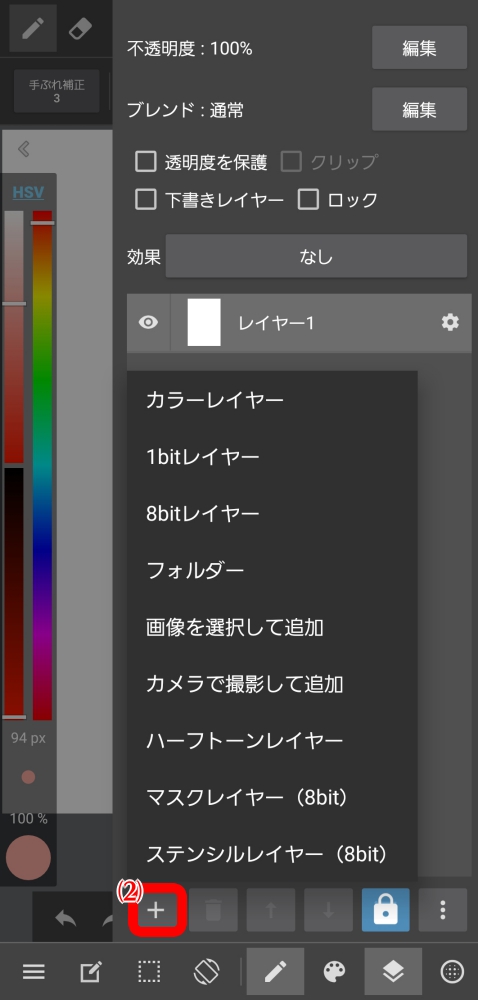
First, let’s try adding a new layer.
Tapping the icon (2) on the lower left of the layer menu will let you add a layer.
*Please see the following for other, special types of layers.
【Android】Half Tone Layer
【Android】Mask Layer
【Android】Stencil Layer
For now, we will tap and add a Color Layer.
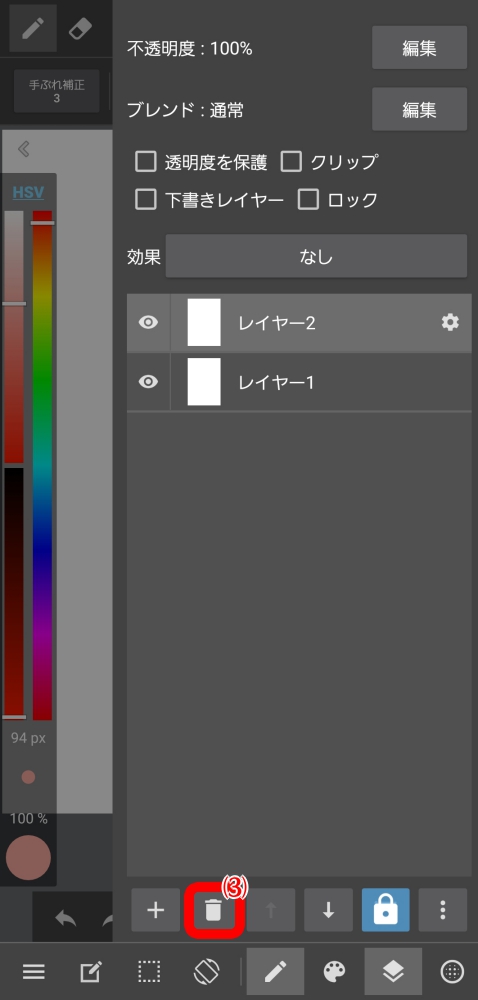
As shown in the image above, we have added “Layer 2”.
New layers are added on top of the layer we currently have selected.
When you want to delete a layer, tap the garbage bin icon (3) next to the add icon.
By adding a check mark to “Draft Layer”, a draft layer will be added to your current layer. A draft layer has the following characteristics.
Let’s try our hands at painting each part in its own layer. For now, we have separated ours into line and color layers.
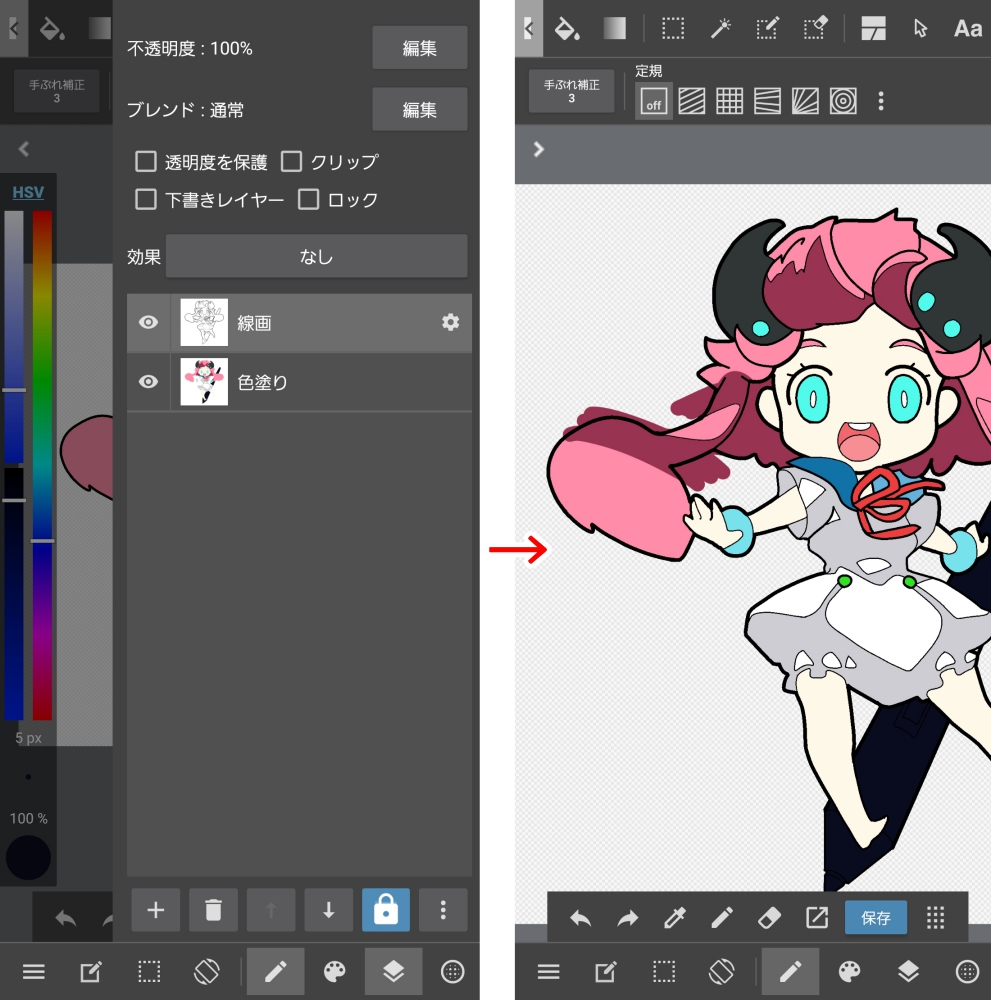
We will select the color layer, and begin adding color.
Let’s try erasing and coloring outside of the lines.
You should be able to confirm that it has no effect on the layer above it, which is not selected.
By separating each part into layers, you will work more efficiently, and create more detailed paintings.
Next we will look at the layer menu.
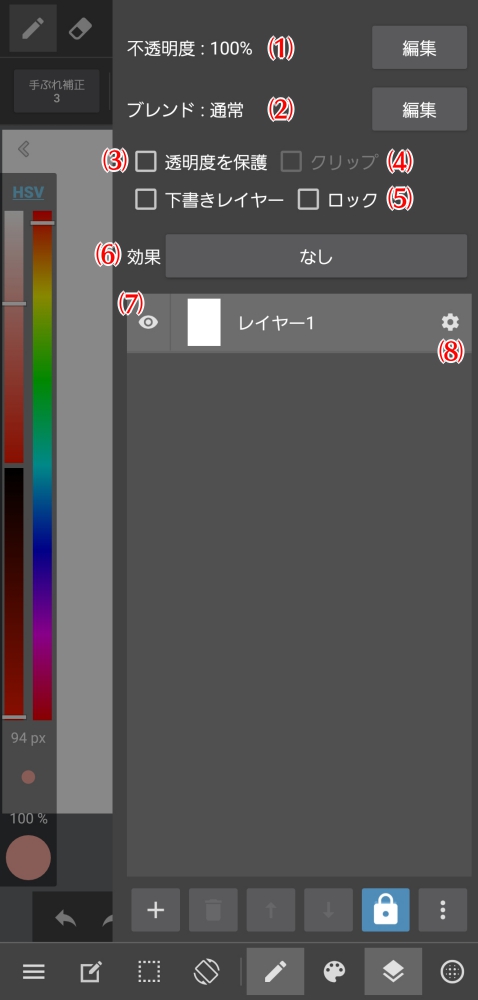
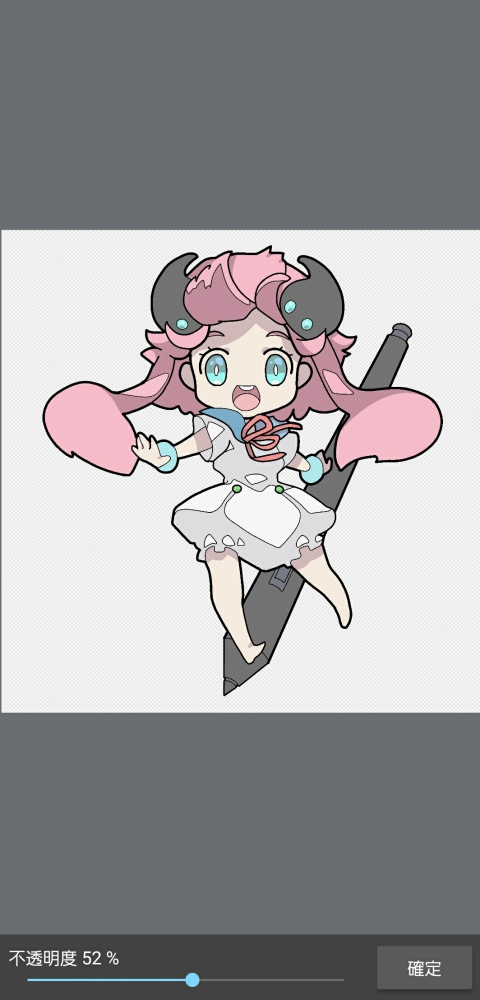
You can alter the translucency of the layer you have selected.
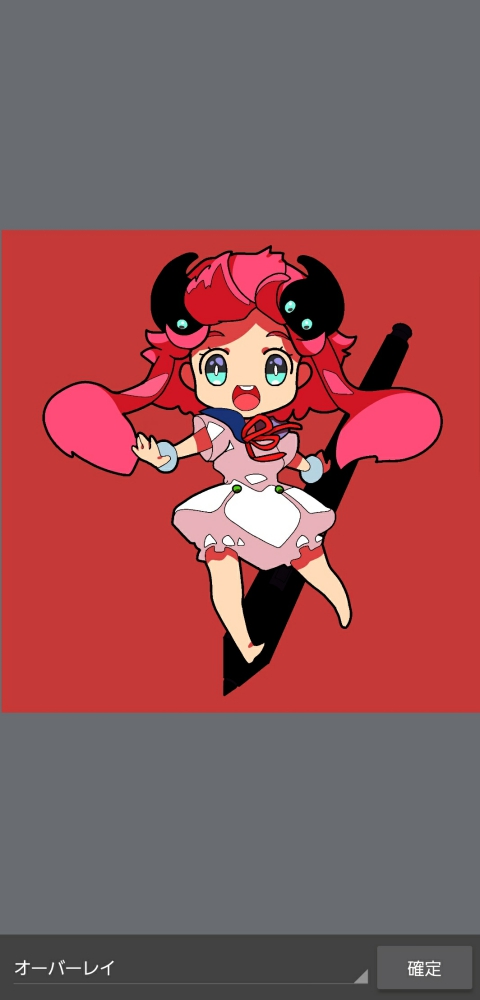
You can alter the how the layer you have selected blends.
Please see here for all layer effects.
The translucent portion of your image will be protected, allowing only the portions with an image to be altered. See here for details.
You will only be able to paint within the bounds of the image painted on let set one level below your current layer. See here for details.
A locked layer can no longer be painted on or altered.
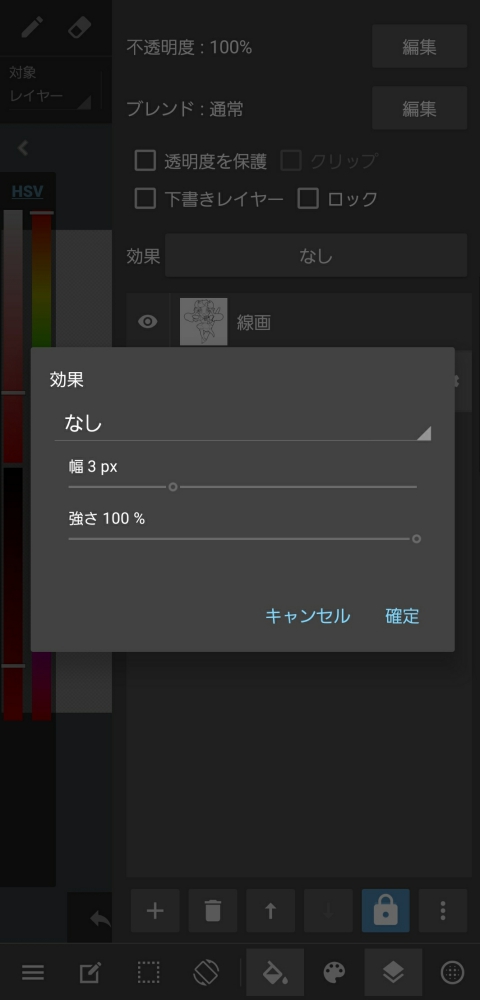
This setting is only for color layers. It will allow you to add two types of water color boundary effects to the layer. See here for details.
Here you can set layers to Display/Hidden.
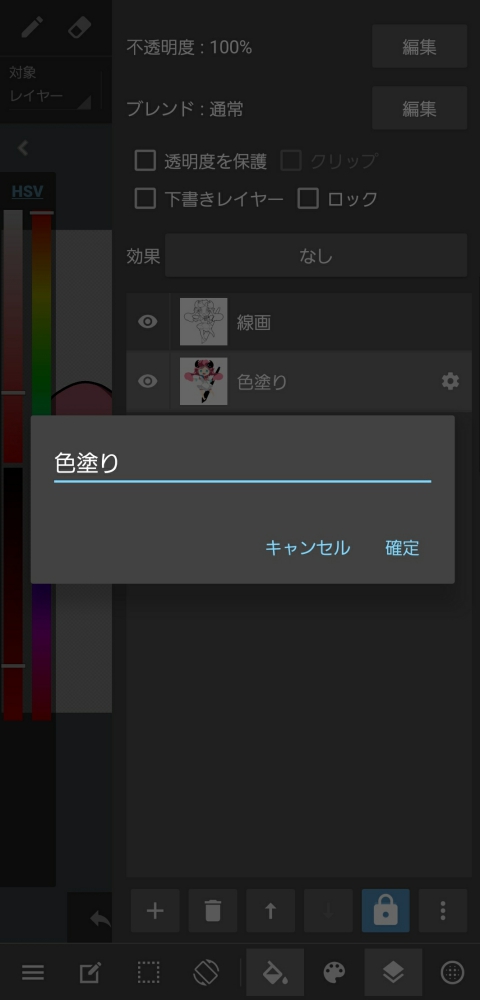
Here you can alter the name, etc, of your layers.
When you want to move a layer, you can either use the “Transfer Button” or move it with your finger or stylus.
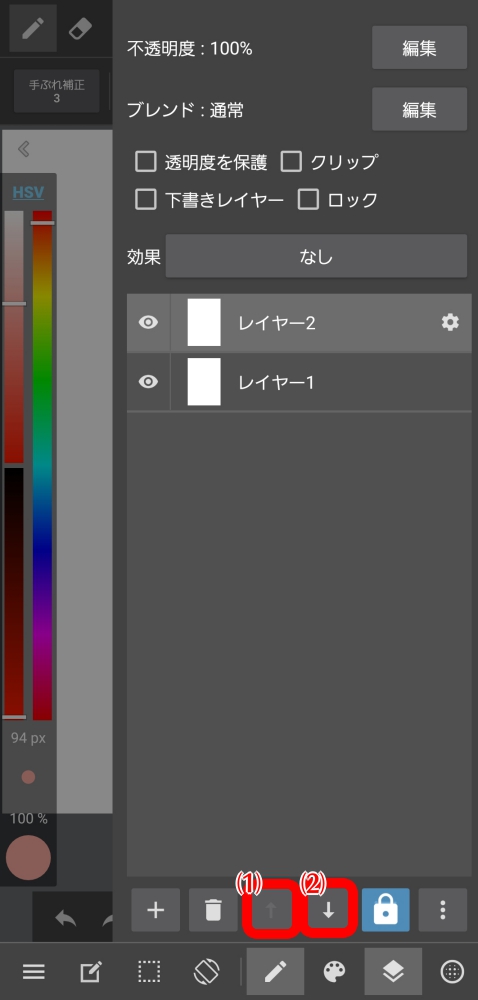
The up and down arrow buttons (1) (2) at the center of the layer menu are the layer transfer buttons.
If you want to add a layer to a folder, press the arrow buttons until the layer reaches the folder and it will automatically be added to the folder. This is the same as when you want to take it out of a folder; move it with the arrow buttons until it is outside of the folder, and it will automatically be moved.
Layers are stacked from bottom to top, which causes portions of a layer underneath a non-transparent area to disappear.
Try altering the order of your layers to see what happens.
To move a layer with your finger or stylus, tap the thumbnail of the layer, and drag it up or down while pressing down on it.
Moving a layer to a folder can be done with your finger or stylus by moving the layer so that its thumbnail overlaps with that of the folder and letting it go.
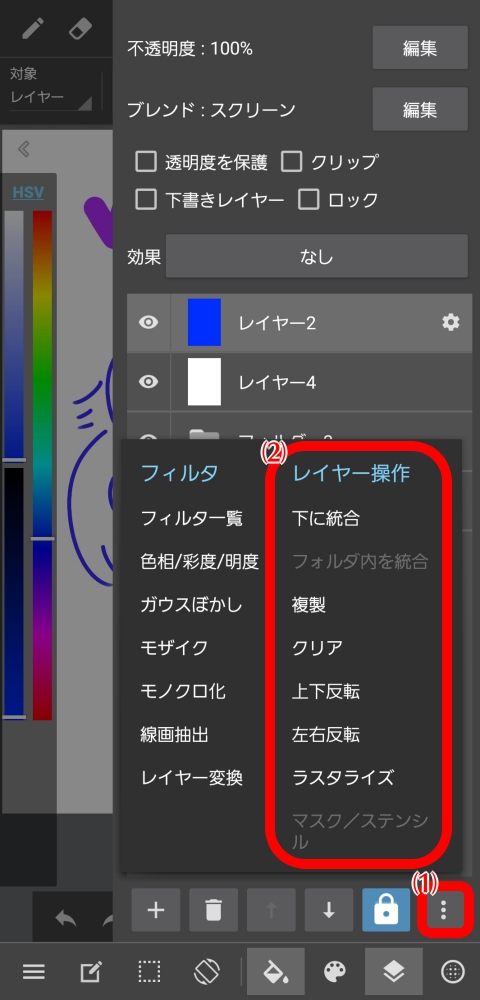
Tapping the menu icon on the bottom right of the layer menu (1) will bring you to “Layer Controls”.
