2015.03.31
(3) Using Tools

Index
Basic Tool
(4) Creating Manga Panels
(5) Apply Manga Materials
(6) Transform, Rotation (Flip)
1. Transform (Enlarge/Reduce in Size)
2. Rotate Canvas (Flip)
3. Rotate Layers (Flip)
4. Rotate function inside the Navigator(Flip)
(7) Snap
(8) Undo, Redo
(4)Creating Manga Panels
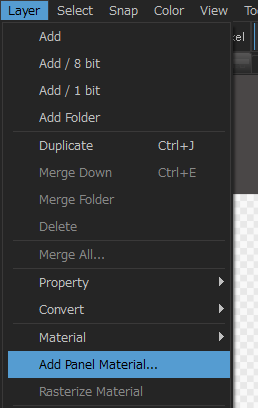
By clicking on “Add Panel Material”, you will be able to make comic panels.
1On menu, click “Layer” – “Add Panel Material”.
2You will see the “Panel Property” window and enter a value then click OK.
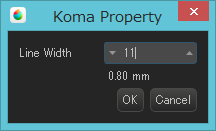
The number written in mm(millimeter) in the middle of Panel Property window is the actual thickness of the panel line.
3After you click “OK” to finish it, you will see a comic panel on the canvas.
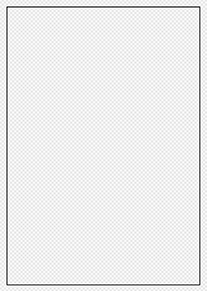
To divide the comic panel, use Divide Tool which was explained in the previous chapter.
Applied Knowledge
Generally speaking, you cannot erase Panel Material.
The only way to erase part of a Panel Material. You need to go to the Menu and click ‘Layer’ – ‘Rasterize Material’.
After you rasterize it, you will be able to use the Eraser Tool to erase some part of the panel.
(But, once you have done this, you won’t be able to use the Operation Tool to edit things inside the canvas)
※About Rasterizing
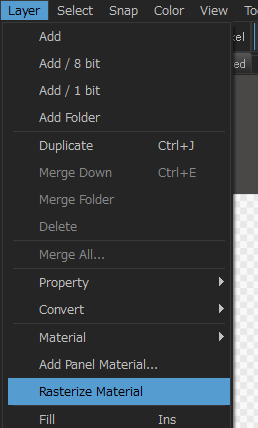
As stated before after inserting Panel Material or Objects onto the canvas you can’t erase them or draw on them until you Rasterize them.
Go to ‘Layer’ – ‘Material Rasterize’
Then the toolbar near the panel will have disappeared. You will then be able to draw on or erase the object.
Before rasterizing items like panels are called Objects. In the 「Layer Window」 layers with objects on them will have 「@#」after the Layer name. (# = the number of Objects currently on that layer).
![]()
Other than Panel Material, any materials listed in ‘item’ of the material panel are objects, so if you would like to edit materials in the ‘Item’ menu, rasterization will be required.
For example, for speech material, you won’t be able to enter text in the word balloon if it hasn’t been rasterized.
※If you save as PNG, JPEG, Bitmap or PSD format, objects will be rasterized automatically.
(5)Apply Manga Materials
In the material window, you are able to select manga materials(screentones, backgrounds etc.) and to paste them on canvas.
There are 3 types materials ‘Tile’, ‘Tone’ and ‘Item’ and you can use them like when you putting stickers on papers.
【Material】
| Tile | These materials are patterns. Dotted material(screentone) that is applied on shadows of characters or things is all included in this. |
|---|---|
| Tone | Materials similar to screentone(a term used in comics) are listed here. Also, materials for background are included in this. |
| Item | Materials such as speech bubbles are included here. You need to rasterize these items if you want to add text to them. |
1Click on the button located in the right-top corner of the canvas to open the material window.
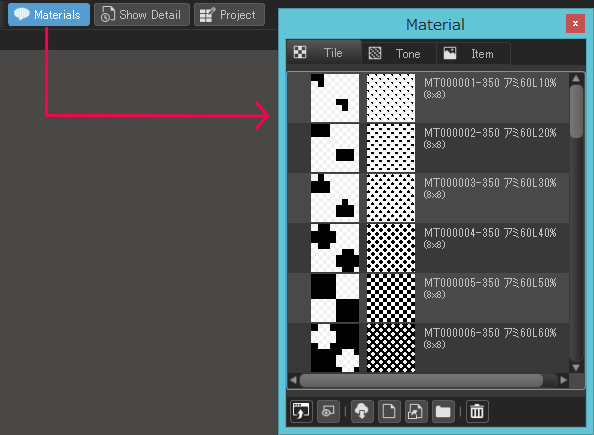
2Materials Window explanation.
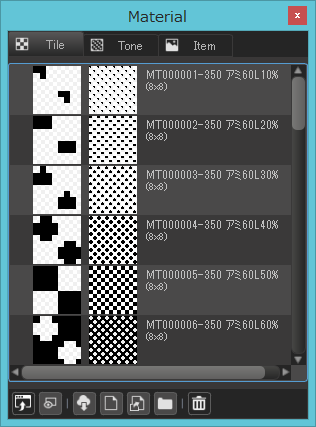
If you click the [Tile] , [Tone], or [Item] tabs a list of Materials will be displayed below. The icons on the bottom of the window have various functions.
![]() …Cloud lets you download more Materials made by MediBang Paint.
…Cloud lets you download more Materials made by MediBang Paint.
![]() …The Open icon lets you open your local files and import a file you created yourself into the Materials panel.
…The Open icon lets you open your local files and import a file you created yourself into the Materials panel.
![]() …Create a Group lets you make groups so you can organize Items in your Materials panel.
…Create a Group lets you make groups so you can organize Items in your Materials panel.
![]() …The Trash Can lets you delete Materials.
…The Trash Can lets you delete Materials.
Once you click it a new window will open and allow you to choose which Materials you want to download.
3Inserting Materials
①Select a material you would like to select and drag & drop it to on to the canvas.
② Then you will see the bottom of the canvas, here you can modify the angle, zoom in, and you can even click on the space where the palm is located and drag it around to move the tone.
③ Click on ‘OK’ in the ‘Paste Material’ window to paste the material on the canvas.
(6)Transform, Rotation (Flip)
Now we will explain how to rotate, transform and resize things.
1Transform (Enlarge/Reduce in Size) drawings on layer
To enlarge/reduce drawings on layer, go to the menu bar and click on ‘Select’ – ‘Transform’.
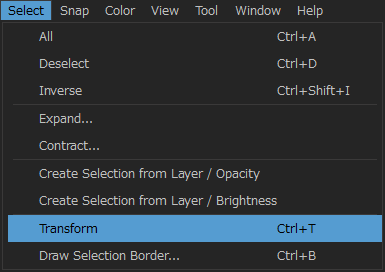
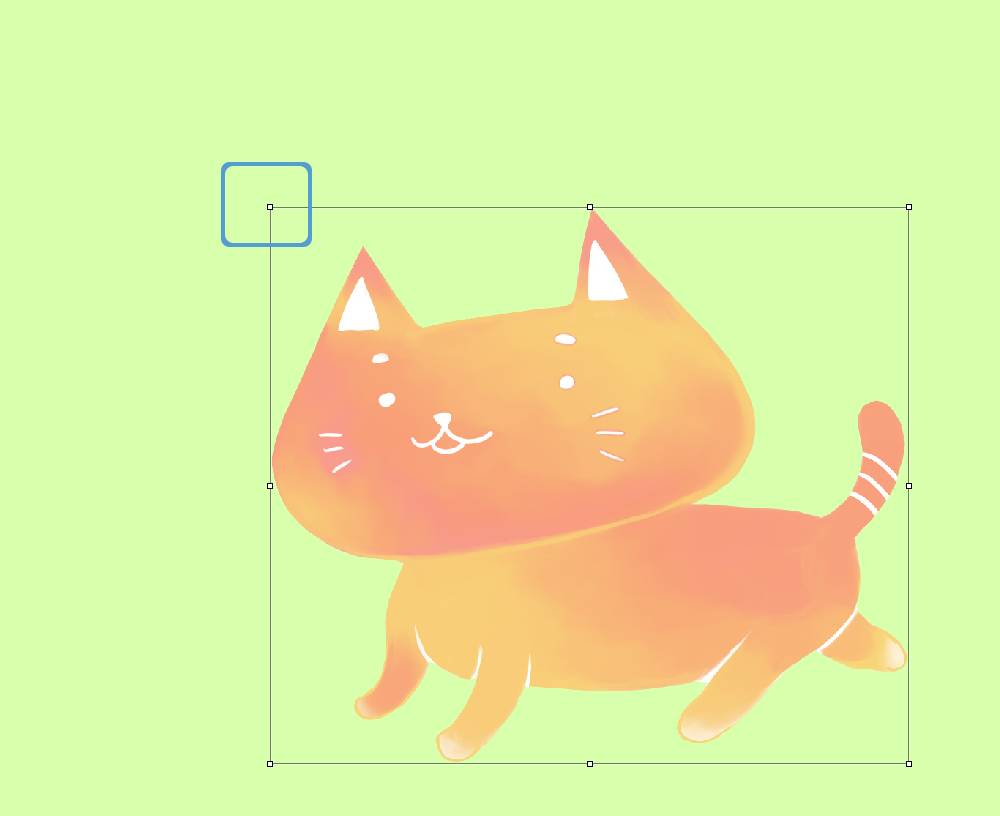
You will see a frame around the selected item.
If you click and drag the □ mark, you can ‘enlarge’ or ‘reduce’ in size or ‘Rotate’ or ‘Transform’ with it.
If you finished editing, click on ‘OK’ button displayed in the bottom of the canvas to finish.
![]()
2Rotate Canvas (Flip)
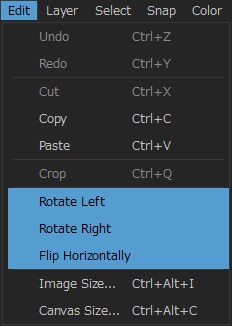
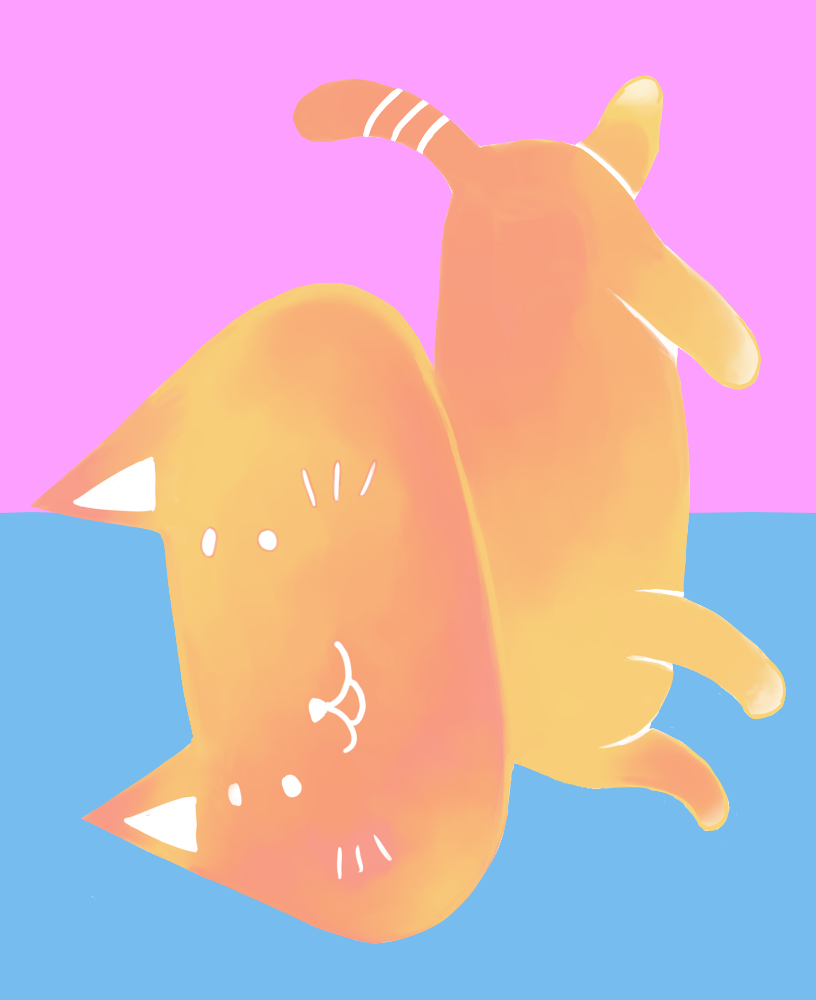
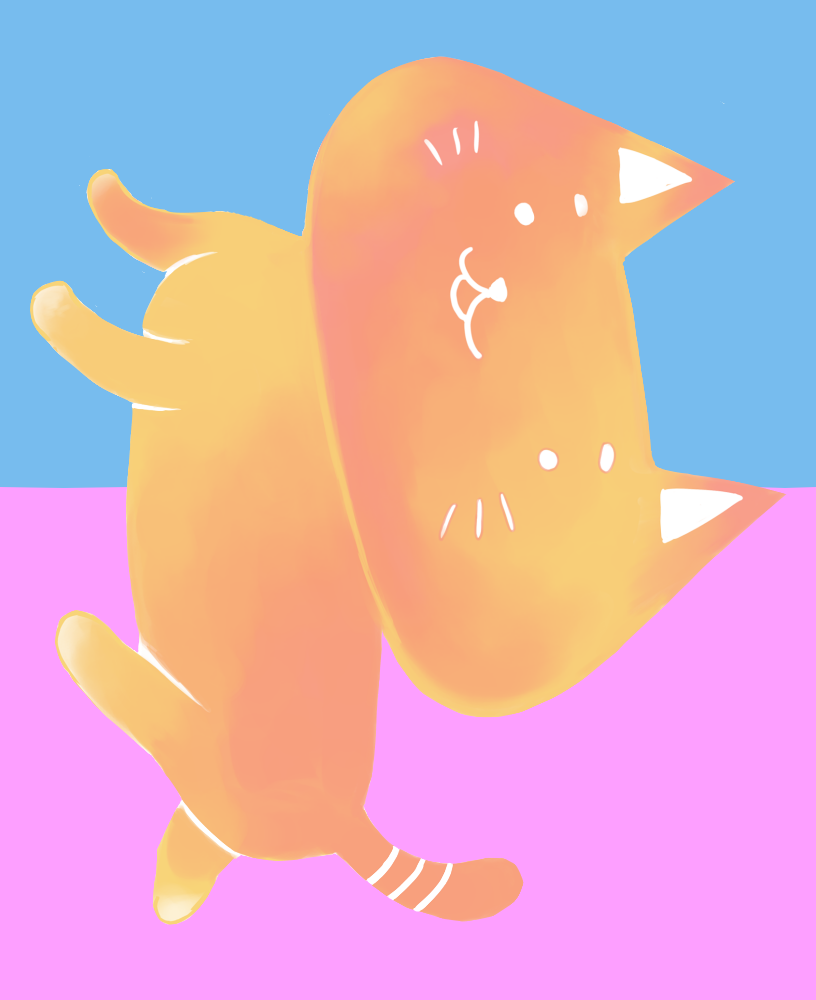
When you would like to rotate or flip the entire canvas but not layers, go to the menu and click ‘Edit’ and select the direction you want to rotate in. The canvas will rotate 90 degrees in the direction you choose.
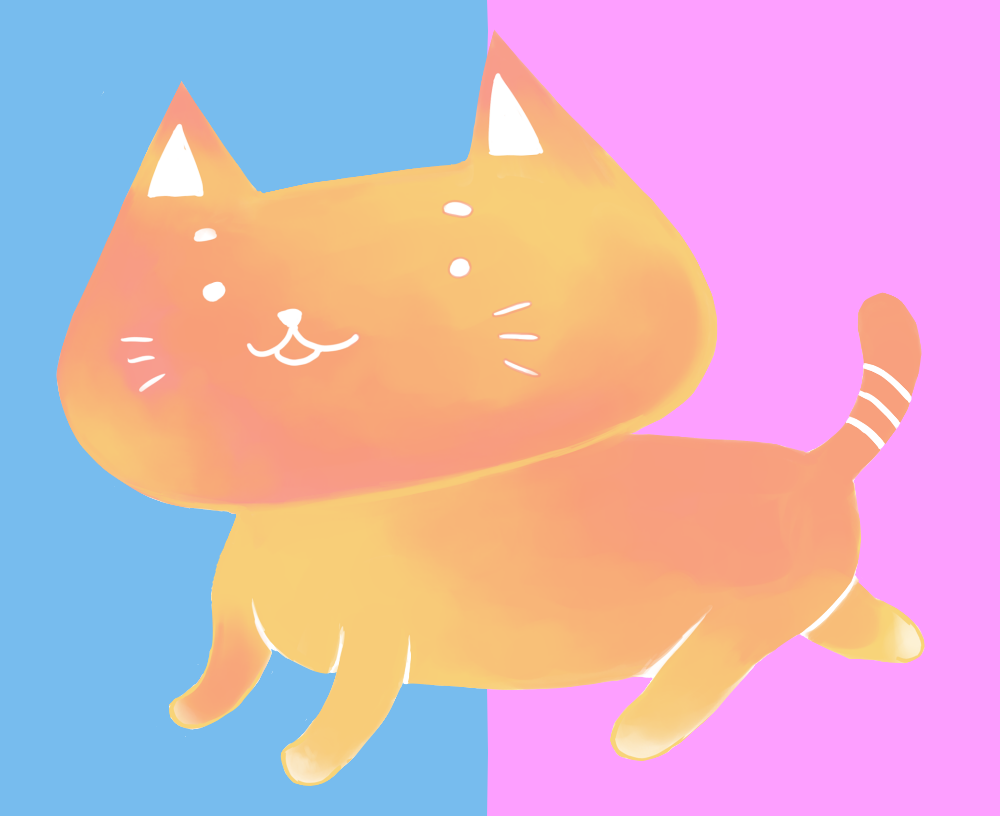
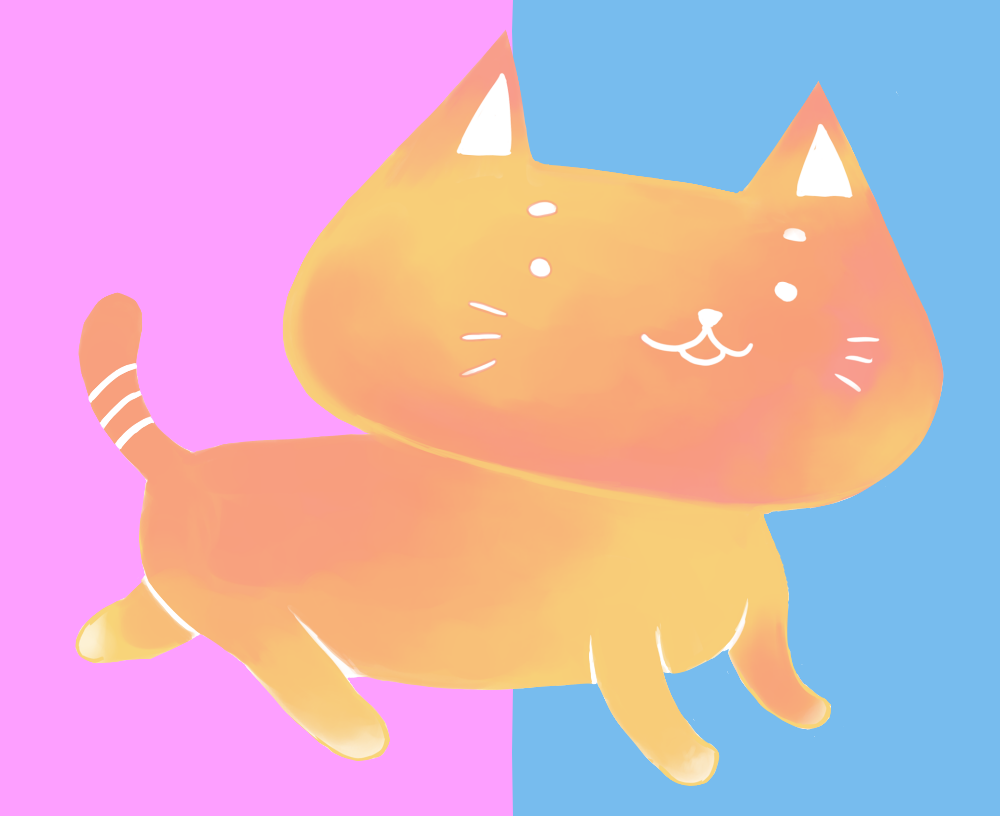
We will use this picture as an example to show Rotation and Flip.
 |
 |
Rotate Left
 |
 |
Rotate Right
 |
 |
Flip Horizontally
 |
 |
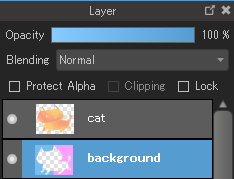
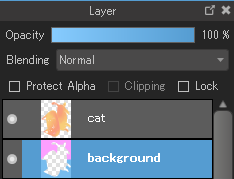
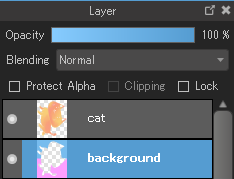
3Rotation on a specific layer
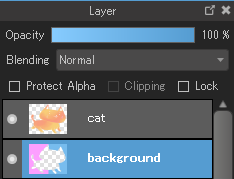
Select the layer you want to rotate and go to the menu and click on ‘Layer’ – ‘Rotation’ and select a rotation method of your choice.
In this example, the layer with the cat on it will be rotated.
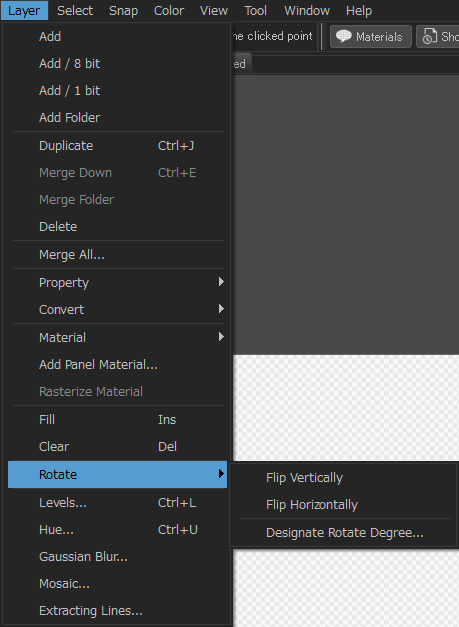
Flip Vertically
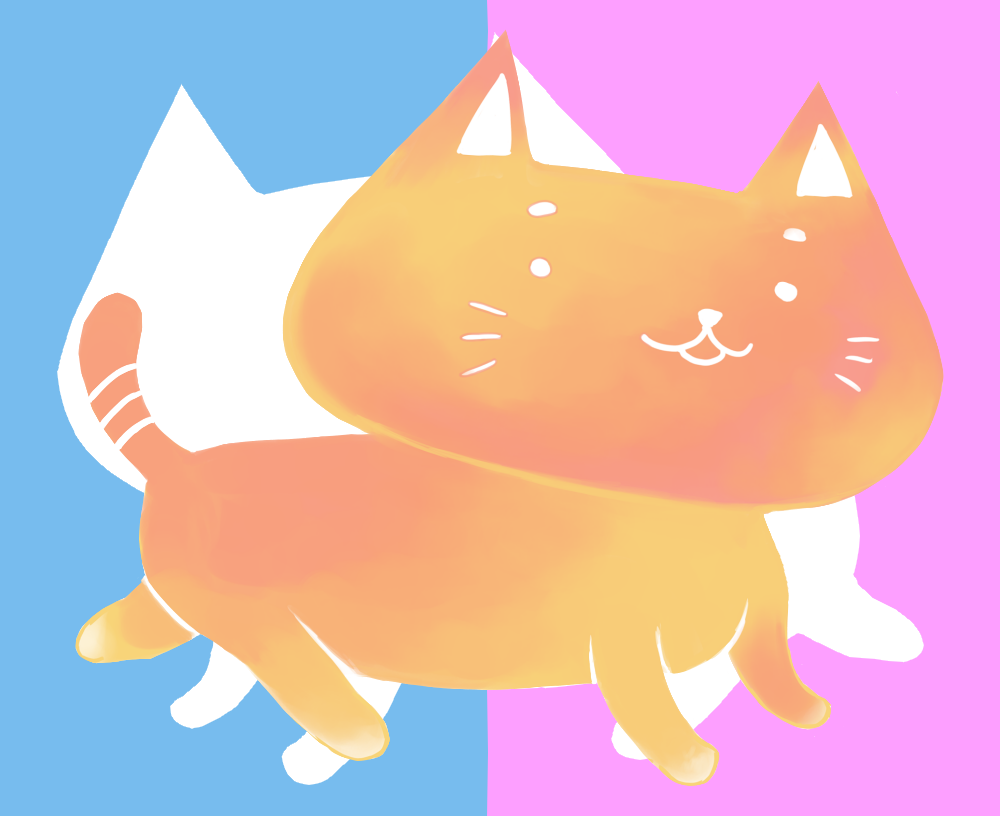 |
In this case only the thing on the layer you selected will be rotated. |
Horizontal Flip
 |
Designate angle of rotation
 |
You can enter any angle for rotation. Here, the layer has been rotated 35 degrees. |
Rotating with the Navigator(Flip)
You can use the Navigator to temporarily rotate an image. This is mainly used to change the canvas to an angle that makes it easier to draw in certain situations.
This only changes how your image is displayed. If you save your file the canvas won’t actually be rotated.
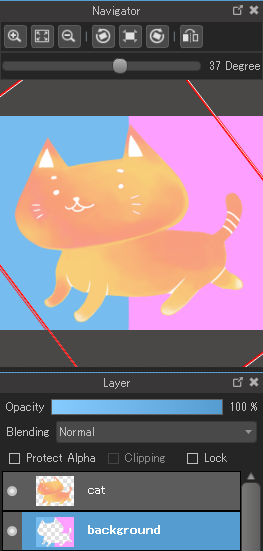
The red frame(the diagonal frame in the picture) displayed in the navigator window preview shows how it the canvas is displayed on the main screen. Only the way it is displayed is changed, there will be no influences to the actual layer.
(7)Snap
Snap is a function that creates guides for drawing lines. In MediBang Paint, there are 6 types of Snaps.
Snap is located in the top of the screen above brush tools.

![]()
①Snap off… turn off snap(Hide)
②Parallel Snap… draw parallel lines.
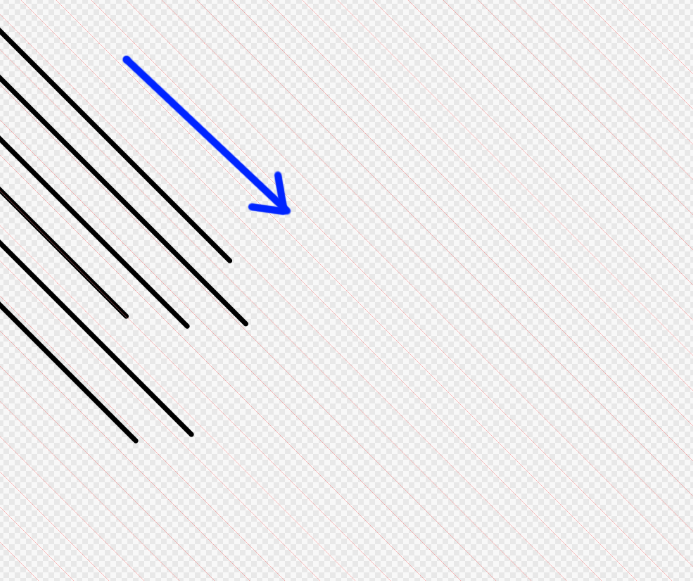
③Crisscross Snap… You can draw lines in cross.
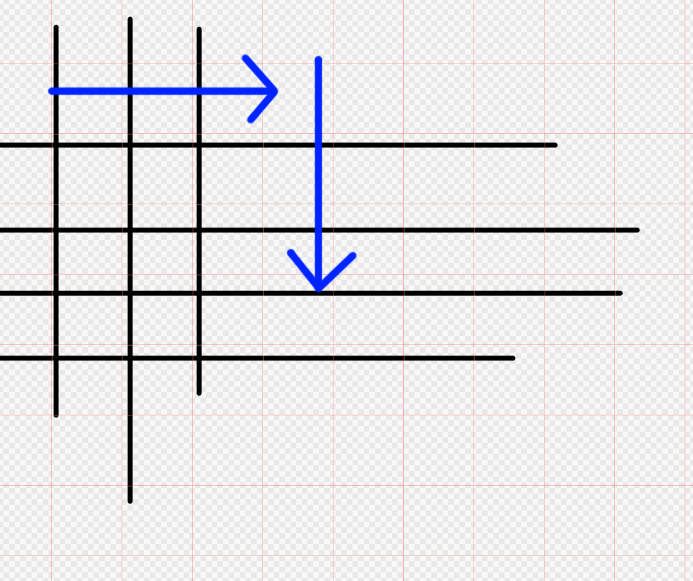
④Vanishing Point Snap… If you make two diagonal lines this Snap will makes a series of guides that in radial manner. This is useful for drawing backgrounds and giving a picture a sense of depth.
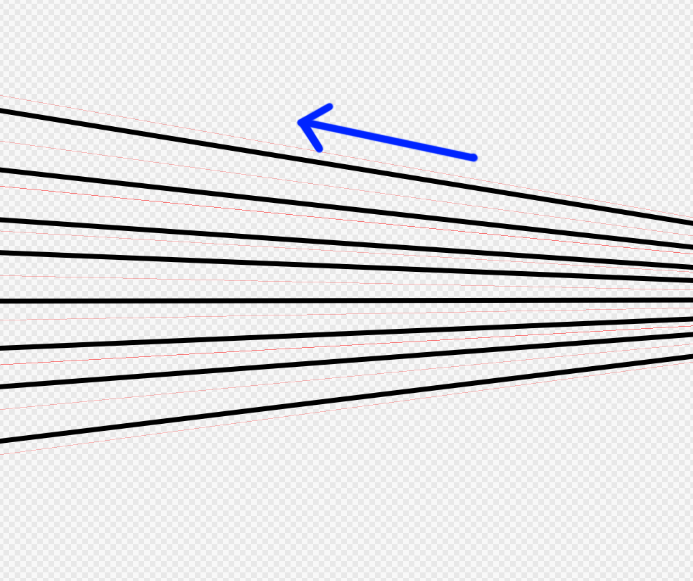
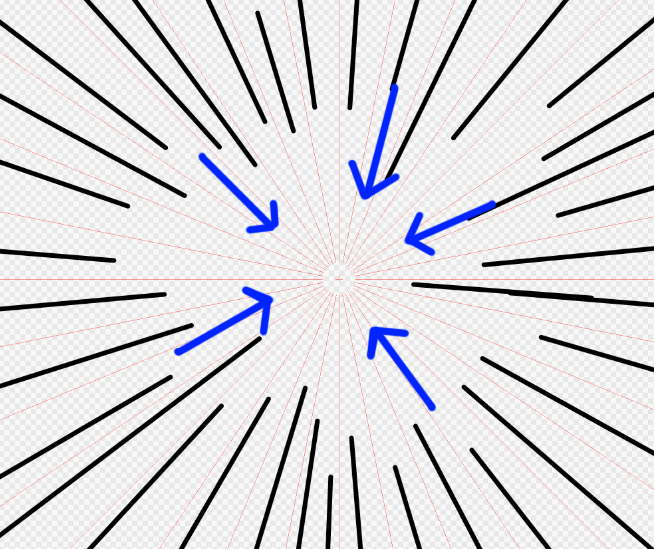
⑤Radial Snap…allows you to draw lines coming from a central point.
Useful for drawing speedlines.
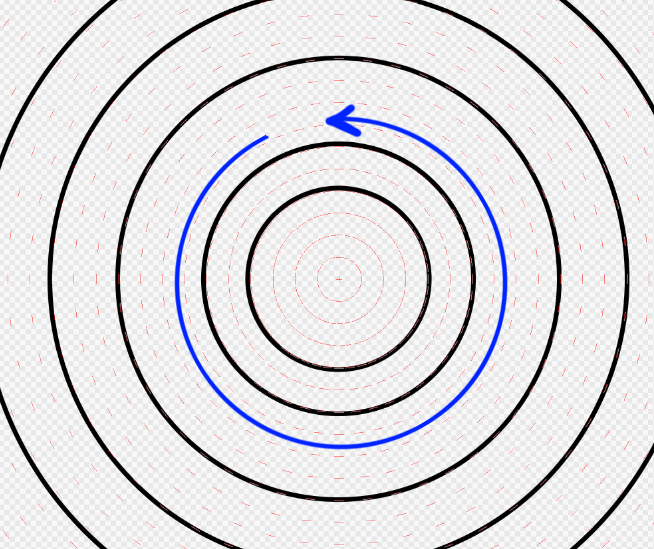
⑥Circle Snap…lets you draw a series of circles.
⑦Curve Snap… Allows you to connect a series of points to create a curve.
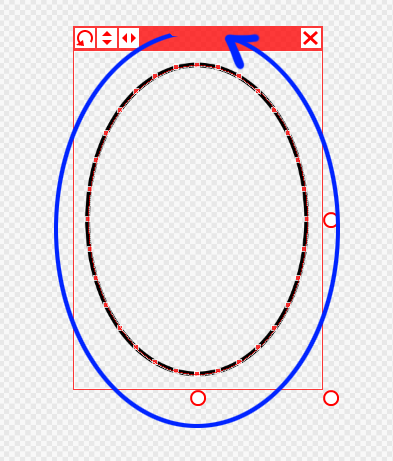
※Holding the Ctrl (Command) key will let you create a complete ellipse.
⑧Snap Settings…After you’ve created a snap guide you can change the position of it by pressing the black button to the right of the Snaps on the menu.
⑻Undo, Redo
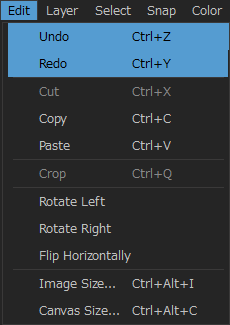
When you want to erase something you just did you can go to [Edit] > [Undo] on the menu bar. When you want to bring back something you erased using that command you can go to [Edit] > [Redo].
You can only use these commands to fix mistakes you made on your canvas. They can’t be used to make changes to your color pallet or brushes.
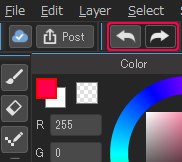
Below the menu bar and above the Color Pallet you should have two black arrow buttons.
\ We are accepting requests for articles on how to use /

