2020.07.20
How to draw a cat (1) How to draw a basic face
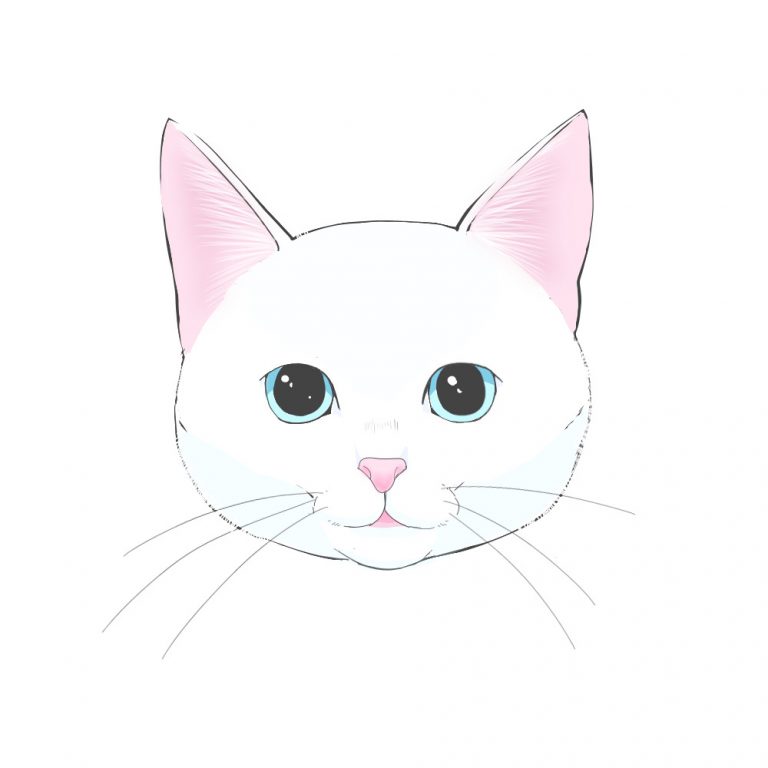
Whimsical and cute cats can be a soothing presence in cartoons and illustrations.
In this article, we’ll show you how to draw such a cat’s face.
1. Characteristics of a cat’s face
When you draw a cat’s face, you should first get a feel for the features of the cat’s face, referring to pictures and the like.
[Characteristics of a cat’s face]
The black part of the eye is large and round (the white of the eye is almost invisible).
Small jaw.
The eyes are almond-shaped with a little bit of hanging eyes.
Ears are large triangles.
It depends on the breed of cat, but the cats commonly seen in Japan have these characteristics as well as an oval shape, an The distance from the eyes to the tip of the nose is short” and other characteristics.
So, let’s draw a cat’s face while keeping these characteristics in mind.
2. How to draw a cat’s face
<1>Draw a positioning
The first step is to draw the positioning to determine how and where to draw it.
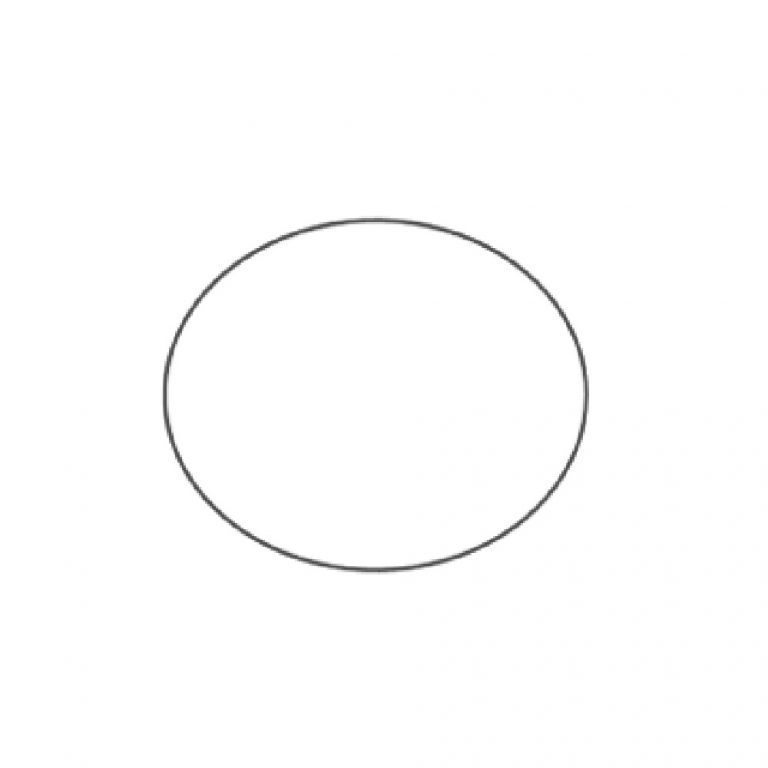
(1) Draw an oval.
Draw the face, except for the ears, in an oval shape.
I have used the Ellipse tool here, but you can also draw it roughly freehand.
(2) Draw the crosshairs.
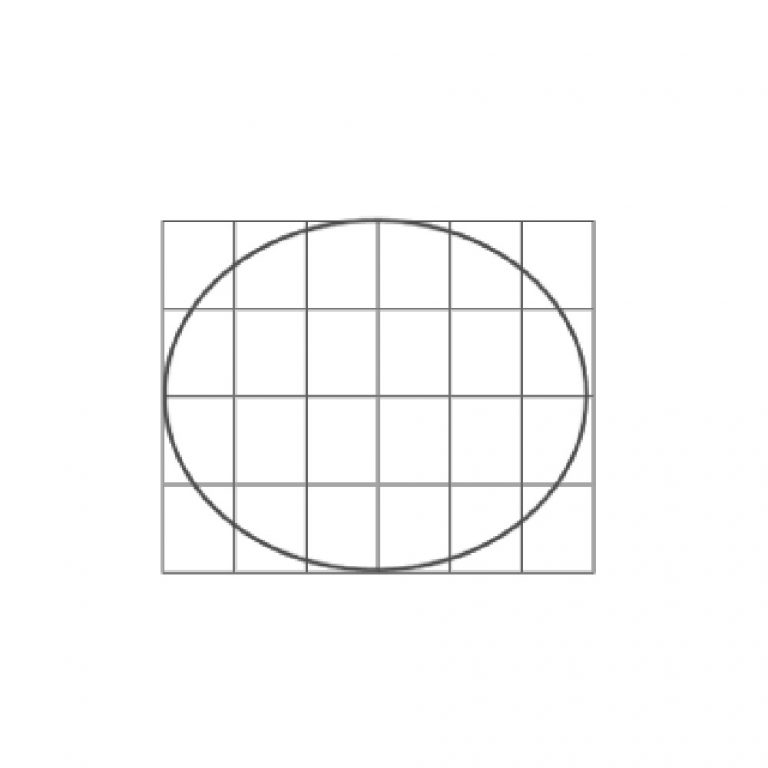
Once you’ve drawn an oval, draw a crosshair just as you would when drawing the positioning of the human face.
(3) Draw a vertical line that divides the horizontal line into 6 sections.
If you can draw a crosshair, draw a vertical line to divide the width into 6 sections.
Draw a line to divide the bottom half in two.
If you can divide the box vertically into 6 parts, divide the bottom half of the box into 6 halves further.
This time, I used a dividing tool to divide the box into 4 vertical and 6 horizontal lines. You can also use your hand.
(5) Draw the positioning of the ears.
The point of intersection of the contour and the first line on either side of the central line.
Draw a slightly larger triangle from slightly outside of this point.
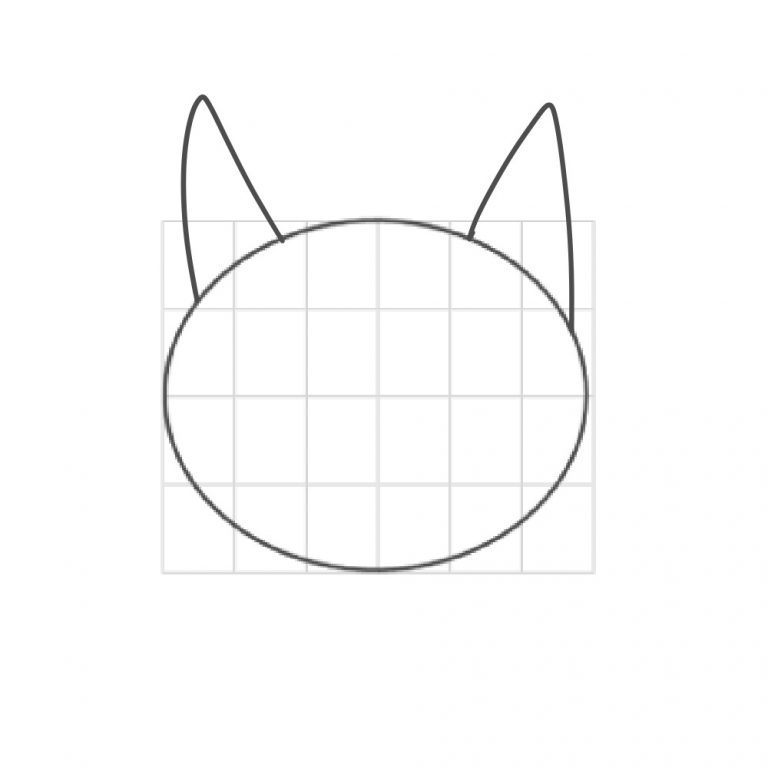
Now you can draw the positioning.
<2>Draw the outline
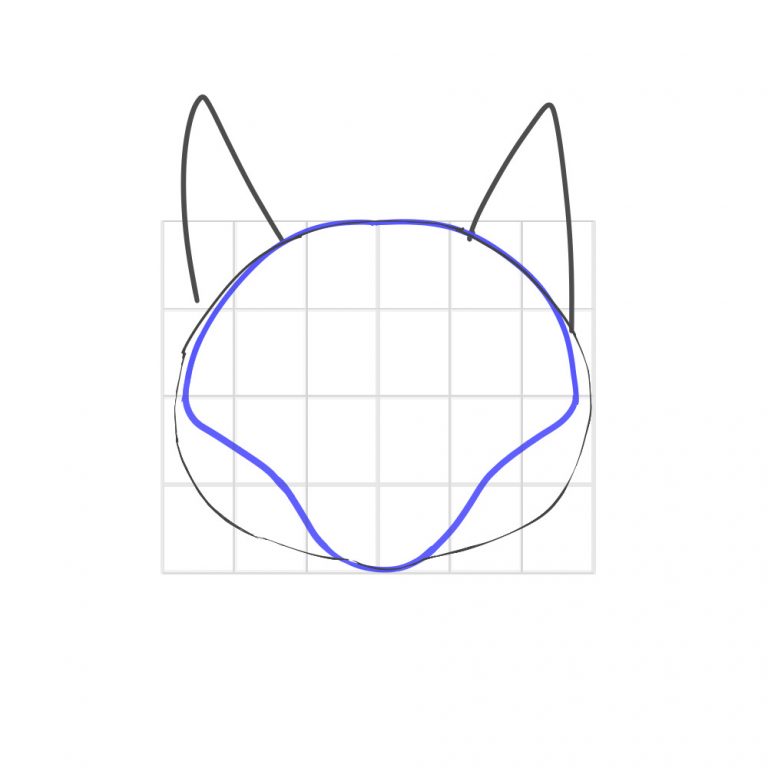
Once the positioning is drawn, create a new layer and outline it with solid lines.
When I draw the outline, I want to keep the skeleton in mind.
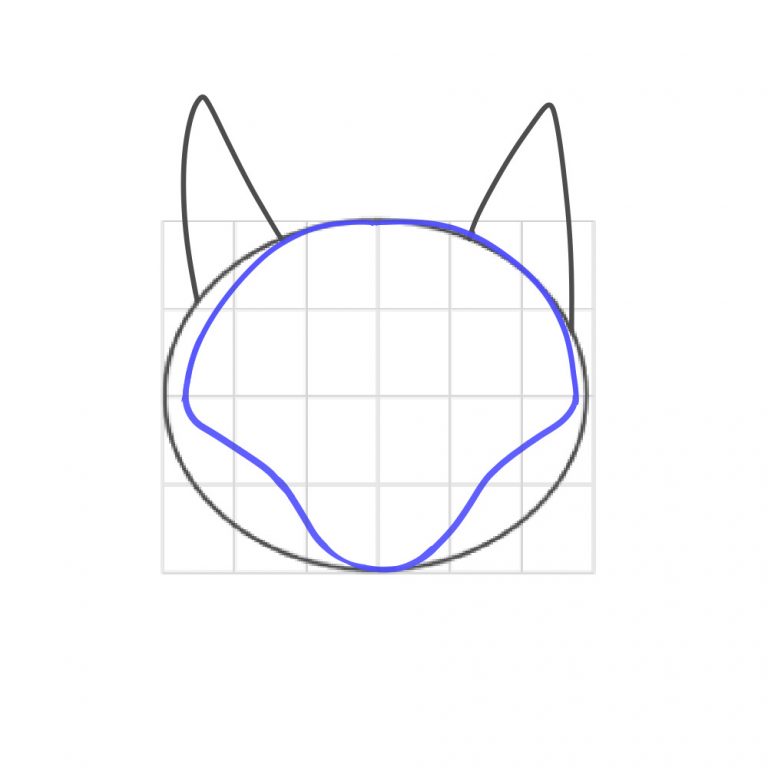
In the case of long haired or plump cats, the jaw line is rounded and the skeletal line is visible It will be gone.
However, by being aware of the skeleton, it is easier to capture the location of parts and other aspects of the skeleton, and the ooze. It is easier to draw the depressions near the cheekbones.
Here, I have created a layer for drawing the rough skeleton underneath the layer for the solid lines.
Now, draw the outline of the skeleton.
I will draw the ears as they are for now because I want to adjust their position after drawing the eyes.
<3>Draw the eyes
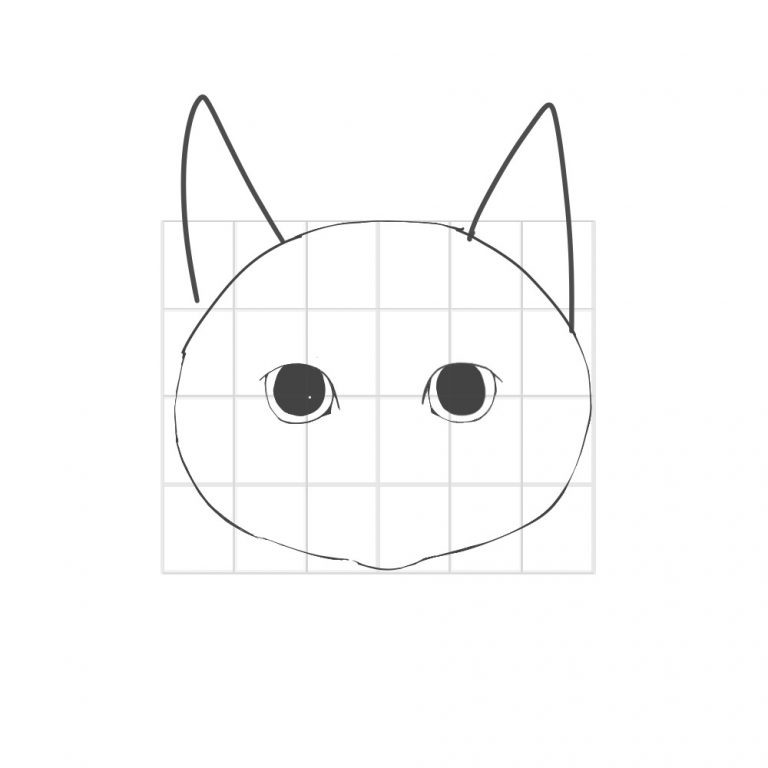
Once the outline has been drawn, I draw the eyes.
I draw the eyes by referring to the position of the first vertical line from the center to the left and right.
The distance between eyes should be about 1.5 times as much as one eye.
Draw the almond shape of the eyes while keeping in mind the slightly hanging eyes.
<4>Draw a nose
Once the eyes have been drawn, we can now draw the nose.
A cat’s nose is a downward facing triangle and the nostrils are shaped like a slit.
Since it is an extension of the eye socket, I will draw a smaller one near the horizontal line that divides the lower half into two.
<5>Draw the mouth and chin
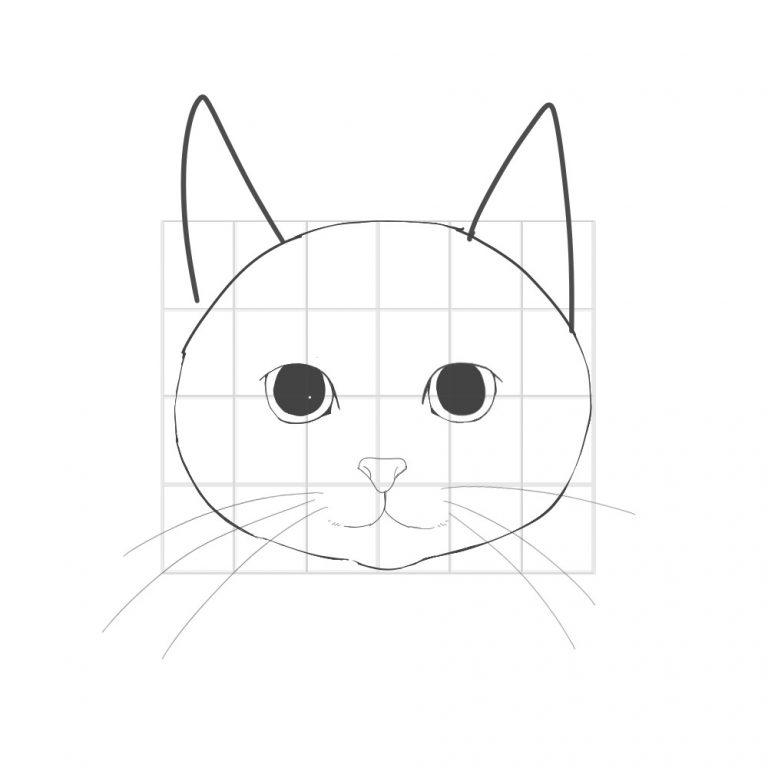
There is a single line running under the cat’s nose, which leads to the mouth.
The mouth and chin will be drawn to be smaller.

The beard grows from the bulge between the nose and mouth.
Depending on the deformity and your preference, you may be able to omit it, but if you want to draw the beard, the width of the shoulder It’s best to draw about 3 strands on each side of the picture, about the length of the picture.
<6>Draw an ear
For the ears, draw a line from the center of the eye upwards, starting at the point where they intersect with the outline.
Be careful not to make the tips of the ears too pointed.
Cats’ ears move a lot, so the direction of the ears will change from time to time.
By the way, when they are relaxed, their ears face outward a little.
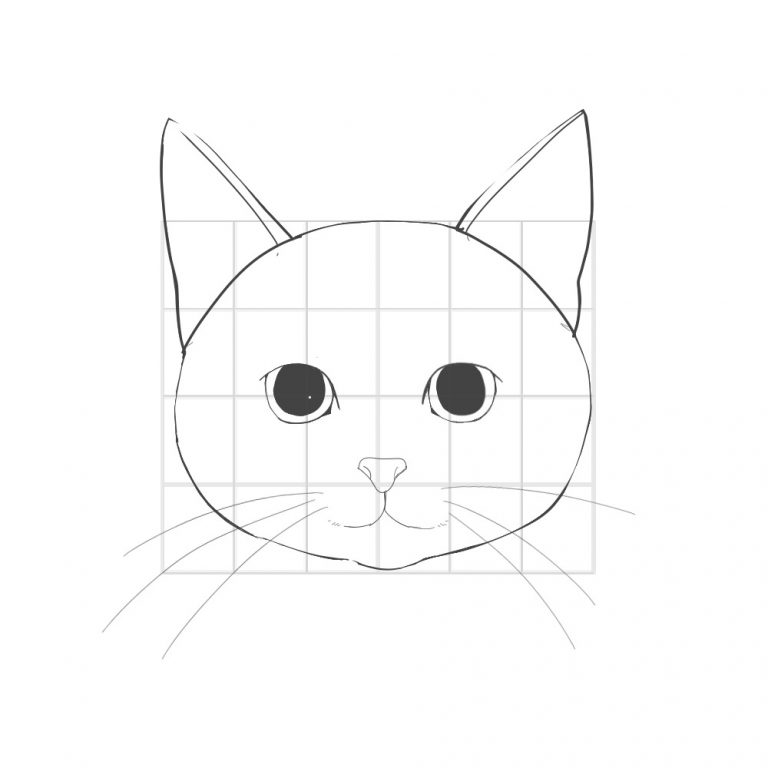
<7>Line and color in
Now that the whole picture is drawn, I’m going to adjust the outline and other details.
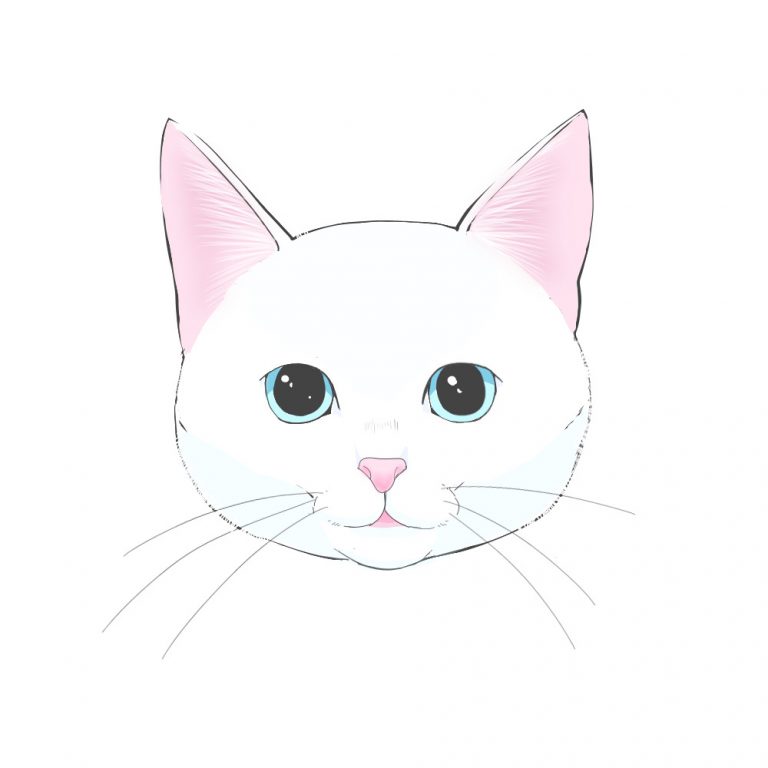
After finishing the adjustment, we will paint the color now.
There are hairs on the inside of the ears, so if you want to draw them more realistically, you can draw them too.
When the coloring is finished, this is the finished work.
About how to draw a cat’s body, please refer to the article [How to Draw Cats 2]. Try it.
\ We are accepting requests for articles on how to use /


