2021.01.04
Use screen layers to blend the background material with the figure illustration!
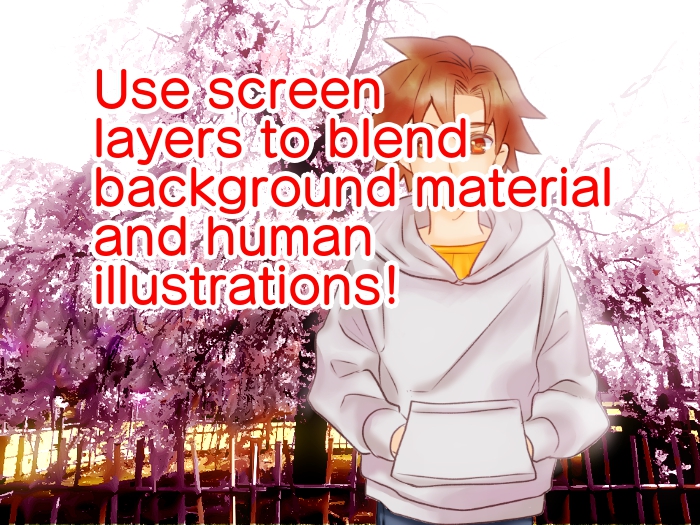
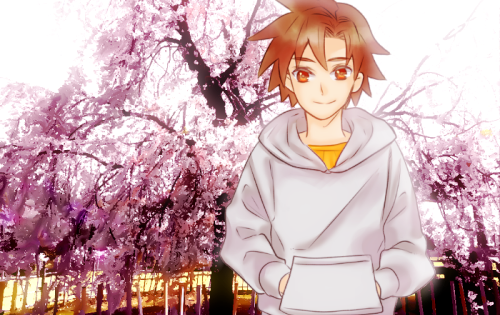
The screen layer is a useful layer blend that can be used to highlight a person.
However, this is not the only use for screen layers.
For example, if you have prepared a background and an illustration of a person separately, a screen layer can be used to blend the two together without any discomfort.
In this article, we will show you how to blend a background image and a portrait illustration using a screen layer.
Preparation
Prepare the background and the illustration
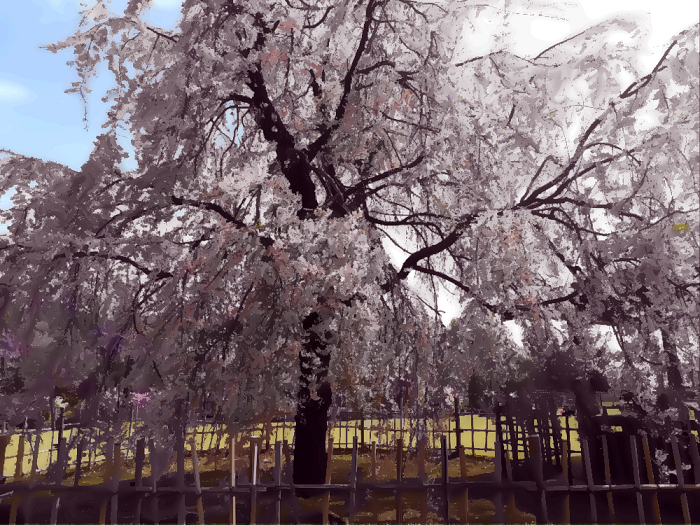
This time, we will use a photo taken with a smartphone as the background, which has been processed to look like an illustration.
Be sure to use photos that you have taken yourself.
Next, prepare an illustration of a person to be combined with the background.
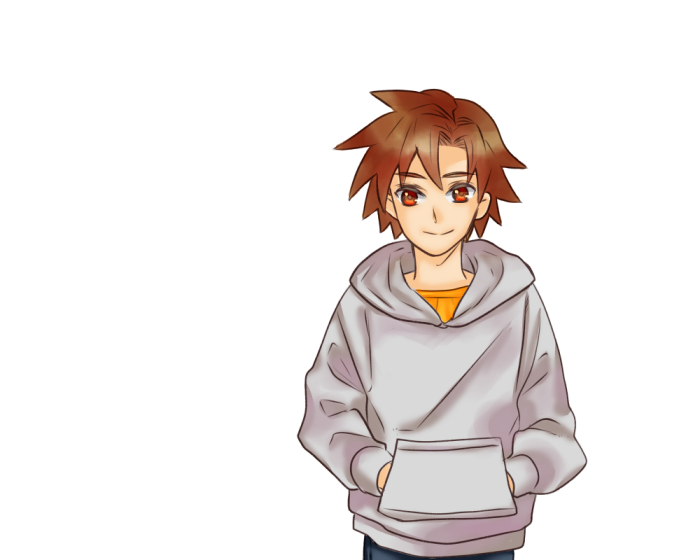
Now let’s match the background with the person.
Place the person in the background
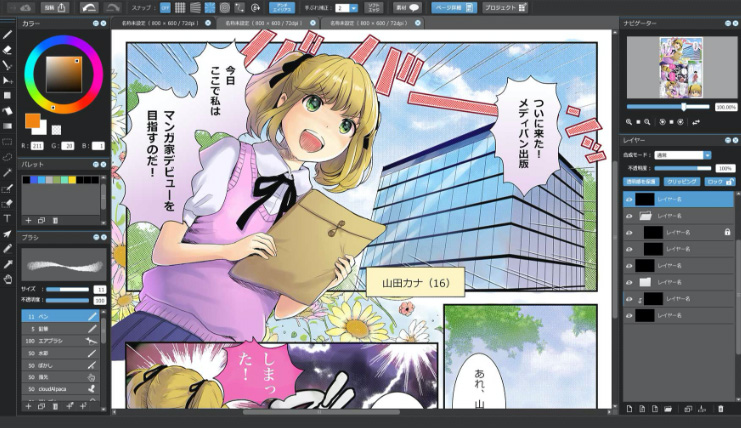
Open the background you have just prepared in Mediban Paint.
After opening the background data, select “Open Image as Layer” from the menu.
Open the data of the person illustration.
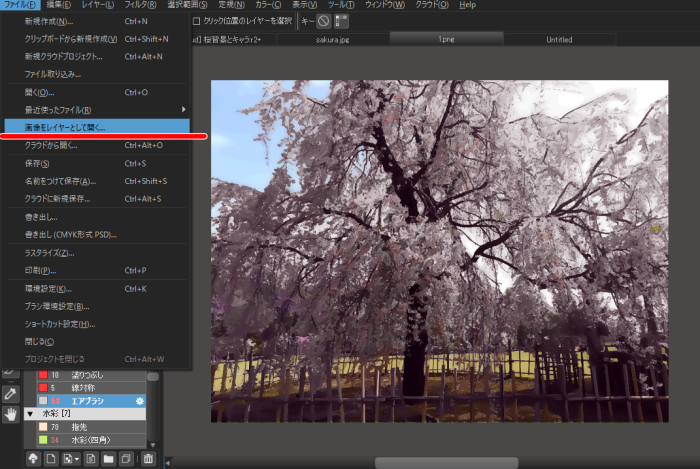
Now you can place the person in the background.
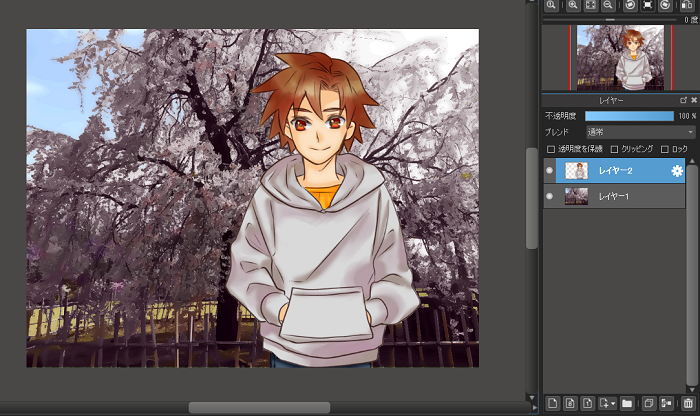
Since the background and the illustration do not blend with each other as it is, we will process the background and the illustration respectively.
Process the background
Duplicate the background image
First, let’s duplicate the background layer.
Select the layer you want to duplicate and choose Duplicate from the Layer menu.
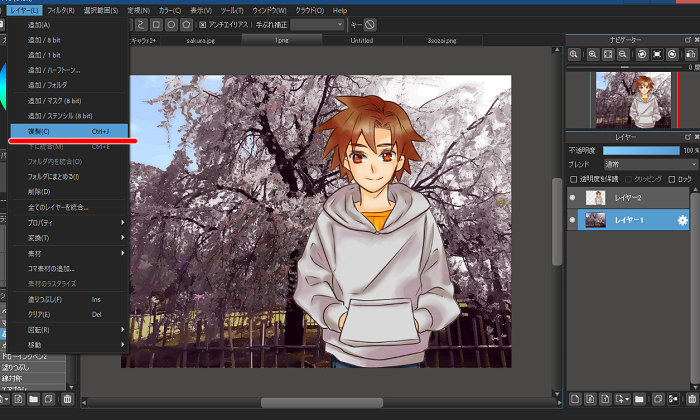
I renamed and organized the layers.
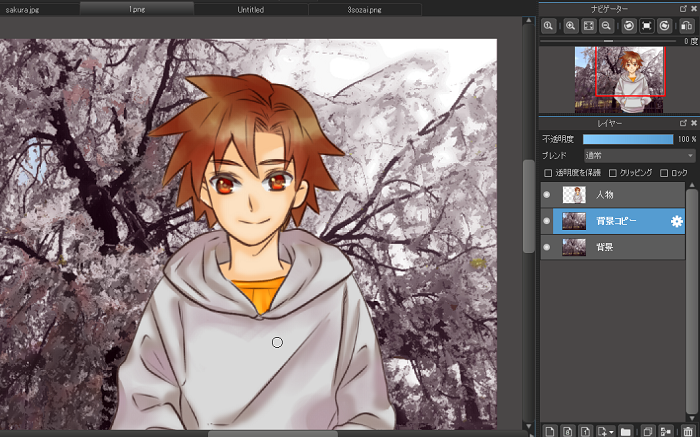
It is convenient to copy the background and keep the original image so that you can compare the changes before and after processing, and save yourself the trouble of starting over from scratch in case you make a mistake.
The background is processed on the copied layer.
Leave the original image untouched.
Level correction
Select the copied background and choose Levels from the Filter menu.
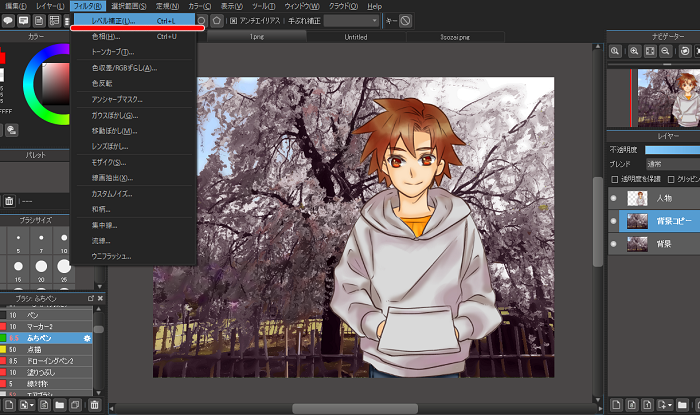
Adjust the level compensation cursor as shown in the image to make it brighter.
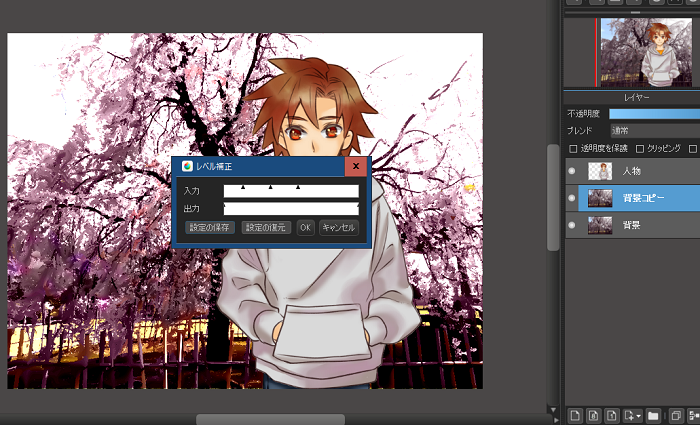
After brightening the image with level compensation, duplicate the image.
Select the duplicated layer and choose “Tone Curve” from the Filter menu.
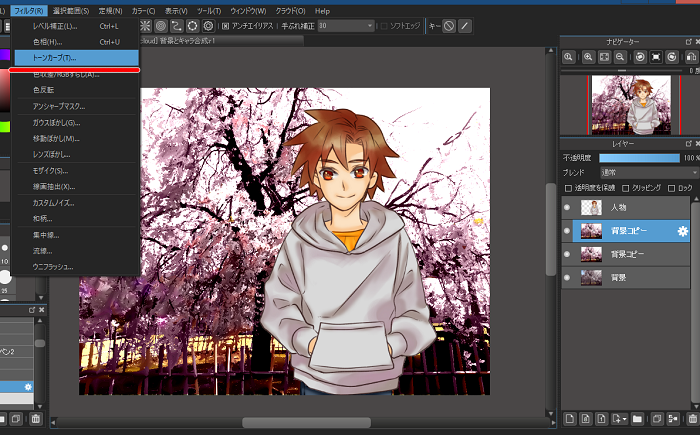
Pull the tone curve from the center to the lower right to make it bowed.
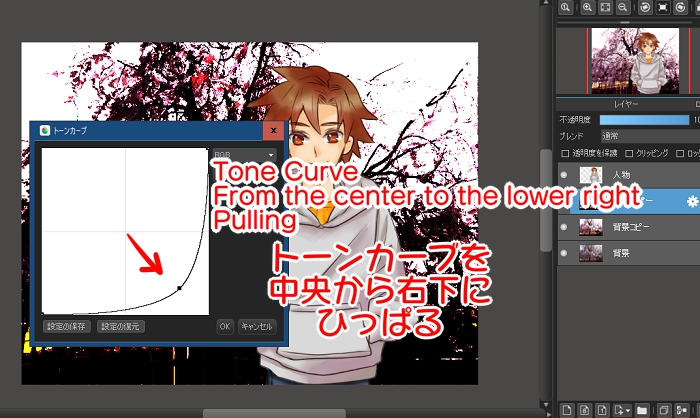
Pull the tone curve from the center to the lower right.
Gaussian Blur
Apply “Gaussian Blur” from the filter menu to the background layer where the tone curve has been adjusted.
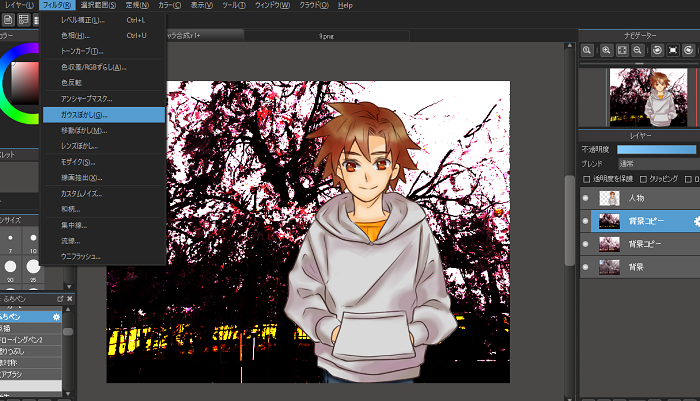
Layer Blending to Screen
Once the blur is applied, the next step is to change the layer blend to screen.
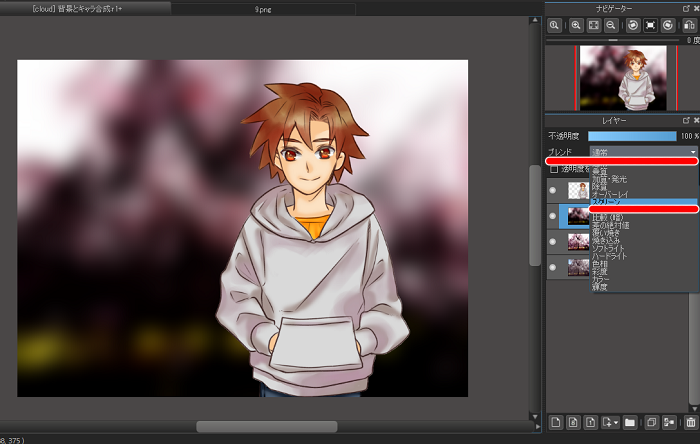
If you feel that the blur or screen is too bright, adjust the opacity.
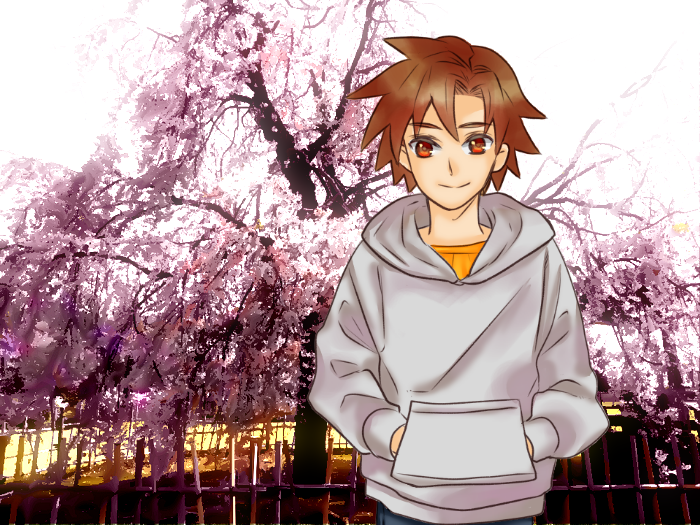
This completes the processing of the background.
The next step is to blend the person illustration with the background.
Processing the person
Blend the whole image with an overlay
Create a new layer in New and change the layer blend to Overlay.
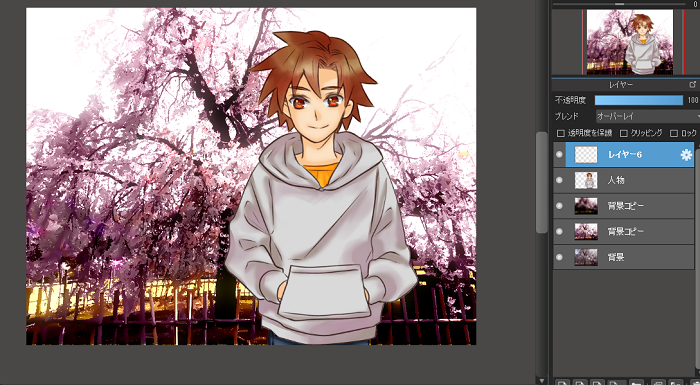
Take the color of the flower in the background with the eyedropper and select Fill from the Layer menu.
Fill the entire screen.
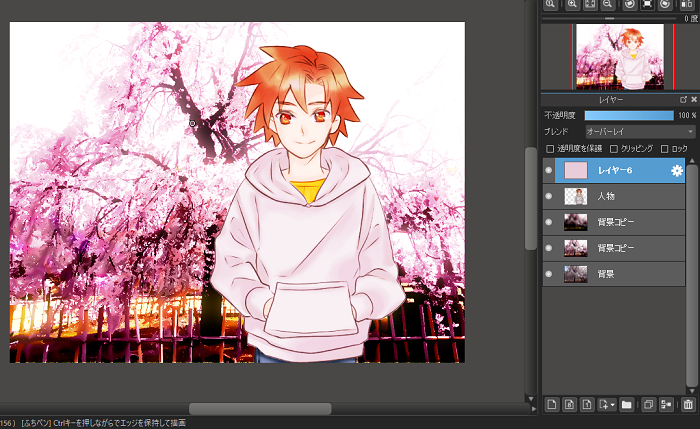
The image is too bright as it is, so adjust the opacity.
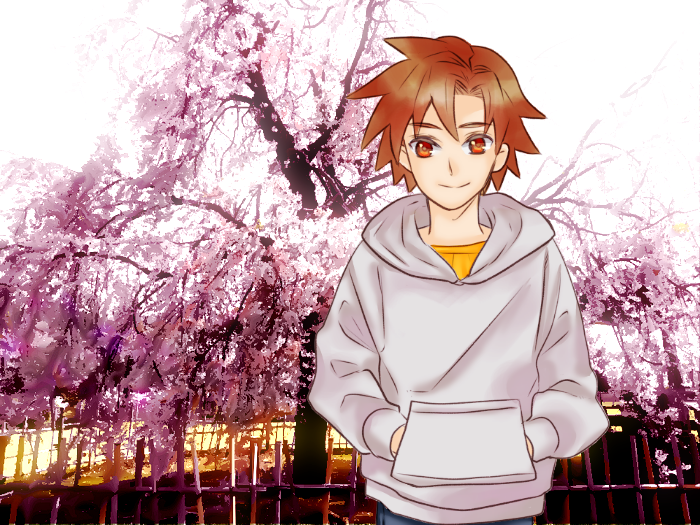
(Opacity 40%)
Processing the People Illustration
Duplicate the person layer as well.
Once duplicated, adjust the tone curve.
Use the same procedure as for the background to pull the curve to the lower right.
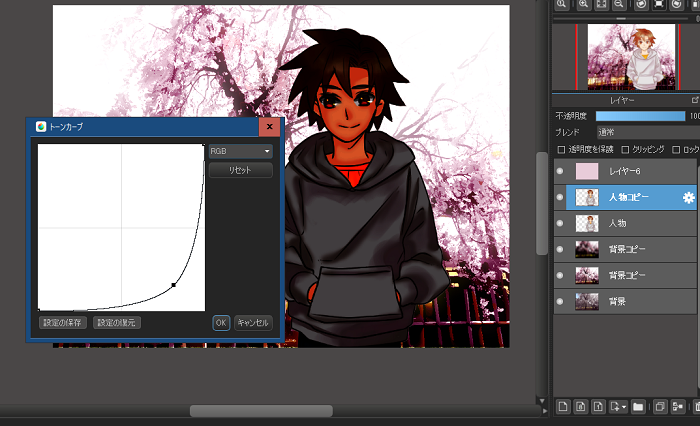
I applied more Gaussian blur and changed the layer blend to screen.
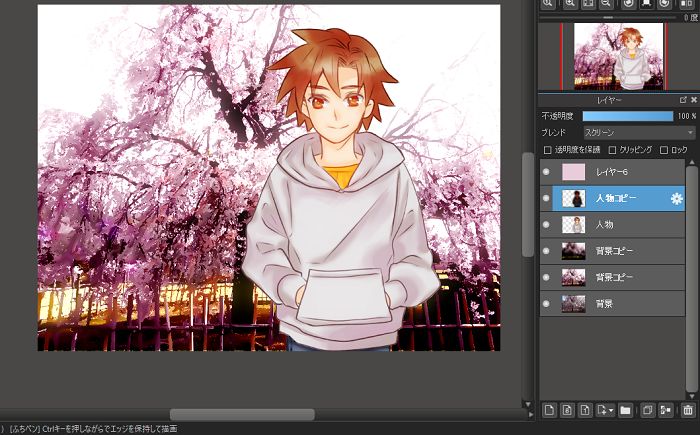
Final Adjustments
Create a new layer, clipping it on top of the original person layer.
Also change the layer blend to Screen.
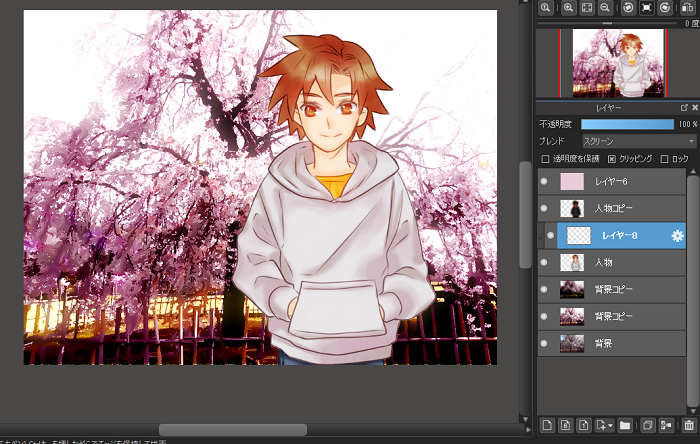
Using the airbrush, take the color of the flowers in the background and lightly paint the edge of the person.
The trick is to paint the areas where the light hits.
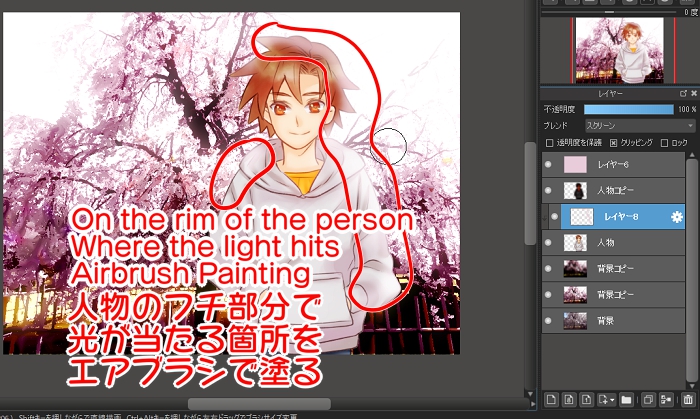
Airbrush the lighted areas of the person.
Finally, adjust the opacity and you’re done!
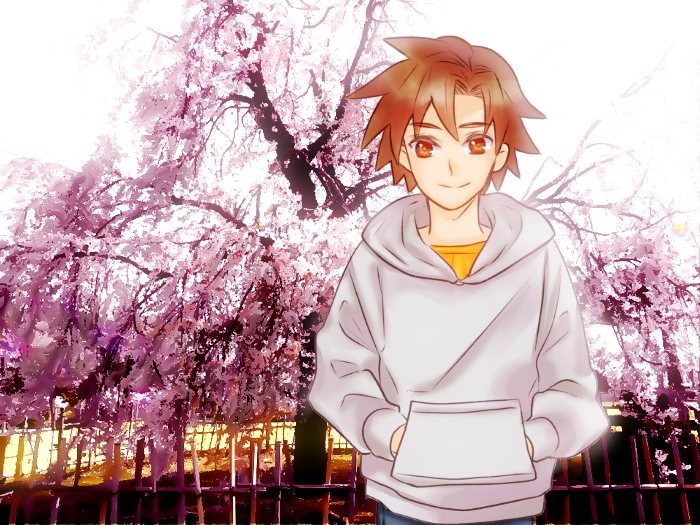
(Opacity 60%)
Using a screen layer, you can create a work of art that looks great when combined with a background material.
I hope you will try to use it too!
\ We are accepting requests for articles on how to use /

