2021.05.12
Symmetry Pen Tips! Let’s Draw Antique Key


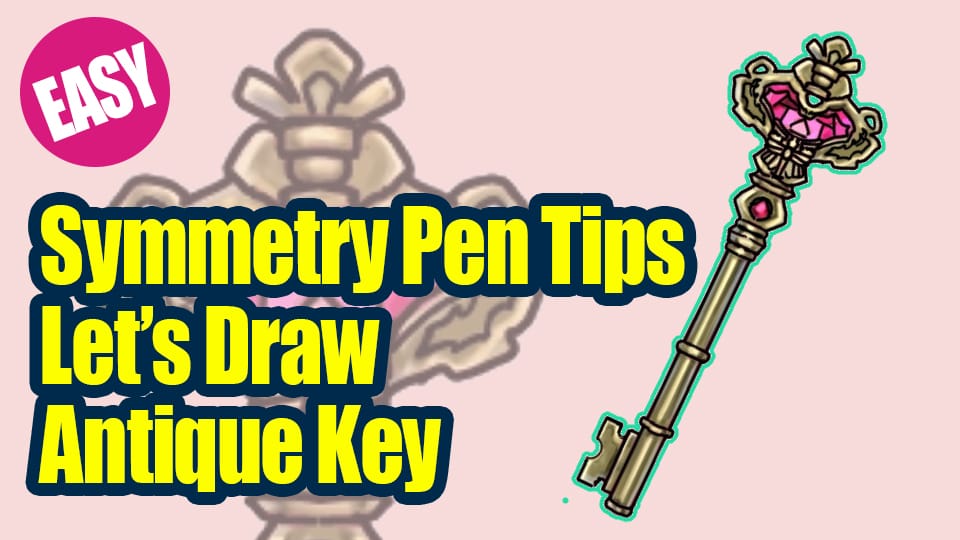
This time, I’ll use the PC version to draw an antique key using the line symmetry brush.
The line symmetry brush is a good brush for drawing symmetrical designs and shapes.
So in this article, I will show you the basic usage of the line symmetry brush and how to draw antique keys using the brush’s characteristics.
How to use a line symmetry brush
First, let’s look at the characteristics of the line symmetry brush.
If you draw a line normally with the symmetry brush, you can draw a symmetrical line as shown in the image.

A line of symmetry will be drawn starting from the place where the brush was placed.

You can also press Ctrl on the line symmetry brush to get a red crosshair.

When you click on the screen, a red cross will appear where you clicked.
It is possible to draw a line of symmetry around that cross.

This time, use Ctrl to determine the axis of line symmetry first, and then draw the antique key.
Let’s draw the antique key!
Decide on the design
Now let’s actually draw the antique key with the line symmetry brush.
If you’re having trouble deciding on a design, try using shapes such as crowns, spades, hearts, clovers, and diamonds as motifs to make it easier to draw!

Once you have decided on the design of your antique key, you can prepare it in advance as a draft layer.

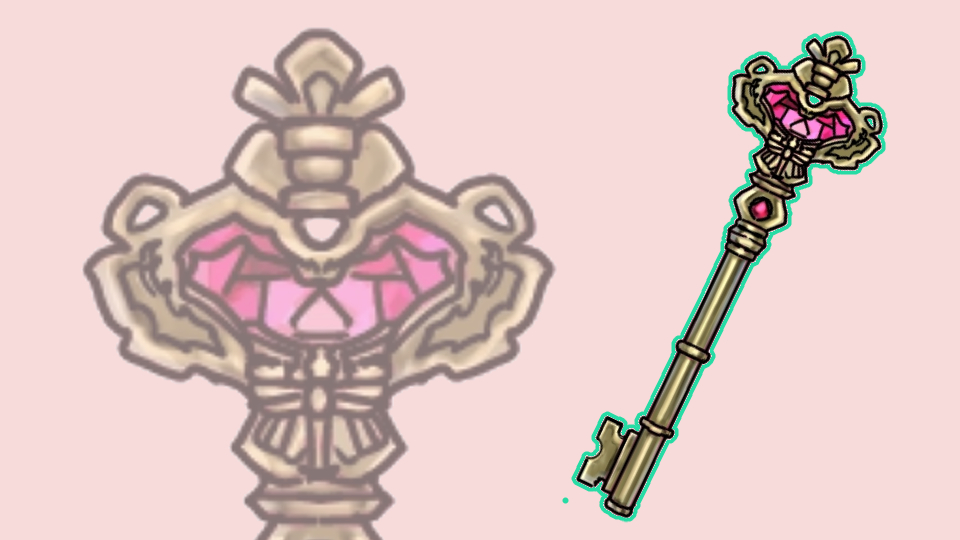
In this case, I made it look like this.
Prepare a draft layer
Before moving on to the cleanup, we first prepare a draft layer.

To change the draft layer, click the settings icon (gear icon) on the right side of the layer and check the “Draft Layer” checkbox.

If the layer has a mark like the image, it is a draft layer.

Next, let’s change the color of the lines in the draft to blue to make it easier to write.
There are many ways to change the line color, but in this case, we will select “Lock Transparency” in the drafting layer and fill it with blue.

Displaying a grid on the screen
To make it easier to determine the symmetrical starting point for the line symmetry brush, let’s display a grid on the screen.

The grid can be found by checking the “Grid” checkbox in the “View” menu.
This completes the prep work.
Cleaning with the Line Symmetry Brush
Let’s use the symmetrical brush.
Hold down the Ctrl key and click on the axis of symmetry using the grit as a guide.

Now we will pen in only the left half or the right half according to the draft.

To draw straight lines freehand, hold down Shift and click.

Use a symmetrical brush until the end of the drawing, because you will erase the interlocking part with the lock with the eraser tool later.
If you switch to another tool in the middle of the drawing, the starting point of the symmetry will disappear and you will have to press Ctrl+Z again to create the starting point.
If you make a mistake, use Ctrl+Z to cancel the line or change the color to transparent to erase it.

When you are done drawing, use the eraser tool to erase the unnecessary parts.

Finally, draw in the details to complete the line drawing.

Finally, let’s paint the color.
Painting the base color
Now let’s paint the color.
To save time, we will paint the base color with the fill tool instead of the bucket tool.
To do this, first select the white part of the canvas with the Auto Select tool.
Then the blank space will be selected.

Next, select “Invert” from the “Select” menu.
The key will be selected.

Fill in the base color with a fill.

This time, I adjusted the base color to be a little brighter since I will be adding the keys by multiplication.
You can adjust the color from the hue menu in the “Filter” menu.

Paint the shadow
A new layer is added on top of the base layer with a clipping mask and a layer blend set to multiply to add the shadow.

The color of the jewel part was painted on a separate layer.

Highlighting
We will add a highlight to the metal part.
Create a new additive layer, and clipping it directly to the multiplication layer where the shadow was added earlier.

The trick is to create a strong contrast between light and shadow.

Coloring the gem part
The last step is to add color to the gem part.

That’s it, I tried to draw an antique key using the line symmetry brush.
I hope you’ll give it a try too!
(Text and pictures by Setsu Yoshida)
\ We are accepting requests for articles on how to use /


