2022.11.11
Basic leaf making and distinguishing various types of leaves
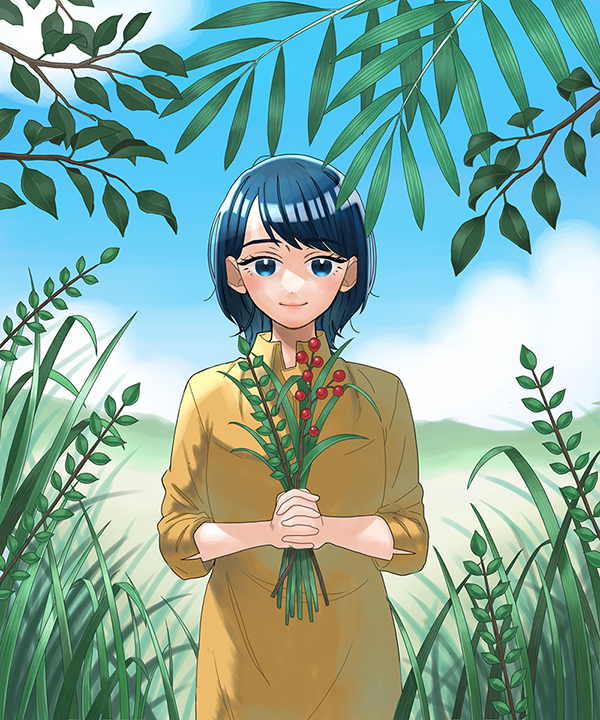
In this tutorial, I will be showing you the basics of making a leaf shape.
From the generic standard shape to easy yet detailed leaf shapes, I will be introducing various leaf types so I hope you stay with me until the very end!
How does the standard leaf shape look?
The ones you see most are leaves of broadleaf trees.
They are characterized by “the flat and thin oval shape”.
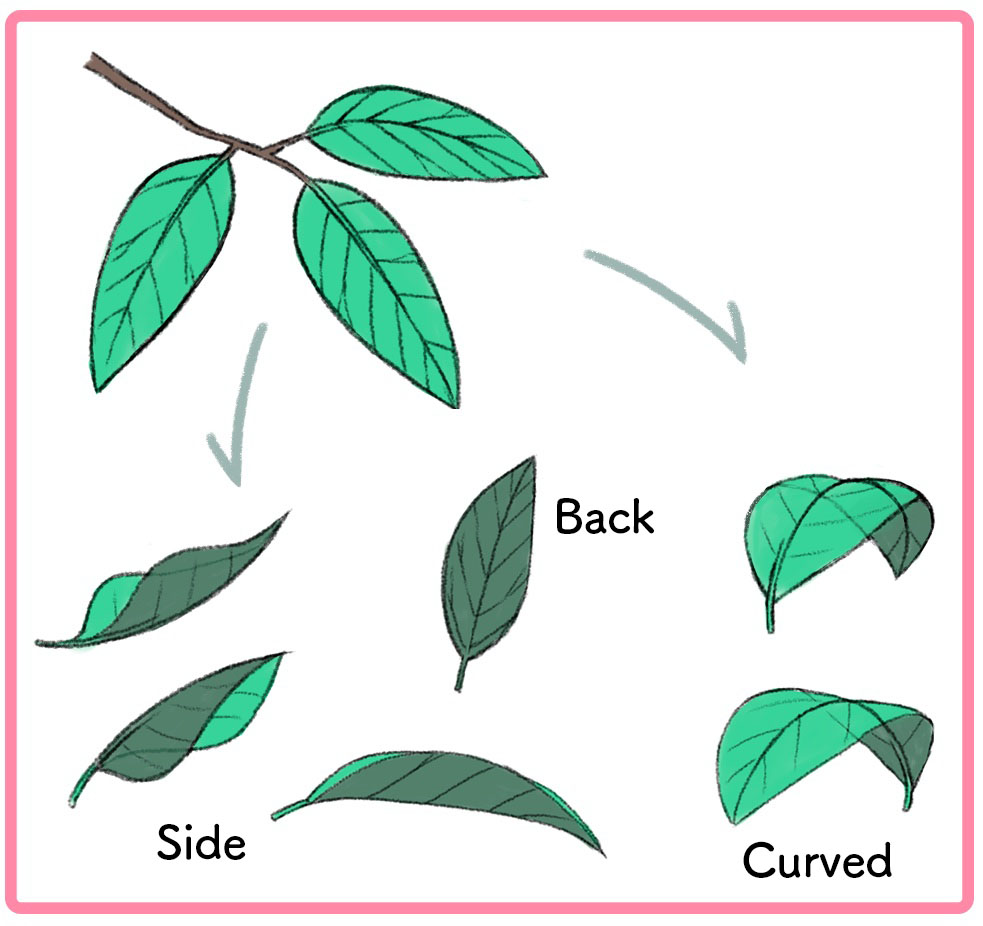
Since they are soft, you can create dynamics by drawing the leaves curved towards the front/back with its veins as the centerpoint.
The tip here is to show different faces of the leaves, not only the top surface.
Next, I will show how the leaves grow.
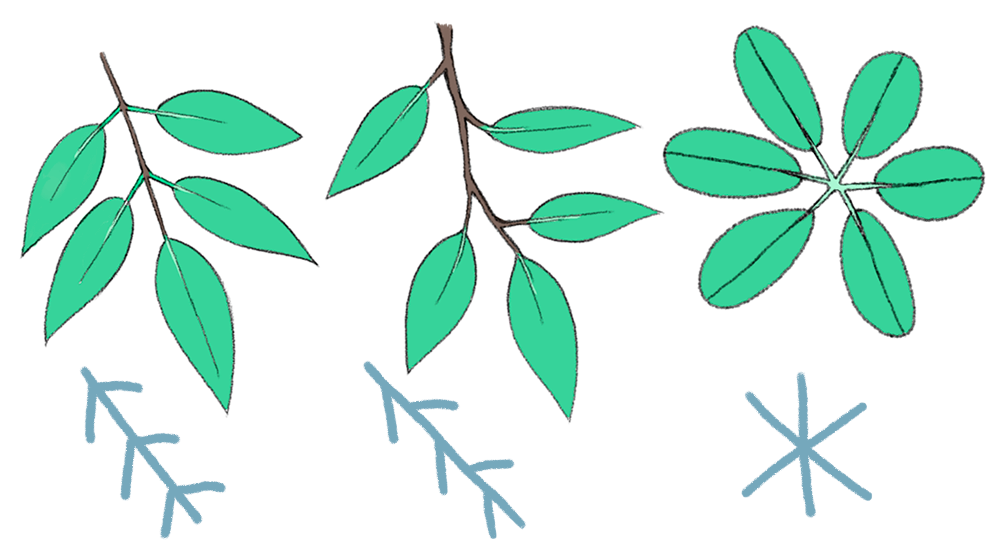
・Multiple leaves growing from the same point at the same time
・Leaves growing in zigzag shape
・Multiple leaves growing from a singular point
Just like the image above, there are various types to how the leaves grow.
I hope you try making these small distinctions for different plant types and the atmosphere of your illustration.
Next, these are leaf shapes perfect for illustration.
Compared to the types I explained earlier, the ones below are larger and unique, making them perfect for little accents.
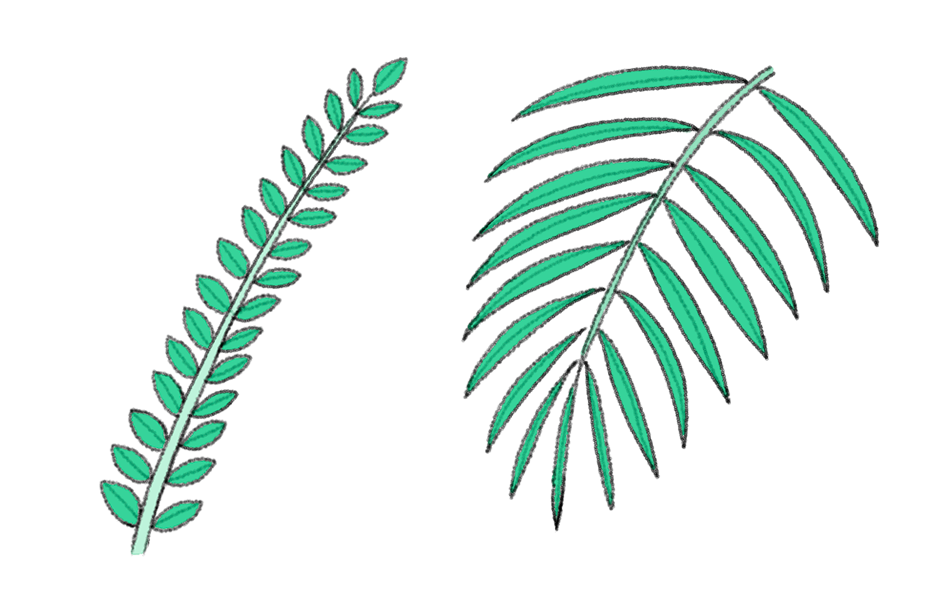
These are the types that grow from the ground.
You probably see them often as well.
They are characterized by the long flat surface.
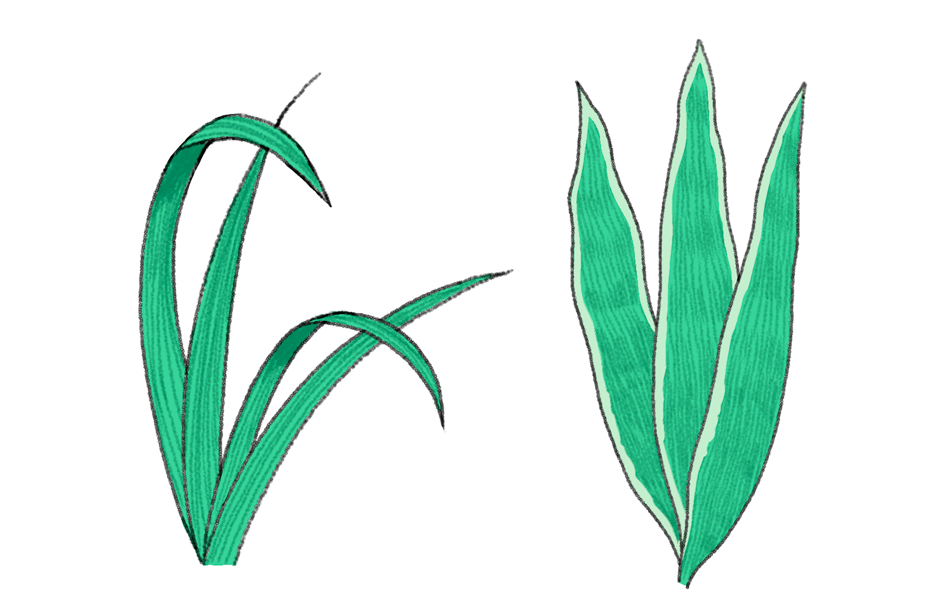
Drawing leaves!
Rough Sketch/Sketch
Let’s start working on the illustration.
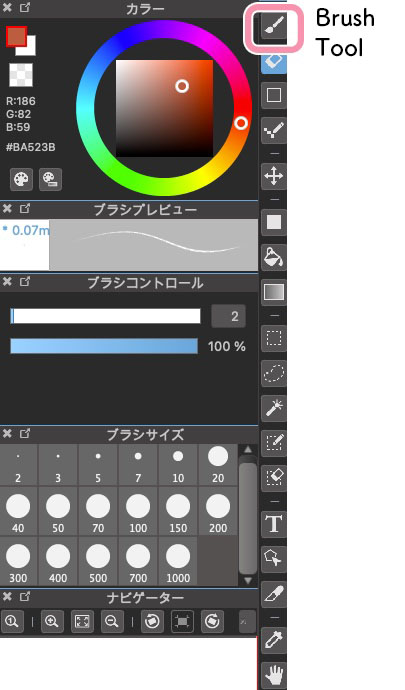
Create a new canvas and select the Brush Tool.
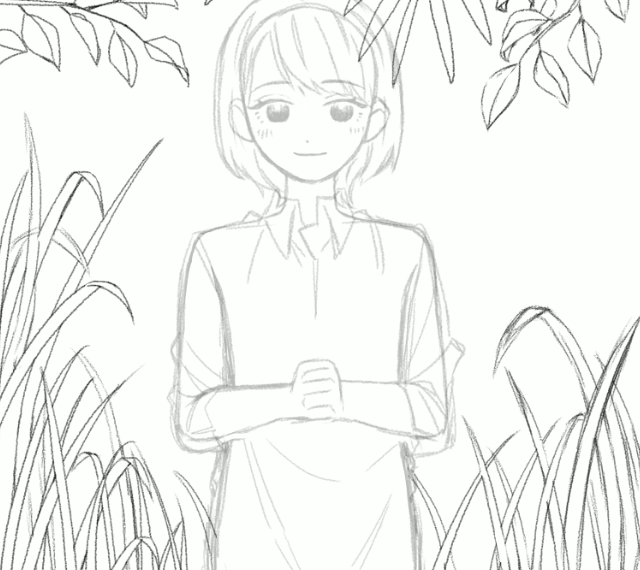
Roughly sketch the illustration you have in mind.
I chose to draw a girl inside an environment filled with nature.
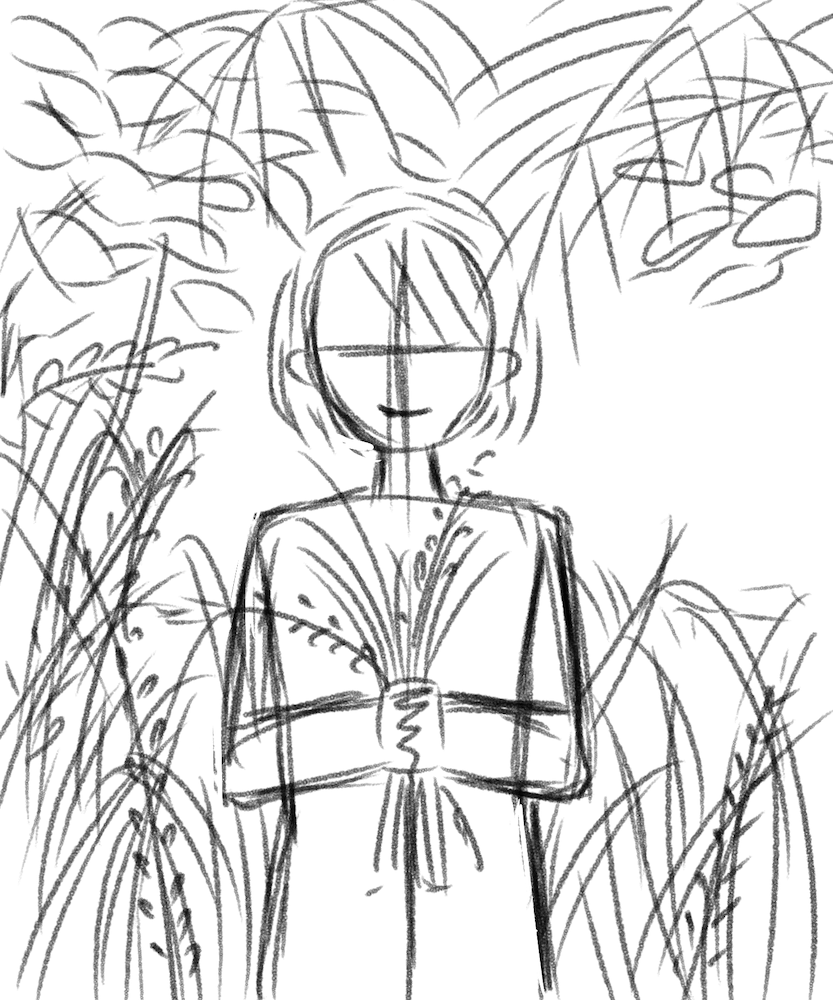
Once you have drawn the rough sketch, keep the layer selected and drop the opacity to approximately 30%.
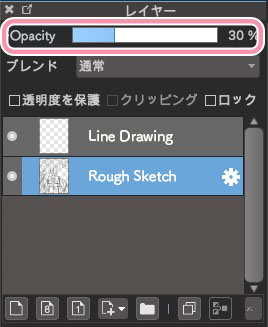
This will make it much easier to clean your rough sketch.
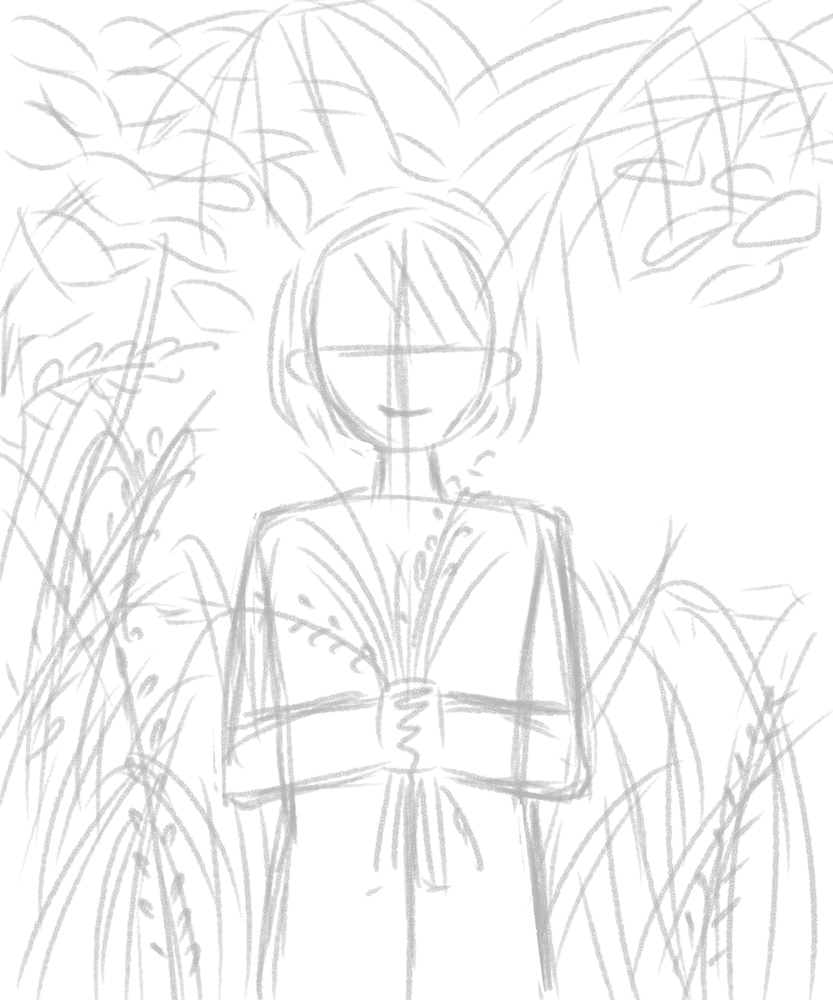
Start drawing the girl by tracing the rough sketch.
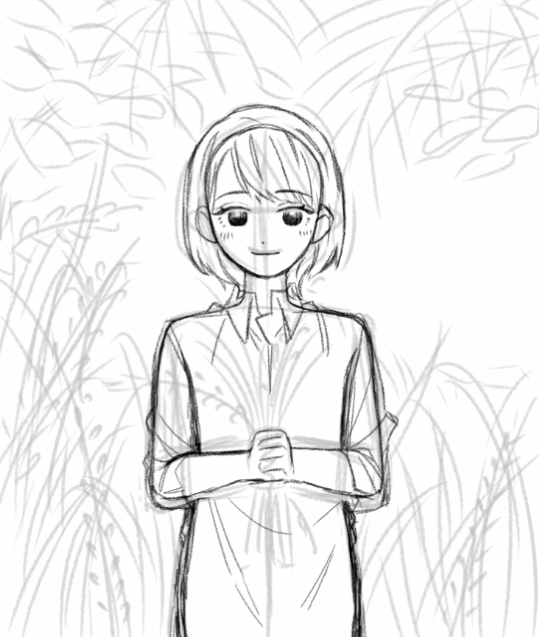
I will then move on to the plants.
I started off with the long pointed leaf.
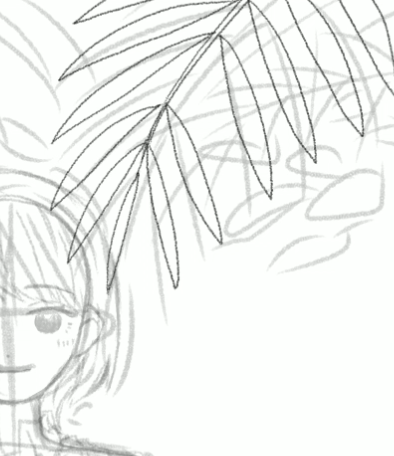
Now that I have drawn a bunch of leaves, I will create a copy of this layer with “Duplicate” from the “Layer” tab.
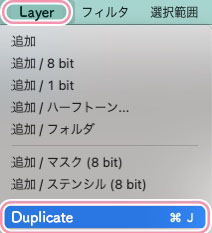
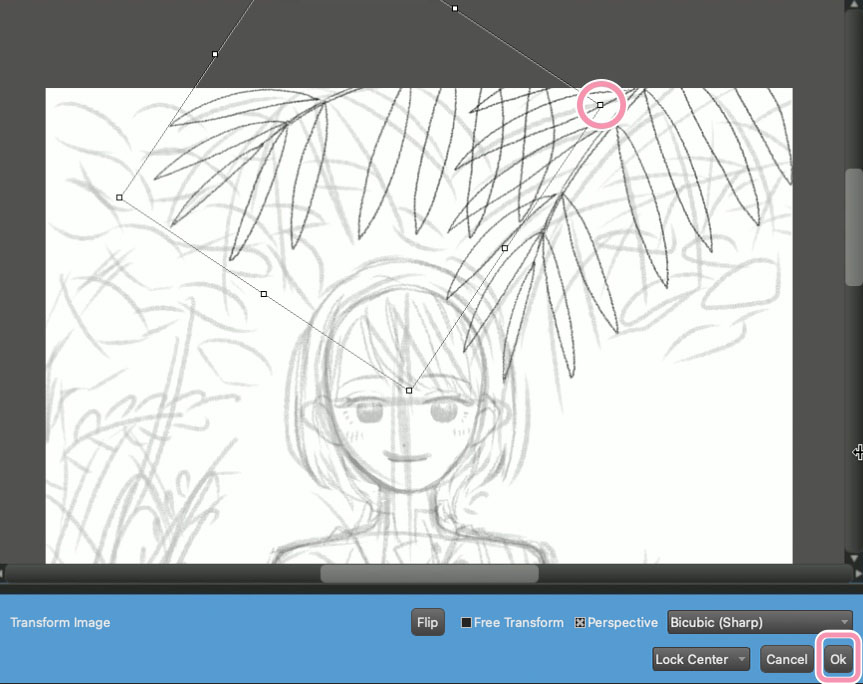
Once you are done duplicating the layer, select “Transform” from inside the “Select” tab.

You can transform the copied layer as done below, so click on the mini square inside the pink circle and change the size/angle to how you want it to look.
Click on the Ok icon at the bottom right corner to finish.
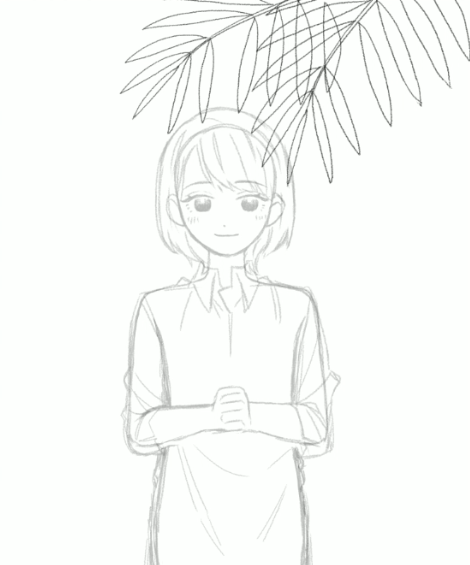
I am now done making the first plant.
I will then create leaves growing from the branch.
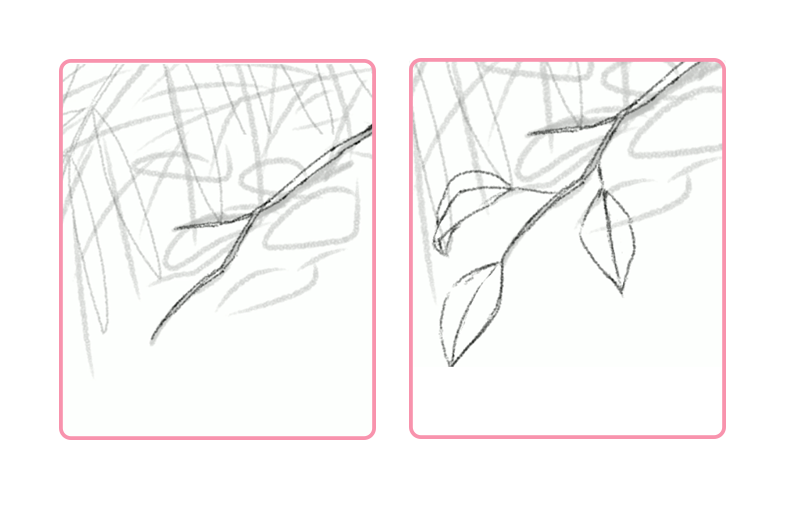
First, draw the shape of the branch then add the leaves.
Keep drawing the leaves until it feels enough.
Here, make sure to pay attention to the direction of leaves like the two arrows.
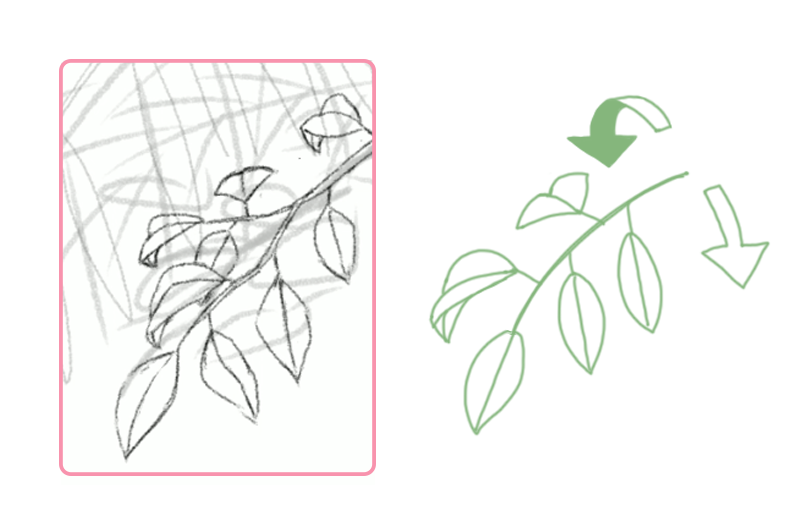
This is how it looks.
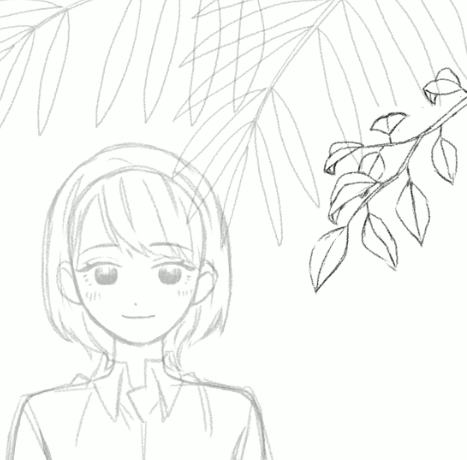
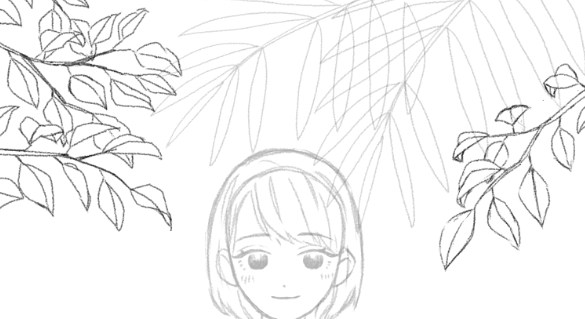
Do the same for the left side of the illustration.
It will be important to pay attention to the depth of leaves. Think of which ones should be drawn in the front, the middle and the back.
Next, I will create leaves that grow from the ground.
Instead of drawing all of them in a single layer, I recommend creating separate layers for
・Grasses sweaving towards the right
・Grasses sweaving towards the left
so that it will be easier and quicker for you to fix them later.
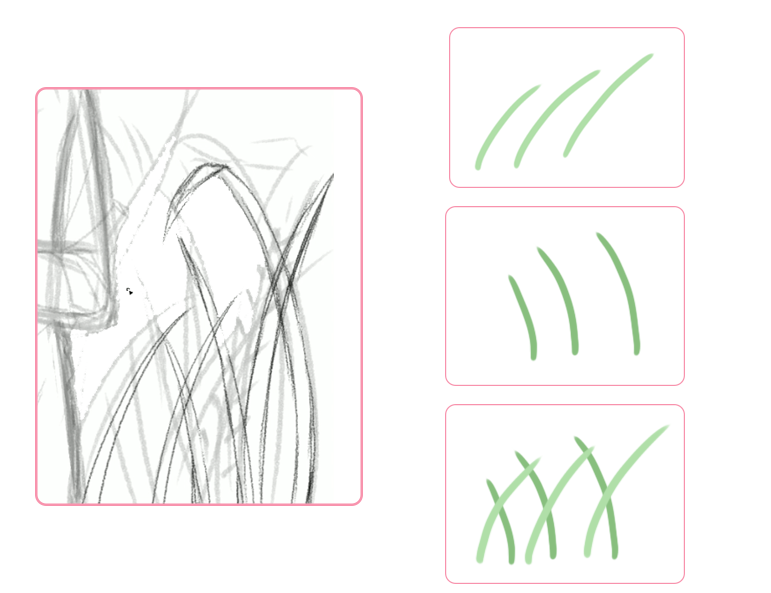
I filled the bottom part of the illustration like this.
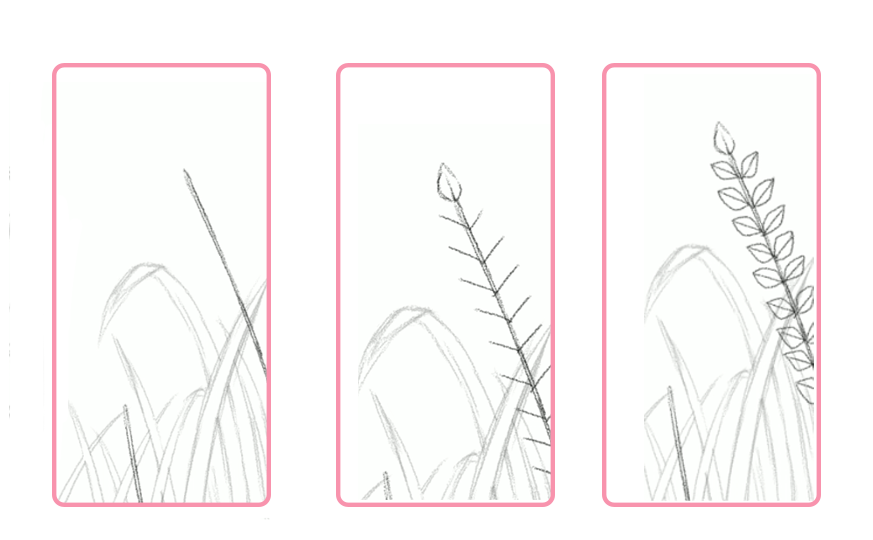
I will create another type of plant to increase the volume.
Be careful with the balance of the plants, by drawing them in the order of branches to overall structure then lastly the leaves.
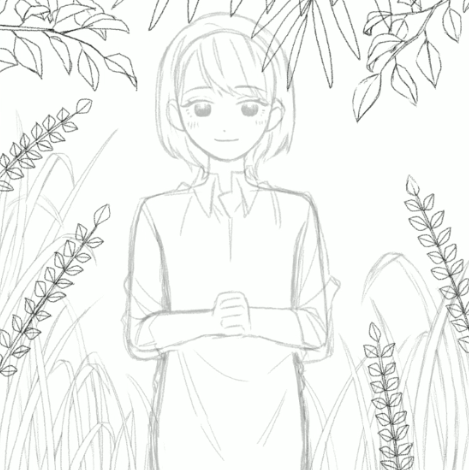
I also drew these all over the canvas.
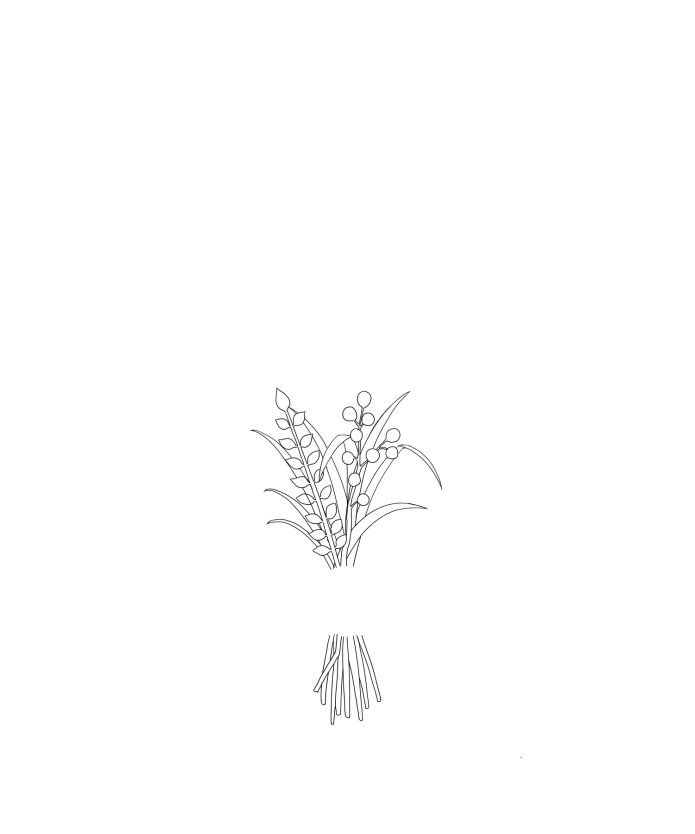
Now that I am done with the leaves, I will draw a bouquet in her hands.
I also added little fruits as the accent detail.
Similarly to before, start off with the branches then draw the fruits.
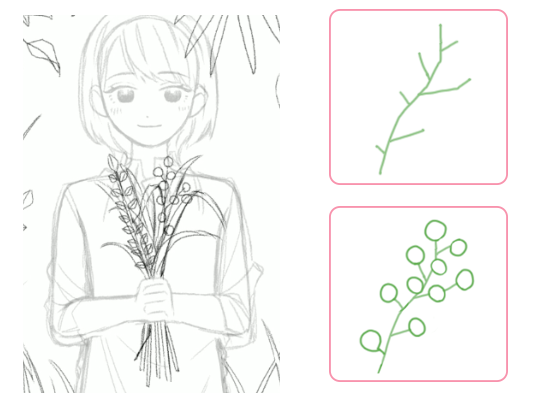
This completes my sketch.
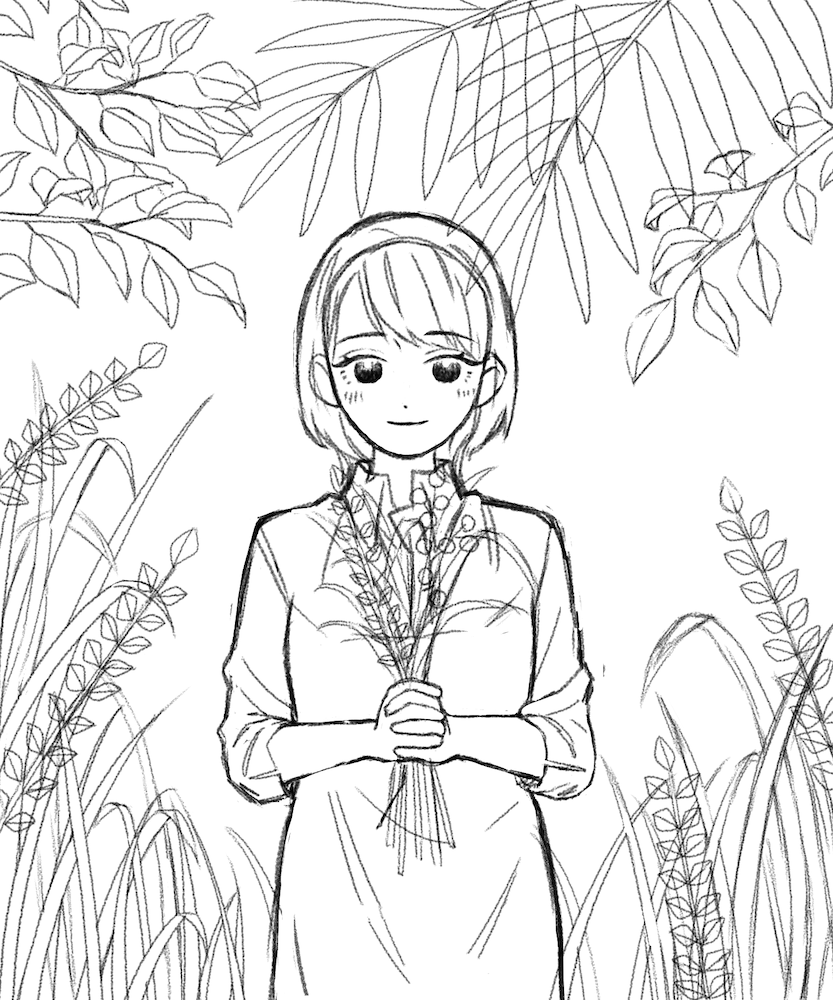
Line Drawing
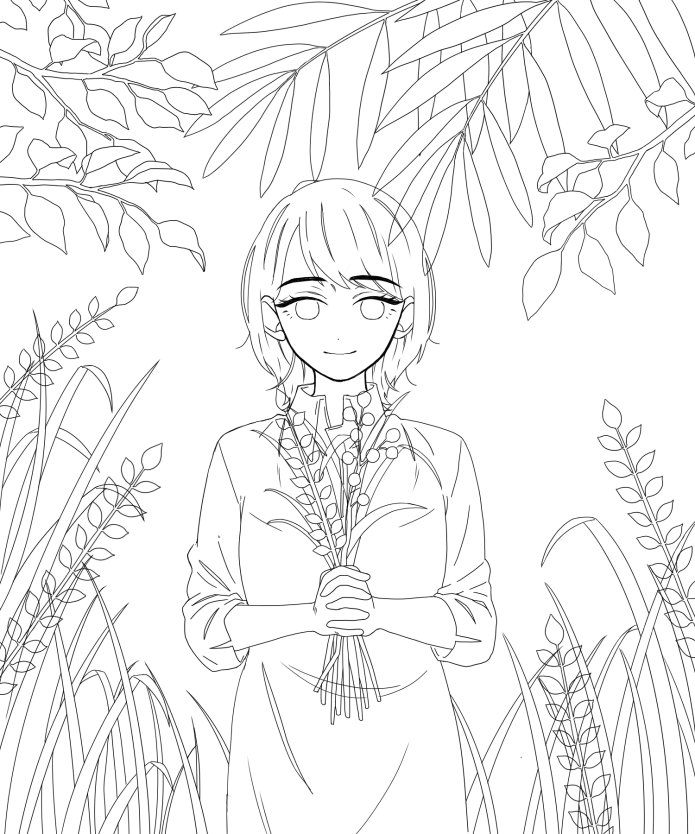
Let’s proceed with the line drawing, based on the sketch you created.
I will start off with the character.

Then the plants.
Create multiple layers to make the drawing process easier.
Leaves ①
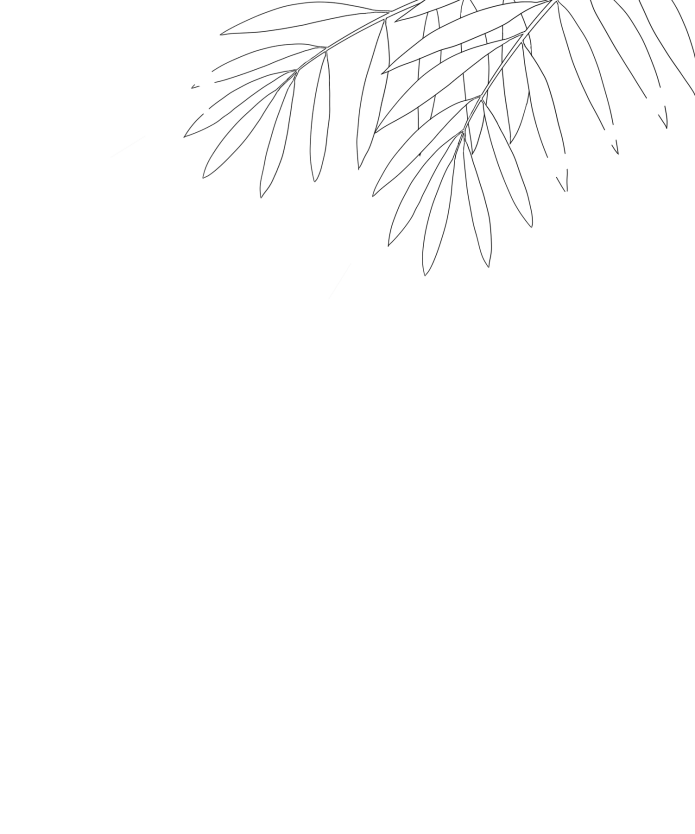
Leaves ②
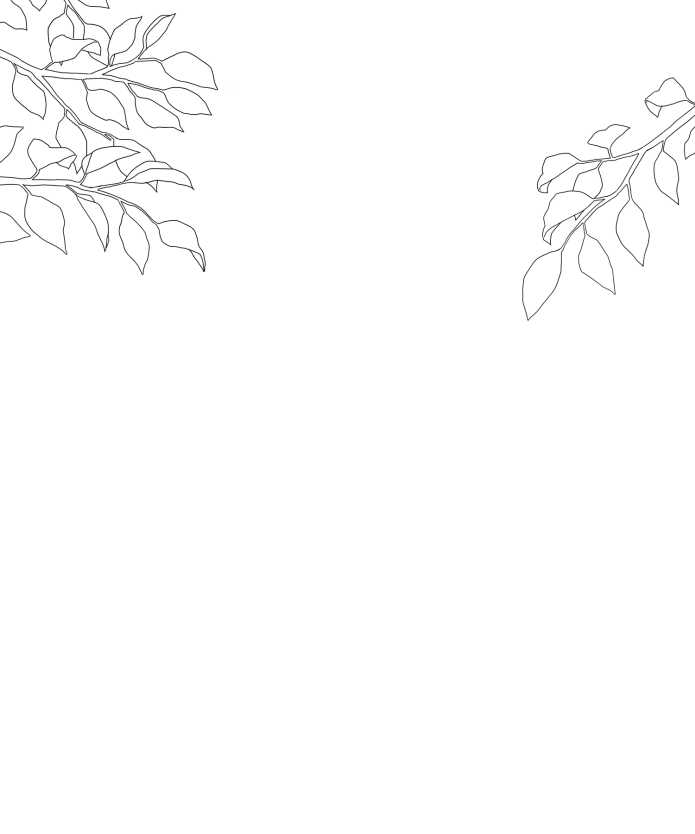
Leaves③
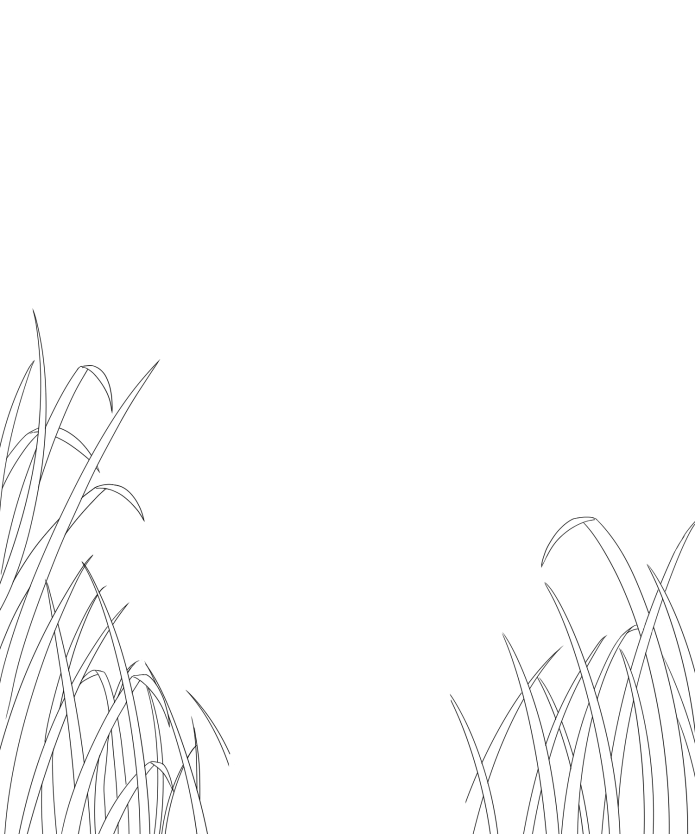
Leaves ④

Bouquet
This is how the line drawing looks with all the layers together.
Coloring
Let’s start painting your illustration.
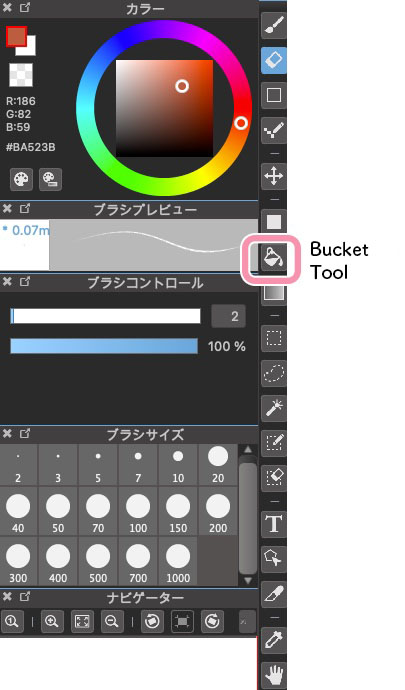
I first want to add color in chunks, so start by selecting the Bucket Tool.
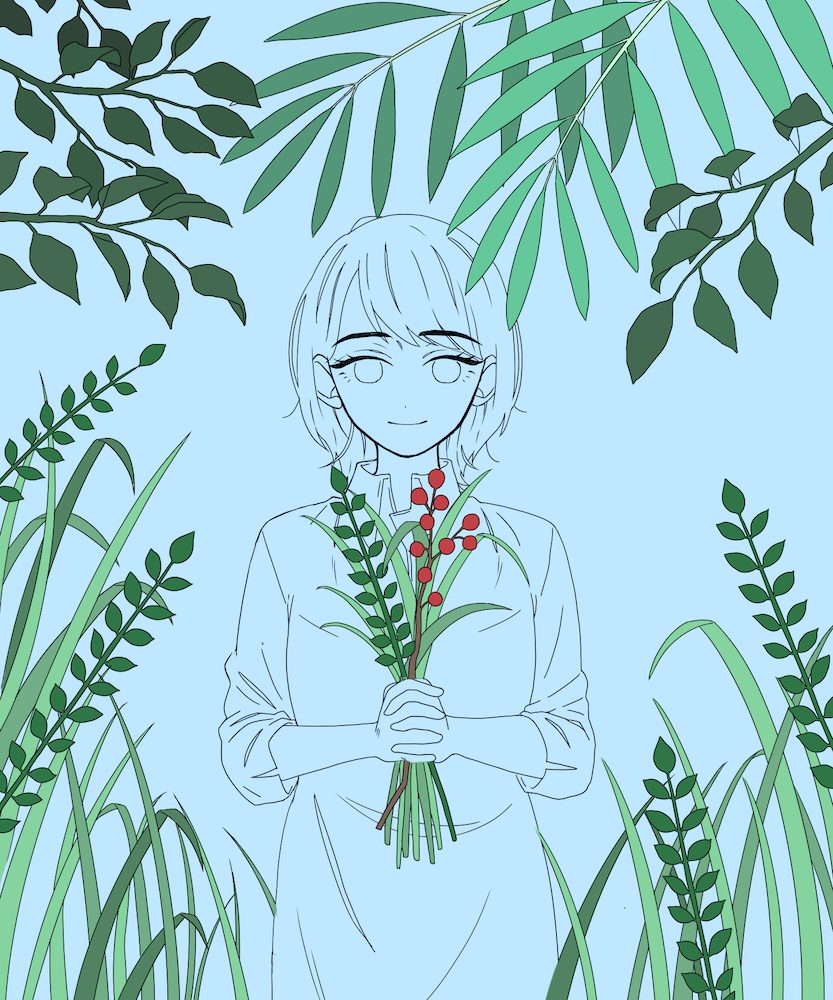
Imagine the final look and color the leaves one by one.
Next, change to the Brush Tool.
I will use the Watercolor brush.
Since the background has only a single blue color, I will paint the background first to create the overall atmosphere.
I wanted the main background to be a sky so I paid attention to where the horizon would be and painted a bright sky blue around her shoulders.
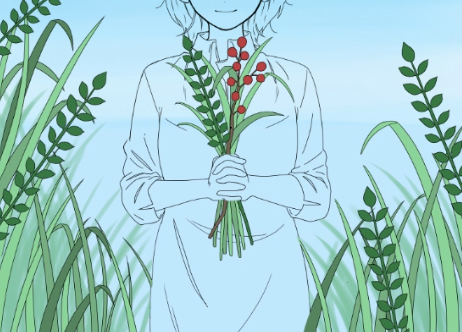
Draw more grasses from the ground to fill the empty spaces.
I created more dark colored grasses at the back.
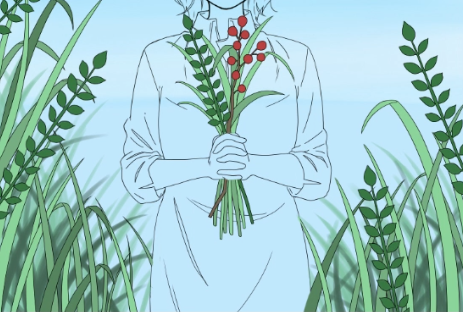
By having both outlined grasses and soft grasses (drawn with Watercolor brush), you can create depth to the illustration.
I spread a bright color to the overall background very softly.
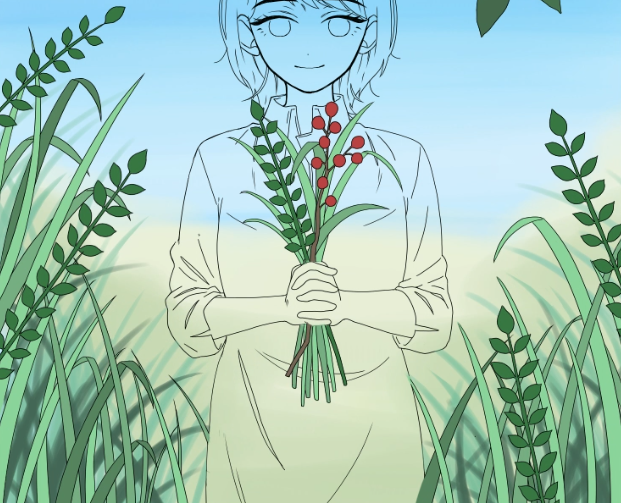
Draw the mountains using a soft green.
Since you want to keep the center point of attention to the plants in the front, don’t outline the borders properly and keep it faint.
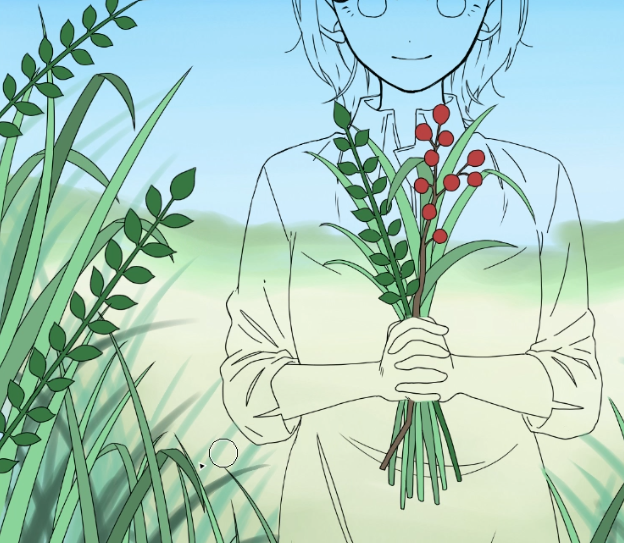
I then created clouds between the sky and the mountains.
I enlarged the brush size and drew soft spreading clouds.

This is how it looks now.

Next, I will draw in the details of the plants.
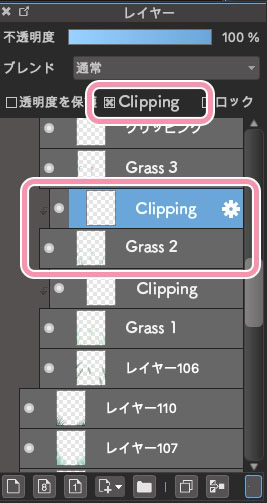
Create a new layer on top of the layer you want to work with, then click Clipping.
With Clipping turned on, you can draw the details efficiently without going over the outline.
I first started with the leaves at the bottom of the canvas.
Add gradation to the leaves as shown below.
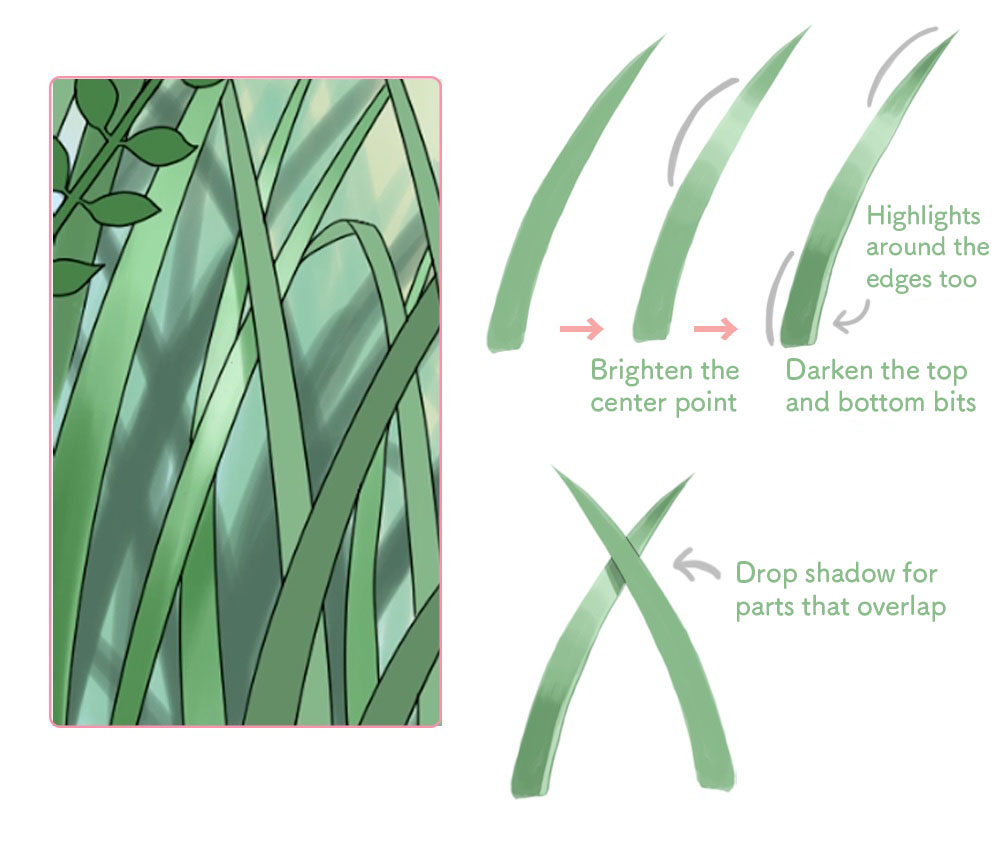
Once you have created a gradation on the leaves, draw in the small detailed patterns.
Use lighter colors for bright parts and darker colors for the shadowed parts.
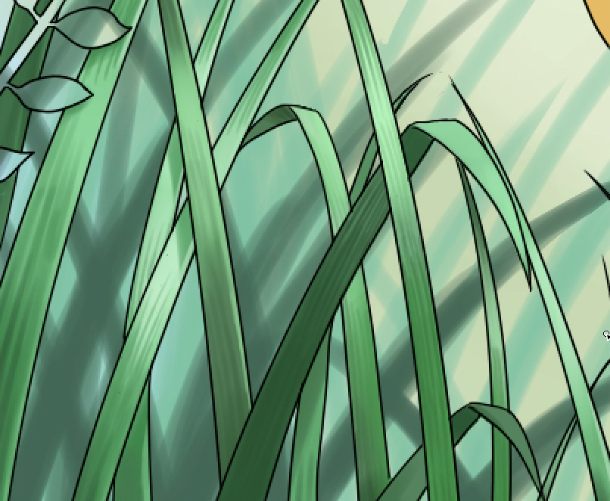
Do the same for the rest of the grasses.
You need the patterns on small leaves as well.
Paint half of the leaf with a bright color and blur the top and bottom of the leaf.
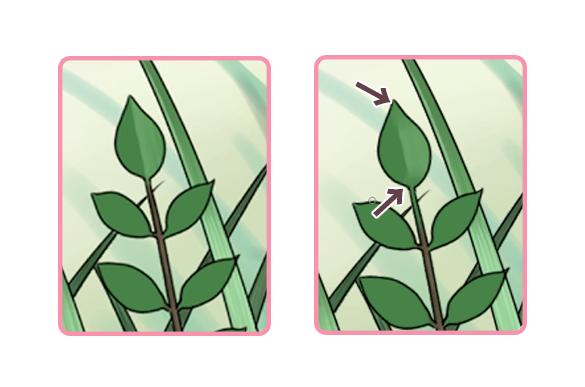
Next, add highlights to the center and the exterior edge, before making a gradation with an even darker color.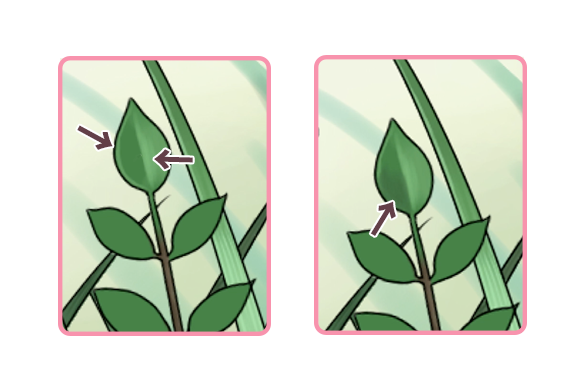
Follow the same steps for all the leaves.
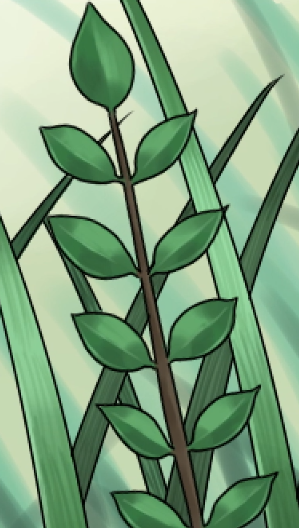
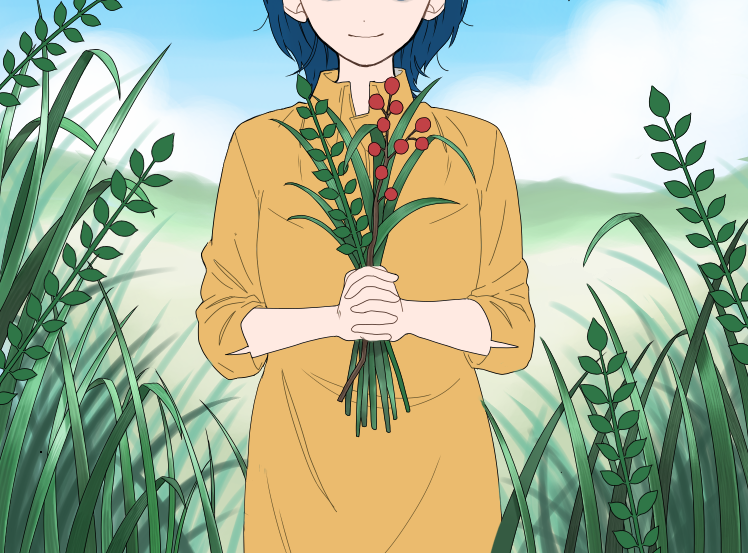
This is the overall look at the current stage.
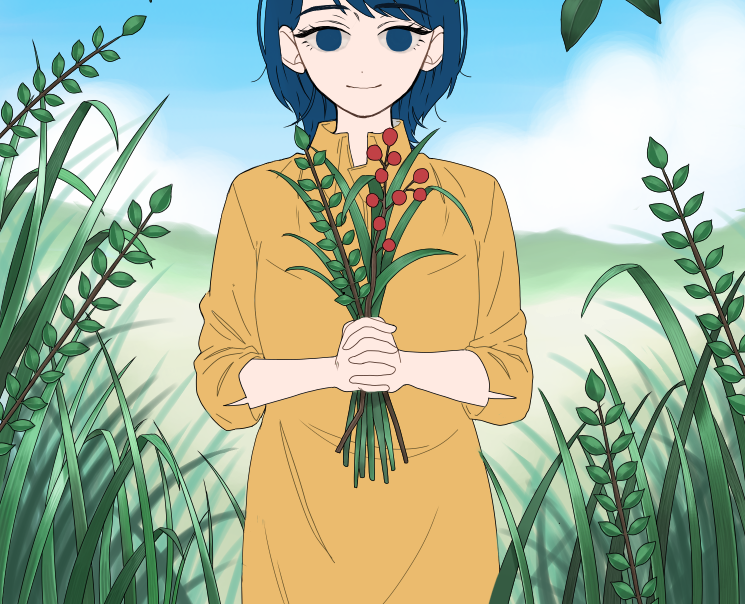
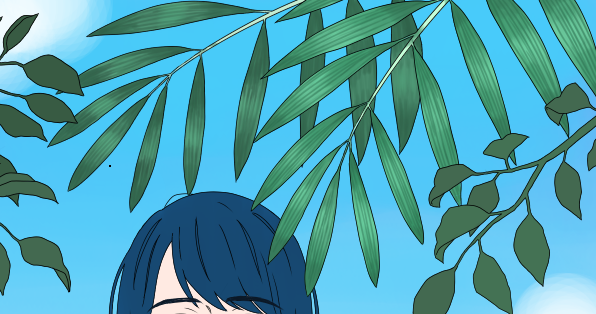
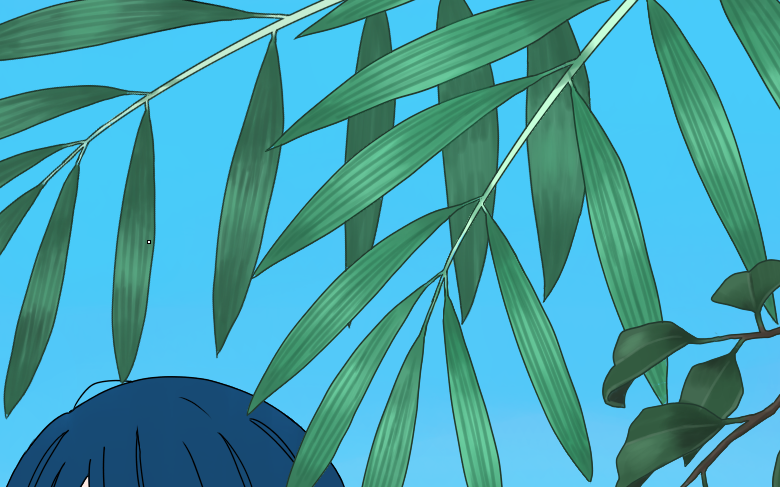
Proceed with the leaves drawn at the top of the canvas.
Since they are all thin, make the roots and the tips dark while keeping the center point bright.
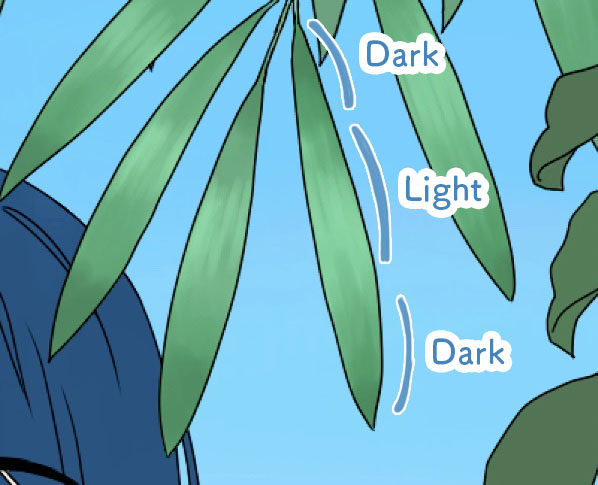
Add patterns along the leaf veins as well.
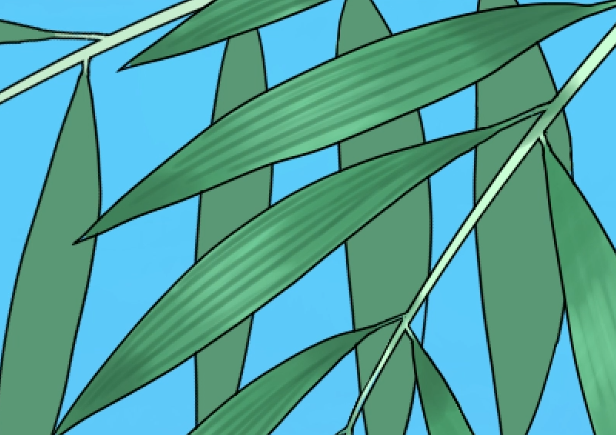
Do the same for the rest of the leaves.
Next, I will paint the branches.
Once you paint with the base color, add a gradation for the shadows.
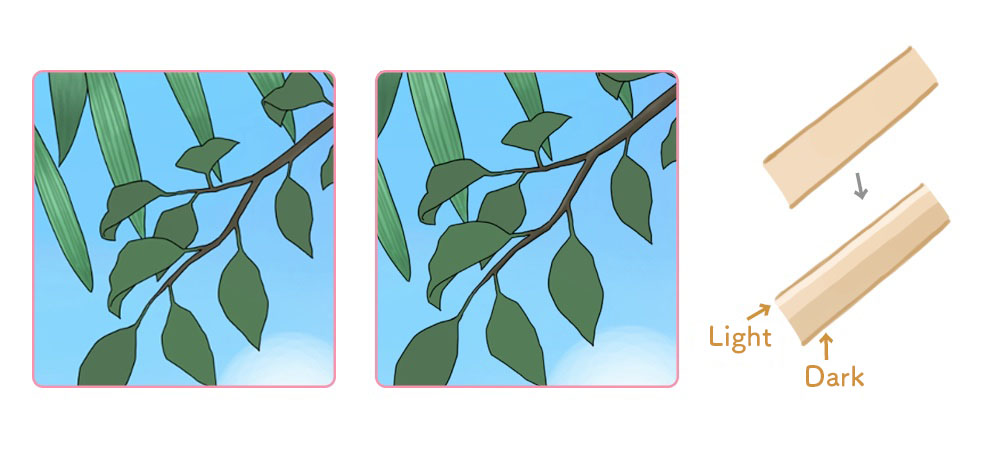
Since branches are in a tube shape, the top should be bright and the bottom should be dark.
The branches here are quite thin so the gradations and shadows don’t have to be perfect.
Start drawing in the patterns.
・Paint a bright color on half of the leaf
・Paint a dark color at the root and the tip, blend well
・Add highlights to the center vein and the exterior edge
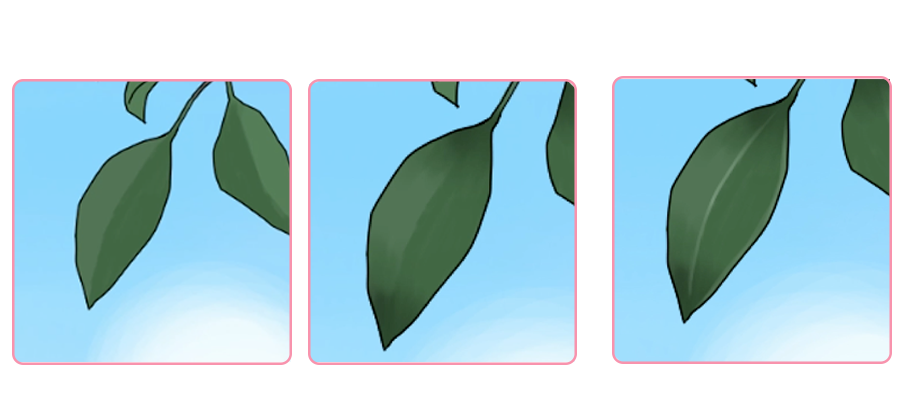
Followed the same steps for the other leaves as well.
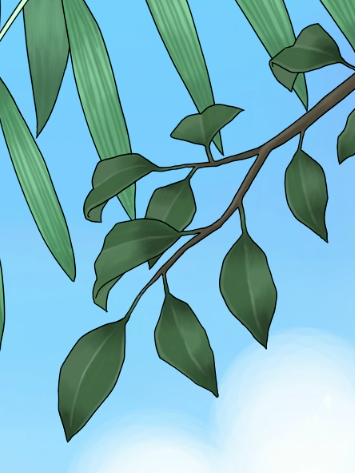
Use a dark color for the back of the leaf as well as the shadows.
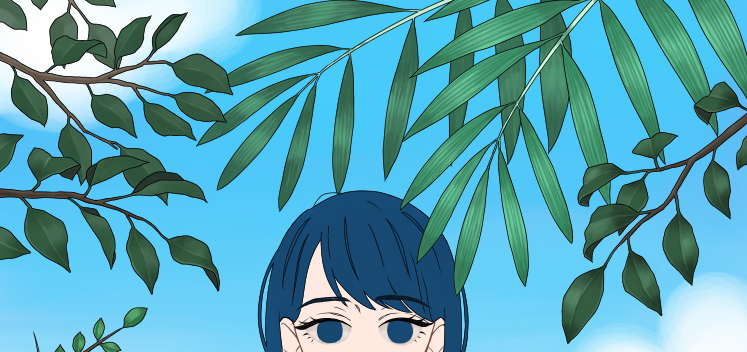
Now all the plants look like this.
I will now color the fruits inside the bouquet as well.
Paint the base color and start shading everything except for the bright tip.
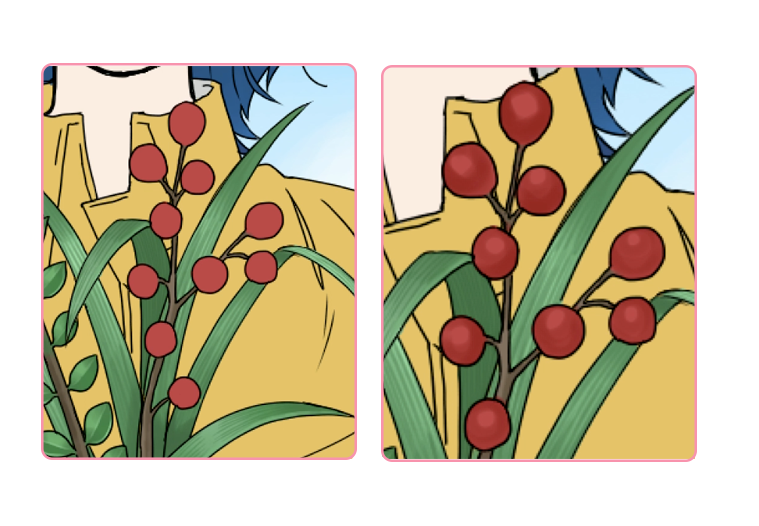
Paint with a bright color along the edges (you can stress the sphere shape) and add a highlight.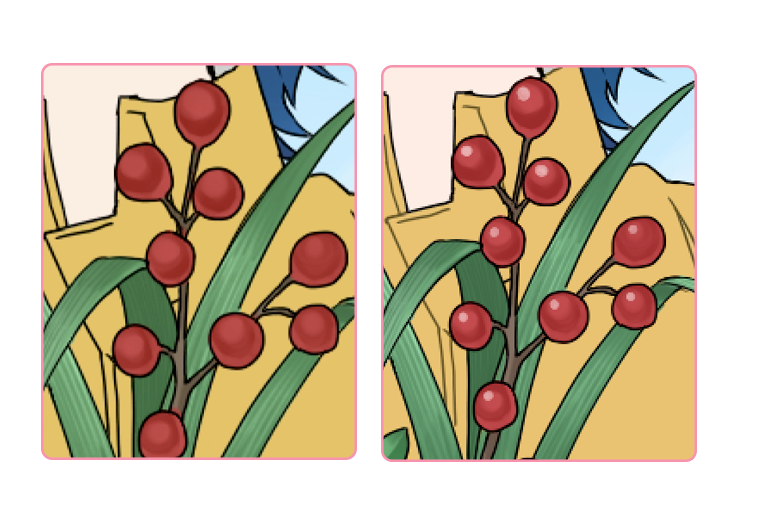
This completes the painting for plants.
Let’s adjust the color of the line drawing.
Create a new layer with Clipping on top of the line drawing layer and spread a dark green.
Now you can see that the black line drawing is blending well with the rest of the illustration.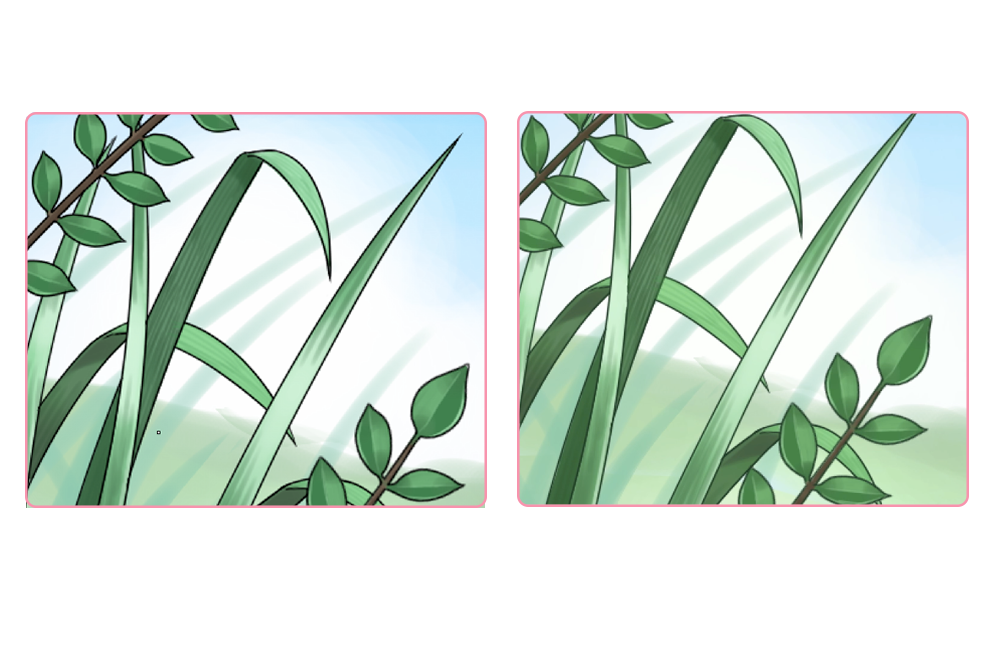
You can perfect the line drawing by changing the shade of green for each plant.
Now I will finalize the character.
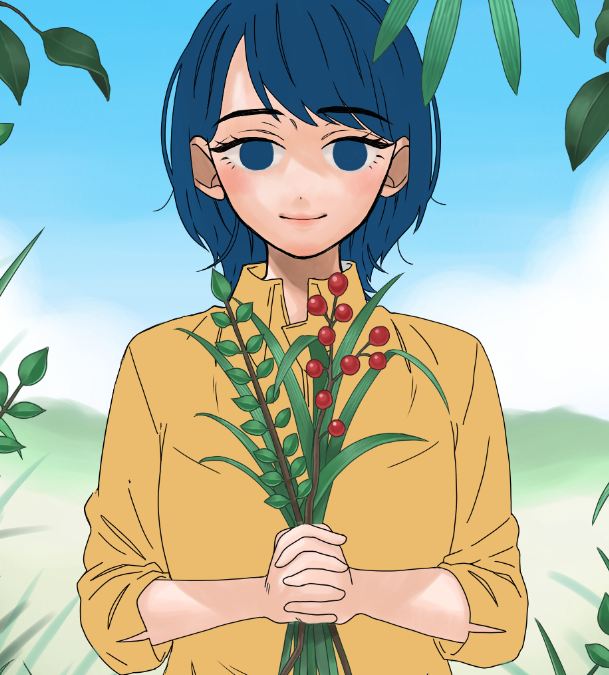
I first painted the skin.
Imagine where the shadows will drop and paint with various shades of the base color.
In this illustration, I dropped a shadow on the face behind her bangs since I placed the light source on top of the canvas.
Next is the hair.
Draw in the shadows along the flow of the hair and add a bright color around the hairline.
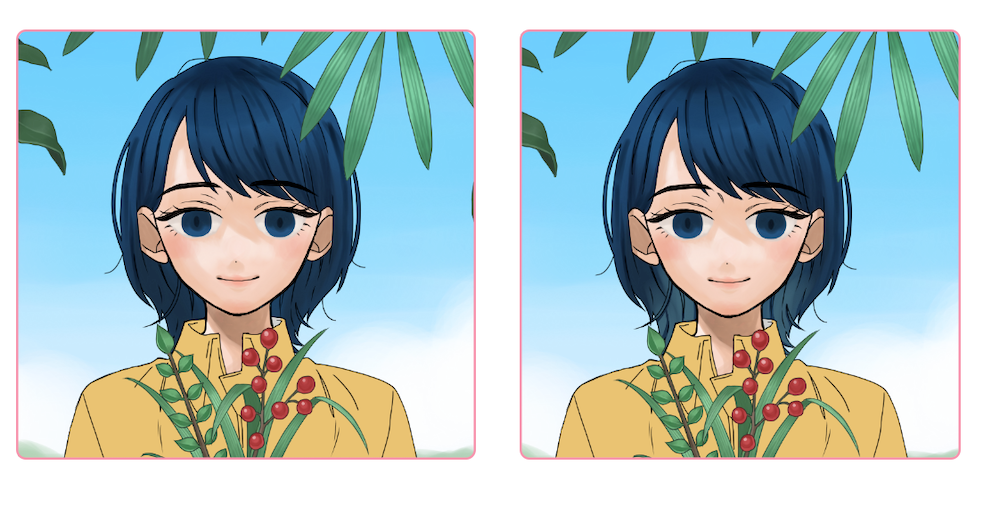
I now added the highlights and also drew in the details of her eyes.
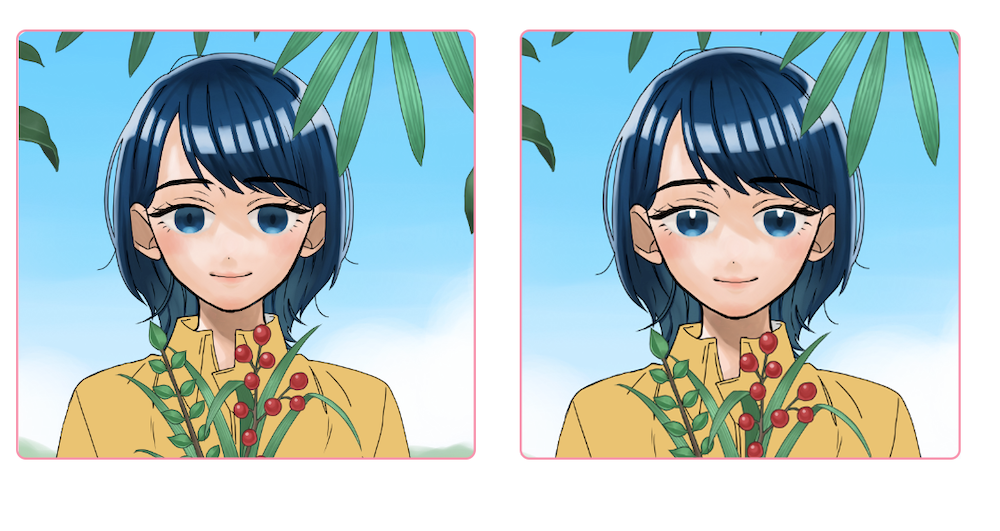
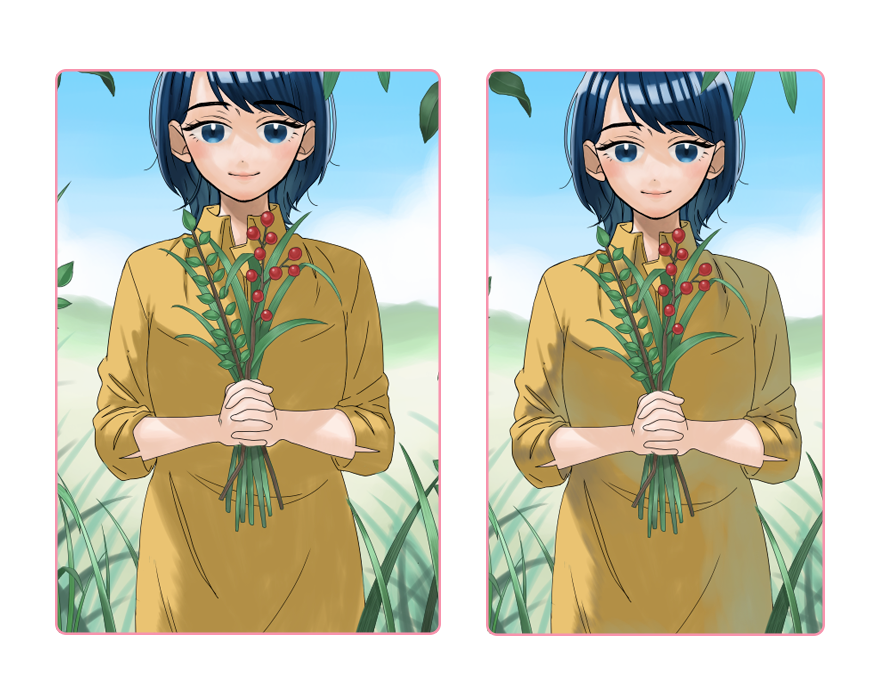
Lastly, I added shadows to her dress and created clarity by layering a pale shade of blue.
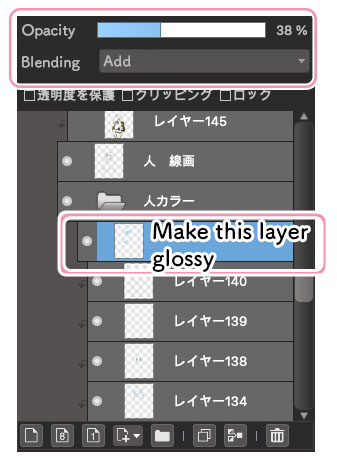
Since I want to add a glow to the character, I will change the settings of the layer after painting a bright blue on the hair and the face.
Change the Blending to “Add” and lower the opacity to your liking.
Now her hair and her expression looks much shinier.
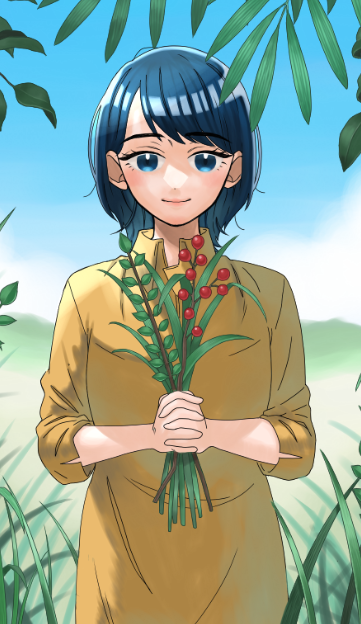
Lastly, change the color of the line drawing for the character with Clipping as done earlier.
I used a dark beige for her outfit and brown for her skin, ears and around her jawline.
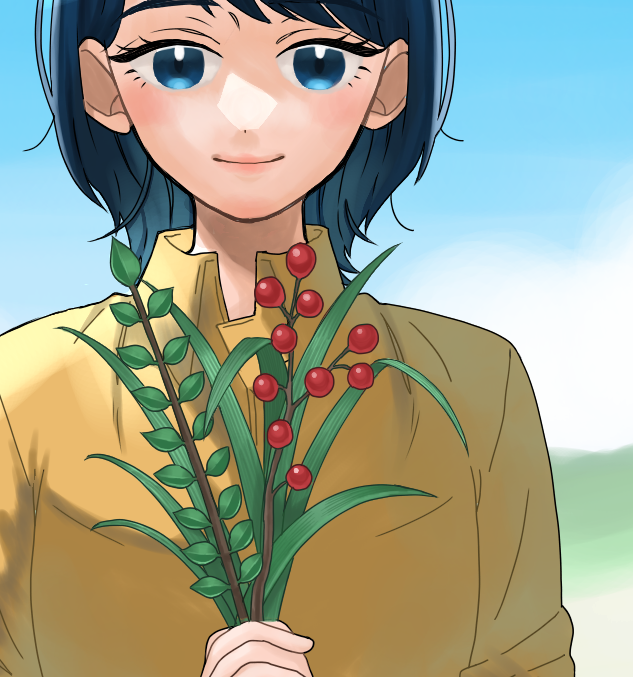
This completes the making of this illustration!
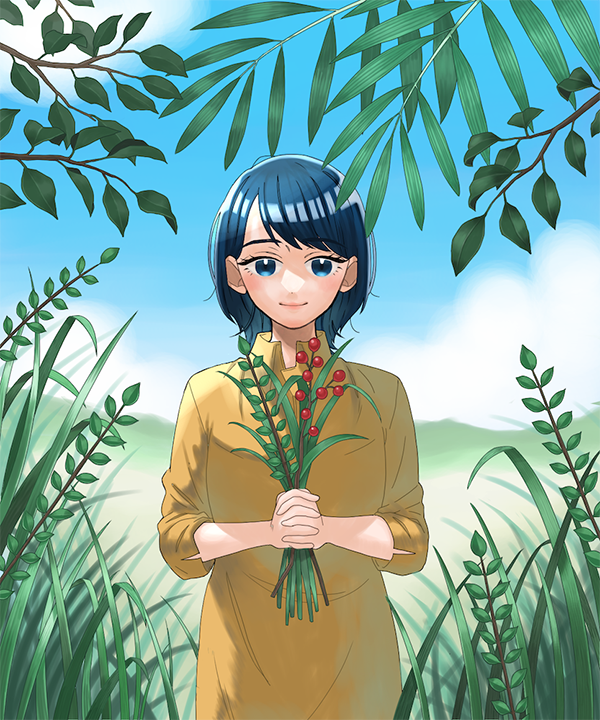
Illustrations with a natural background does not require you to use perspectives but I know many of you find leaves and plants difficult to draw.
I hope you can give it a try, following the steps I explained here!
Thank you for reading this article.
(Text・Illustration/荒金ひろみ)
\ We are accepting requests for articles on how to use /

