2023.04.13
Let’s use MediBang wood brushes to draw realistic trees
If you want to draw nature for your backgrounds, you will find the Wood Brushes useful.
There are three types of Cloud Premium (paid) brushes available in MediBang Paint: the Wood Brush, the Broadleaf Tree M and the Coniferous Tree M.
In this tutorial I will show you how to use the brushes to draw trees.
I will also try to be creative with the trees drawn by the brushes. I hope you find it worthwhile.
MediBang Paint Brushes to Draw Trees
First of all, let’s have a look at the brushes available in MediBang Paint for drawing trees.
Wood Brush
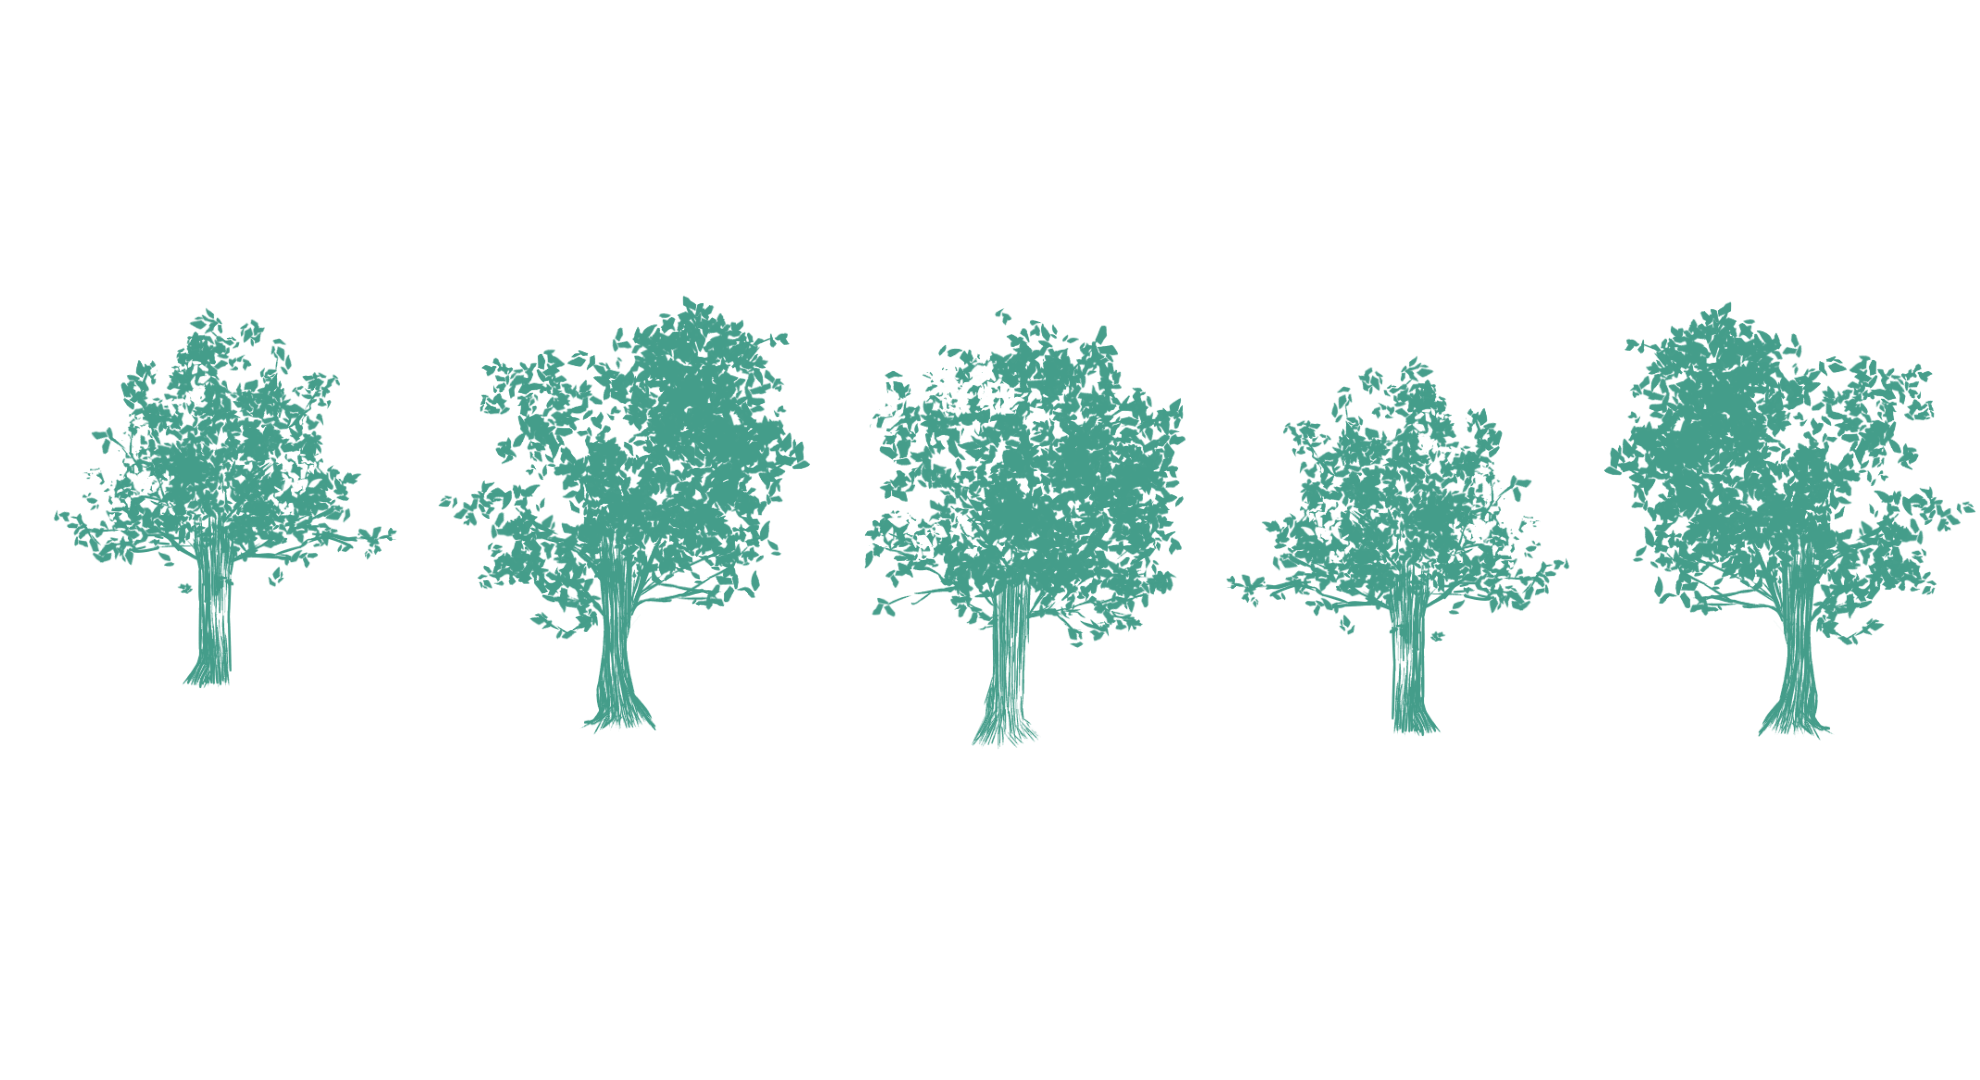
The Wood Brush is a cloud brush available in MediBang Paint.
This brush is capable of drawing various shapes of tree silhouettes.
The silhouettes have distinct lights and shadows, so if you leave the lit area of the trees undrawn, the brush can be useful for manga works or monochrome illustrations.
Broadleaf Tree M
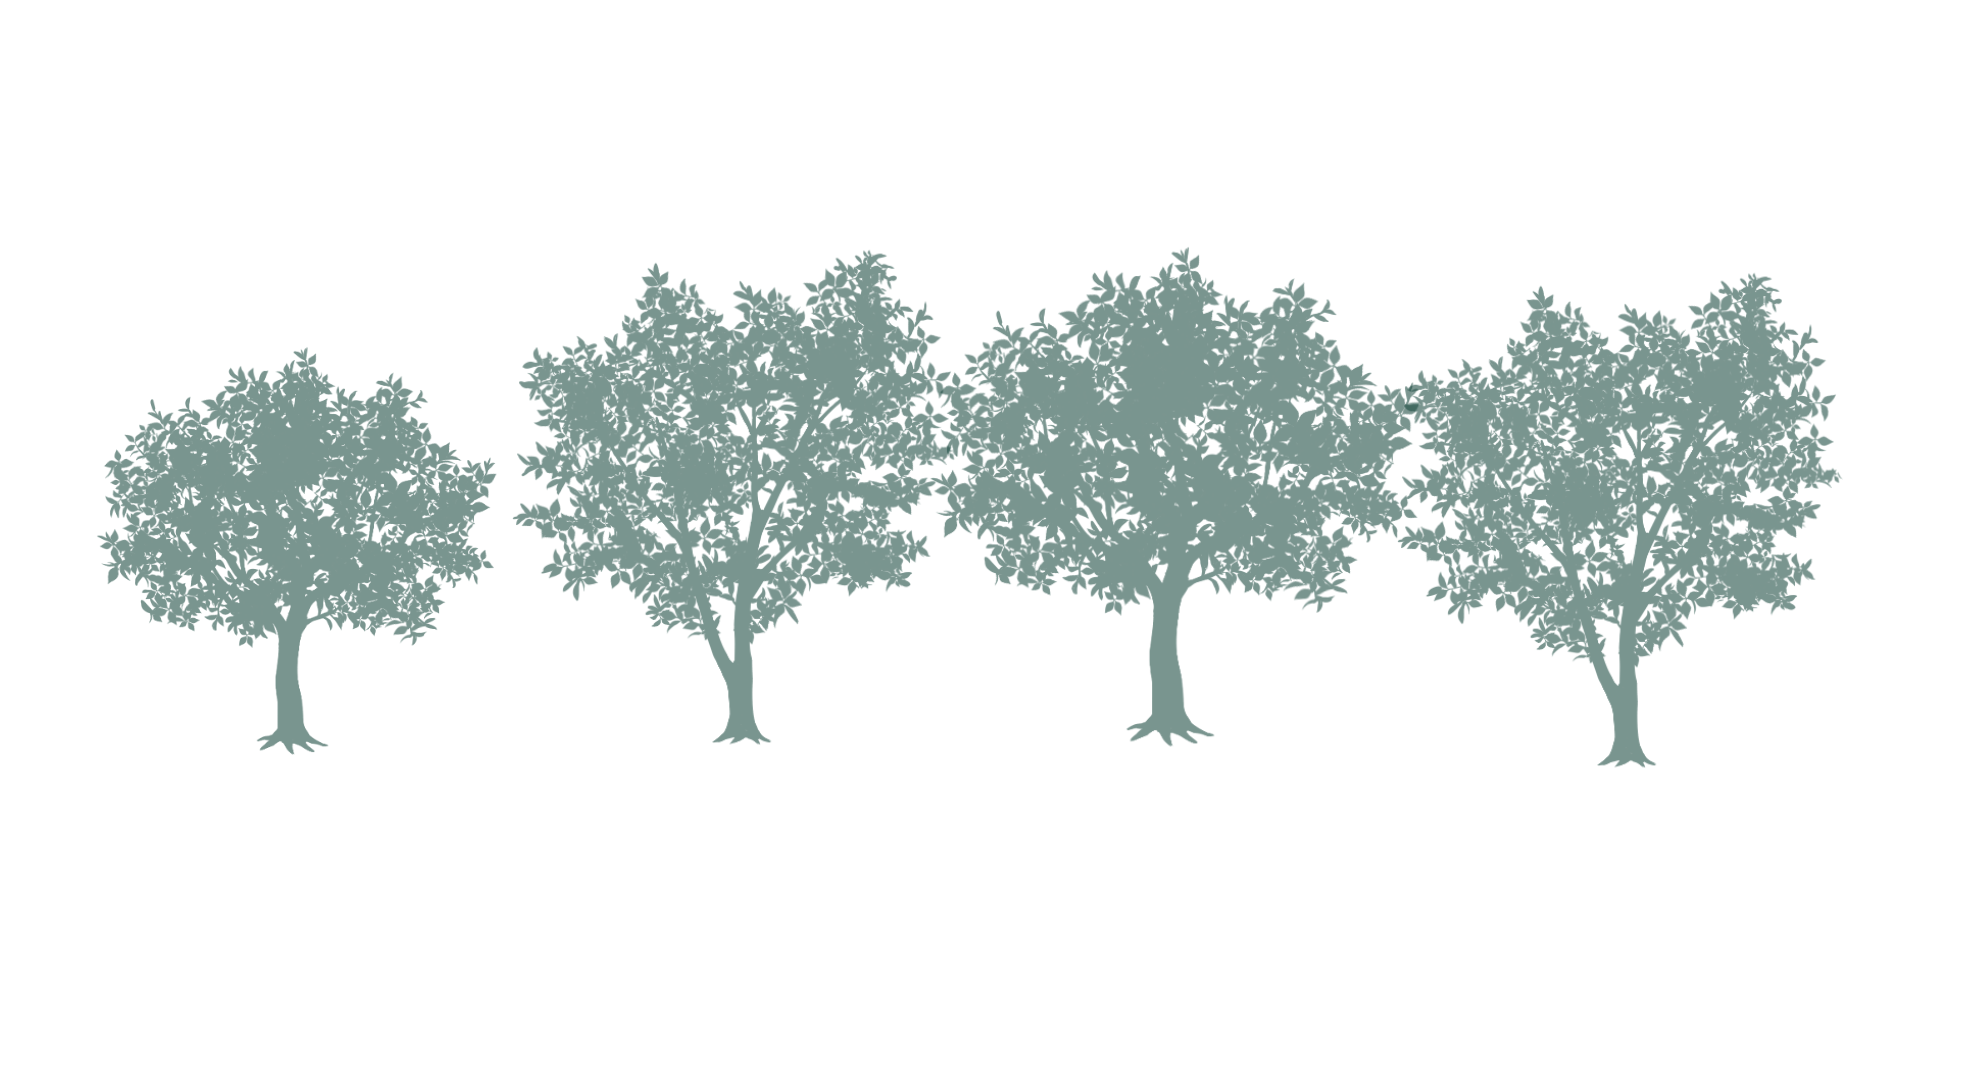
Broadleaf trees are those with flat, large leaves, such as cherry trees and maples. The whole picture of the trees has a rounded silhouette.
The trees are painted in one color as a whole, so you can add colors later if you like.
Coniferous Tree M
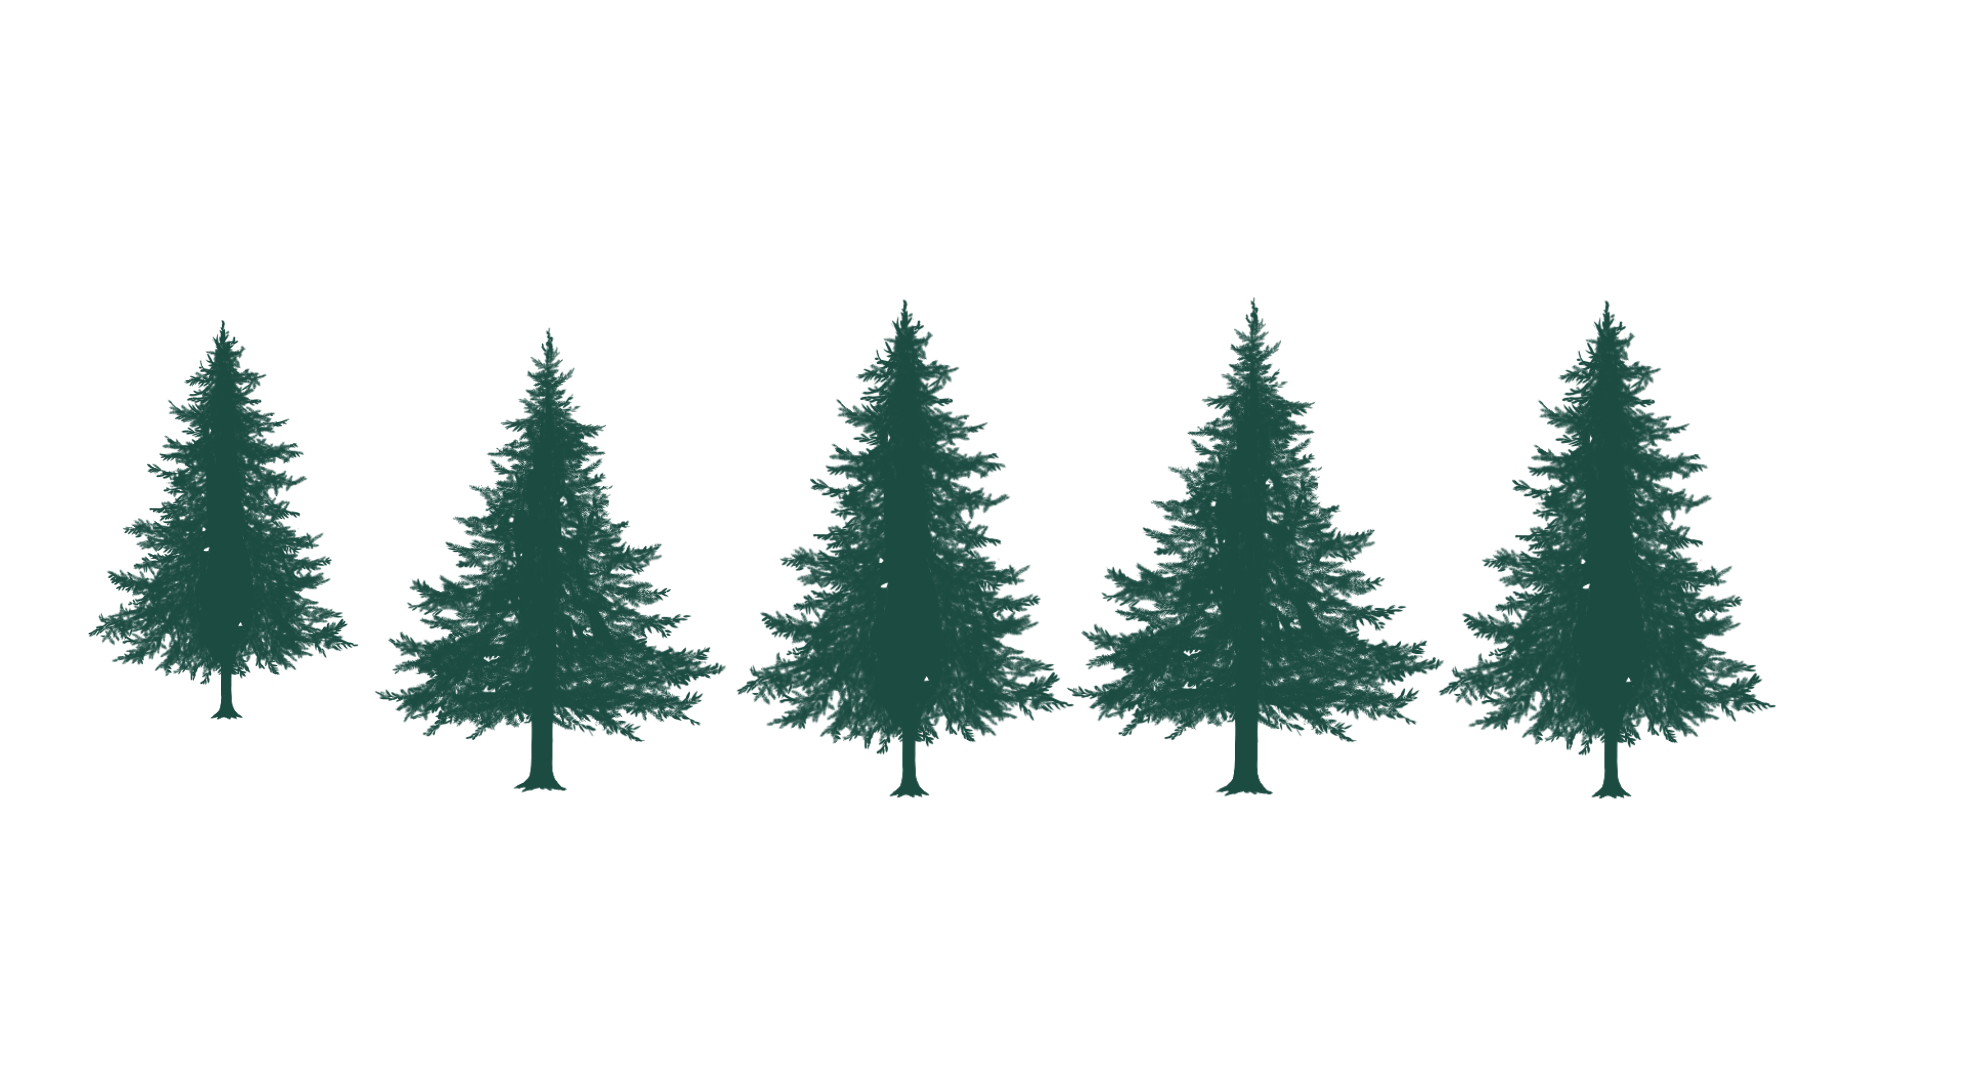
Coniferous trees are trees with spiny leaves, such as firs, cedars and pines. The whole image of the trees has a sharp silhouette.
As the trees live in cold areas, you would find the trees useful for winter or Christmas illustrations.
Let’s Use the Wood Brushes
Now, let’s use the wood brushes for illustration work.
Using as Silhouette
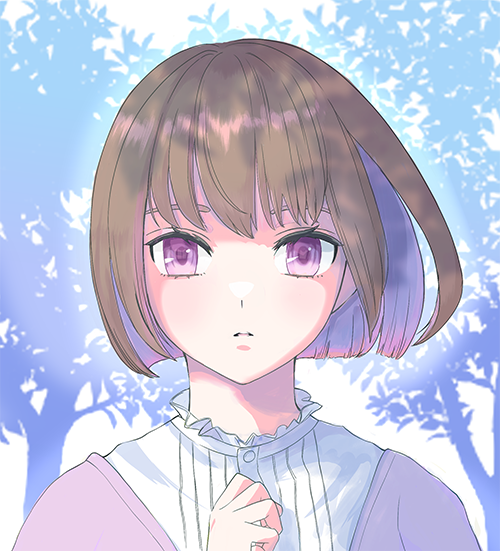
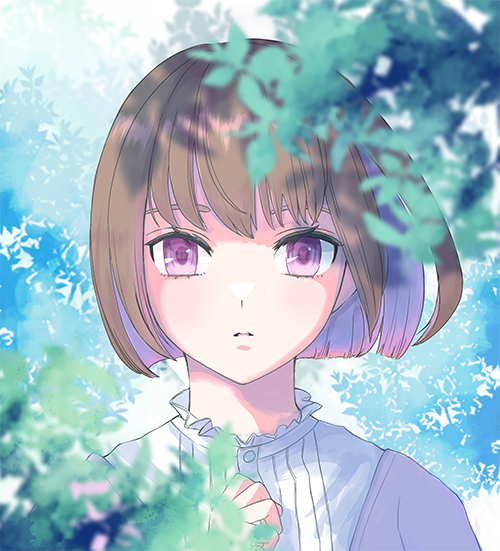
At first I used the brushes simply as silhouettes in the background of the illustration.
You can easily draw trees in the distance and describe the atmosphere as if the character were in the middle of a forest.
Painting Trees
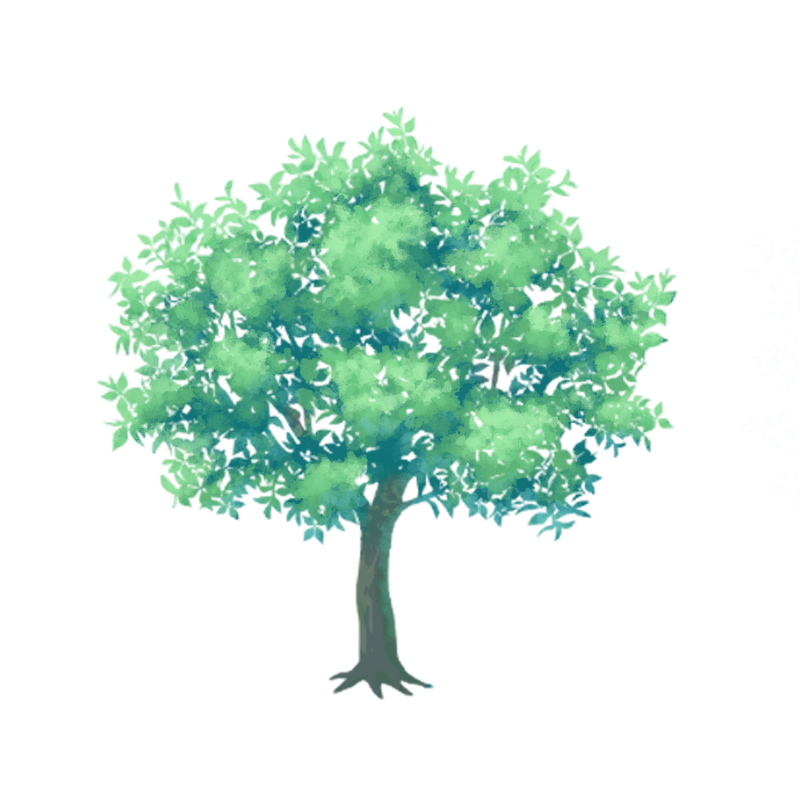
Next I added colors to the tree brush.
It takes a long time to draw trees without the brush, as it can be difficult to consider the placement of the leaves or the proportions of the whole image. However, the Wood Brush already has a tree silhouette, so I was able to save time.
Adding colors enables the trees to be placed in the near distance, and saving the colored tree as a transparent image will also help you to use the tree for other illustrations.
【Coloring Steps】
▶︎The brush I used: the Watercolor (rough)
① Use the dark green to paint the tree as if you were drawing a rough circle.
② Use the lighter green to paint the area, which is narrower than before.
③ Use the yellowish green to paint the area where the light hits and make the color blend by reducing the opacity.
④ Paint the reflected light.
⑤ Finish by drawing the trunk.
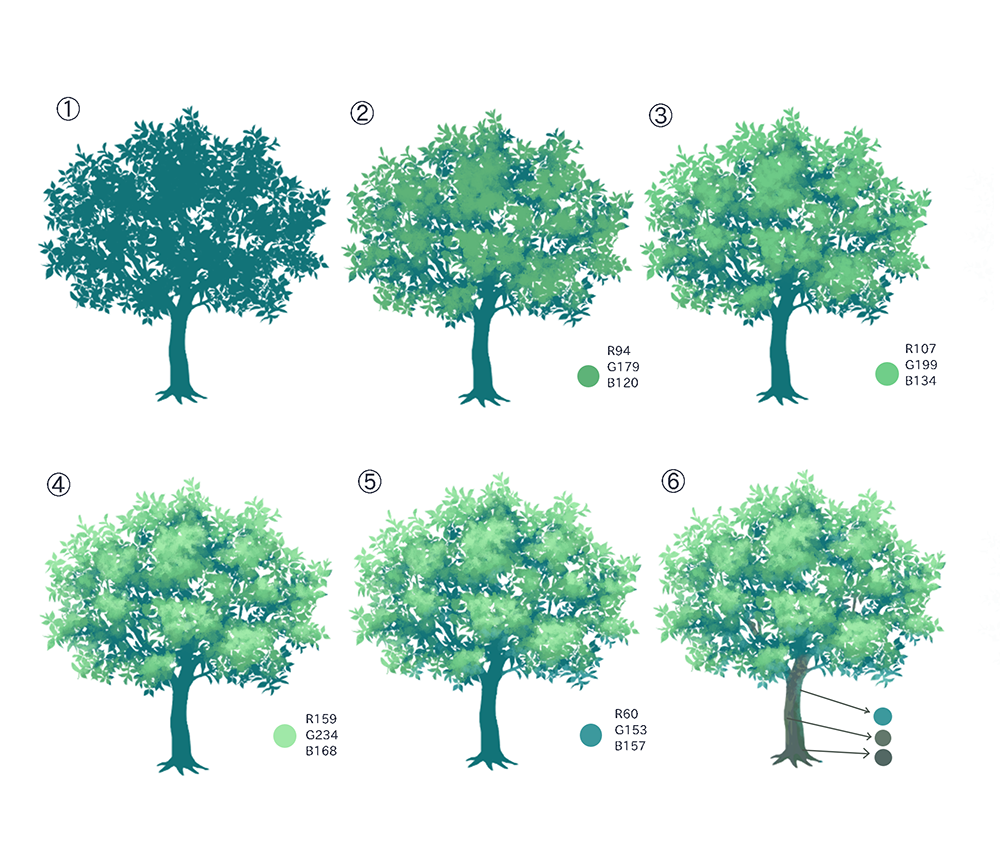
I have painted the tree in green this time, but if you paint the leaves in pink or green you can draw cherry blossoms or maples.
If you save the painted tree in mdp format, you can adjust the color balance of the leaves later.

You can also change the color by hue function from the filter menu after merging the layers into a single image.
Although I recommend that you save each layer in mdp format for easier editing, as changing the hue may deepen the shadows too much.
Save as png (transparent) if you are using it as illustration material.
Using the Leaf Fragments

Now we’re going to use the part of the leaves, not the whole image of the tree.
The brush is so useful that it can be flexibly zoomed in and out, yet the zoomed lines retain their high resolution to some extent.
Using as Shadows
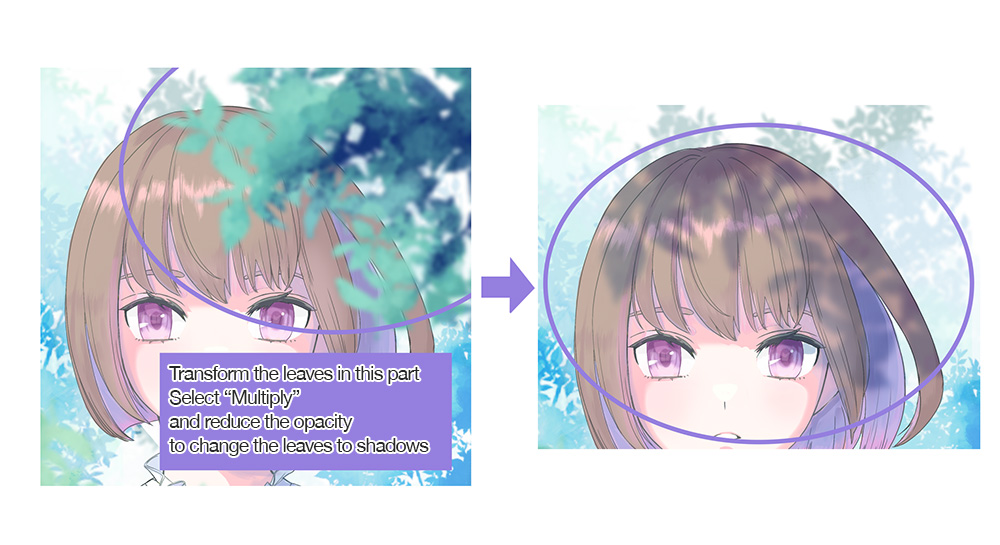
You can draw the shade of the tree by setting the layer blending of the leaves layer to “Multiply (or Burn)” and reducing the opacity.
Those who are not good at drawing the light coming through the leaves may find it helpful to draw the shades in this way instead of drawing the lights.
(Text・Illustrations/Amane)
\ We are accepting requests for articles on how to use /

