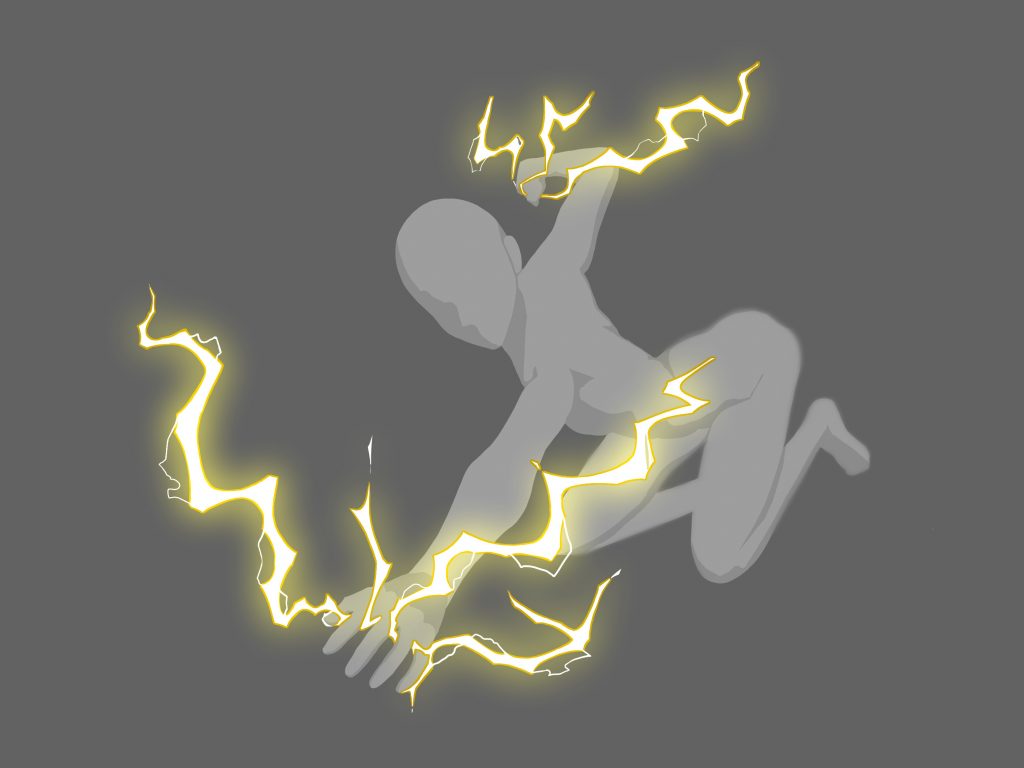
2023.05.30
Draw lightning effects! Use the brush to improve the quality of the electric shock!
Lightning effects can be applied to any character with an electrical motif! If you can draw them well, you can create illustrations with current of electricity that look as if they are making sparking noises. Their detailed impact effects are also useful for describing the emotion of surprise.
However, I know that quite a few people have problems drawing lightning. Or there must be a lot of people who think, “I leave backgrounds white because I’m not good at drawing lightning, and it looks sloppy”, “I want to draw better lightning because it’s the motif of the character”.
So today I want to tell you how to draw lightning with a brush, which is the recommended way for those who think that way. I hope you will refer to it, as I will be giving examples of actual applications.
You can download the brush from the link below.
https://medibangpaint.com/en/material/mb905111/
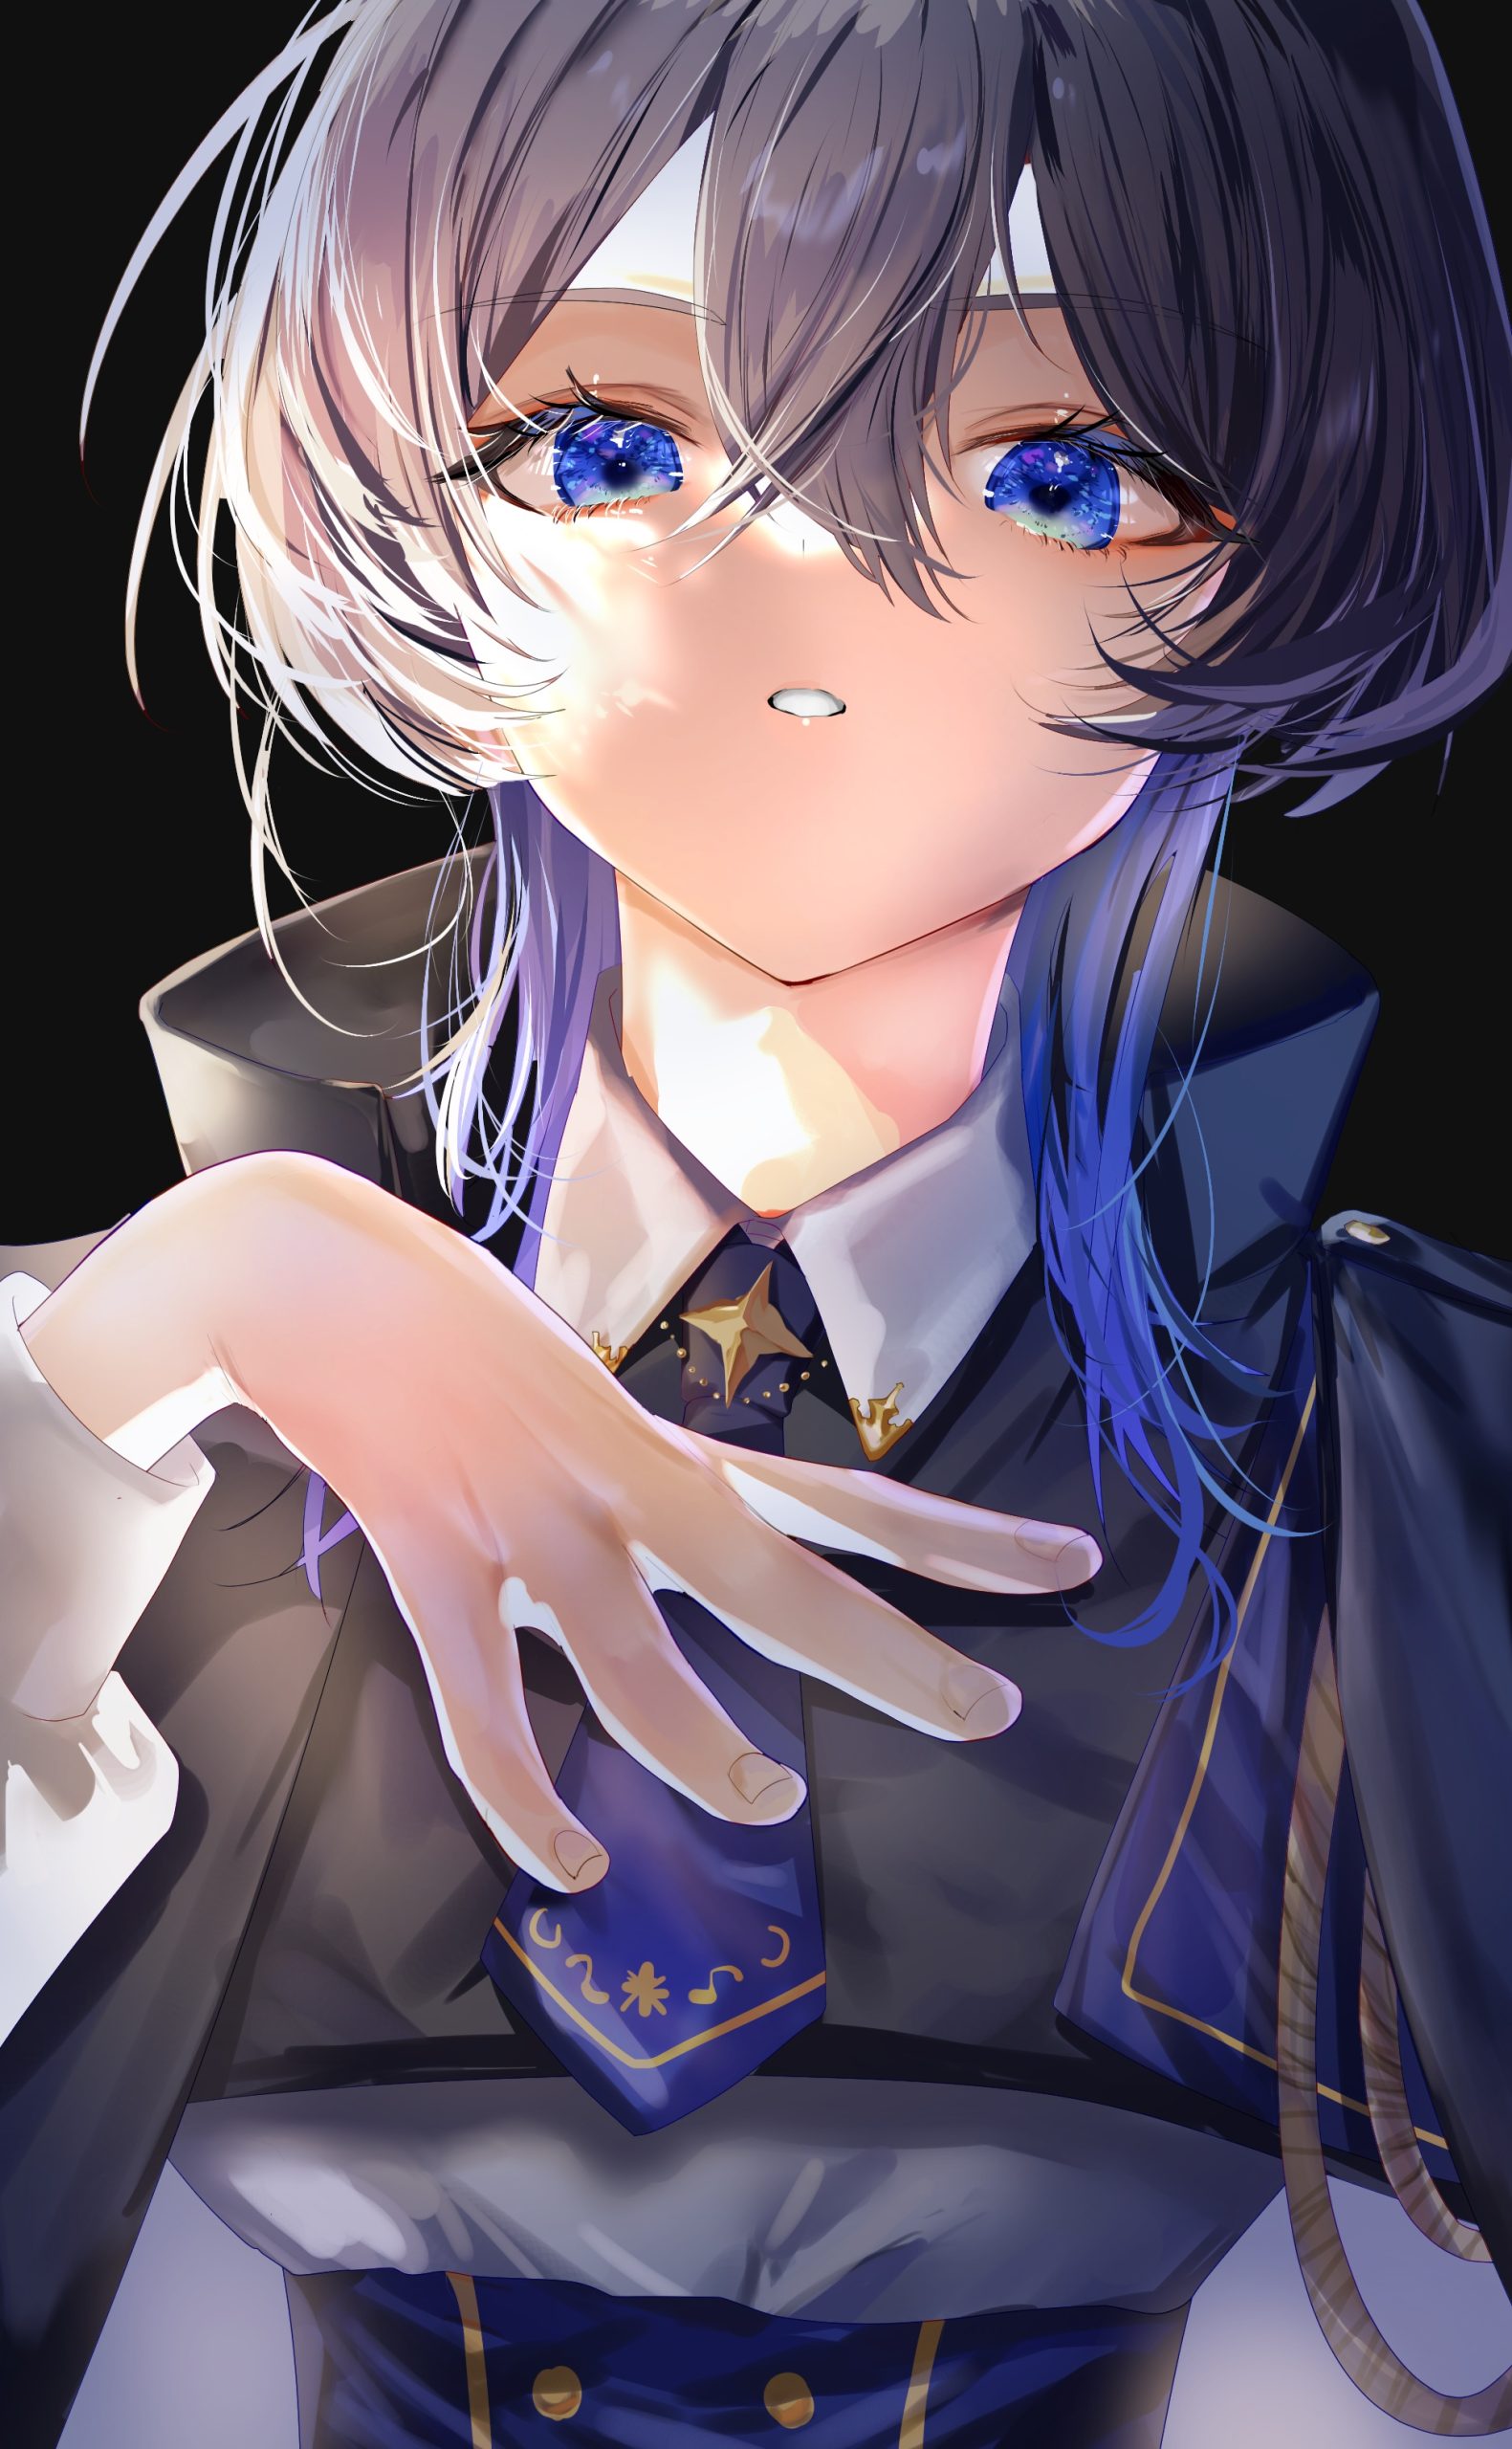
The image below is what we are going to create in this article. We are going to add lightning effects like this!

The necessary steps are below. The steps are so easy once you get used to them, so I want you to learn the procedure exactly.
- Erase the area where the light hits and add shadows
- Draw lots of lines to represent the lightning
- Add colors to the lightning
- Add a sense of speed with Gaussian blur
- Finish with environment adjustments
It requires some detailed work, so work on it carefully.
[Add shadows]
First, add shadows to the canvas, except for the area where the light effects will be added. If you draw the lightning effects without shadows, the illustration will look monotonous, as if there were just white lines. Adding shadows gives the illustration a three-dimensional look and makes the lightning more realistic.
Add a new layer on top of the layer

Add a new layer on top of the layers. As this illustration is mainly black or purple, the shadow colors need to be the same. Fill the character with the grayish purple.

Select the Airbrush and use the Transparent Color to erase the area where the light hits

Use the Airbrush to erase the area where the light is shining. Set the color of the Airbrush to “Transparent Color”. Usually we use the Eraser tool to erase something, but the Eraser tool erases the image precisely, so you can’t use it to describe detailed nuances. Erasing with the Transparent Color Airbrush, on the other hand, allows you to add brush textures to your illustrations and create a good nuance of light and shadow.
Set the layer blending to Multiply
Change the layer blending to “Multiply”. This will give the character a contrast of light and dark. Can you see how the way the light hits the illustration has changed? The whole image now has a three-dimensional feel to it and is ready for the lightning effects! This completes the creation of a basement for the lightning effects. Let’s move on to the drawing of the lightning!
Add lightning effects
Now use brushes to draw zigzag lines.
Look at photos of lightning or thunder to help you draw lines. You could draw lines that look like thunder just by drawing lines with your own imagination, but by looking at photos you could learn the length or width of lightning and that would help you to draw thunder that looks real. You could also create a unique illustration using sparks.
You can also look at illustrations. Search for “lightning effect” or “lightning illustration” and you will find many works. Choose the one you find useful and, if you like its expression, adapt it to your own style.
By using both photographs and illustrations as your reference, you can create an illustration that has a unique originality, with both realism and illustrative qualities.
Now I will tell you the steps. Just so you know, the brush for drawing thunder will be referred to as a “lightning brush” in this article.
Set the layer blending of the new layer to Add/Lighten and draw lines

First, add a new layer and change the setting of layer blending. Set the layer blending to “Add/Lighten”.
Then set the foreground color to white. Select the “Pen (sharp)” brush to draw rough lines radially.

I want to draw the lightning as if the character is generating lightning from her hand, so I draw the lightning lines so that they are centered on the hand and spread radially in the direction of the red arrows. It is important to adjust the angle of the line according to where the lightning is being generated.
If you use the lightning brush with thicker width settings, the texture will be like the line of a watercolor brush. This has a different texture to thunder and reduces contrast, so if you want to draw thicker lines, make sure you use the normal pen brush.
You can make the lines look more like lightning by making them zigzag rather than straight. And don’t forget to randomly vary the width or length of the lines.
Also, too many lines will give too much impression of thunder and blur the whole image of the illustration. Adjust the number of lines according to the balance of the illustration.
Use the Lightning brush to draw more lines around

Use the lightning brush to add finer lines around the main lines. You can describe faint or reflected light by making them thinner than the lines we’ve drawn before. As before, be careful not to draw too many lines and check the balance of the whole image.
If there are too many thick lines, adjust them to make them thinner. Also adjust the length of the lines to create different types of thunder.
Duplicate the Add layer and fill in the canvas with the image color of the character or the lightning
Duplicate the layer on which we’ve drawn the lightning and select the lower layer. Check the Protect Alpha box and fill the whole layer with the color you like.
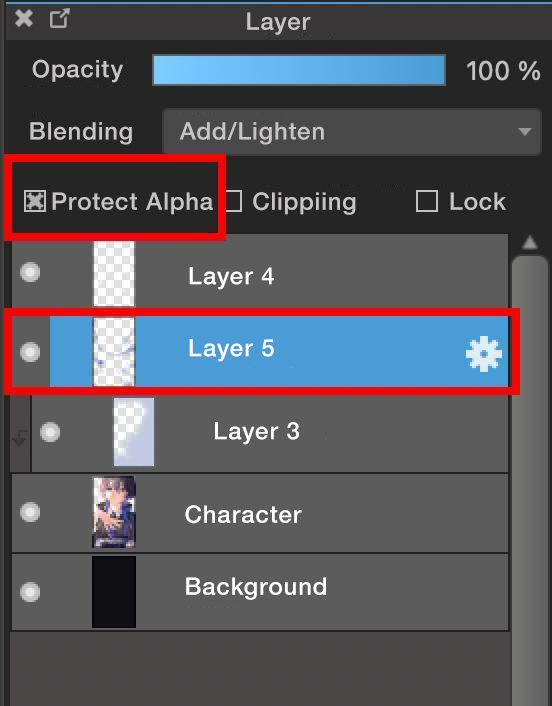
I filled the layer with blue this time.

At first glance there seems to be no change, but if you look closer you will see that the blue has become deeper. You can choose any color to match the coloring of the illustration, but blue or yellow will make the lines look more like thunder.

Use the Gaussian blur to give the two Add layers a sense of speed
Once the lightning has been drawn, it is time to adjust the texture. The tool we will use is the Gaussian blur. Adjust the value of the Gaussian blur and add blurs to give the thunder texture as if it were making sparking noises. You can select the Gaussian blur from the Filter menu.
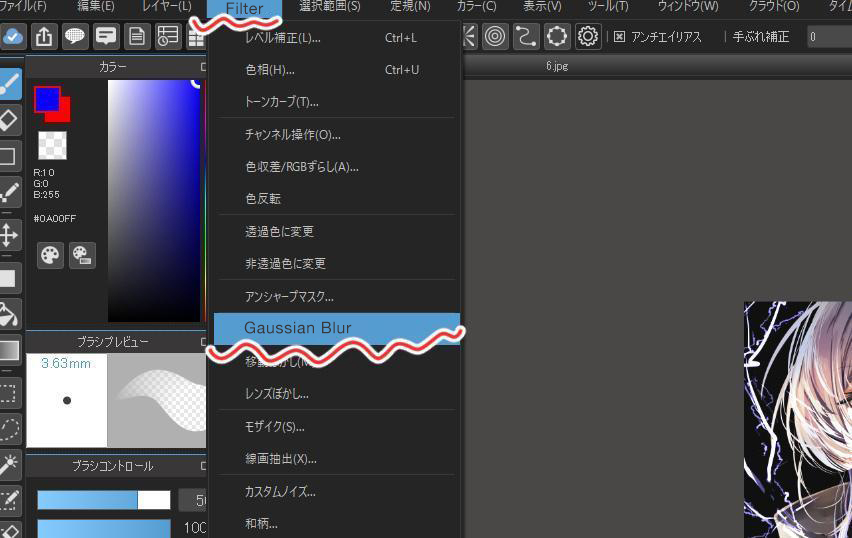
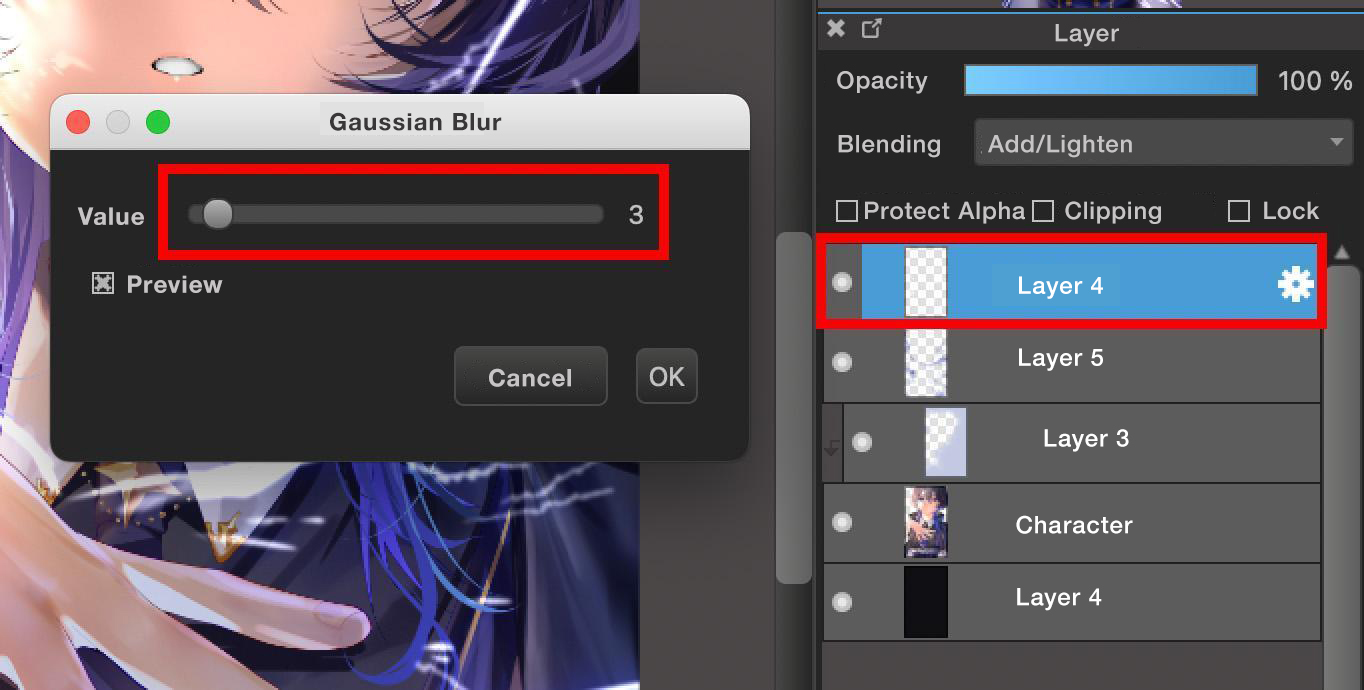
The value for the white thunder lines on the top layer is about 3. These lines are the main parts of the thunder effect. So be careful, a strong blur will blur everything on the canvas.
In contrast, the blur value for the colored thunder layer below the canvas is about 30. We want to preserve some of the color of the lines, so we use blur to give a sense of movement.
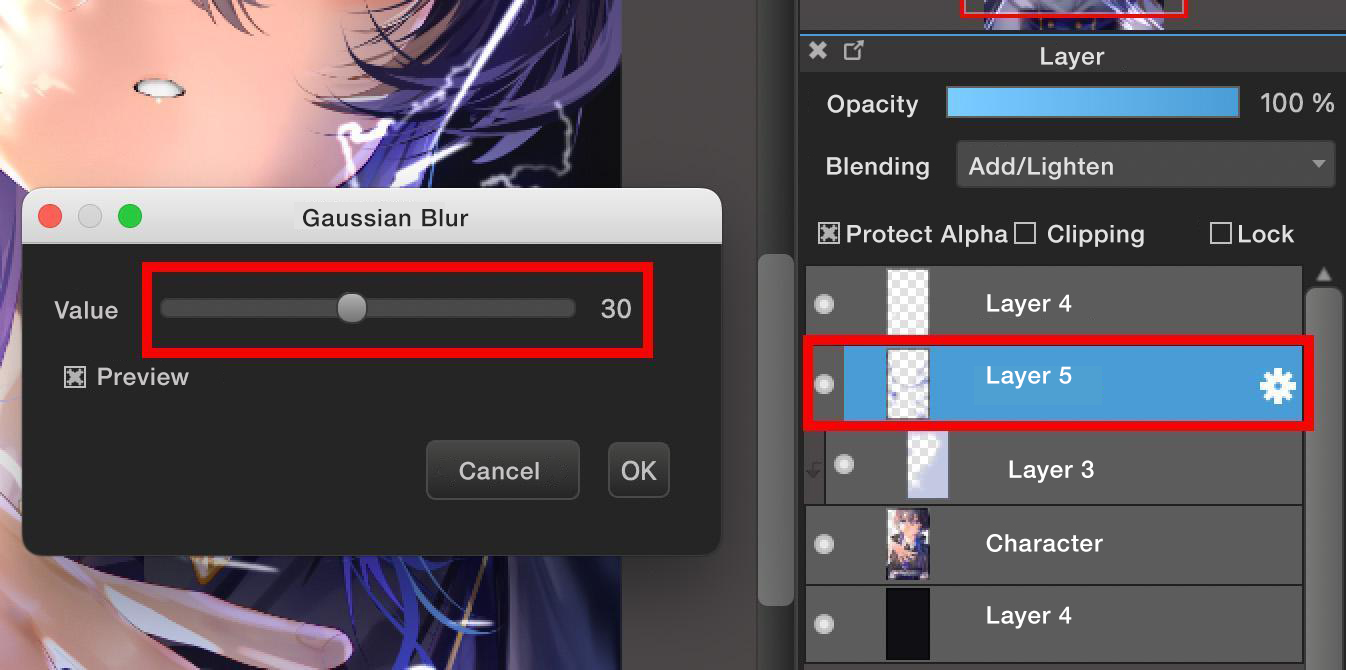
Set the value of the white blur to be less than the value of the colored thunder layer to make the white lightning stand out. The texture gives a solid impression of thunder and makes the lines look like the lightning in photographs. The blur also gives the lightning a sense of speed, which makes the illustration dynamic.
This completes the blur step and the image looks like this.

Add details to the area around
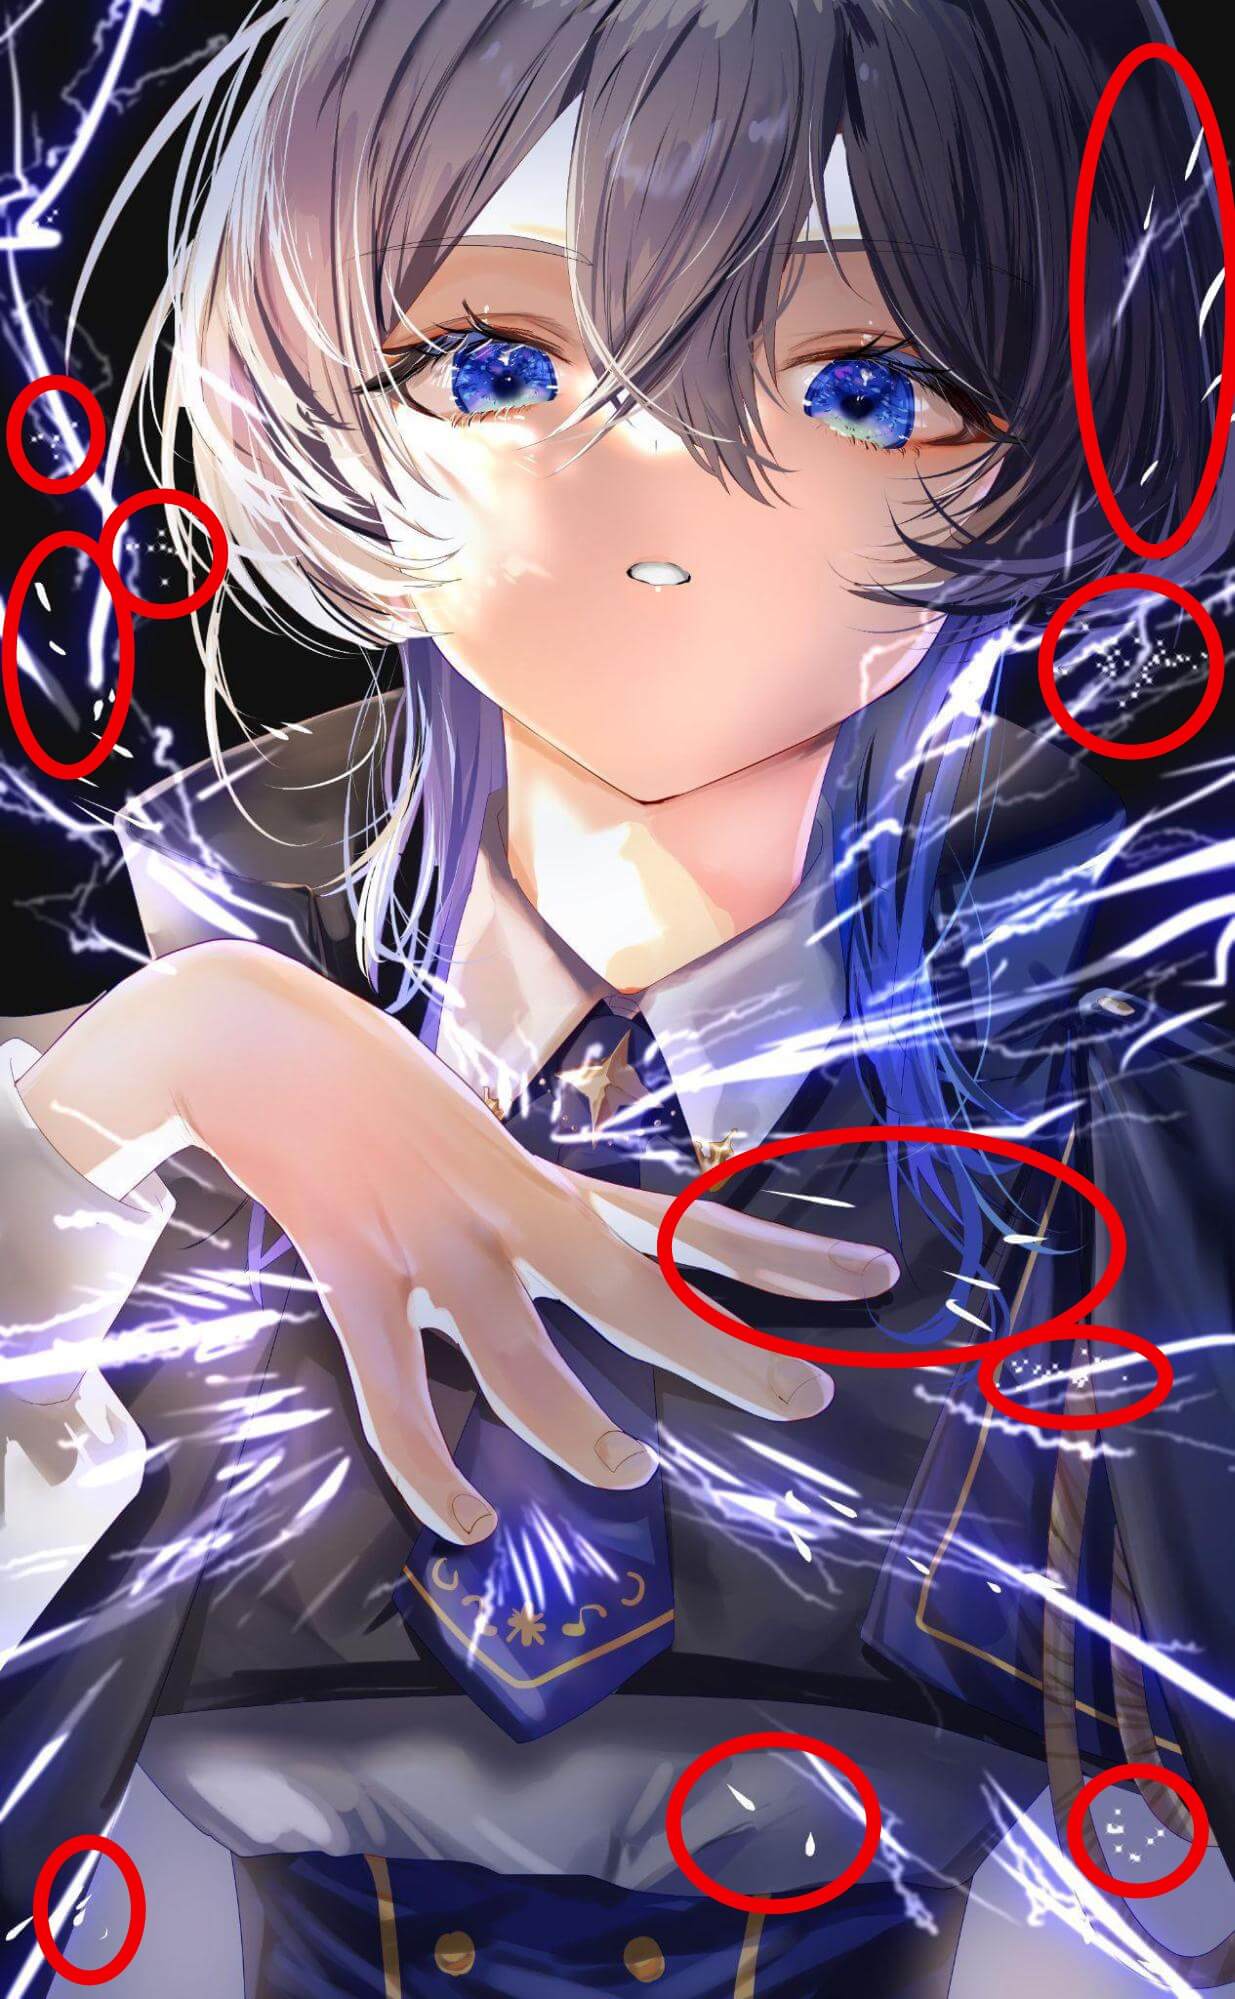
The sparks floating around the lightning can be drawn with the white Pen (sharp) brush. Add detail by drawing white dots around the lines we have drawn. You can create the gorgeous impression by adding dots where the black or blue color is deep.
Drawing dots on the character’s face will make the face less prominent and dilute the impression. If possible, avoid adding dots to the face.
Conclusion

We have learnt how to draw the lightning effect today. By adding this effect, the unlighted illustration has become brighter and more gorgeous! Do you think the illustration looks cool with the bluish effects that give an impression of the brightness of thunder and lightning sparks?
You can easily improve the quality of the thunder effects using the brush in the service.
I hope you will use the brush to expand your creativity!
Also read the articles below if you are having trouble drawing thunder.
(Text・Illustrations/ももんが)
Twitter/https://twitter.com/momongapoketto
HP/https://momongapoketto.webnode.jp/
\ We are accepting requests for articles on how to use /

