2023.05.18
[Easy] How to draw ribbons
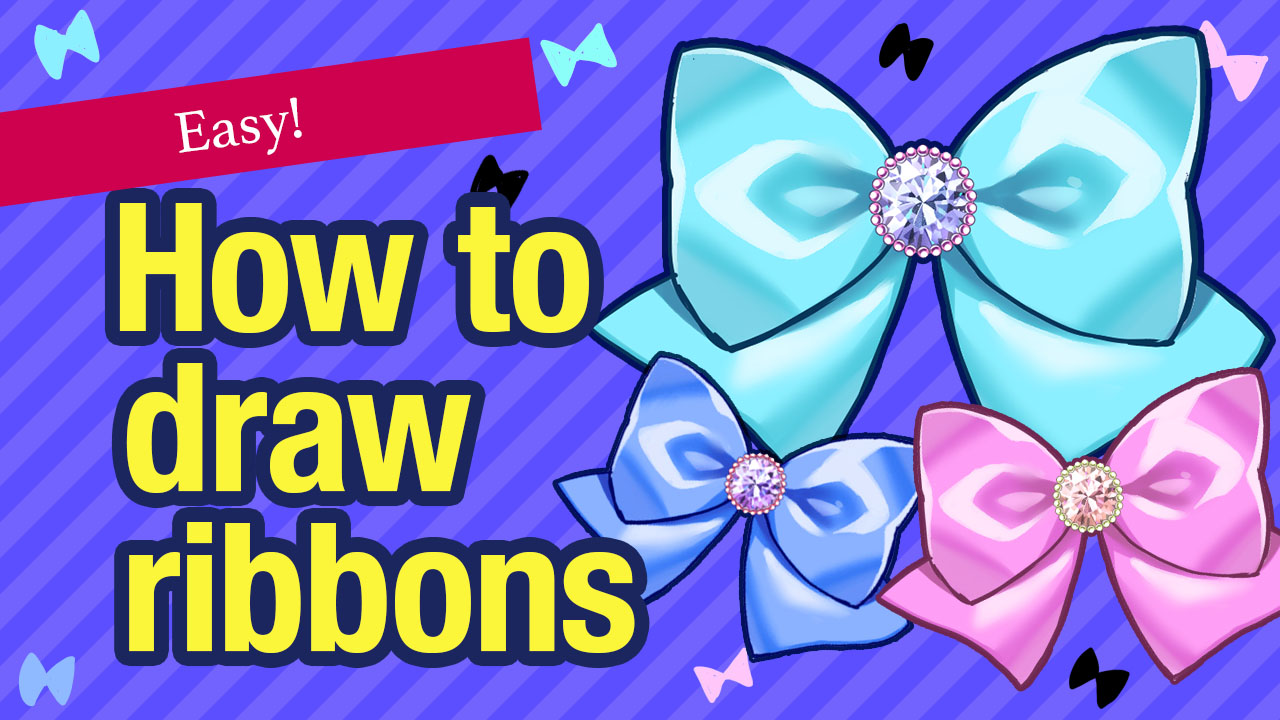
The object that makes your illustration even cuter is the ribbon with a plump texture.
Although, have you ever had trouble making them look real? It’s common when drawing ribbons to feel like “it doesn’t look cute somehow” or “it doesn’t look like a ribbon, it looks monotonous”.
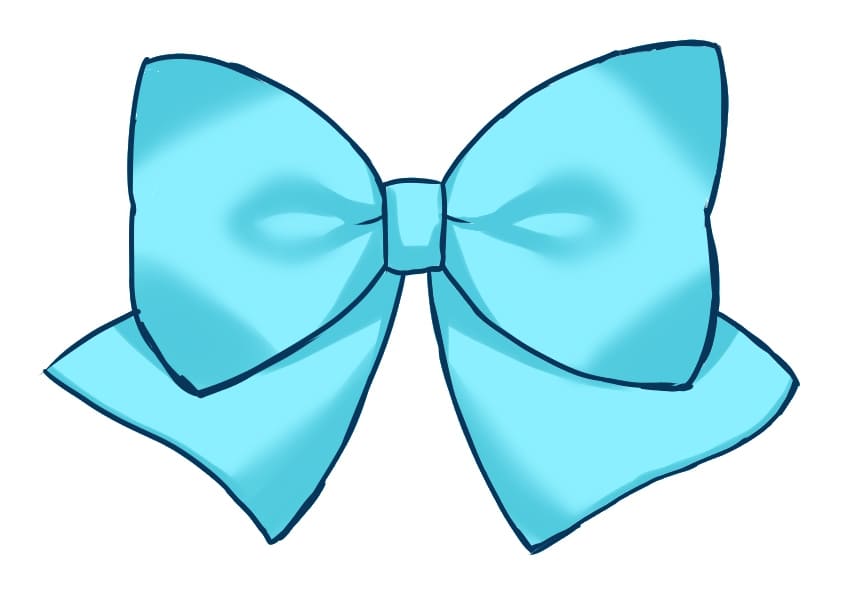
Today we will learn how to draw cute, chubby ribbons. Any shape can be drawn by following these steps.
Refer to it and practice if you want to draw cute illustrations!
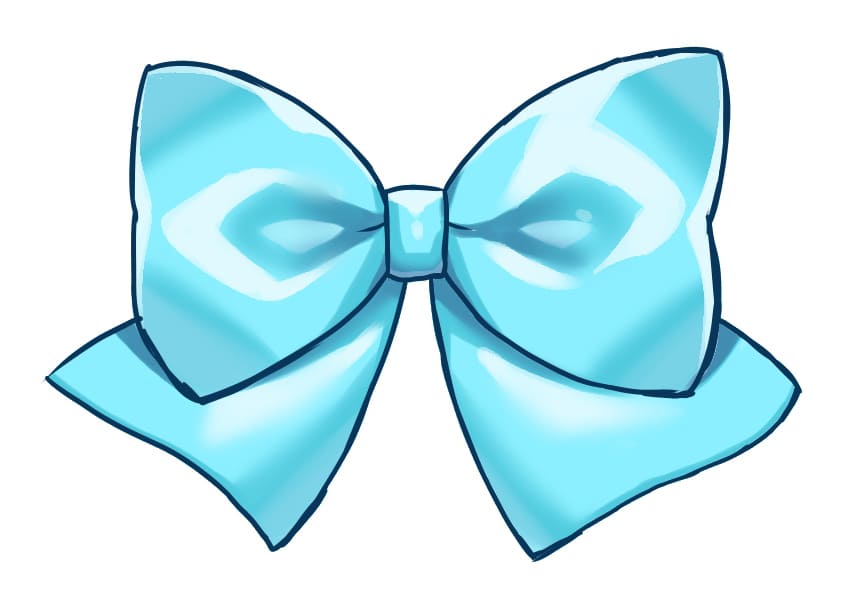
Manage the drawing process
To draw a ribbon, you need to start by organizing the drawing process so that you can easily get the finished image. Let’s start today with the following process.
- Line drawing
- Base painting
- Adding shadows
- Adding lights
- Adding highlights
To draw ribbons with a natural atmosphere, the way you add shadows and lights is crucial. You should approach each process with a deep understanding of its importance in making the ribbon three-dimensional and realistically textured.
Create the line drawing
First, draw the base of the ribbon. There are many kinds of ribbon shapes, but we will draw it in an orthodox shape. Any shape of ribbon can be drawn using the same drawing process, so let’s get started.
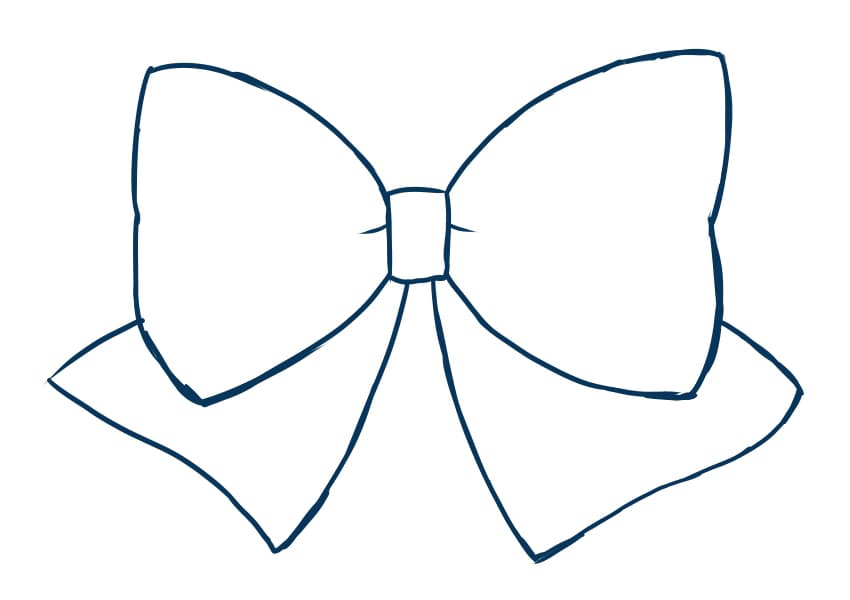
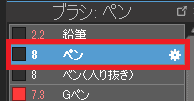
Use the Pen brush to draw the lines.
Create the base painting
To start painting colors, paint the base color. Base painting is the crucial process that improves the quality of illustrations. It makes it easier to draw details later. Also, you will not be leaving the blank area, so you should paint meticulously.
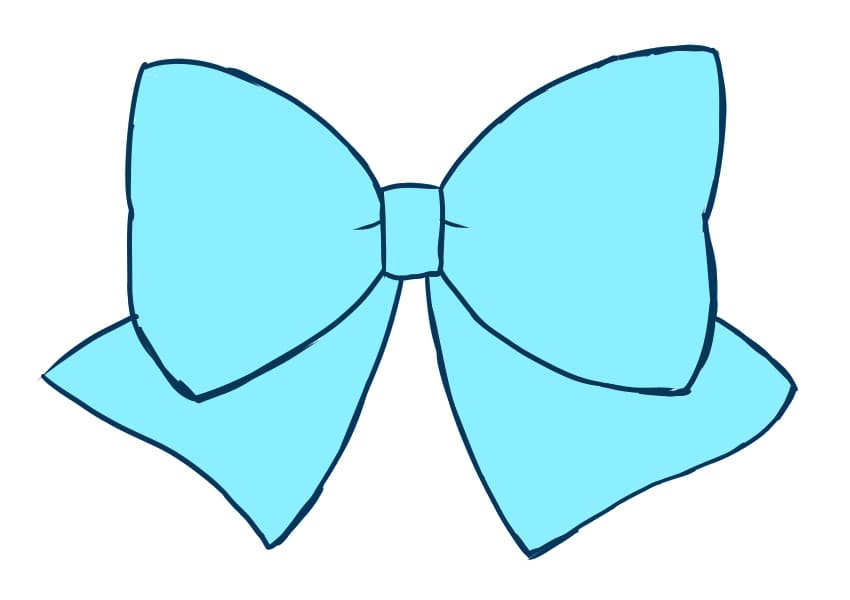
Add a new layer below the line drawing layer.

Select the base color. I will choose light blue this time, but you can choose whatever you like!

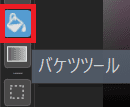
Then use the Bucket tool to fill in the area inside the lines!
Click on the area inside the ribbon and fill in with the single color.
Add shadows to the ribbon
Next, we will add shadows. Adding shadows gives the overall illustration a rich atmosphere. As shadows express the light, the ribbon will blend in with any situations with no feeling of strangeness. There are several steps for the process of adding shadows and it requires detailed work.
Add a new layer and clip it.
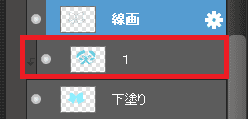
Read this article to learn more about Clipping.
▼What is Clipping
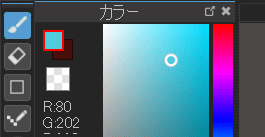
Select colors.
Choose the one that is darker and has less saturation and brightness than the base color.
Use the Watercolor brush to paint.
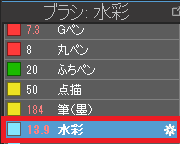
Paint the area that is in shadow or has thick fabric to make the ribbon look three dimensional.
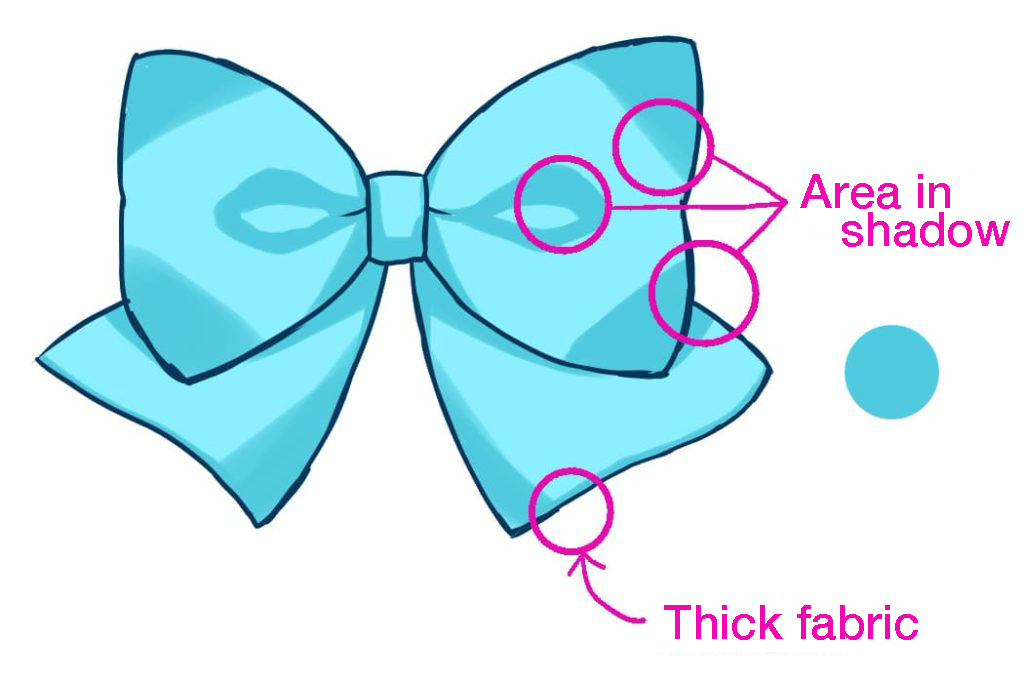
It looks good as it is, but as the shadows look too clear, add the blur.
Select the Blur brush tool.
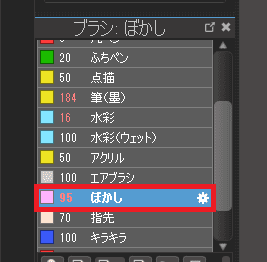
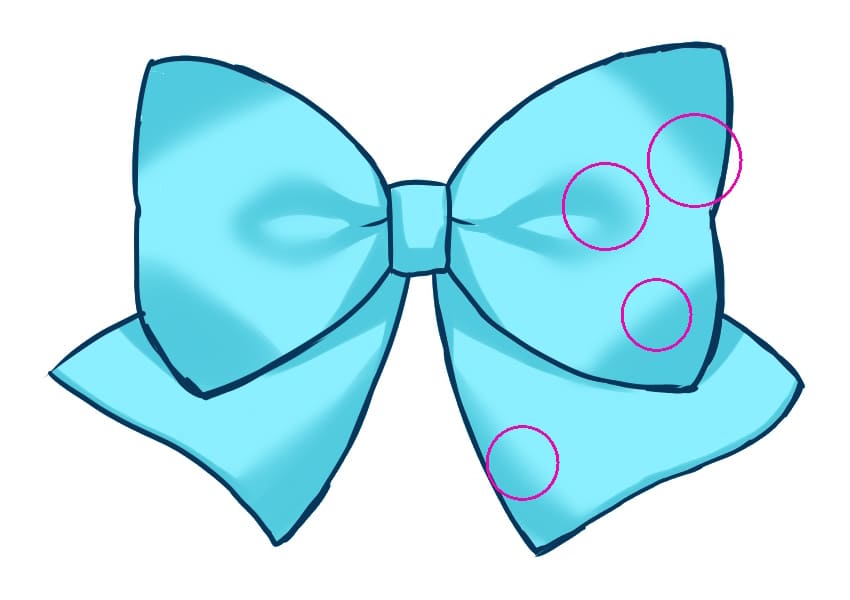
Adding blur to the whole image will reduce the clarity of the illustration. Leave the blur on some areas. By adding blur to some areas, you can express the texture of the fabric well.
Blur the ribbon as if you were only blurring where the fabric rises.
Add more shadows
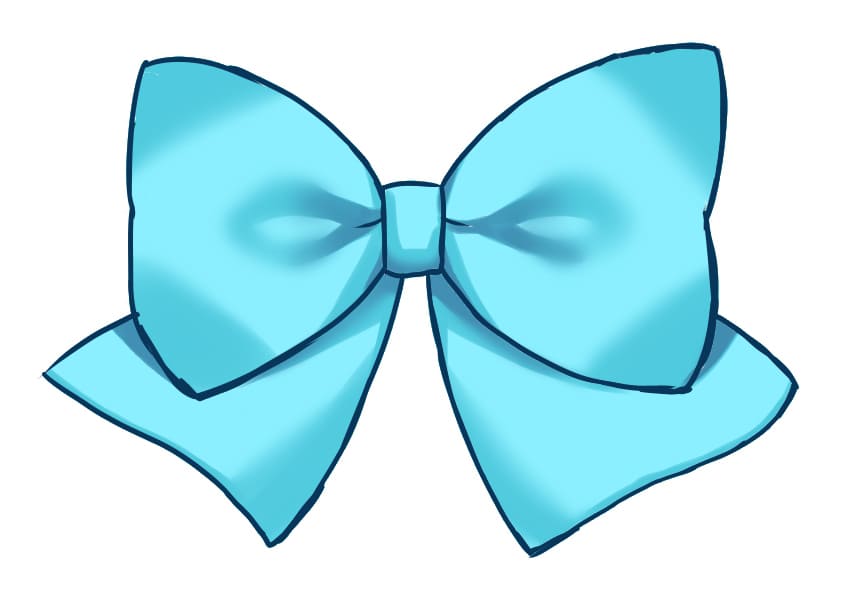
Now let’s add more shadows. Adding shadows to detailed areas creates three-dimensionality. It also makes the dents or wrinkles in the fabric look real. This detailed work is just as important as the previous process, so focus on it.
Add a new layer and clip it.
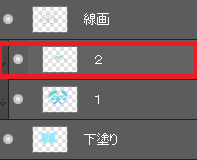
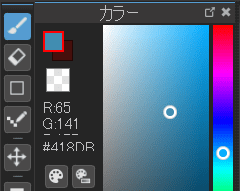
Select colors.
Choose a color that is even darker and has less saturation and brightness than the shadow we used before.
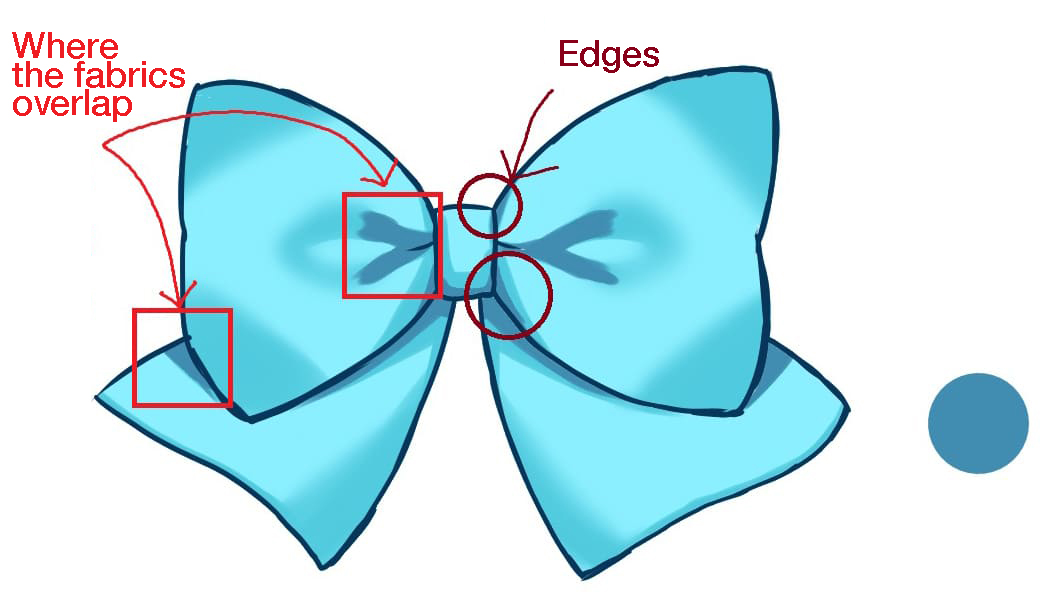
Use the Watercolor brush.

Paint the area with the darkest shadow.
You can paint the area where the fabrics overlap or the edge of the fabric to make the ribbon look real.
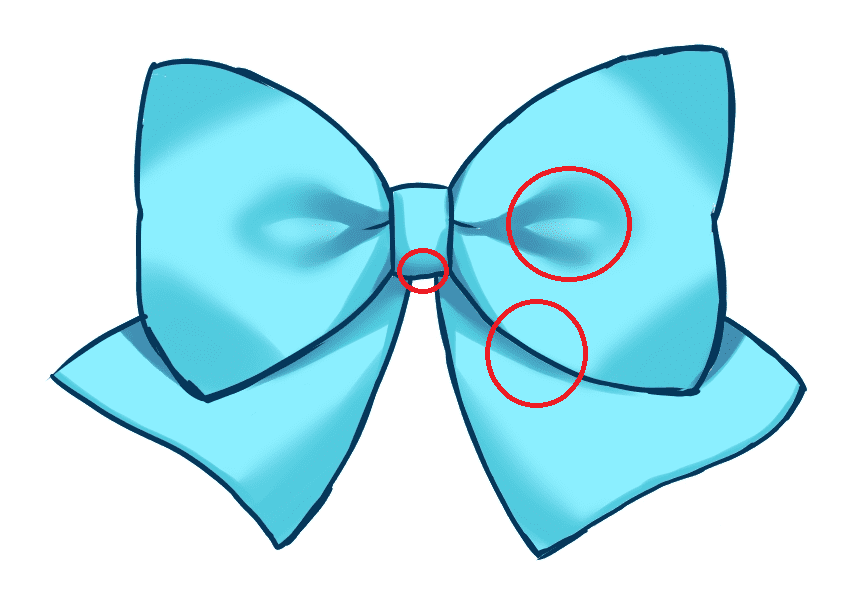
Then blend the shadows into the illustration. Select the Blur brush.

Blur the area where the shadows are dimmed. This makes the shadows look natural.
Add reflected light
It depends on the material of each ribbon, but most ribbons with plump textures have areas that are affected by reflected ambient light.
If you can add reflected light, not just shadows, the ribbon will look even more realistic. Let’s draw lights with these simple steps.
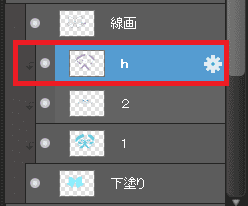
Add a new layer and clip it.
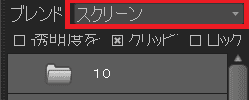
Set the layer blending to Screen.
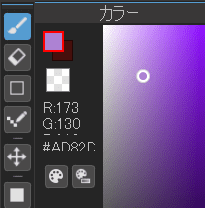
Select colors. This time I have chosen purple. Choose the color that is lighter than the base color.
Use the Watercolor brush.

Add color to where the light hits, centered on dents or edges.
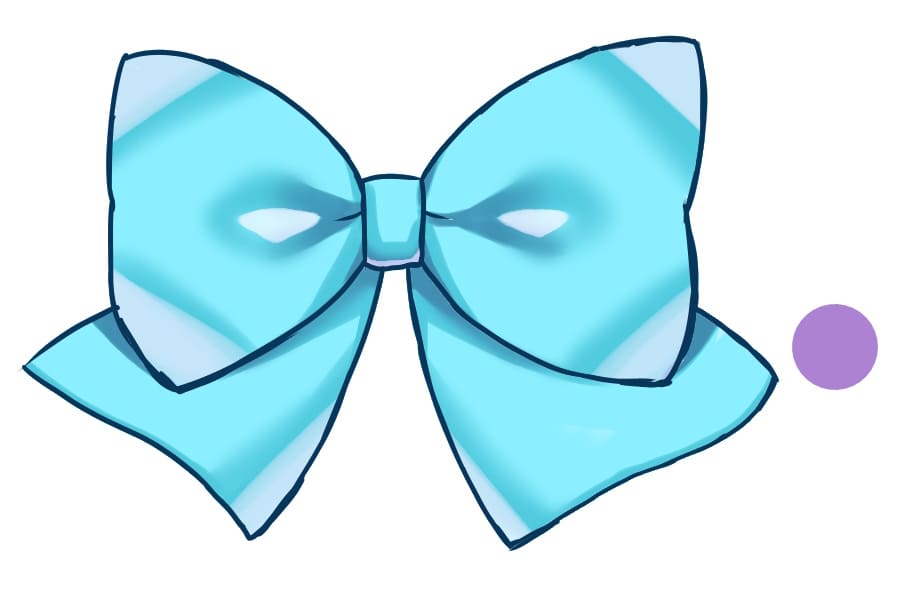
The image above shows how it looks when the light has been added to some extent. The pale color seems to stand out too much. The way the light hits is a little unnatural and gives a feeling of strangeness, so reduce the opacity to blend the light into the overall image.
Reduce the opacity to 37%.

Now the colors blend well together!
The key to creating cute ribbons is to make the light seem unintentional and natural.

Add highlights to finish
Let’s add the final highlights. Adding the finishing highlights will create the texture of a cute, plump ribbon. The highlights will also enhance the way the light hits and express a beautiful contrast of light and dark.
Paint them while you have fun!

Add a new layer and clip it.
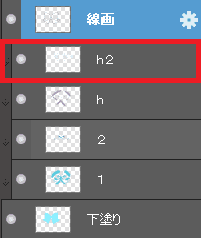
Select colors.
The color of the highlights depends on the base color, but for bright colors I usually go for whitish colors!
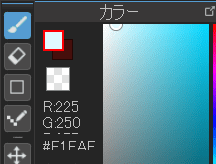
Use the Pen brush.

The way you add highlights may be different for different people, so follow what you like to do.
If you have no idea how to add, just start by following my example.
Change the overall feel to blend in with backgrounds or situations to give the overall image a unified feel.
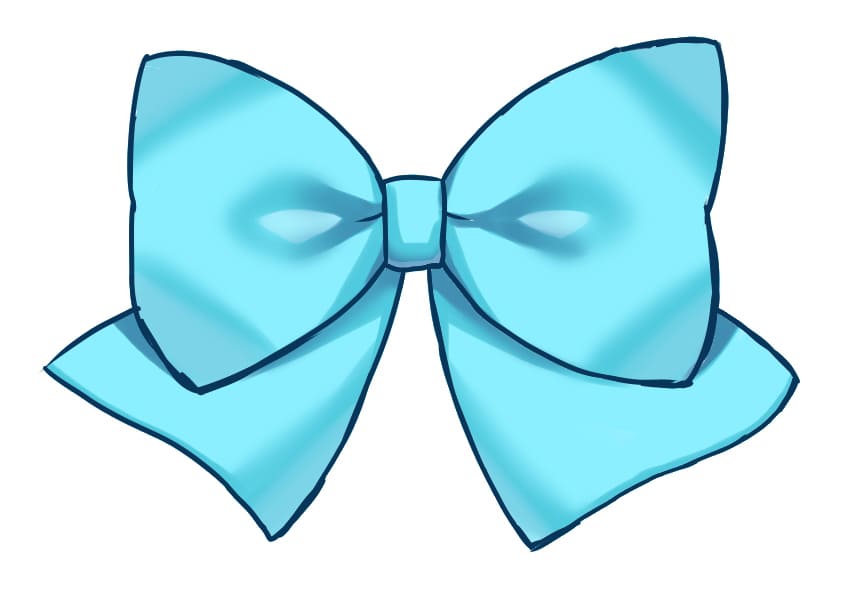
I have added the highlights as shown below.
Compared to the image before the highlights were added, can you see that the plump texture has been added?
It also looks shiny, as if it were brand new. Adding highlights is a great way to finish your illustration.
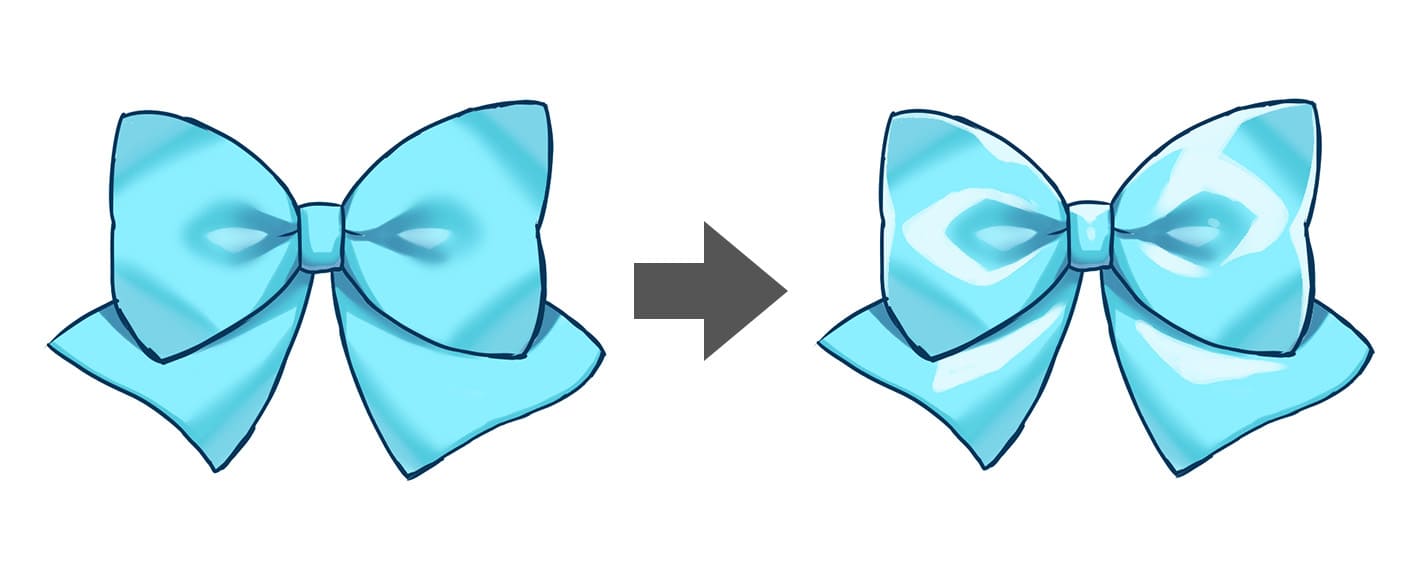
Finally, add a little blur. As I wanted to preserve the plump and shiny texture, the amount of blur is just a little.
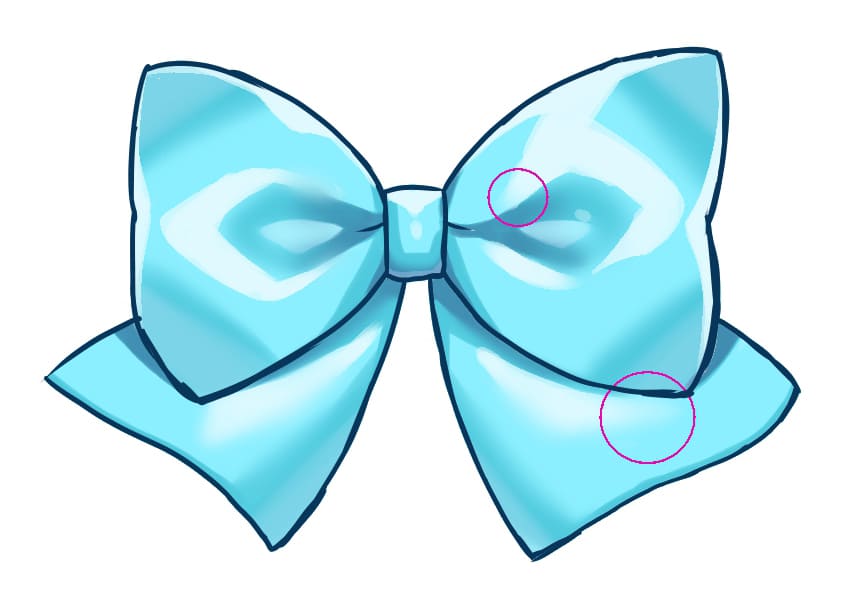
Now we are done! Adding highlights has increased the contrast between light and dark, making the illustration look more realistic.
Conclusion
Today we have learnt how to draw ribbons.
Now we are capable of drawing beautiful ribbons with a rich texture that can attract attention even when they are the centerpiece of illustrations.
Let’s look back at the whole process of drawing.
- Line drawing
- Base painting
- Adding shadows
- Adjusting lights
- Adding highlights
The key is to blur the ribbon to express the natural texture.
You can draw any ribbons in shapes other than the one we have made today by following today’s method. Try drawing ribbons in different shapes!
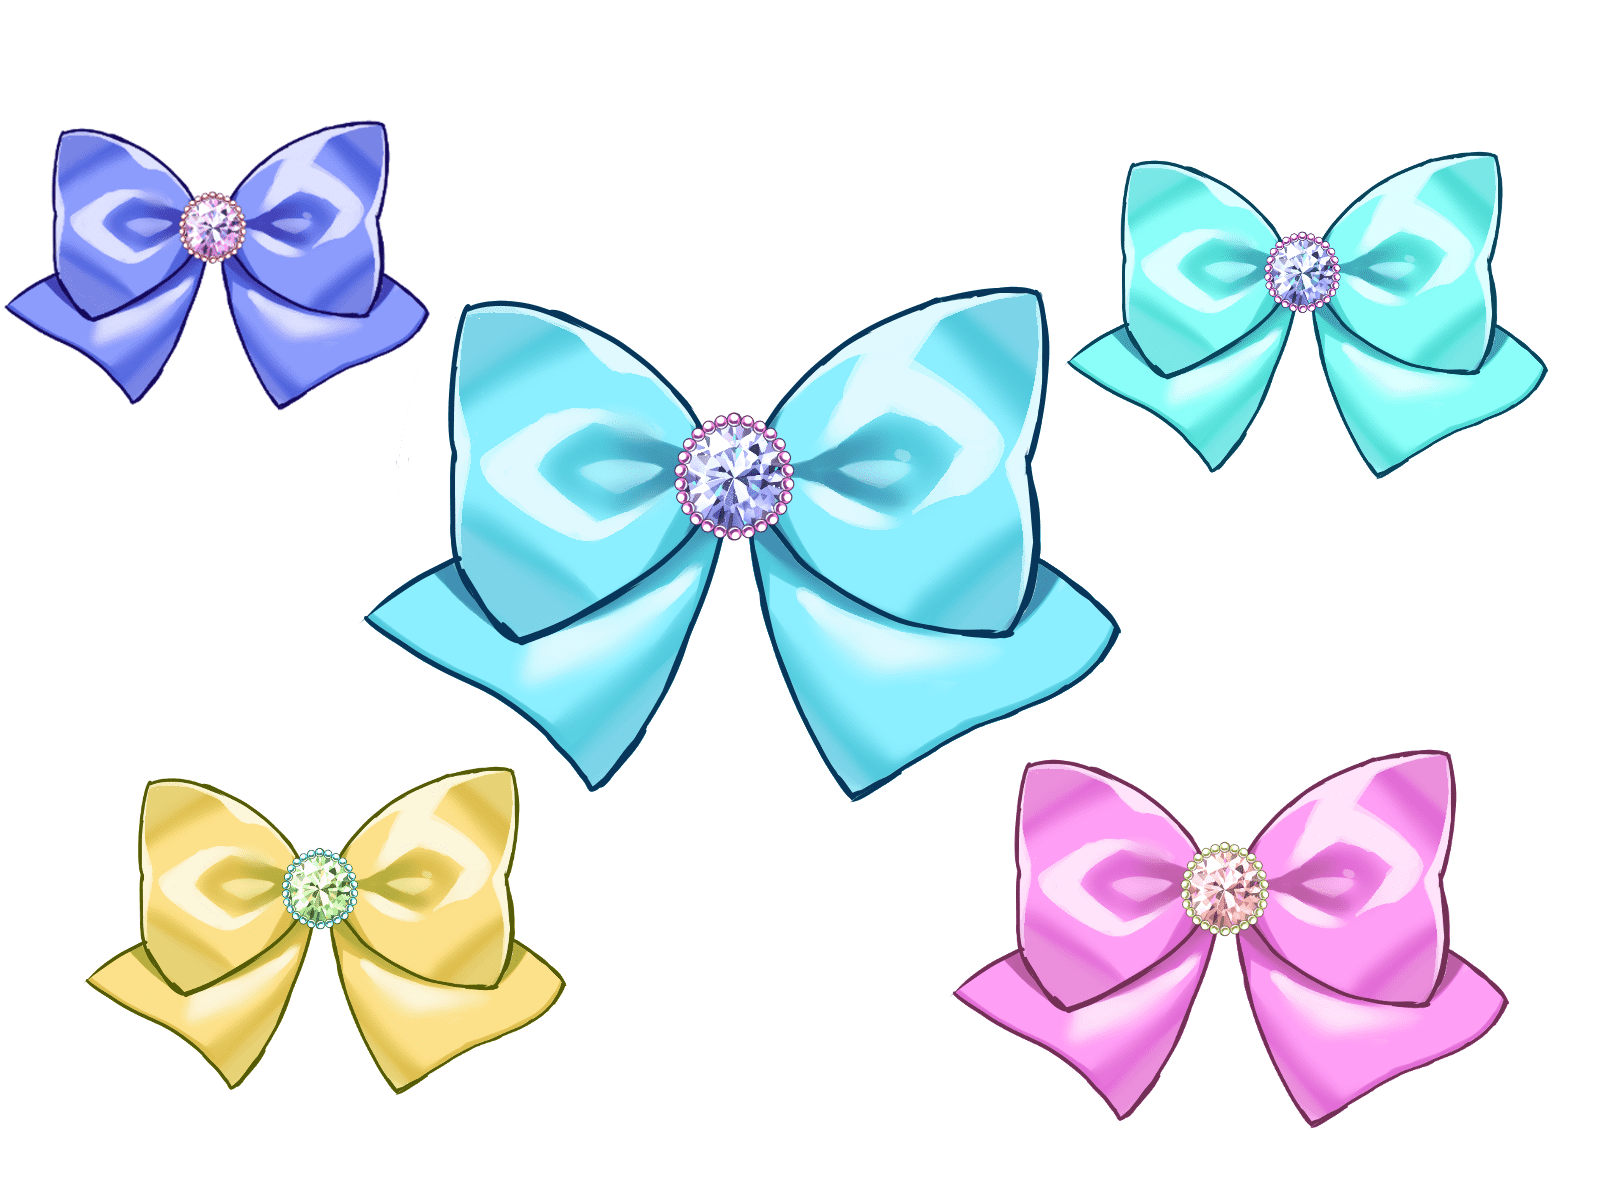
If you combine today’s method with a method for drawing jewels introduced in a previous lesson, you can draw the following motifs, which are perfect for magical girls!
Read this article to learn how to draw jewels.
Thank you for reading!
\ We are accepting requests for articles on how to use /

