2023.10.24
Use MediBang layer effects to customize line art! [Easy editing]
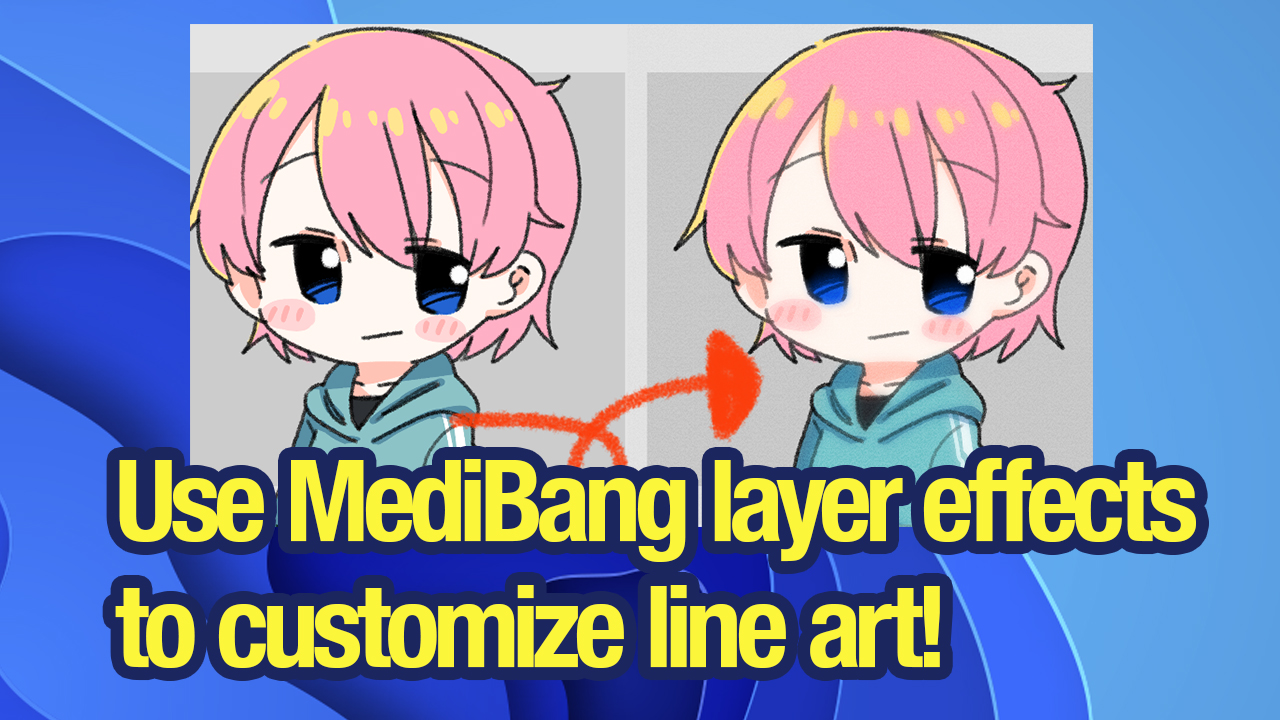
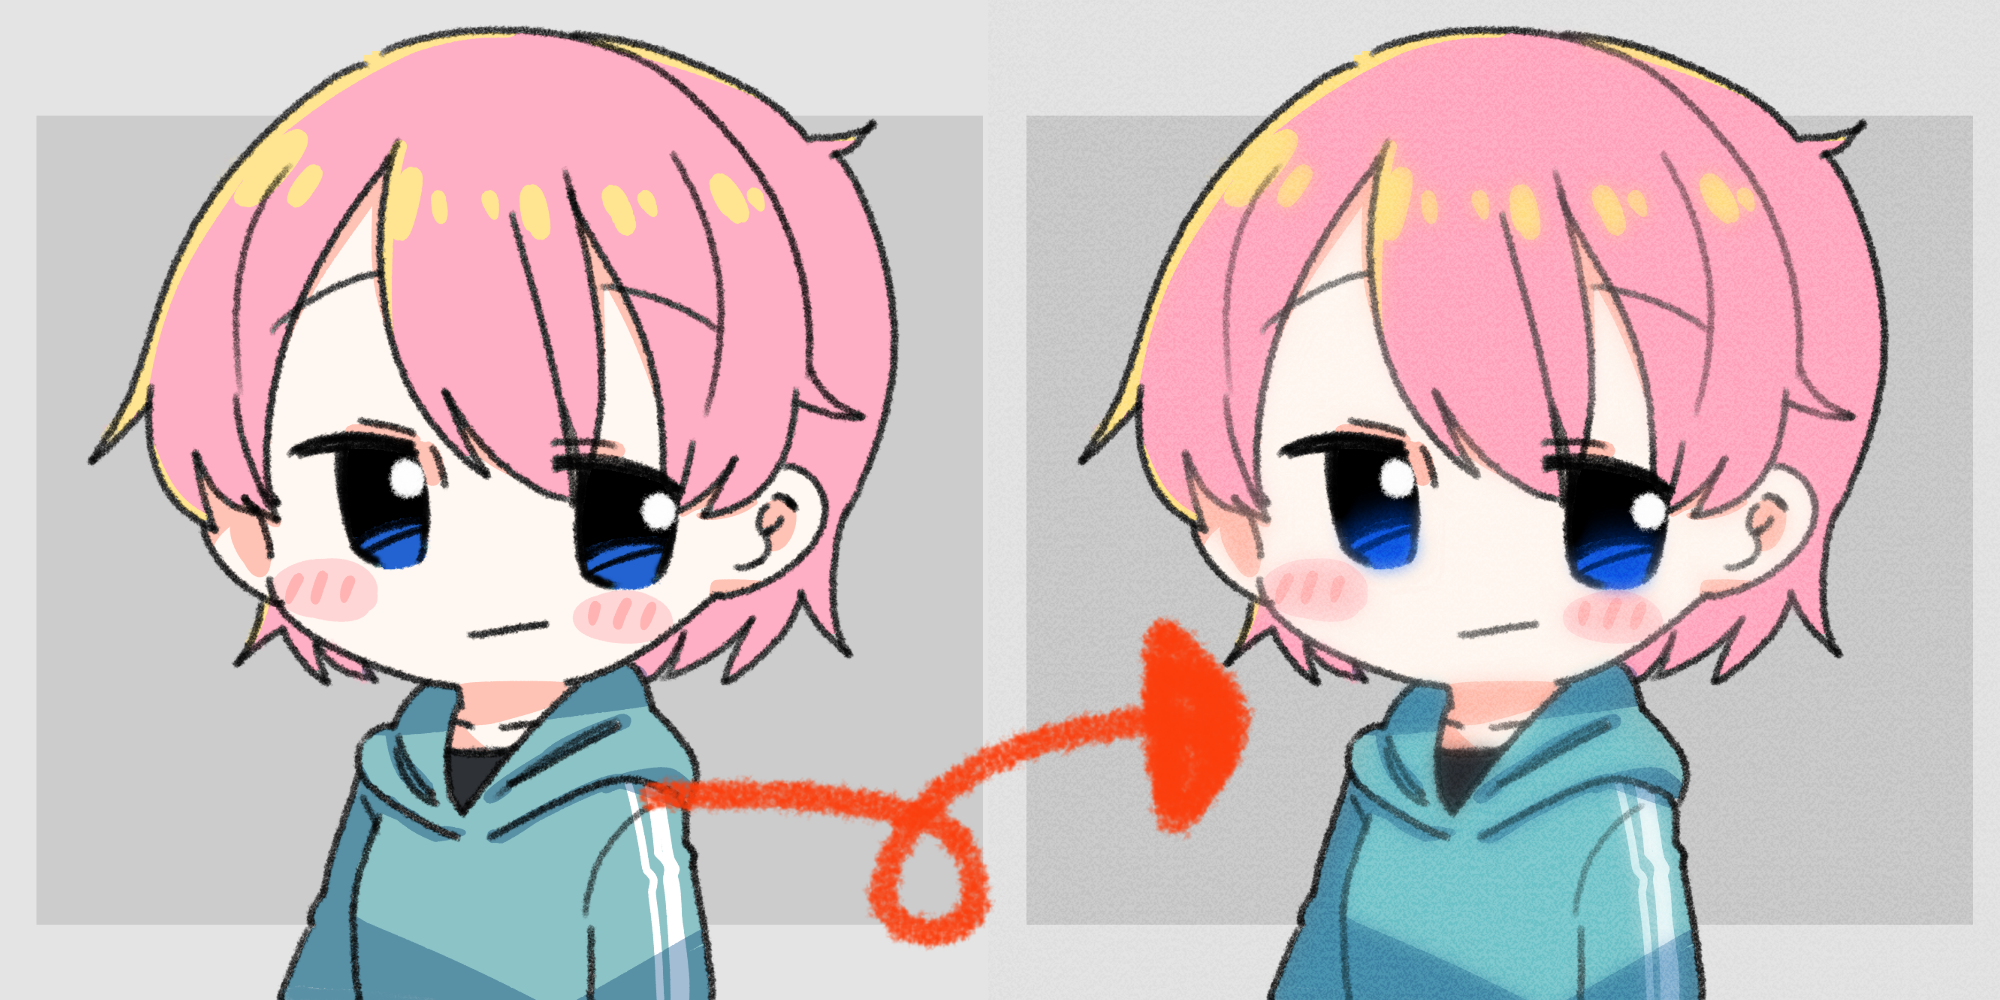
Now I’ve finished drawing the line art and coloring it too!
But something seems to be missing… Do you have any experience like this?
What we are going to learn today is “Line Art Editing” and “Texture Customization”, which can be used to take your art to the next level.
Read this tutorial and you will not be able to resist the desire to practice the method!
Index
Preparation
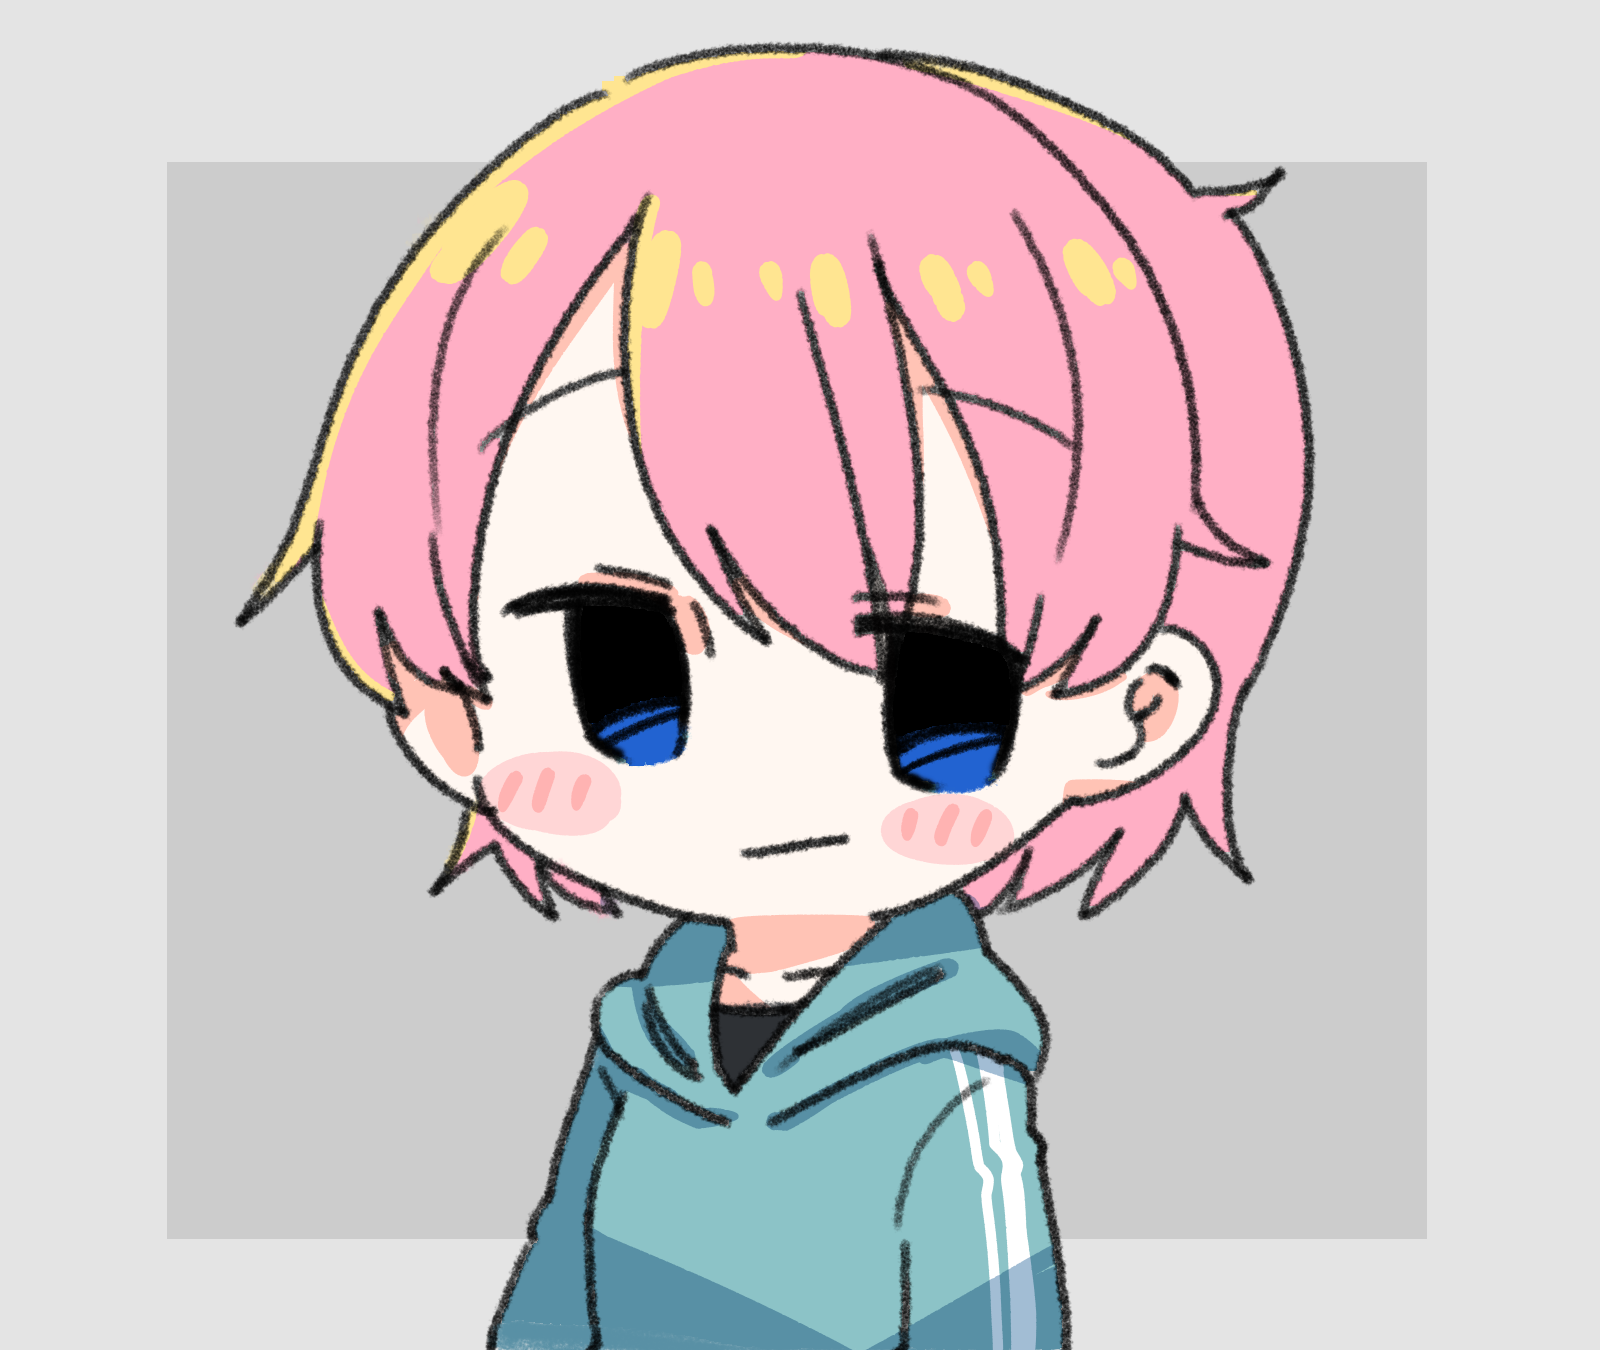
This is the drawing we are going to edit this time.

Separate folders for “Line Art Folder” and “Coloring Folder”
Create separate folders first.
You would do well to create separate folders for the line art and for the coloring.
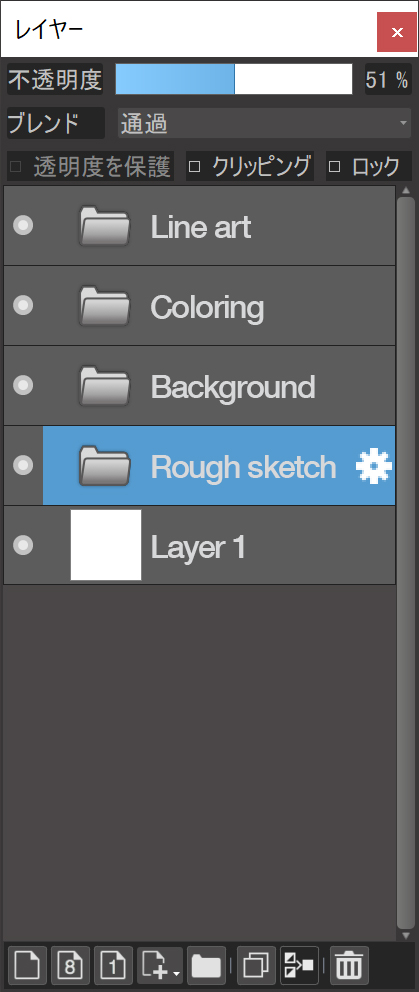
To draw the line art, I used the Chalk Brush.
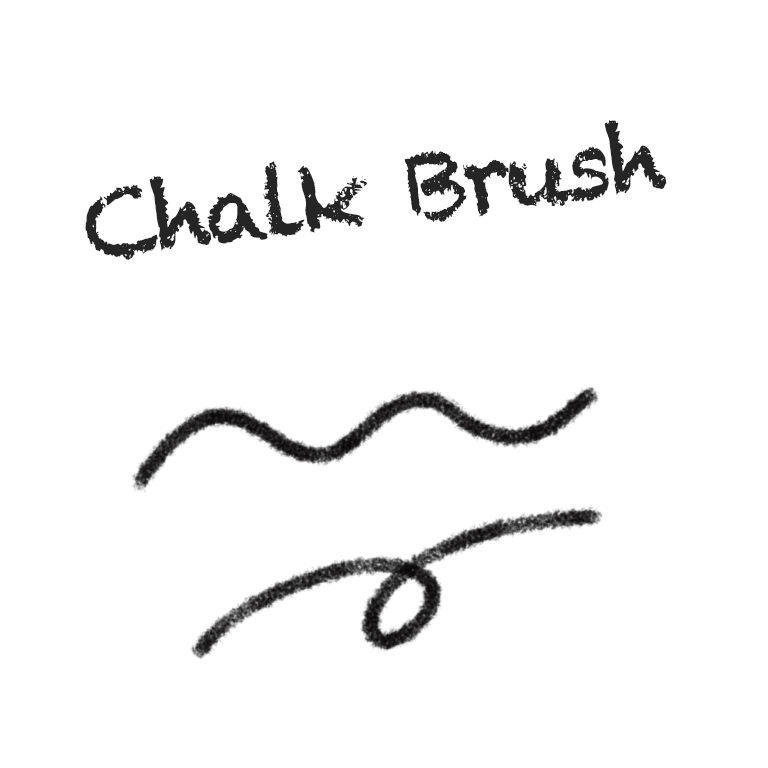
Its fluffy texture is ideal for drawing illustrations with a soft atmosphere.
Read the article below to learn more about the brush.
-> Two New Cloud Brushes Added!
Hide the highlight layer for the eyes
To confirm the area hidden by the eye highlights, hide the eye highlight layer once.
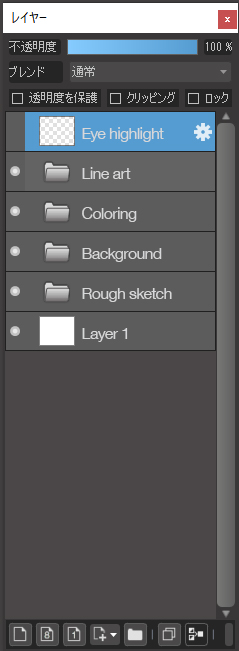
Edit the coloring folder to blend the colors of the line art.
Now, edit the coloring folder.
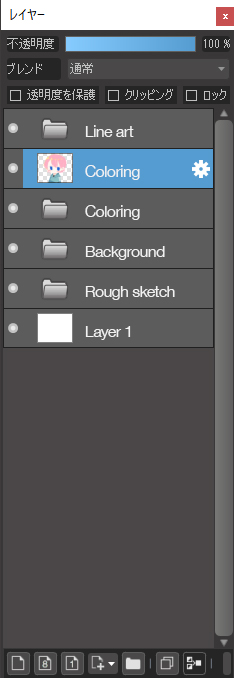
Duplicate the coloring folder
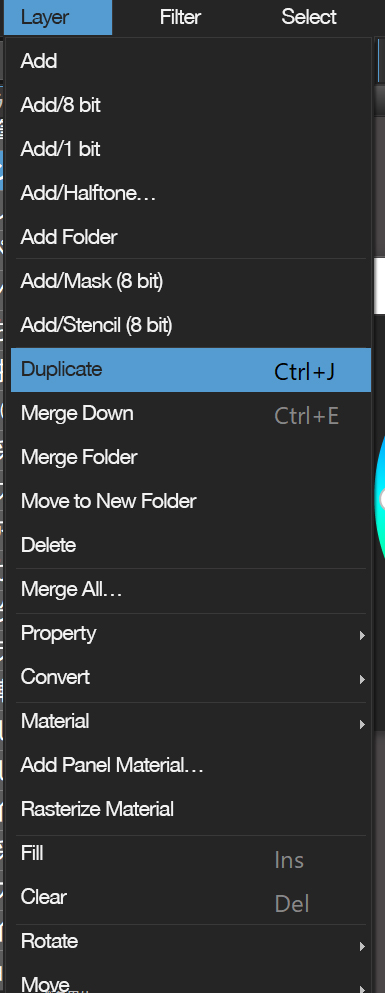
Select the coloring folder and choose “Duplicate” from the layer menu.
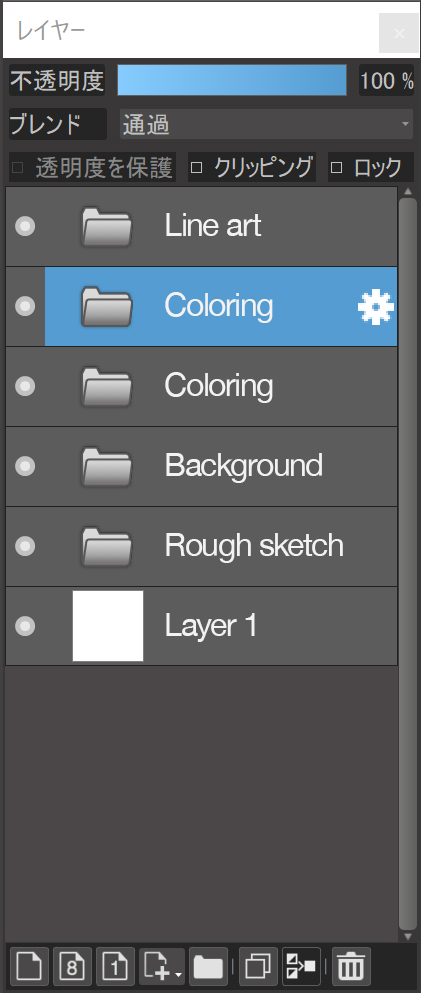
You can see that we now have two coloring folders.
Select one of these folders and choose Merge Filters to make the folder a layer.
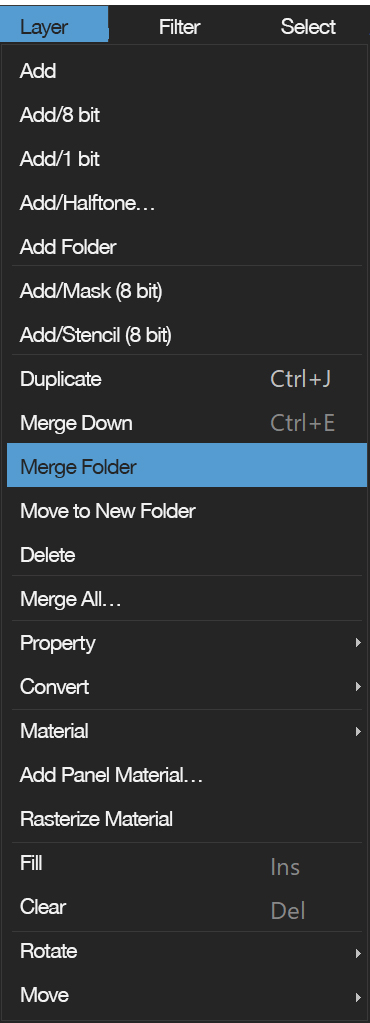
Now we have a single layer.
Gaussian blur and Clipping
Select the Gaussian Blur from the Filter menu and blur the layer we’ve merged.

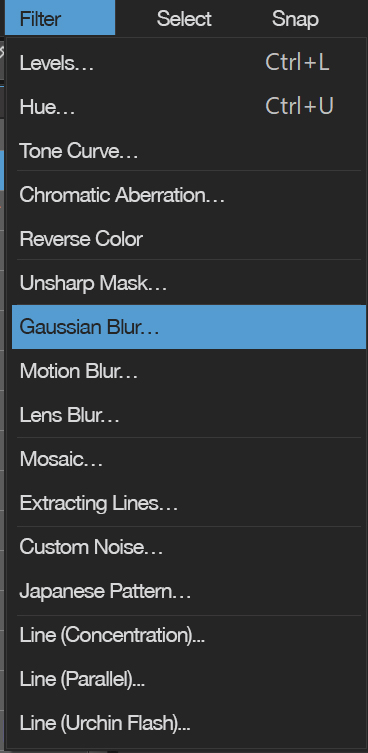
By blurring merged layers, shadows of base colors and highlights are well blended.
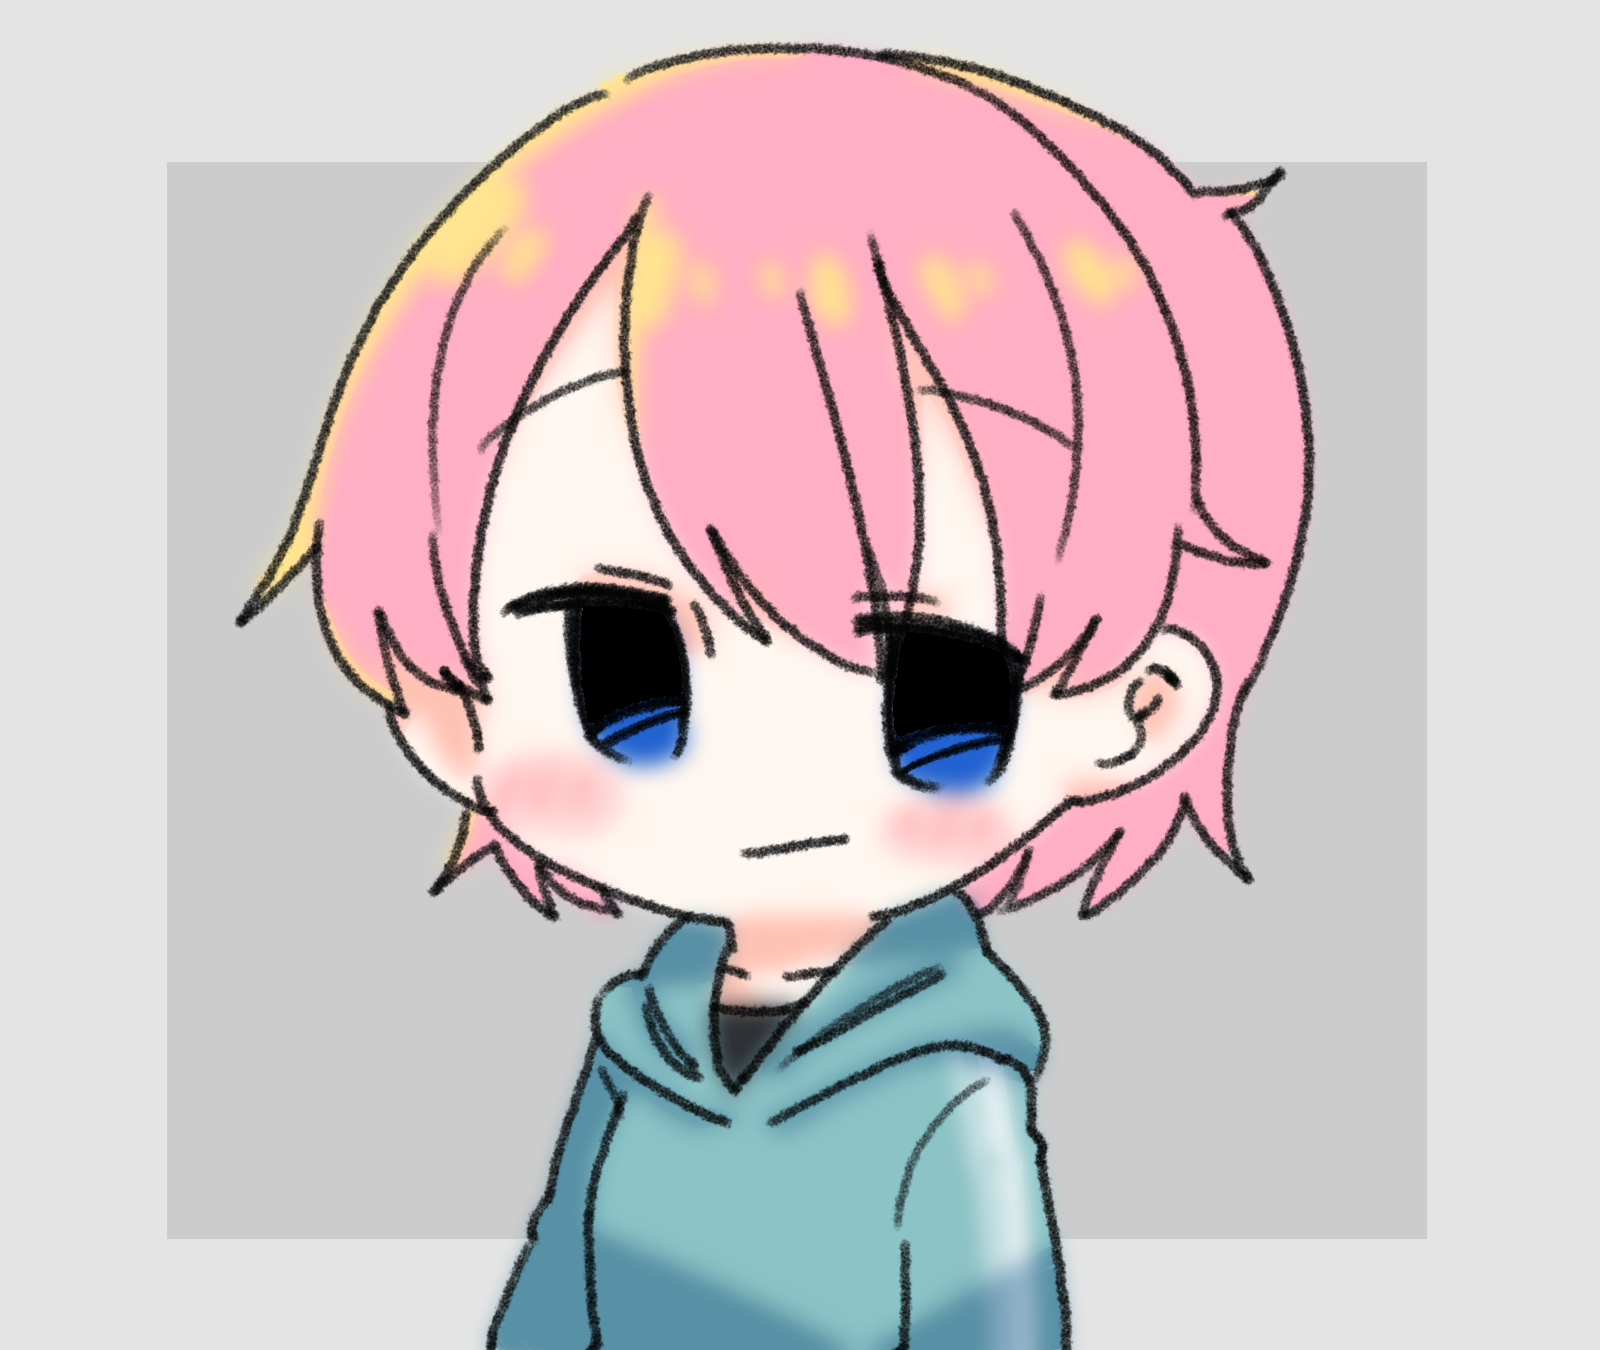
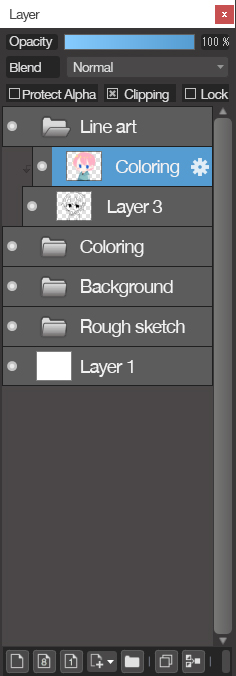
Move the merged image layer to the top of the line art layer.
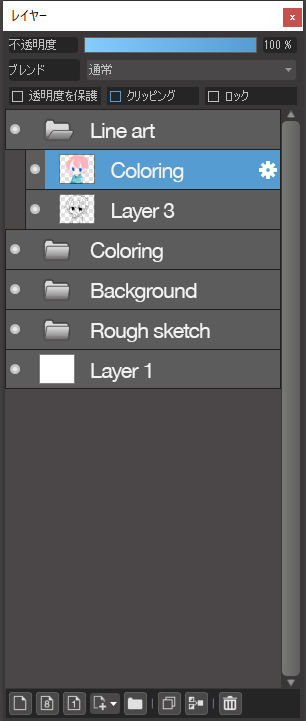
The image will be blurred at this setting.
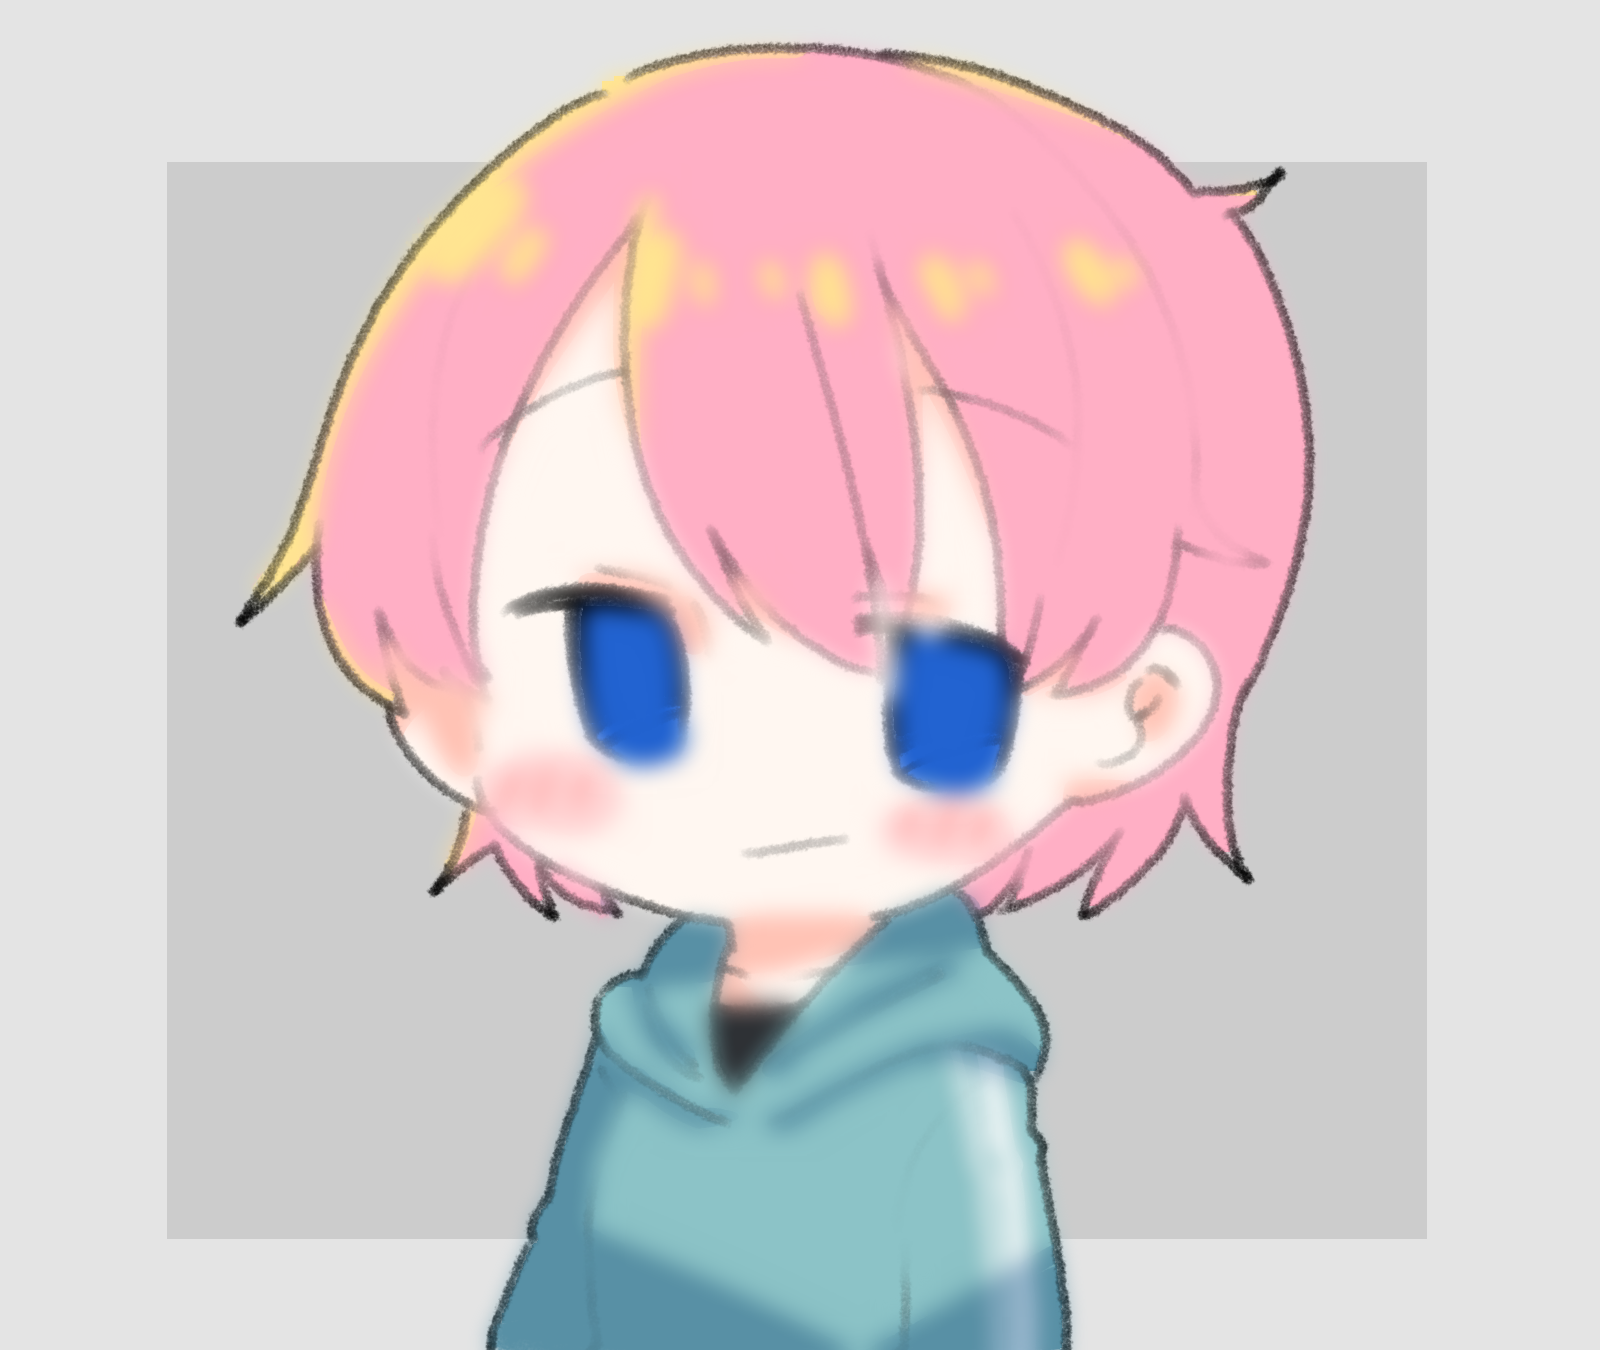
So you need to tick the Clipping box.
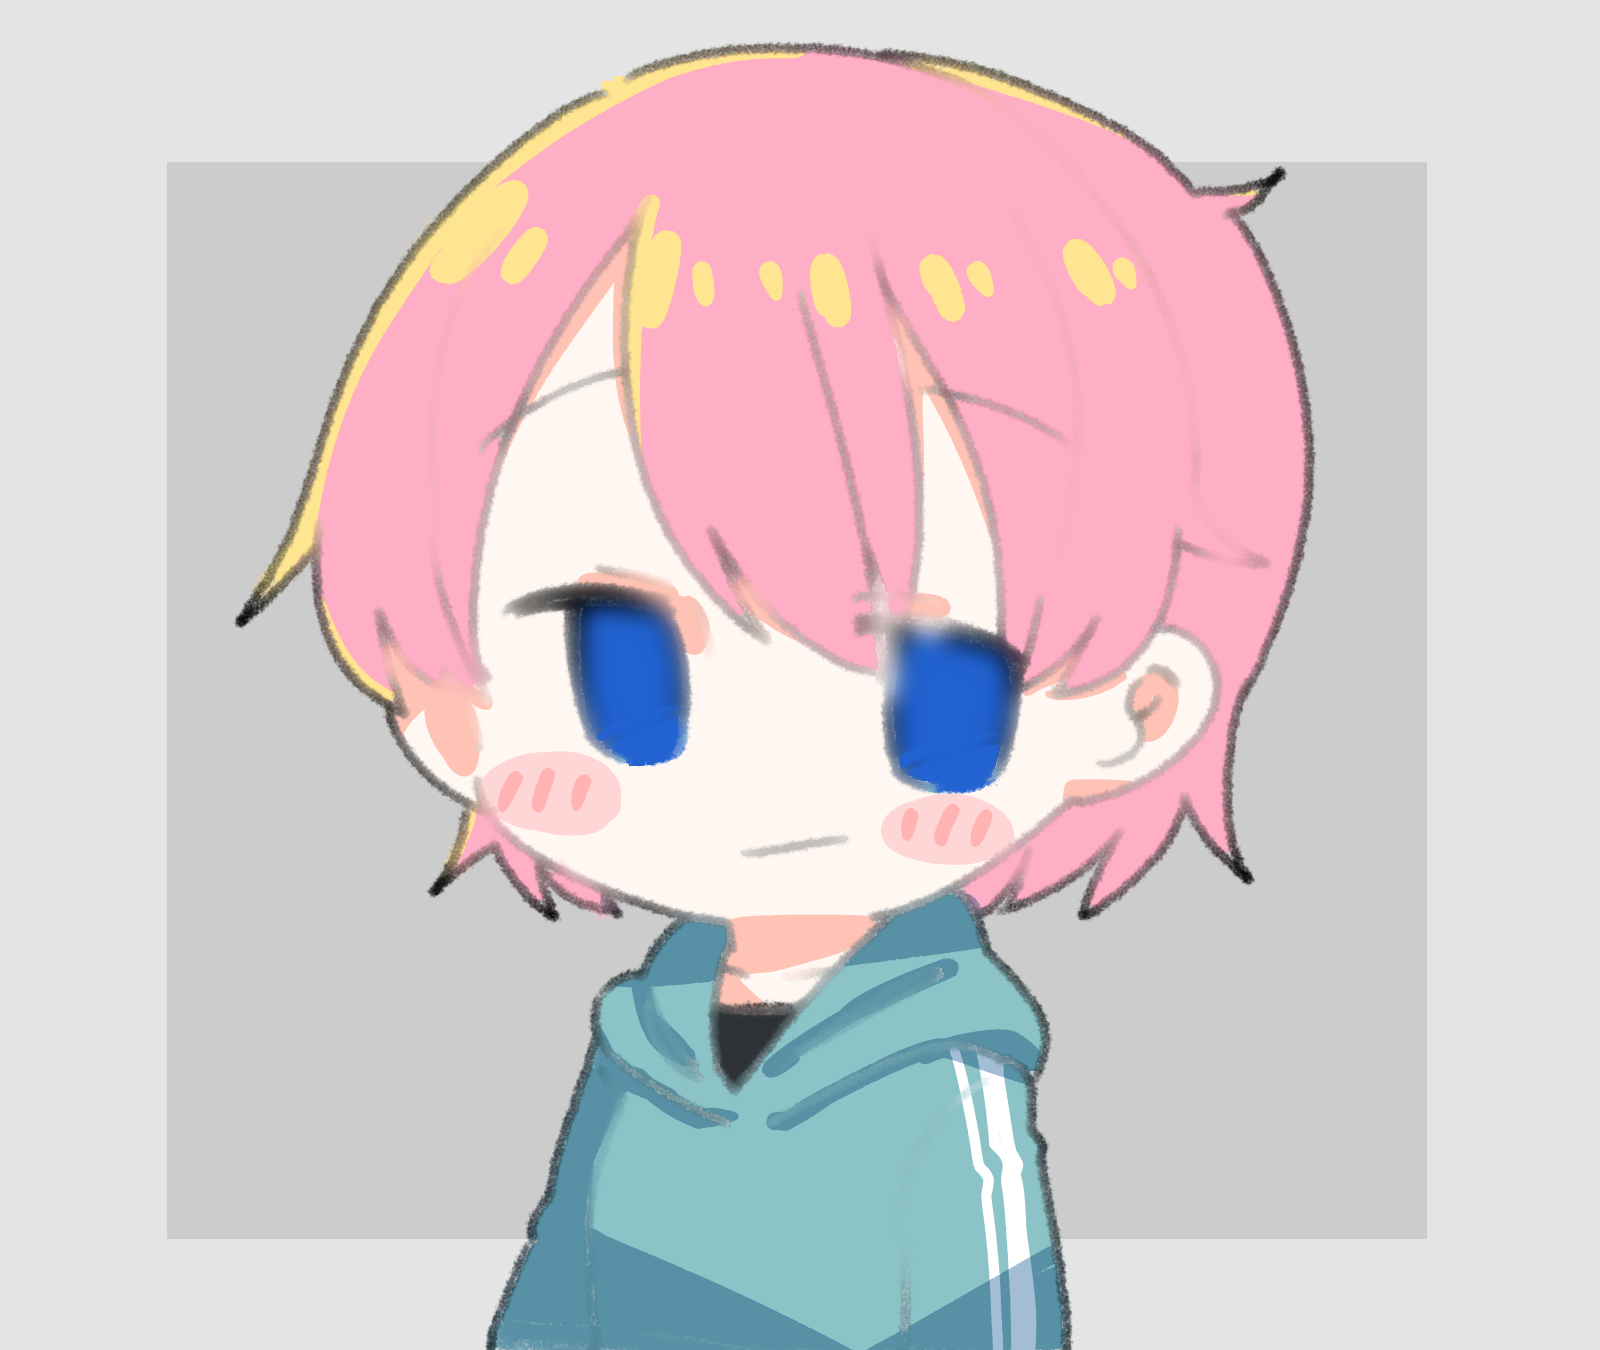
The color of the line art has been changed.
Increase saturation
As the color of the line art is not easy to see, select the coloring layer that has been moved to the top of the line art layer.
Check that the layer has turned blue, then select “Hue” from the Filter menu.
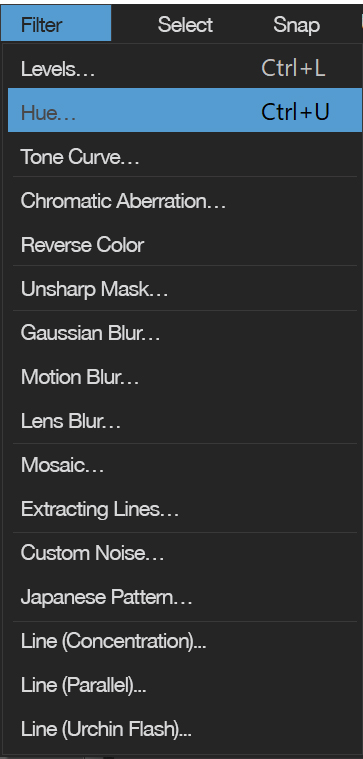
Increase the saturation.
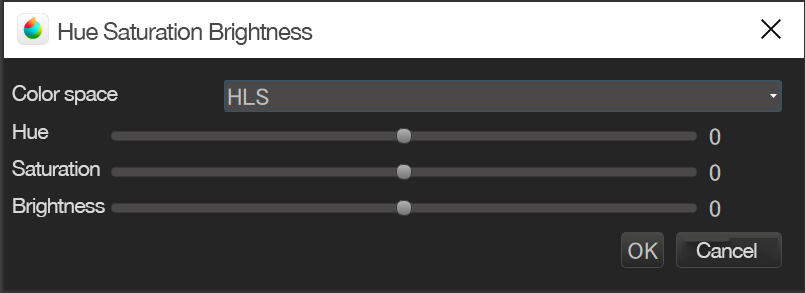
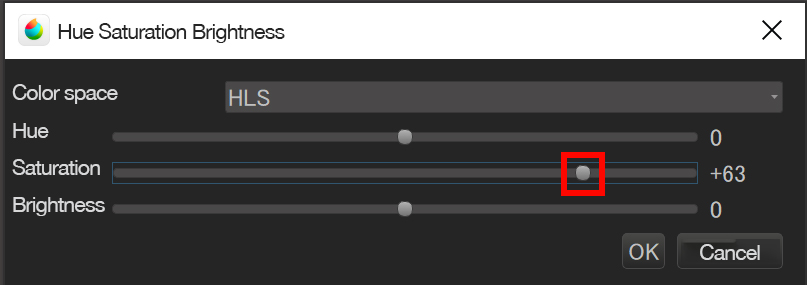
The line color is now lighter.
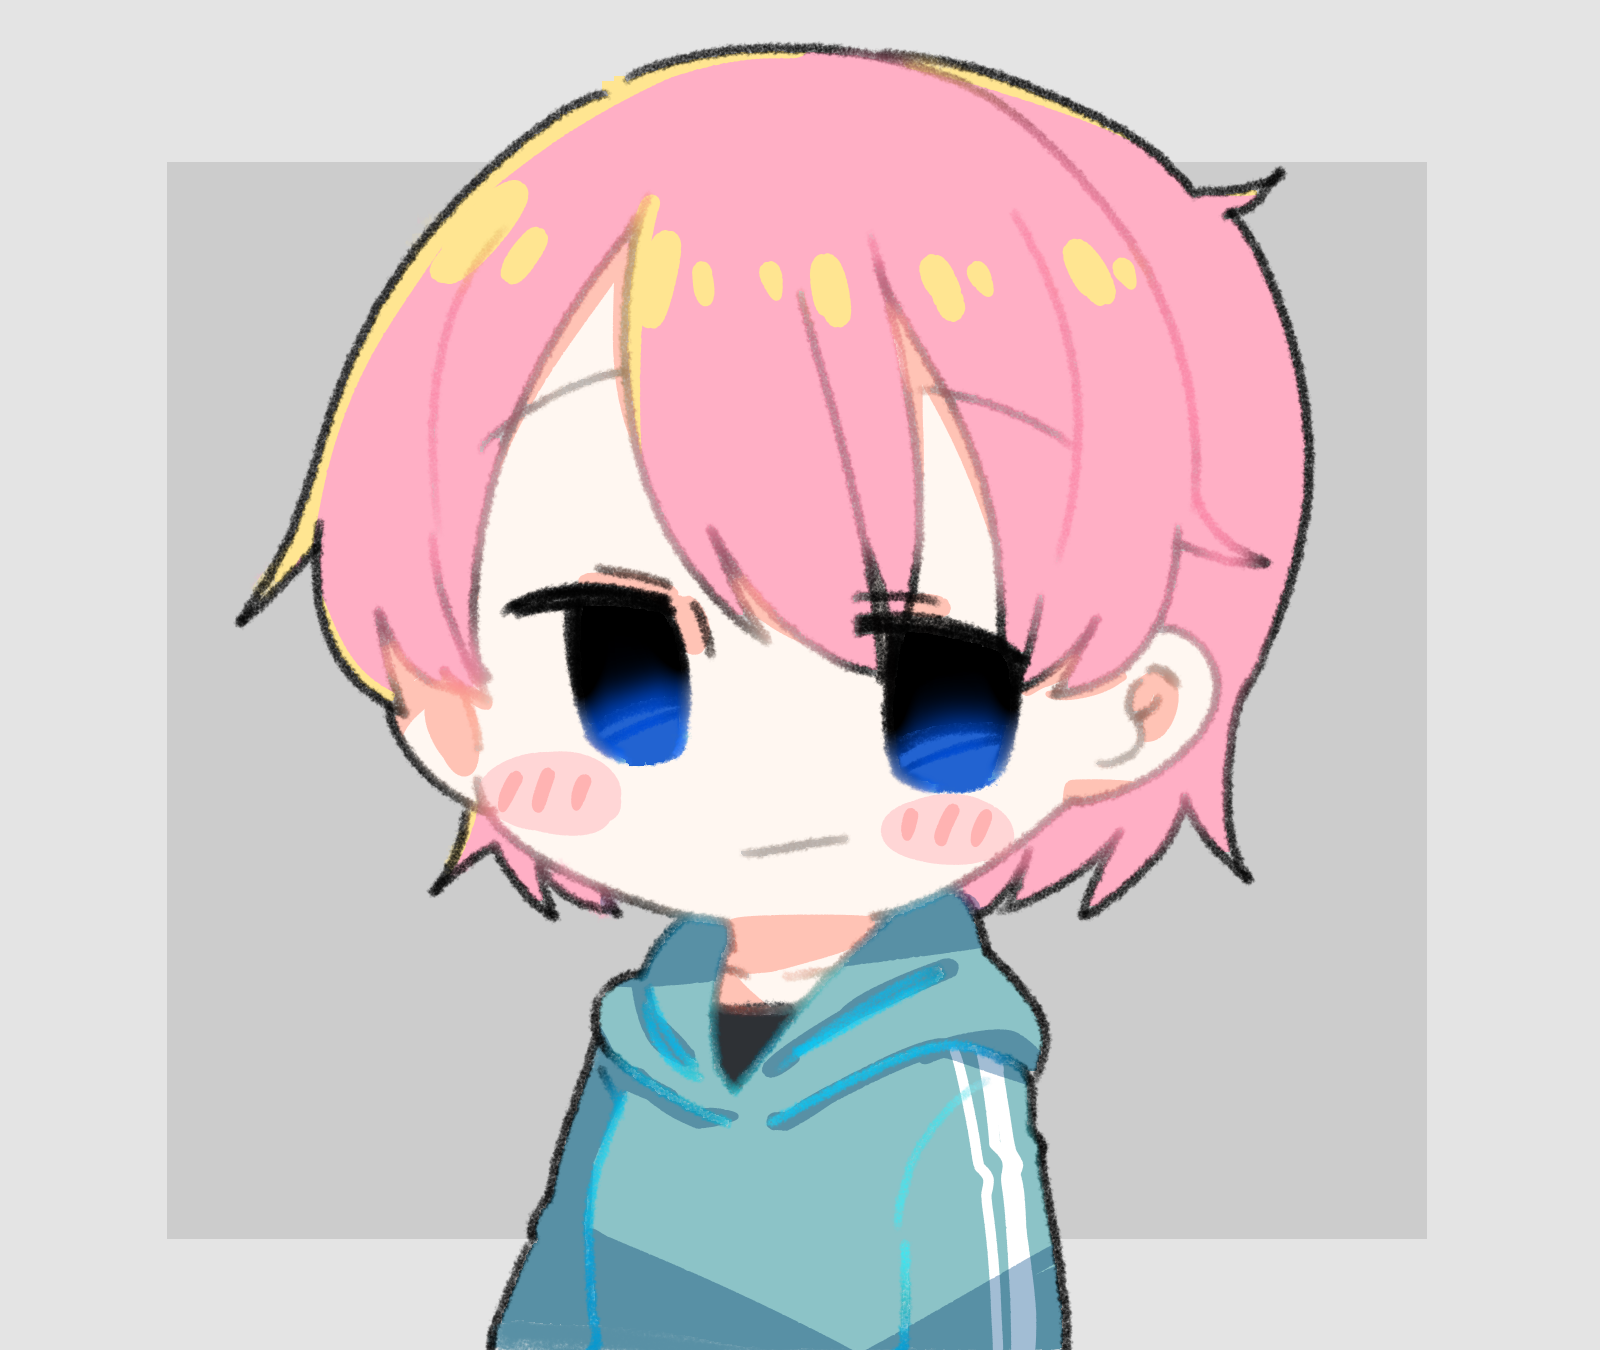
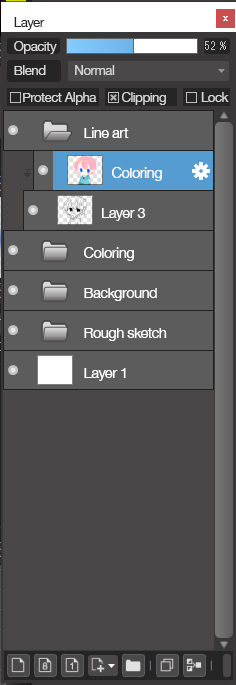
Change the opacity
Reduce the opacity to 52%.
Delete unnecessary parts
As the outline looks unclear, use the eraser to trim the clipped layer to make the black outline stand out.

Now the outline is highlighted and looks clearer.
Hardlight and Add/Lights
Now let’s set the layer blend for the clipped layer.
Hardlight↓
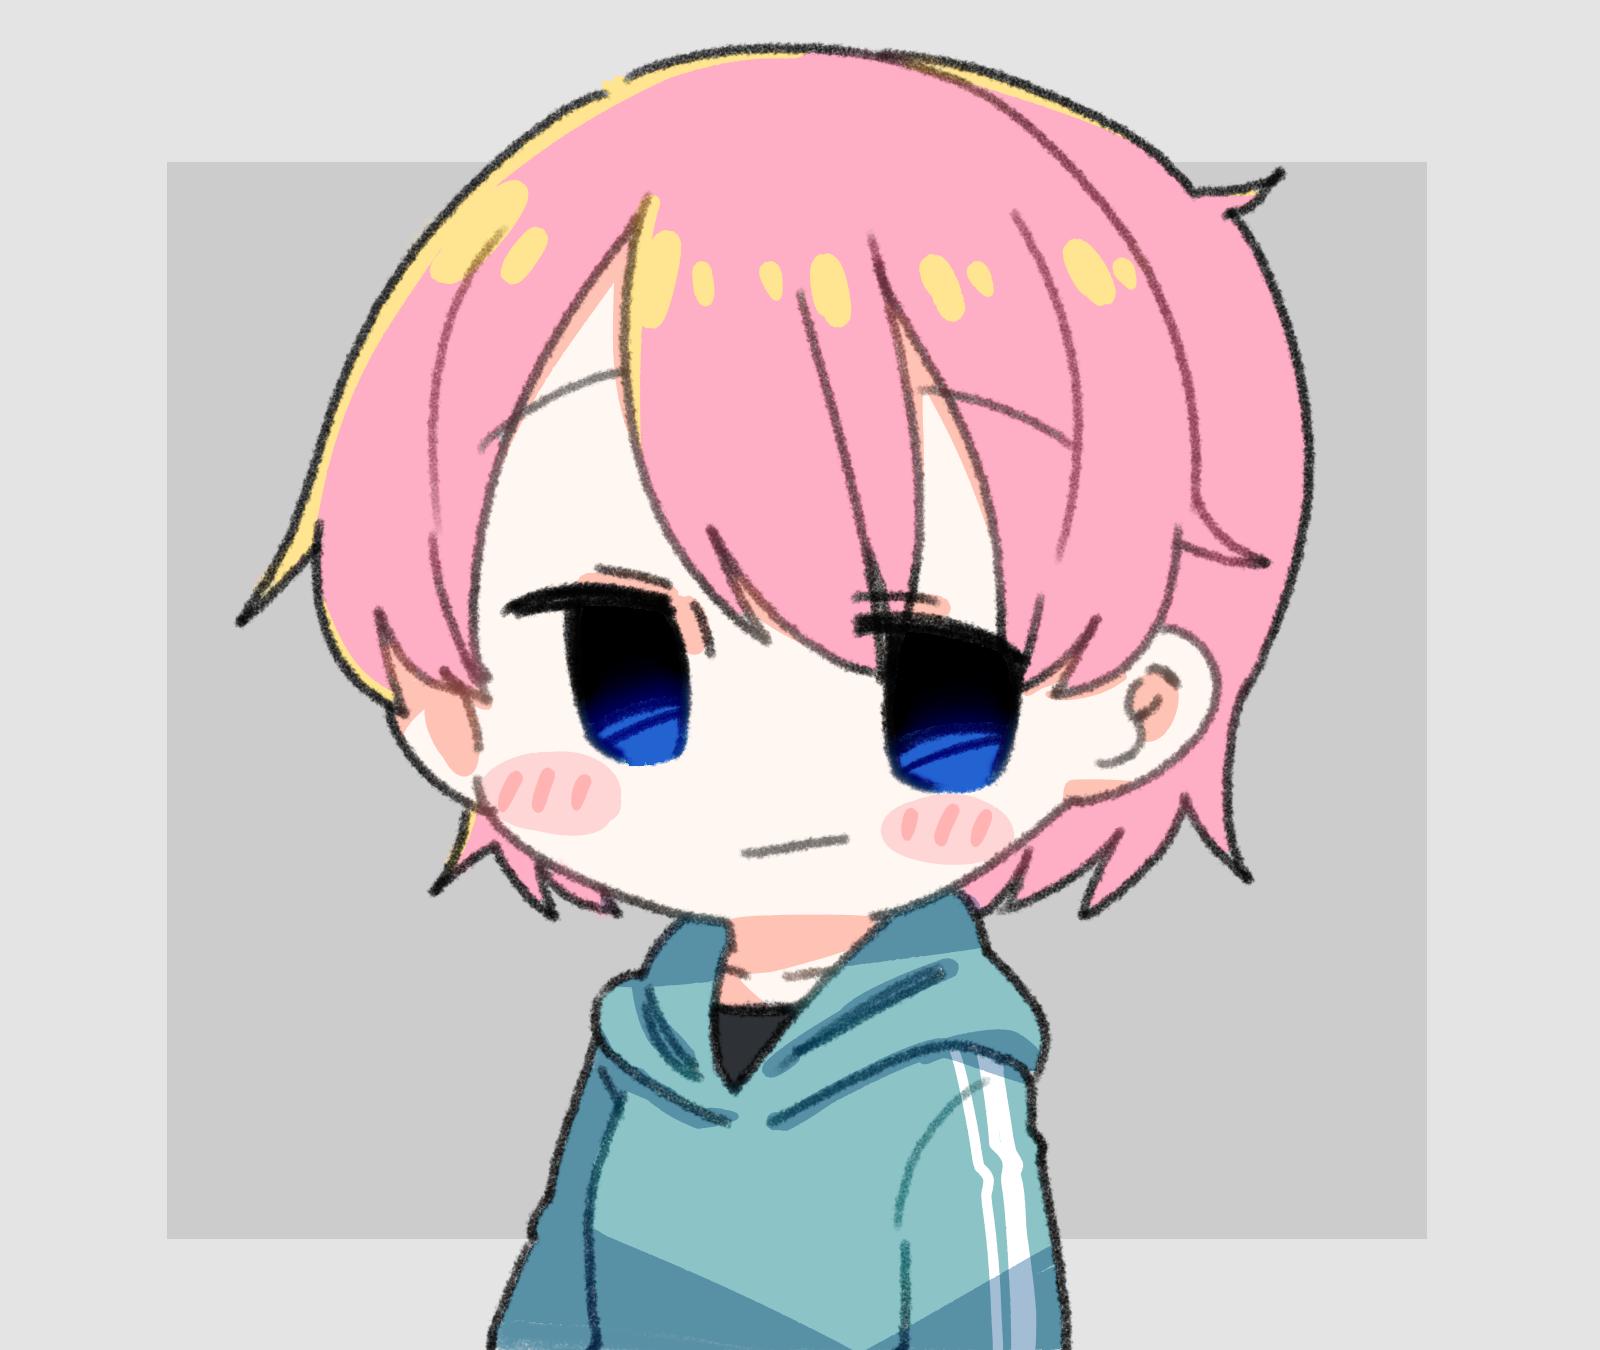
Add/Lights↓

There are lots of different layer effects available in MediBang Paint, so go ahead and try them out!
Texture Customization
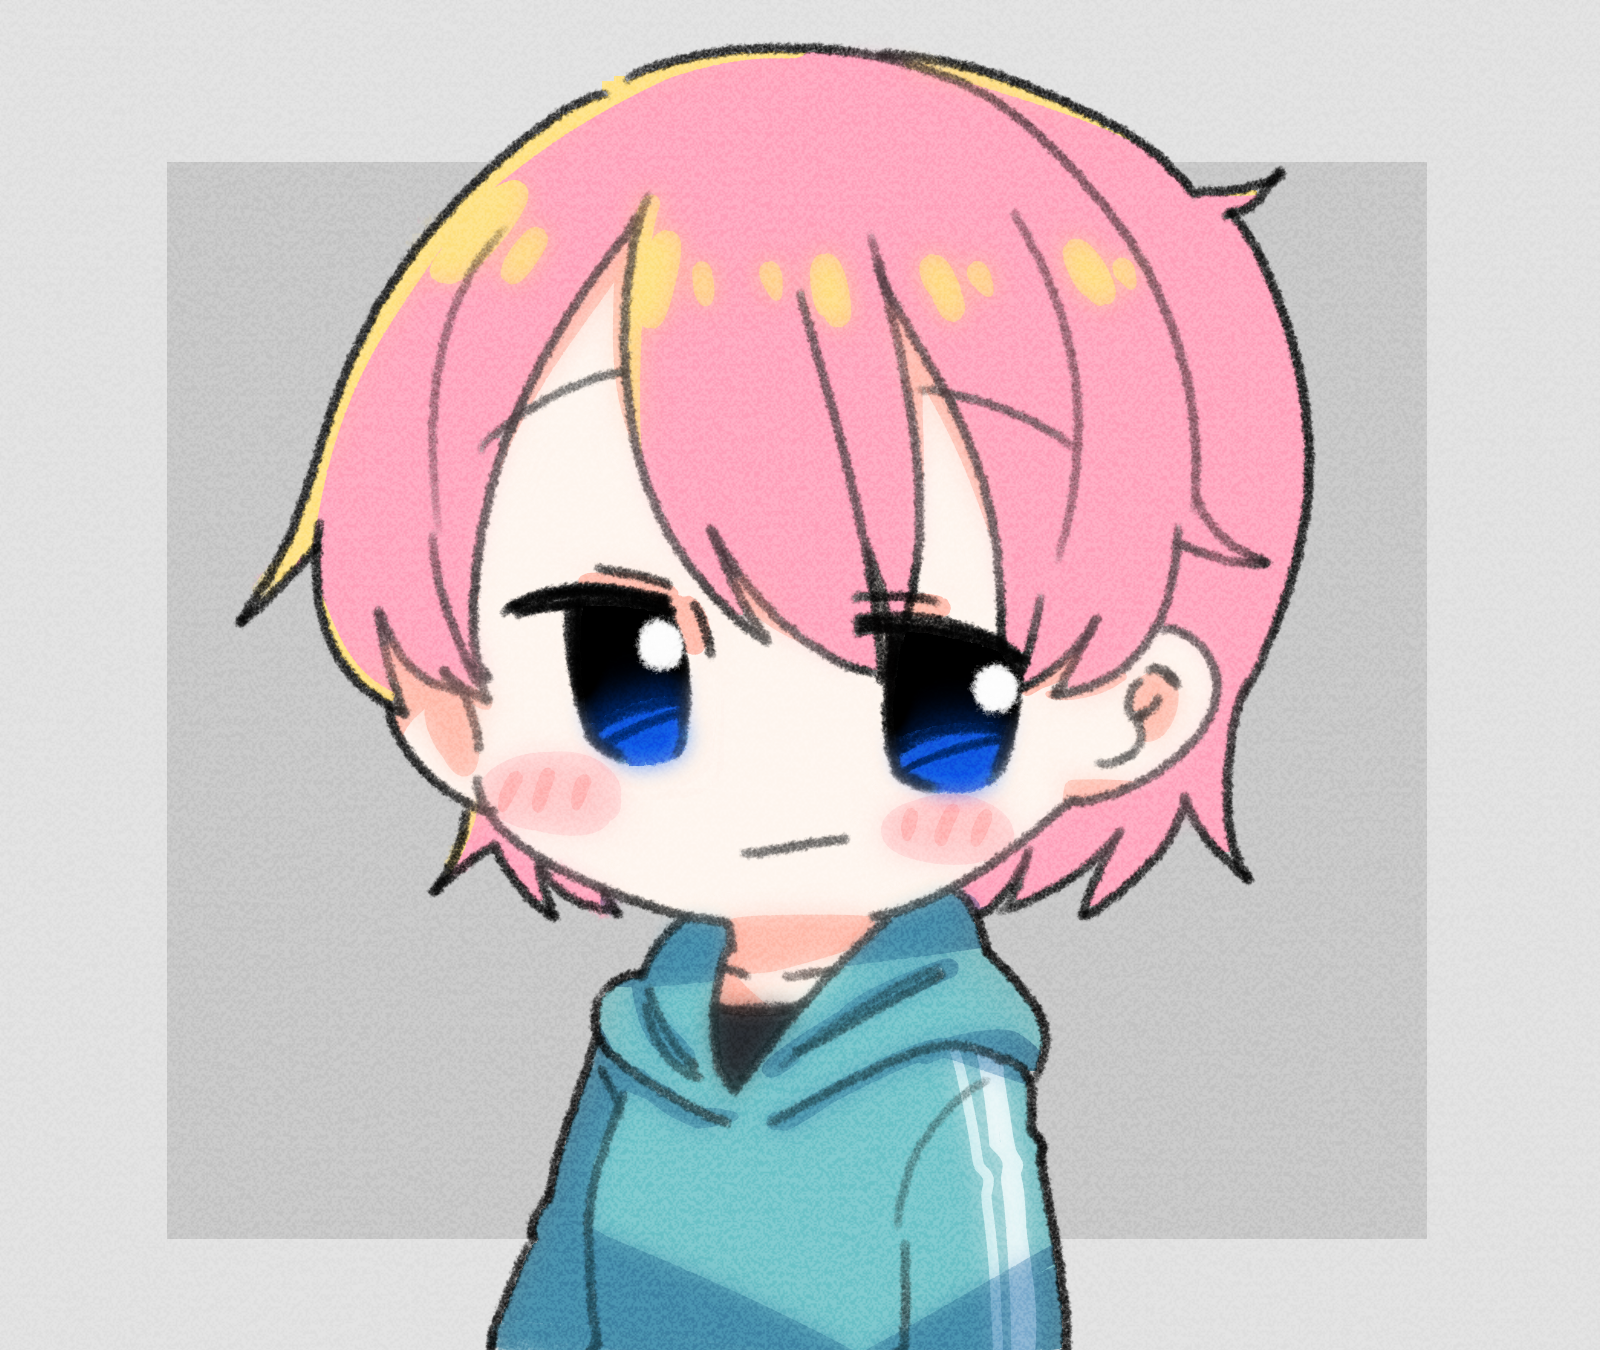
This is the last step, we’re going to adjust the texture.
Before we do that, show the eye highlight layer that we have hidden.
I’ve applied these 3 custom settings.
- Select “Fabric Texture 4” from the Cloud Materials
- Change the layer blend to Overlay
- Reduce the opacity to 19%
Conclusion: Use edits to take your art to the next level
Today’s tutorial is about “use layer effects to edit your line art”, showing the content below.
- Separate folders for “Line Art Folders” and “Coloring Folder”
- Hide the highlight layer for the eyes
- Edit the coloring folder to blend the colors of the line art
- Duplicate the coloring folder
- Gaussian blur and Clipping
- Increase the saturation
- Change the opacity
- Delete unnecessary parts
- Hardlight and Add/Lights
- Texture Customization
Just a bit of customizing effects will improve the quality of your art!
(Text・Illustration/つかさん)
Twitter:https://twitter.com/Tsukasan0823
\ We are accepting requests for articles on how to use /

