Using «Select Tool», you can select part of the picture. At this time, the selected area is called «selection range».
Using the «Bucket Tool» or «Transform Tool» after creating the «selection range», you can paint and transform only the picture in the «selection range».
There are several ways to specify «selection range» in MediBang Paint, so we explain each.
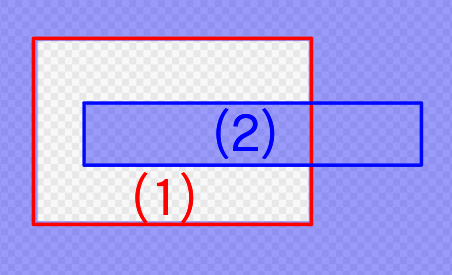
You can select the range as «Rectangle» «Ellipse» «Polygon» shape.
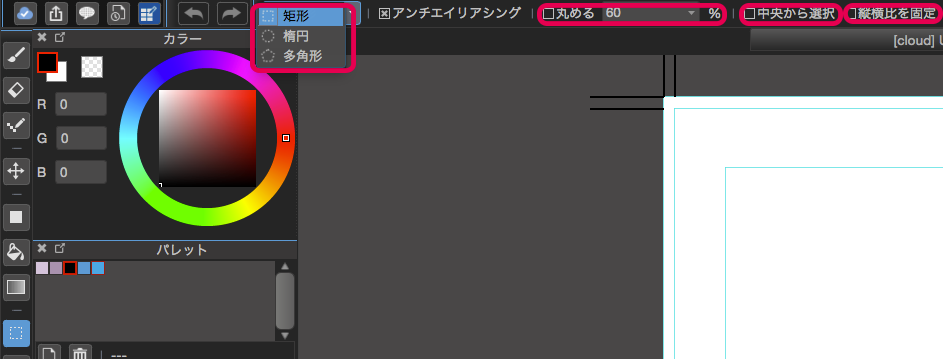
When you click the «Selection tool» button on the toolbar on the left side of the main window, you can select the selection method from «Rectangle» «Ellipse» «Polygon».
Setting to round the corner, selection from the center, fixing the aspect ratio is the same usage as «Fill tool».
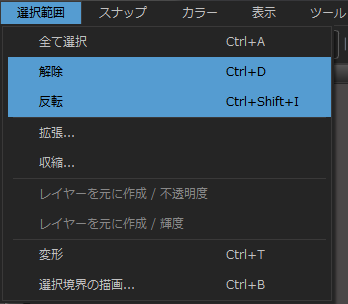
To cancel the selection range, you can select «Select» → «Deselect» in the menu or «Deselect» button on the tool bar at the top of the main window.
With the selected range created, if you execute «Edit» → «Crop» in the menu, the canvas is cropped to the size of the selection range.
If you use «Lasso Tool», you can create a selection by freehand.
If you already have a selection range, you can add a selection by holding down the Shift key and creating a selection range. Hold down the Ctrl key and cut the selection.
Using «MagicWand Tool», you can create a selection automatically along the part surrounded by a line and color form.
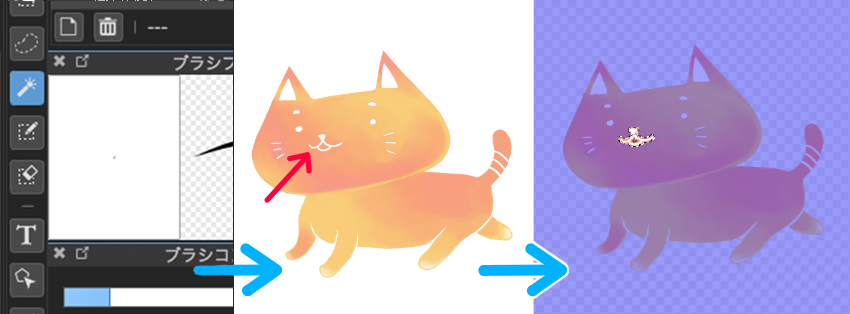
When «MagicWand Tool» is selected, the toolbar for «MagicWand Tool» is displayed at the top of the main window.

How to use this toolbar is the same as the «Bucket Tool» toolbar.
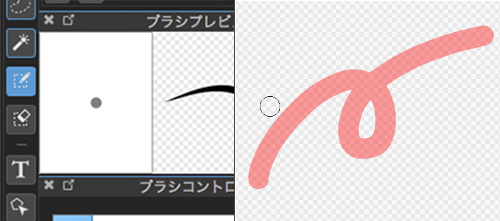
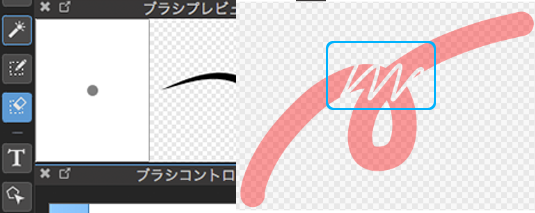
«SelectPen Tool» allows you to specify the selection range by hand drawn.
«SelectPen Tool» is convenient when you want to select details that are difficult to specify with «Shape», «Lasso», «MagicWand», etc. since the painted place is the selection range intact.
By using «Select» → «Create selection from Layer / Opacity» or «Create selection from Layer / Brightness», you can create a selection based on the picture drawn on the layer .
You can erase the selection by using «SelectEraser Tool».
It can be erased with the sense of drawing a line, so it is convenient when you repair small parts.
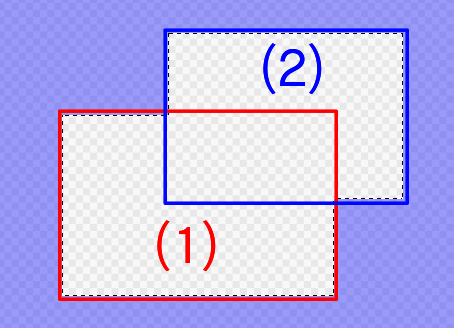
It is also possible to expand / contract the specified selection range.
With the range selected, please select «Select» -> «Expand» or «Contract» of the menu.
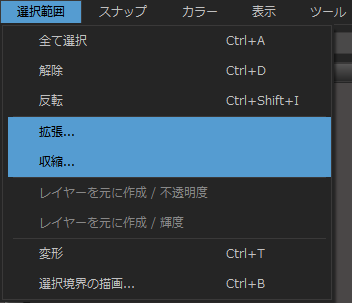
Since both dialogs are displayed, please input the number of pixels to be expanded / contracted and click «OK».

To invert the selection range and the selection range, select «Select» → «Inverse» in the menu with the selection range specified.
Also, if you want to cancel the selection range, please select «Deselect» above.
By unchecking «Select» → «Highlight Outside» in the menu, you can erase the color (purple) around the selection area.
Let’s actually use the selected range.
Please download the sample first and open it.
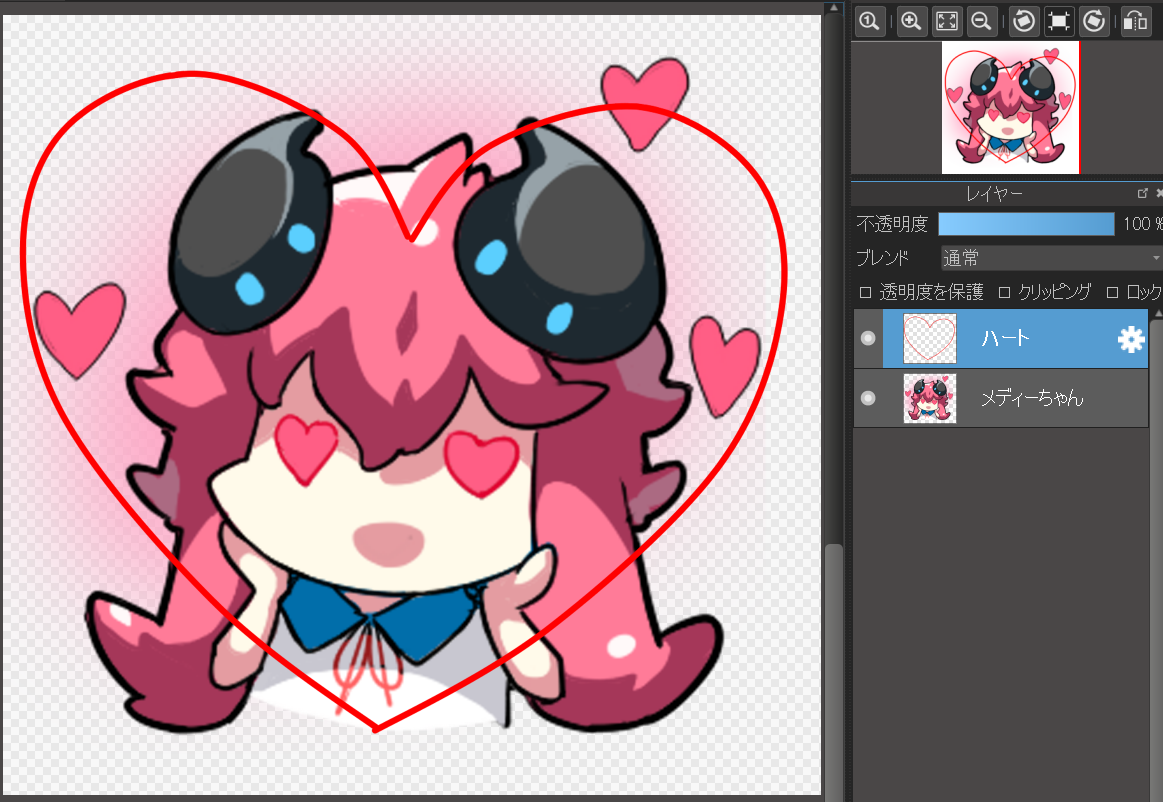
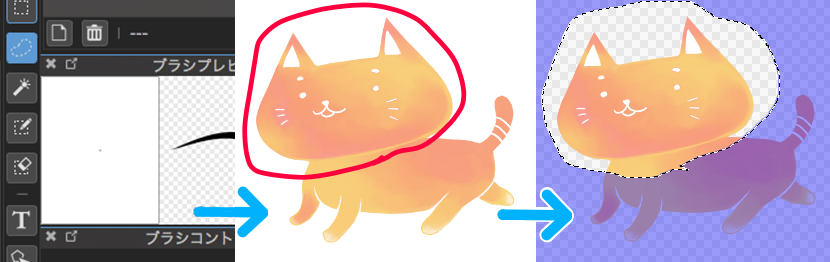
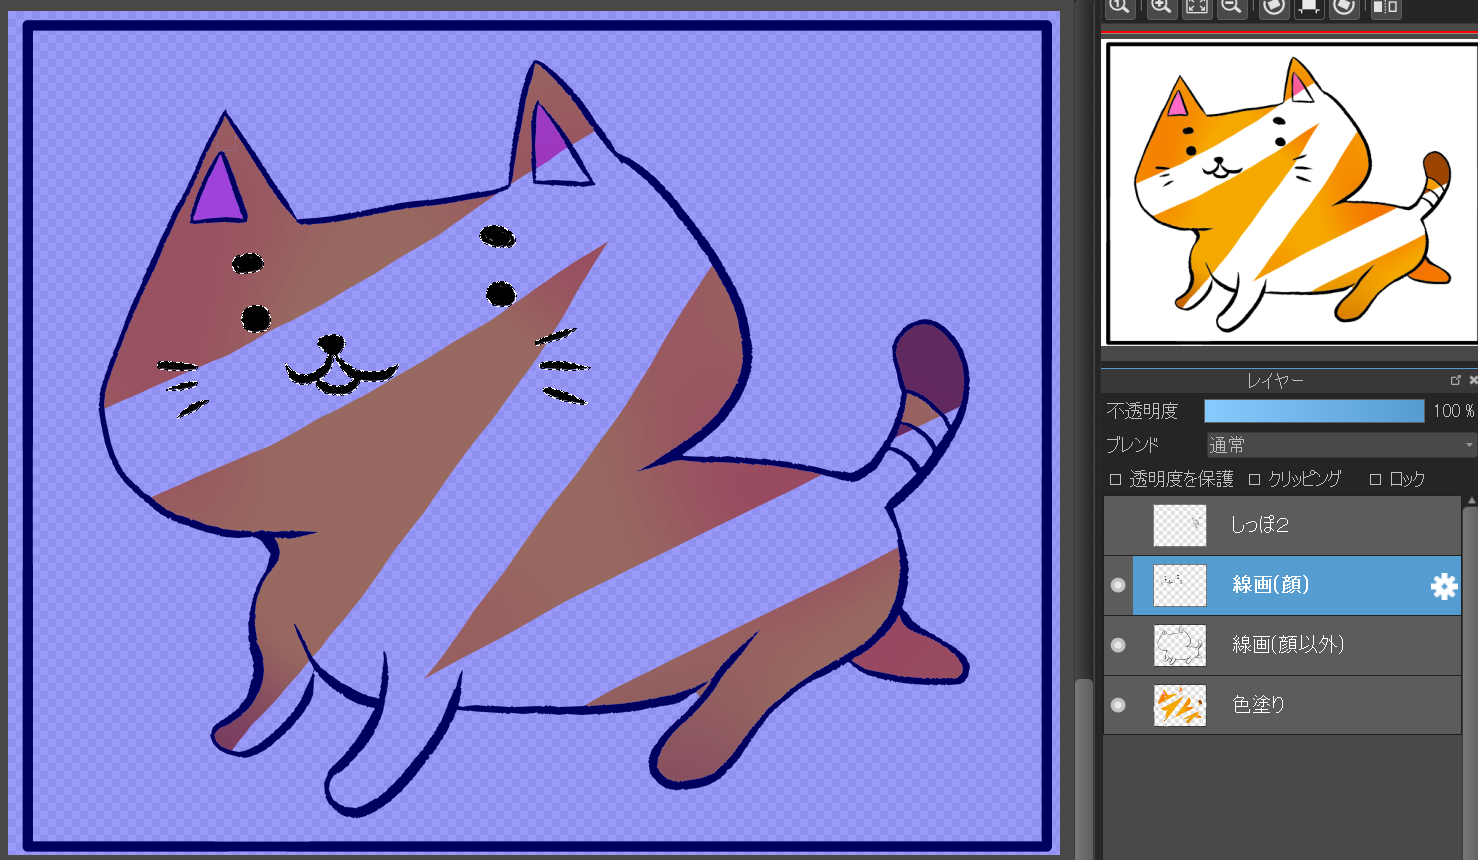
From here, I will clip the medi-chan to heart-shaped.
Select the «Heart» layer and let’s select inside the heart with «MagicWand Tool». Please refer to «MagicWand tool» to «Layer».
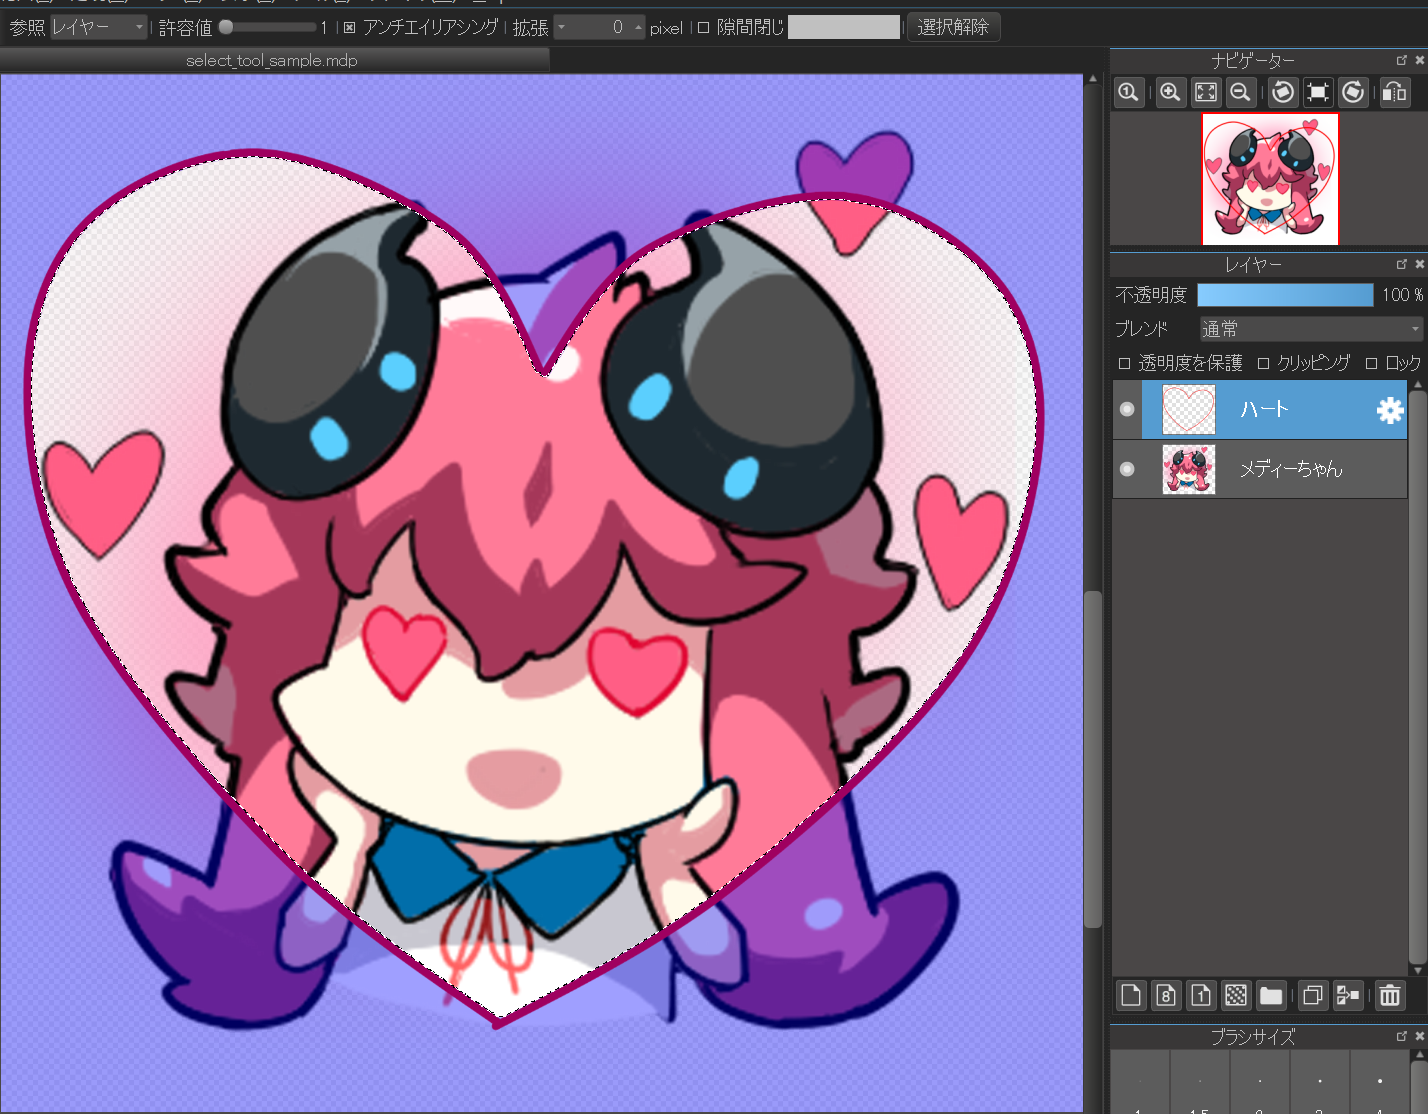
When you invert the selection by «Select» → «Inverse» in the menu, the outside of the heart is selected.
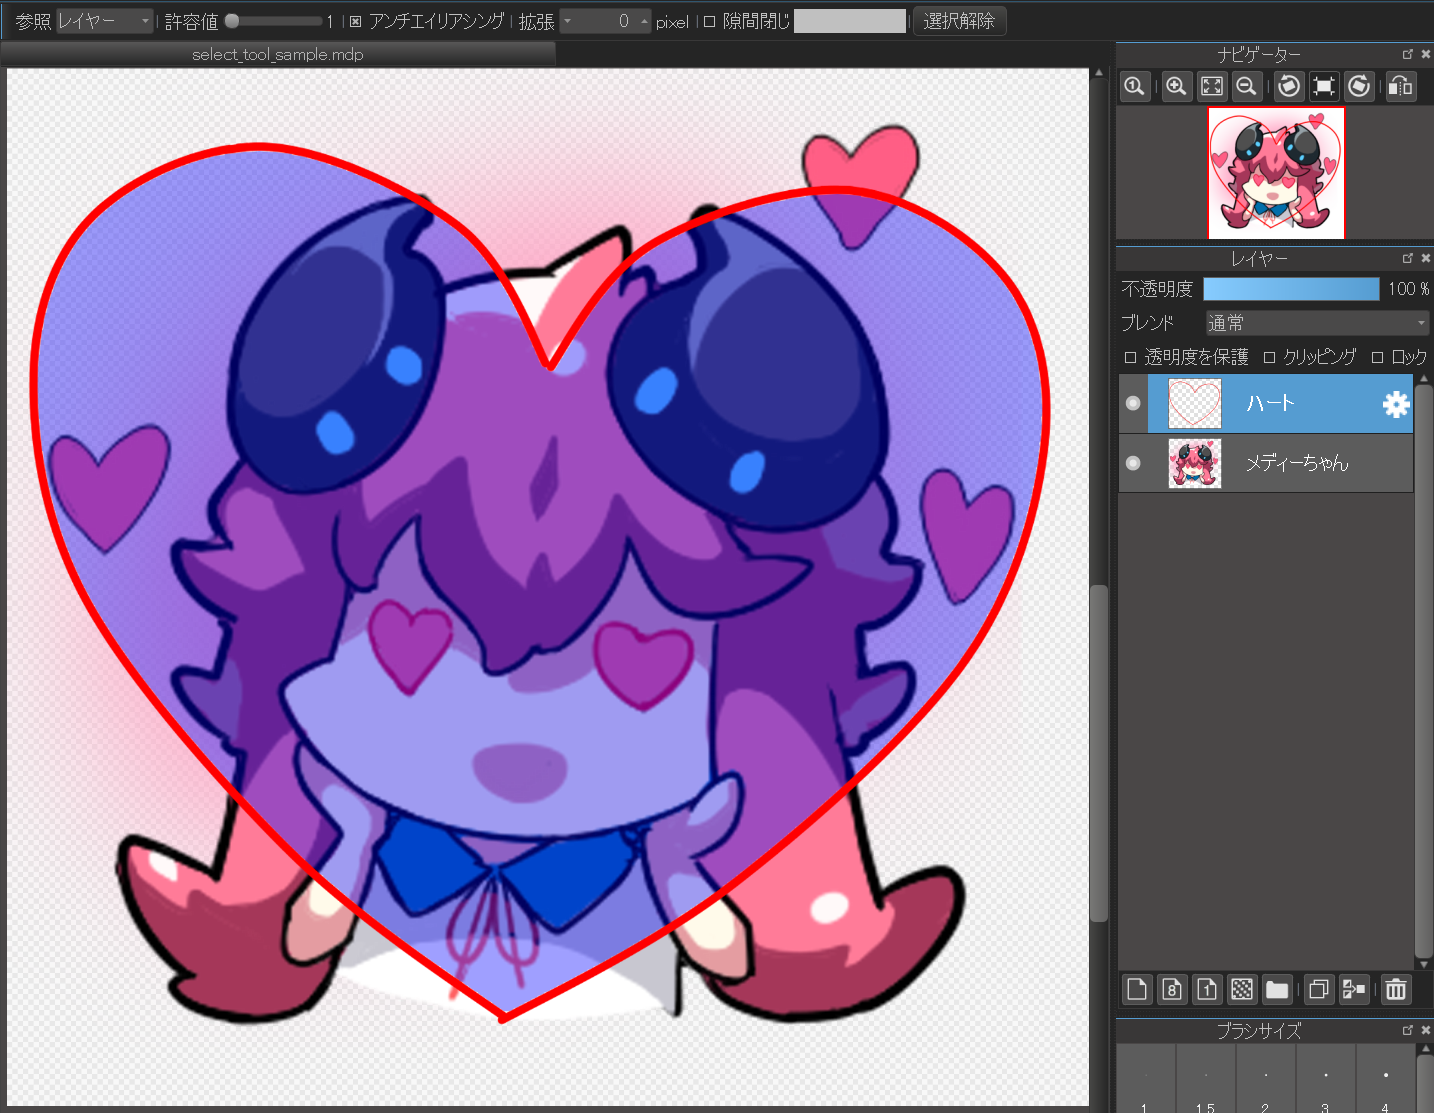
In this state, you can select «medi-chan» layer, and from menu «layer» → «clear» you can erase only the outside of the heart. (If you perform an operation such as clearing a layer while creating a selection range, it will be reflected only within the selected range.)
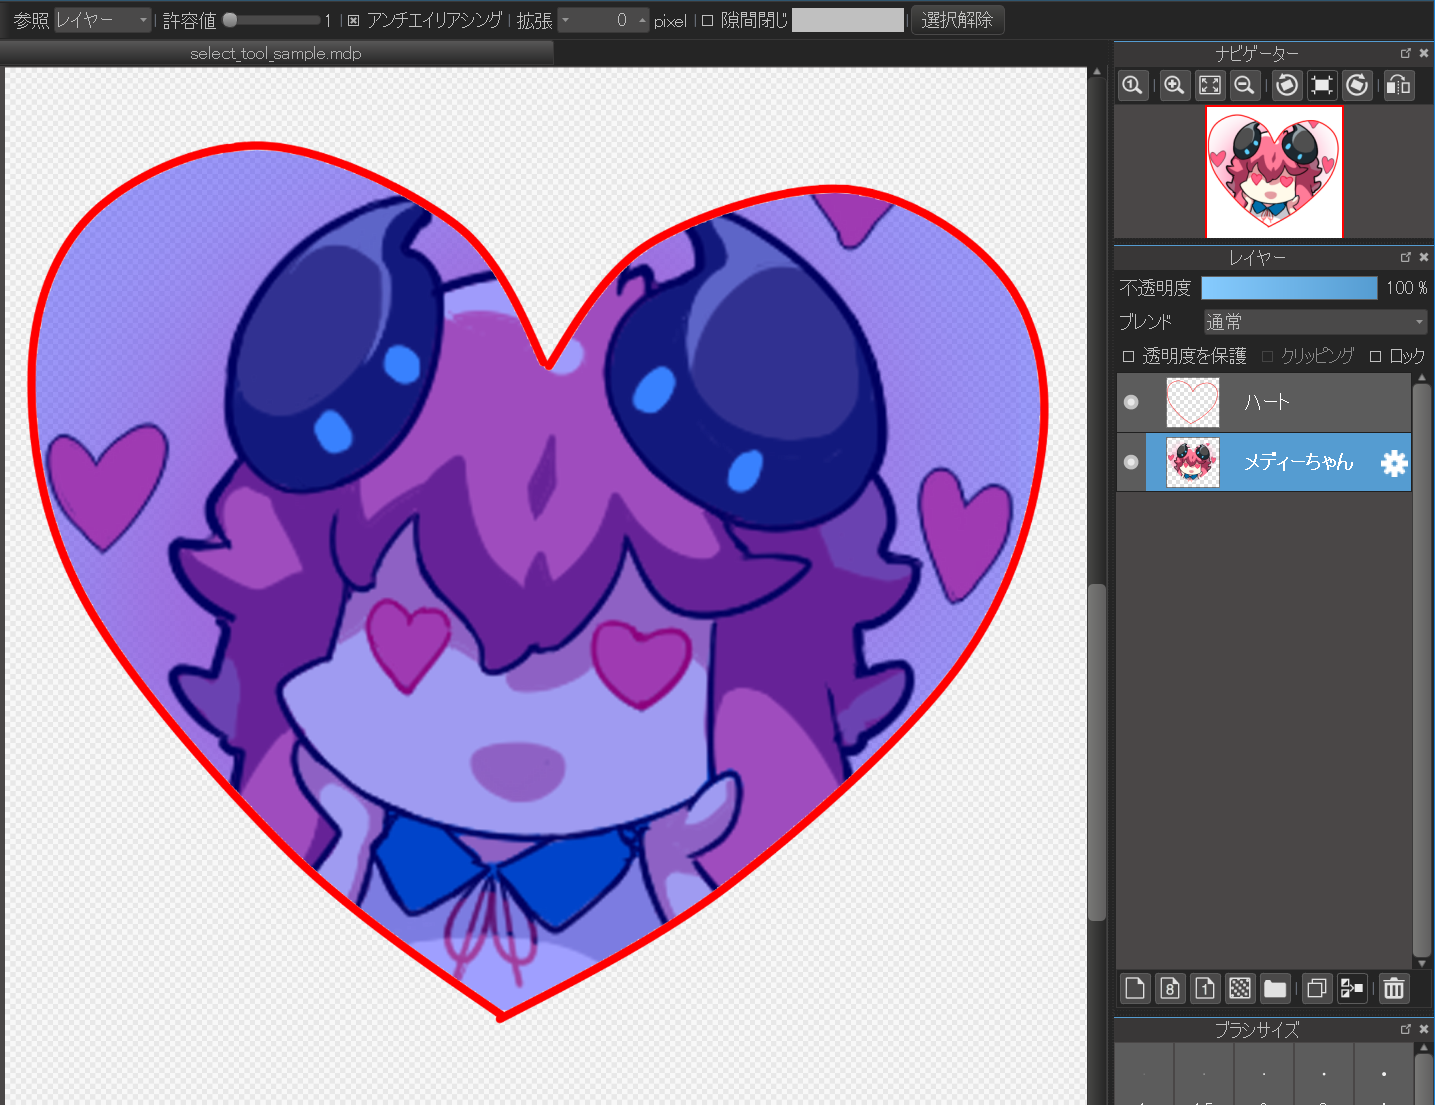
Even when you change the layer to be selected, the selection range remains unchanged, so you can use the selection made using «MagicWand» on another layer.
Finally, if you cancel the selection range and delete the «heart» layer, it is the finished «medi-chan» image clipped out in the shape of a heart.

MediBang Premium, новая услуга MediBang Paint, теперь доступна!
Вы получите неограниченное количество кистей и материалов,
полный доступ ко
всем функциям MediBang Paint,
а также множество других преимуществ,
которые
помогут вам в ваших творческих начинаниях.
Введем облачные функции, доступные в краской Medibang.

Введем конкретные примеры командной продукции, используя Medibang Paint и Mangainem.

Введен официальное программное обеспечение Manga Production Software «Right Paint».