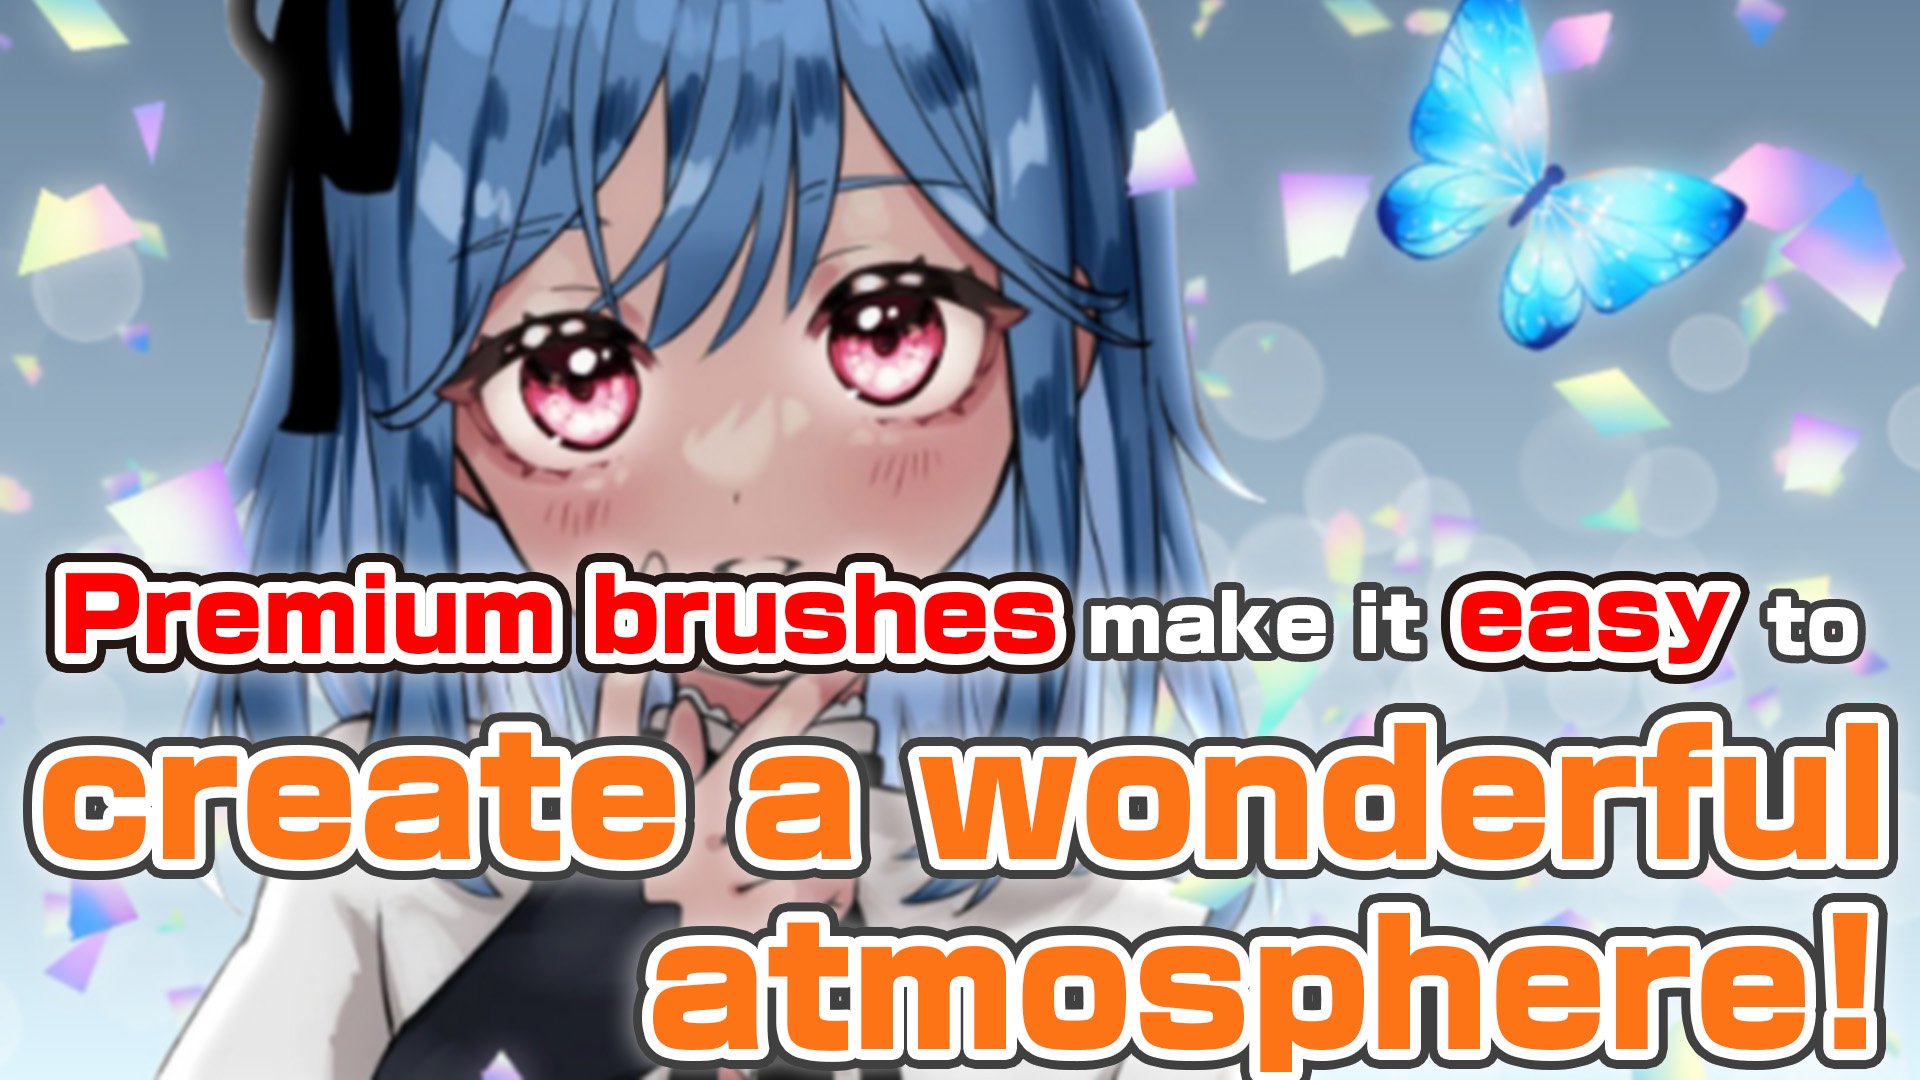

When you need to fill the gap
and make the image beautiful.

When you want to change
the atmosphere and make it emotional.
Let me introduce you to two Premium brushes!
The app opens by clicking on the download button for each brush.
If you do not already have the app, be sure to install it from the download page.

The Butterflies U (Blue) brush makes it easy to draw lots of butterflies!
You can draw beautiful butterflies with a high quality.
This brush is useful for making backgrounds or atmosphere beautiful!

The Iridescent Flakes 1 brush makes it easy to draw iridescent light effects!
You can draw beautiful iridescent flakes that are full of color.
Perfect for finishing beautiful illustrations! Don’t miss to try out!

Create a layer above the character layer. Use the Iridescent Flakes 1 brush to spread the flakes over the canvas, keeping the character’s face visible.

Create a layer below the character layer. Use the Iridescent Flakes 1 brush at a reduced size to spread the flakes over the canvas.
Set the layer opacity to 70% so that the flakes blend into the background.
To show the distance between the tiny flakes and the character, select Lens Blur from the Filter menu to blur the flakes a little.

Create a layer on top of the layers and add a butterfly using the Butterflies U (Blue) brush.

Duplicate the layers created in steps 1 to 3 and select Gaussian Blur from the Filter menu to blur each layer.
Set the layer blend to Screen and reduce the layer opacity to your liking (in this image the opacity of each layer is set to 40, 60, 100% from the bottom layer upwards).

To give the background an emotional feel, create a layer below the one you created in step 2. Use the Bokeh brush to add atmosphere.

Duplicate the character layer. Select the hue and darken the brightness to about 40. Set the layer blend to Multiply and the layer opacity to 20%.

Use the Eraser tool to erase the eyes from the layer created in step 6. Select Gaussian Blur from the Filters menu to blur the layer properly, then clip it to the characters layer.

Create a new layer on top of the character layer and paint everything on the canvas in white except for the character.

Select Gaussian Blur from the Filter menu and set the layer blend to Add/Lighten. Clip the layer to the character layer.

To make the eyes glow, create a layer above the character layer and airbrush white over the eyes. Set the layer blend to Overlay and the layer opacity to 40% to make the eyes stand out. Now we’re done!
Did you create your work like the example?
If you like it, sign up for a subscription and use the premium features as much as you like!
If you like the features, please consider subscribing to MediBang Premium!