2015.03.31
(2)Using Tools

Basic functions
(2)Layers
1.What are Layers?
2.How to use Layers
3.Types of Layers
4.Finding Layers
5.Locking Layers
<Applied>Use layers to avoid protrusion when coloring.
(3)Drawing shapes
1.Making colored shapes
2.Making shape outlines
(2)Layers
1What are Layers?
Layer is a function allows you to pile up different layers of work on top of one another.
(Example)This Alpaca character is made with 2 layers.
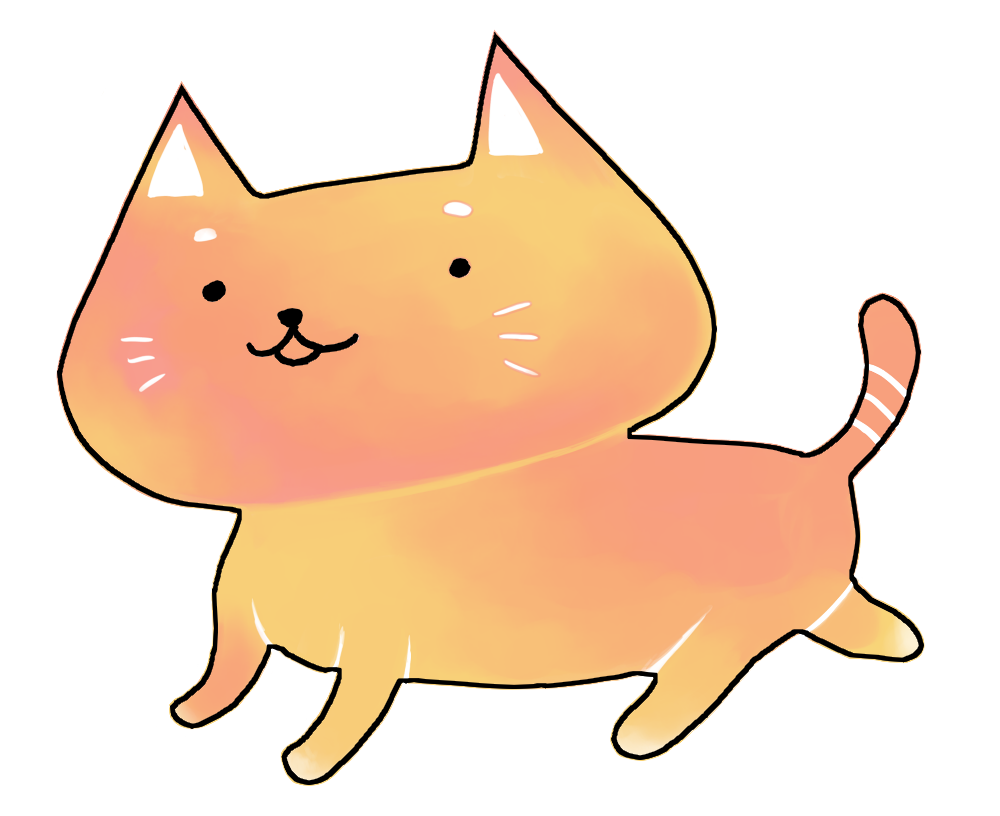

Layer 1 contains the “line drawing” and the layer 2 contains the “Colors”.
For example if you did everything on a single layer if you wanted to erase the colors you would have to take great care not to erase the lines as well. However, if you made layers,
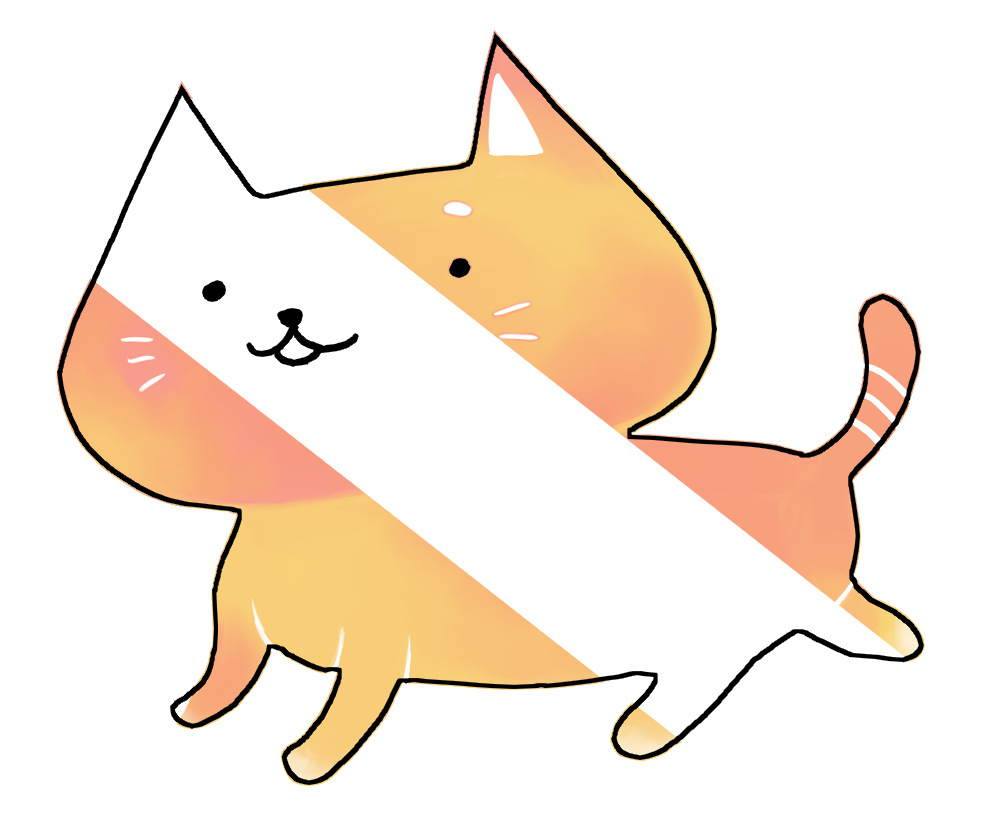
you can easily erase the colors on Layer 2 without affecting the line art on Layer 1.
Now, we are going to explain to some basic uses of layers.
2How to use Layers
On the menu “Layer” or the buttons in the bottom right corner of Layer window, you can do operations such as “Create new layer”.
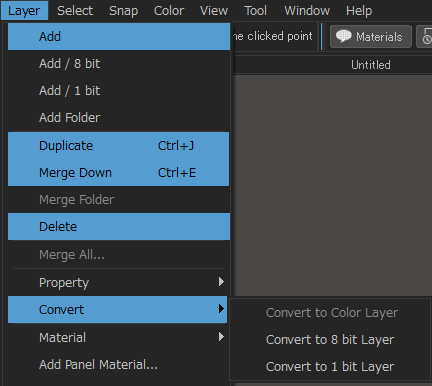
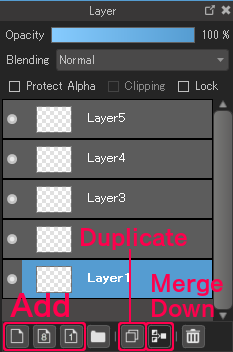
| Add | Create a new layer. Color layer, 8-bit layer, 1-bit layer – you can choose from these types of layers. |
|---|---|
| Duplicate | Copy the selected layer. |
| Merge Down | Merge a layer into the layer below it. |
| Delete | Delete the selected layer. |
| Convert | The selected layer can be converted into one of the 3 types of layer which you see when clicking on “Add”. |
3Types of Layers
There are 2 types of layers.
a.)Draft Layer
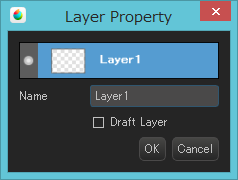
You can change the layer type from the normal type to Draft Layer by double-clicking the layer and ticking in the box “Draft Layer” on Layer Property.
![]() Double-click this.
Double-click this.
↓
You will see a window like the one shown below.
You can change name of the layer here.。
↓
![]()
In the top right corner, you will see a draft layer indication.
Draft Layer
・is not influenced by selections made by MagicWand, Bucket Tools.
・not visible when printed.
・will not appear in in jpg, png, bmp file formats(will not be applied to saved files either)
b.)Color layer, 8-bit layer, 1-bit layers
There are 3 different layer types as shown below.
| Color layer | This layer is for color use. (RGB※ only) |
|---|---|
| 8-bit layer | This layer allows you to draw in grayscale(gradation spectrum from black to white). |
| 1-bit layer | You can draw in black color only(one color). This layer type is black and white only. |
8-bit layers and 1-bit layers have an indication in the bottom right corner.

8-bit layer and 1bit layer are much smaller in size and the operations are faster.
When you are drawing black-and-white lines only, it would be useful to draw in 8-bit or 1-bit layer.
Applied
The 3 types of layers can be selected when creating a layer but even after you made one, you can still change them by clicking “Convert” and making modifications in it. (However, if you convert a colored illustration made on color layer into 8-bit or 1-bit, the the color in the layer will turn to grayscale.
Moreover, 8-bit and 1-bit layers can be converted into another color(other than black but one color only). If you right-click on the layer somewhere, the foreground color will be changed to the color you right-clicked on.
Because only one color can be applied, lines that have already been drawn will be converted to the color you designated.

4Finding Layers
While drawing, when “I don’t know which layer I applied this color to” kind of moment happens, hold down the “A” key ( what the pointer looks like![]() ) and click on the color or line you are looking for.
) and click on the color or line you are looking for.
5Locking layers
If you lock a layer, the layer cannot be edited at all.
In case you would like to protect a completed layer or you don’t want to draw anything but still need it visible, this function can be used to prevent from unwanted changes to finished layers.
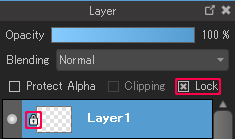
The locked layer will have a lock sign on it.
Applied : Utilize layers for more efficient coloring
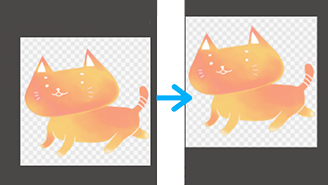
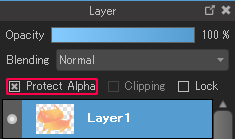
a.)Protect Alpha
If you tick in the box “Protect Alpha”, the transparent parts will be protected and you will not be able to draw on anywhere except for the parts you’ve already drawn on.
You can set the Protect Alpha for each layer.
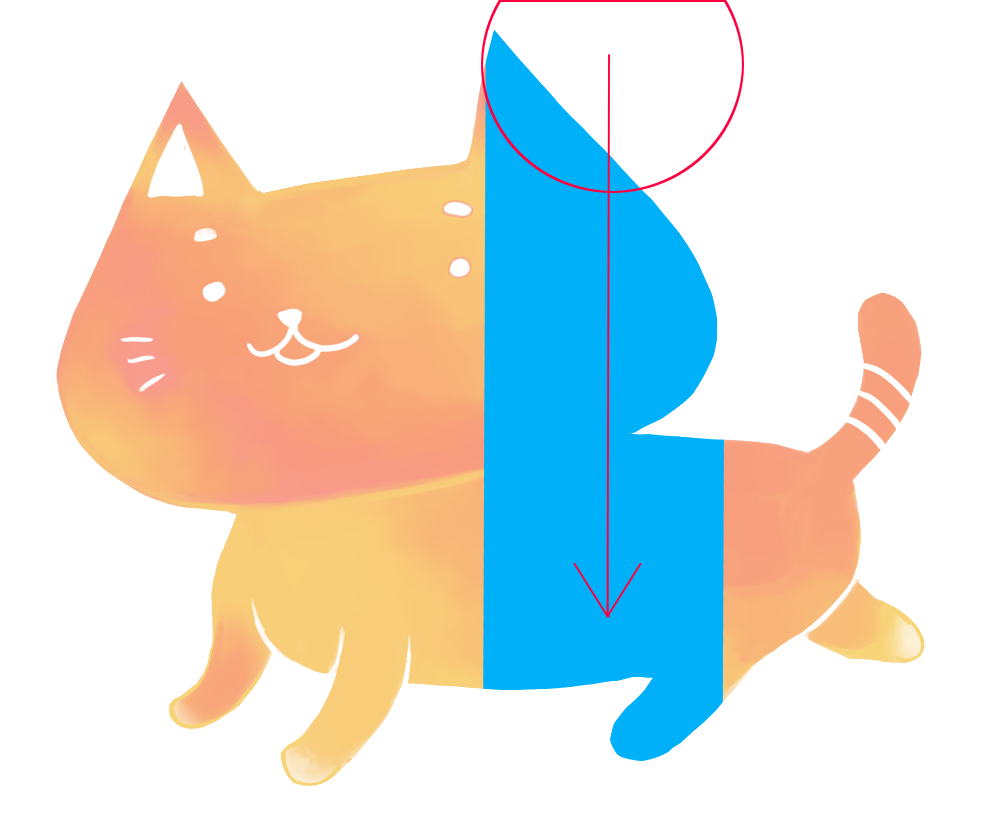
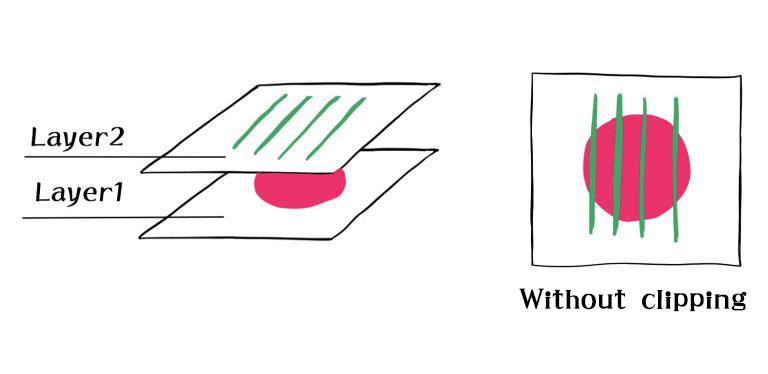
(Example) If you drew an Alpaca character like the picture above when “Protect Alpha” is turned on, you cannot draw on any other area other than the Alpaca.b.)ClippingIf you tick in the box “Clipping”, you can only draw on the layer one below the layer you applied clipping to.
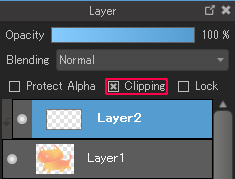 If you see the picture here, for layer 2, you can only draw on areas where Alpaca character is drawn on layer 1.
When coloring, if you apply clipping on the layer contains a “Basecoat”, applying shadow becomes easier.
(3)Drawing shapes
1Making colored shapes
If you use the Fill Tool, you will be able to create a shape filled with color inside.

①You have the option of creating a “Rectangle”, “Ellipse” or “Polygon”
Rectangle and Ellipse can be created by dragging.
For polygon, you will need to click on certain points and double-click on the very last point to finalize creating the shape.
②If you click on “RoundCorner”, the corners of the shape will become round.
Values can be entered from either drop-down menu or be input directly.
③You can also designate the opacity of the shape.
How to draw a triangle
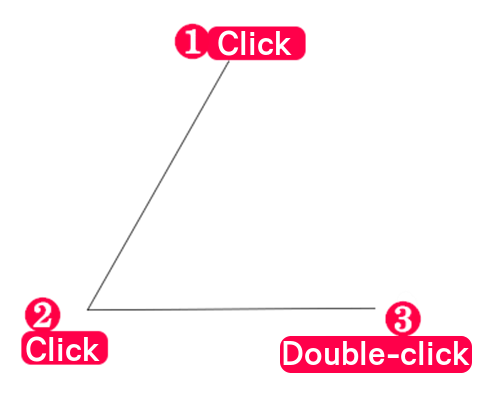
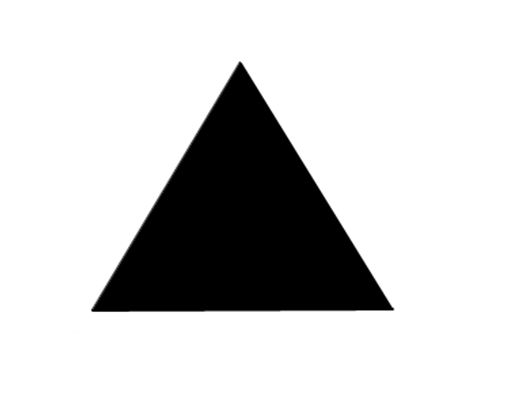
2Making shape outlines
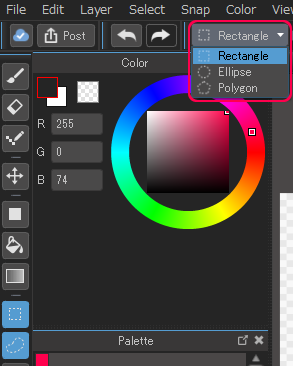
If you use the Select Tool, you can draw shape outlines(without coloring inside).
A shape can be chosen from “Rectangle”, “Ellipse” and “Polygon”.
This tool has the same operations with the Fill tool’s polygon mode.
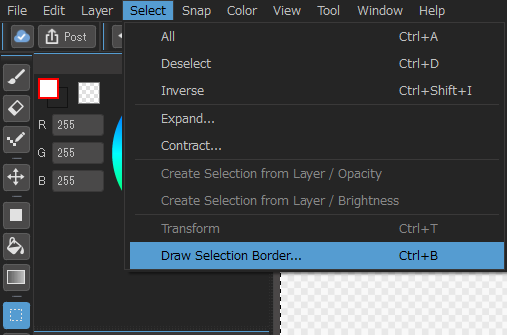
After a selection is created, go to menu and click “Select” – “Draw Selection Border”
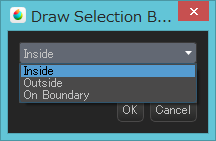
After a menu window opens, set the “Location to draw” and “Thickness” and then click “OK”.
For the selection border, “Inside”, “Outside” or “On Boundary” can be selected depending on the purpose.
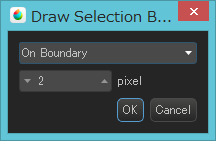
The thickness can be increased/decreased by clicking the arrows or you can just directly input the values to it.
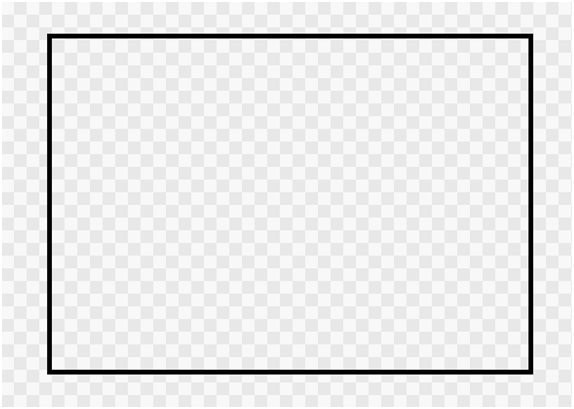
A rectangle made only using an outlines is drawn.
\ We are accepting requests for articles on how to use /

