2020.10.28
[ Line drawing making] corrections and adjustments become a breeze! The benefits of dividing line drawings into smaller layers
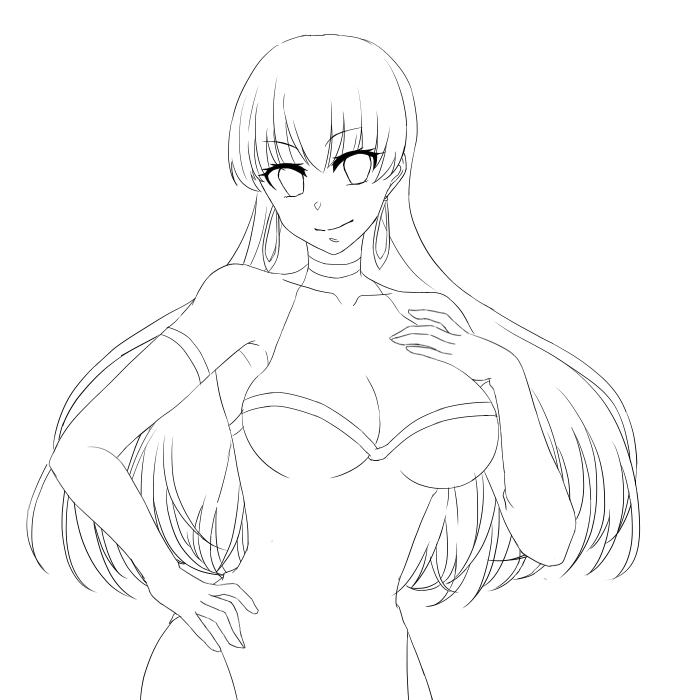
Have you ever had the experience of drawing an illustration with only a few layers, which makes it difficult to revise later on?
I’m sure there are a lot of people who use separate layers for coloring for later adjustments, but there are all kinds of advantages to using separate layers for rough or line drawing work as well.
In this article, we’ll take you through the making of a line drawing and introduce you to some of the recommended ways to separate layers and what you can do with them.
Index
Rough
First, draw a rough draft.
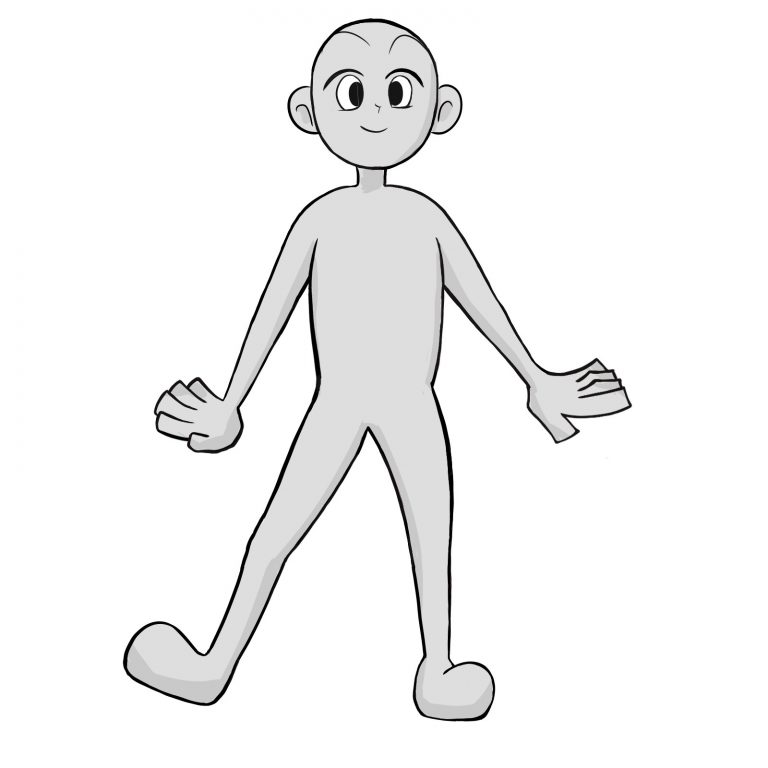
It’s good if I can easily find the pose, so I drew it roughly on a single layer.
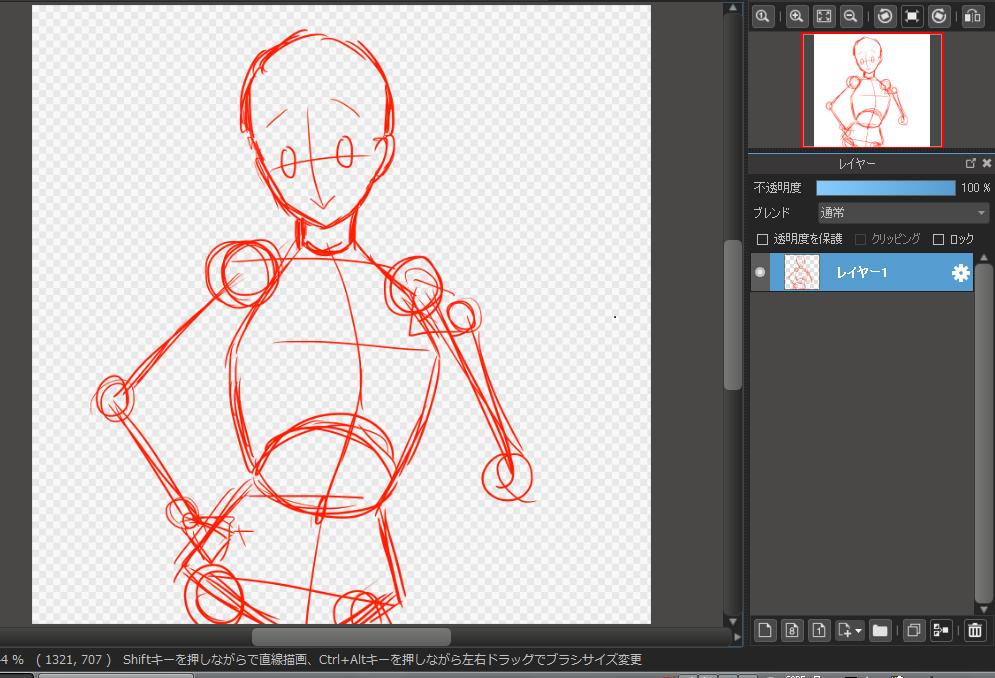
I draw the joints as balls and the arms and legs as lines.
I make sure to draw the angle of the collarbone and the orientation of the chest and hips so that I don’t get lost later on.
Draftsmanship
Lower the opacity of the layer on which you drew the rough, and add a layer folder.
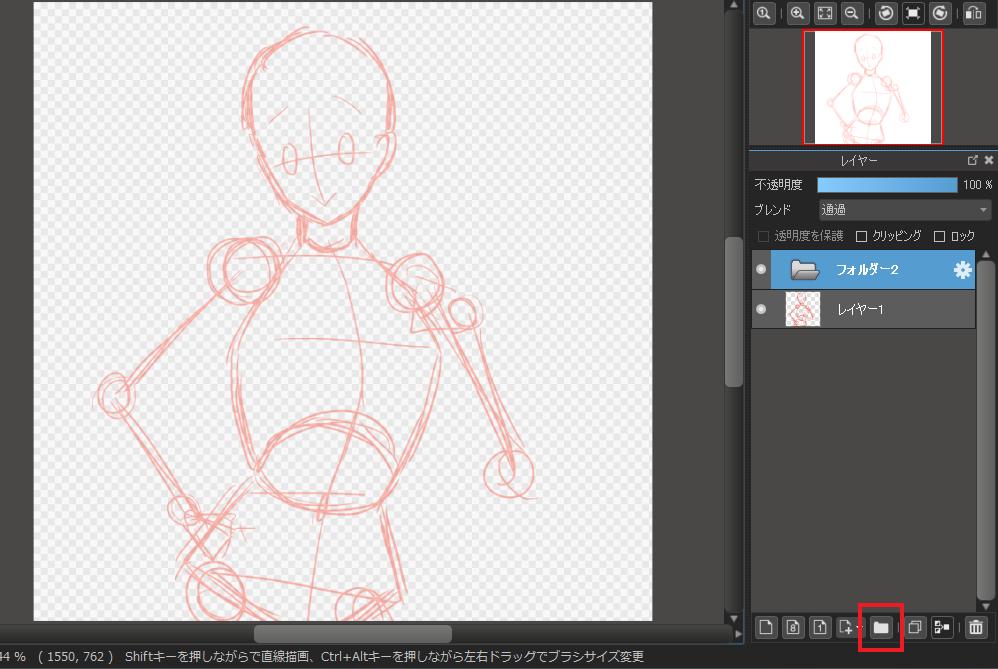
I drew in the layer folder I made, putting in the preliminary drawing layers.
In this case, I divided the layers into face (outline, eyebrows, nose and mouth), eyes, bangs and back hair.
I changed the colors to make it easier to see.

Close the folder and create a new layer folder again.
In it, I draw a preliminary sketch of the body.
No matter what kind of clothes you’re wearing, it’s easier to understand the structure of the clothes if you draw the body (naked) first and then draw the clothes.

The tips of the elbows are always separated into layers as I often correct the balance until the end.
Adjusting the underdrawing
Now we will adjust the balance of the underdrawing.
The size of the eyes are different between left and right, so we can use the Transform or Mesh Transform tool to adjust them.
I used the Lasso Selector tool, which has separate layers so you can easily select the overlapping lines without worrying about them.
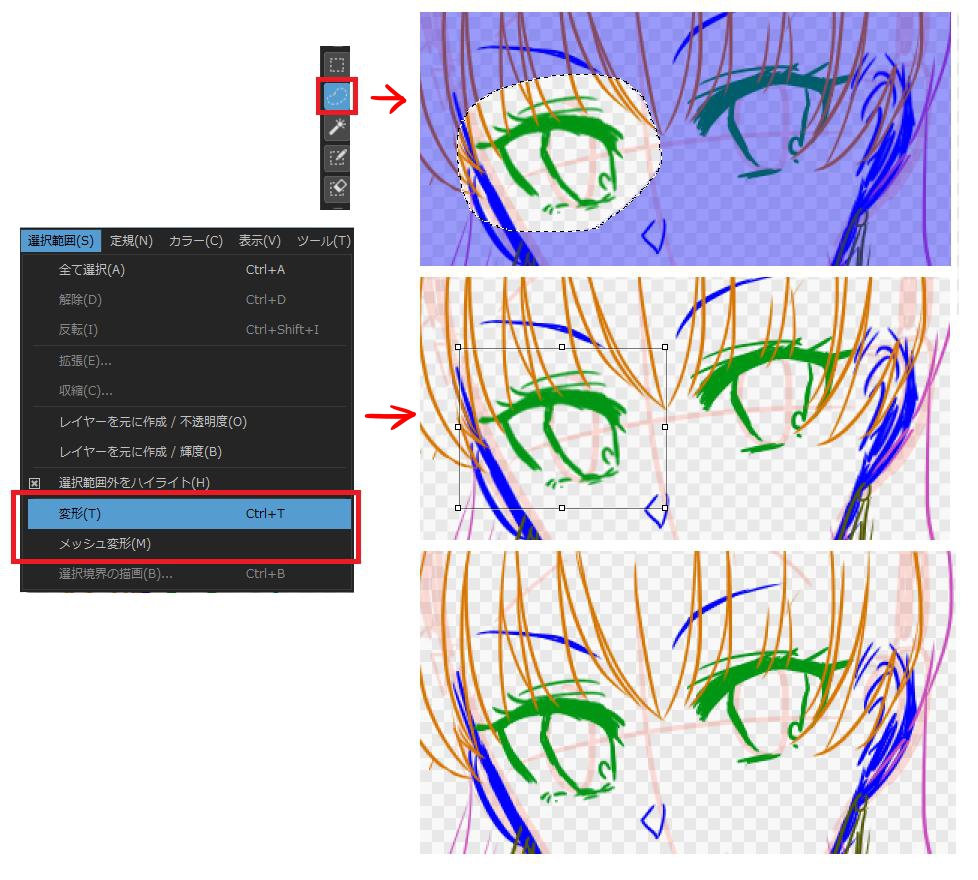
In addition to the eyes, I adjusted the following points because they bothered me.
If you reduce as much as possible the areas of discomfort in this process, the later work will be easier.
Now the preliminary drawing is complete!

When you select a layer folder and use the selection tool, the selection is applied to all the layers in the folder. For example, if you want to change the size of the whole head, you can transform it all at once by selecting the folder and transforming it without merging the layers.

Line drawing
Now that you’ve drawn the preliminary drawing as carefully as possible, you’ll be working on tracing the lines neatly in the line drawing.
Thinking about making adjustments until the end, you should draw the line drawings in separate layers as you did with the preliminary sketches.
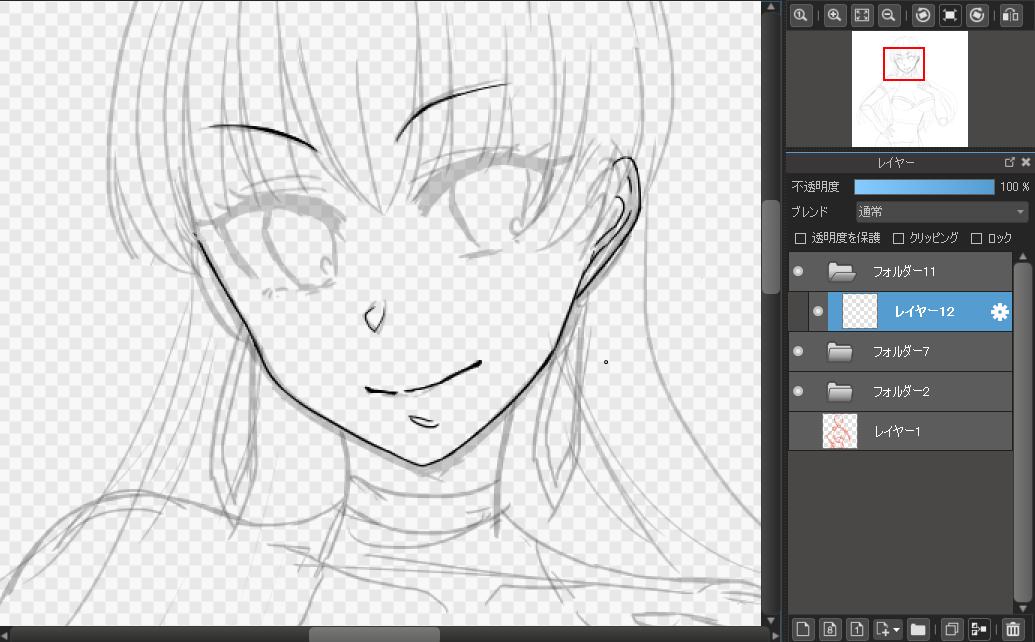
I finished drawing all the heads.
I renamed the folders to make it easier to understand later on.
Since the layers are separated, I can draw without worrying too much about overlapping with other parts.
By drawing spontaneously, the lines are less likely to stray and the picture looks smoother and more natural.
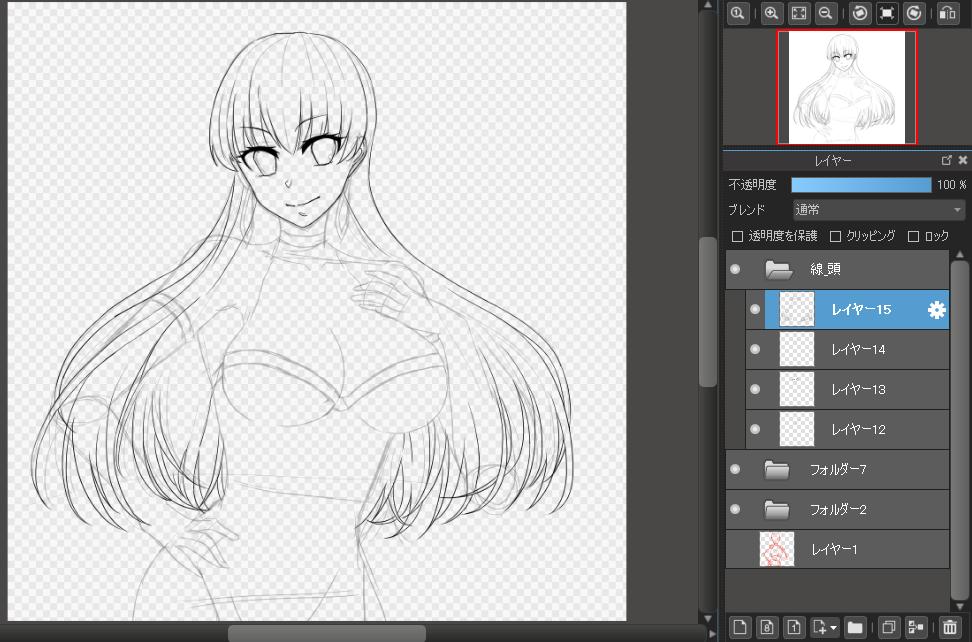
Create a layer folder for the body and draw a line drawing.
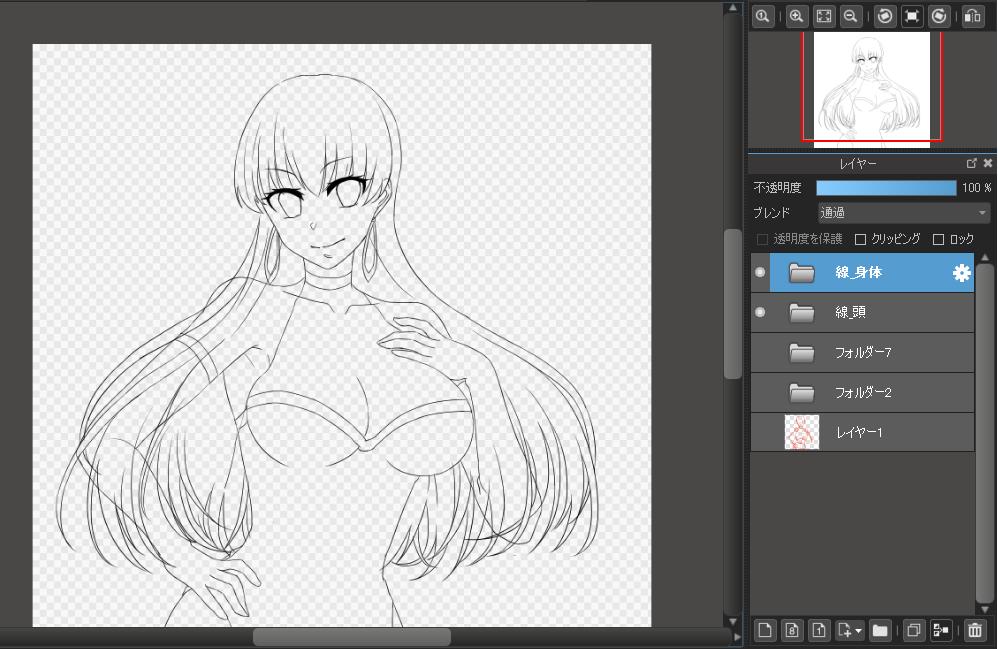
Erase all the extra lines and your line drawing is done!
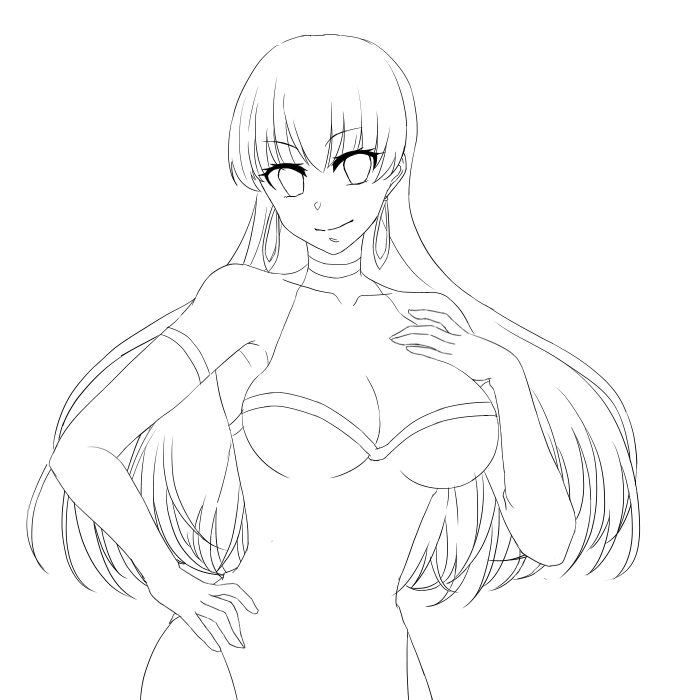
What did you think?
By adding more layers to a line drawing, you can adjust or erase lines without worrying about other lines.
It may seem like a lot of work, but it will make your later work more efficient, so please take a look at it for yourself!
\ We are accepting requests for articles on how to use /

