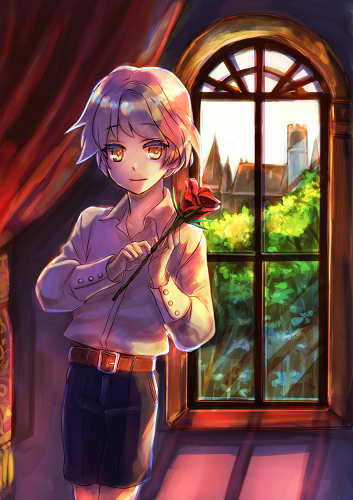
2020.05.04
Creating an Illustration Using the Grisaille Technique –Part 2–

This is part II of our series on illustrating using the grisaille method.
Last time, we covered everything from making a draft to a clean copy.
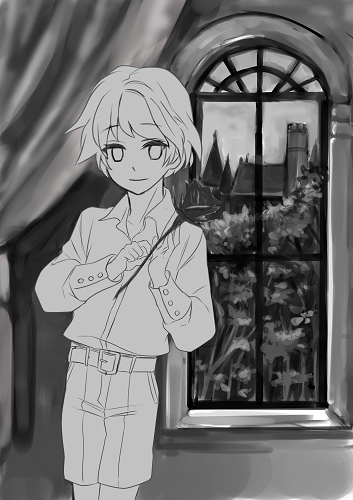
This time, we’re going to add coloring to our character.
Adjusting shadowing
To color with the grisaille method, we first need to adjust our character’s shadowing.
▼You can find an explanation of the grisaille method here▼
“How to use the grisaille method”
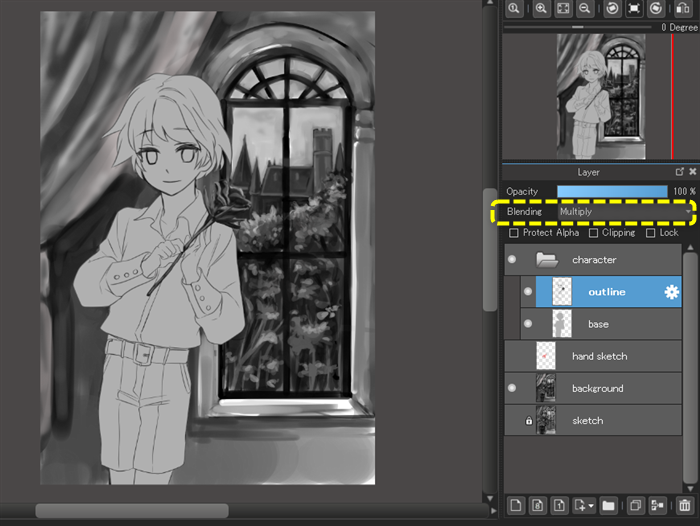
Before coloring our character, let’s put our line layer and transparency-blocking layer into a folder to make it easier to work.
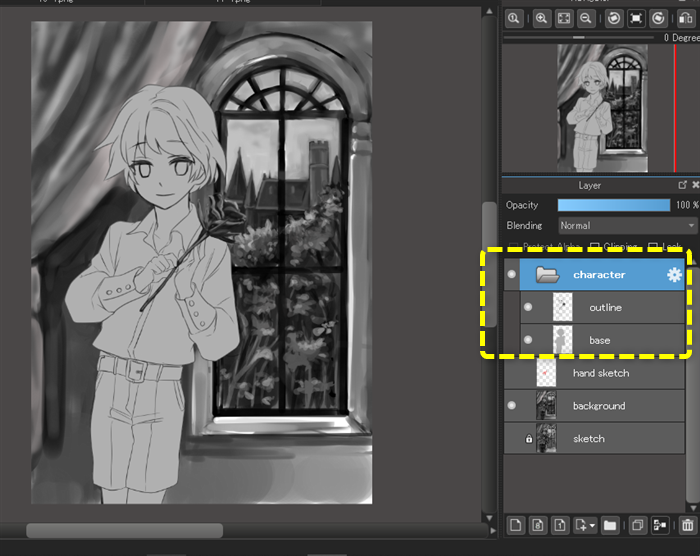
Change the blend mode on the line layer to “multiply.”
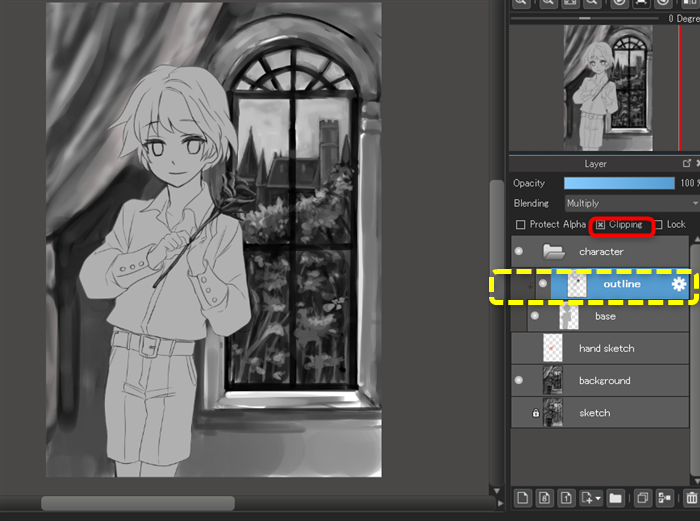
Then perform clipping with the line layer as the foundation layer.
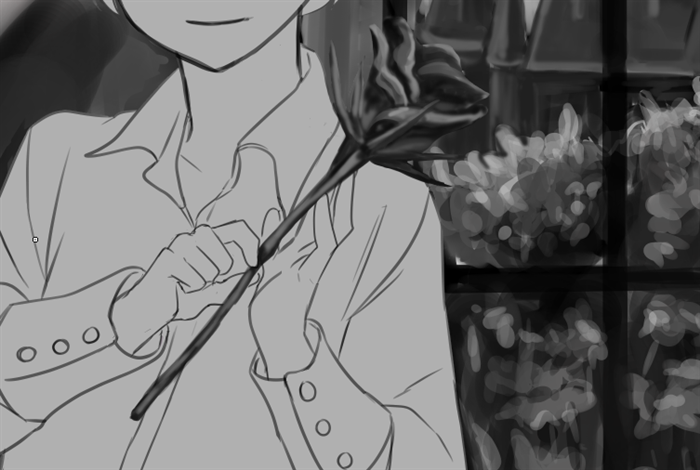
First, adjust the shading of the rose on the line layer.
Create a new layer for shadows, and perform clipping on the foundation layer.
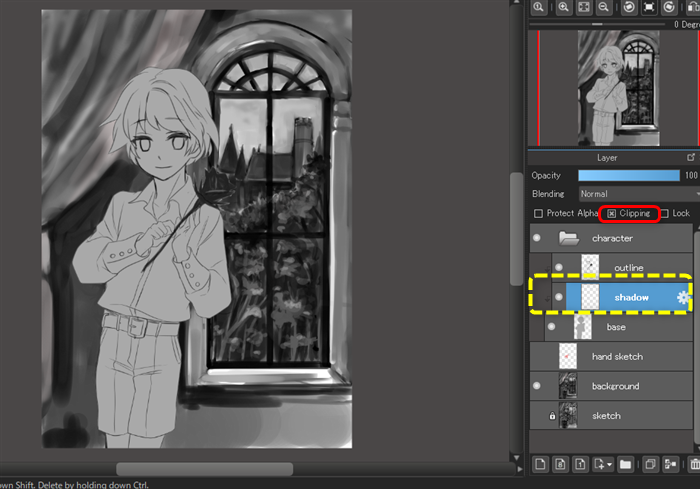
Add shadows to your character in monotone, paying attention to the light coming in from the window in the background.
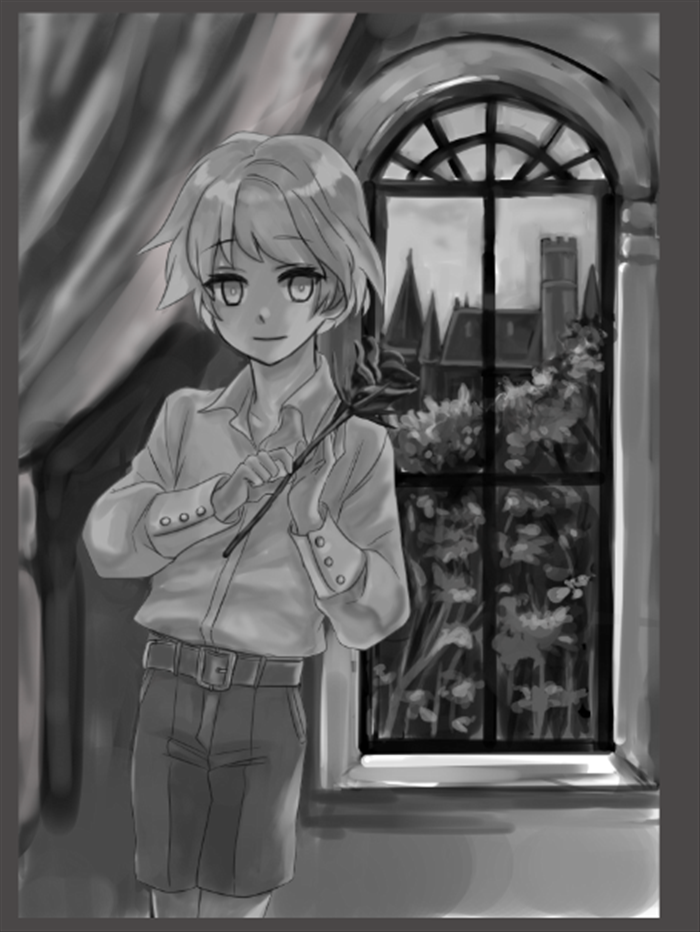
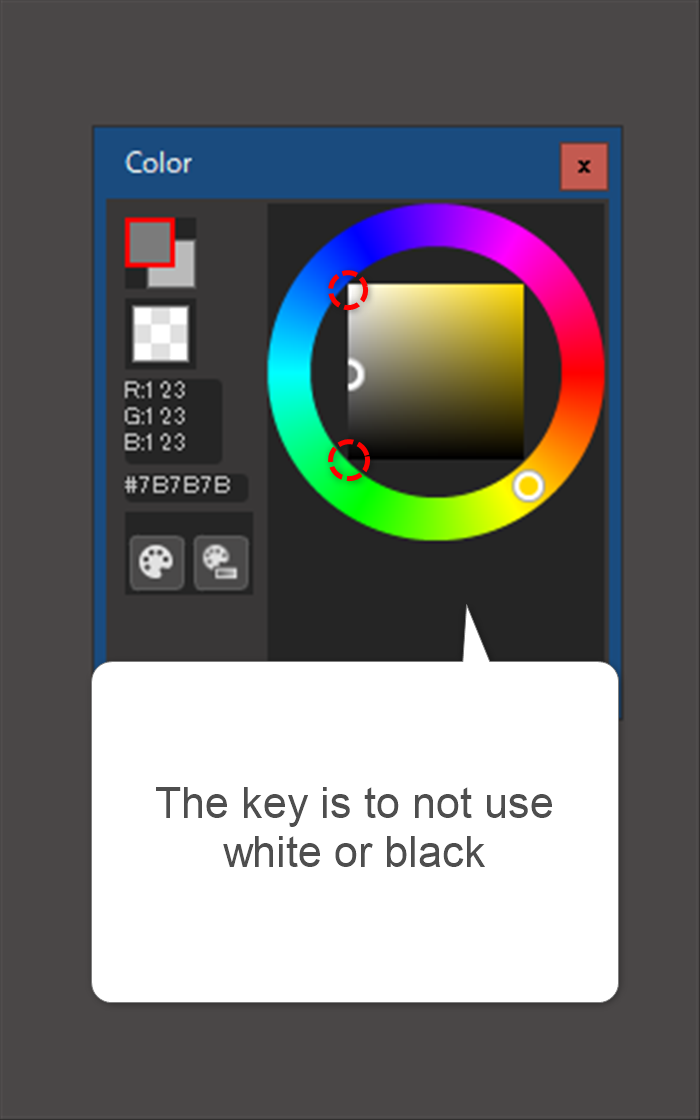
It will look most coherent if you avoid using white and black here.
The groundwork is now finished.
Next, we’ll add our coloring.
Coloring
Now, create a new layer on top of the line layer, then set the layer blend to overlay.
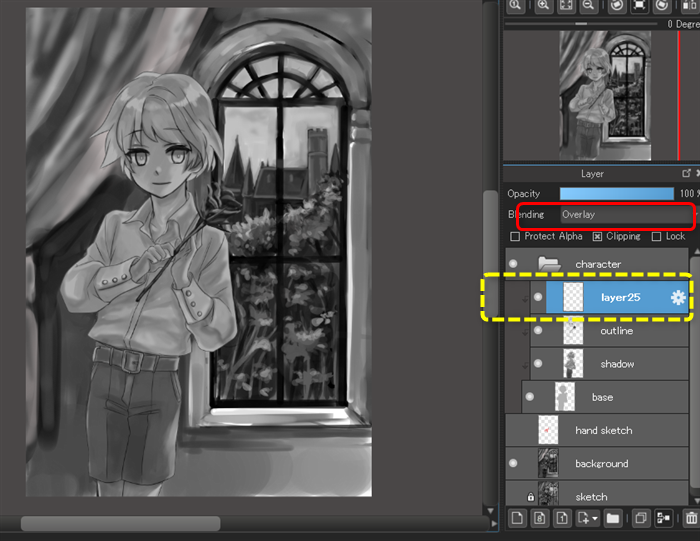
We’ll fill it in with a light brown.
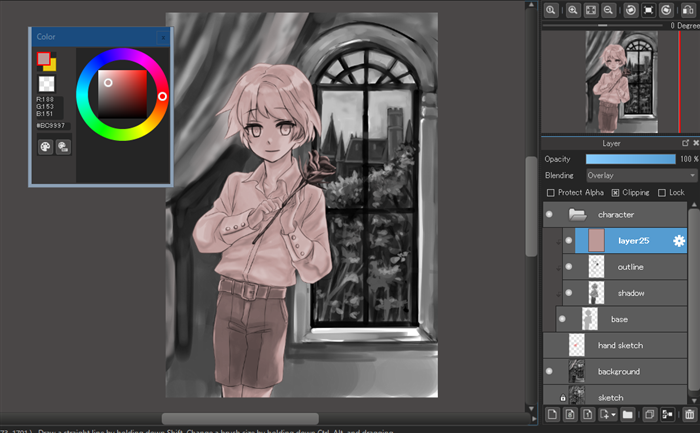
Next, create another overlay layer, and fill it all in with a skin tone.
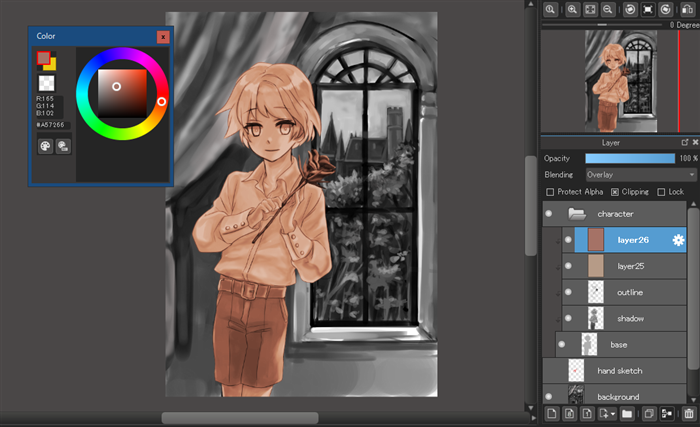
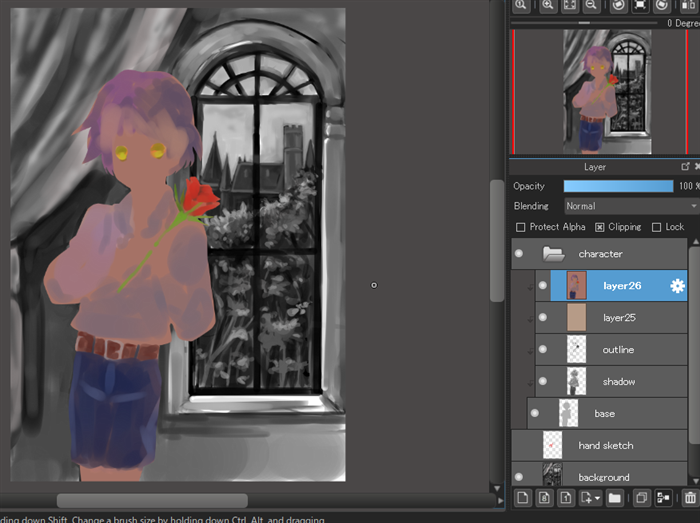
Once you’ve set the skin tone, you can now color in each individual section.
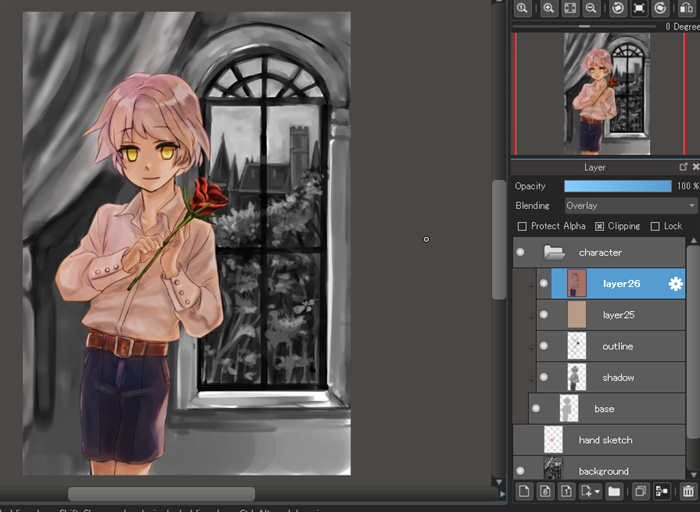
Returning to the standard layer, the colors are set like this.
Lastly, make a standard layer and draw in the details.
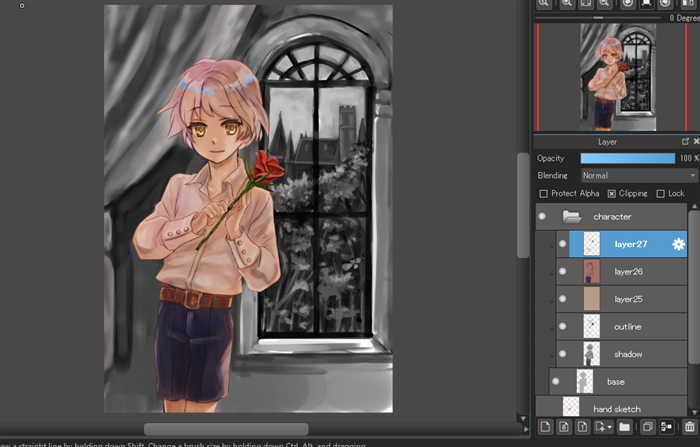
And now we’ve successfully colored in our character.
We still need to add shading to the inside of the room and light from the window, but we’ll do this as we color in the background.
This is the end of part 2.
In part 3, we’ll fill in the background colors and add the finishing touches.
\ We are accepting requests for articles on how to use /

