2020.10.12
How to use “Close Gaps”


In this article, I’m going to share with you a handy feature that actually exists: “Gap Closing”!
Please use it in conjunction with Let’s get a handle on the “Extensions”!!
Index
“Closing the Gap”
The “Close Gap” feature is a feature that allows you to use the “Bucket” and “Auto Select” tools to ignore gaps in the area you are trying to select and select the area.
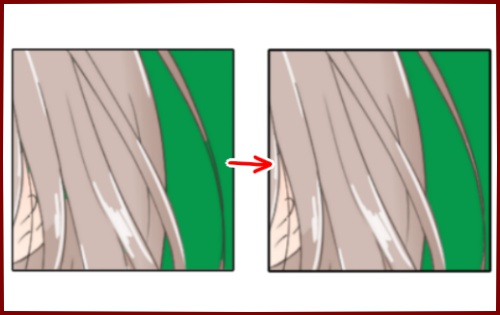
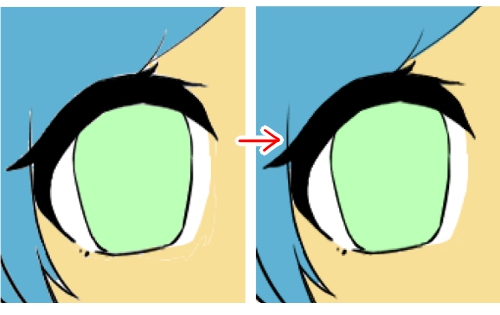
For example, let’s say there is a gap in the line drawing (see the image below). (See the image below.)

If you try to paint your hair with the bucket tool in this state, if you don’t use the “Close Gap” function, the gaps will be filled in and even the skin will be filled in.
However, if you use the Gap Close feature, it will ignore the small gaps and fill in only the hair.
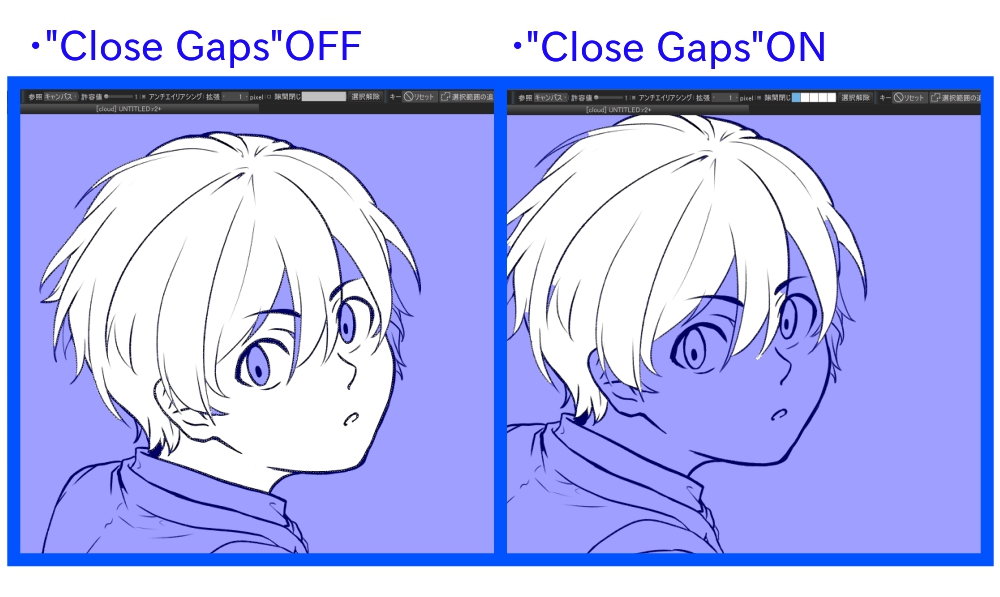
How to use “Gap Closing”
For a PC
To use “Close Gap” on a PC, select the “Bucket” tool or the “Auto Select” tool and check the “Close Gap” box in the tool’s edit bar. There are 5 levels, the blue box to the right makes the effect stronger.

Android and iOS
To use “Close Gap” on Android and iOS, set the desired value from “Close Gap” in the Edit panel of the tool with the “Bucket” tool or “Auto Select” tool selected.

Cautions
Sometimes the “Gap Closing” is applied more strongly than necessary, leaving areas that you want filled in.
This can be caused by.
The “Close Gap” setting is too strong.
Low resolution
can be considered. This may leave a fine part of the hair as shown in the image below.

\ We are accepting requests for articles on how to use /

