2020.12.23
Use Unsharp Mask to change the look of your photos.
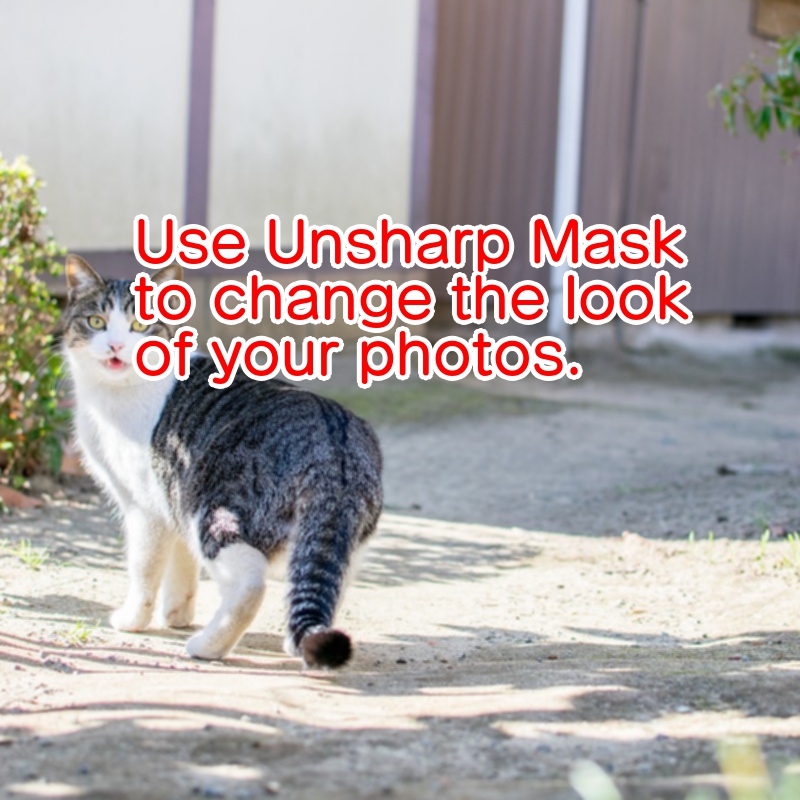
Unsharp Mask is a function that sharpens an image to make the difference between outlines, lines, and colors clearer.
It can be used for finishing illustrations and photos to improve the impression of contrast.
In this article, I will show you how to use Unsharp Mask to process a photo.
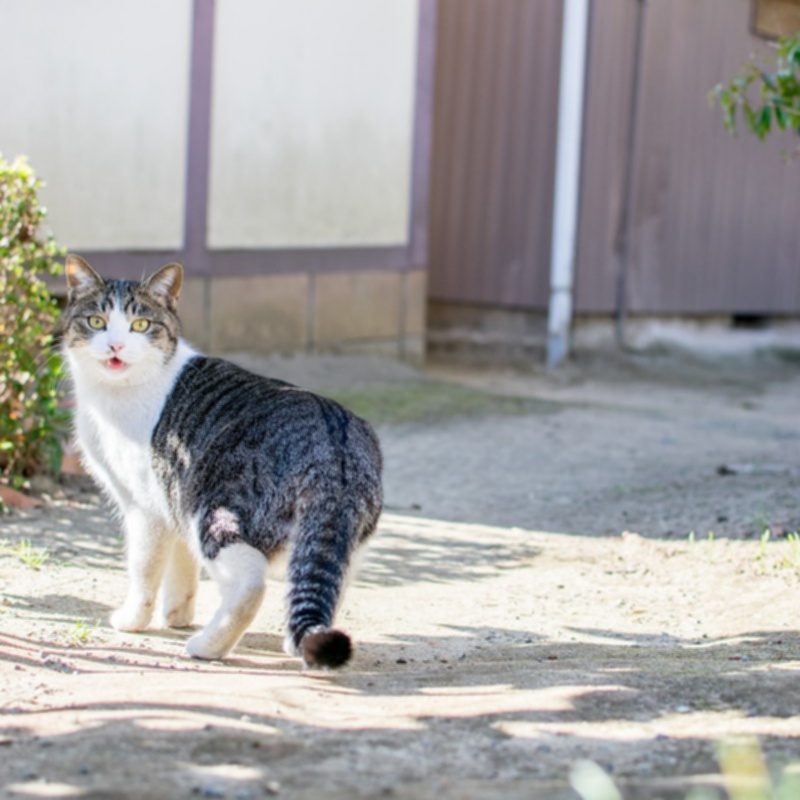
I’ll use a photo of a cat borrowed from a free resource to illustrate.
I will use Unsharp Mask to fix some out-of-focus areas.
When you select Unsharp Mask, you can choose the “Radius” and “Amount” values as shown below.
Check the Preview checkbox and adjust the values while checking the image on the canvas.
Radius… Adjusts the thickness of the outline between the colors.
Amount… Adjusts the strength of the sharpening. The stronger it is, the clearer the difference between colors will be.
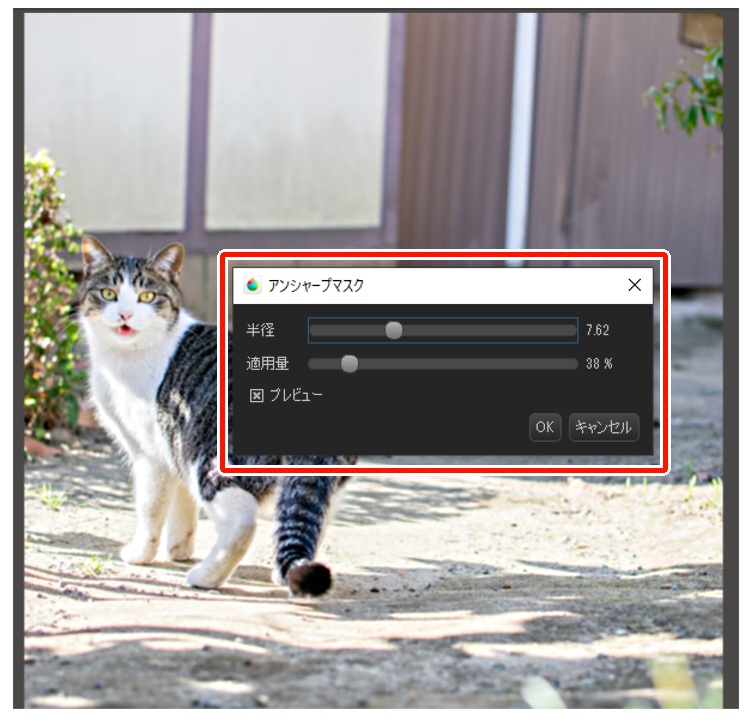
Be careful not to set the value too high, as this will create too much contrast and make the image look unnatural.
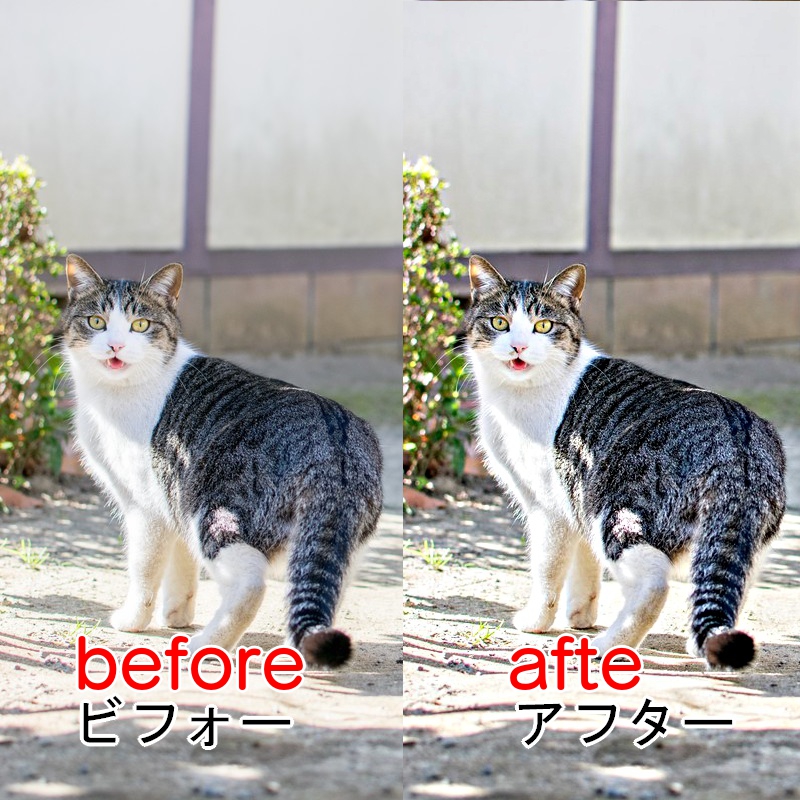
I applied an unsharp mask to the image so that it would not look unnatural, but the difference in color is more apparent than in the original image.
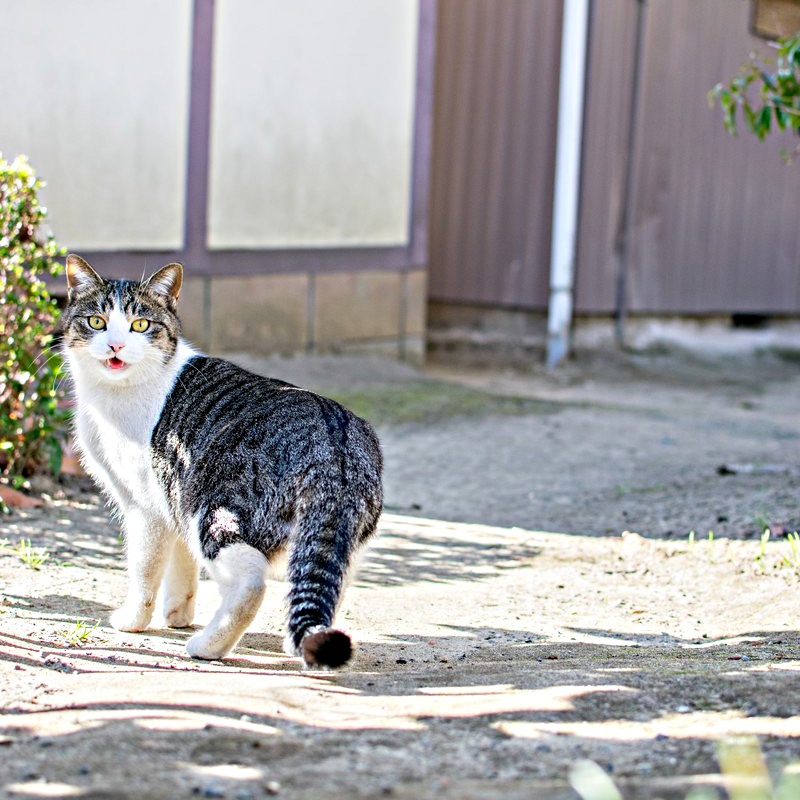
You can see the color difference when you compare it to the original image.
It is also possible to change the look of a photo completely by changing the radius and amount values significantly.
We’ll use this photo of a thick, bright forest.
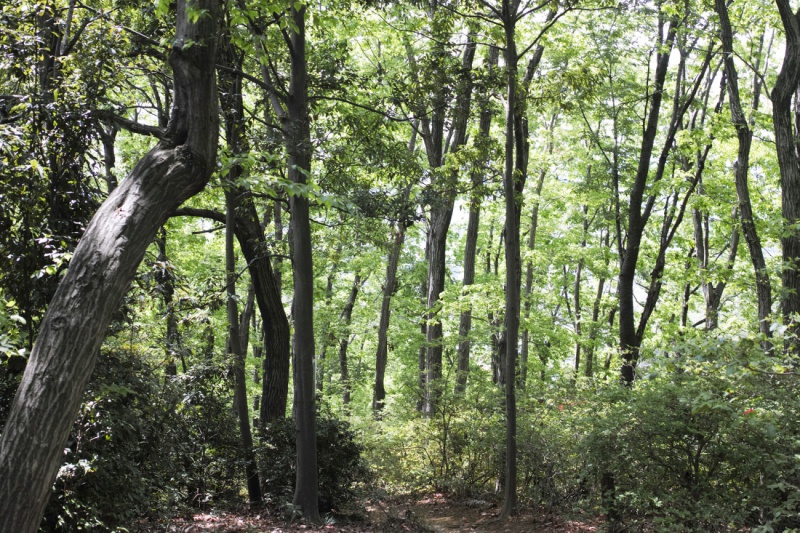
Try applying an unsharp mask with a max value.
The contrast between the dark and light areas is very strong, and the ratio of black and white is high, which makes the photo a little scary.
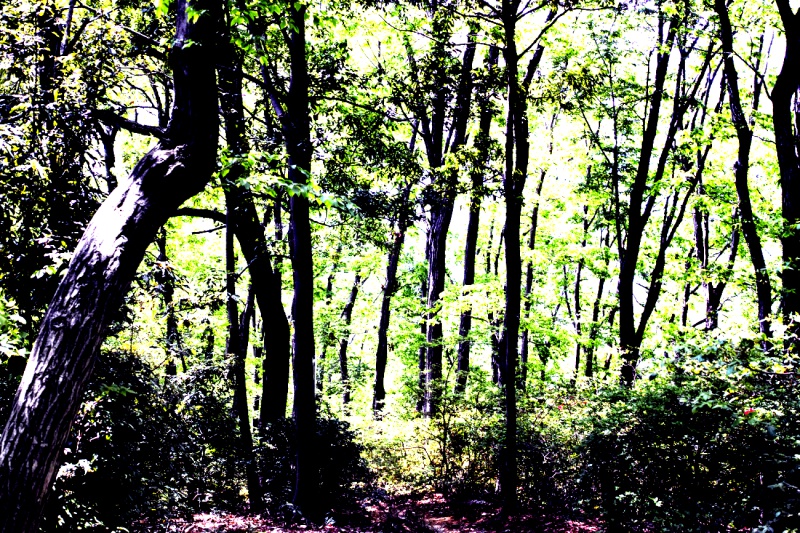
In addition, by using other filter functions such as “Hue”, “Tone Curve”, and “Chromatic Aberration/RGB Shift”, you can also create a horror background like this one.
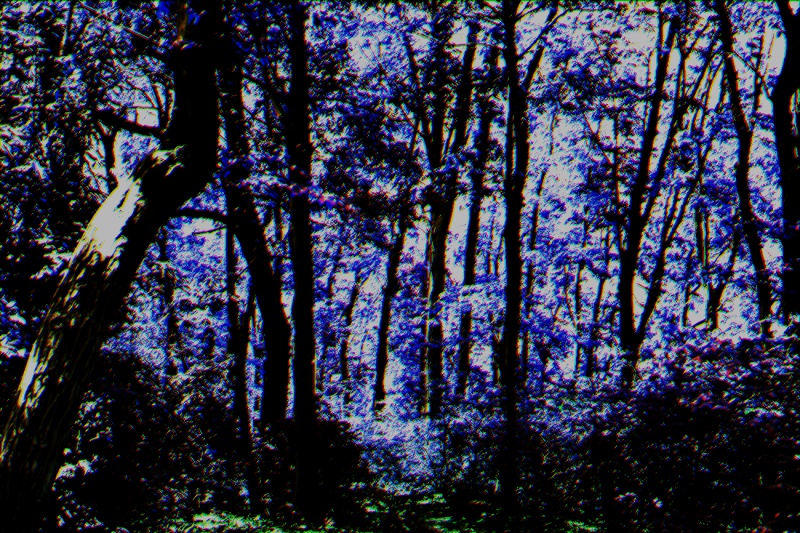
The functions used in this article, “Unsharp Mask” and “Tone Curve,” are available for free on the PC version, and can be used on the iPhone/iPad by purchasing the “Filter Pack.
\ We are accepting requests for articles on how to use /

