2021.07.21
[For beginners] Overcoming distortion in illustrations! Points to draw a well-balanced picture [Smartphone version]
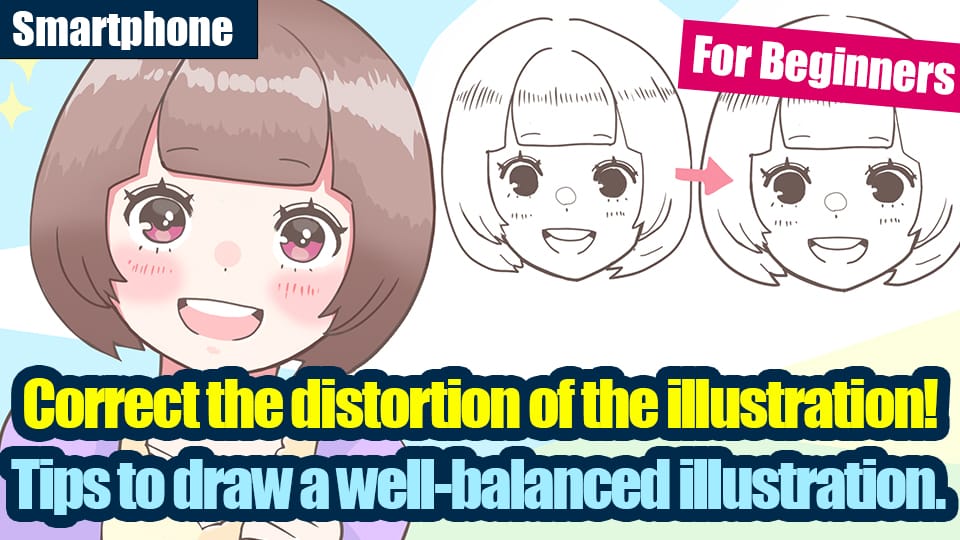
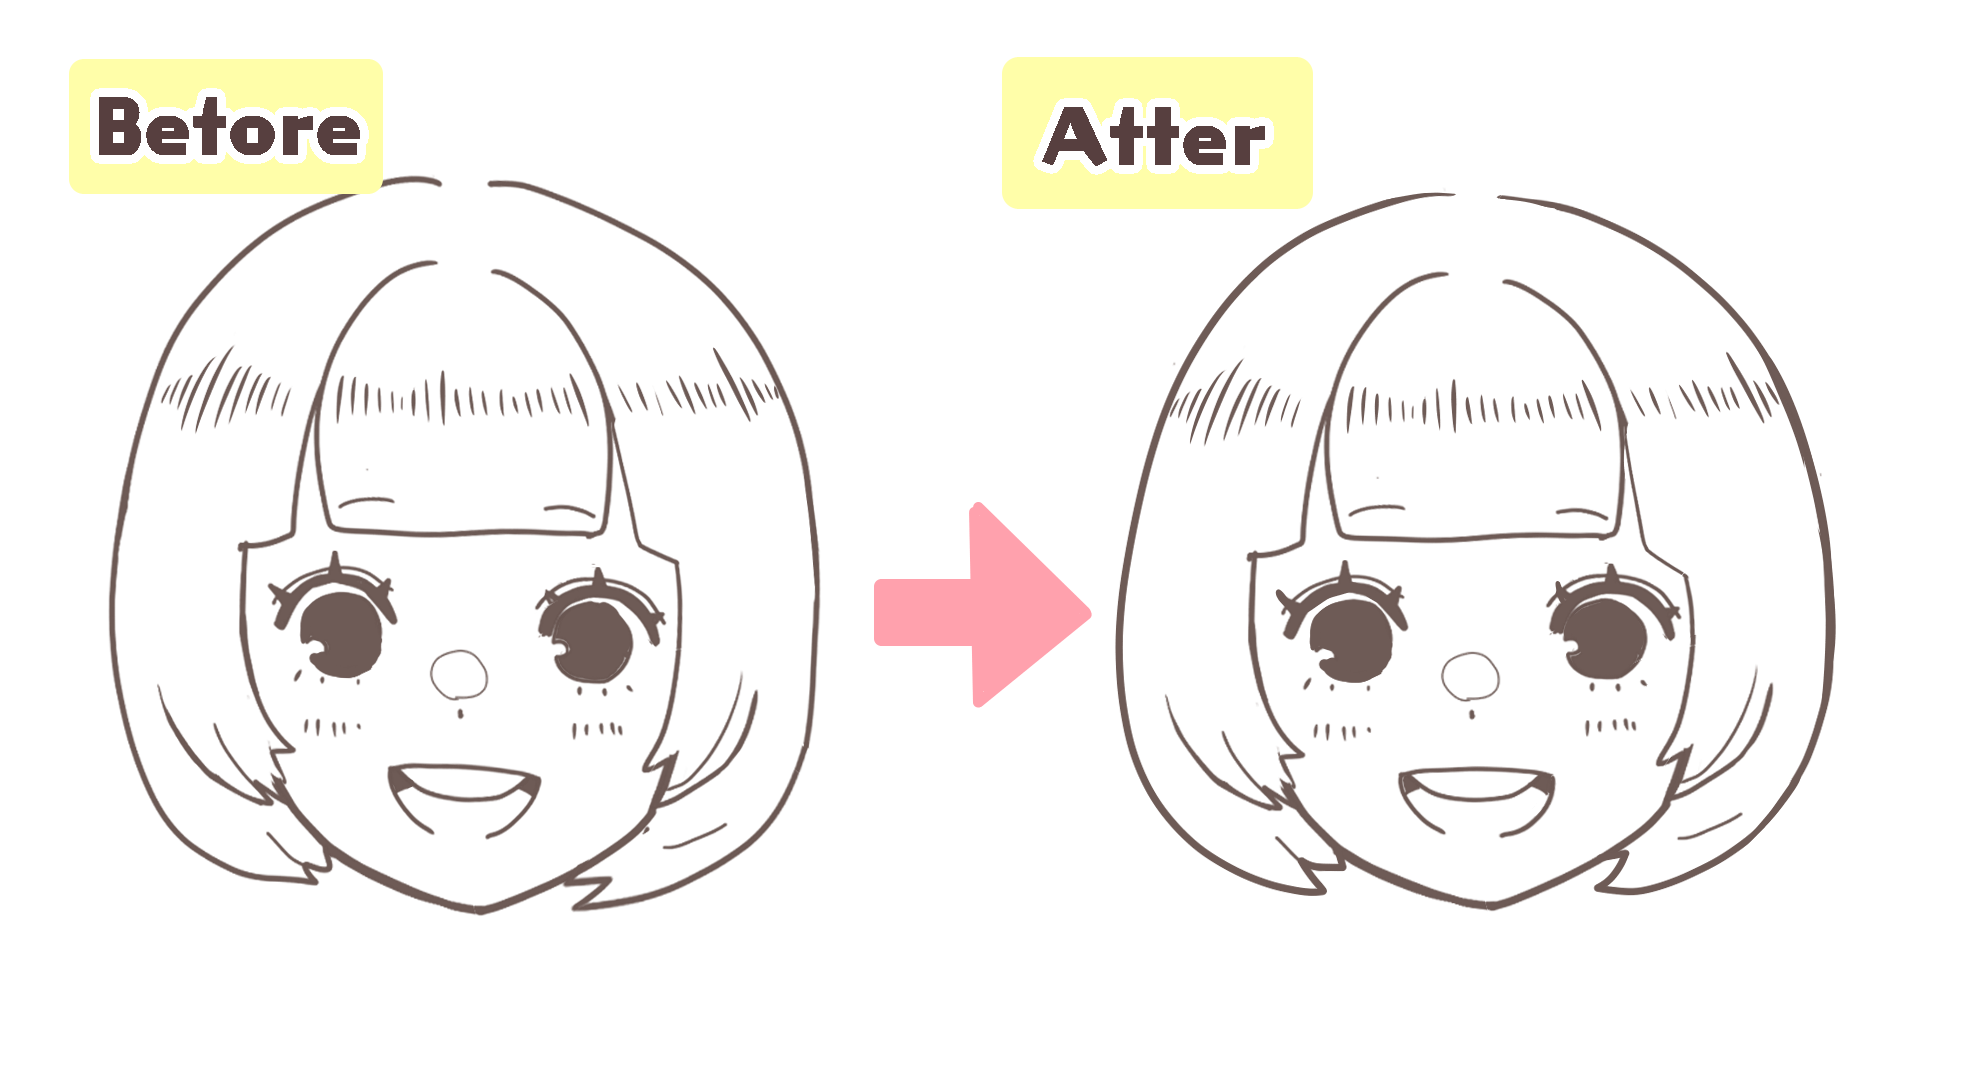
When you draw an illustration, you think, “I did it well! When you draw an illustration, you think, “I’ve done it well,” but after a while, you feel that it’s distorted, or you feel a sense of discomfort even though you don’t know where it is.
It’s not easy to draw faces and bodies in a balanced way.
However, if you draw with a few points in mind, you can greatly reduce the distortion in your illustrations.
So, in this article, I would like to look at “Points to overcome distortion in illustrations”.
Index
1. Check here first! Things to do before you start illustrating
If you are worried about distortions, first check the orientation of the screen you are using to draw the illustration.
If the screen of your smartphone is not perpendicular to your line of sight, the illustration will easily be distorted.
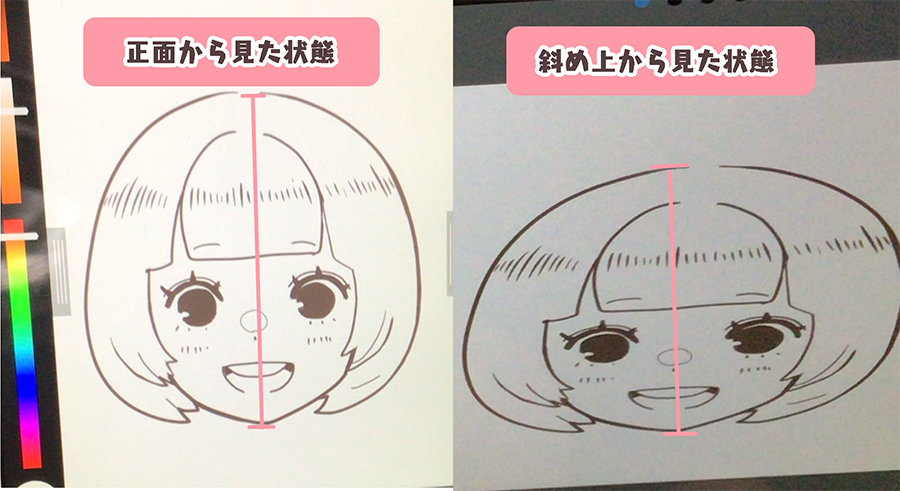
As you can see in the photo above, the illustration will look different depending on what angle you view the phone screen from.
However, my brain draws the picture thinking that the current view is the front, so if I turn the screen back to the front, the picture will look distorted.
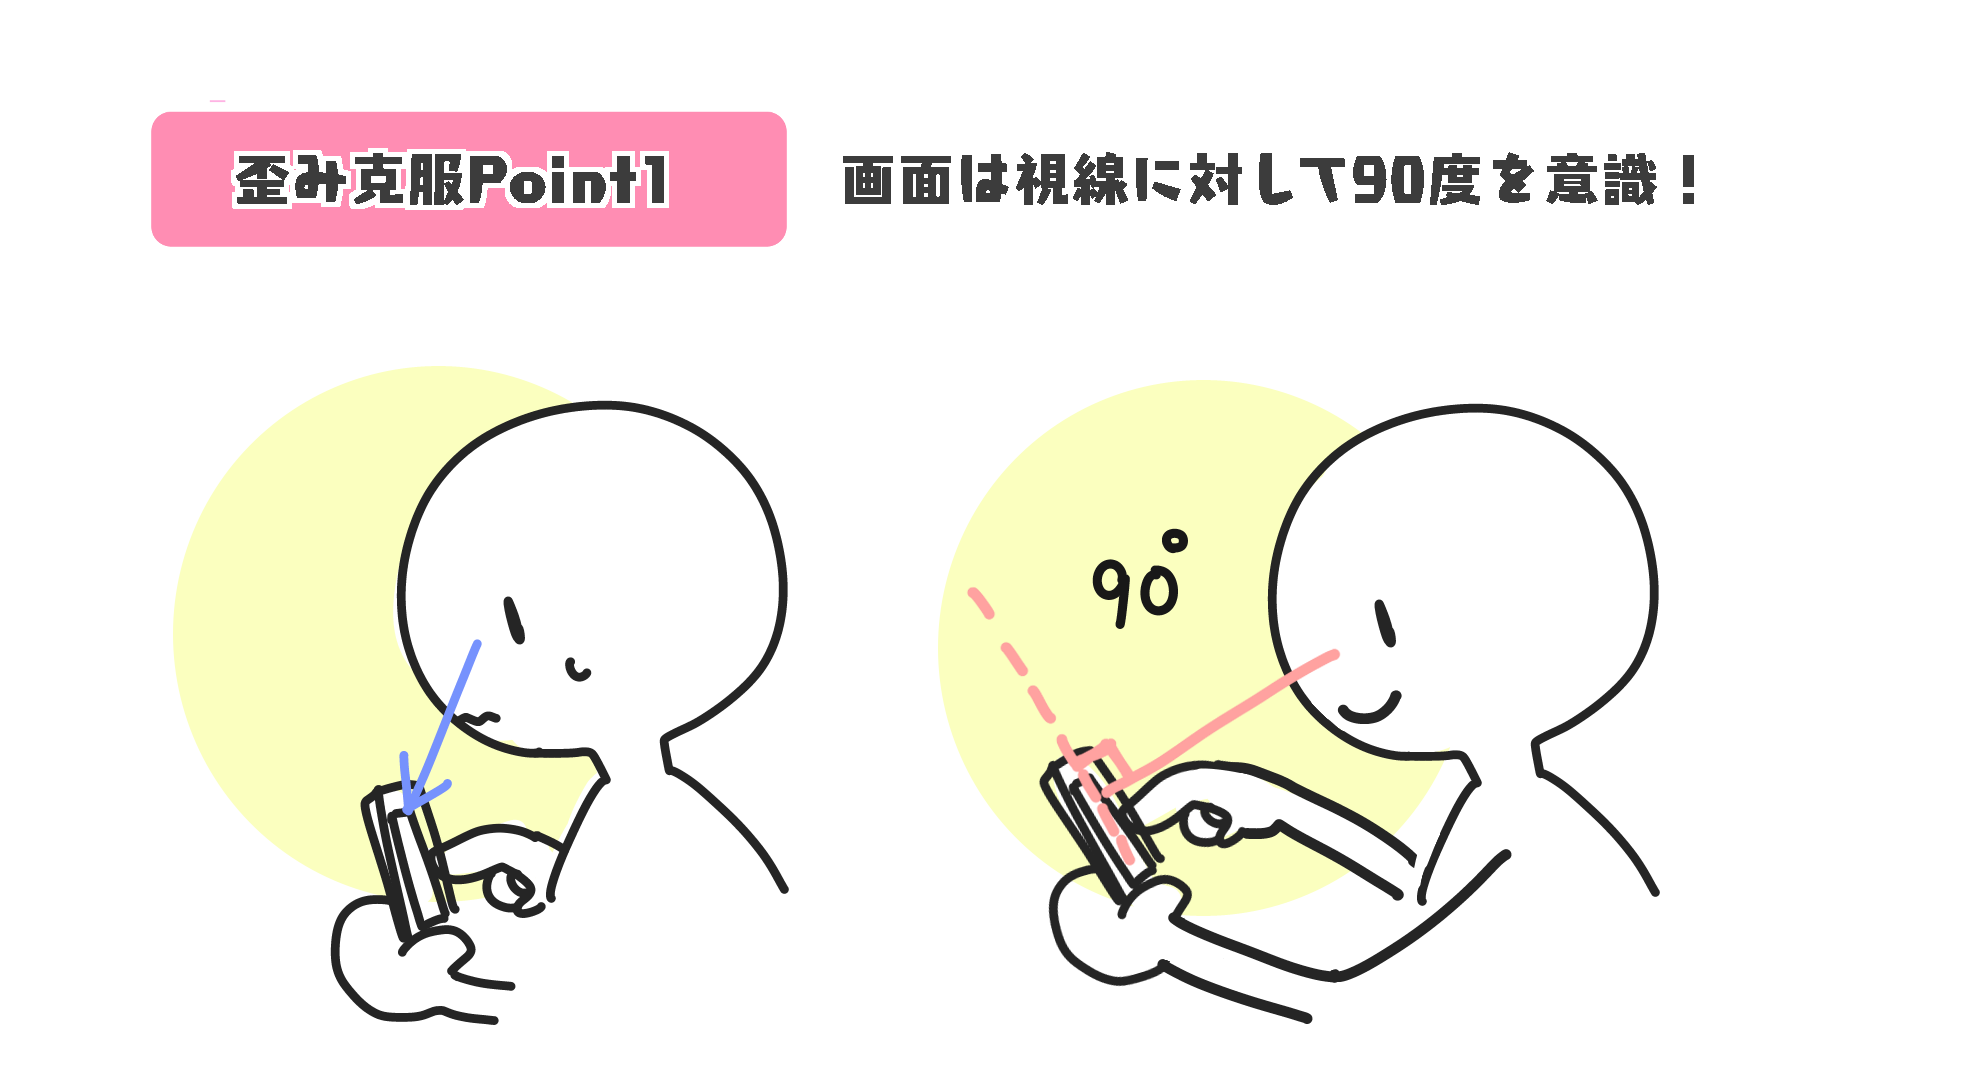
If you place the screen of your phone so that it is perpendicular to your line of sight, the picture will be less distorted, so check the angle first.
[Overcoming Distortion Point 1: Keep the screen at 90 degrees to your line of sight! ]
2. Let’s do it! Points to overcome when drawing illustrations
Once you have confirmed the position of the screen, it is time to start drawing the illustration.
There are a number of points to overcome distortions when actually drawing.
[Overcoming Distortion Point 2: draw the bite firmly]
The bite is the framework of the illustration.
If the atari is distorted, the rough sketches and line drawings that follow will also be distorted.
However, there are certain directions that are difficult for the hand to move in, so when drawing the Atari, it tends to be distorted in the direction you are not good at.
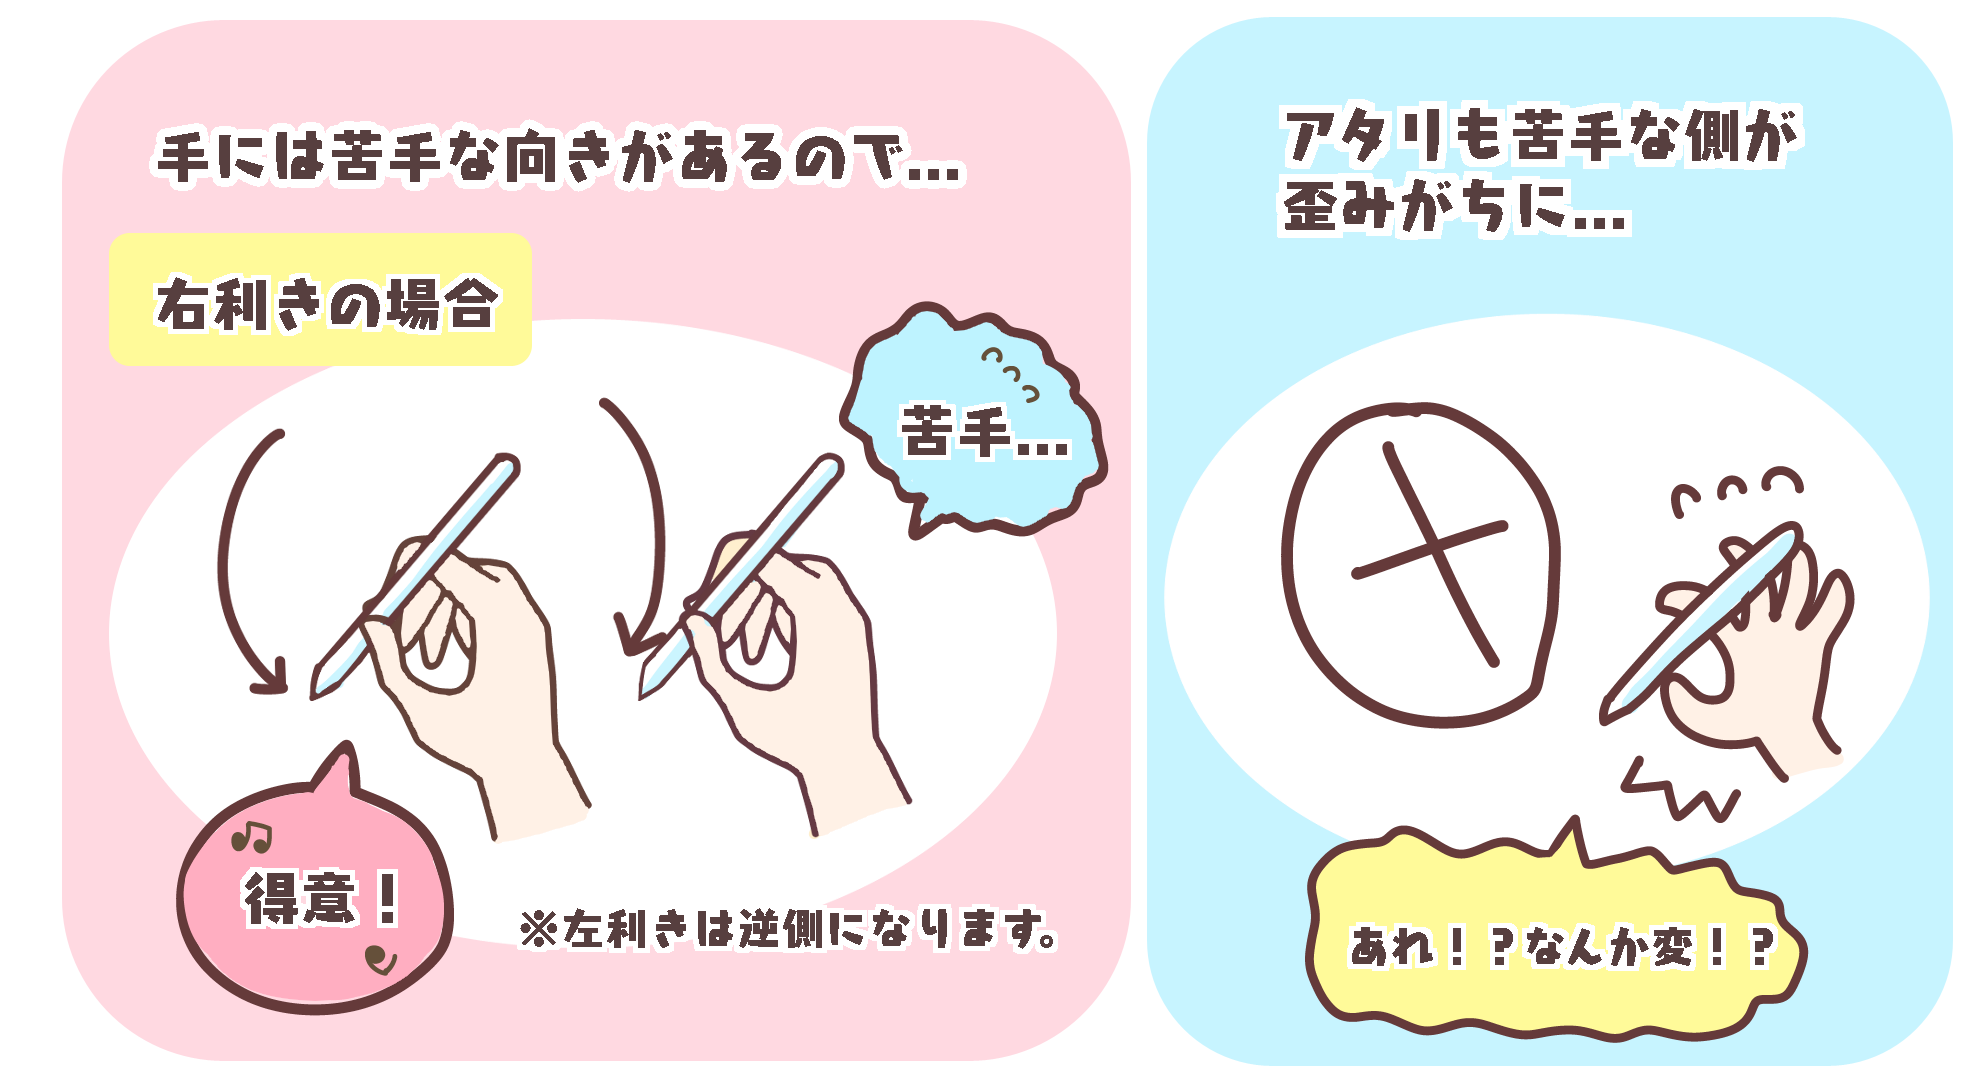
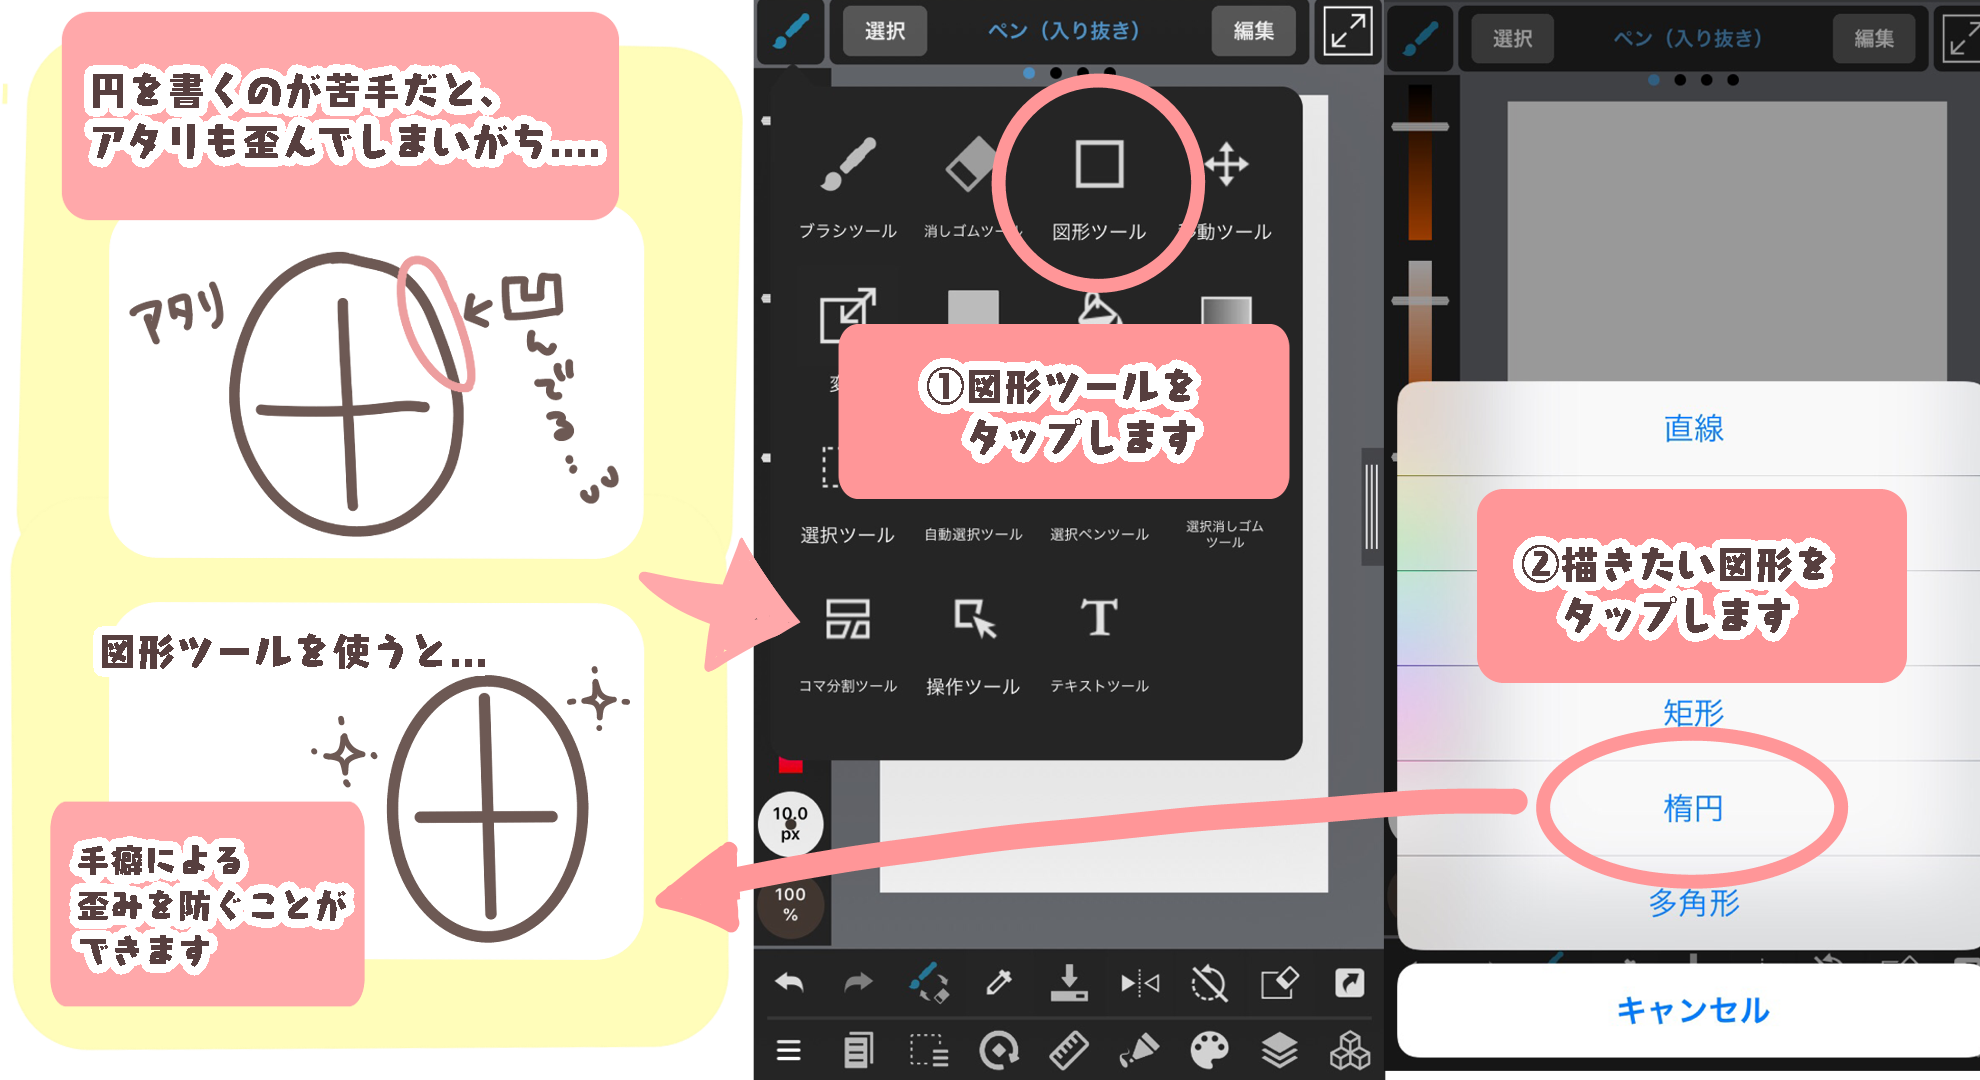
This is where you want to incorporate auxiliary lines and bites using the shape tool.
For example, if you are not good at drawing circles, you can use the shape tool to draw an accurate circle.
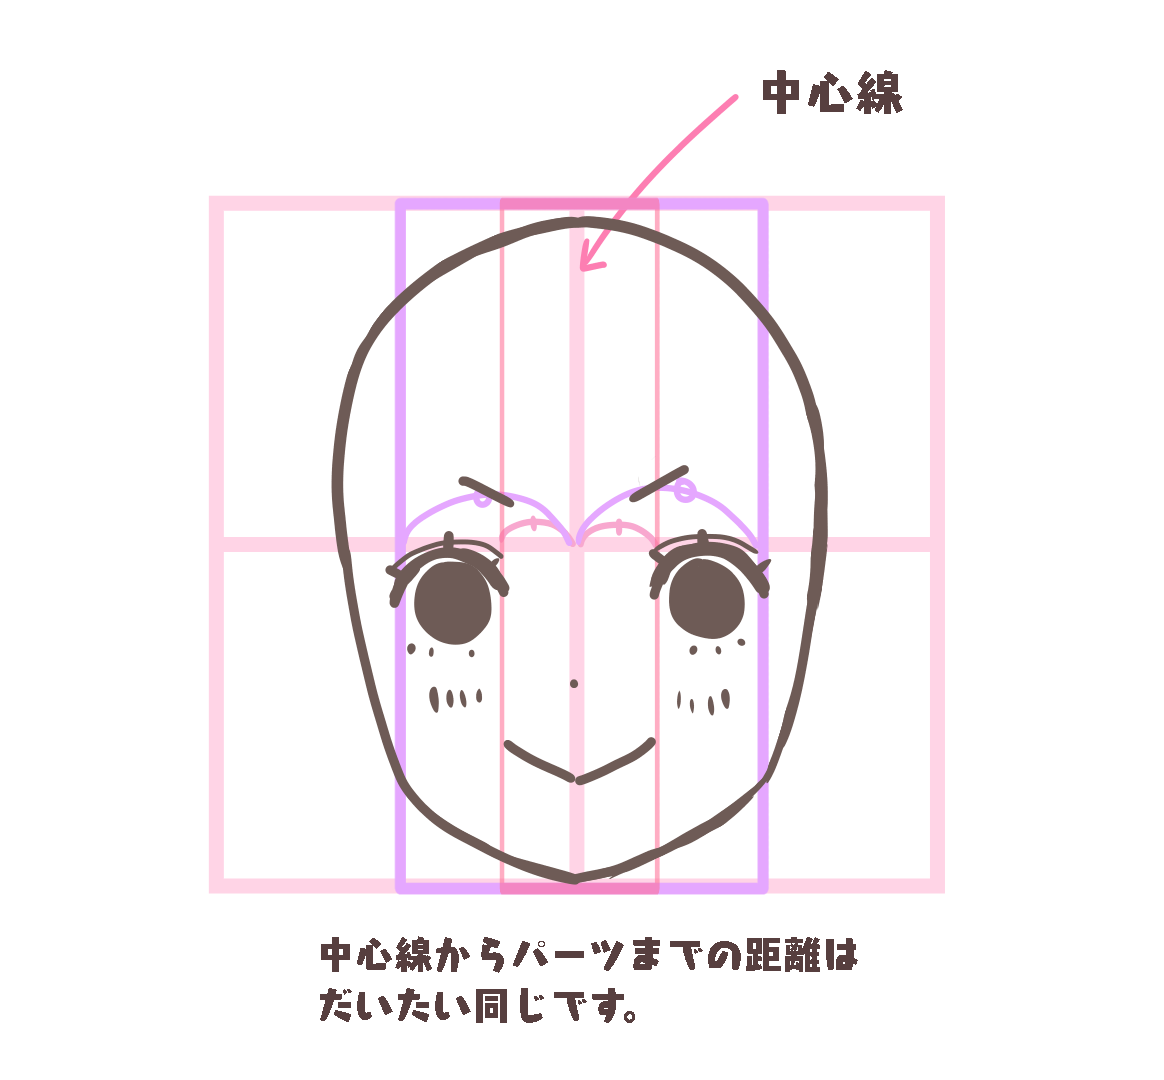
Once you’ve got a good idea of what you’re going to draw, it’s time to think about the distance between the center line and each part.
If it’s a front face, the width of the left and right sides should be the same, so let’s draw it carefully.
[Overcoming Distortion Point 3: Draw with an Overall View]
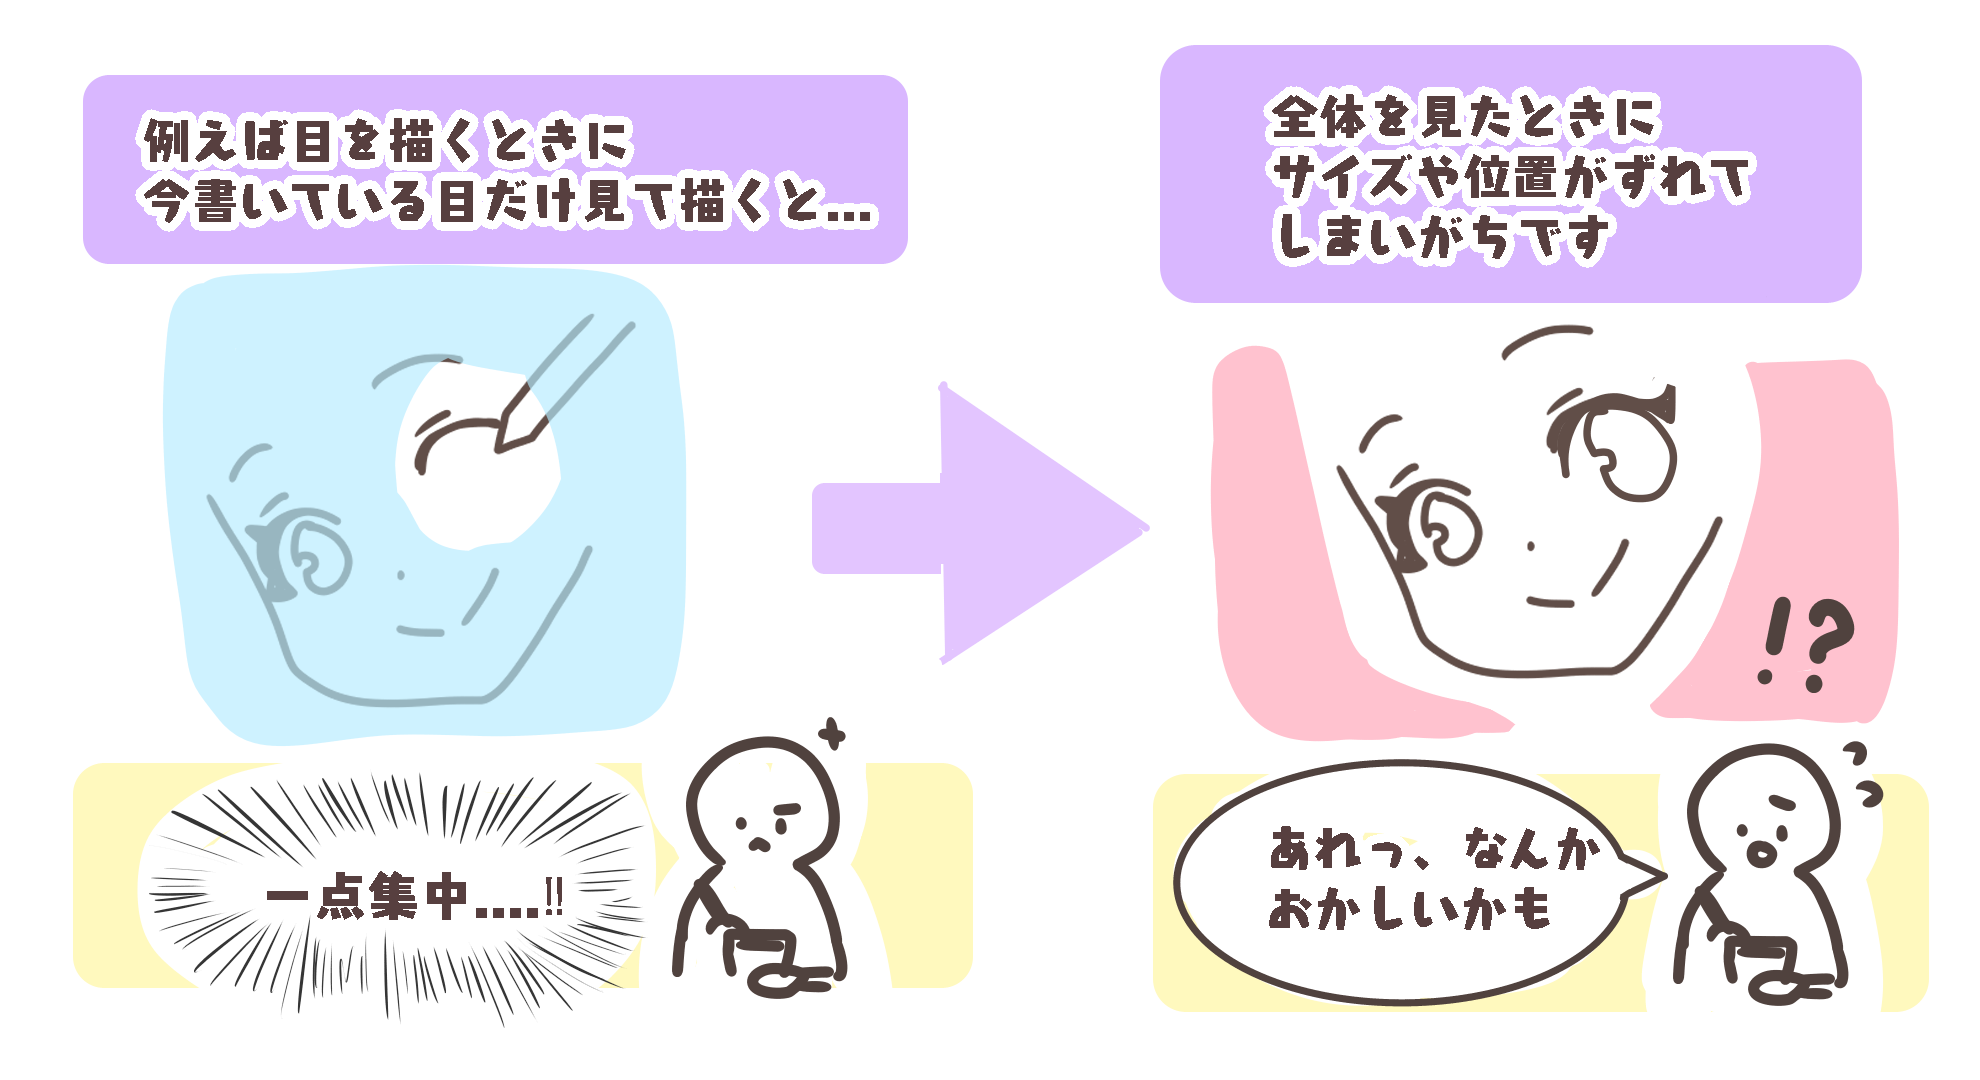
When drawing a certain part, are you concentrating only on that part?
If you concentrate on drawing one part, you may find that the balance is off when you look at the whole picture.
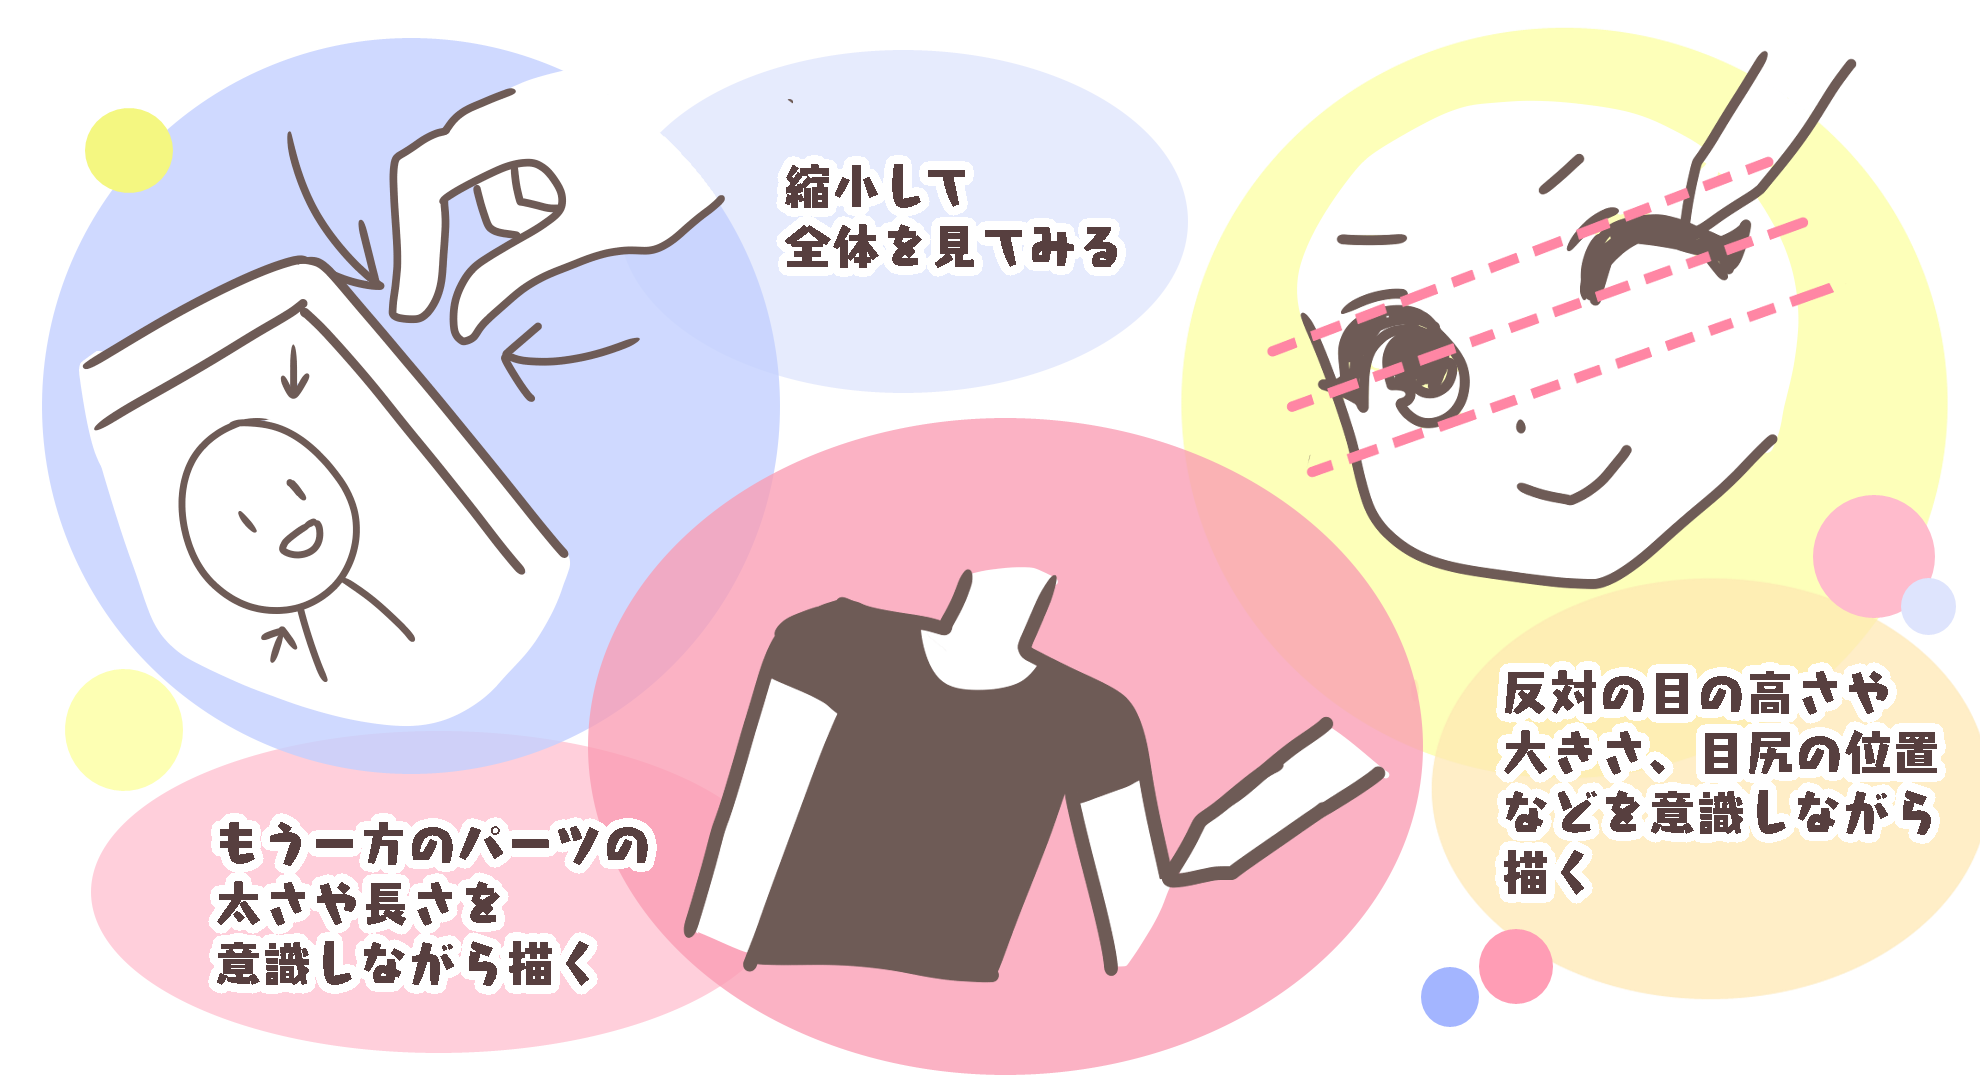
If you scale down the image from time to time and look at the whole picture as you draw, you will be less likely to lose the balance of each part.
3. If you feel this is distorted? If you feel it is distorted
If you feel “Is this distorted? If you feel that your drawing is distorted, it is recommended that you check it each time.
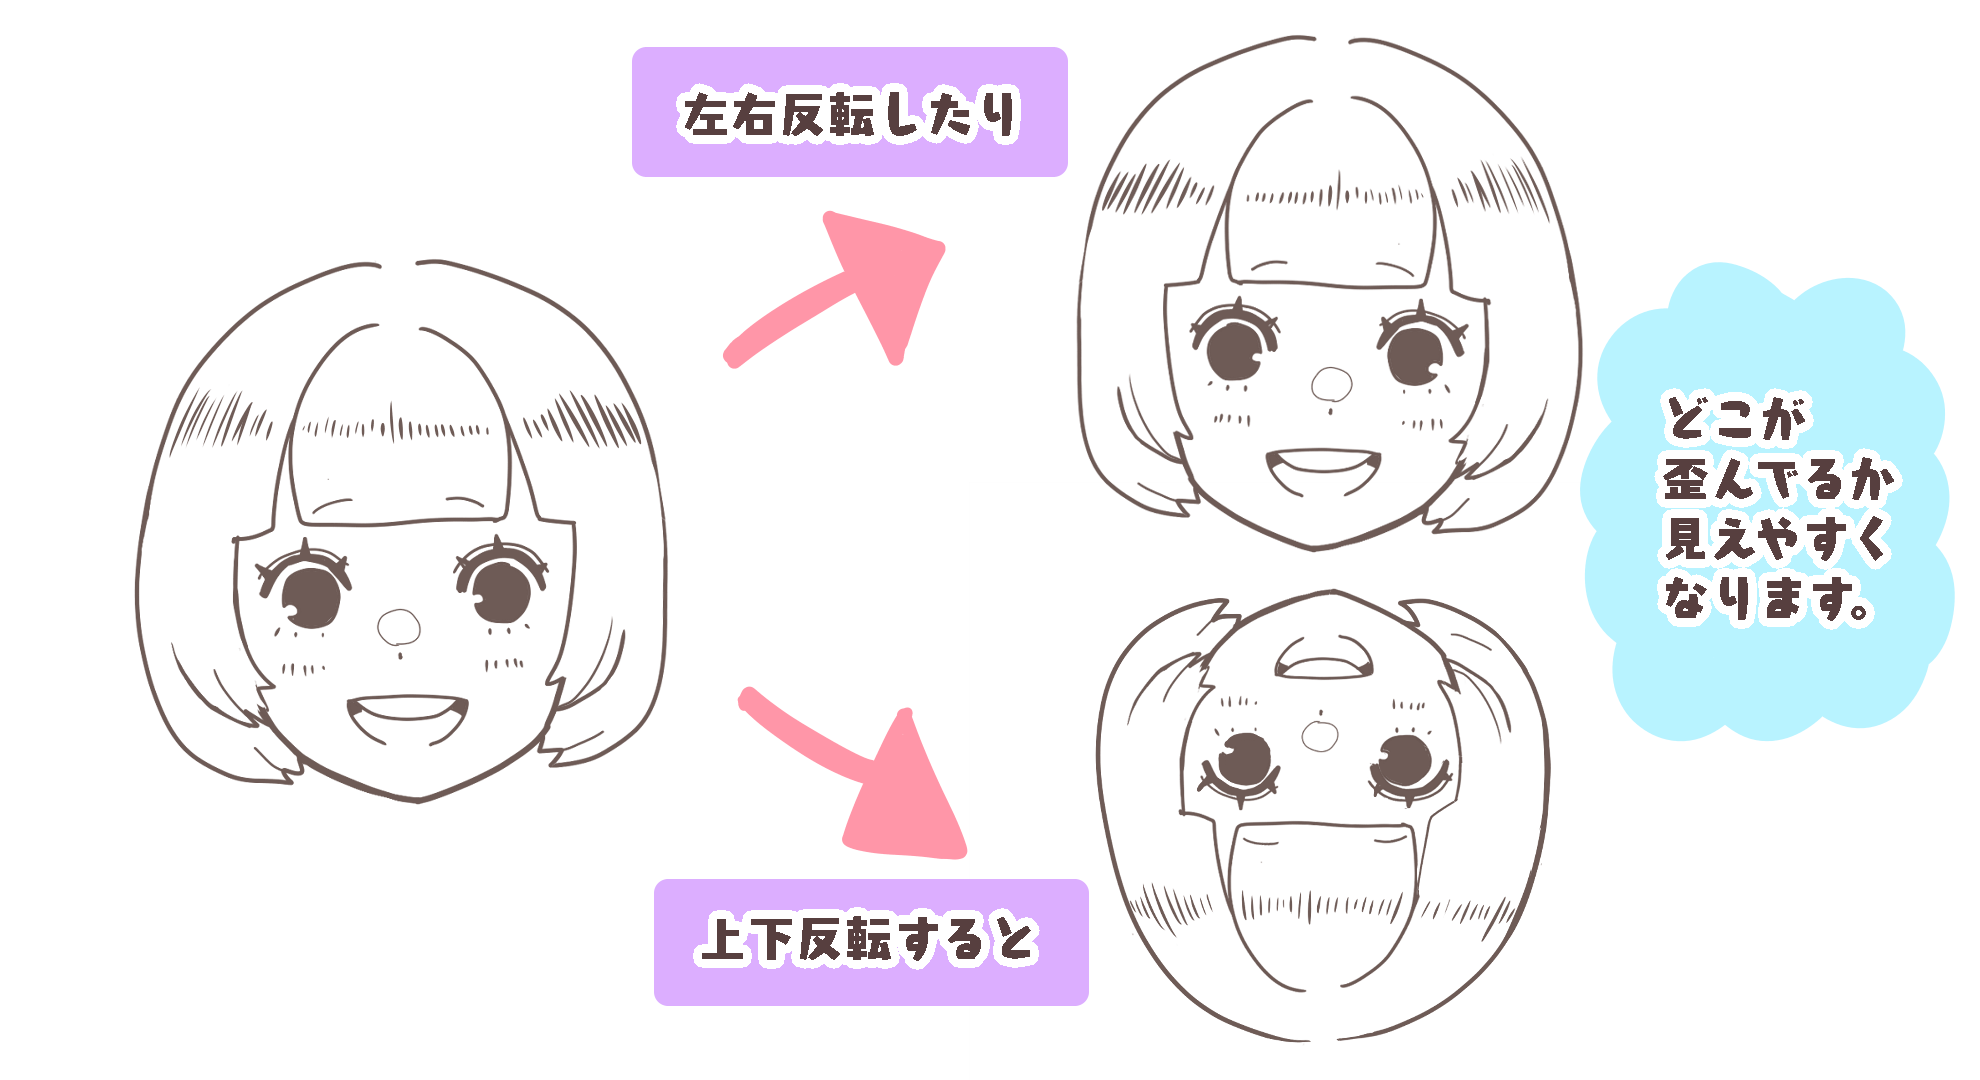
One of the most popular ways to check if the image is distorted is to flip it.
By flipping the image left to right or up and down, you can see it more objectively than when you look at it normally.
<How to do an inversion.>
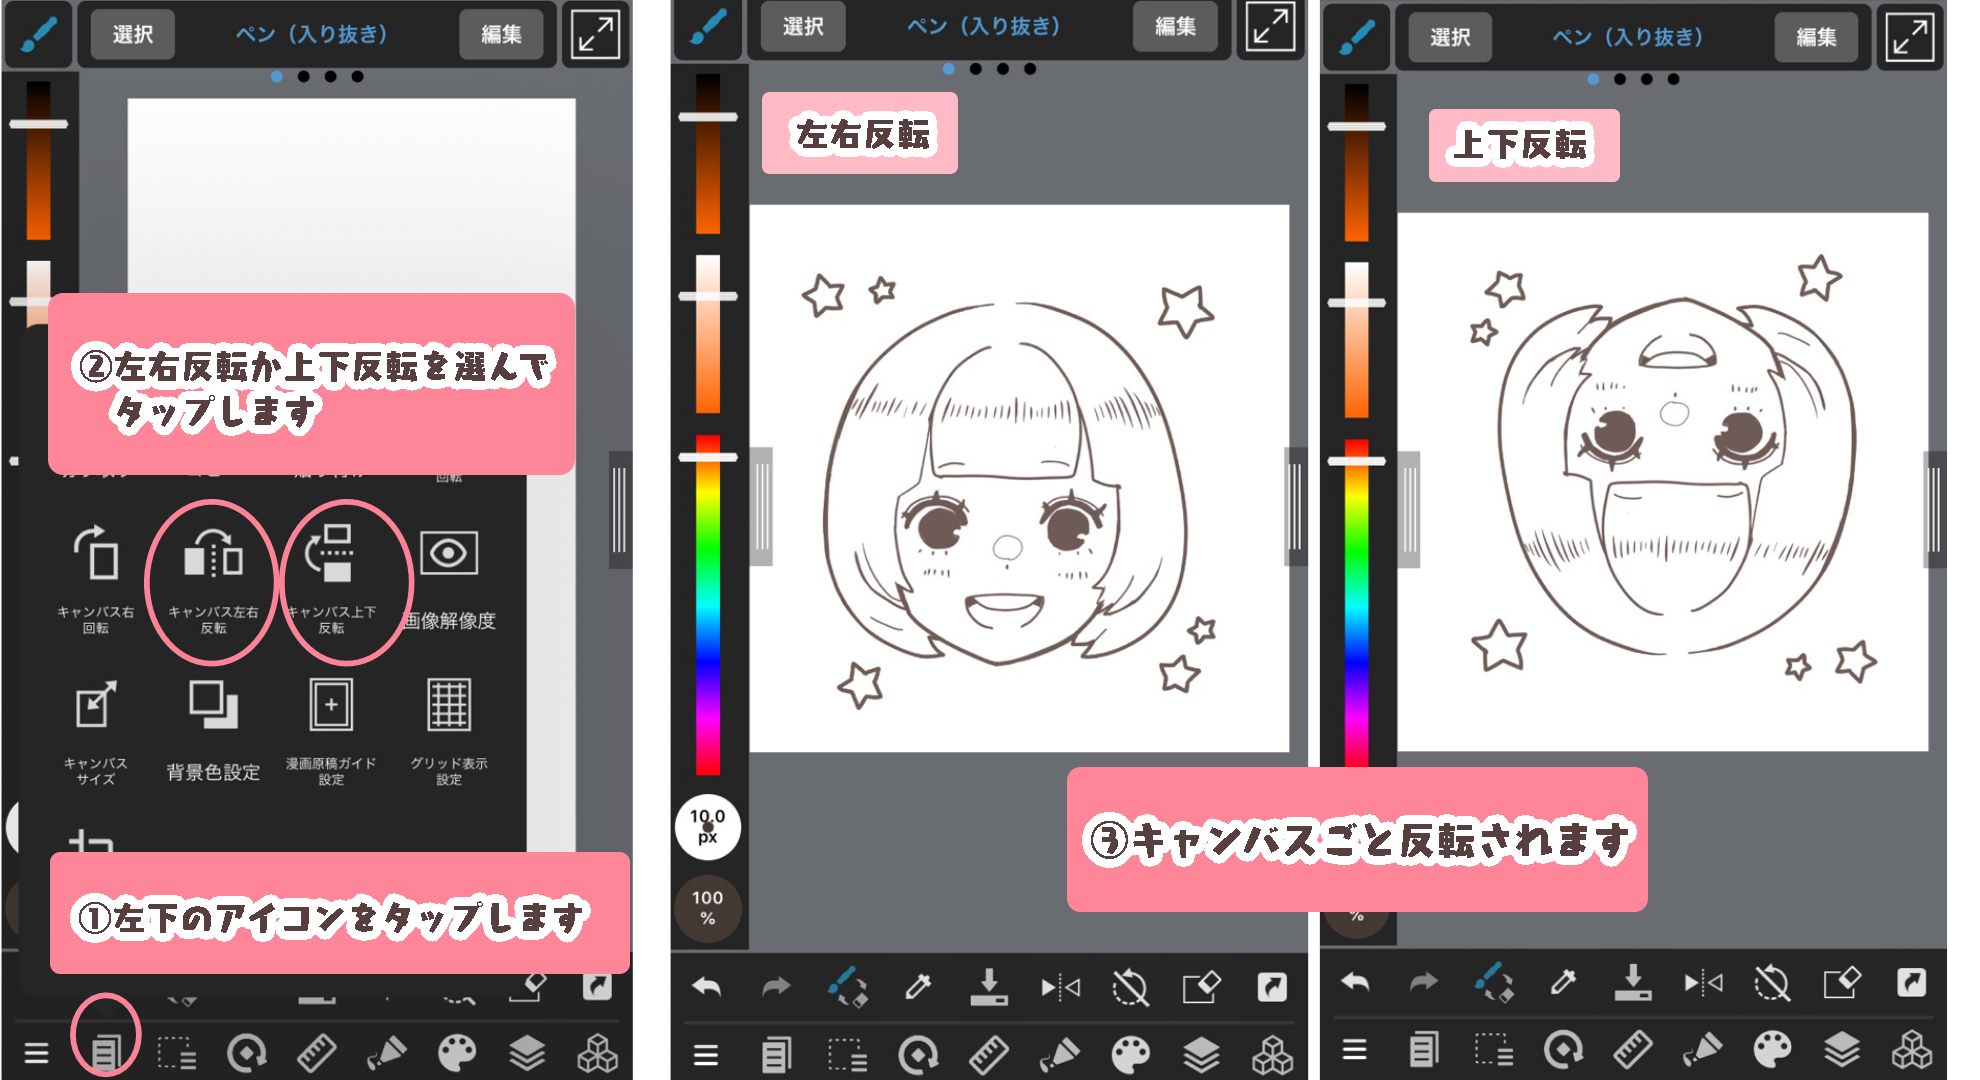
(1) Flip the entire canvas.
Select “Rotate Canvas Horizontal” or “Rotate Canvas Vertical” from the icons at the bottom left to flip the entire canvas.
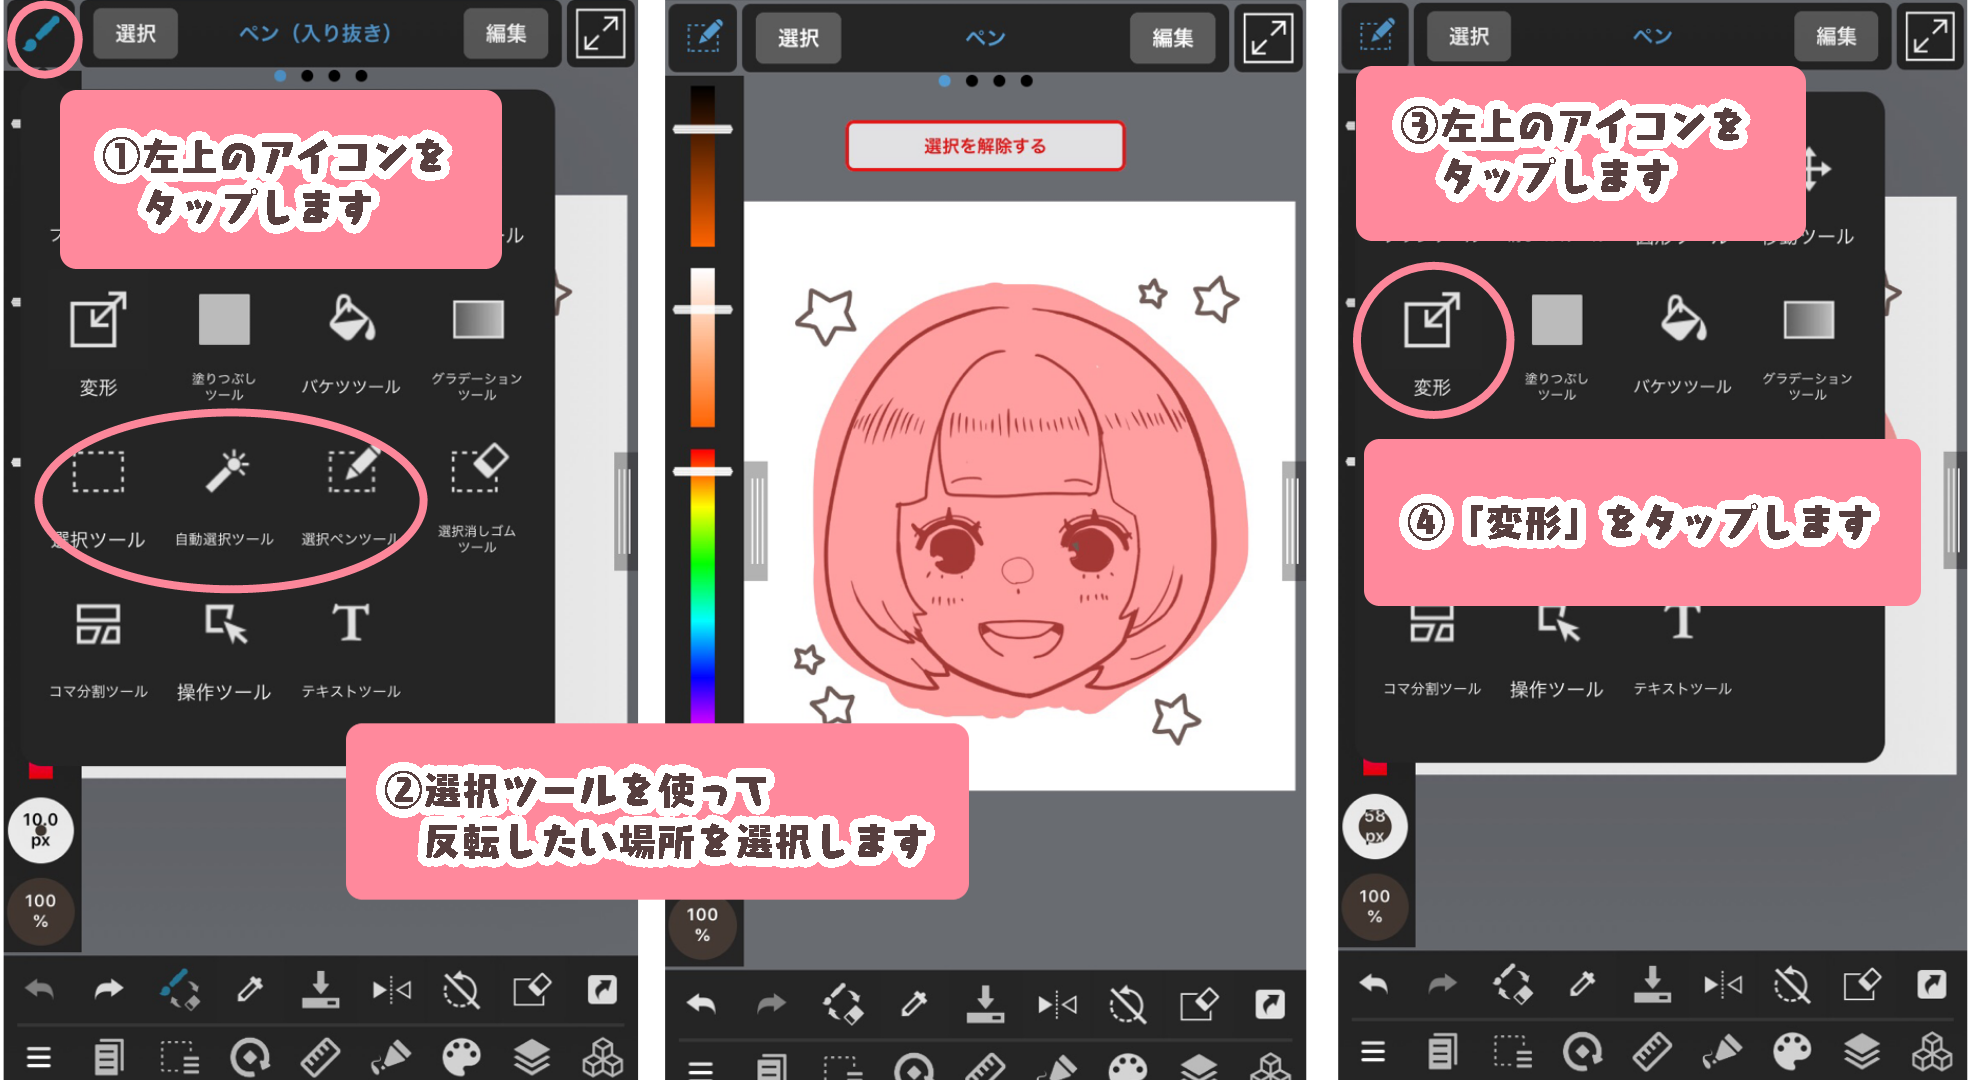
(2) Invert only part of the image.
Use the Select Tool to select the area you want to flip.
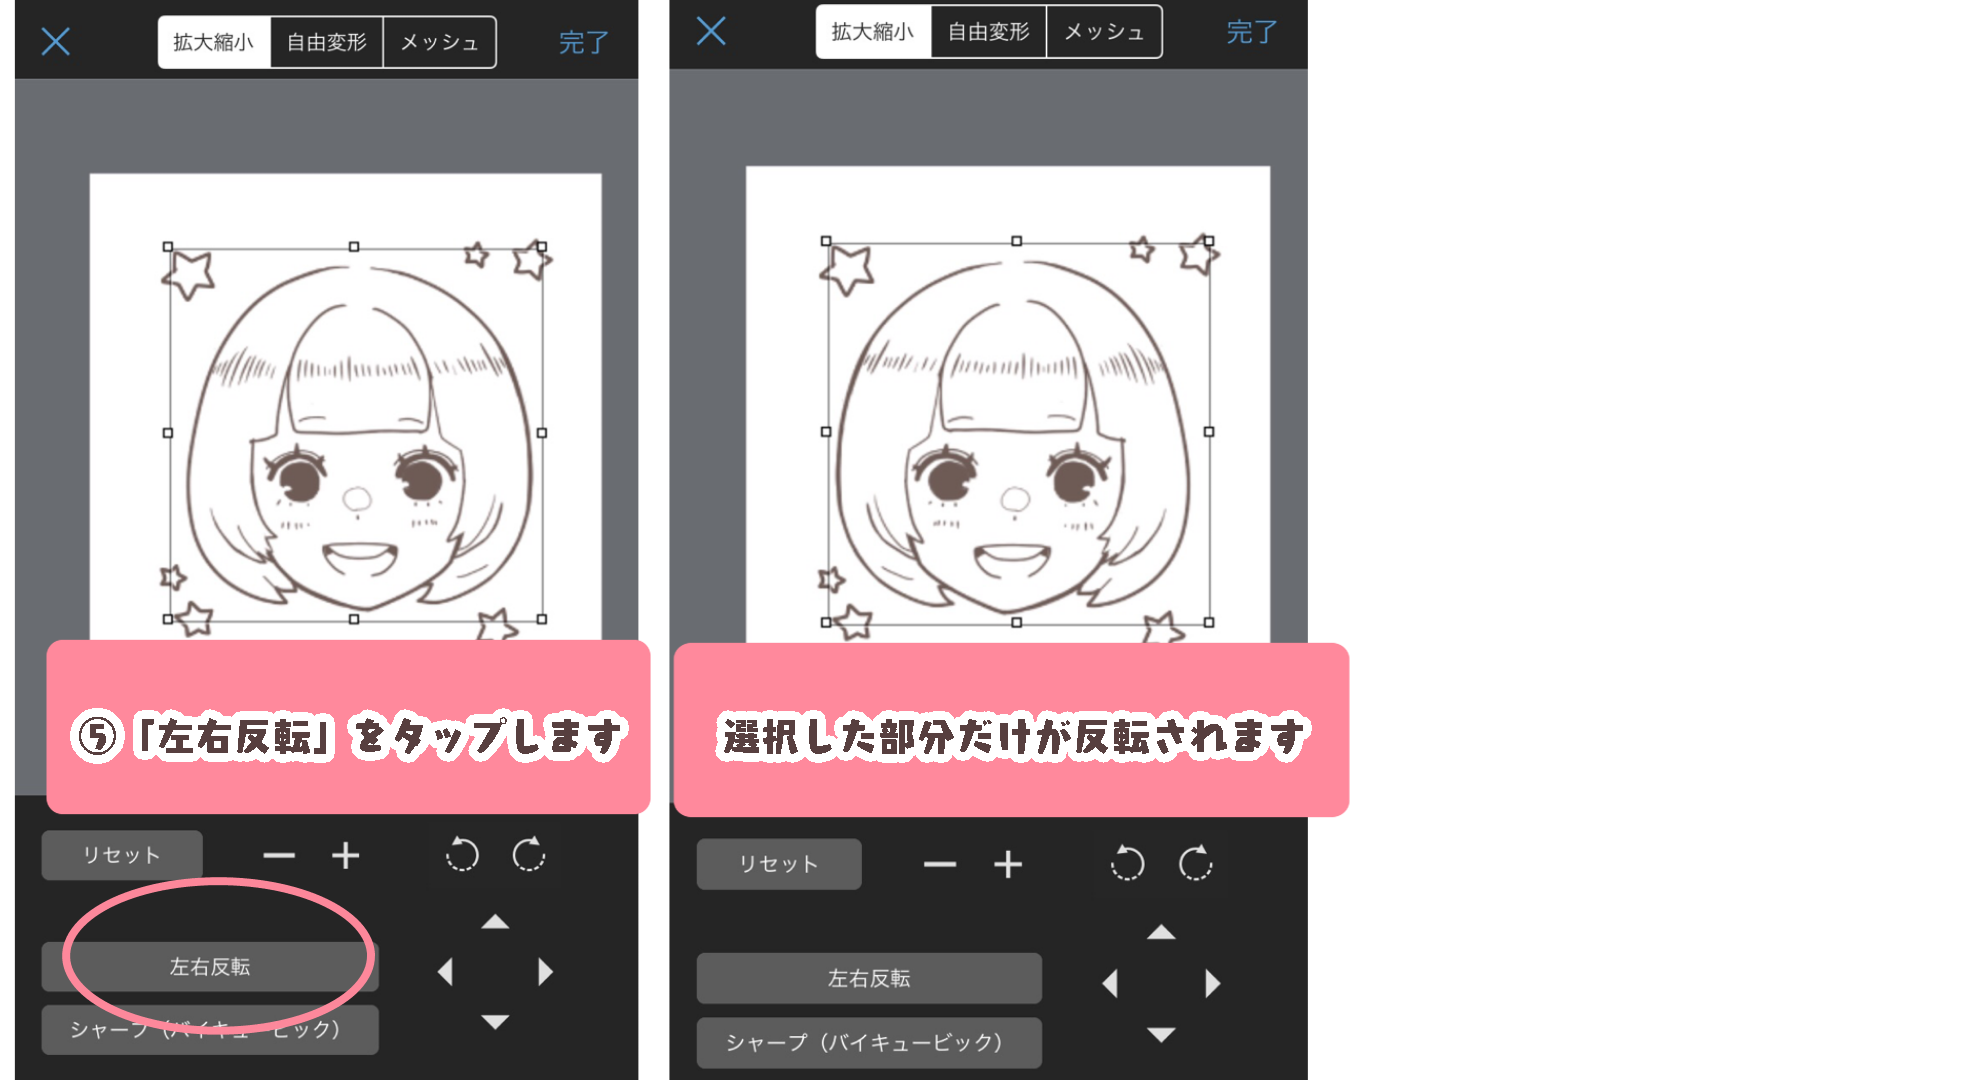
Next, select “Transform” from the top-left icon and tap “Flip“.
※You can only flip a part of the image.
<OnePoint! Don’t overdo the flipping and correction>
It is important to correct distortions, but if you are too focused on correcting distortions and do too much flipping and correcting, you will lose the momentum of the picture or lose track of what you wanted to draw.
The human face is not perfectly aligned, and even the most professional drawing can be distorted when flipped.
Don’t aim for perfection, just aim for something that looks right.
4. How can I improve my drawing and overcome distortions?
From here, I would like to focus on how to improve your drawing ability and overcome distortions.
[Overcoming Distortion Point 4: 30-second drawing to improve your drawing ability]
The main causes of distortion in illustrations are “correction by the brain” and “poor orientation of the hands.
To overcome this, it is recommended to practice outputting what you see with your eyes as it is.
If you make a habit of doing 30-second drawings of objects in front of you on a daily basis, your drawing ability will improve and you will be less likely to distort your illustrations.
[Overcoming Distortion Point 5: Look at models from various angles and try copying them].
Sometimes when you change the direction of your face or body, you don’t know how it will look different and it becomes distorted.
In such cases, it is recommended to look at photographs or professional illustrations and try to draw people from various angles.
When copying a person, don’t just draw him or her casually, but observe how the length of the lines and the drawing style change depending on the angle of the face and body.
It is also effective to study the proportions of the face and body.
You can also refer to articles like the one below to help you practice.
▶︎[Brief Description] How to Draw an Overhead View Illustration.
▶︎[For Beginners] Learn how to balance your face & get the basic ‘Atari’!.
(Text and pictures by sakaki)
\ We are accepting requests for articles on how to use /

