2020.12.16
How to draw a ribbon [also for Valentine and Christmas gift illustrations!
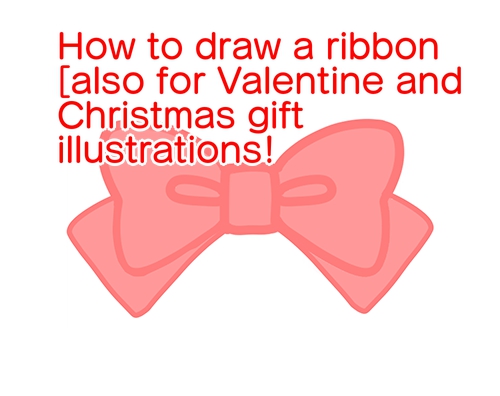
Ribbons” are used to decorate Valentine’s Day chocolates and Christmas gifts.
If you use them as an accessory for a character, you can create a gorgeous and cute impression.
In this month’s article, I’ll show you how to draw a ribbon.
It’s very easy when you get the hang of it, so give it a try!
1. How to draw a basic ribbon
First, let’s see how to draw a basic ribbon.
1-1. Easy way to draw
When drawing the ribbon, first draw the center knot, then the left and right loops.
And finally, draw a teardrop-shaped crease next to the knot to finish it.
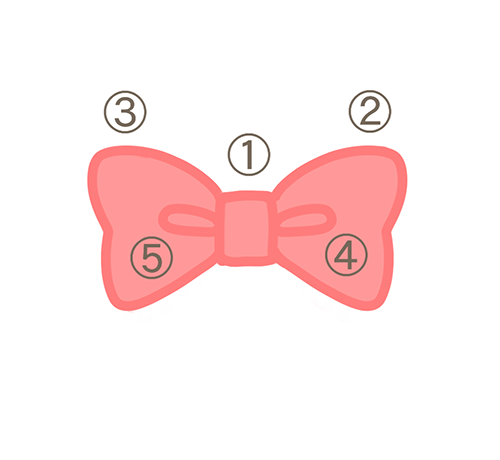
In this case, the lines are quite thick, but you can arrange the thickness and touch of the lines to suit your illustration.
Such a simple shape without legs can also be used as a motif for hair bands and accessories.
You could even try a simpler shape when using it for a background or pattern.
1-2. How to Draw Realistically
When I want to “draw a realistic ribbon” in an illustration or cartoon, I draw it with a three-dimensional effect in mind.
When creating a three-dimensional effect, you should be aware of the way to draw lines and shadows.
In simple drawing, both lines and shadows are heavily deformed, but in realistic drawing, you can draw them in detail.
(1) The knot is pulled up and down, so it will be wrinkled vertically.
(Wrinkles may not be present in some cases, such as when the ribbon is made of bouncy or thick material, or when the knot is not tied tightly.
If you want to draw wrinkles, you can make the top and bottom lines slightly uneven to match the wrinkles.

(2) When you draw the left and right loops, make the lines strong and weak to create a fluffy look.
Stronger lines around the corners and weaker lines around the bulge create a fluffy look.
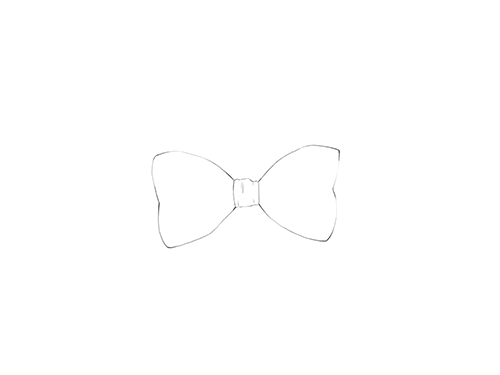
(3) When I draw the wrinkles, I also draw in the wrinkles with reference to the actual objects and photos.
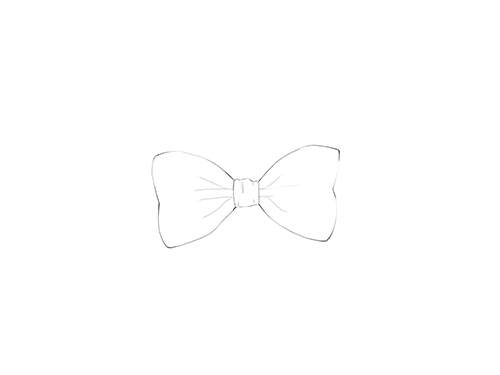
The wrinkles in the loop are caused by the cloth being pressed from above and below, and are crumpled up.
As you can see from the side, there are raised “mountains” and concave “valleys” as shown in the picture below.
If you think of the shadows falling in these “valleys”, it becomes easier to draw.

Lastly, I drew in shadows and other details to complete the image.
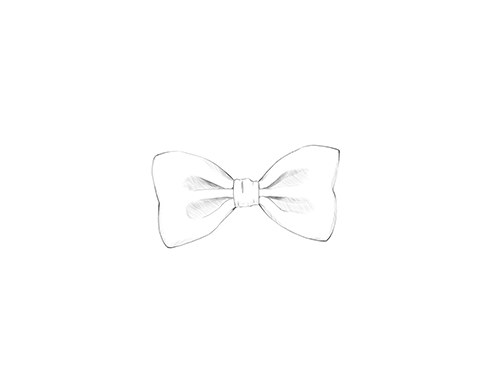
2. How to draw a ribbon with legs
The footed ribbon is more festive than the basic ribbon.
Now let’s look at how to draw a footed ribbon.
2-1. Simple Legged Ribbon
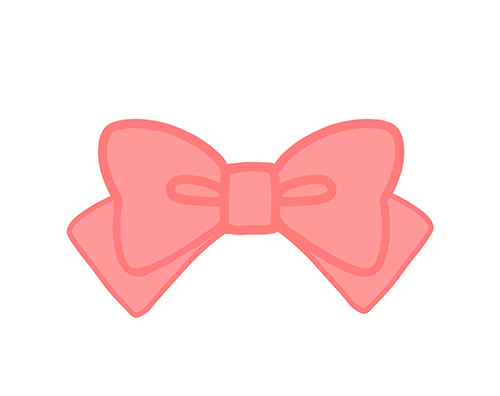
In a simple drawing, the legs can be placed underneath the ribbon for a clean look.
Draw through the whole picture, being careful not to vary the thickness of the ribbon.
2-2. How to Draw a Realistic Legged Ribbon
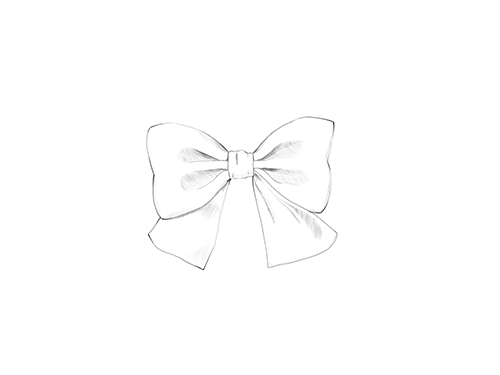
When drawing a realistic picture, as with the basic ribbon, the key is to draw a detailed “line” and “shadow”.
First, I draw a shadow on the leg just below the basic ribbon, and then I draw a shadow that matches the light source.
The touch of line and the detail of the shadow depiction should be adjusted to the deformity of the picture.
3. If you want to change the direction of the ribbon<
If you want to change the direction of the ribbon, it is useful to use the Transform tool. First, draw an outline and wrinkles, and then change the direction by choosing Transform Tools > Free Transform > Perspective Correction.
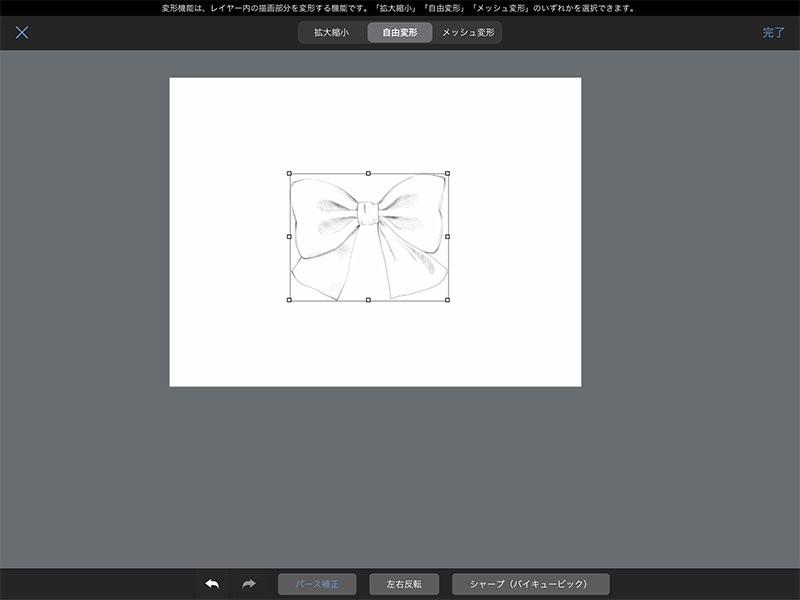 .
.
Then, adjust the knots and other parts of the knot and add shadows and color.
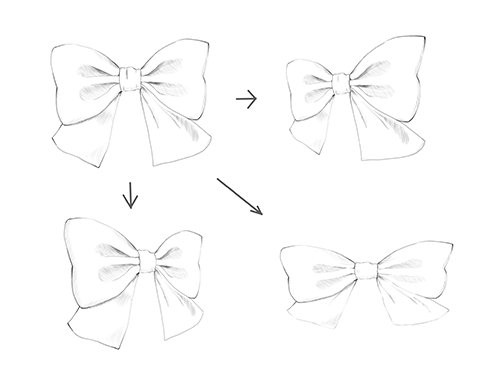
The knot looks square when viewed from the front, but when viewed from the side, only that part of the knot is “shaped like a cylinder compressed horizontally”.
Therefore, at a slight horizontal angle, the vertical lines at both ends form an arc.
When you draw the ribbon from the left or right side view, you can use the Transform tool to deform the ribbon, and then adjust this part first, and then the other parts of the ribbon to make it easier to draw.
\ We are accepting requests for articles on how to use /

