2021.01.13
Let’s use “Draw Selected Borders” to draw comic strips!
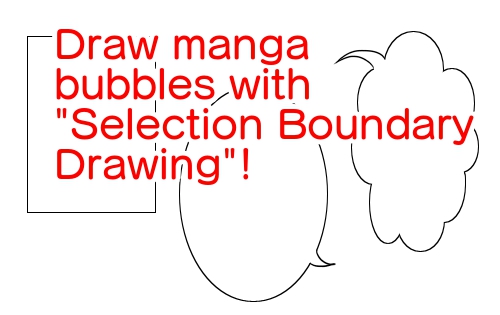

I want to draw a beautiful headline!
The “Draw Selection Boundaries” feature is useful for that.
In this article, I’ll show you how to use the “Draw Selection Boundaries” function in combination with various selection tools.
Of course, these techniques can be used for more than just ballooning, so please refer to them.
Square borders
First, use the selection tool to select the area where you want to create a balloon.

On the “Select Range” tab, select “Draw Selection Boundary”.
In the window that comes up, set any number in the bottom field and click OK, and you have a rectangular balloon.

Oval blowout
You can also create an elliptical balloon by changing the shape of the selection tool.
Select the “Selection Tool” and select the “Rectangle” at the top of the screen.
Select the “Ellipse” option.

Draw as before, then use the eraser and pen to redraw the character as if he were speaking, and you are done.

Using a number of ellipses to create a cloud-shaped balloon
You can select multiple areas at the same time by holding down the “Shift” key while making a selection.
Use the selection tool “Ellipse” to select the area to make a cloud shape.
Be careful not to take your finger off the key when selecting.
Finish by redrawing part of the image as well as the ellipse.

Selecting multiple locations is also useful when you want to create many blowouts at once.

You can also make other lines disappear by making the balloon layer the top layer and filling the frame with white.

What do you think?
This is a very useful feature that can be used in many other places, such as when drawing frames, backgrounds, and round objects.
Let’s make the most of it!
\ We are accepting requests for articles on how to use /


