2021.03.03
Let’s learn how to draw a profile face!
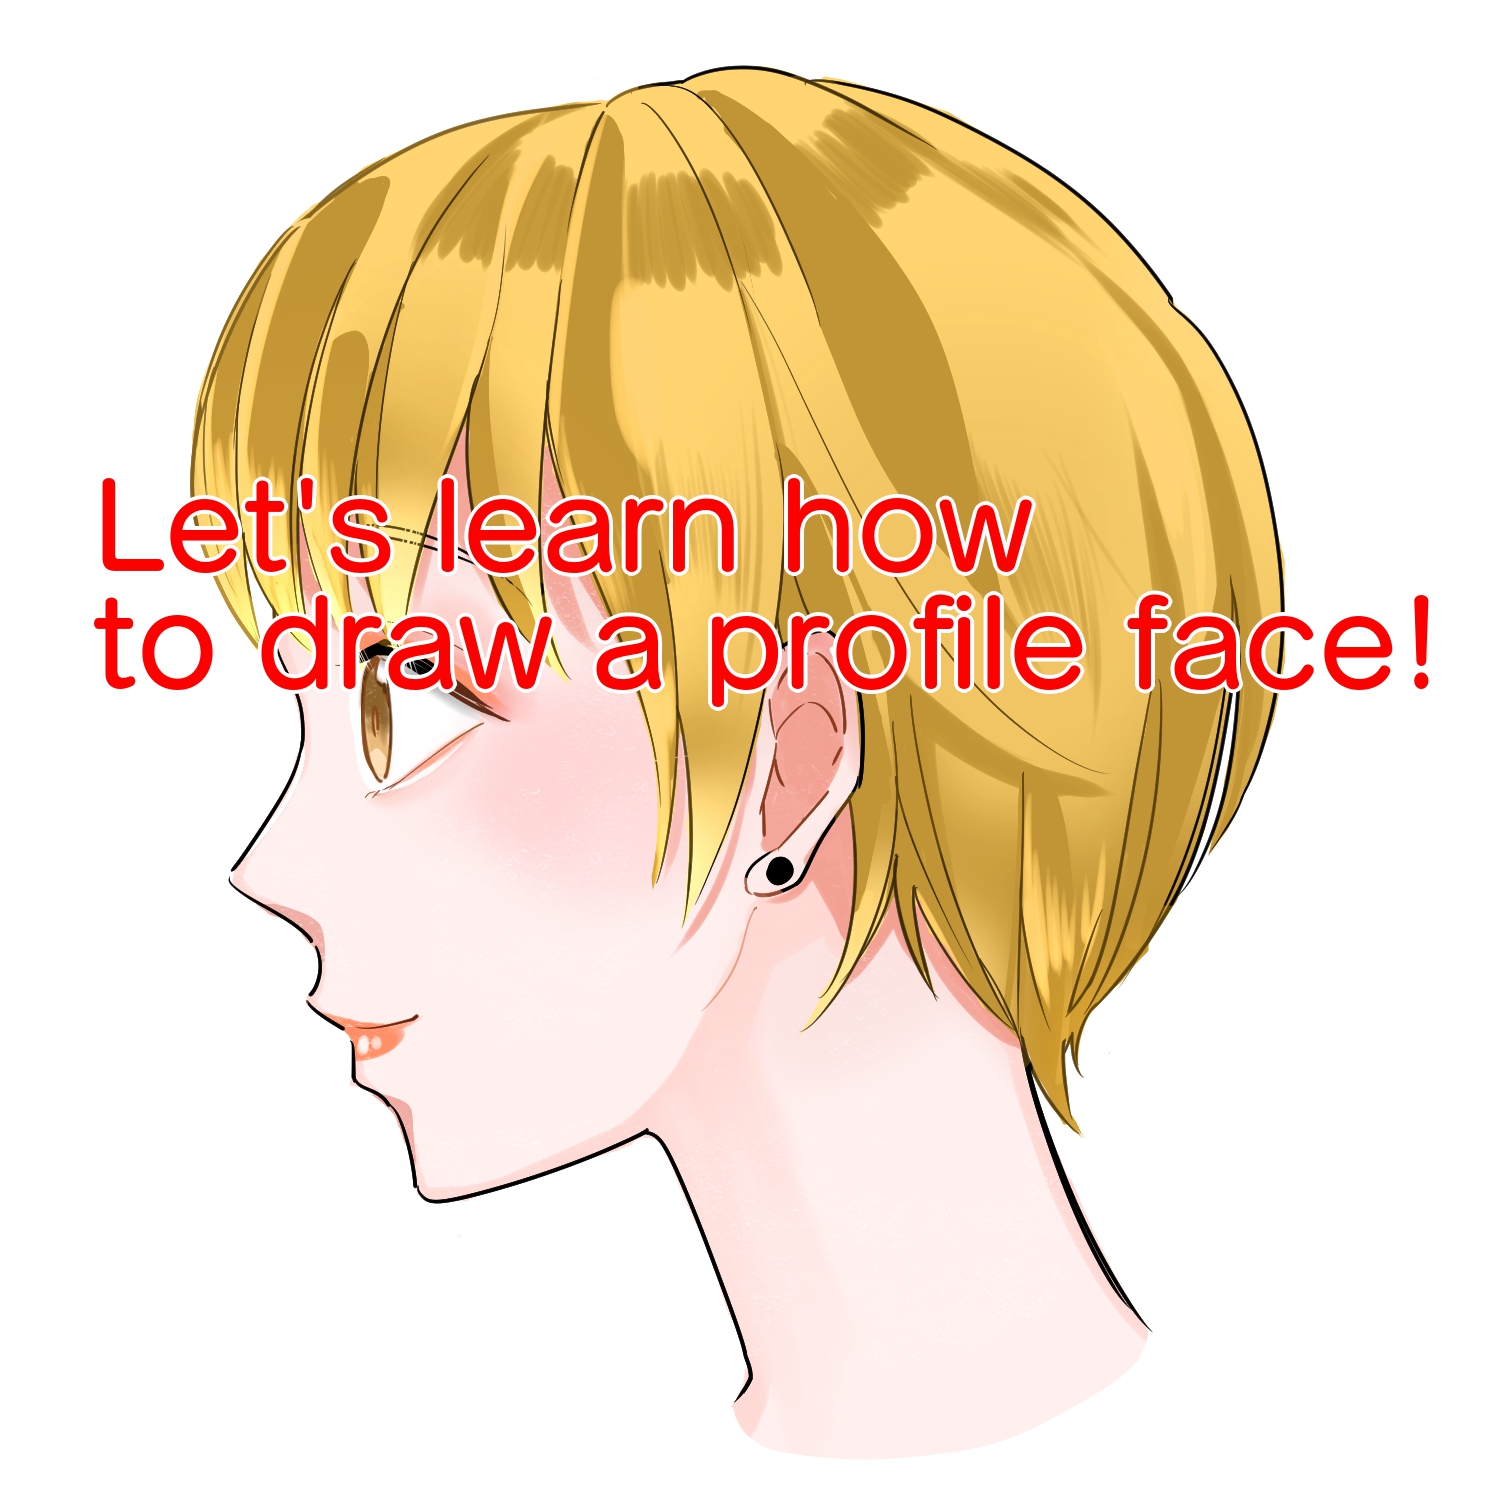
This time I’ll talk about how to draw a [profile] face!
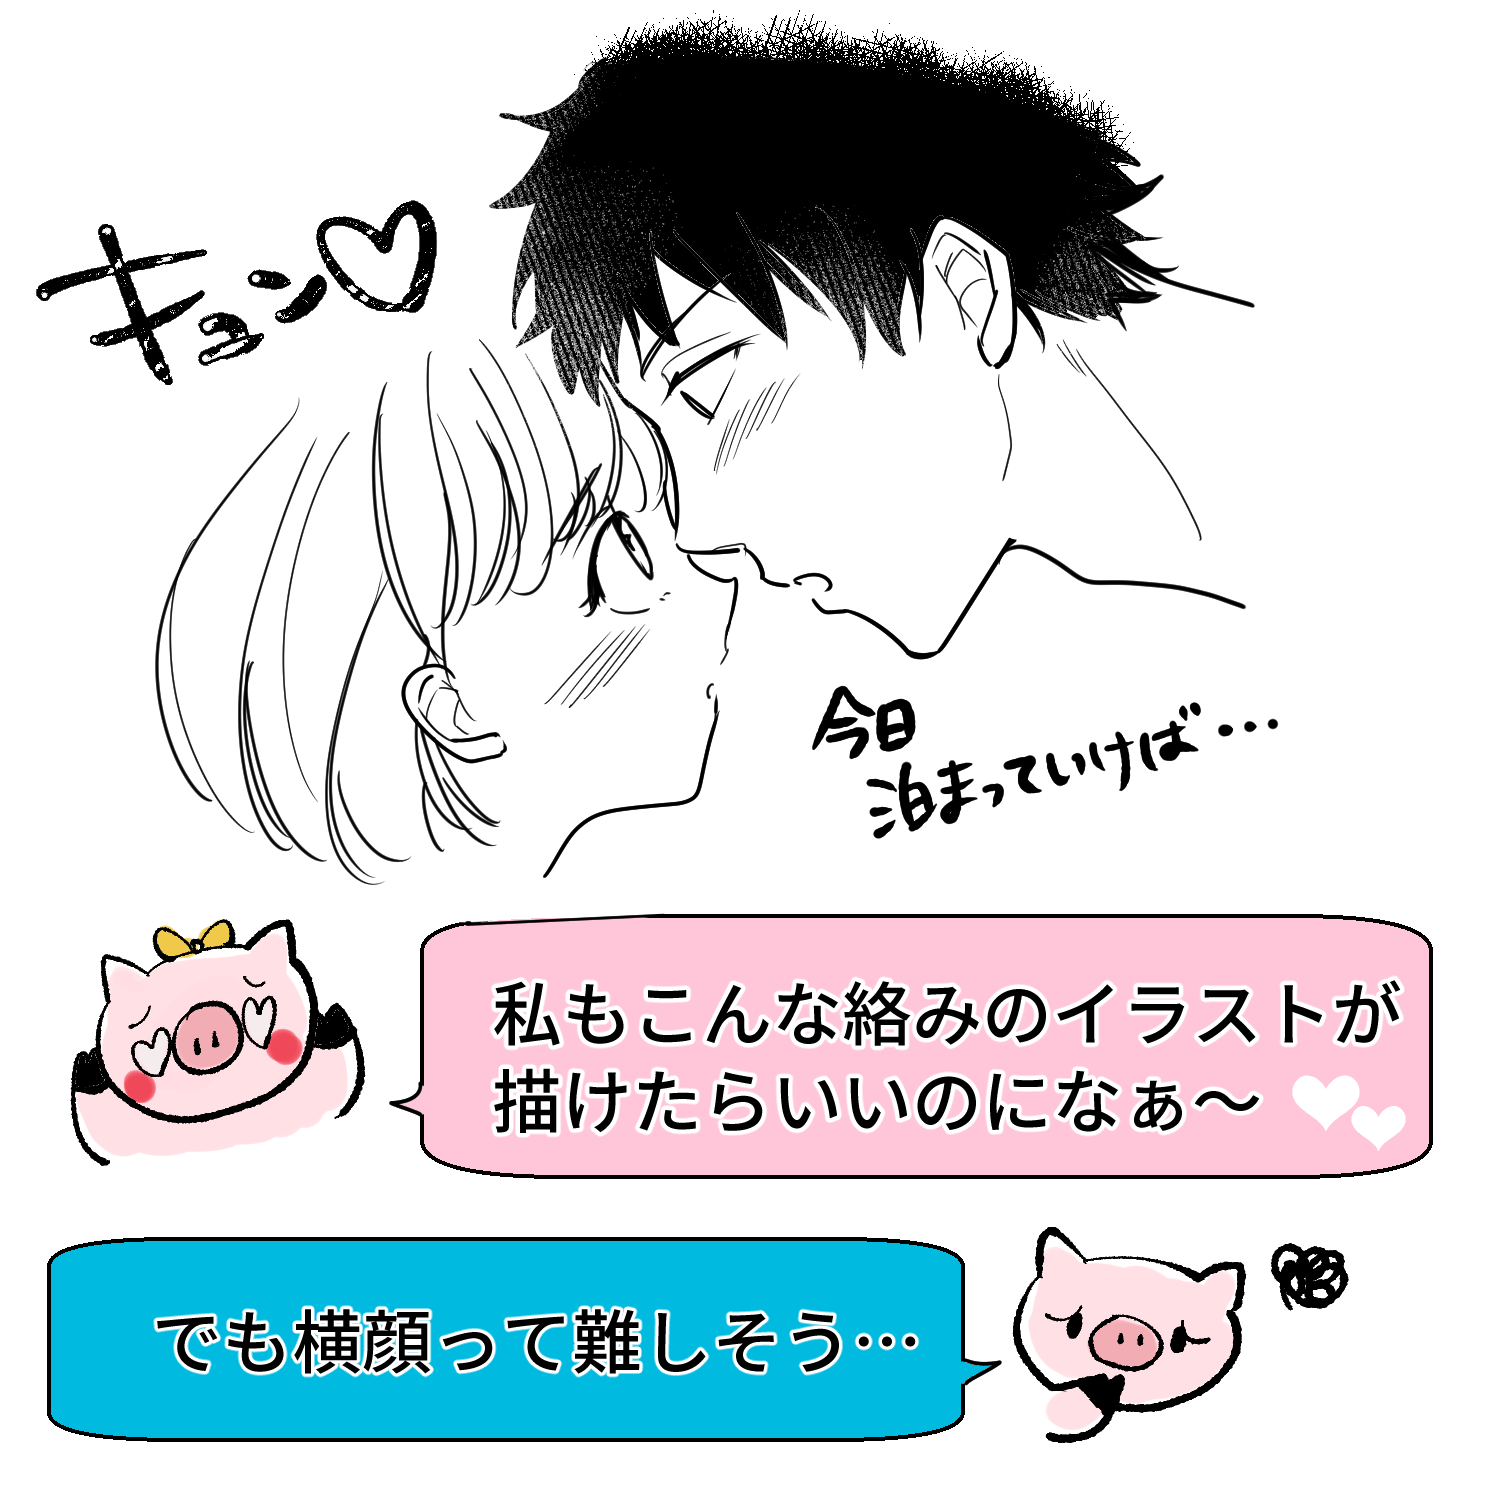
Profile is an essential part of illustration and manga, and if you can draw it well, you can expand your range of expression.
If you know how to draw a good profile, you will be able to draw a well-balanced profile.
First, take a look at this illustration.
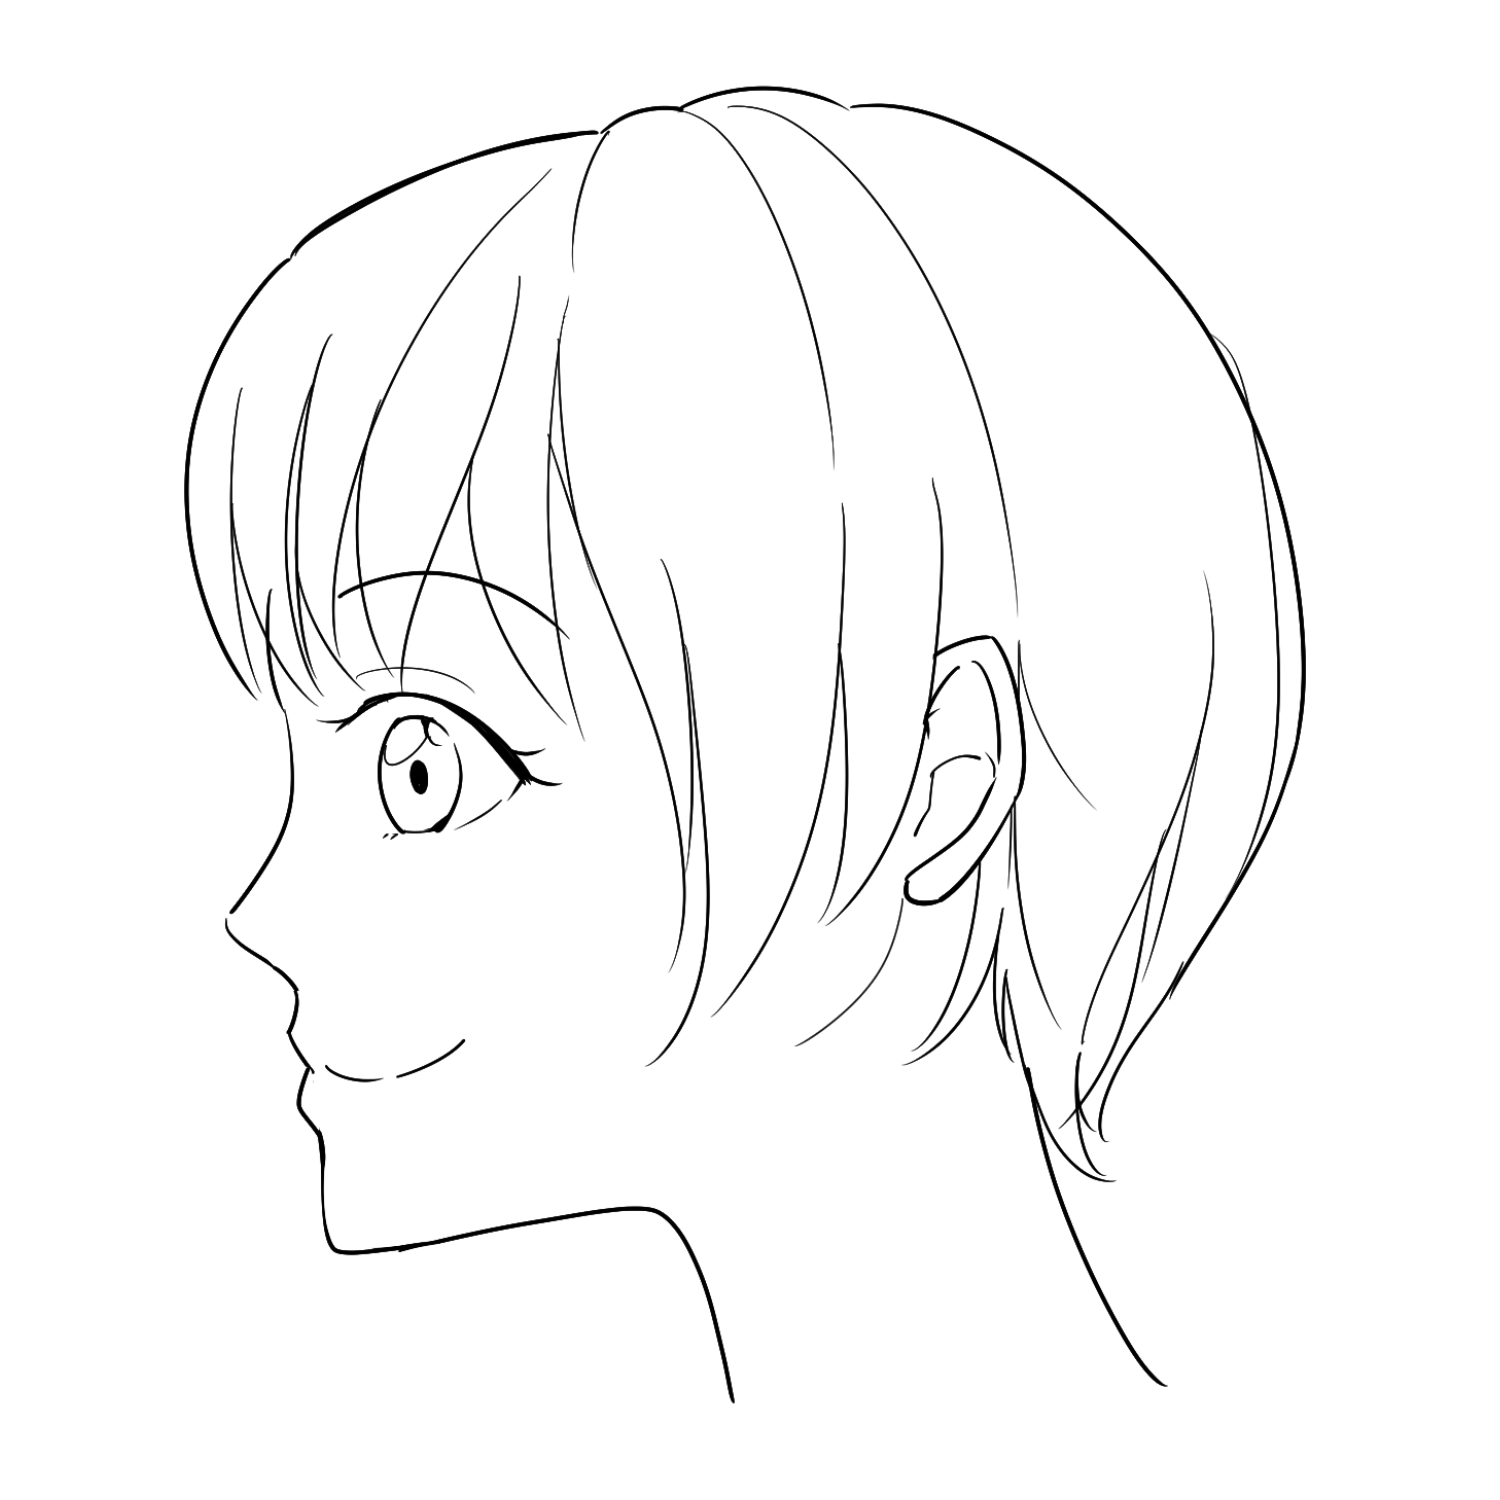
You can tell that I worked hard on this drawing, but hmmm… there seems to be room for improvement.
The main problems with this profile are as follows
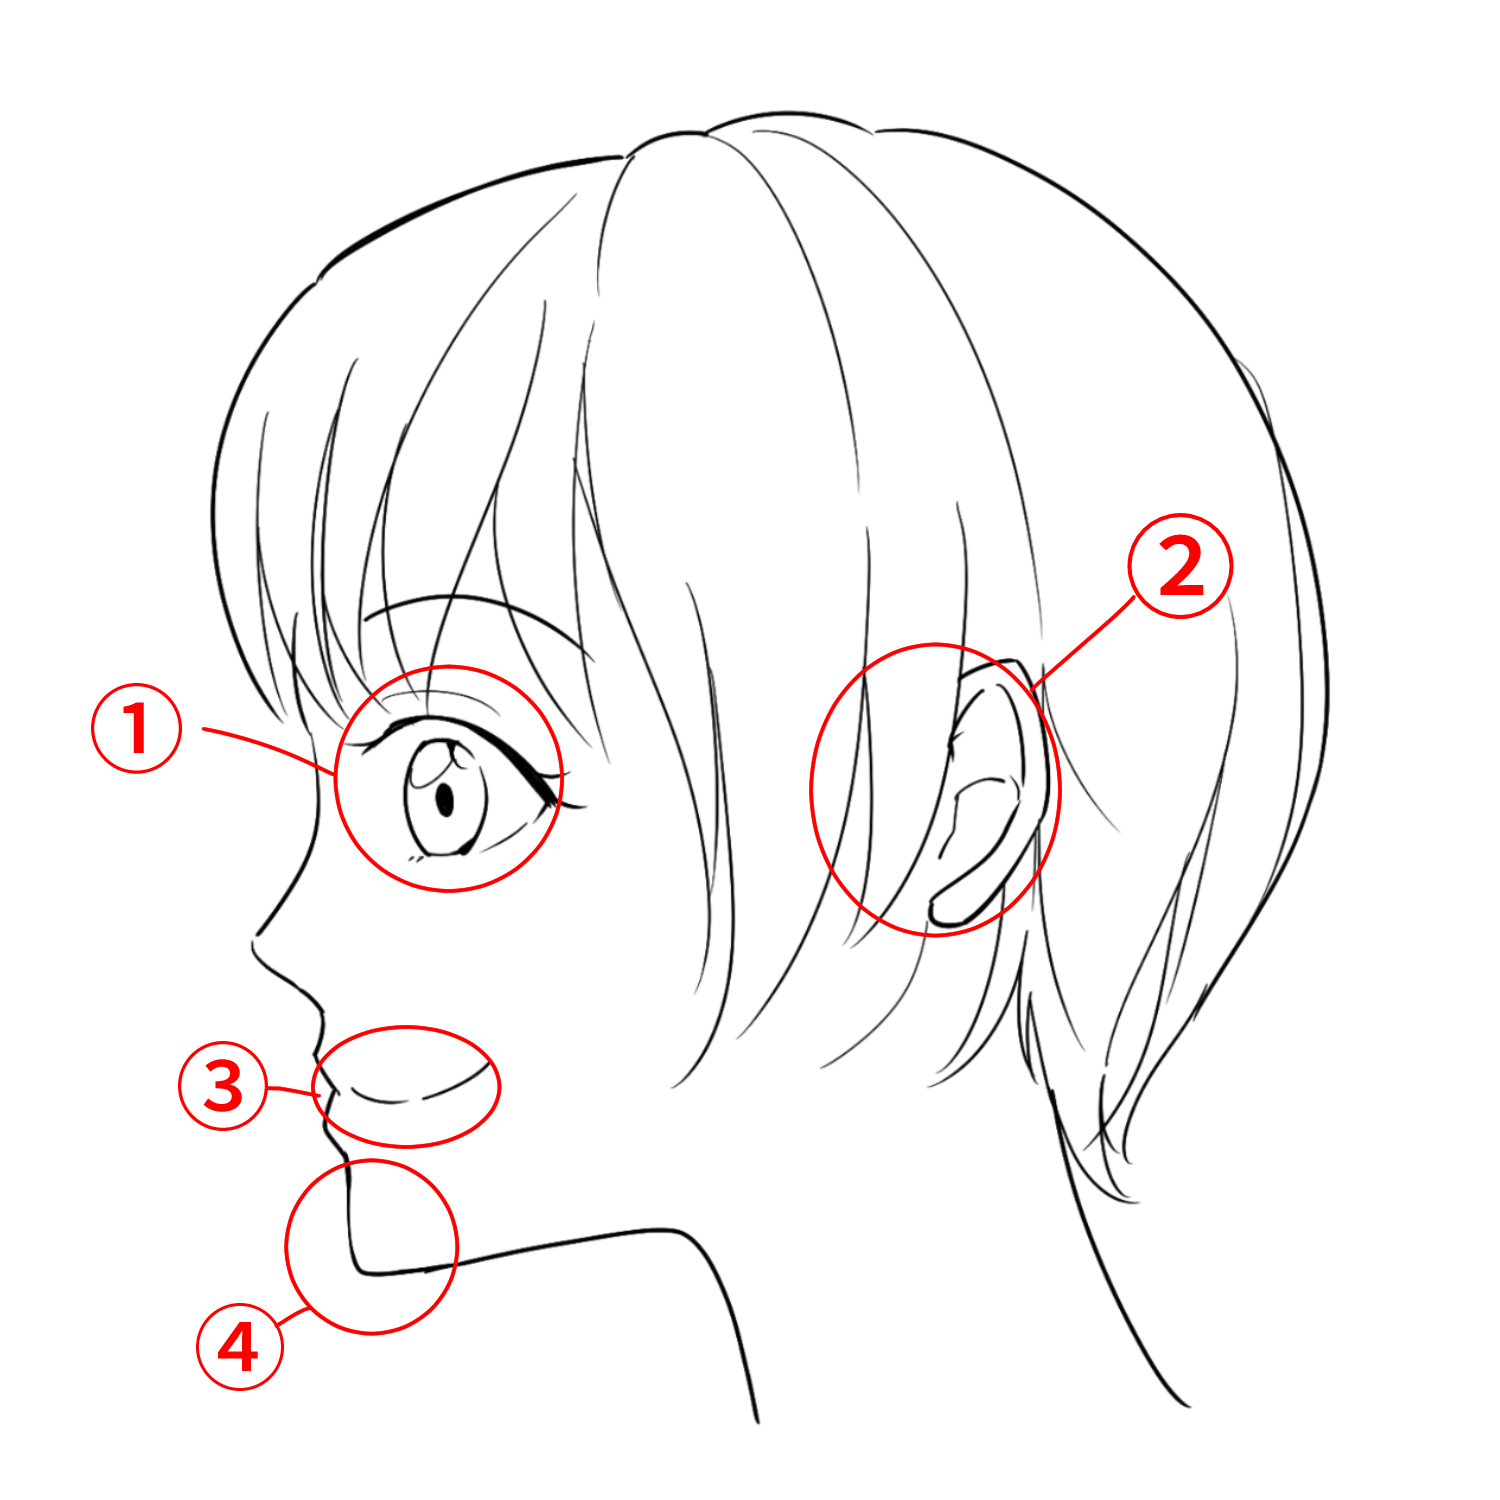
(1) The eyes are drawn in the same way as the “front face”.
(2)The ears are too far apart.
(3) The mouth is drawn in the same way as the “front face.
(4)The chin sticks out in front.
1. Eyes are still in the “front face”
When a person’s face is turned to the side, the eyes are inevitably only half as visible as when the face is frontal.
Therefore, we need to change the way we draw the eyes when making illustrations.
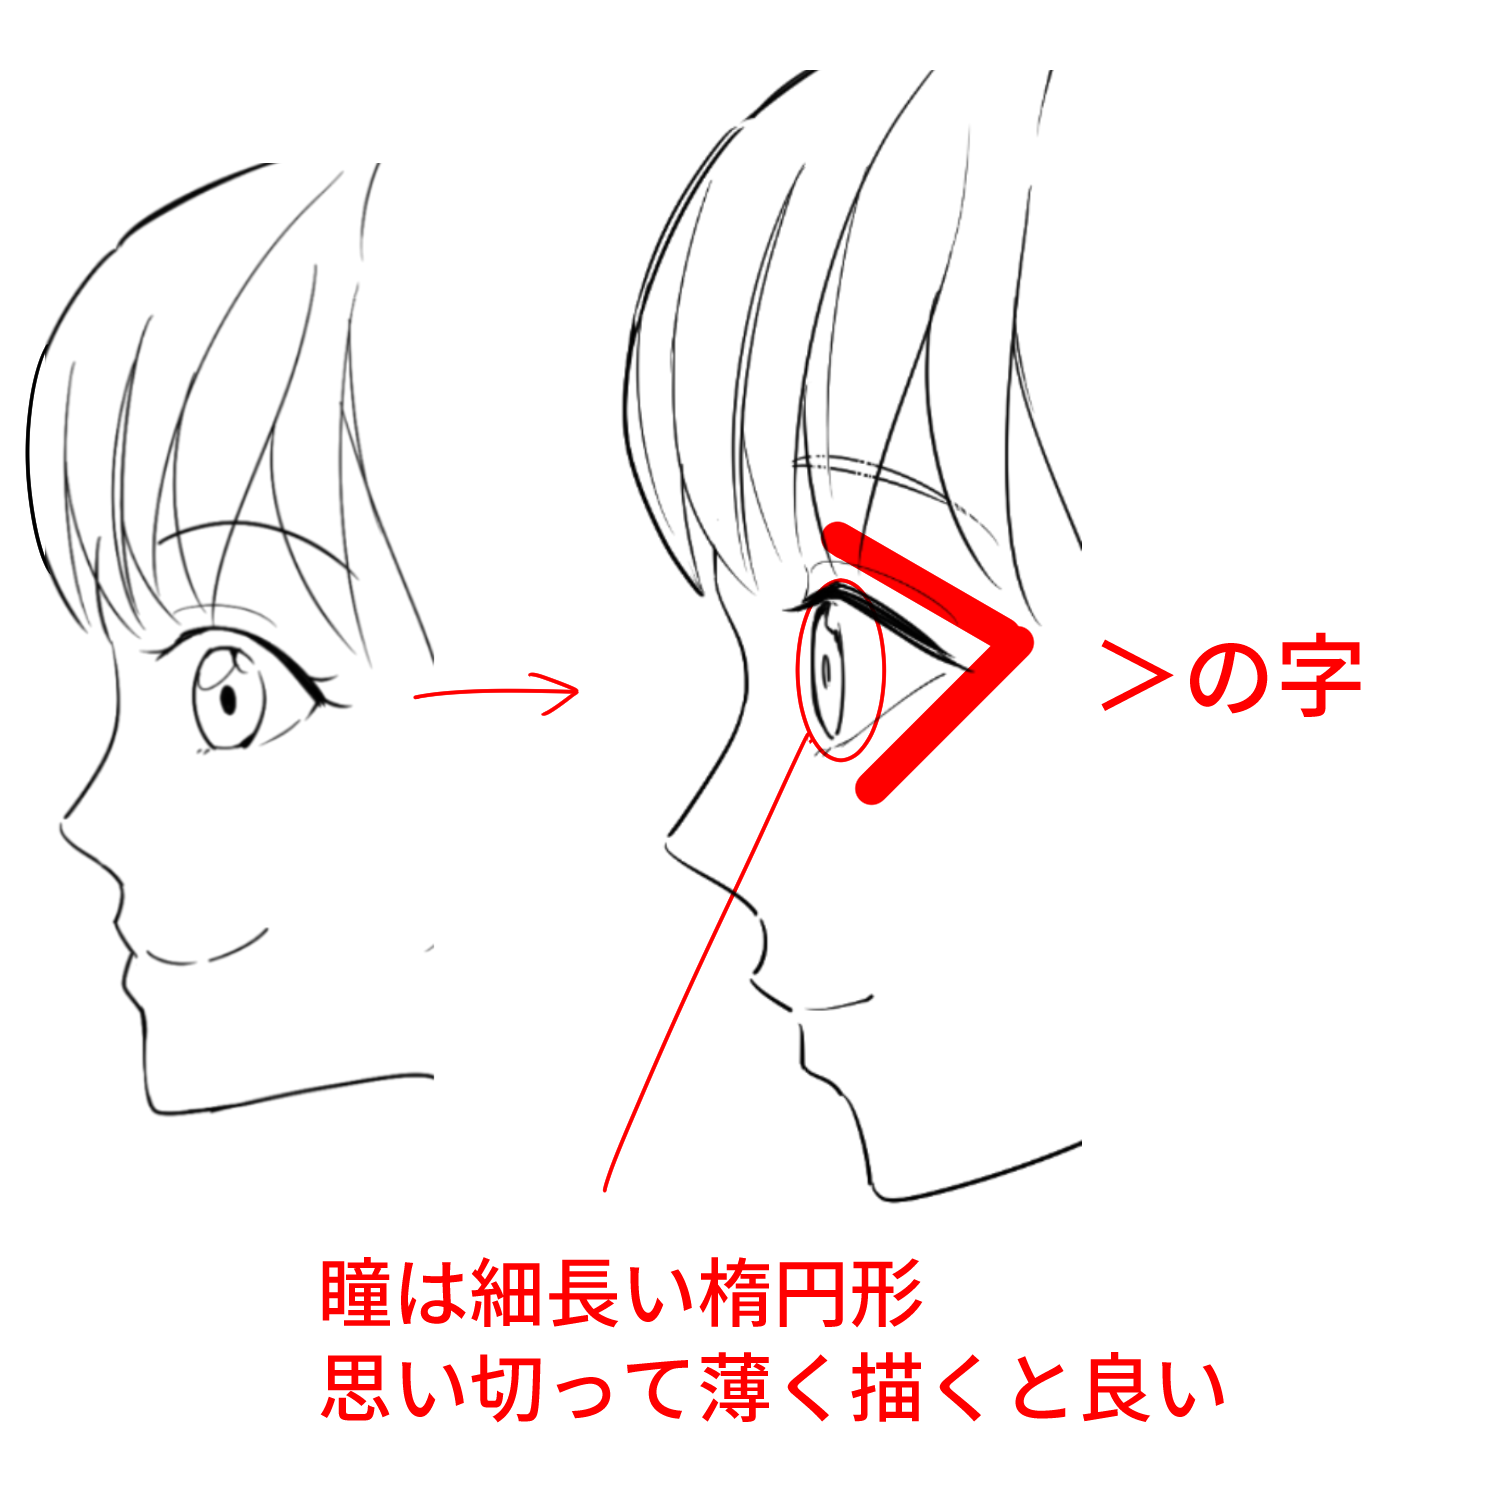
The image is shaped like a “>” or “<“.
Also, when viewed from the side, the pupil is not a perfect sphere but a long, thin oval.
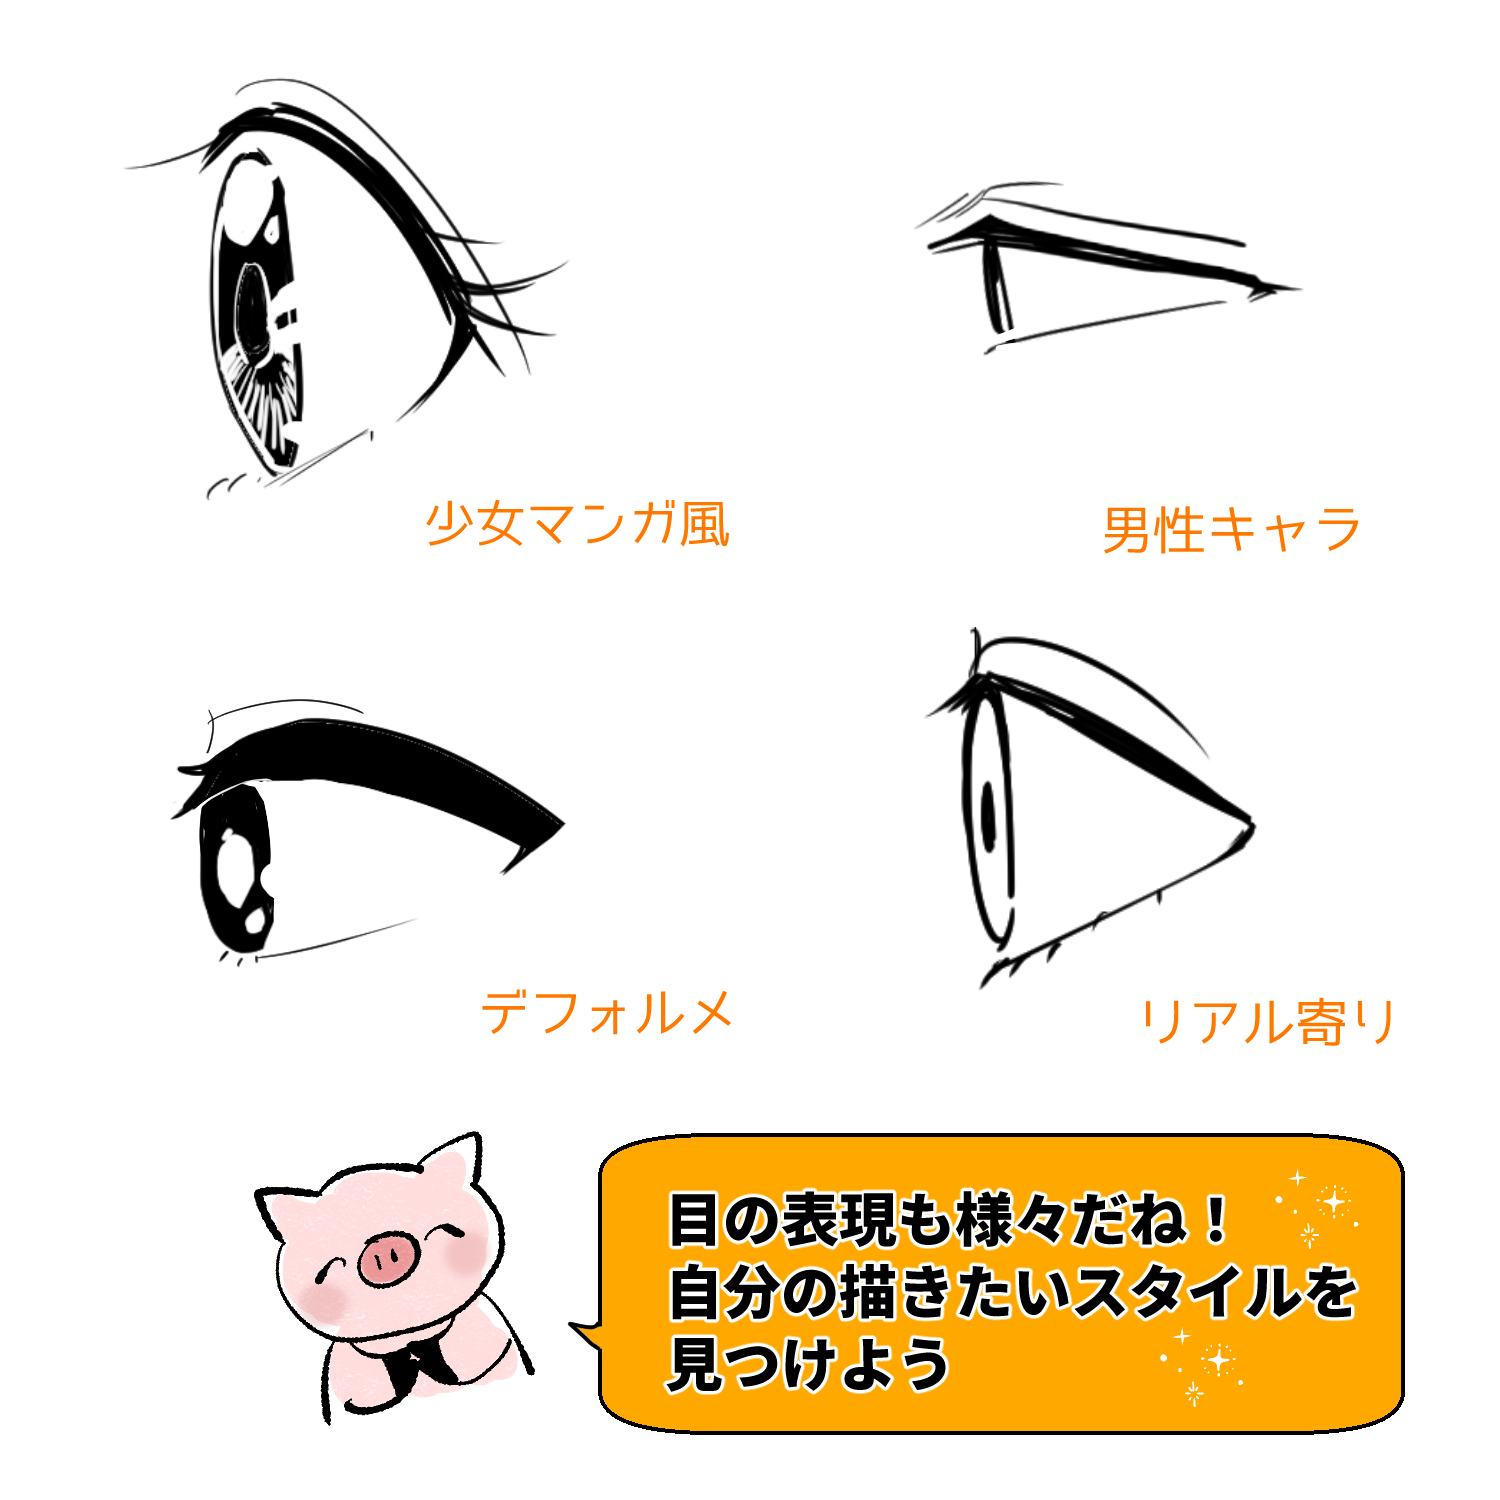
You may want to take a chance and make your eyes thinner than you think they should be.
Also, if you make the upper eyelashes thicker (darker) and the lower eyelashes thinner (or even omit them, depending on the pattern)
It will look better.
2. The ears are too far apart
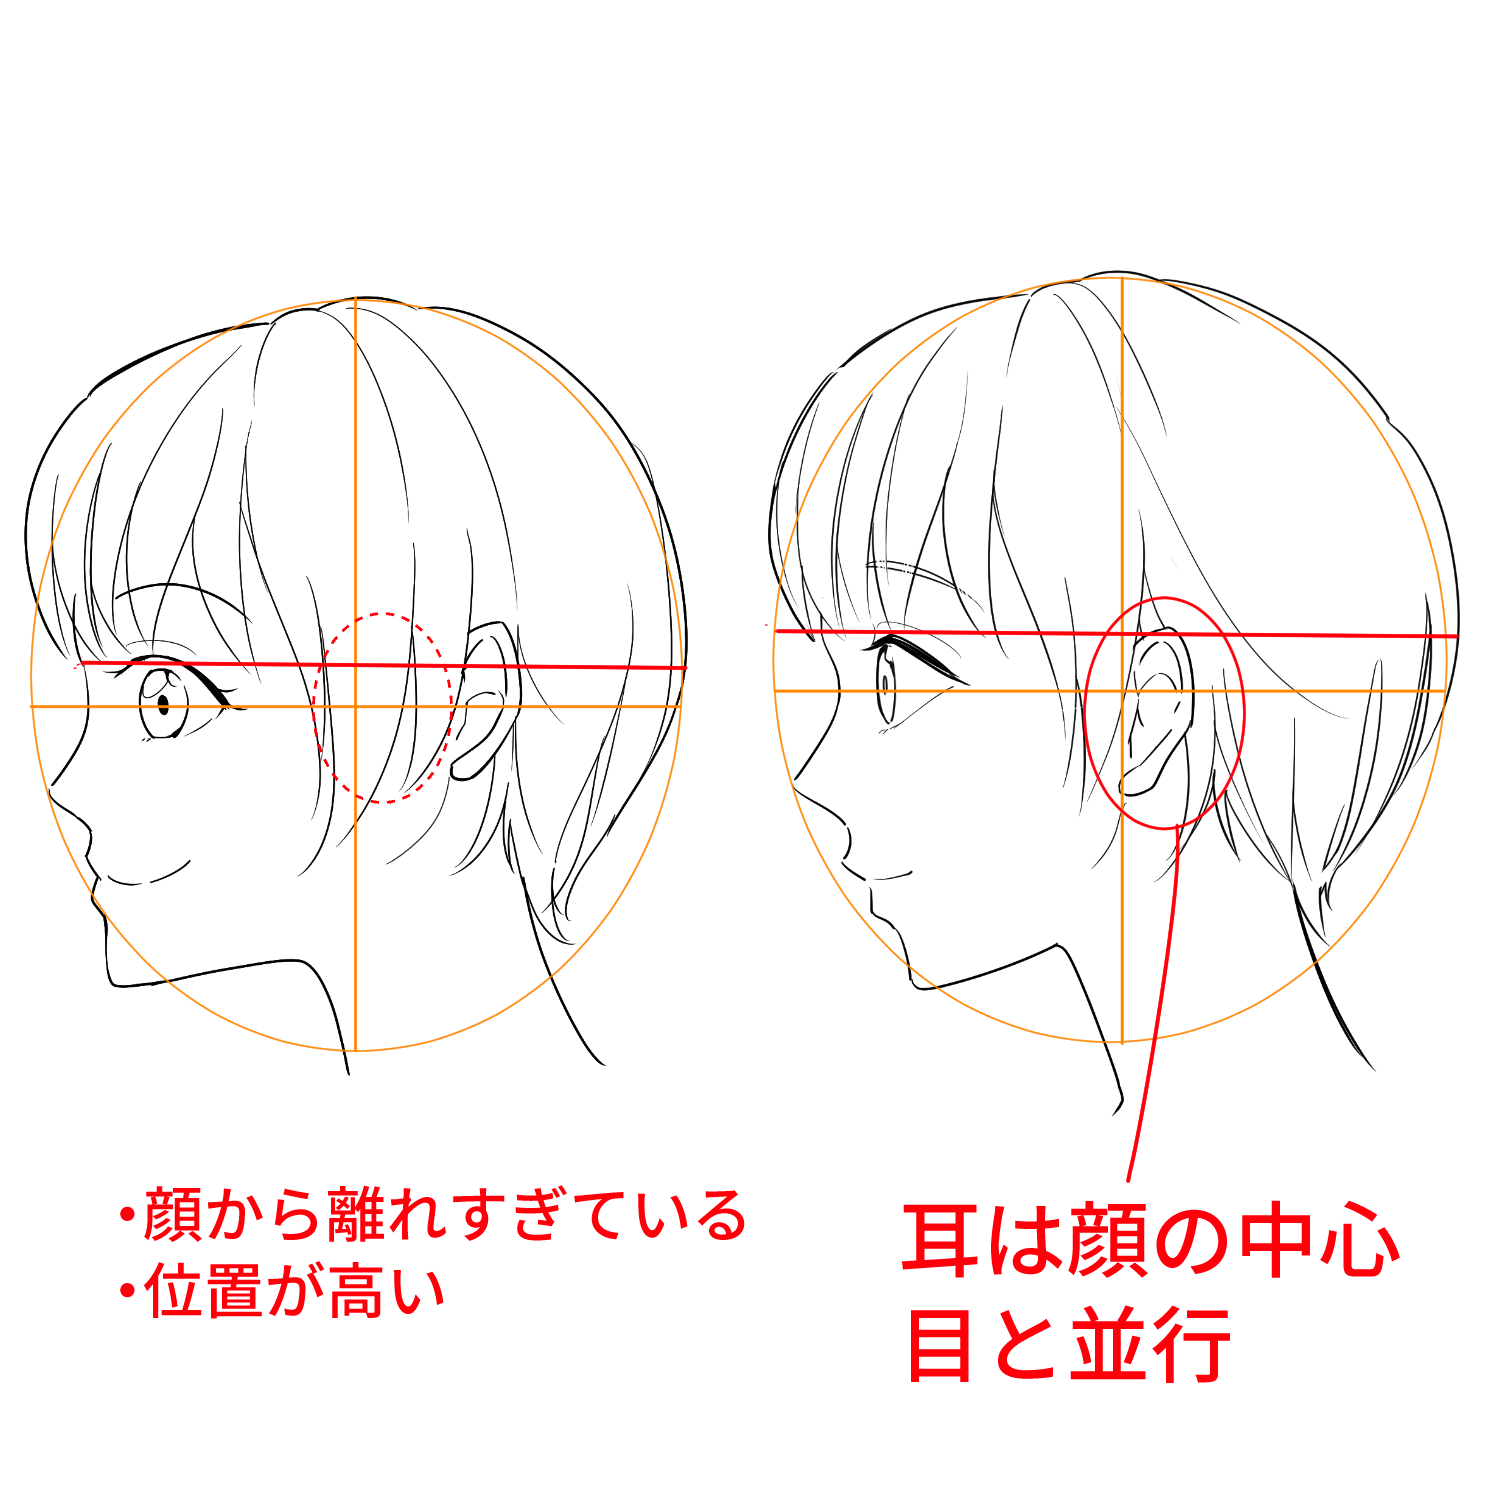
If your ears are closer to the back of your head, your gills will look tighter and your face will look too big.
The position of the ears is right in the middle of the face (slightly outside) and parallel to the eyes.
In the article on drawing a frontal face, I mentioned that the ears should be parallel to the eyes, and this position remains the same even in profile.
3. The mouth remains in the “front face”
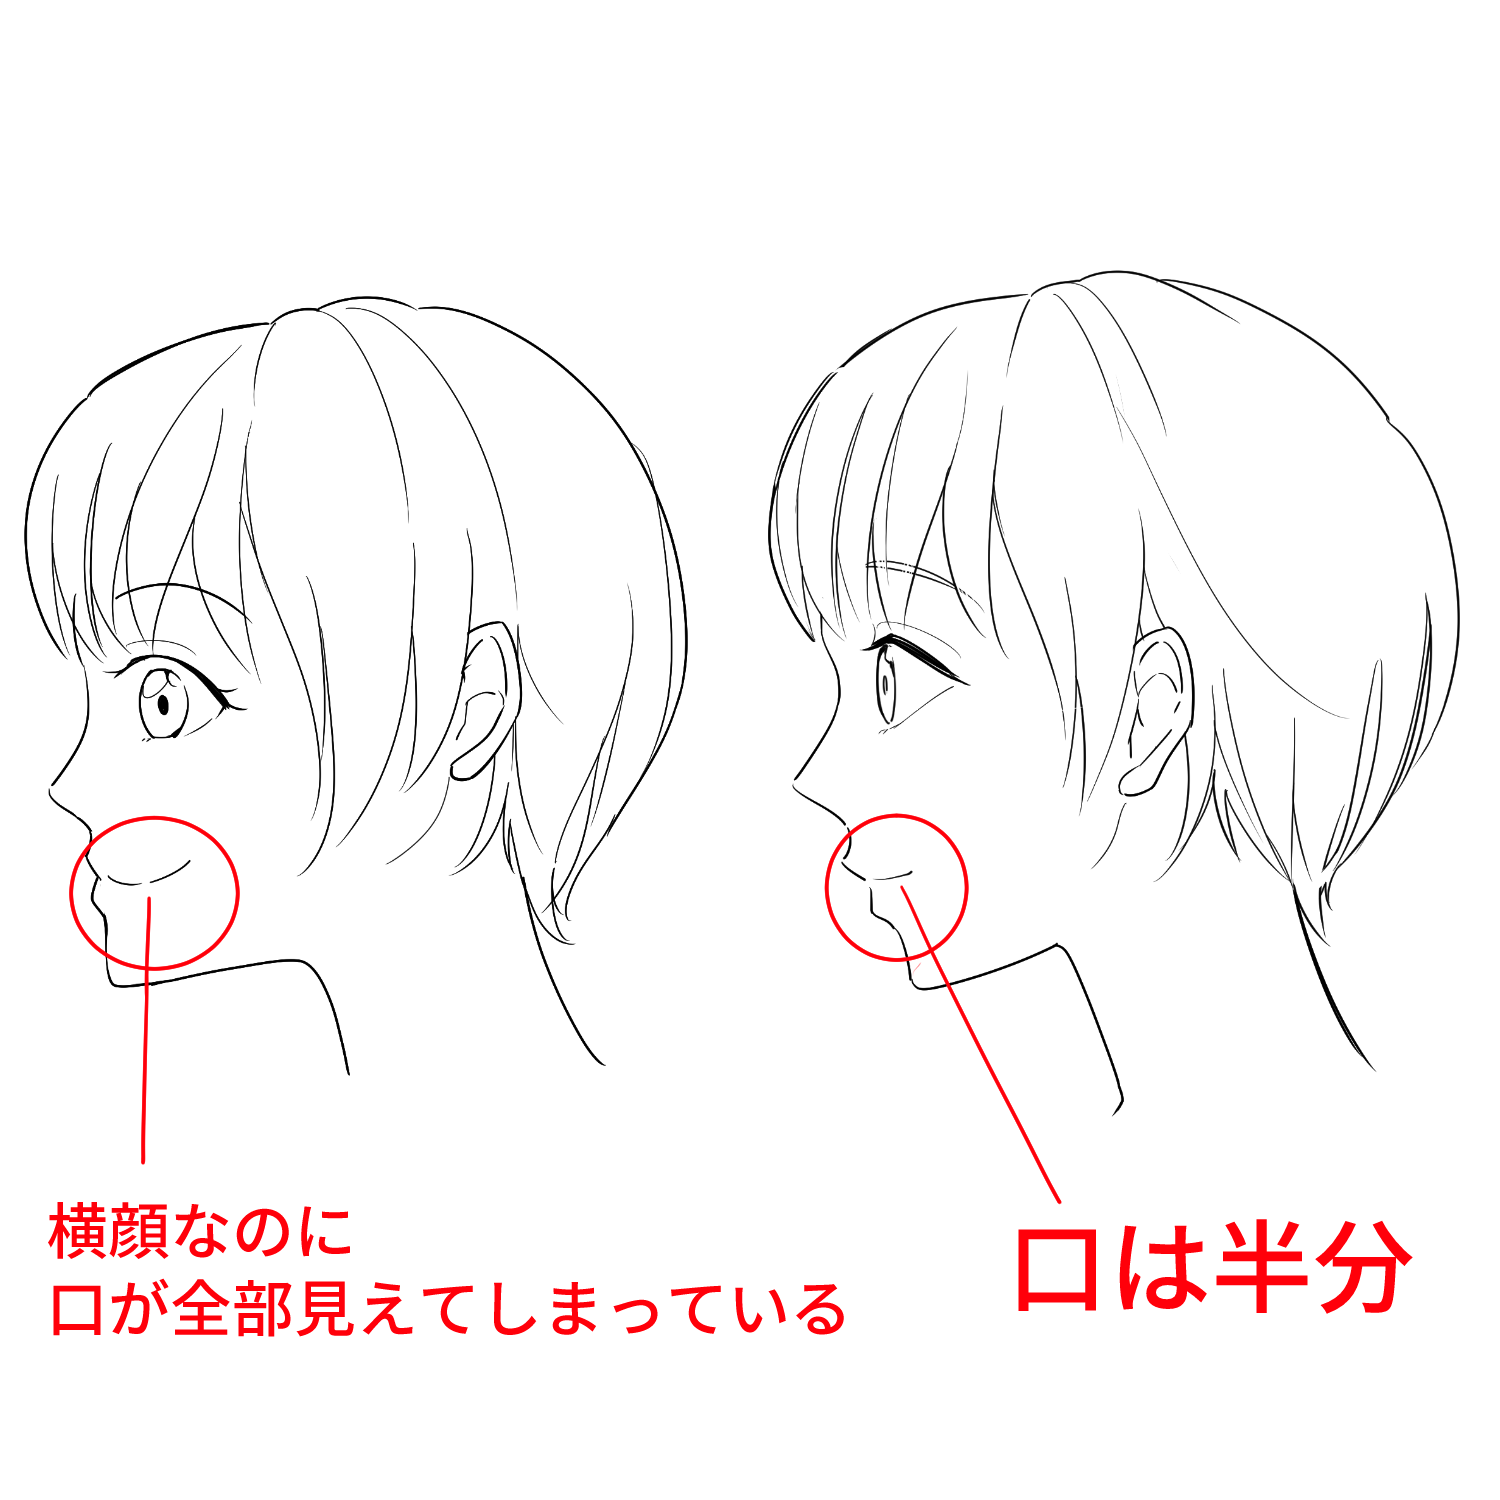
The outline of the lips is well drawn, but the mouth is the same as the front face.
As with the eyes, only half of the mouth is visible.
Also, the shape of the mouth varies depending on the expression, but try to keep in mind that only half of the mouth is visible.
4. Chin sticking out in front
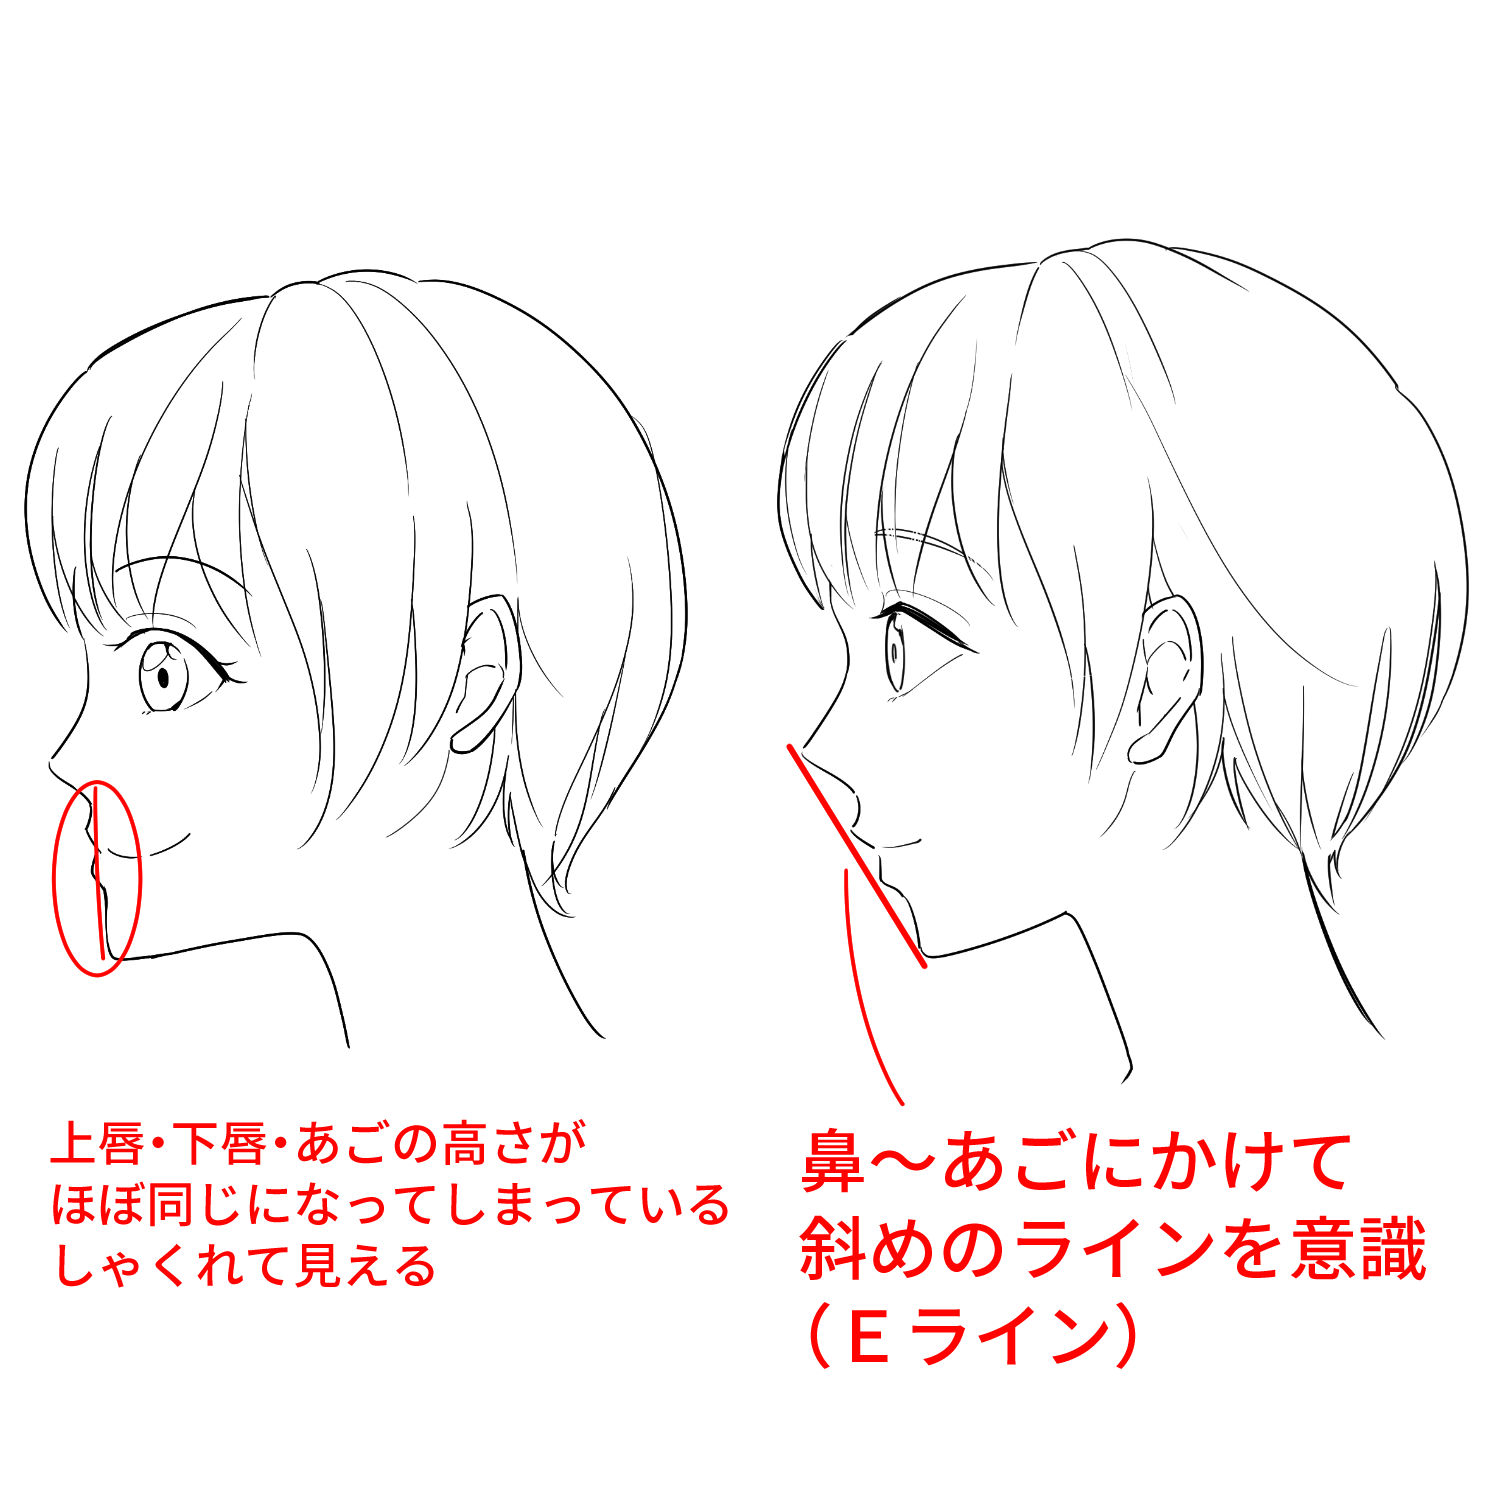
In the first illustration, the chin comes out as far as the line of the lips and is squat.
If you make the line connecting the nose, lips, and chin diagonal, it will fit nicely.
This diagonal line is called the E-line.
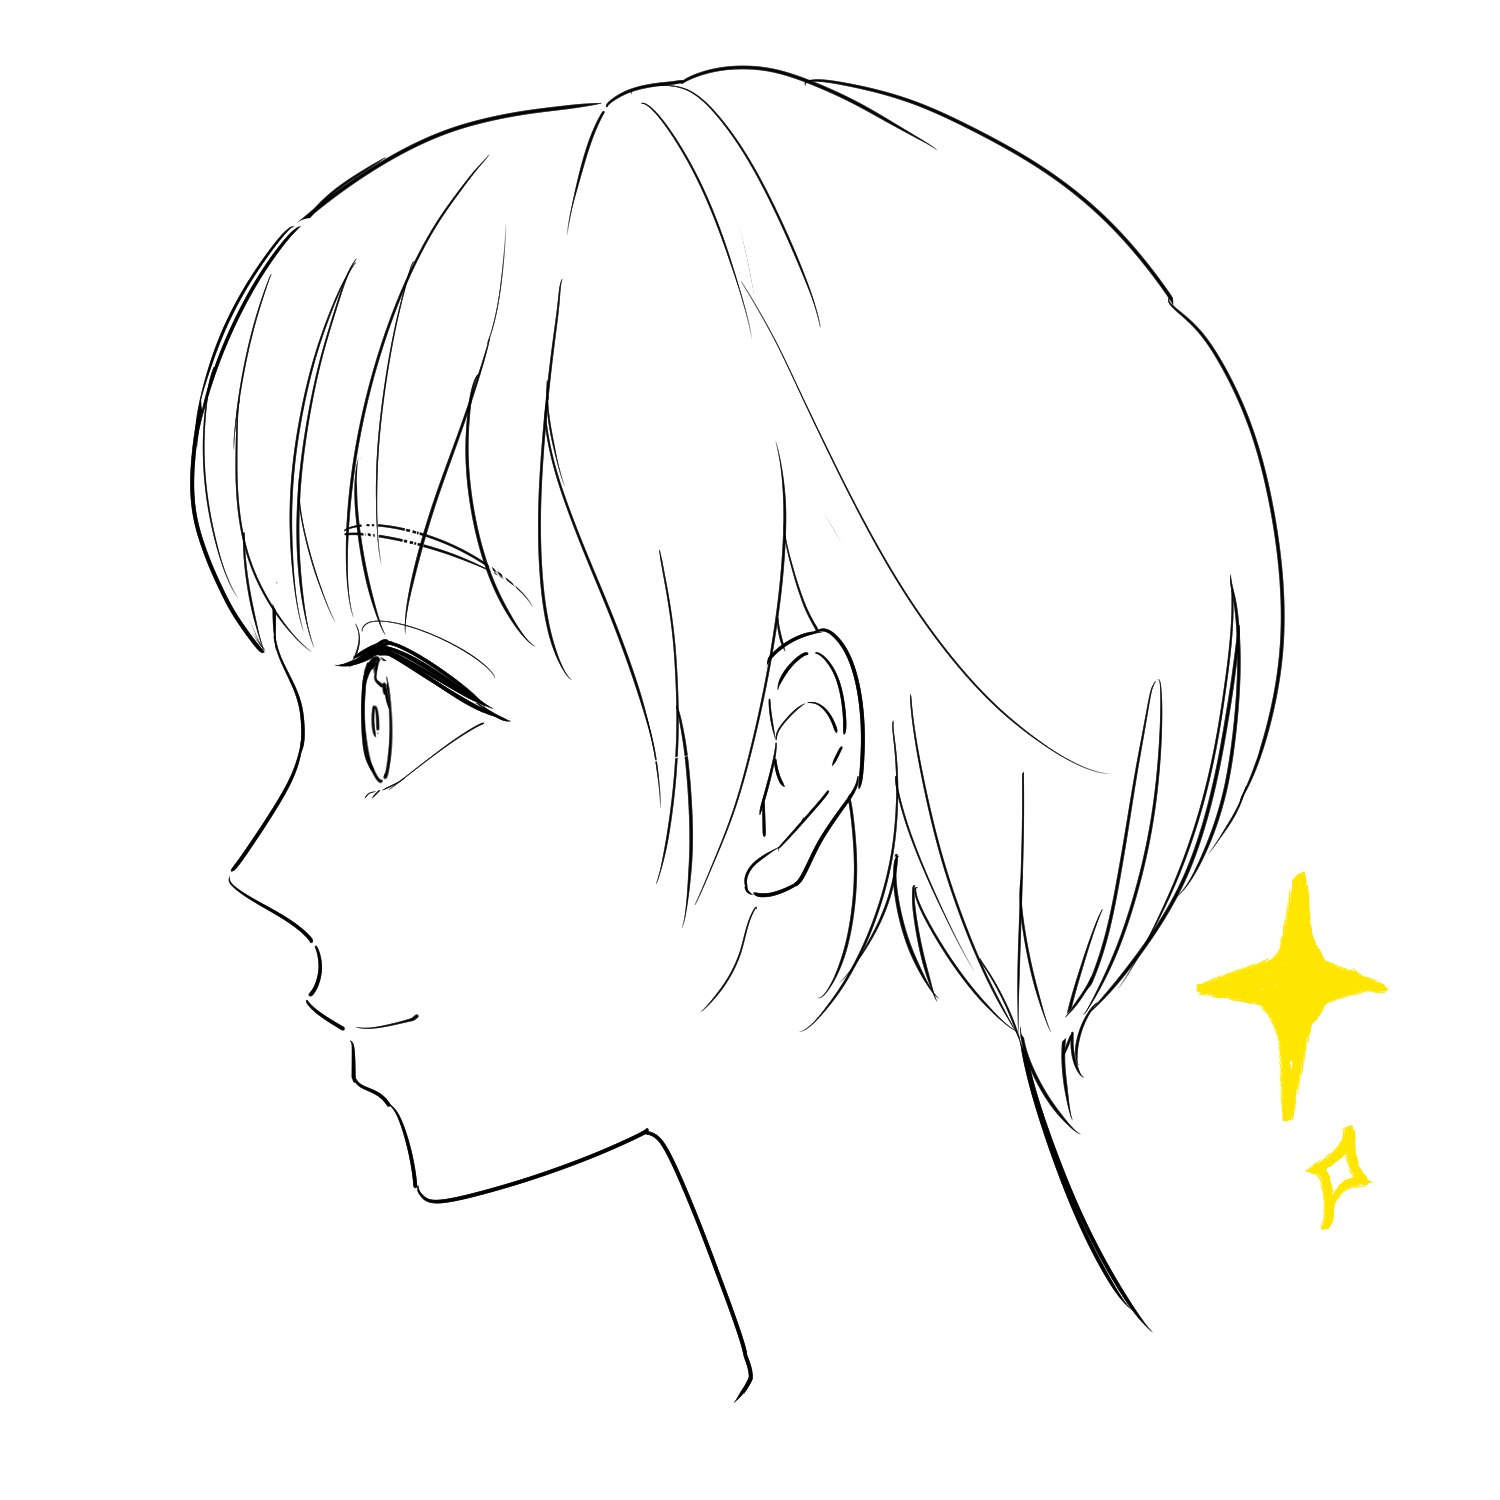
I fixed the above points, and things improved a lot!
☆Let’s take a bite and draw it!
Now, let’s actually draw the profile face!
As with the frontal face, the first thing to do with a profile face is to get the bite.
1) Draw a circle.

2)Draw a crosshair in the center of the circle.
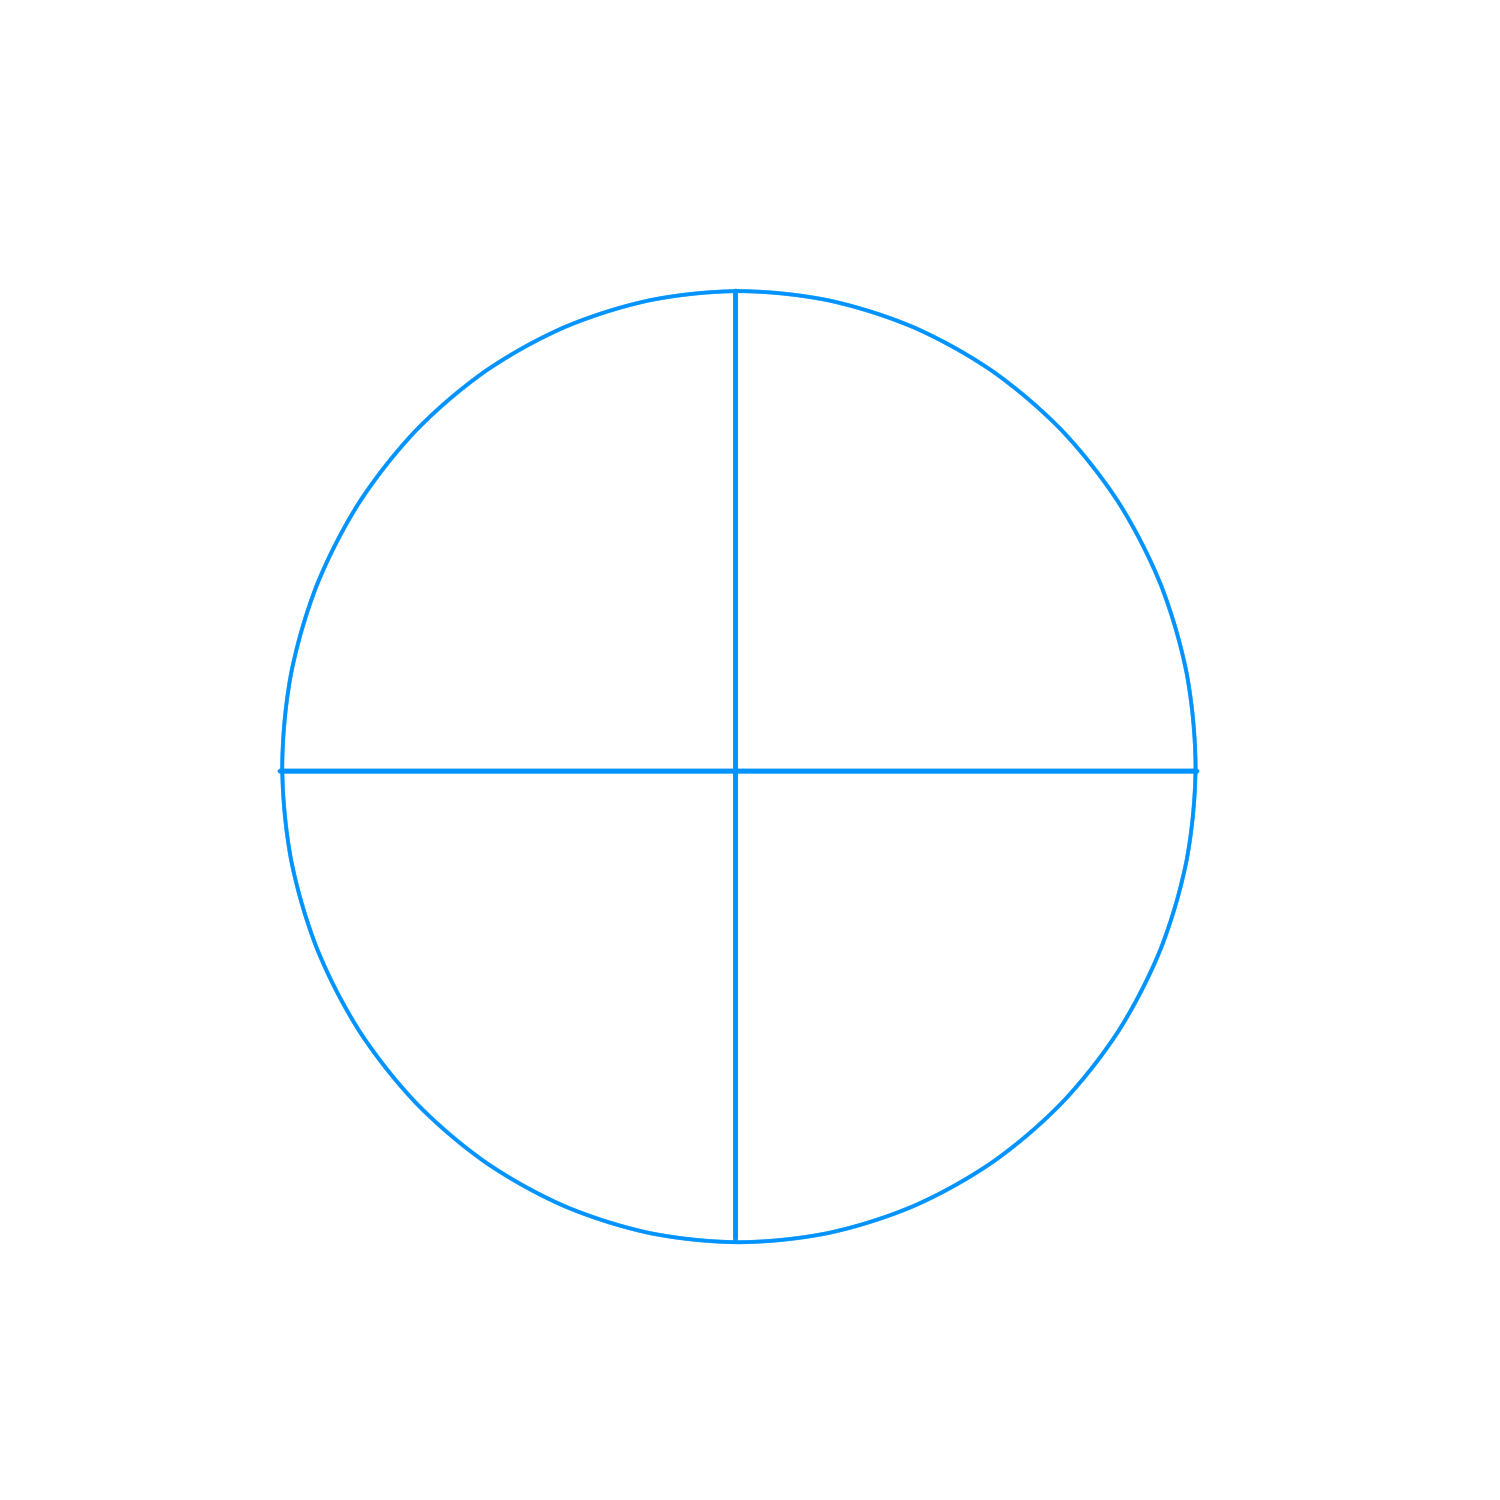
3)Draw a frame of reference for the mouth to chin.
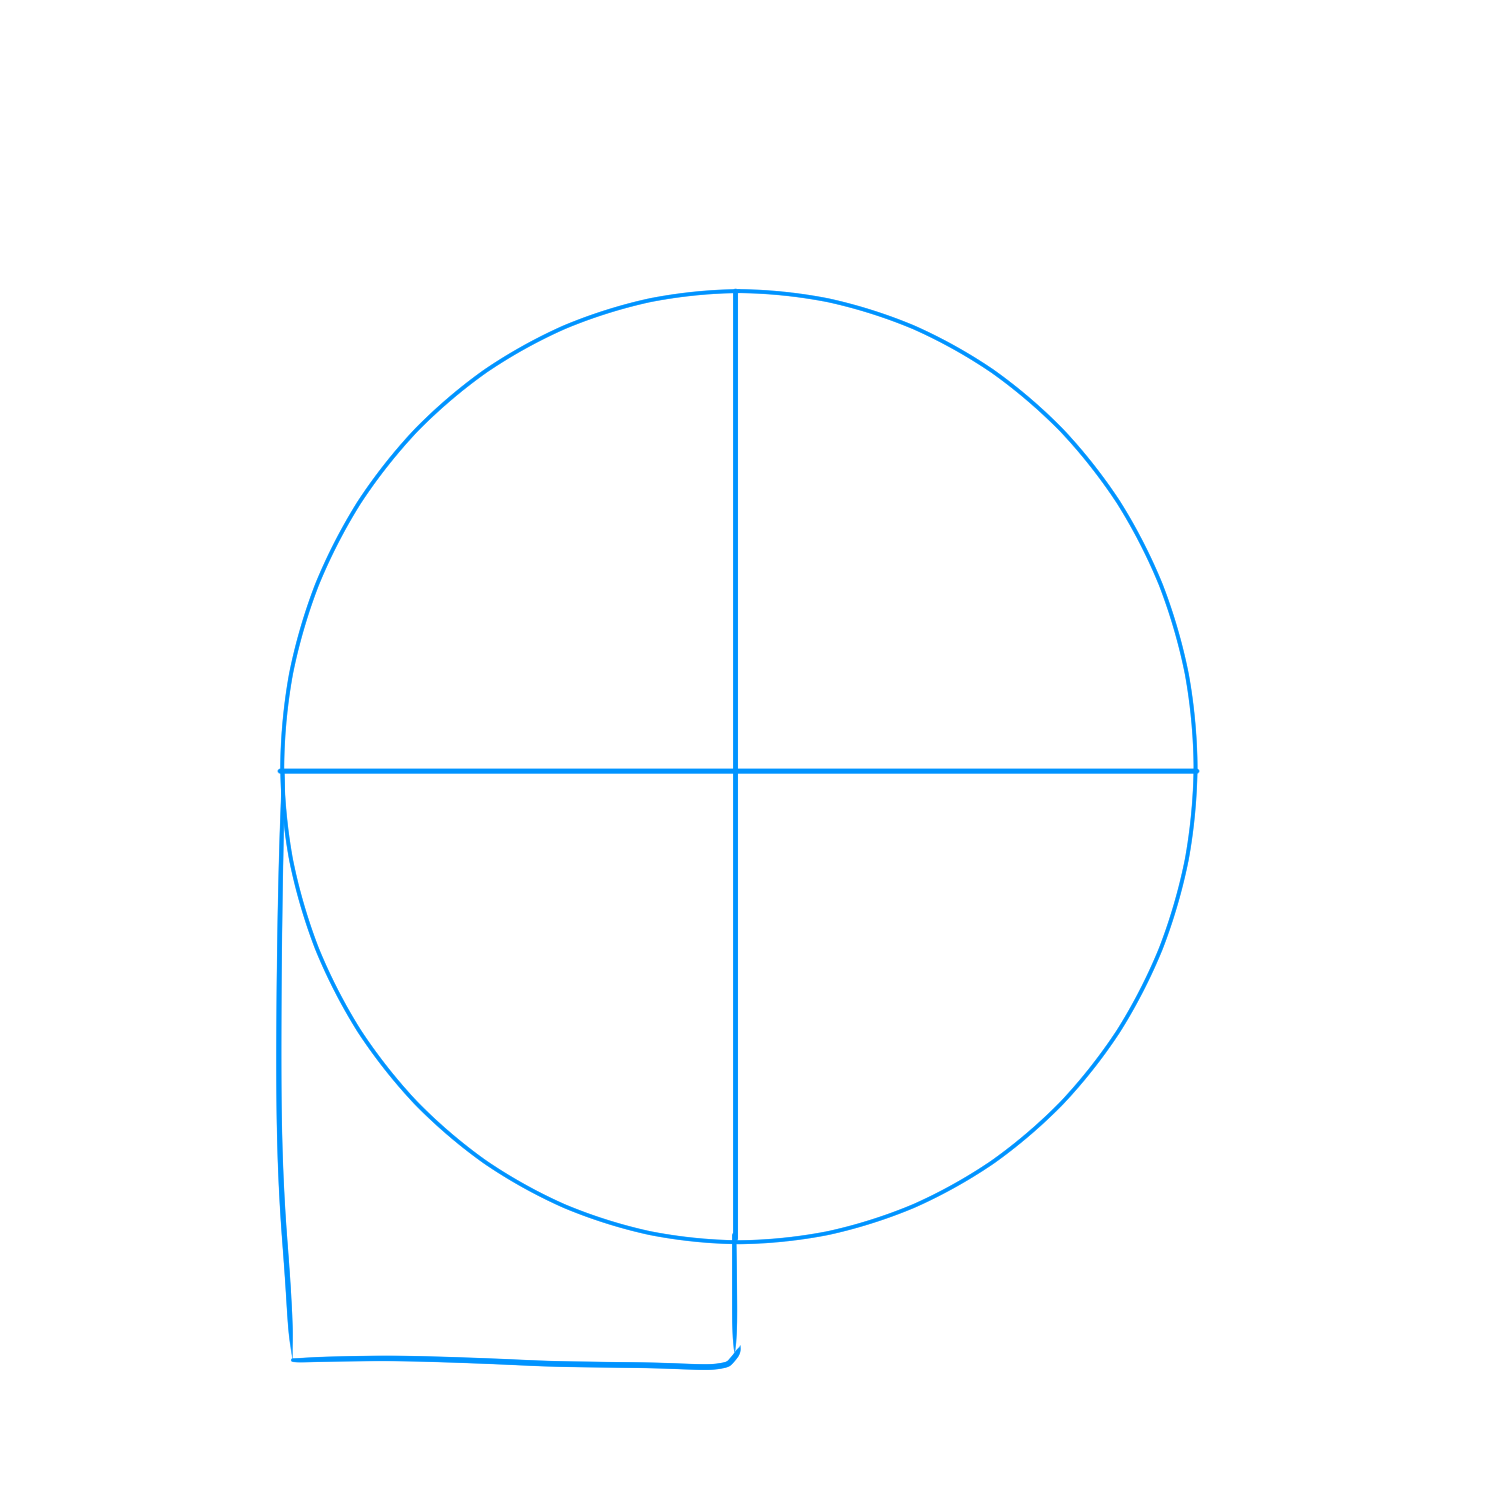
Draw a rectangle connecting the side and bottom of the crosshairs drawn in ②.
The area from the mouth to the chin will fit inside this rectangle.
4) Insert the reference line for the eyes and determine their position.
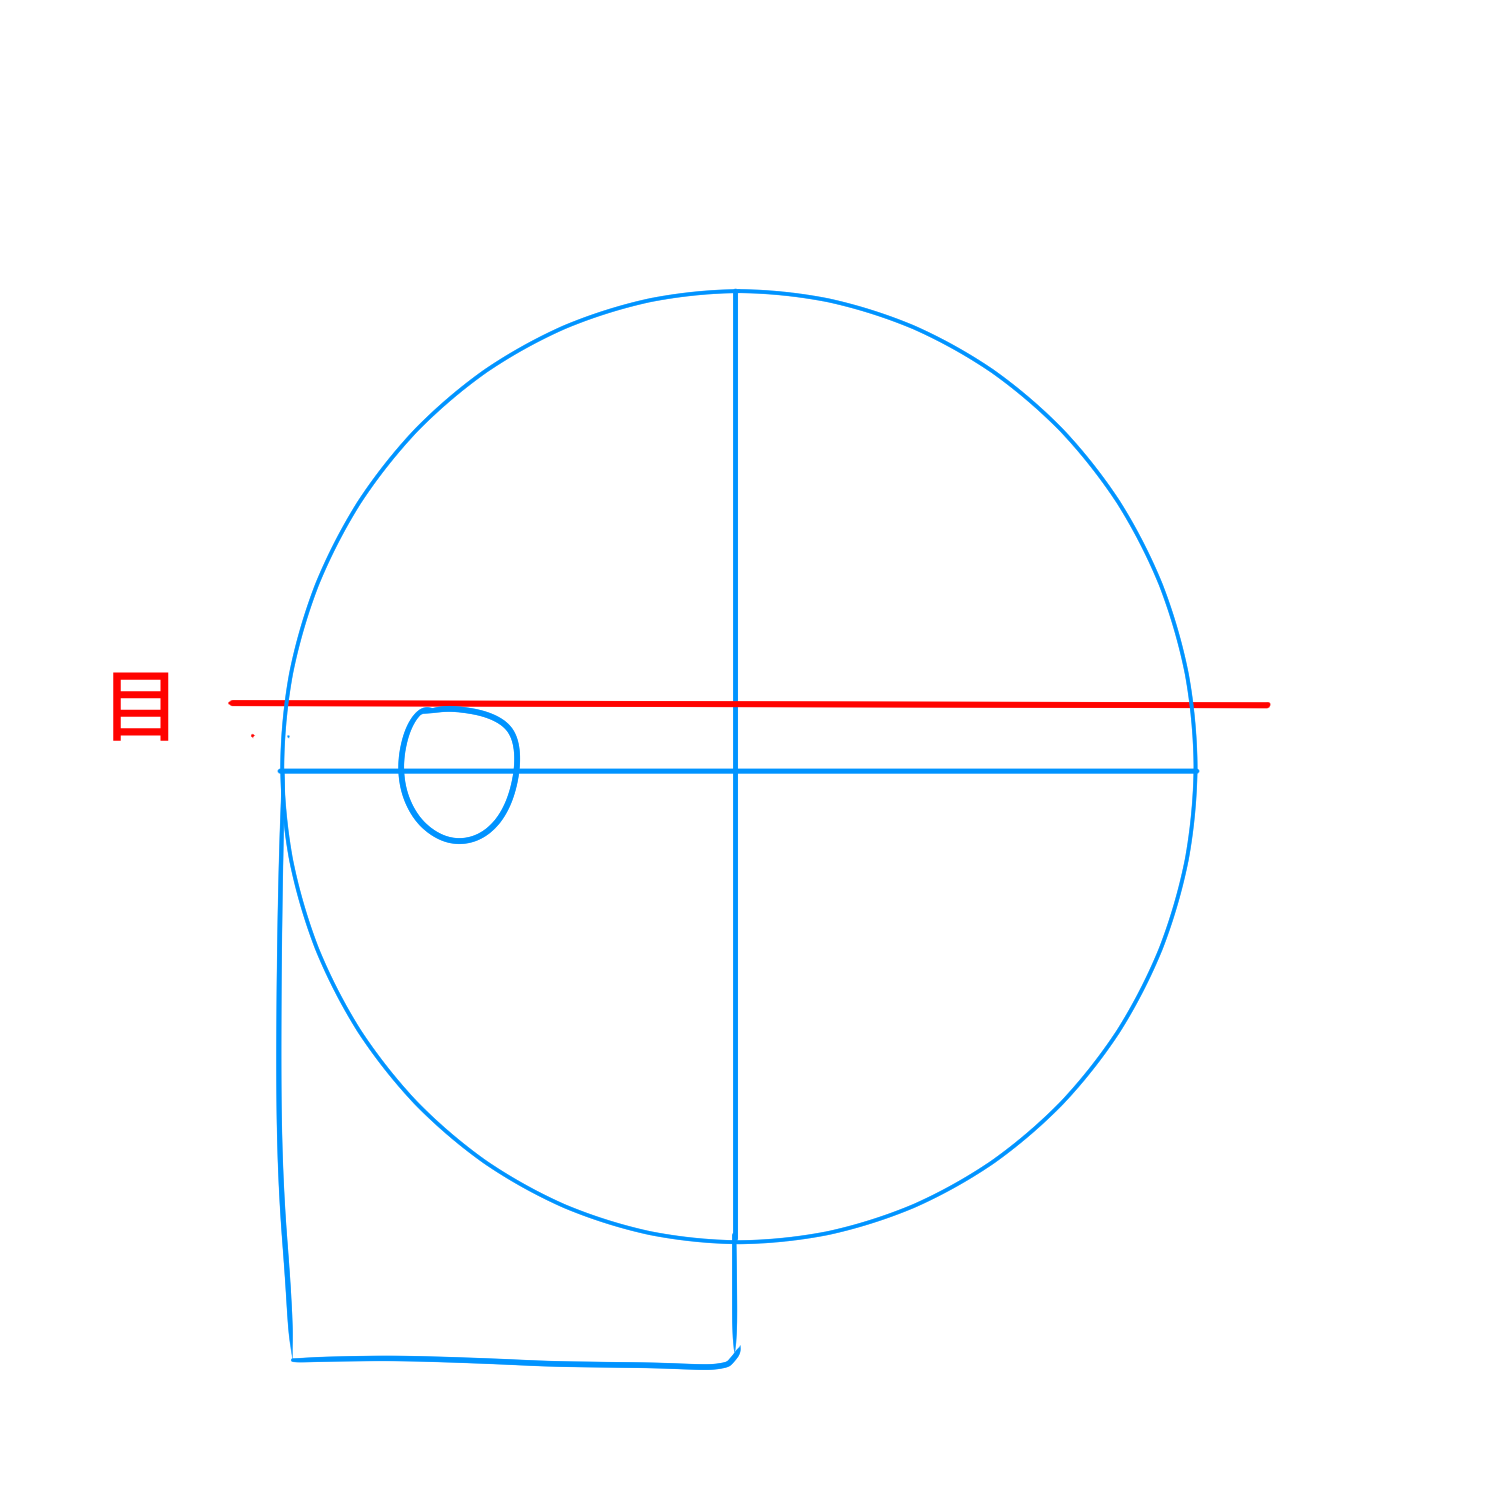
The position of the eyes will change the age and touch of the person you want to draw.
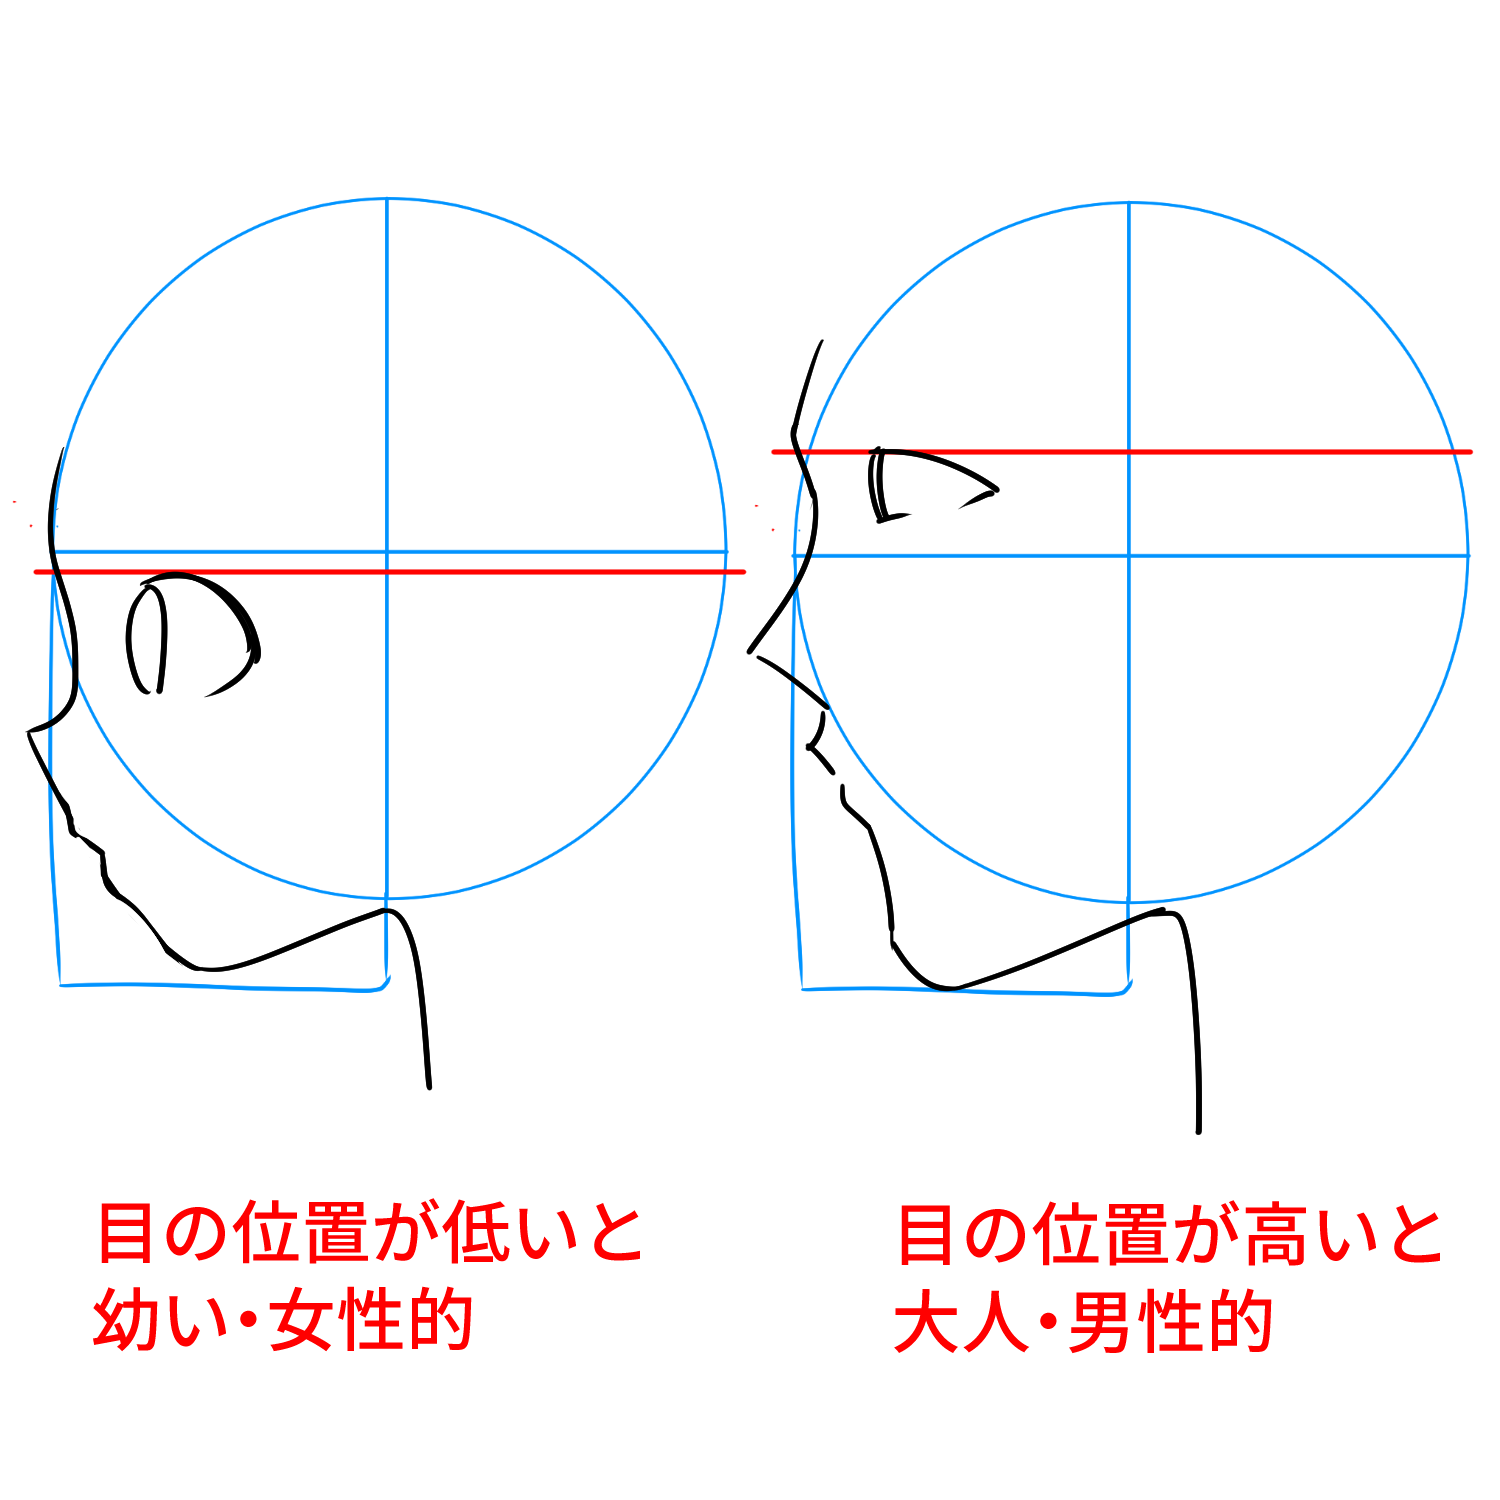
The lower the eye position, the younger and more feminine; the higher the eye position, the more mature and masculine. .
Change the position of the eyes depending on the person you want to draw.
5) Decide on the position of the ears.
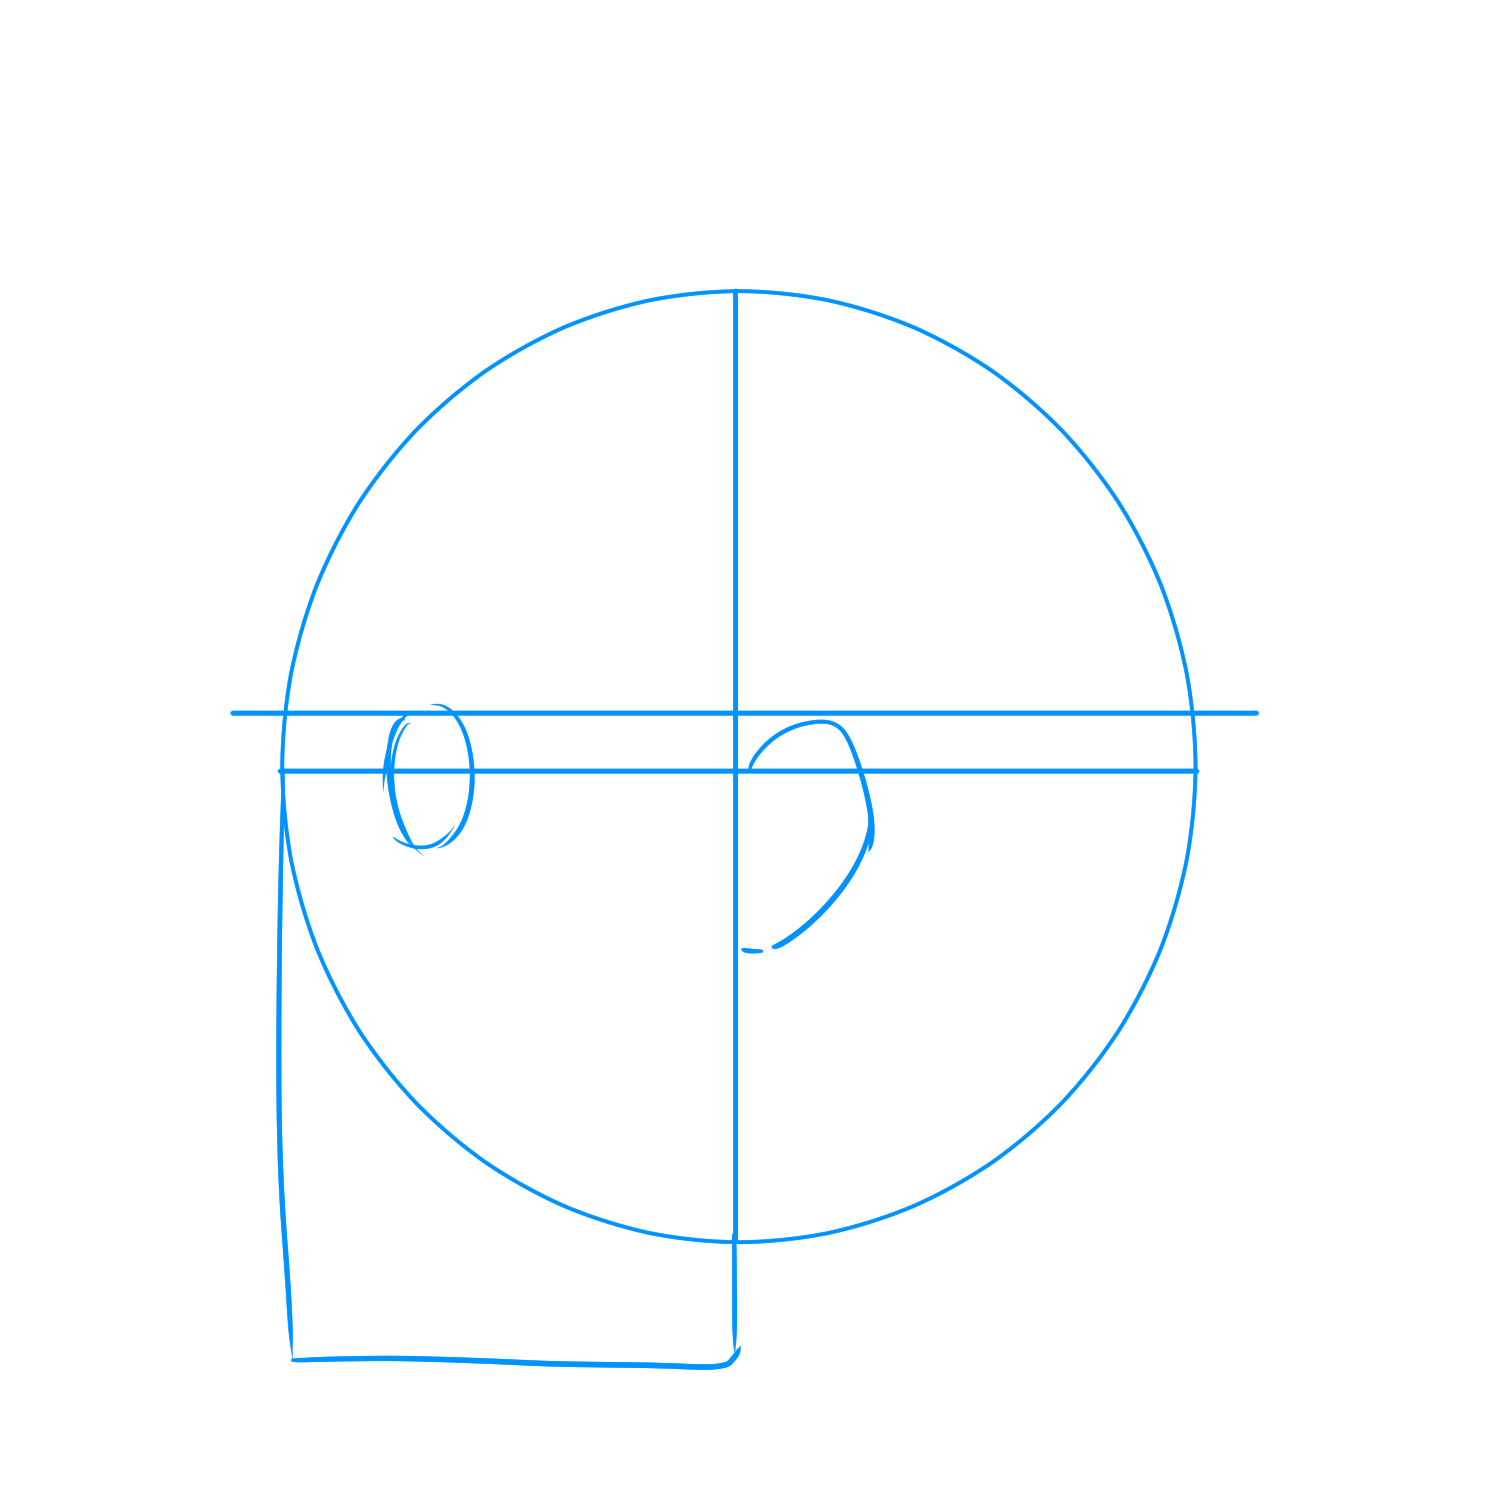
The ears should be drawn parallel to the eyes and slightly outside the center of the circle.
6) Determine the position of the chin.
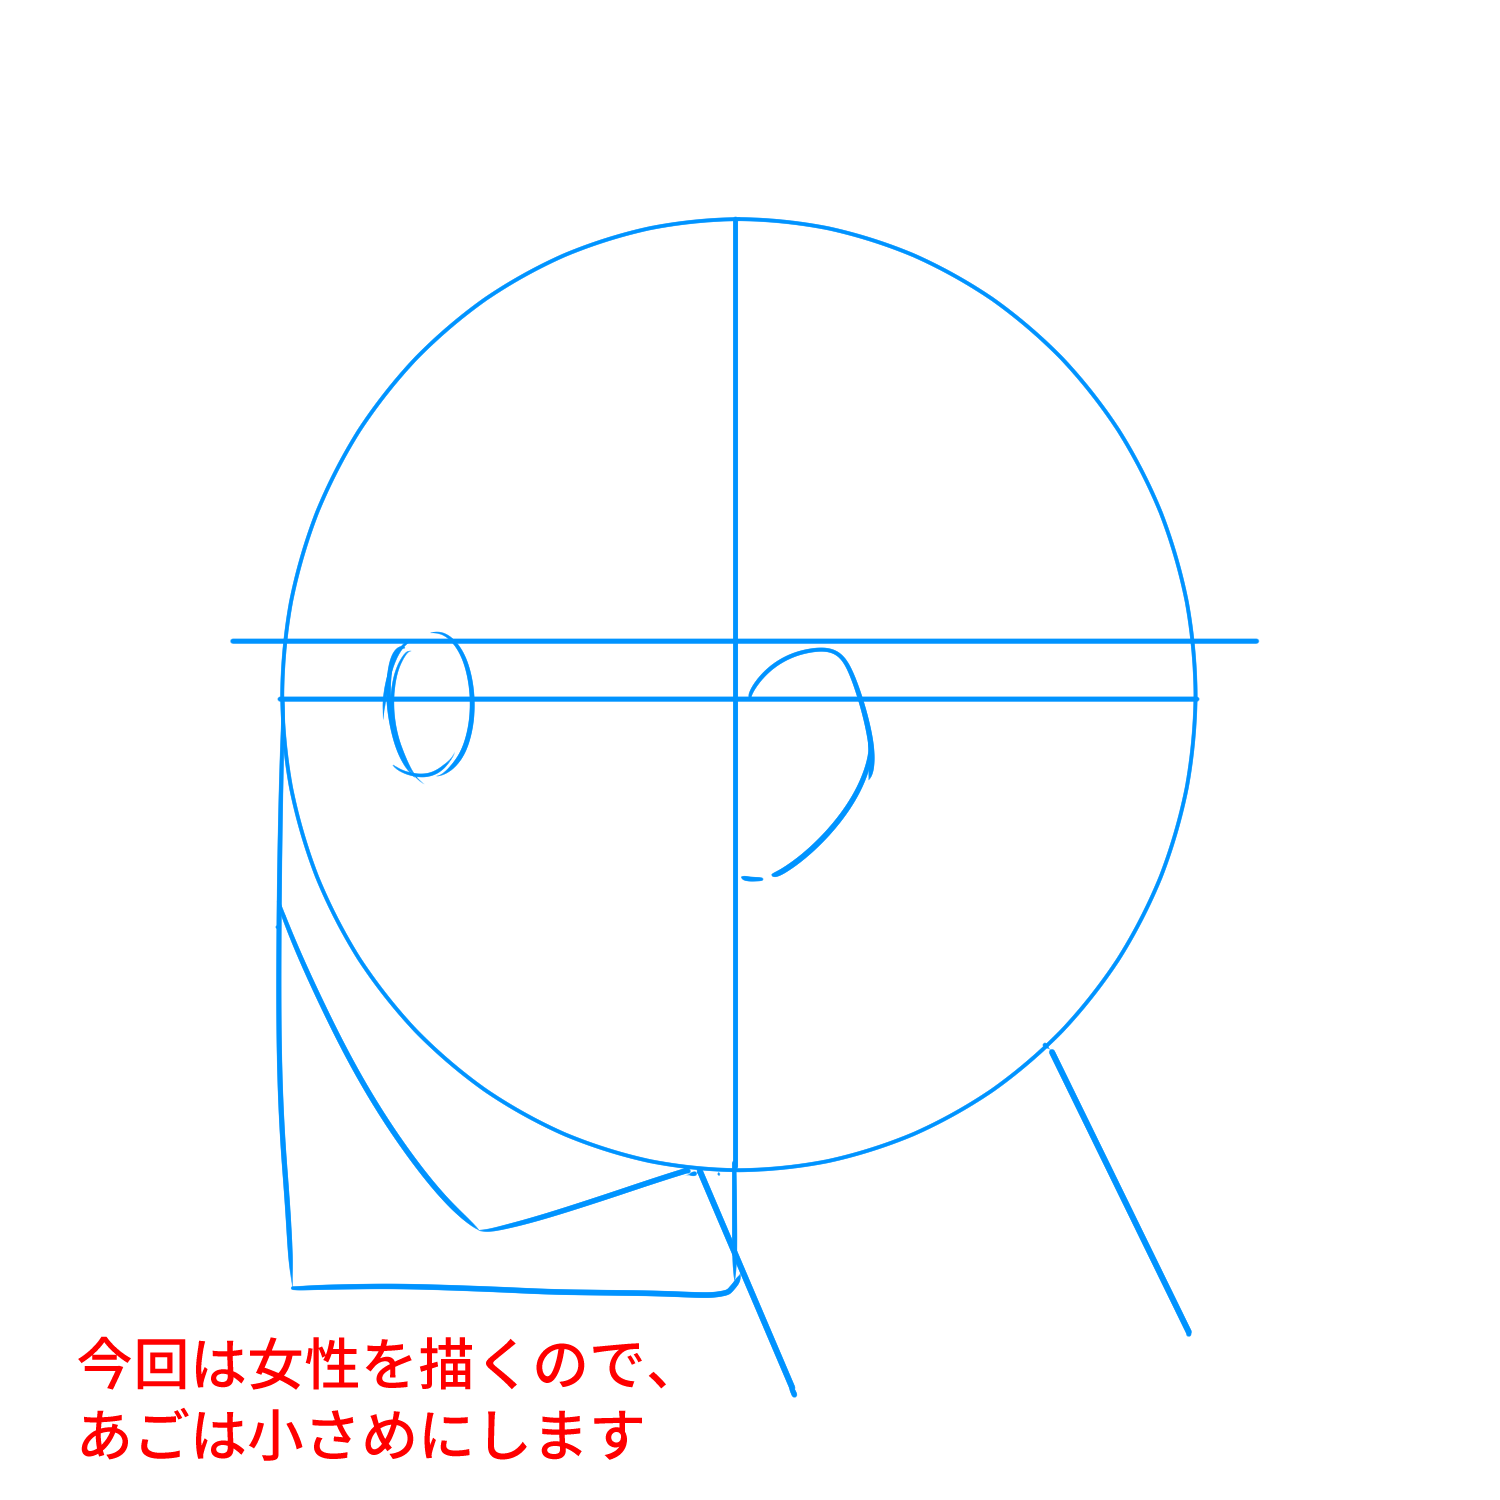
Be aware of the diagonal line from the nose to the chin (E-line) as explained earlier.
The size and position of the chin also depends on the age and gender of the person.
The smaller the chin, the younger the person; the larger and firmer the chin, the more masculine the person. 7.
7) Drawing the outline.
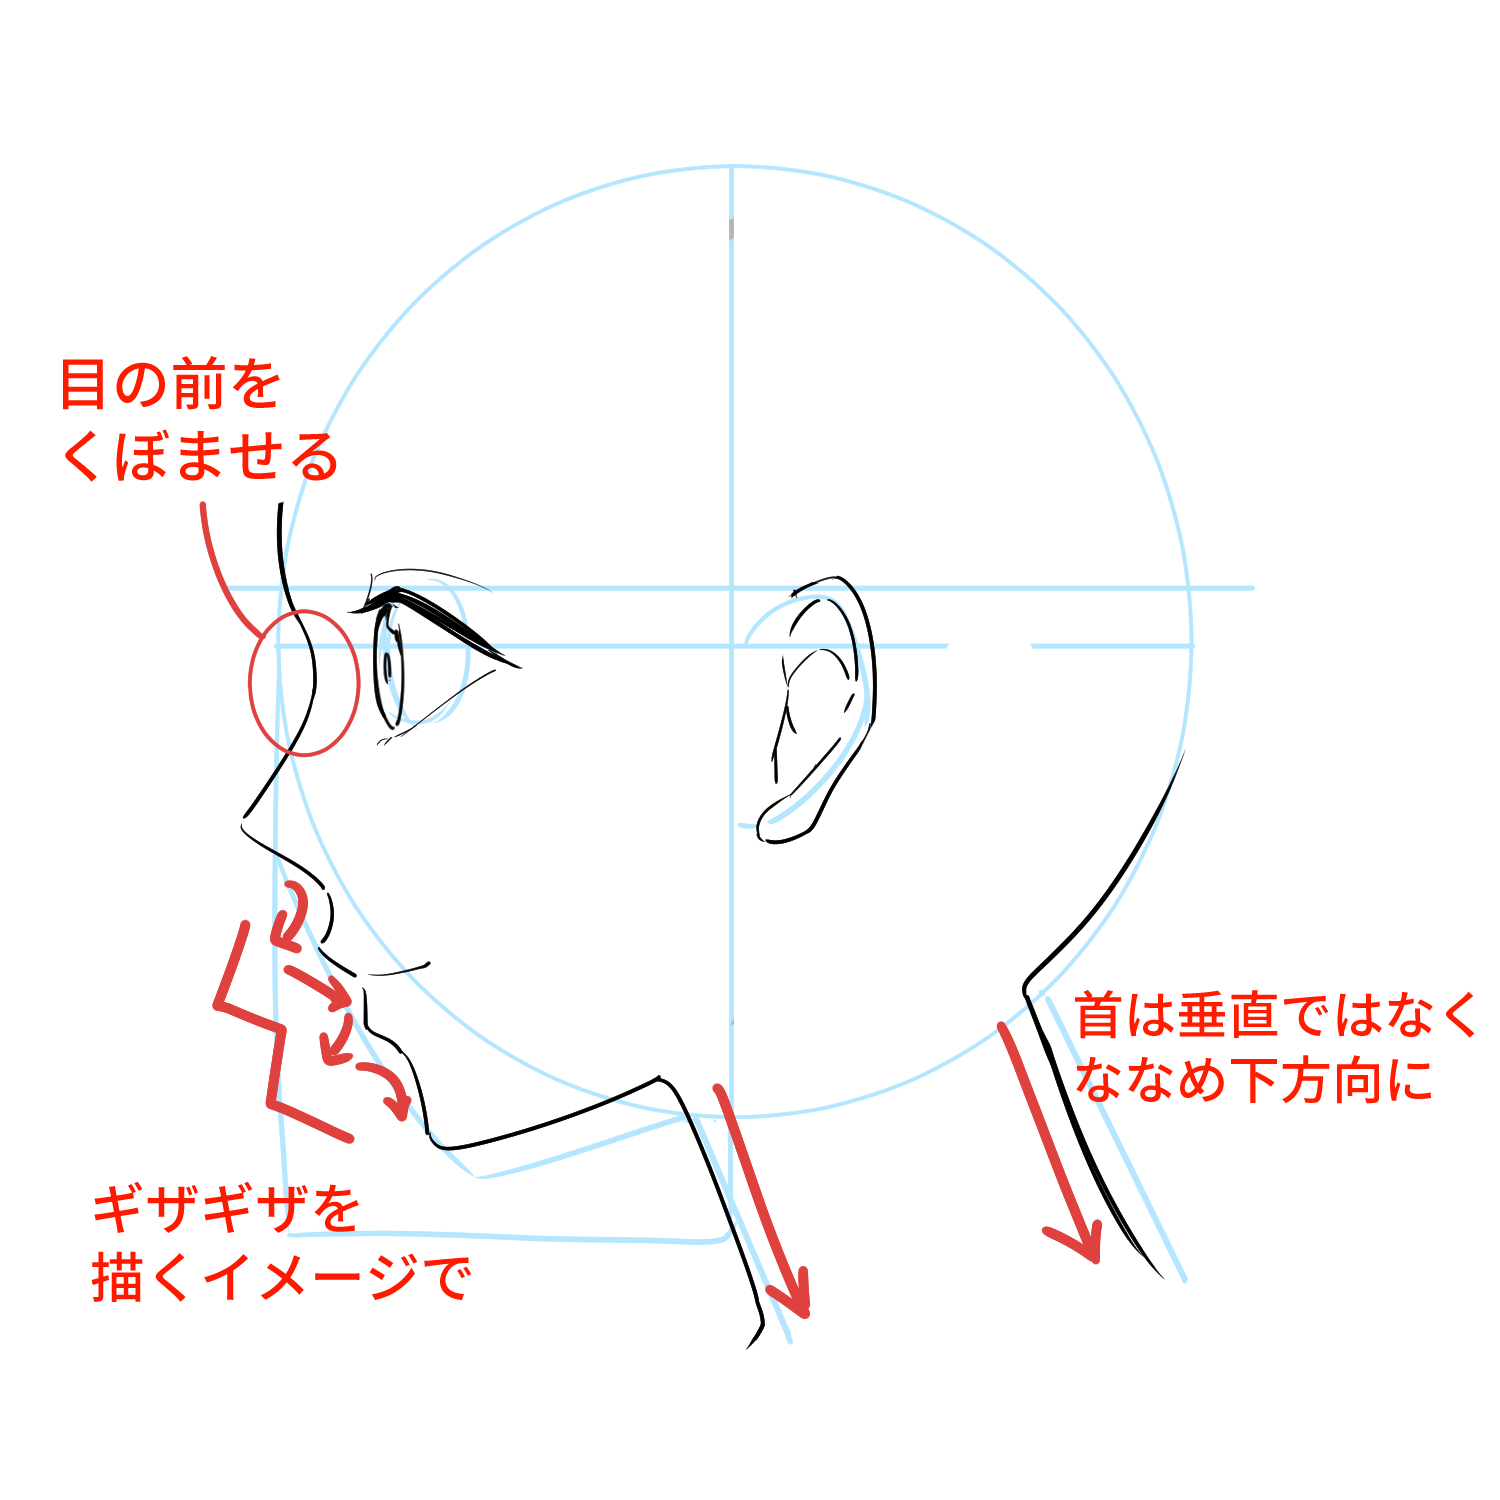
Draw the parts according to the Atari.
The parts of the nose, lips, and chin may seem difficult, but if you draw them with an image of jagged edges, they will look good.
The point is not to draw too large.
It is best to draw them at a height of less than half the height of the nose.
For young figures, you can make the chin pointy at the tip.
For adult males and realistic-looking figures, you can make the chin thicker to make it look more realistic.
8) Draw the hair.
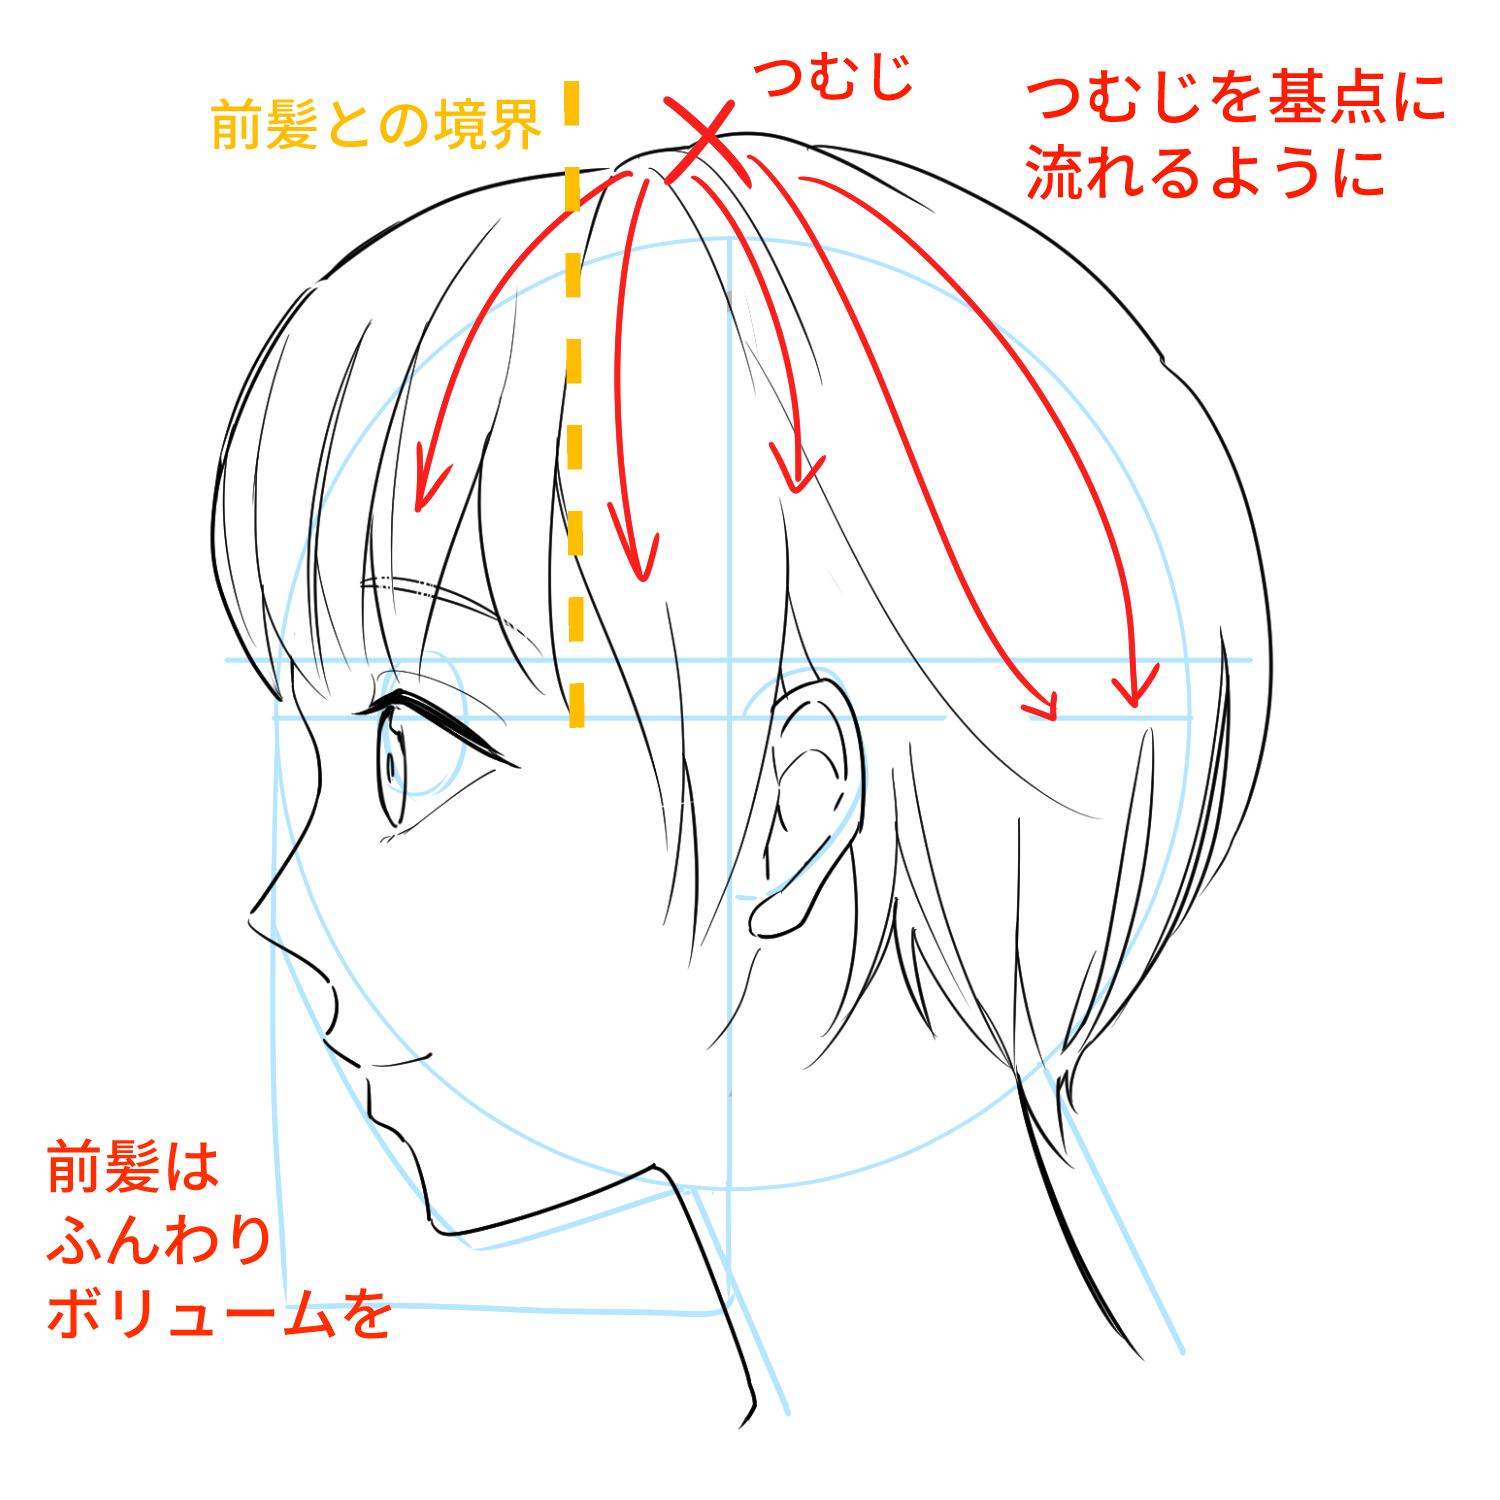
Draw it as if you were putting a wig on your head.
The hair should flow from the whiskers.
Make the bangs thicker so that they rest on the forehead.
Finished! .
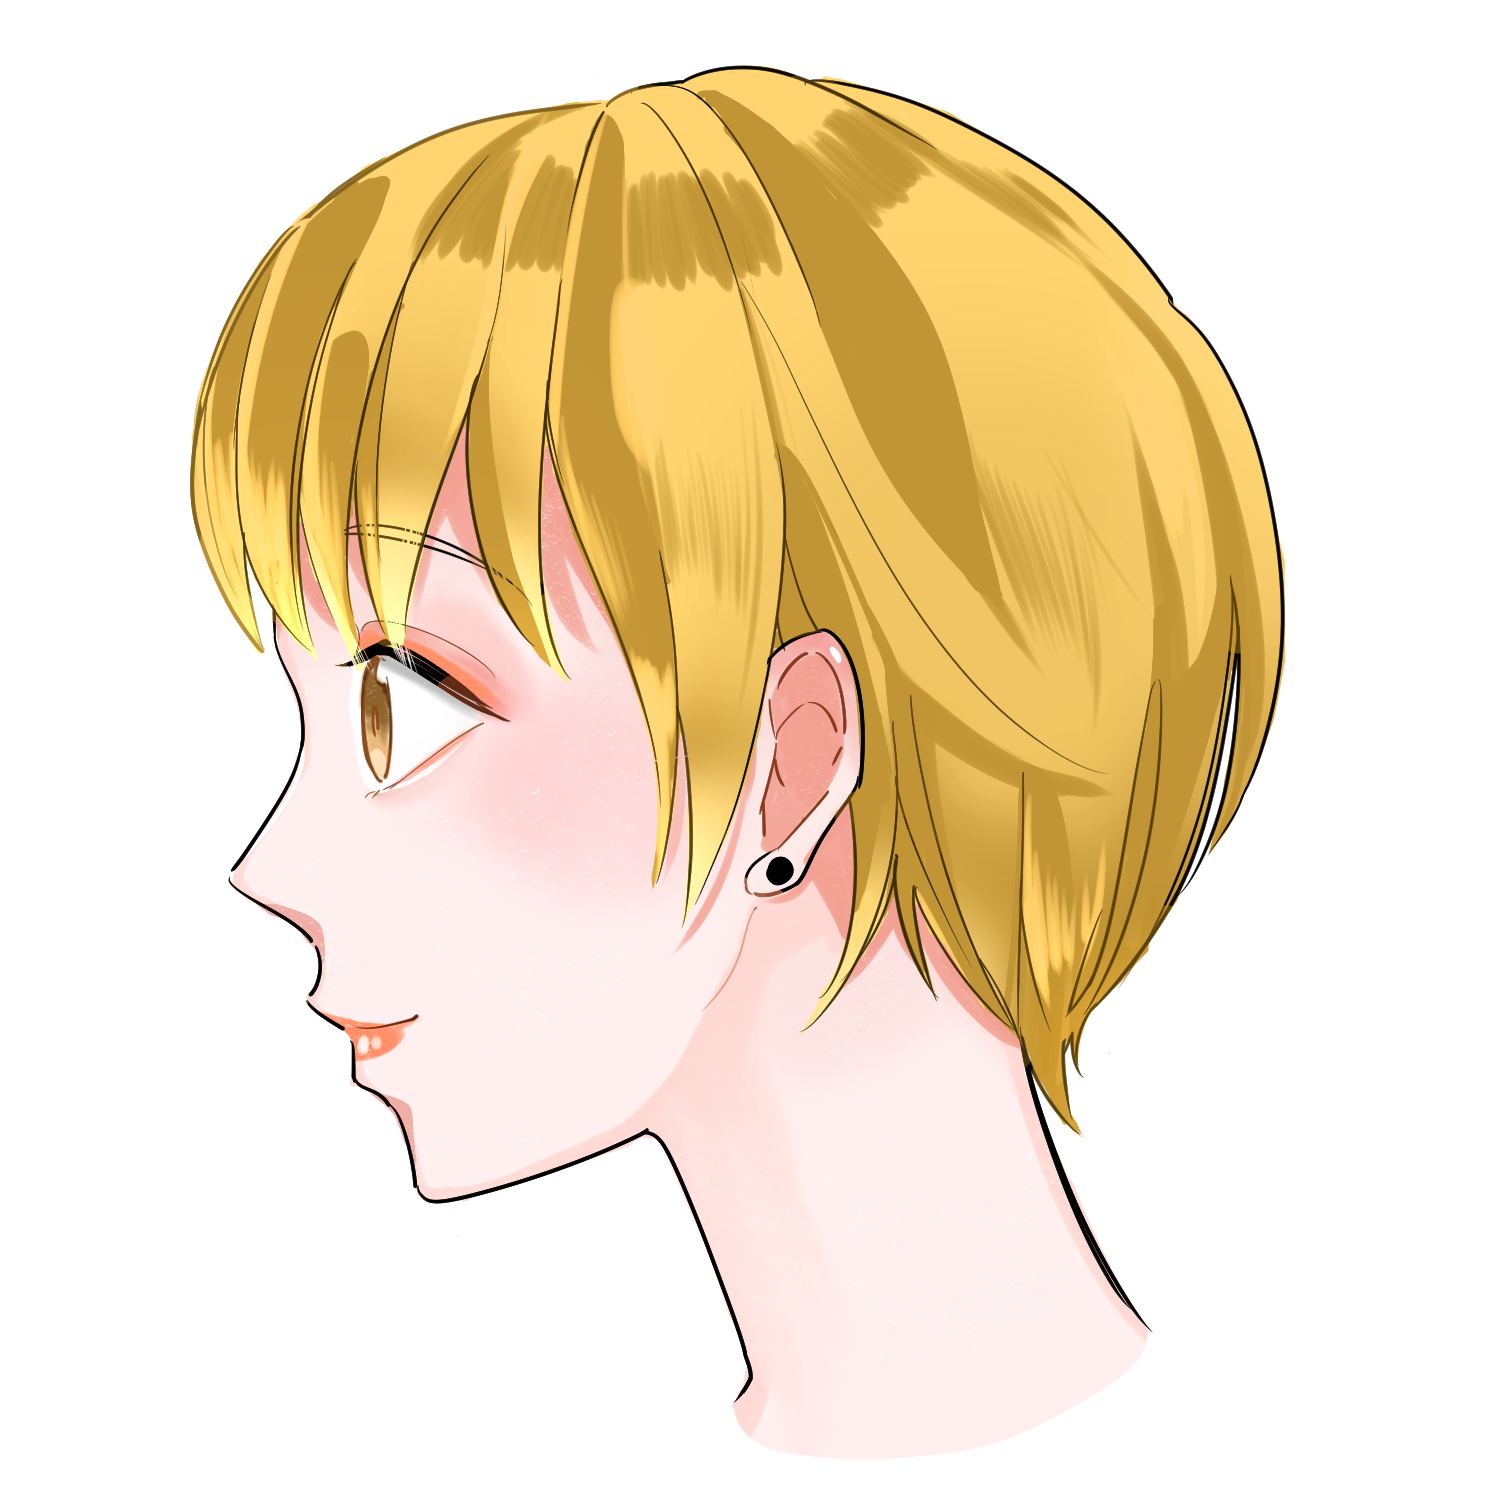
How did you like it?
It’s fun to draw a profile face.
The basic structure of a face is the same, but there are various ways to draw and deform it depending on the design you are aiming for.
Master the basics first, and then try to find your own unique way of drawing a profile face!
(Text and pictures by Naoko Hara)
\ We are accepting requests for articles on how to use /

