2021.04.19
[iPad version] Let’s draw lines freely! [For beginners]
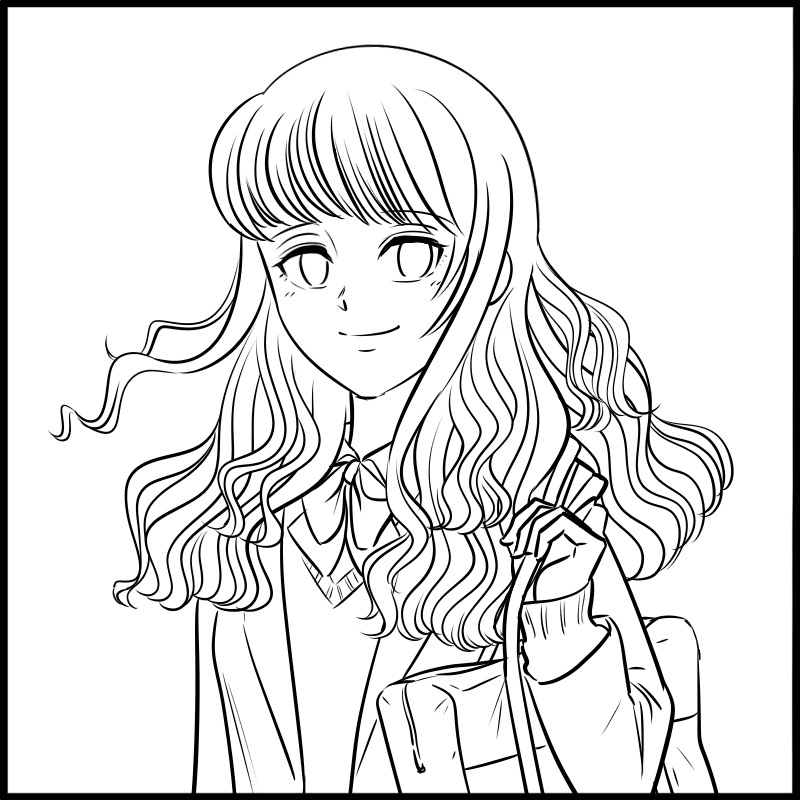
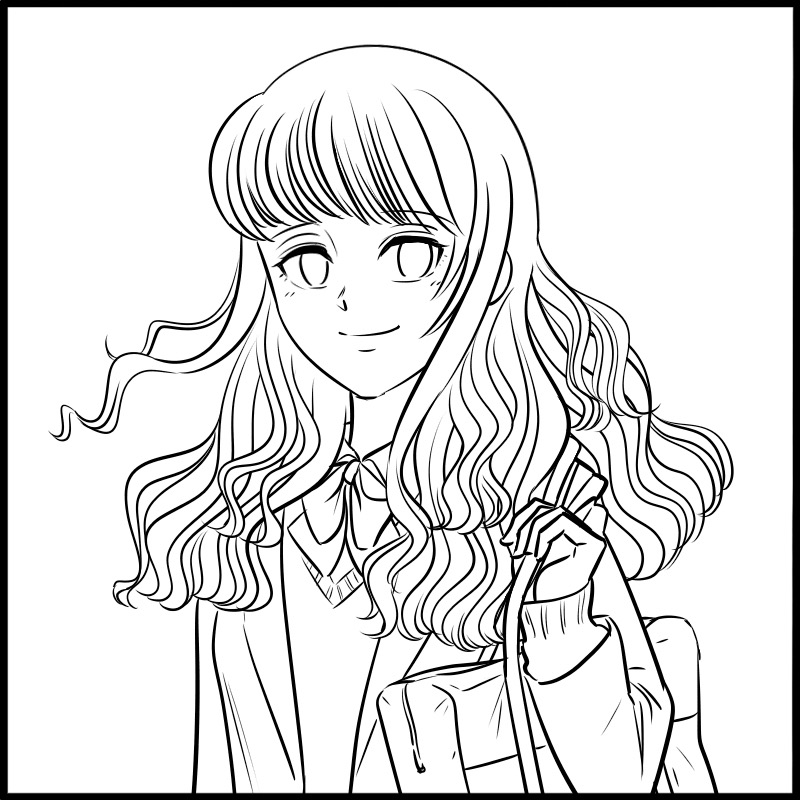
Suddenly, when you try to draw an image like the one above, where do you find the most difficulty?
That’s right.
Ugh! It looks like a lot of work for the hair, don’t you think?
Other people may have a hard time drawing the jaw line or the roundness of the head.
The hair in this image is a little overdrawn, but
I can’t draw clean curves or straight lines…
It takes a lot of time to draw…
This is a problem that everyone feels at first.
In this article, we’ll take a look at how to practice lines on the iPad version, which many people love to use.
1. Import a stripe image
First, let’s take a look at how to practice the basics of lines: straight lines.
You may be thinking, “What’s the point of practicing straight lines when I want to draw beautiful curves?
You may think.
It is true that there are straight line tools available, and of course they are more beautiful than freehand drawing.
However, the purpose of this practice is to learn how to move your hand and to find your best angle.
The device you are using now also has various “quirks” depending on the manufacturer and individual differences.
In the beginning, it is important to learn your own “quirks” and those of your device, so that you can continue drawing for a long time.
First of all, let’s prepare some stripe materials.
I recommend downloading free materials from the Internet.

Save this to your camera roll.
Next, prepare a new canvas from the home screen.
Since this is an exercise, don’t worry about the size.
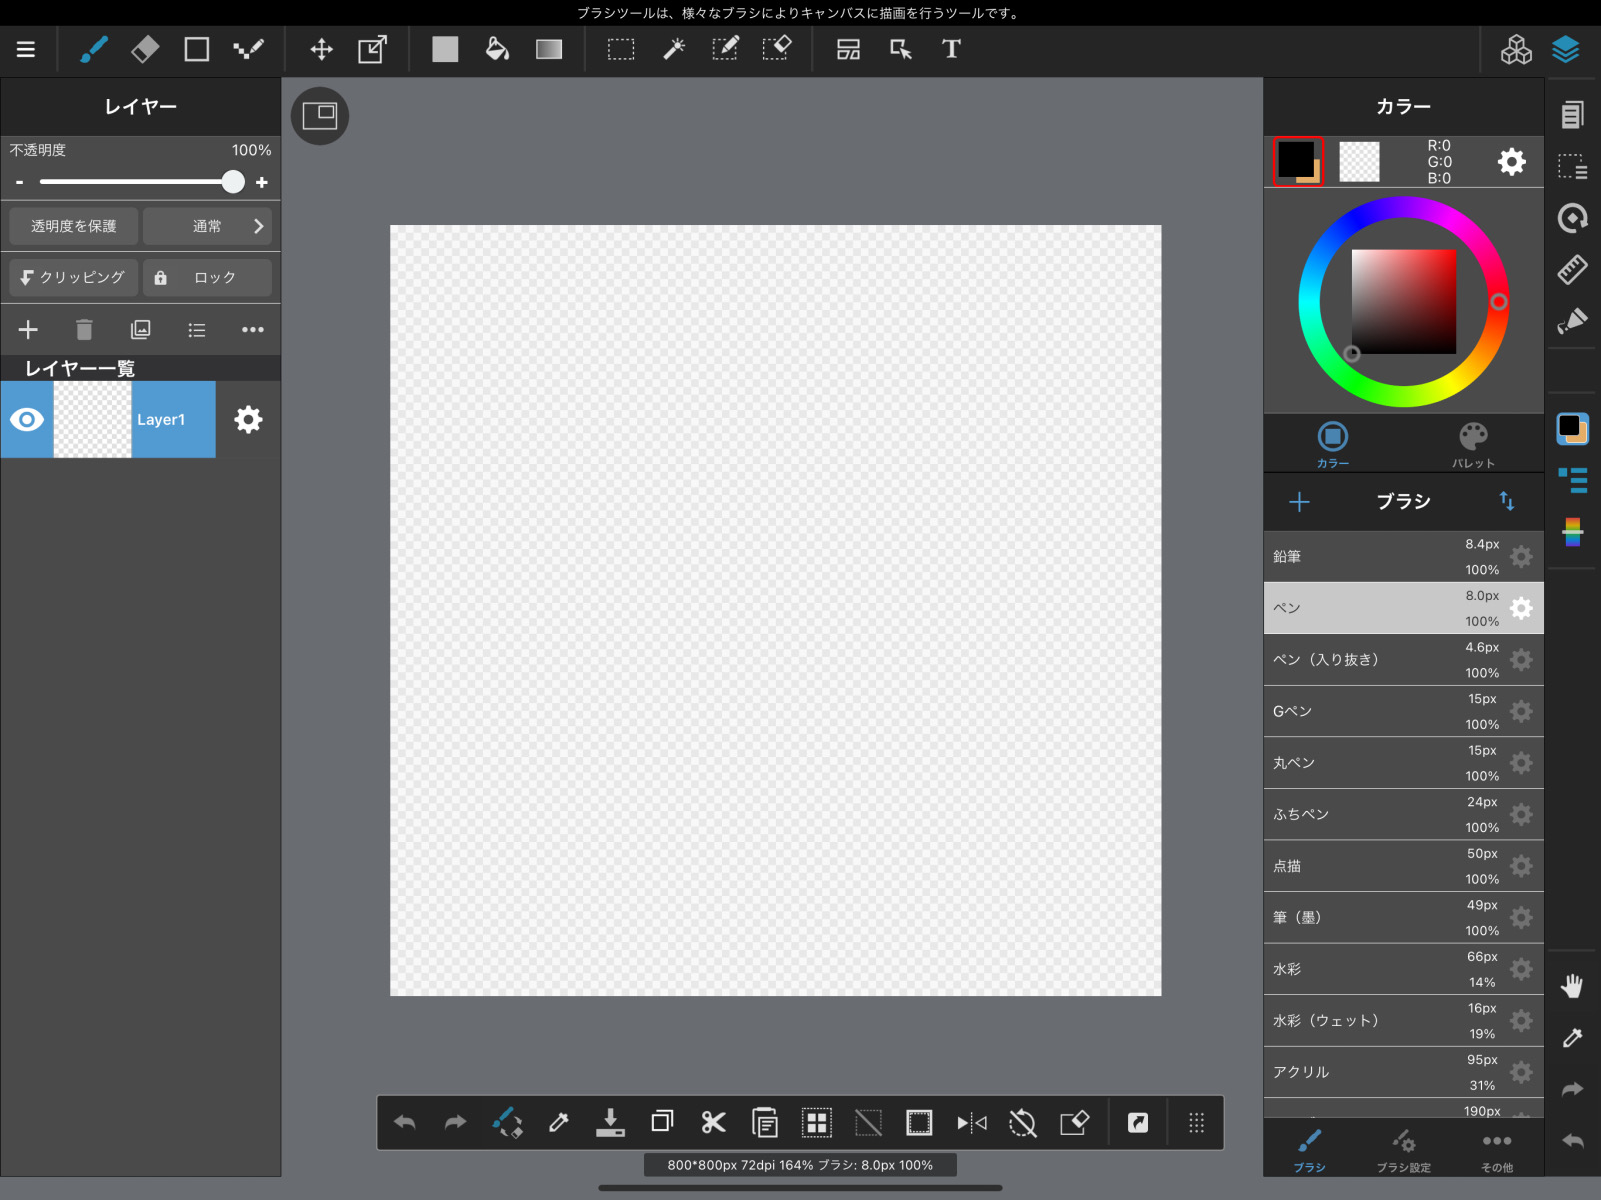
In the panel called “Layers”, click on the “+” icon.
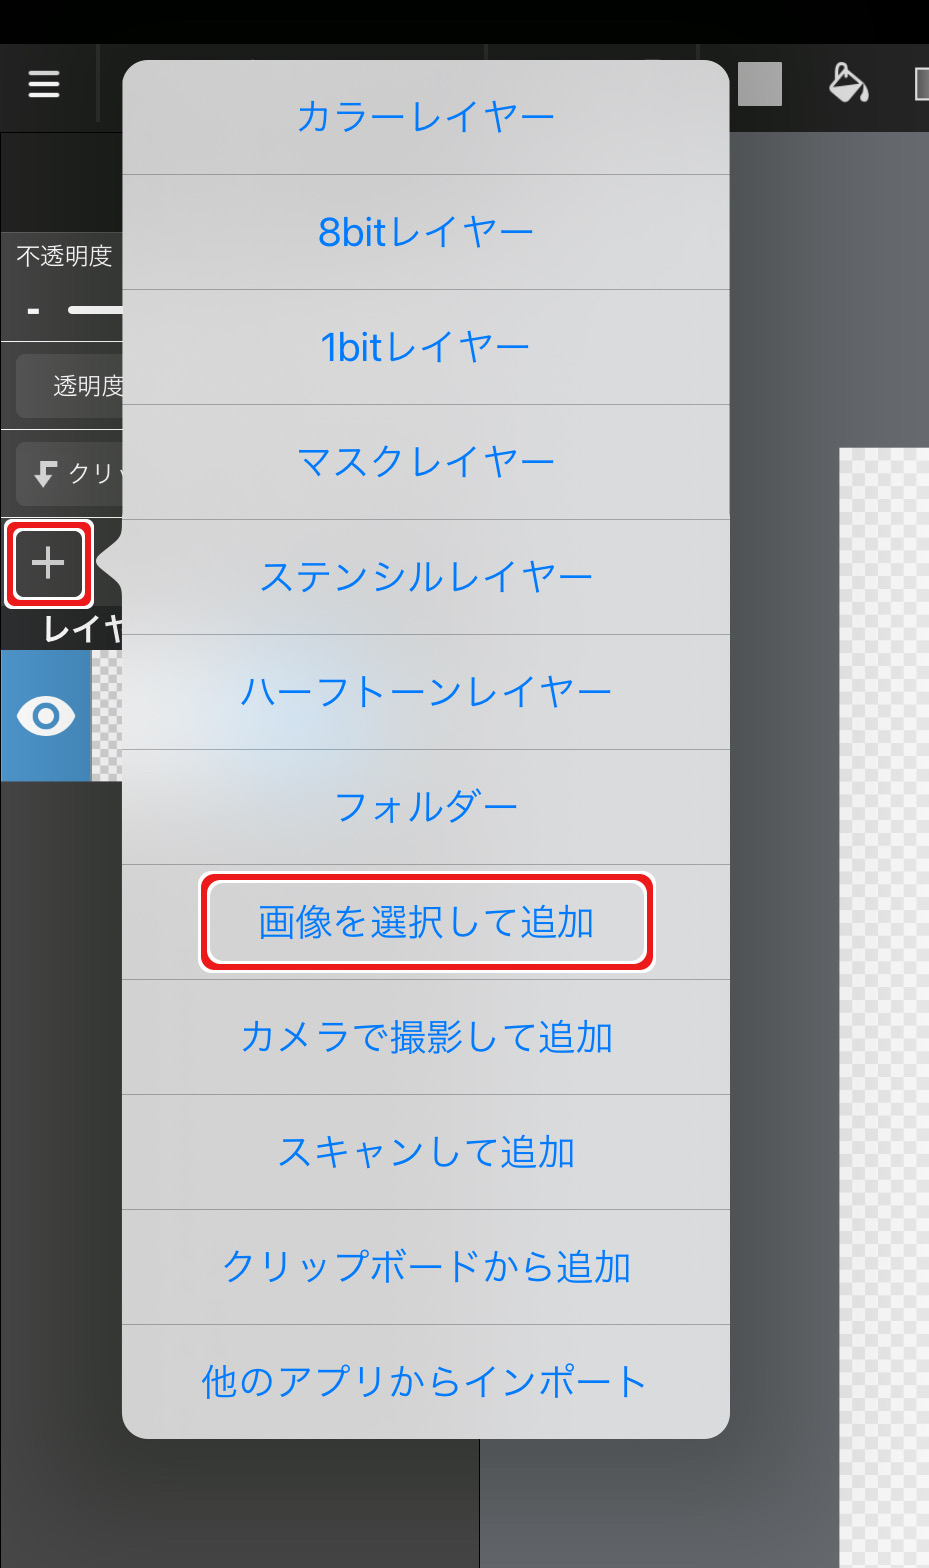
A balloon will pop up, and you can press “Select and add image”.
This will bring up a list of images stored on your device, so select the stripe image you just saved.

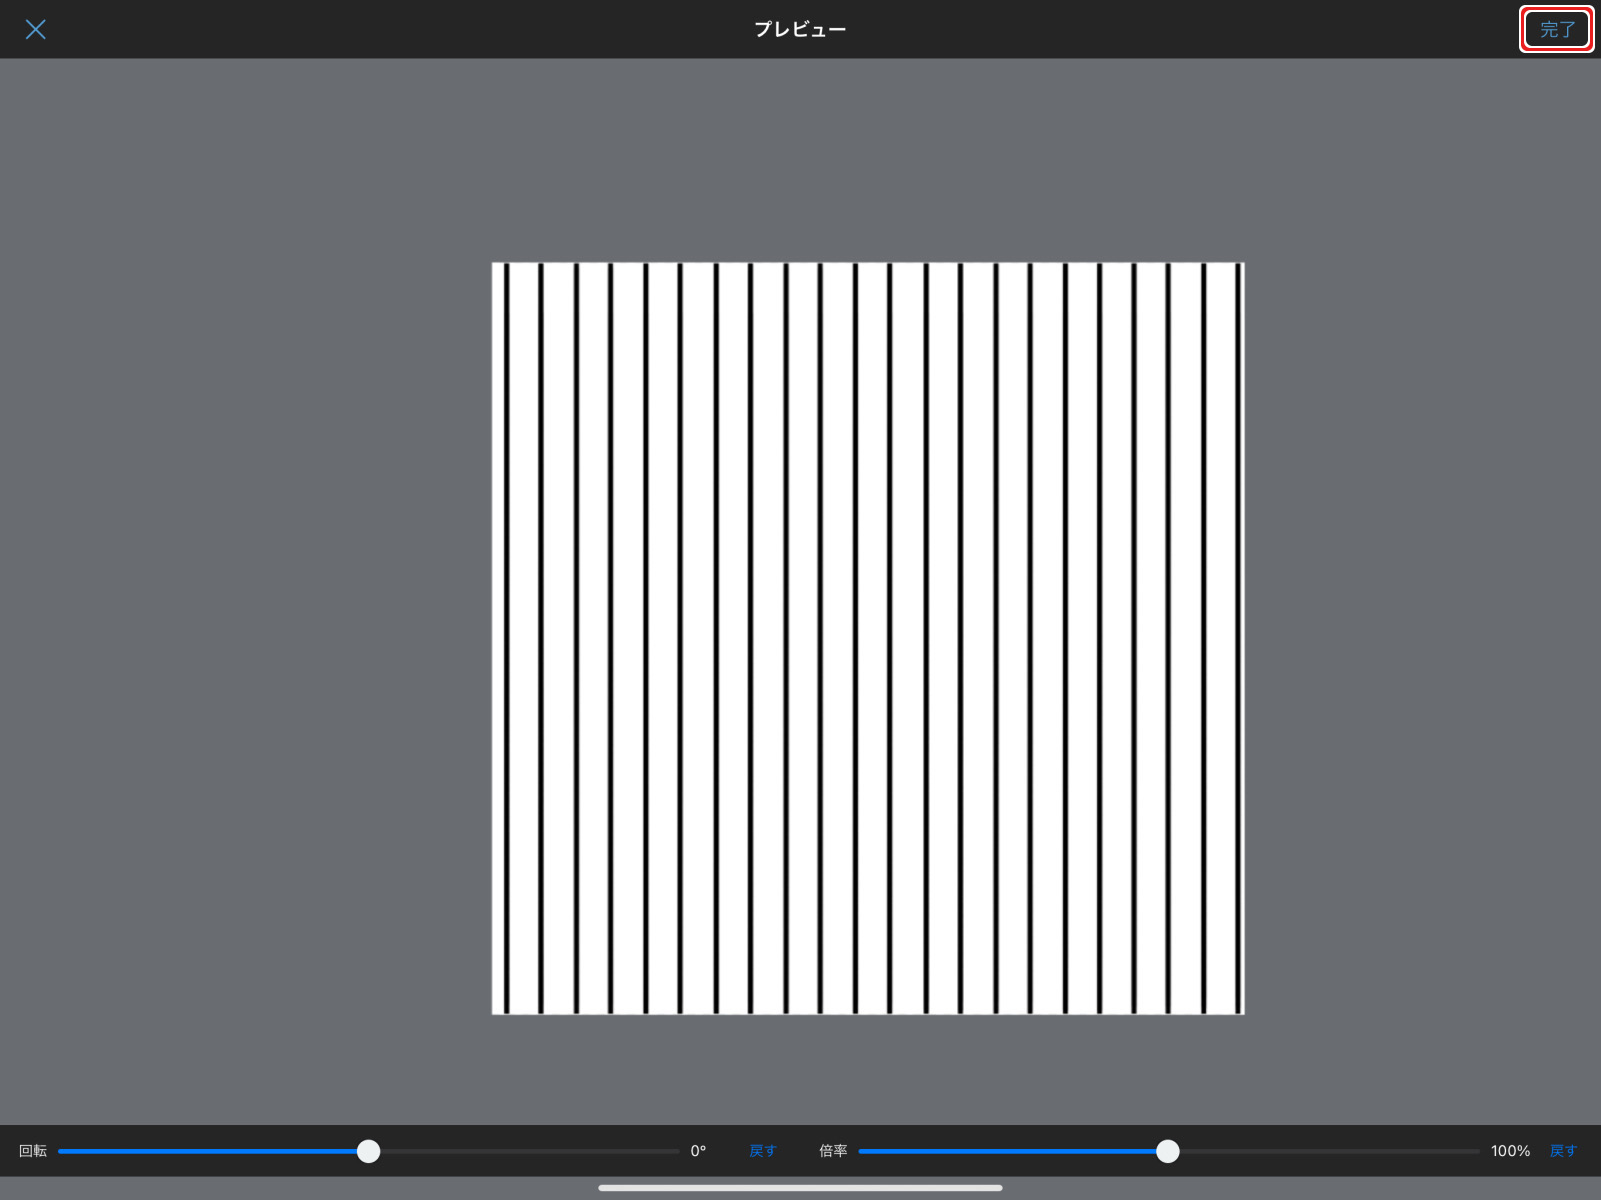
A preview screen will appear.
If the stripes are too small or too large, adjust the “magnification” so that it fills the screen, and if it is just right, press “Done”.
You will see a pop-up that says “Do you want to extract line art? popup will appear, but you can choose “No”.
Now you have a striped image on your canvas.
The screen layout will change depending on whether you hold the iPad vertically or horizontally.
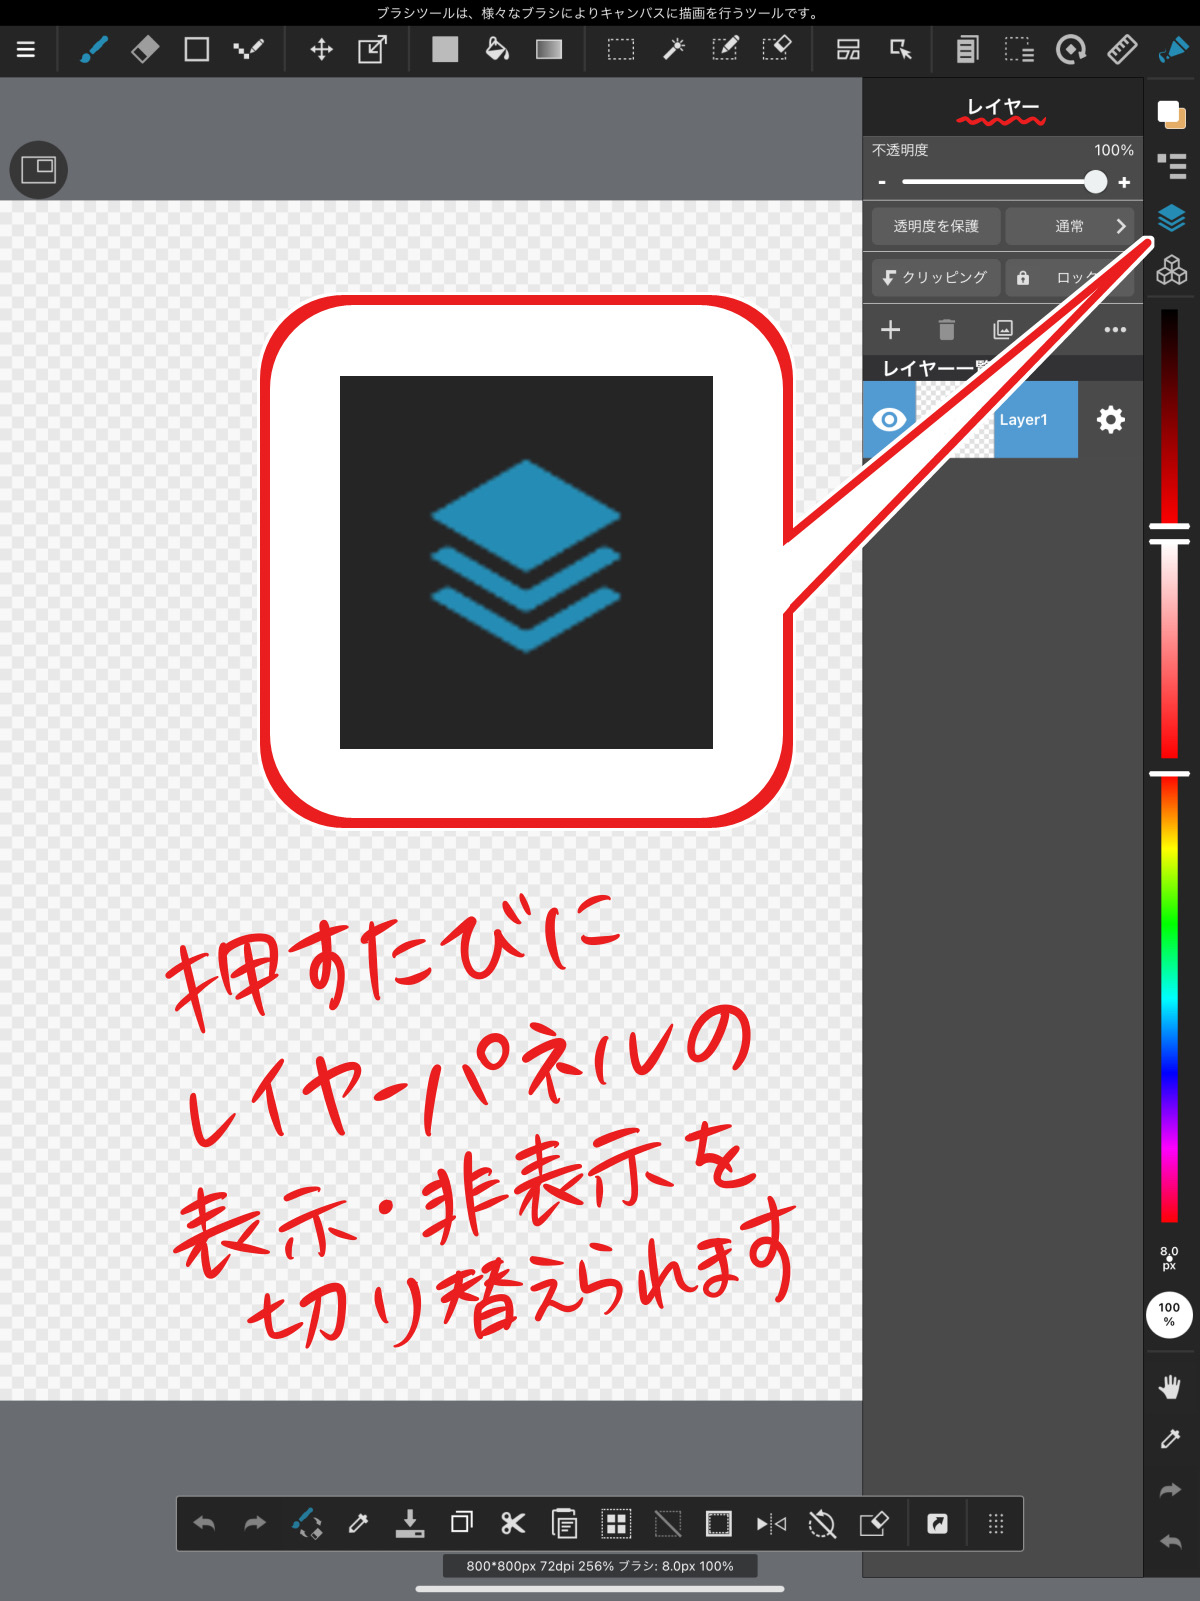
If you can’t find the Layers panel, look for the icon with the overlapping diamond shape and press it.
2. Know what angle is easy to draw
Now, let’s hide the stripe image.
Place a new layer on top (Layer A) and draw a straight line without thinking about it.
It will be easier to understand if you use the “pen” brush tool.
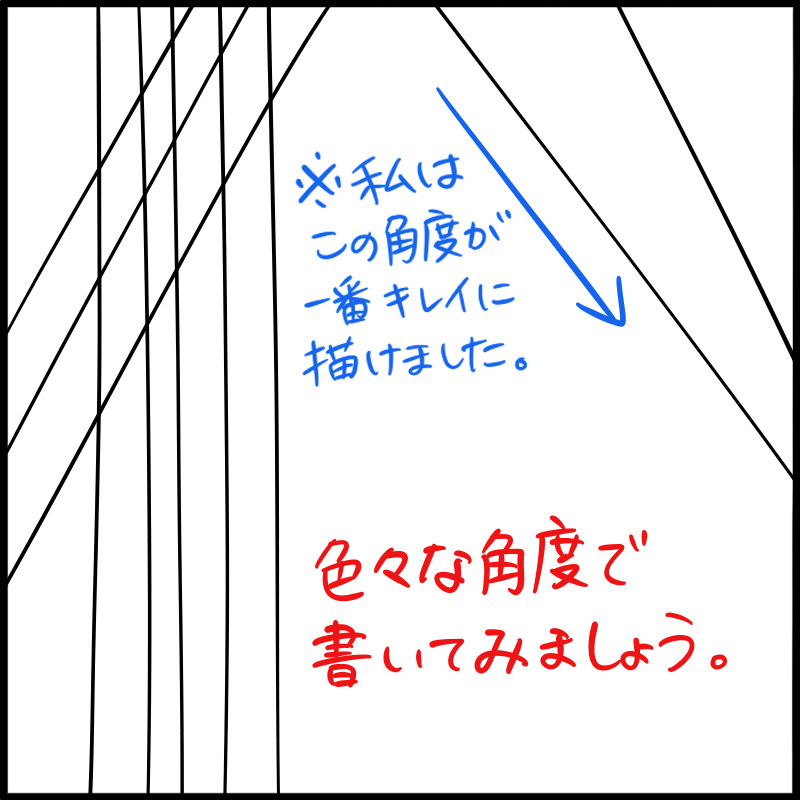
At this point, try drawing a few lines to see which angle is easier for you to draw.
For example, I’m left-handed, so I find it easiest to draw a diagonal line from the top left to the bottom right.
Now that you know that, erase all the lines on layer A.
Move the “Opacity” slider of the stripe layer and lower it to about 20%.
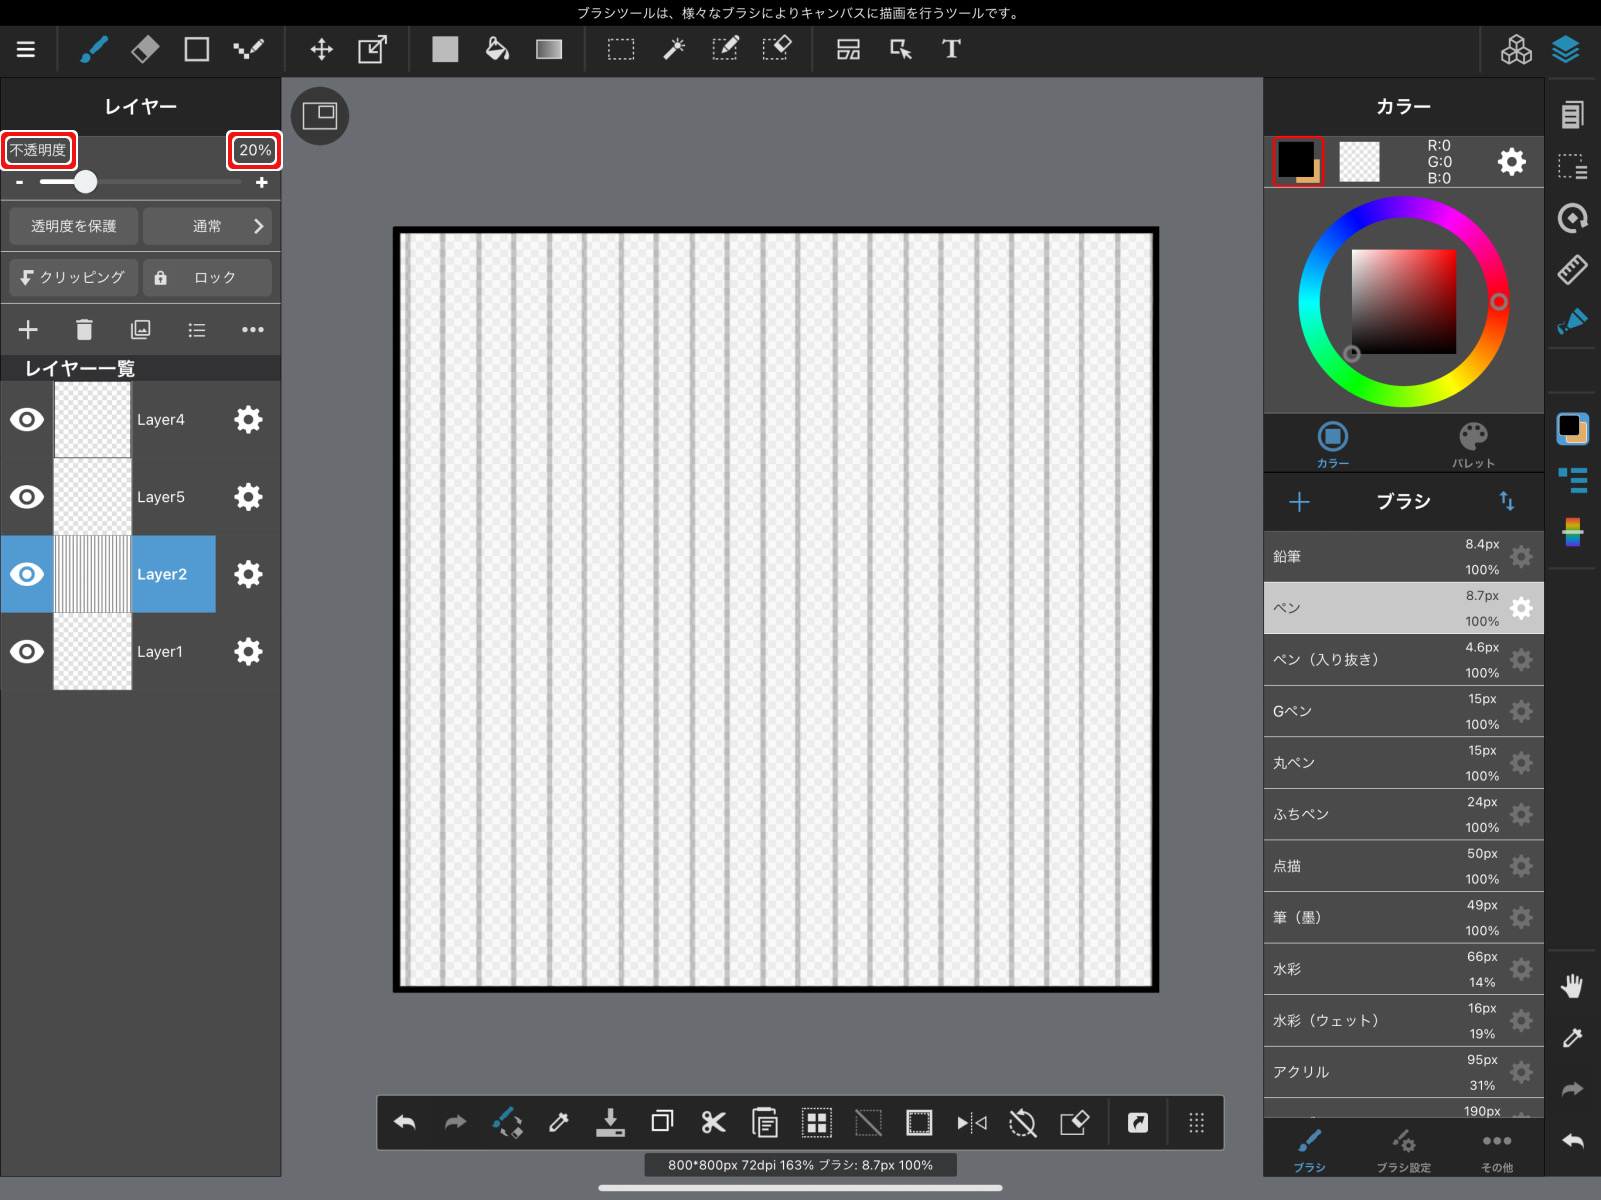
Let’s go back to layer A again, and this time draw the stripes in a tracing manner.
This time!
Use the iPad’s touch gesture function or the rotate menu to rotate the canvas to your favorite angle and trace it.
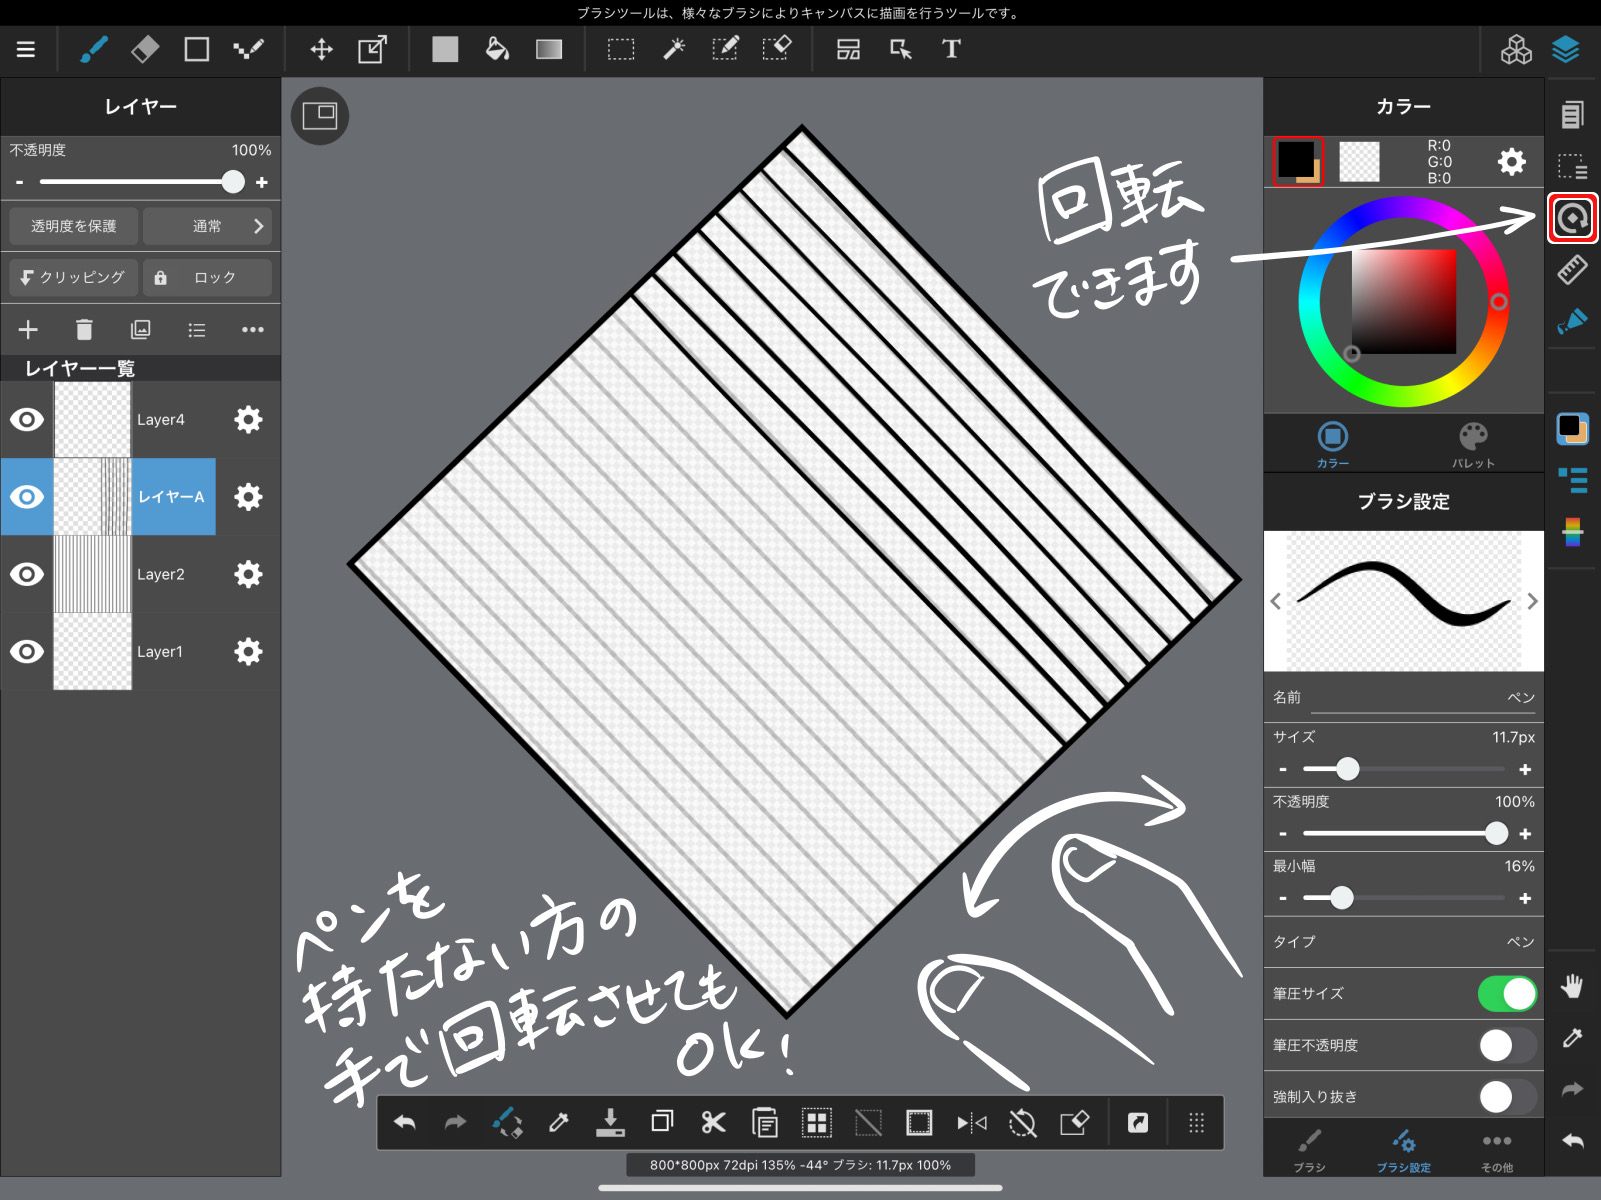
Don’t spend too much time on this, just practice drawing quickly.
3. Know the wrist movements that make drawing easier
Now that you know which angle is best for drawing, it’s time to think about how you move your wrist.
How do you use your hand to draw a line?
For example…
(1) How to draw with only the palm of the hand, with the wrist fixed on the iPad
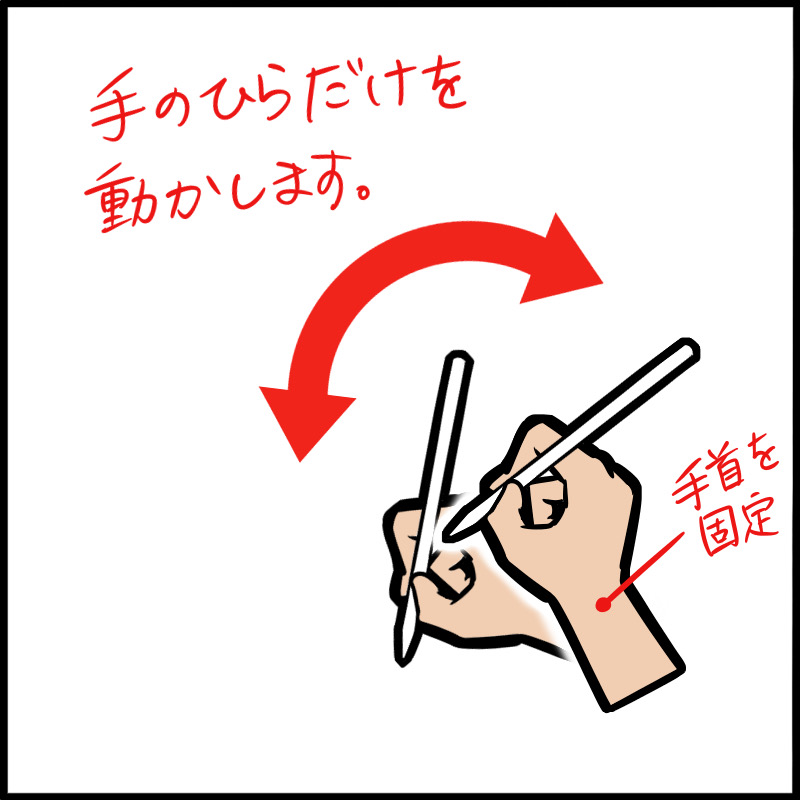
How to draw the whole arm moving without moving the wrist.
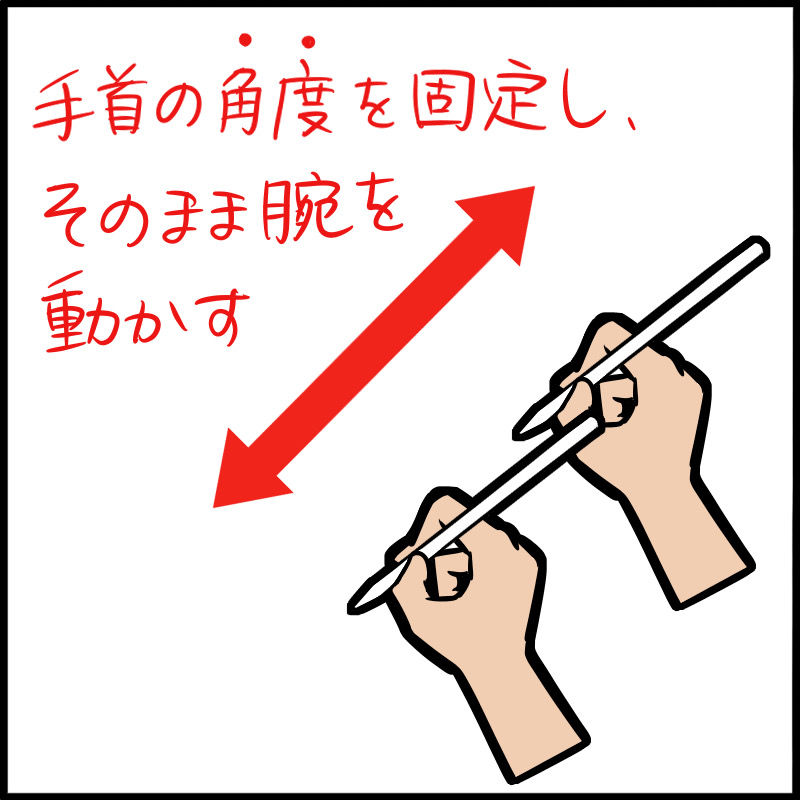
Everyone has their own strengths and weaknesses in this area.
If you draw a large area, you will end up with a circle, so it is better suited for drawing a small area.
So, what if you want to draw a long line while holding your wrist still?
If you need to draw a long line in one stroke, make the canvas itself smaller.
If you shrink the canvas as far as the nib can reach, you can draw a line within the range of motion of your wrist.
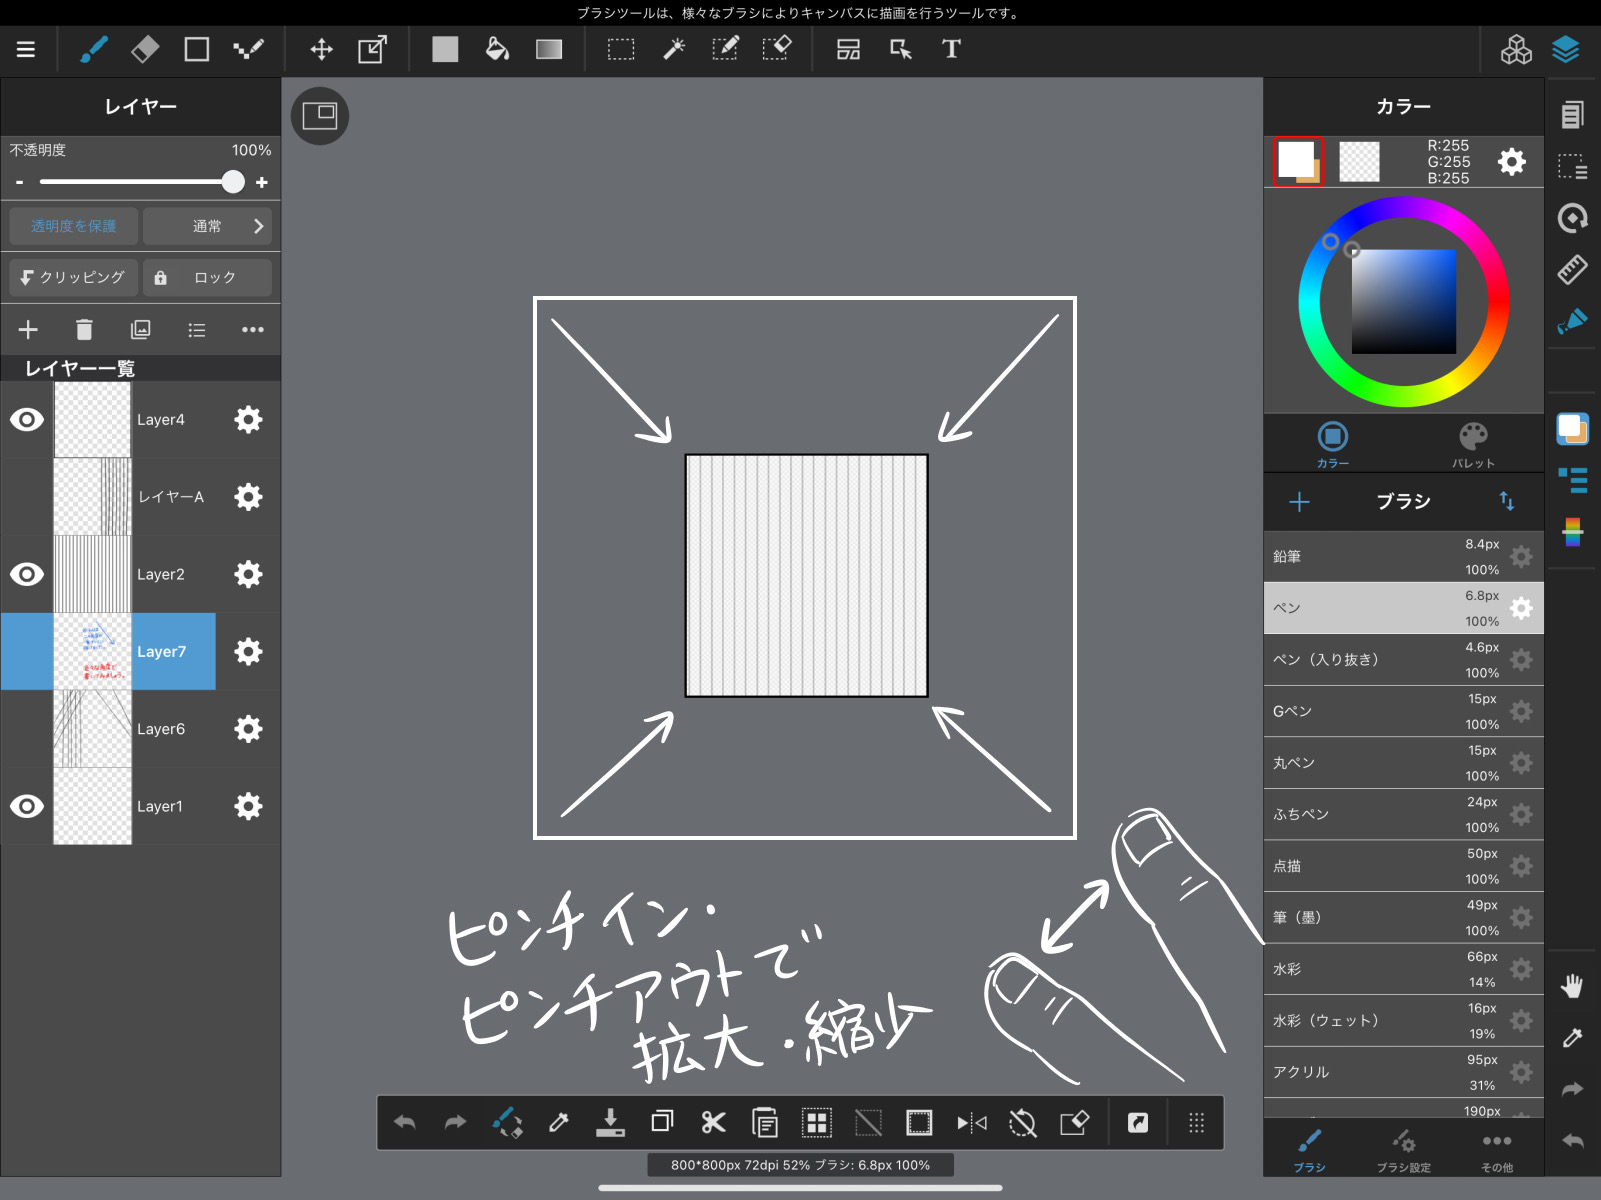
Now let’s practice again, this time erasing all of layer A and quickly drawing a line to trace the stripes.
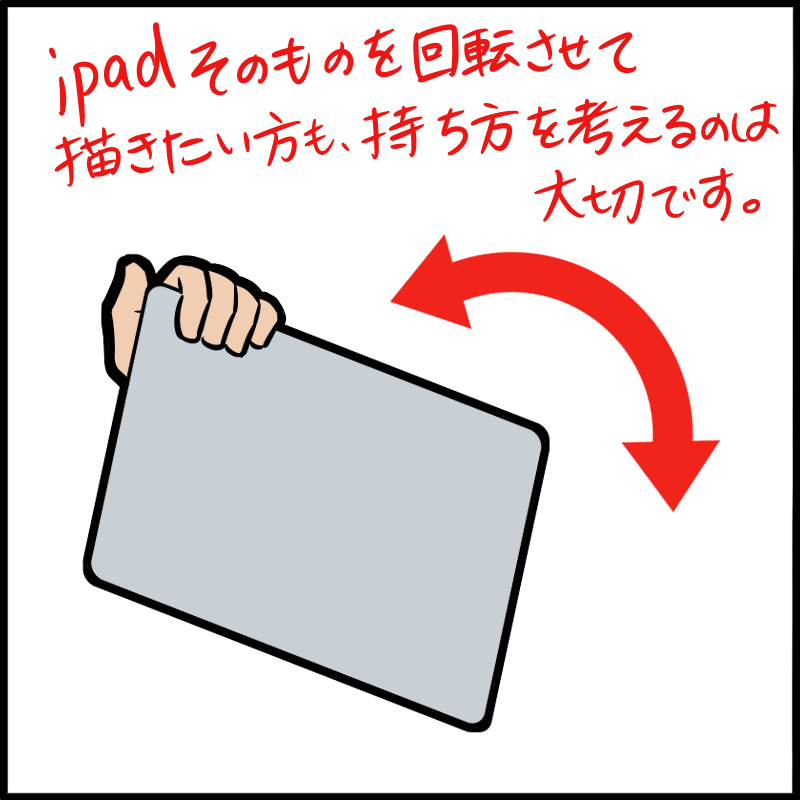
Also, some of you may be using your iPad as a sketchbook without using the rotate function.
In that case as well, try different ways to hold the iPad in your non-pen hand to see how easy it is to draw.

4. Let’s draw a continuous curve!
Once you get used to drawing straight lines quickly, it’s time to try drawing natural curves, like hair.
A curve out of nowhere!
But once your hands learn how to draw it easily, you’ll be fine.
You will be able to draw a smooth curve.
As mentioned earlier in section 3, the method of holding the wrist in place (1) allows you to naturally draw a circle when you move your wrist significantly.
Therefore, it is easier to draw a curve.
In this section, I will explain how to draw with the method (1).
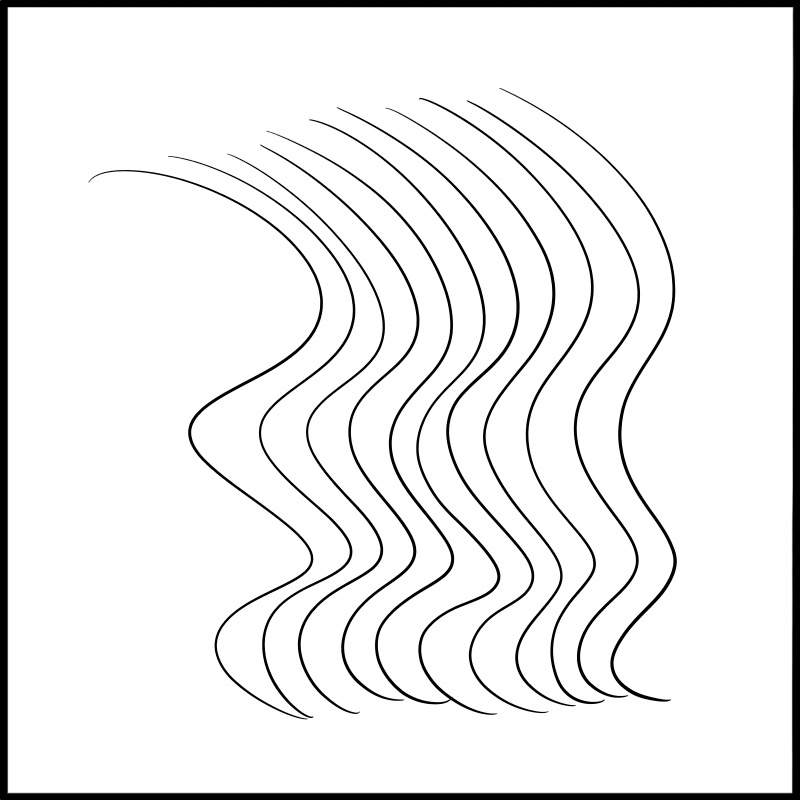
First, let’s look at the image below, where the hair is slightly curly only at the bottom.
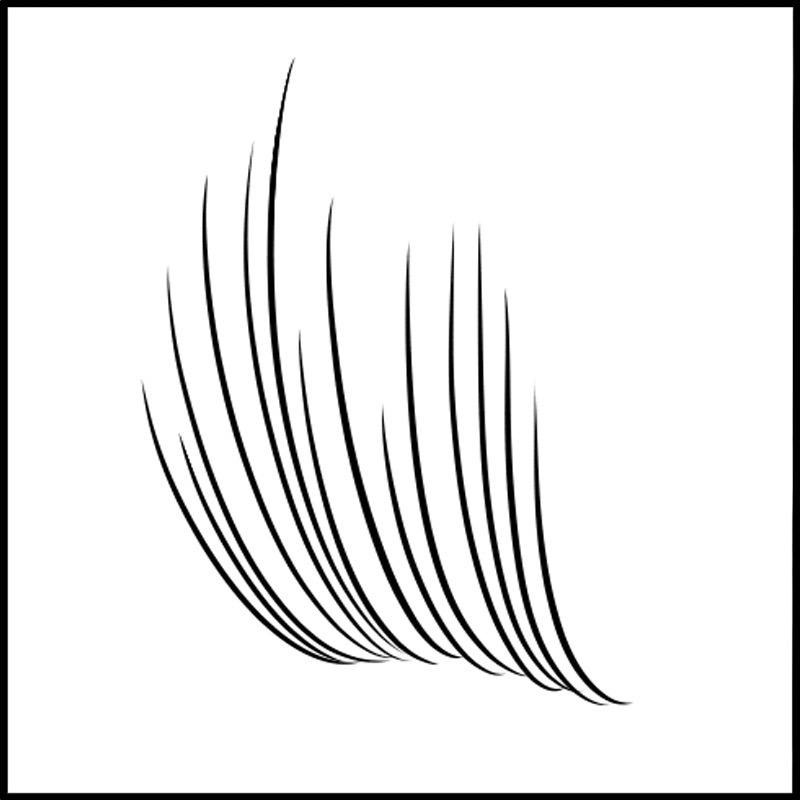
Not all the lines are the same, but there are nuances in places that are natural.
First, place a new layer on top of the roughly outlined draft.
Rotate the canvas and try to find the best angle for your drawing.

You’ll always find just the right angle!
At the same time, shrink the canvas until you can draw the longest line in one stroke.
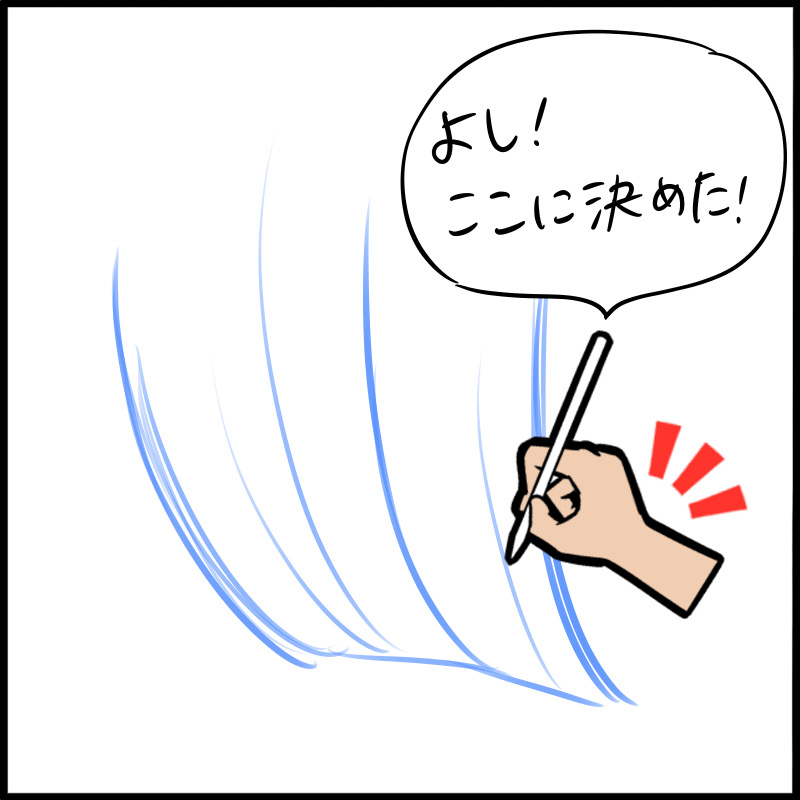
Fix your wrist where you can reach the farthest, farthest line.
Draw five or six lines.
Just be careful to make the same stroke (wrist movement).
The rest of the lines may be slightly different in length or width, but it will look more natural that way.
Only be aware of the movement of your wrist, and draw quickly, shuffling your fingers.
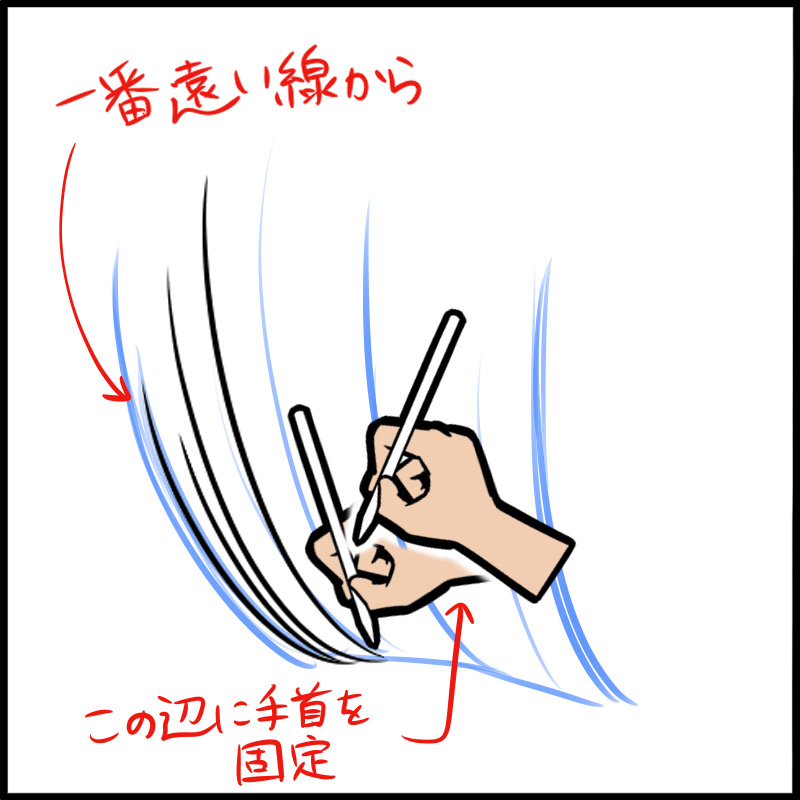
When you’re done, slide your hand forward a little and fix your wrist there again.
Draw a few more lines in the same way…
Repeat the process.
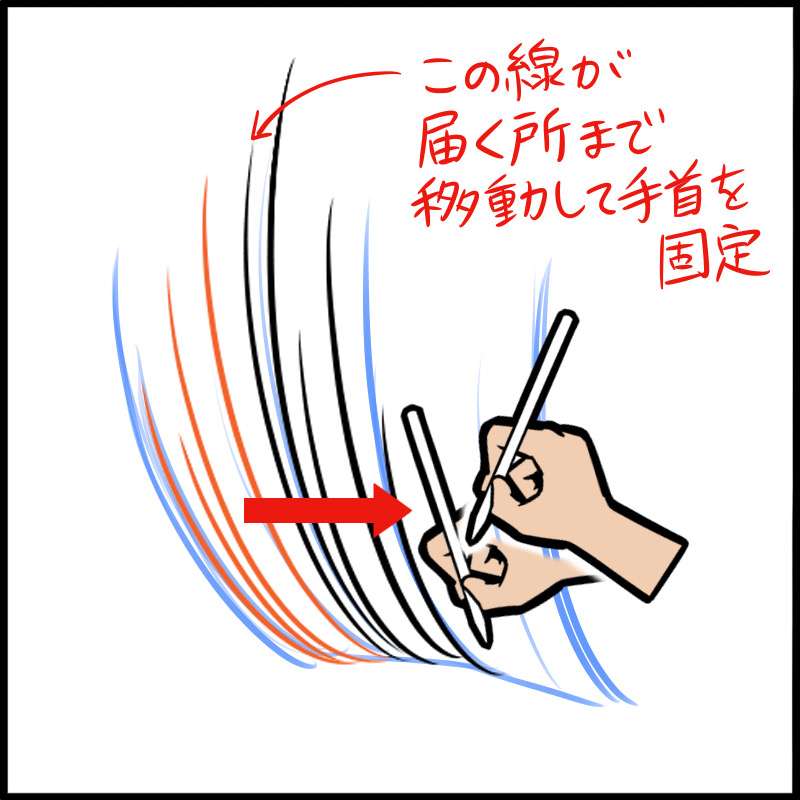

When you’ve finished drawing to the extent of your draft, you’re done!
What do you think?
What do you think? I think you’ve drawn the lines surprisingly well.
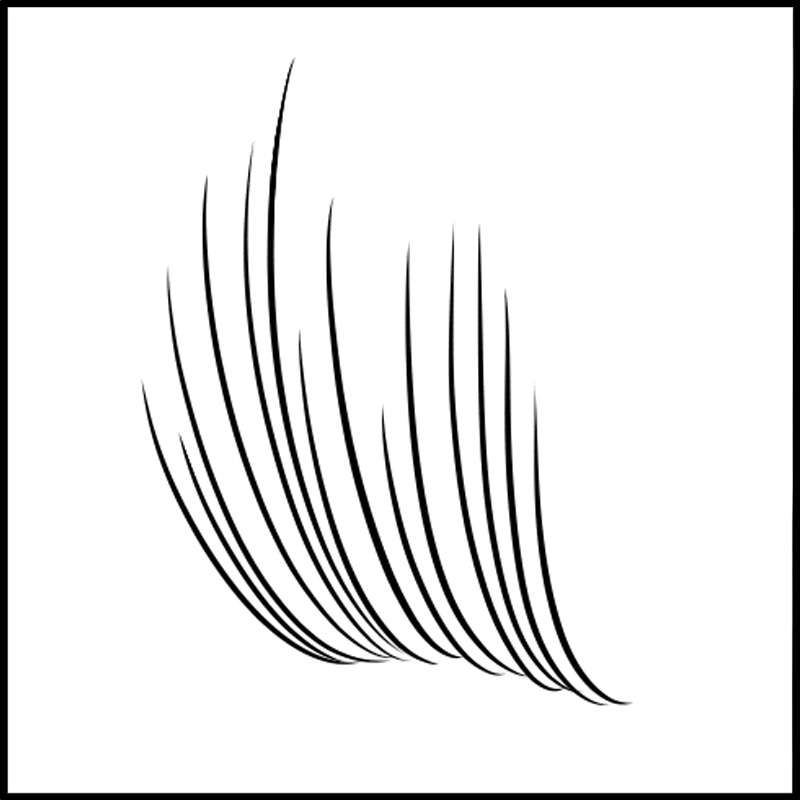
You can start drawing from the front and slide to the back, but if you do that, your hand will hide the part you drew first.
You can start drawing from the front and slide to the back.
5. Let’s try complex waves
Now, remember the image you saw at the beginning.
It may still look difficult, but this is an application of what we have done so far.
When you draw a wavy curve that goes left, right, up and down, you can use the push and pull of your fingertips to control the pen.
Here, too, you can try either fixing your wrist or moving your whole arm to see which is easier to draw.
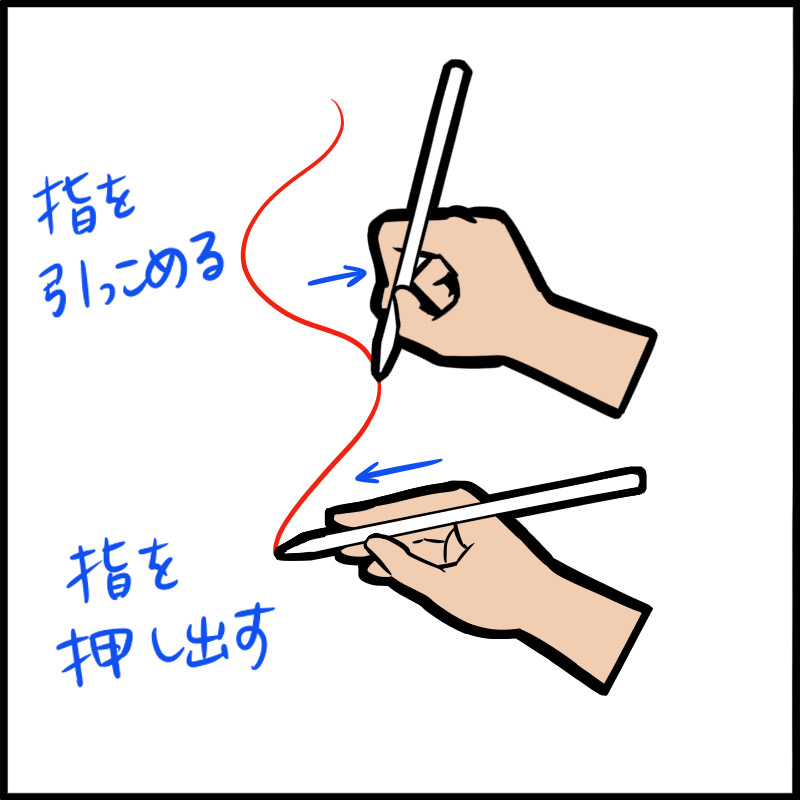
You add this movement to the movement of drawing a straight line, and you draw a complex curve.
With practice, you’ll be able to draw various curves quickly and smoothly.
6. Make the most of it
If you can draw lines freely, you can use them in many situations.
For example, in the first illustration…

Here is the retina toning process.
It makes the screen a little heavy, so I’ll add shaded lines in some places.
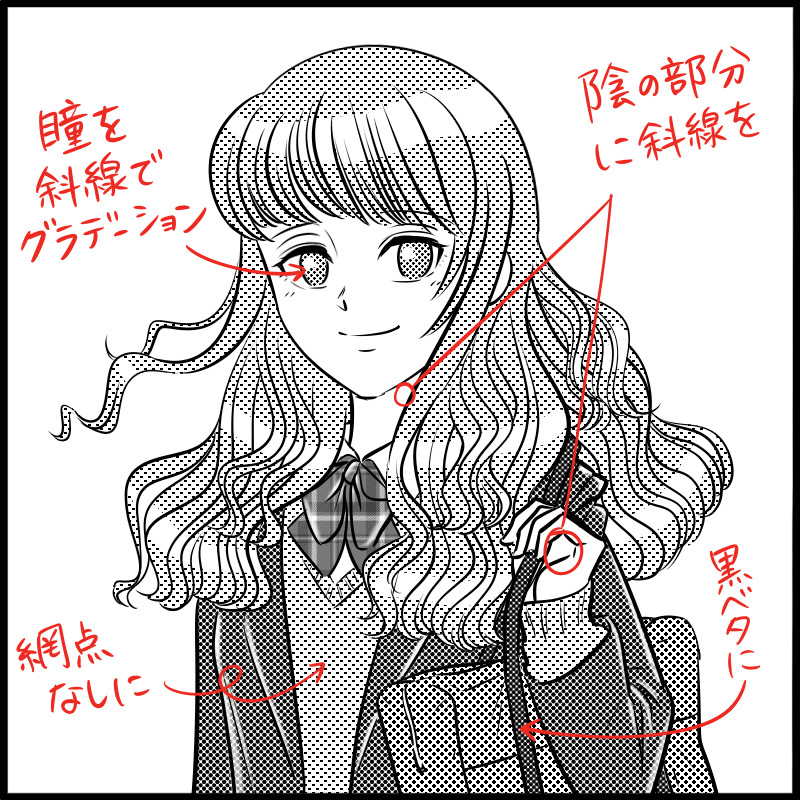

What do you think?
It’s a small thing, but it gives the illustration a crispness that is quicker and more tasteful than drawing with a tool.
The same goes for gray coloring.

If you have a series of dark colors in adjacent areas, you can use a diagonal line like this to create a neat illustration that is easy to read.
The above is how to practice lines using the iPad.
How did you like it?
Let’s learn to draw straight and curved lines freely, and aim to create professional-looking illustrations!
There are also other tips on how to draw lines and useful functions for practice.
Please do some research and find out what you can do.
(Text and pictures by Hiroshi Takeuchi)
\ We are accepting requests for articles on how to use /

