2021.06.26
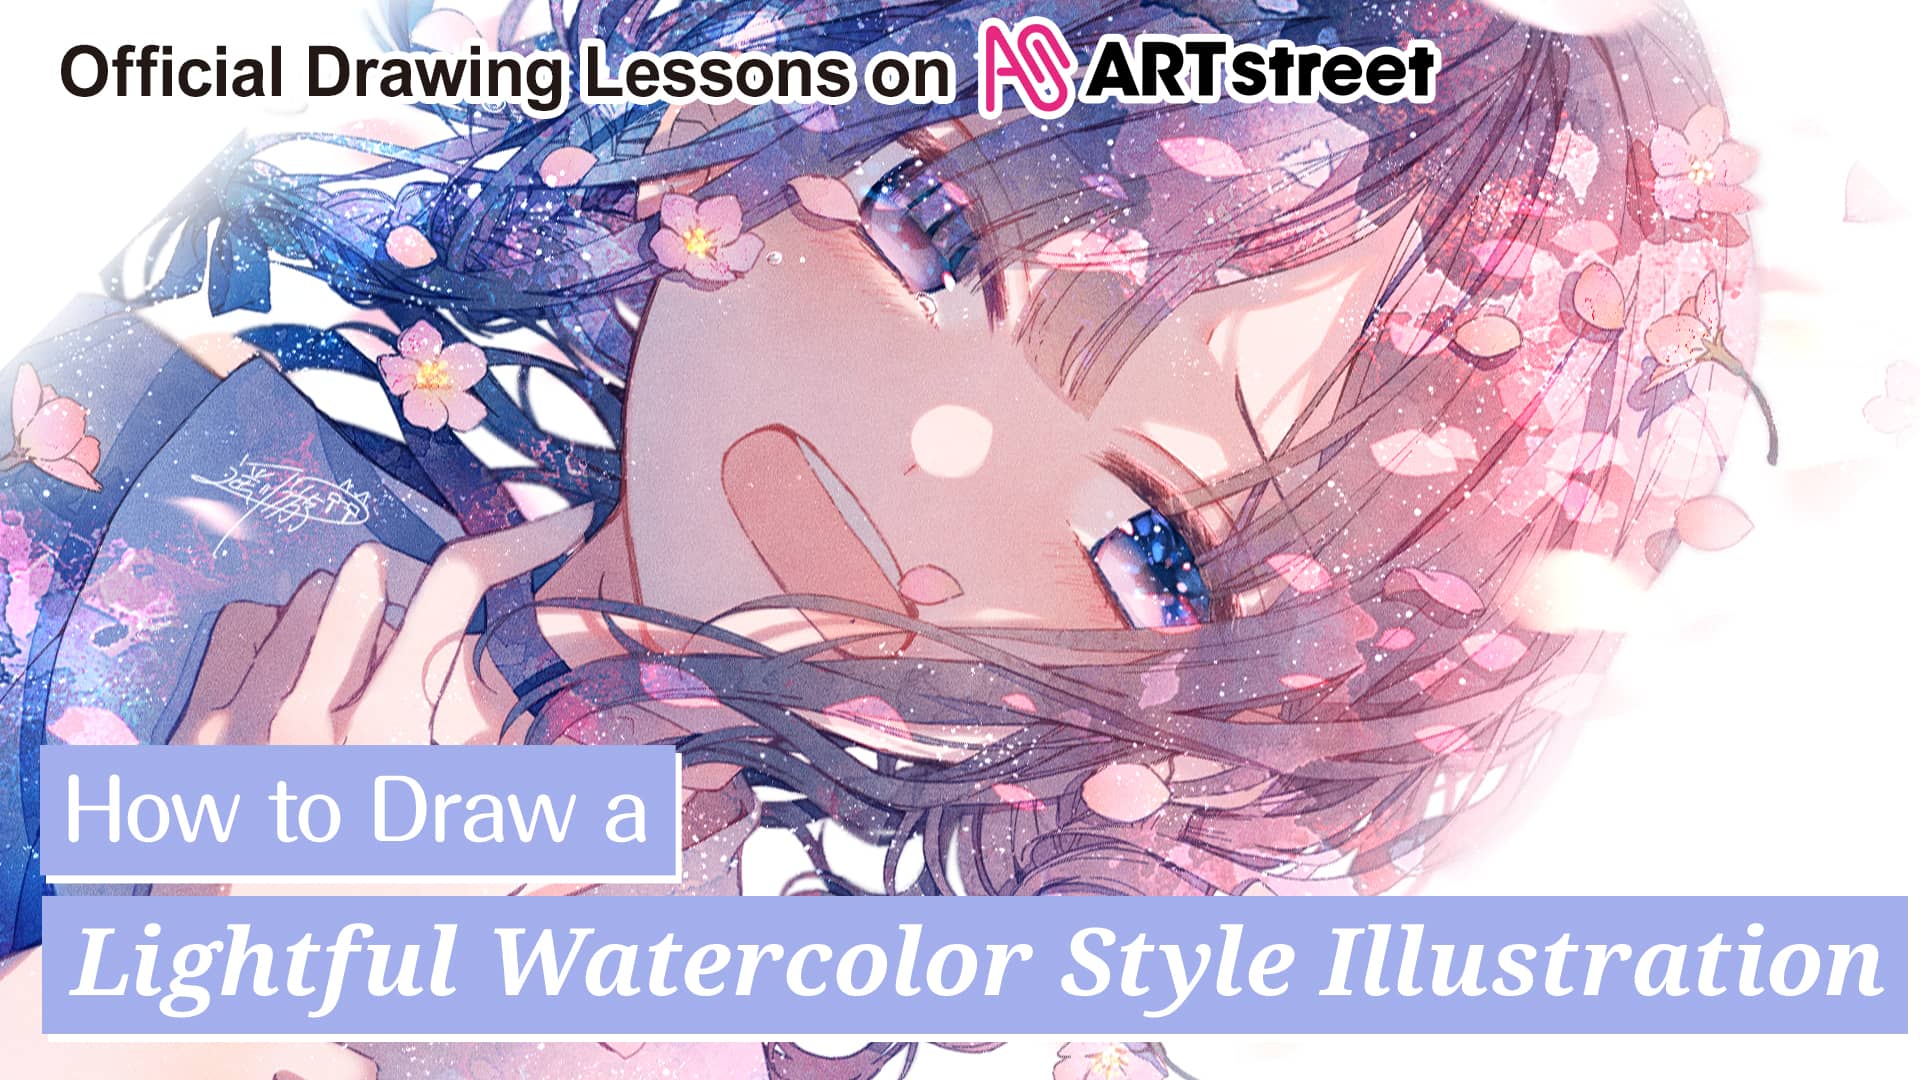
Create an enchanting artwork! From lineart to painting colors
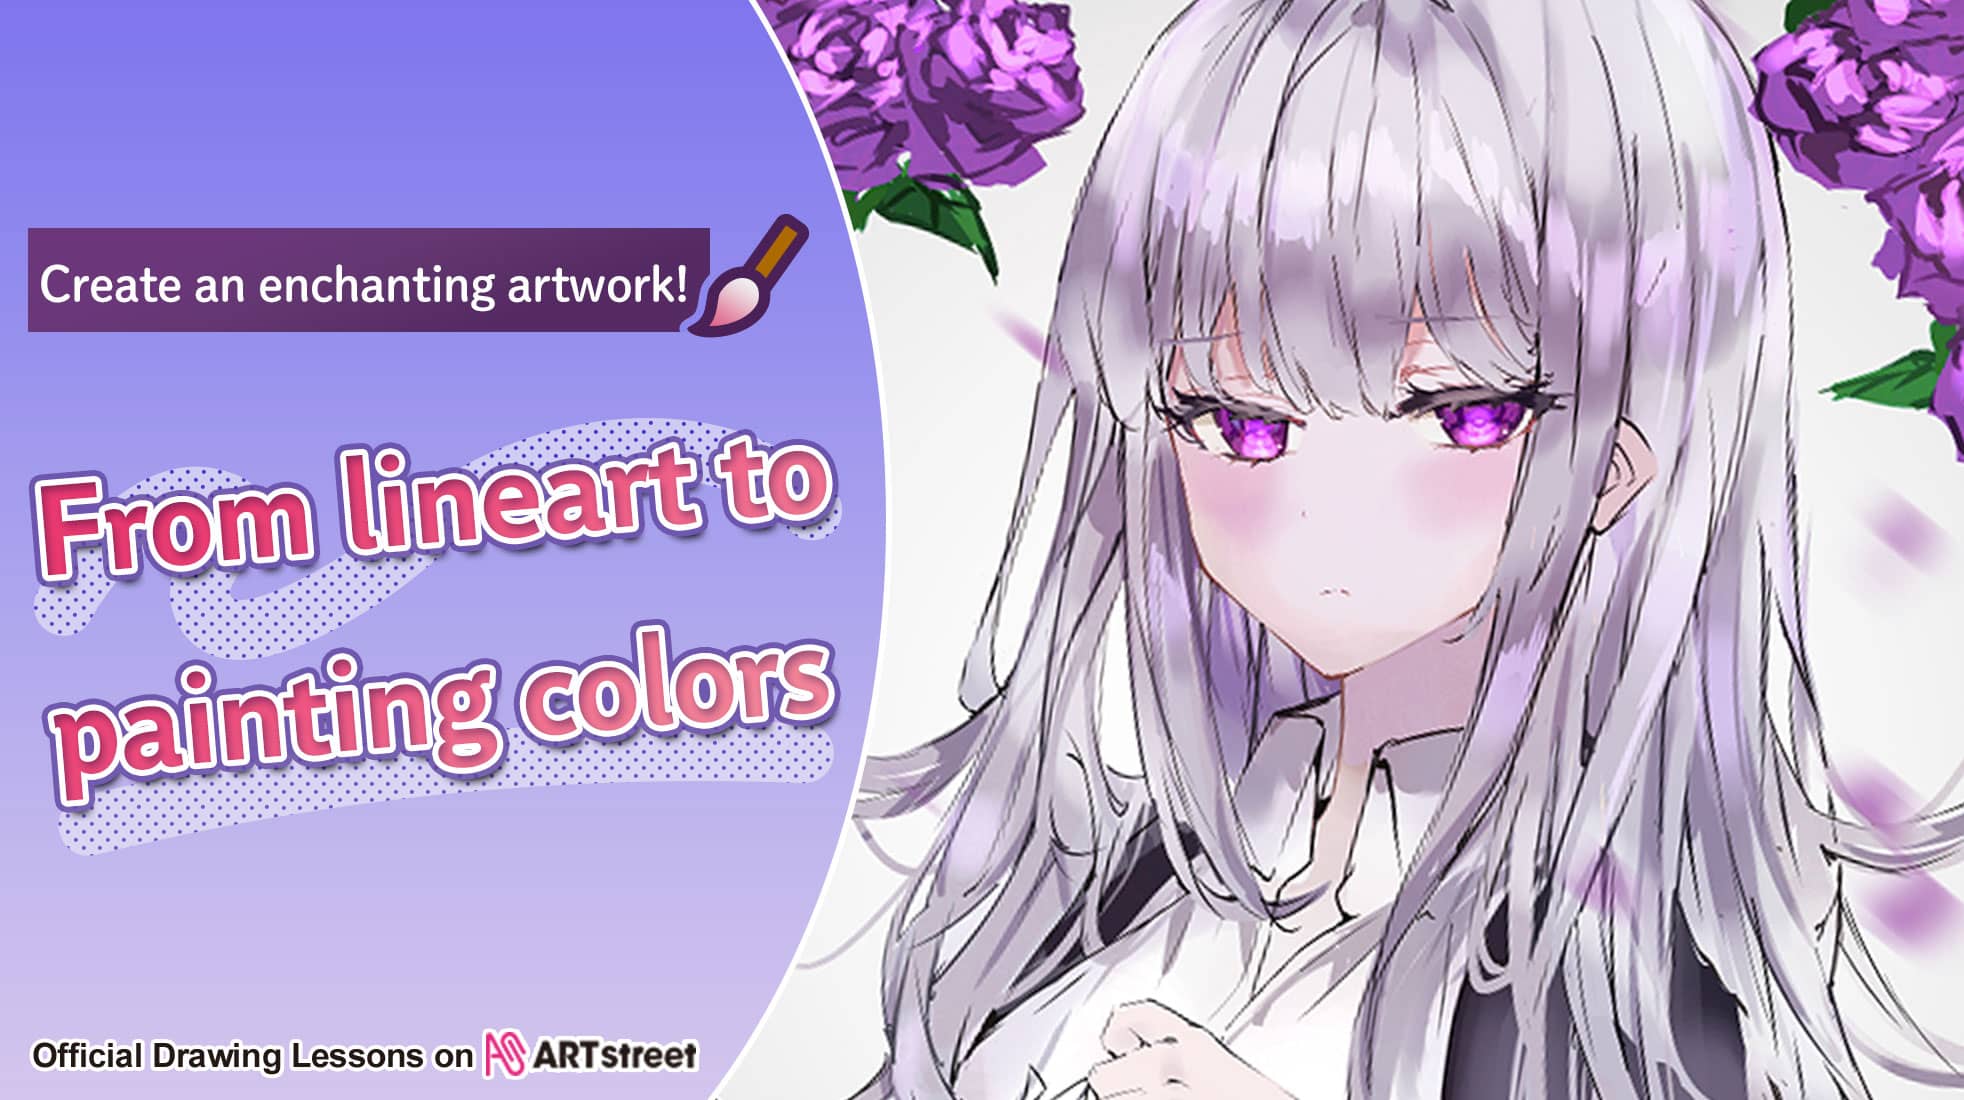
I will show you a detailed drawing process, from lineart to painting the colors to create an enchanting artwork.
Take a look!
1. Create a new file
From the menu bar, go to File > New.
The “create a new image” window will pop up.
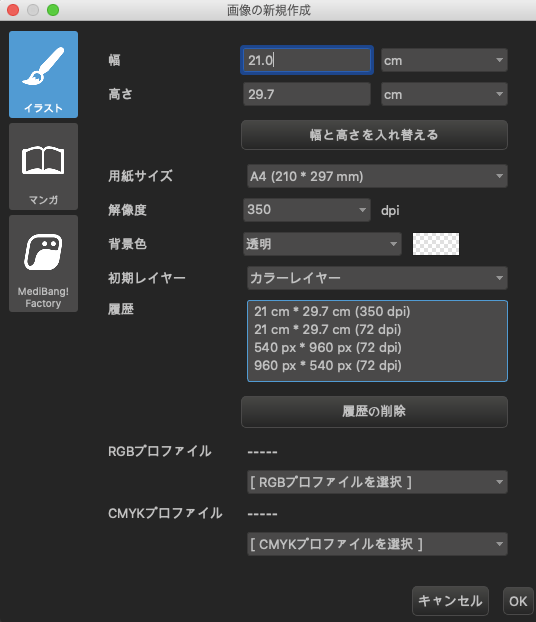
From the paper size drop down menu, we selected A4.
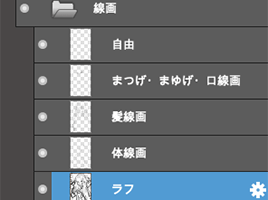
2. Layers
Our lineart layer looks like the image below.
When you need to modify something, it is easier if you have separate layers.
3. Sketching
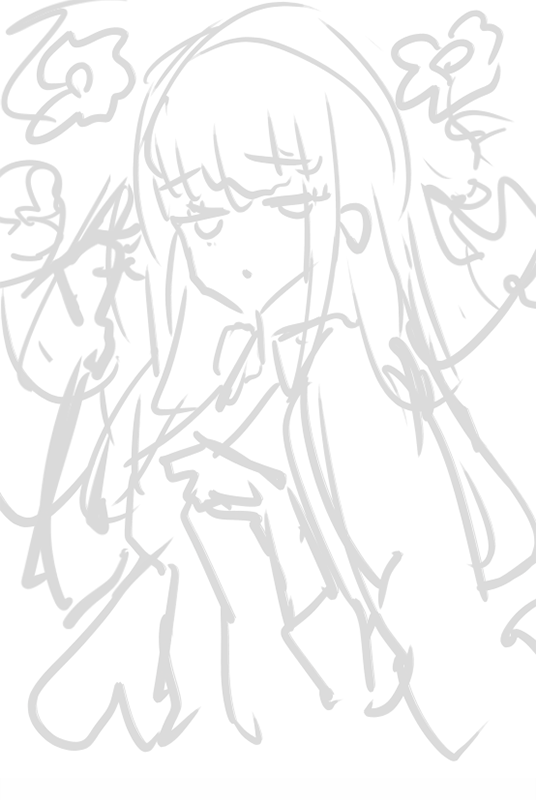
First the sketching.
Roughly draw the composition that came to your mind with the pen brush.
I set the layer opacity to 20%.
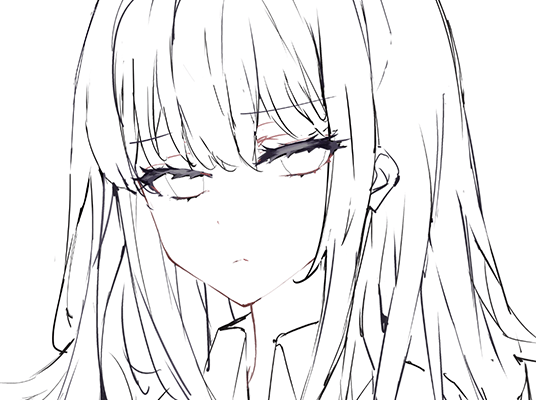
4. Lineart
Add a new layer, and draw the lineart with the sketch as a reference.
The brushes I used is pen, watercolor, and sumi.
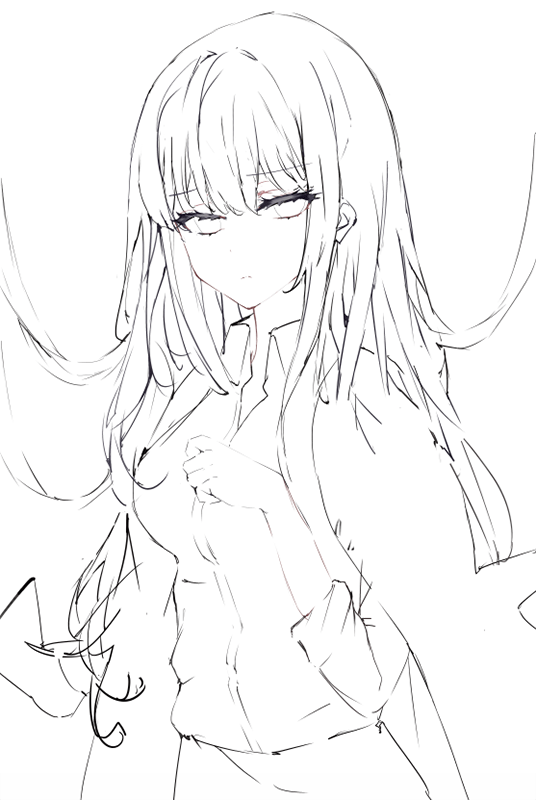
A tip for the eyelashes is to add a light color at the center.
It gives a 3 dimensional look.
For the lineart of the body, I am adding colors of the skin with the watercolor brush.
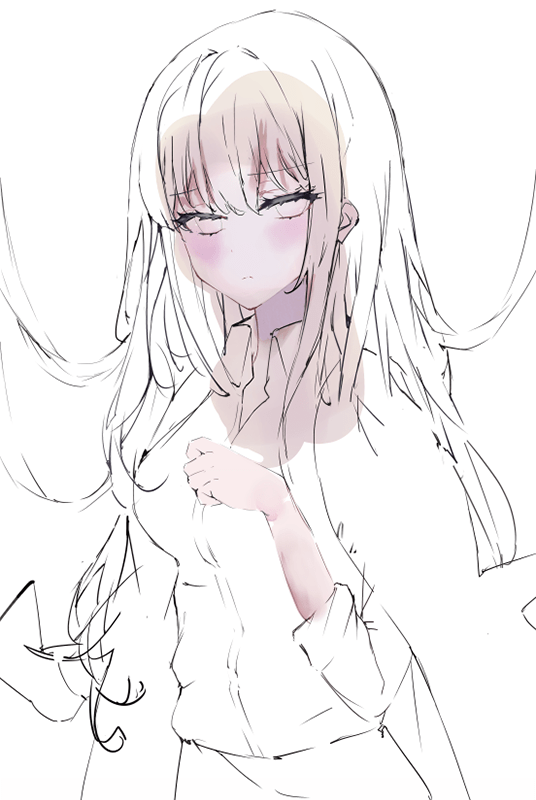
5. Painting the skin
Blend the color of the cheeks, hair, overall value, and a purple color.
The hands are painted on a separate layer.
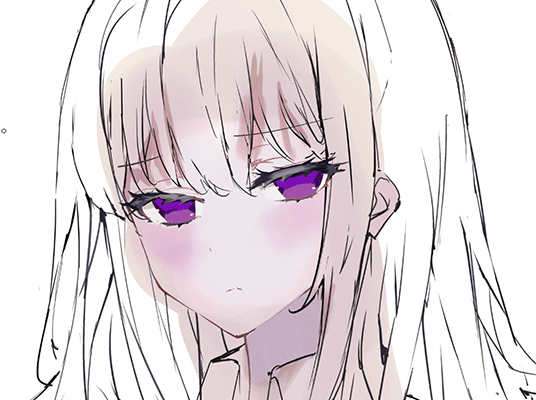
6. Painting the eye
For the eyes, the upper area should be darker.
Then add details to the eye.
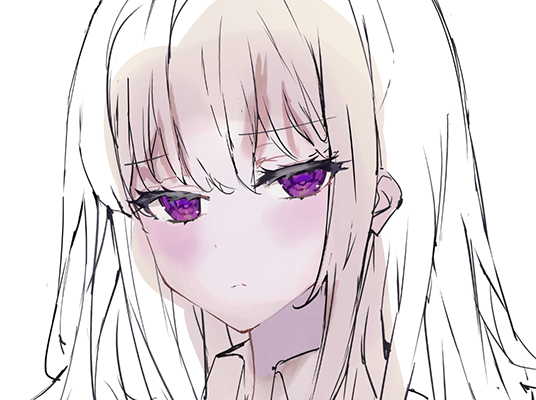
Add highlights.
Set the layer blending to add.
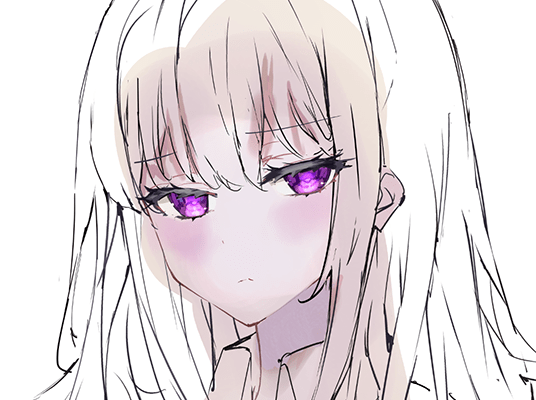
7. Painting the outfit
First roughly add the base colors.
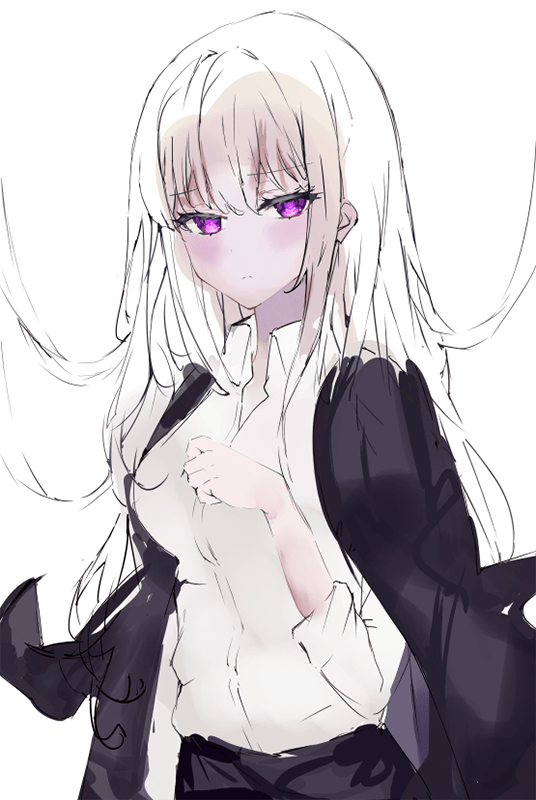
Add highlights to give it a contrast.
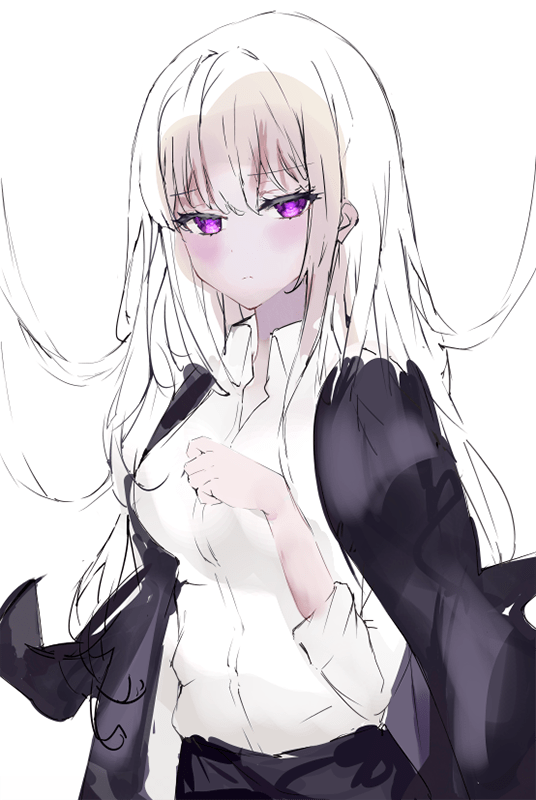
The folds are painted with the sumi and watercolor brush.
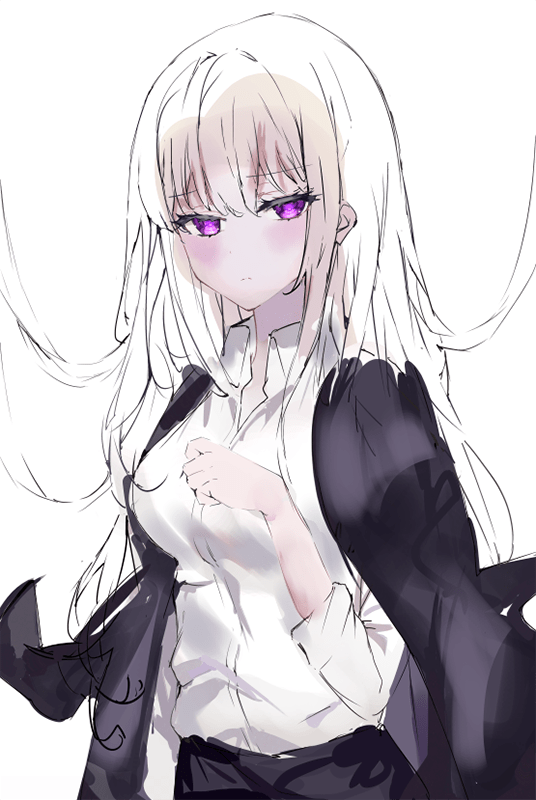
I used airbrush to add darker colors to give it even more contrast.
8. Painting the hair
First add the base colors.
I used sumi brush for the smaller strands.
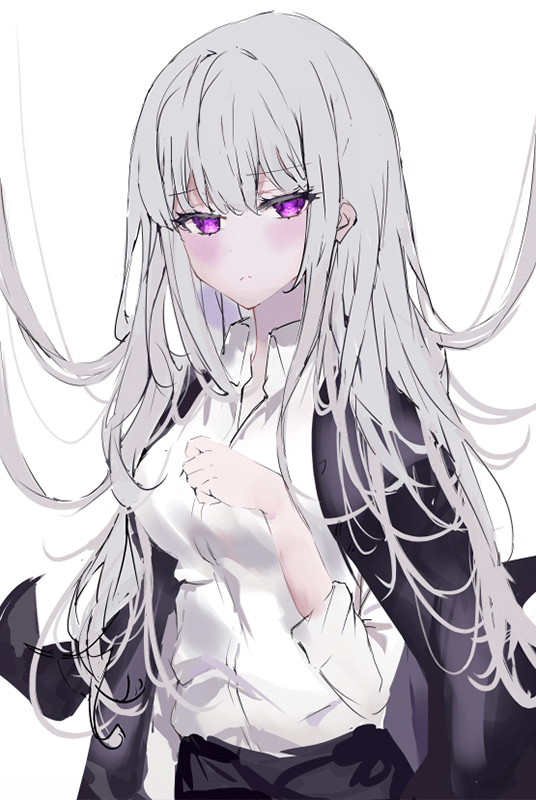
Then add the basic shadows and highlights.
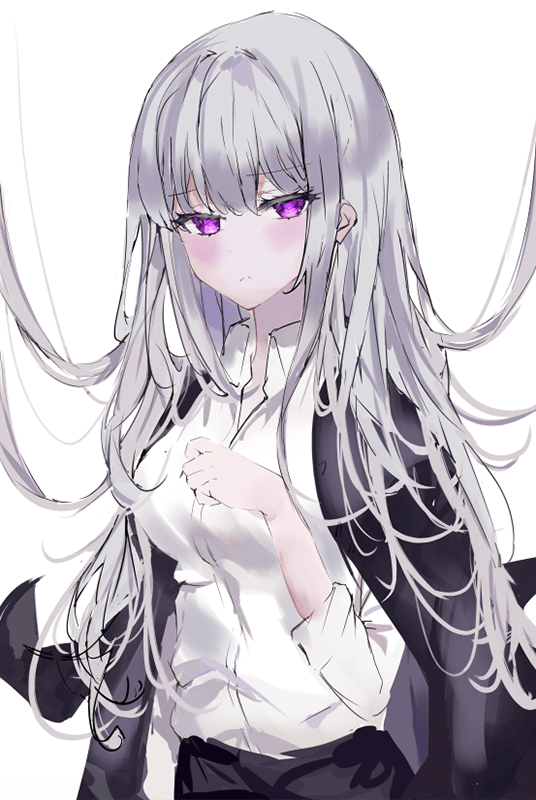
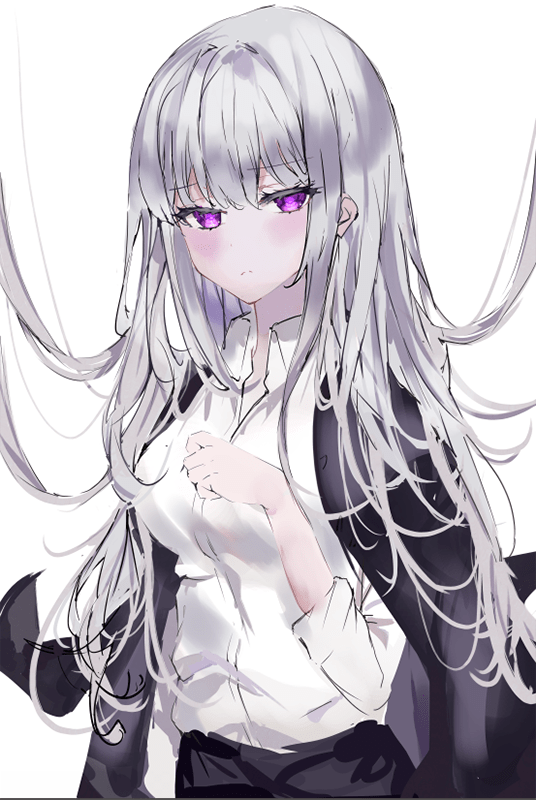
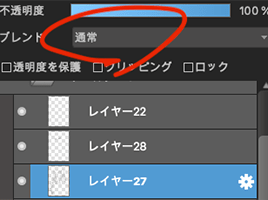
【Tip!】
Try out different layer blend settings.
You might find interesting effects for the highlights and shadows!
Adding more lights with the pen and watercolor brush.
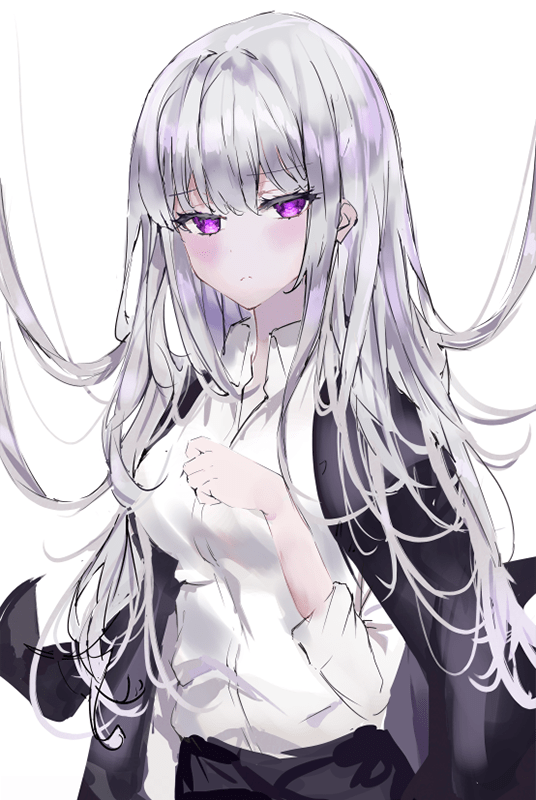
Finally adjust the colors and balance them out.
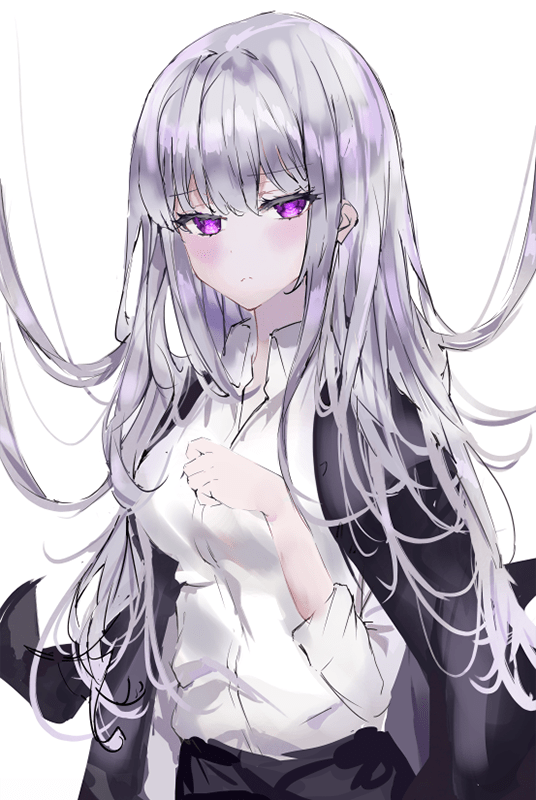
9. The background
This artwork has a purple theme, so I drew purple roses.
After drawing 2 or 3 versions, I duplicated them and placed it so it looks like the image below.
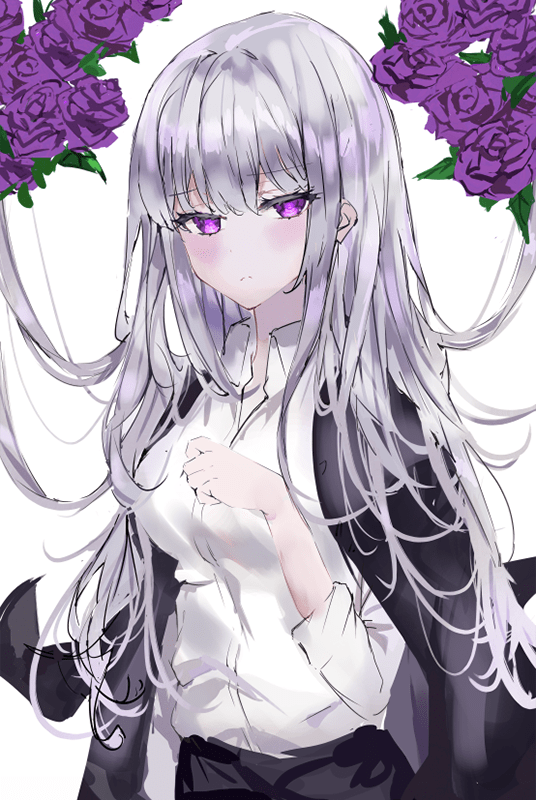
Then I added petals.
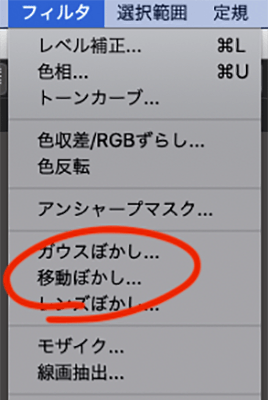
To make the petals look like they are moving, go to Filter > motion blur.

Then add highlights to the roses.
I set the layer blending to add, and used the sumi brush.
To blend the colors, I used the watercolor brush.

Use a gradation to add more values to the background.
The image below shows which tool is the gradation tool.
![]()
For the gradation settings, the type is “transparent to foreground”, the shape is circular.
![]()
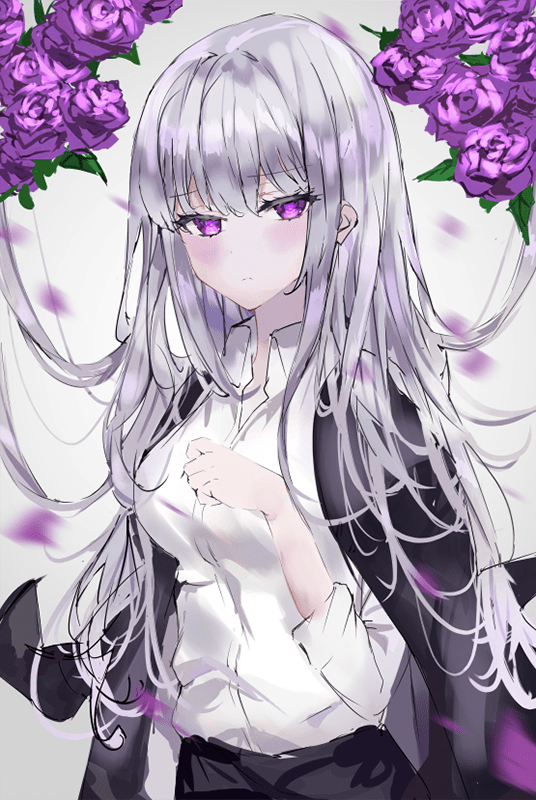
The gray gradation makes the artwork look more interesting!
10. Finishing touches
Add adjustments to the colors, lines, and details to finish off the artwork.
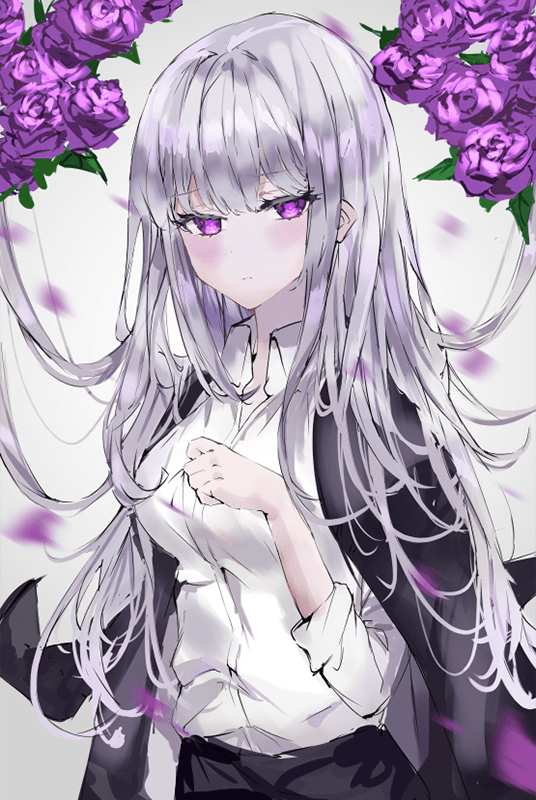
Done!
What do you think?
We hope you try creating an enchanting artwork using MediBang Paint!
Article / artwork: Mile
Mile is accepting comissions.
Contact: [email protected]
Twitter: https://twitter.com/o8q
\ We are accepting requests for articles on how to use /

