2021.06.23
How to make a gravel texture
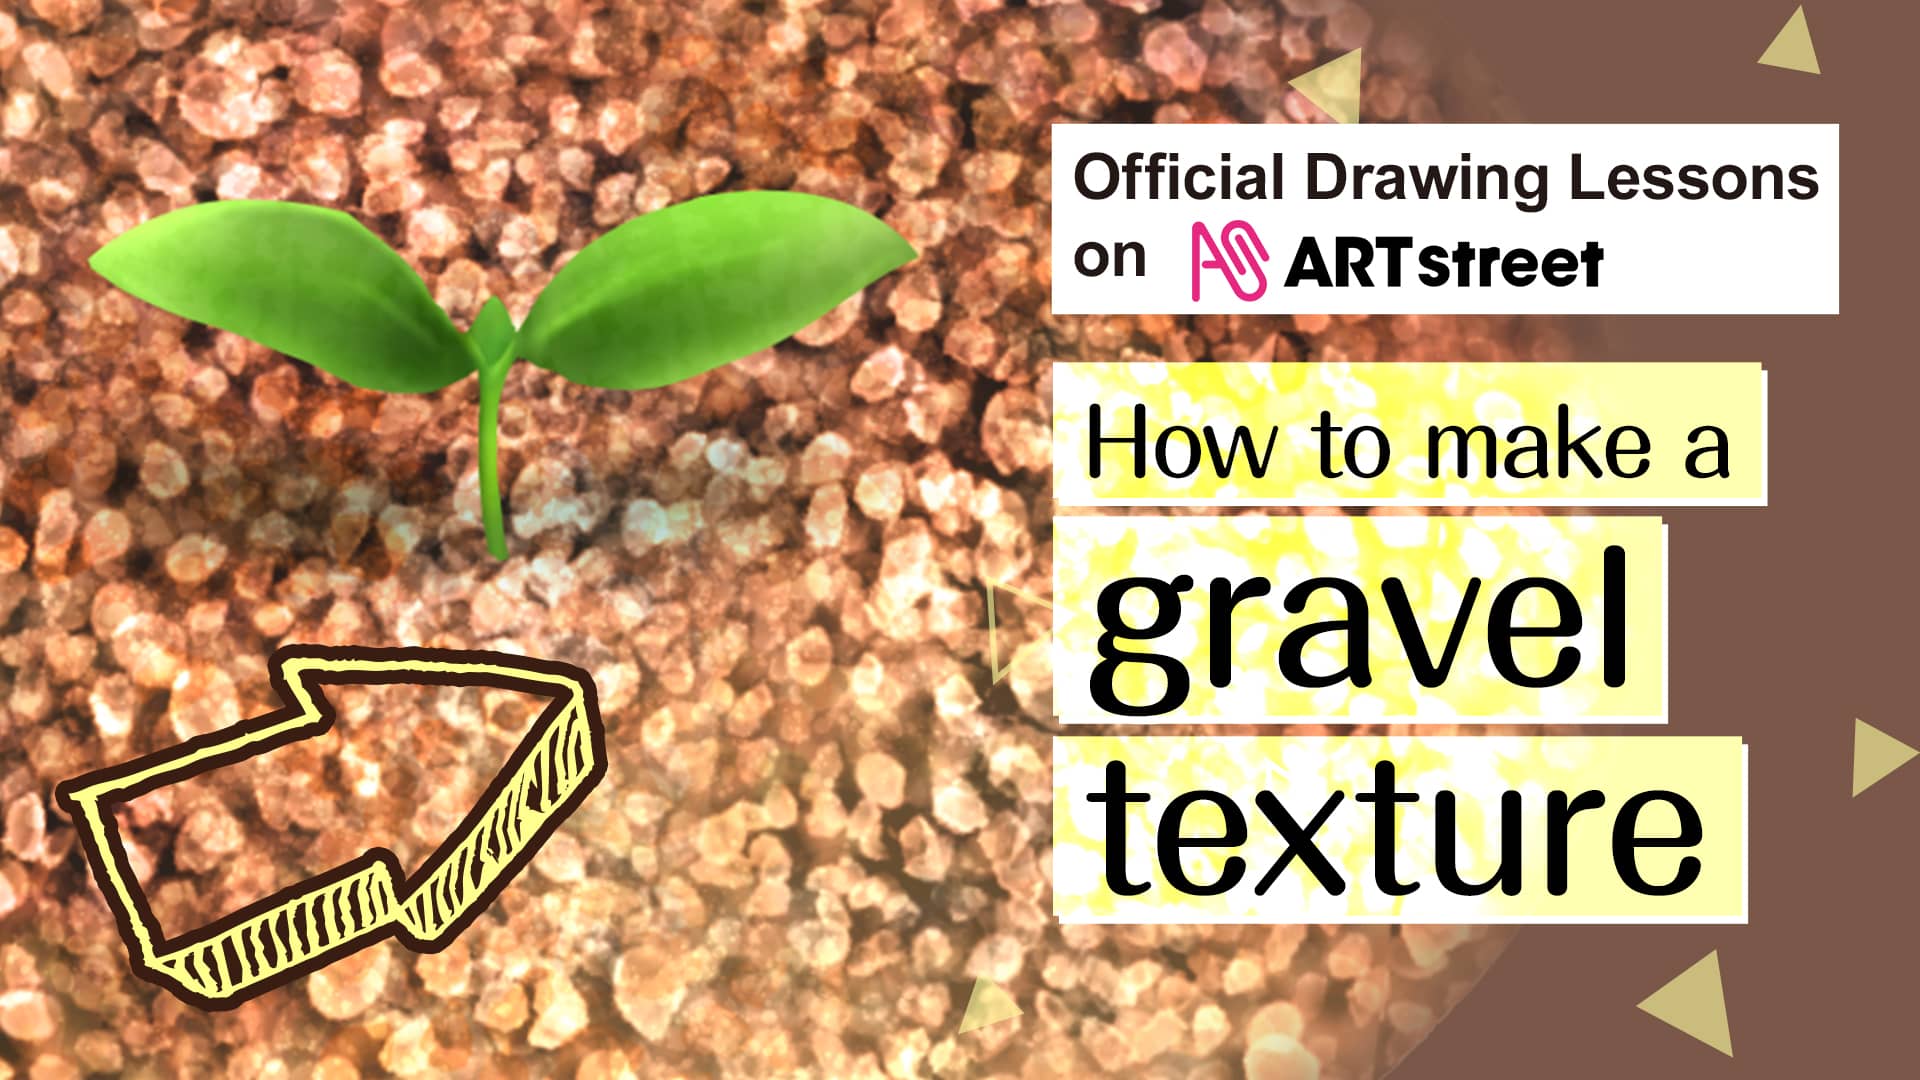
Let’s make some original textures with MediBang Paint for PC!
Textures are materials that express textures, and by pasting them, you can expand the range of expression for costumes, backgrounds and more.
The more difficult something is to draw, the more you want to prepare it as a texture.
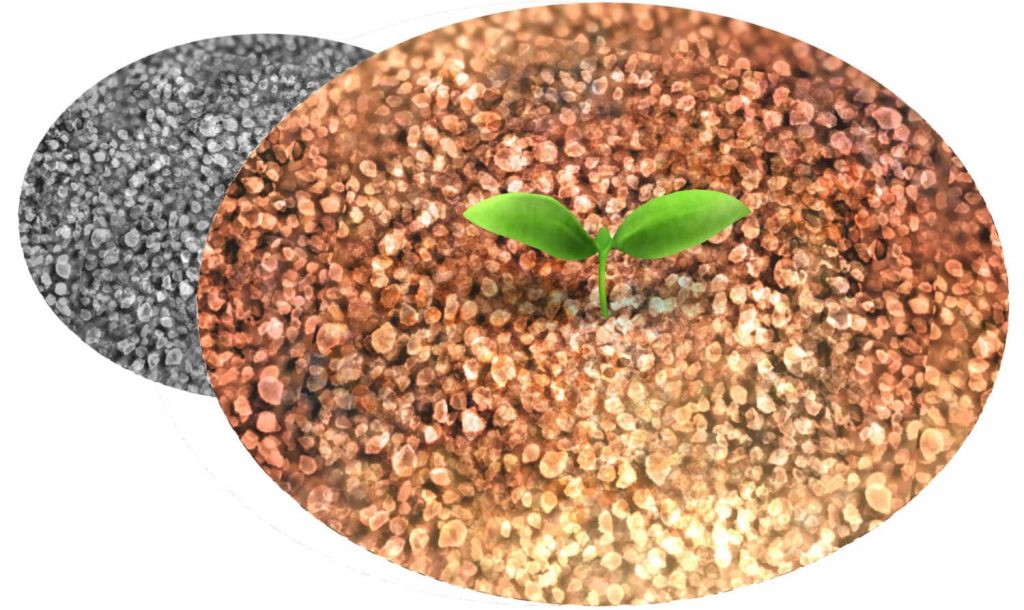
We will show you how to create a gravel texture as an example.
I hope you’ll take this opportunity to try your hand at it and use it to improve the quality of your work!
1.Create a new canvas.
We will make the canvas with a size of 500 x 500 (width x height).
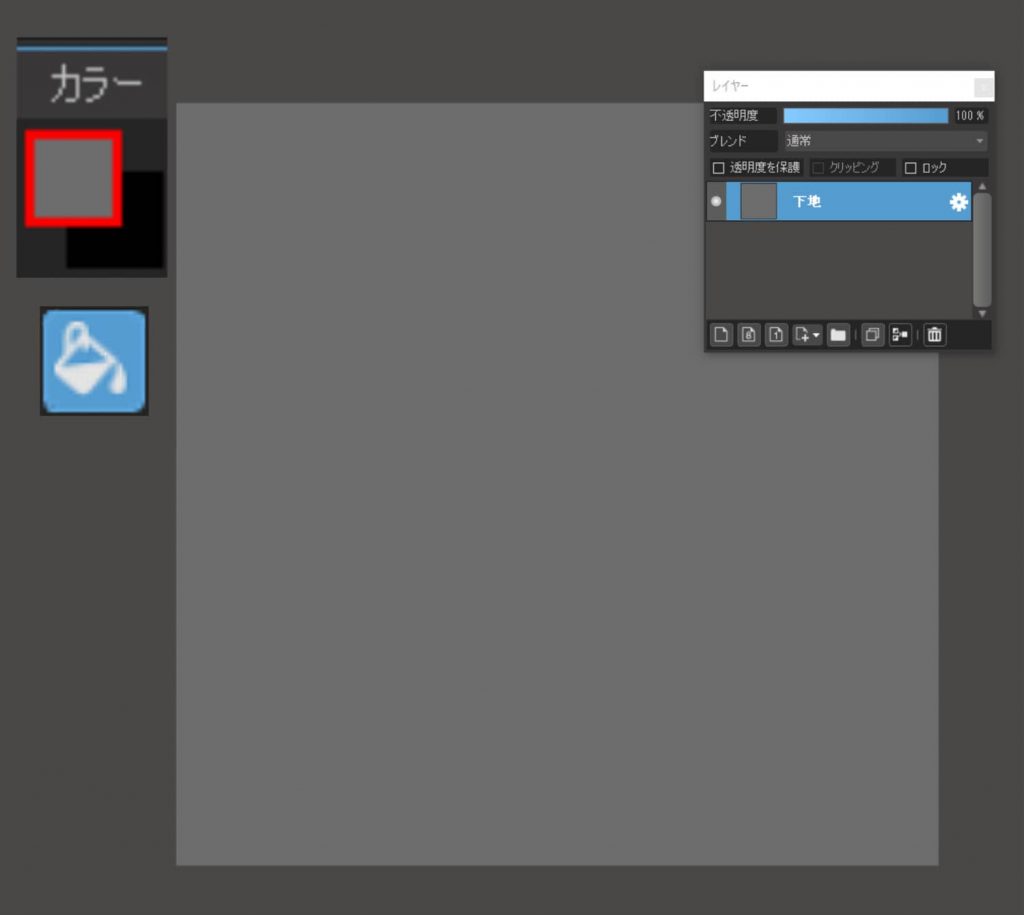
2.Base Layer
Fill the first layer with a darker gray.
3.Gravel Layer
The next step is drawing the gravel.
The process itself is very simple: just paint the entire canvas with a brush.
Brush:Fluffy Watercolor 2
Color:Light Gray
Brush Size:150
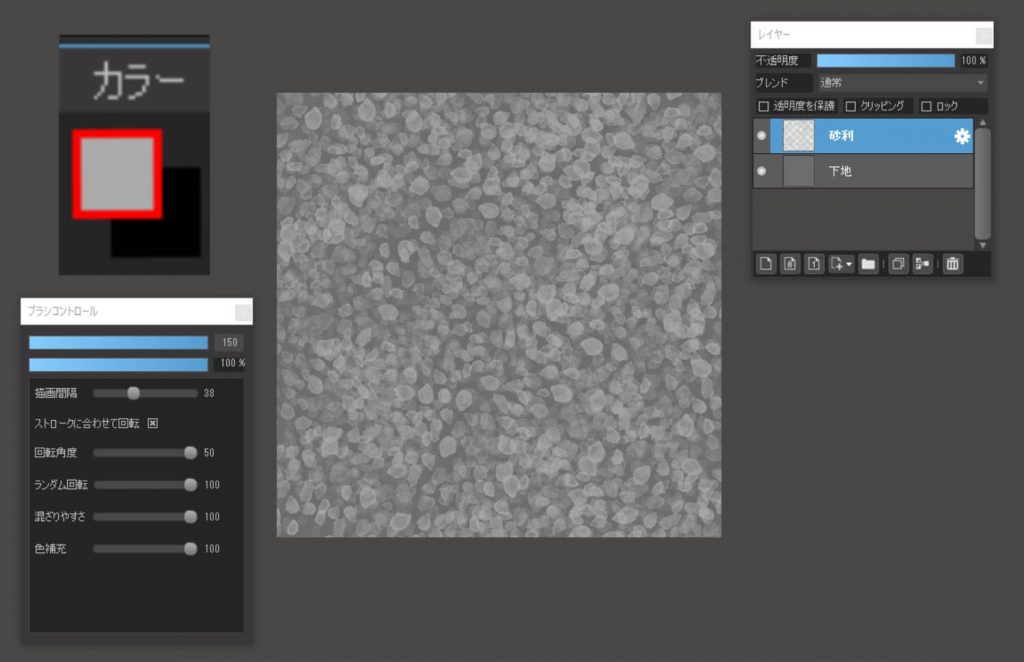
For brush settings, I recommend “30-50 drawing intervals” and “100 random rotations”.
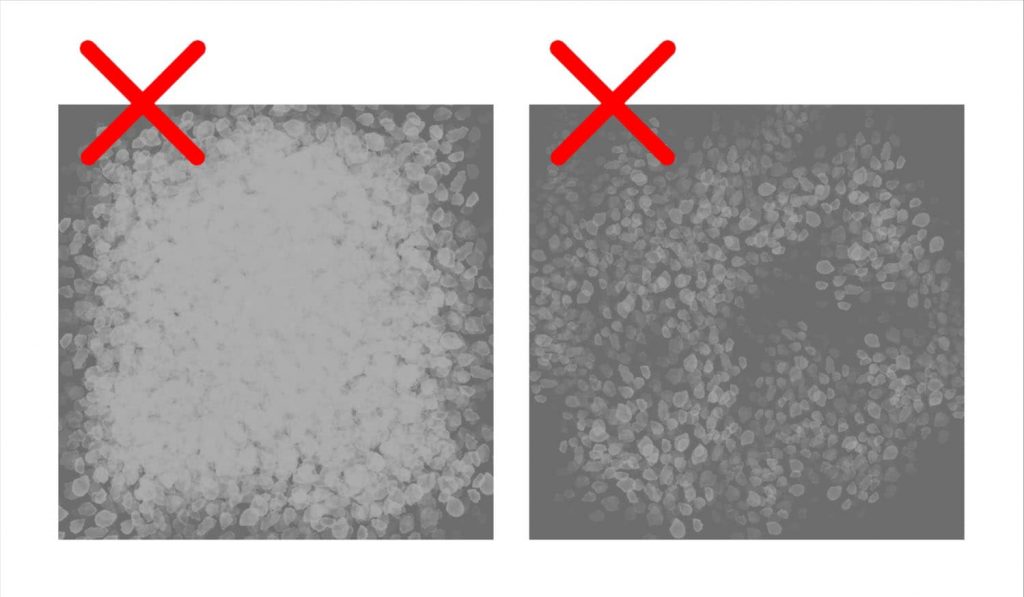
The point is leaving enough gaps to show the “Base” layer.
You can paint roughly, but be careful not to overlap too much or leave too much space.
4.Shadow Layer
Let’s create a shadow under the “Gravel” layer.
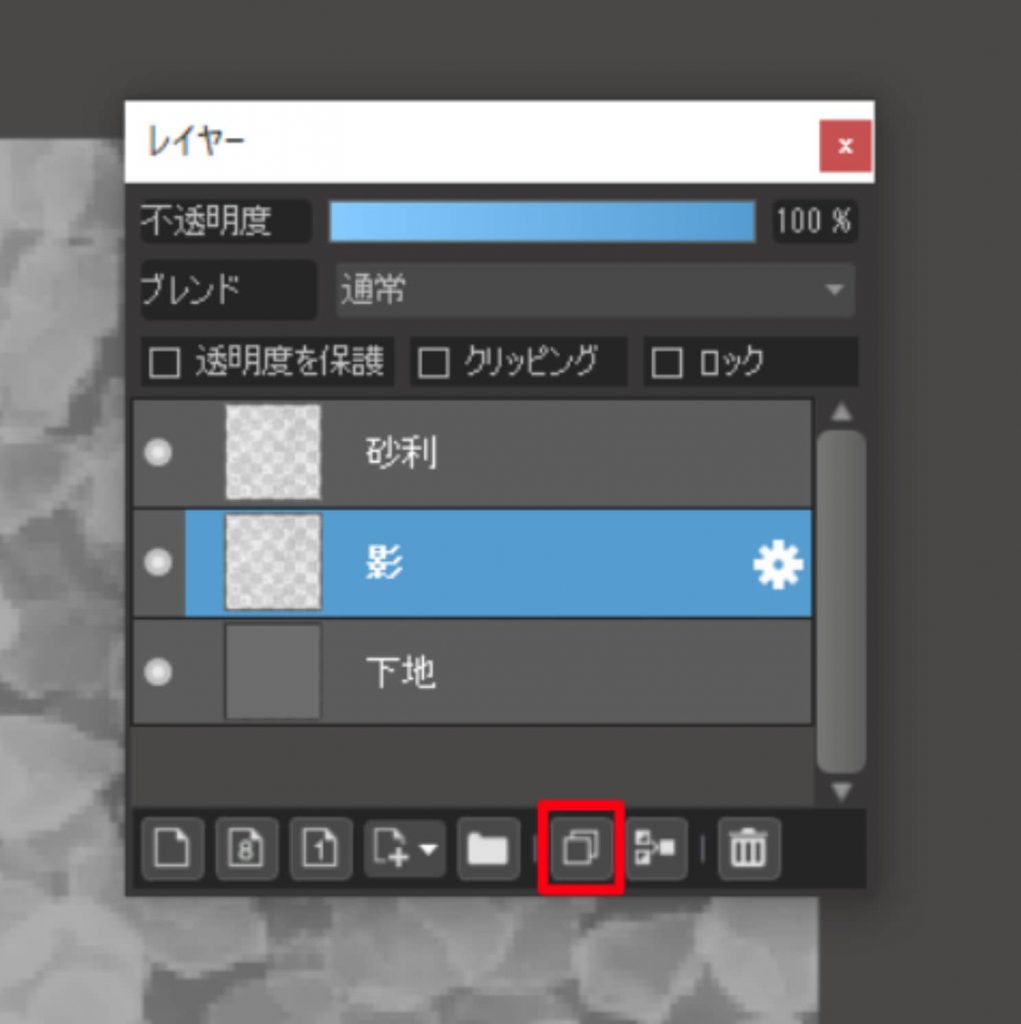
(1)Duplicate the “Gravel” layer.
I duplicate the “ Gravel” layer and name it as a “Shadow” layer.
Then, I put the “Shadow layer” below the “Gravel” layer.
(2)Lower the brightness
[Filter] > [Hue] > [Lightness] negative100
(3)Blur
[Filter] → [Gaussian Blur] → [Value] 3
(4)Shift diagonally
Use the Move tool to move the image down a little.
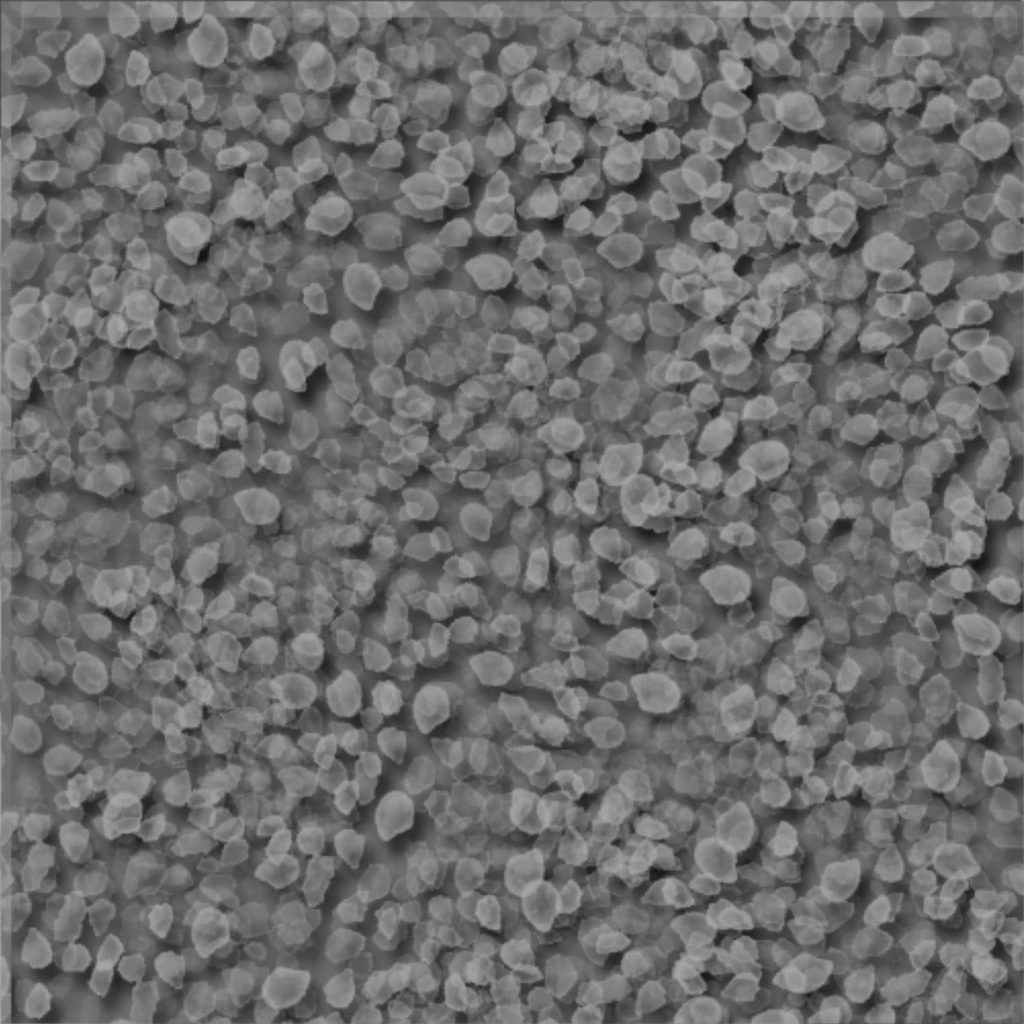
I think it has become three-dimensional at once.
The image is now almost complete!
You may want to change the brightness of the base layer to find the ideal contrast.
5.Emphasis Layer
The last step is to emphasize the variations, shadows, and roughness of the pebbles.
You can skip this step if you want, but it’s a very simple trick, so I’ll show you how to do it.
Go to “Add Layer” and set “Blend” to “Overlay”.
Smear the entire image with “Fluffy Watercolor 2”.
Switch between light and dark gray, and randomly punch in and out.
It is better to change the brush size from time to time.
This is what it looks like without the other layers.
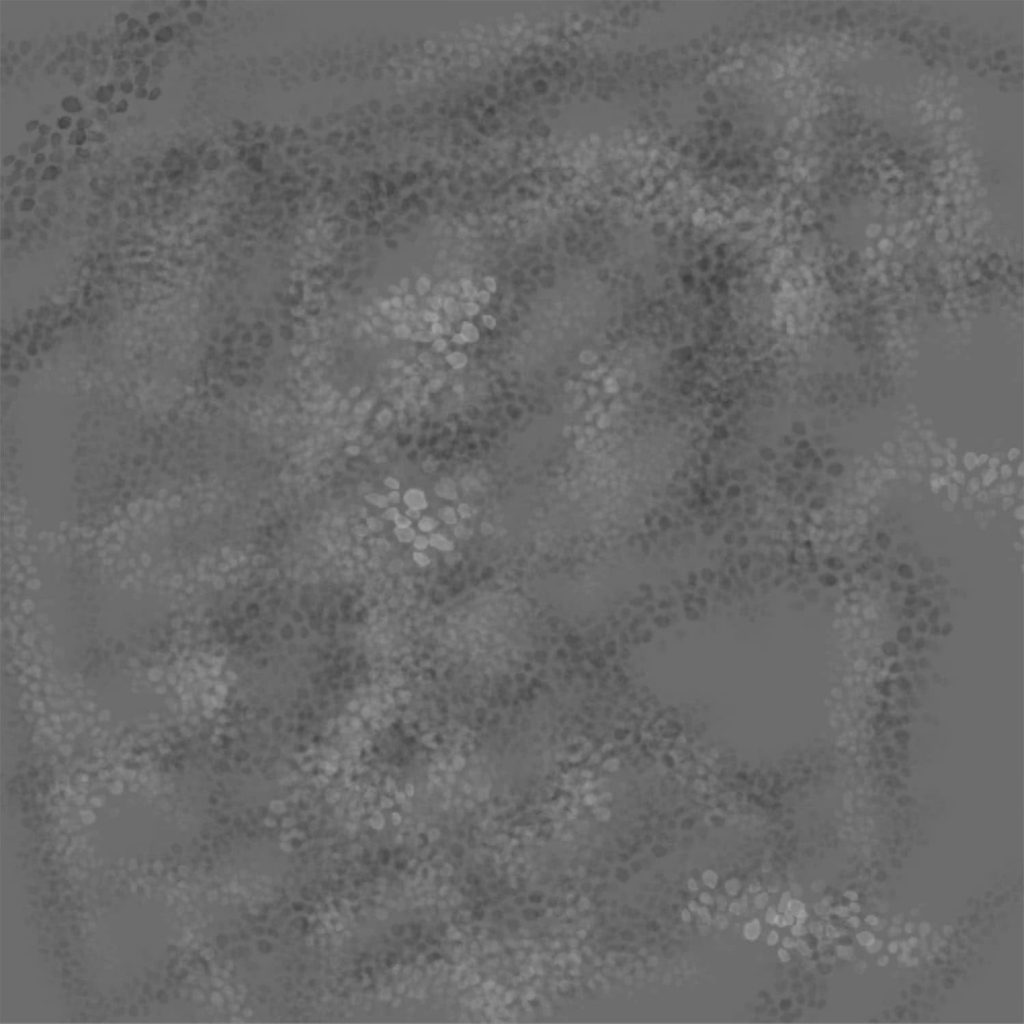
You can have many gaps.
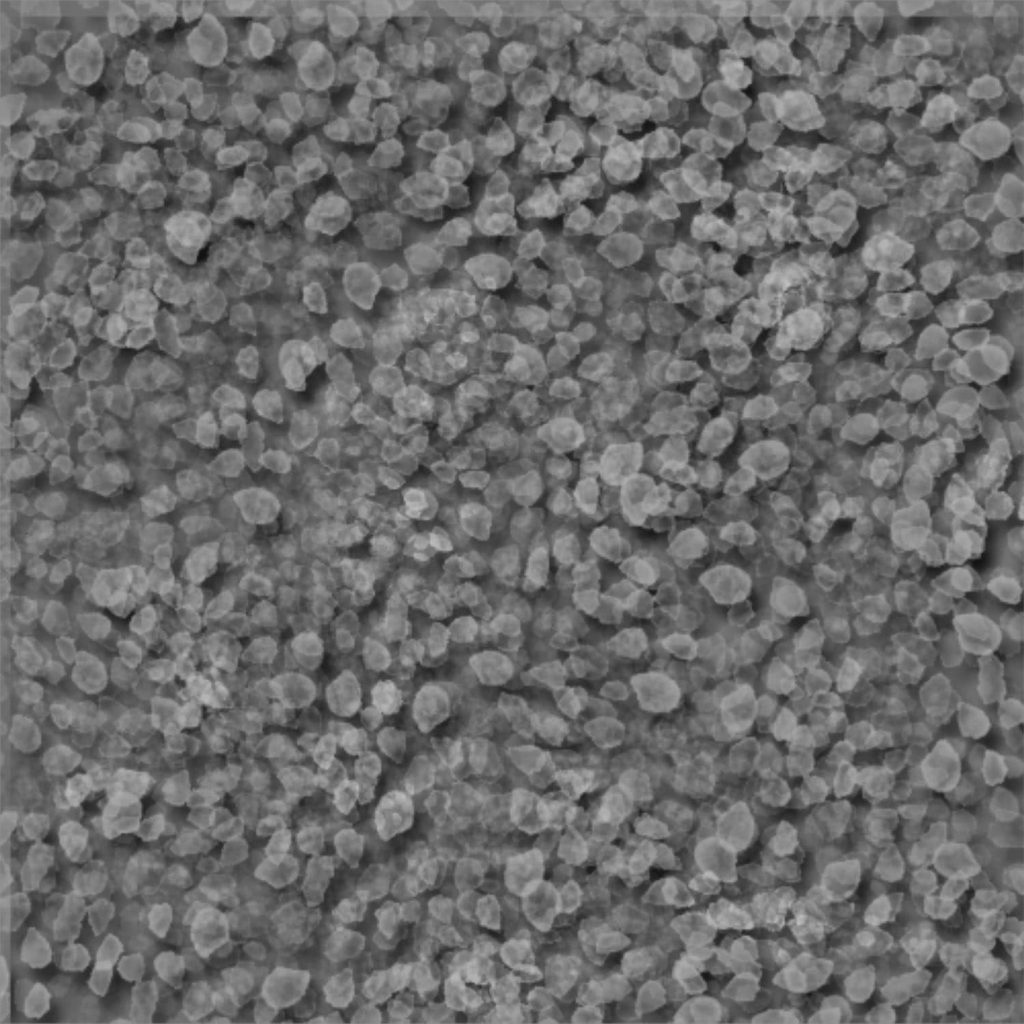
The difference in height is emphasized, and the result looks wavy.
I think it’s better to draw without thinking than to draw consciously, which gives a more natural result.
6.Add to material and save.
Since we have just shifted the shadow layer, the upper left edge is no longer needed.
Use the selection tool to select only the area with the shadow layer.
You can also “crop” the image.
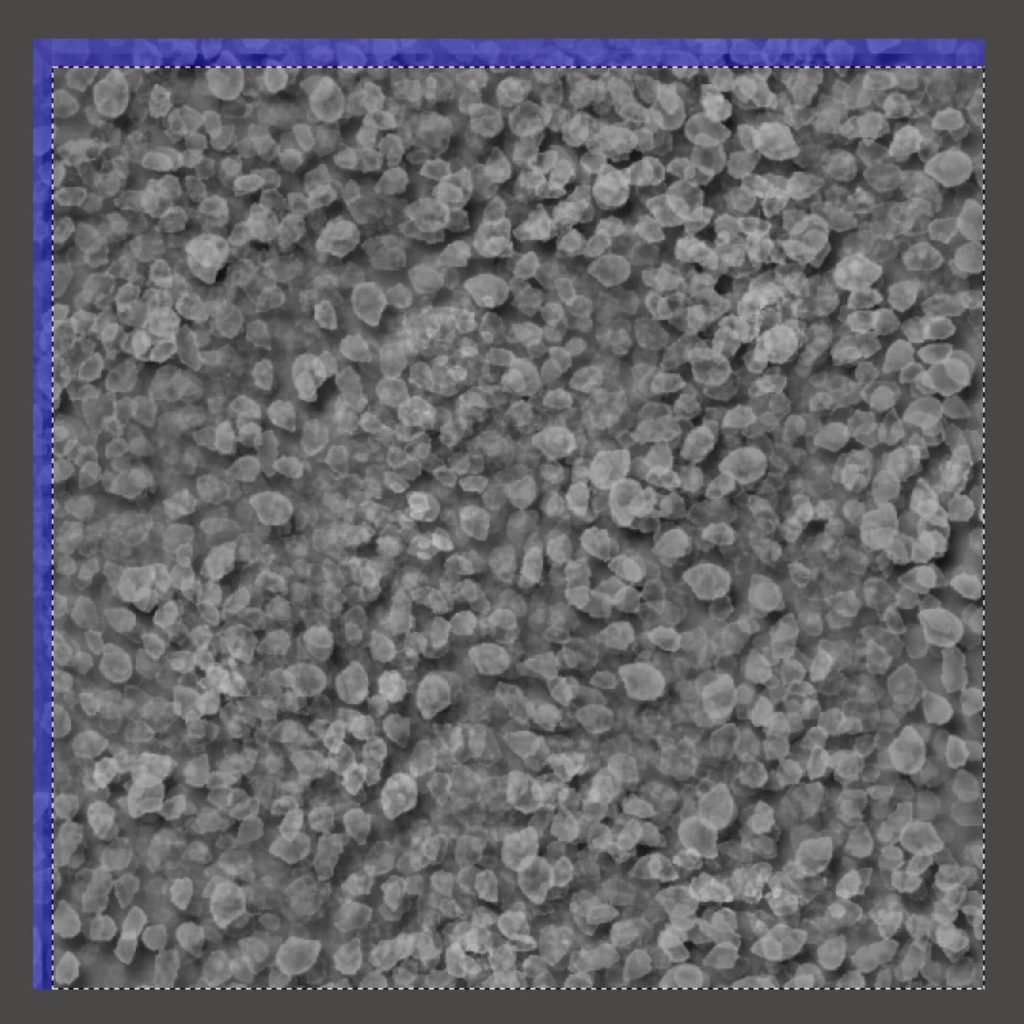
Next, go to “Show Materials Panel” and click
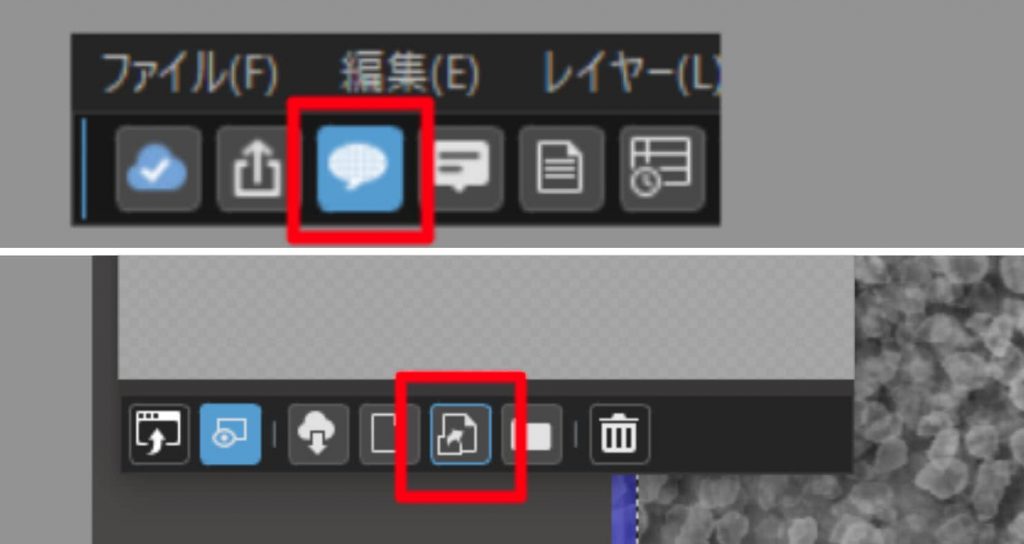
Click “Add Canvas as Material”.
When the canvas is added to the Materials panel, you are done.
It is also recommended to save the layer as a file without merging it.
The texture is now complete.
The reason for drawing it in gray is to make it easier to apply color when coloring and to allow for more arrangements.
You can use this texture to create more and more textures.
How to use textures
・Pasting
Let’s start pasting the gravel texture we just created.
Prepare a new canvas (e.g. 1500×1500).
Drag and drop it from the Material panel to the selection, and it will appear seamless (repeated).
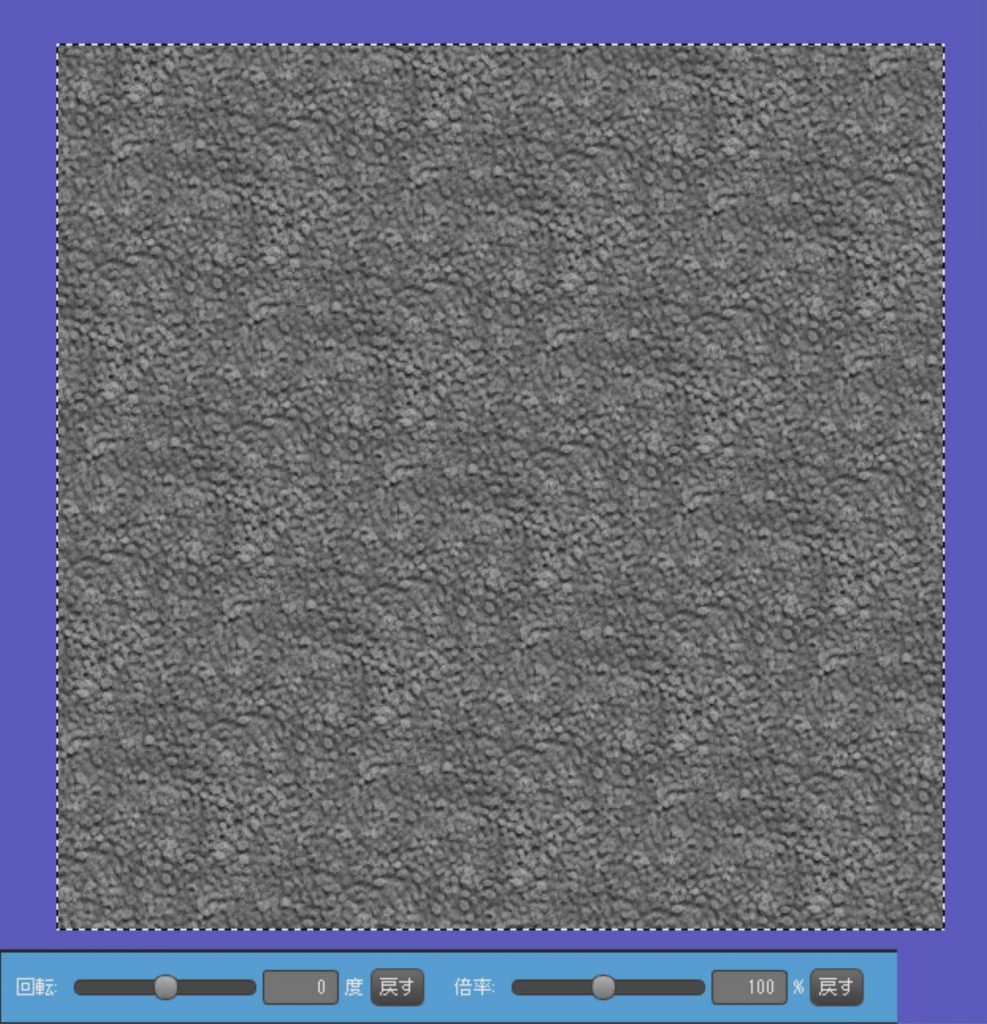
Let’s change the rotation angle and magnification.
Click “ok” to draw the image in the selected area.
・Deformation
Try out different terrains by adding perspective or using “mesh deformation”.
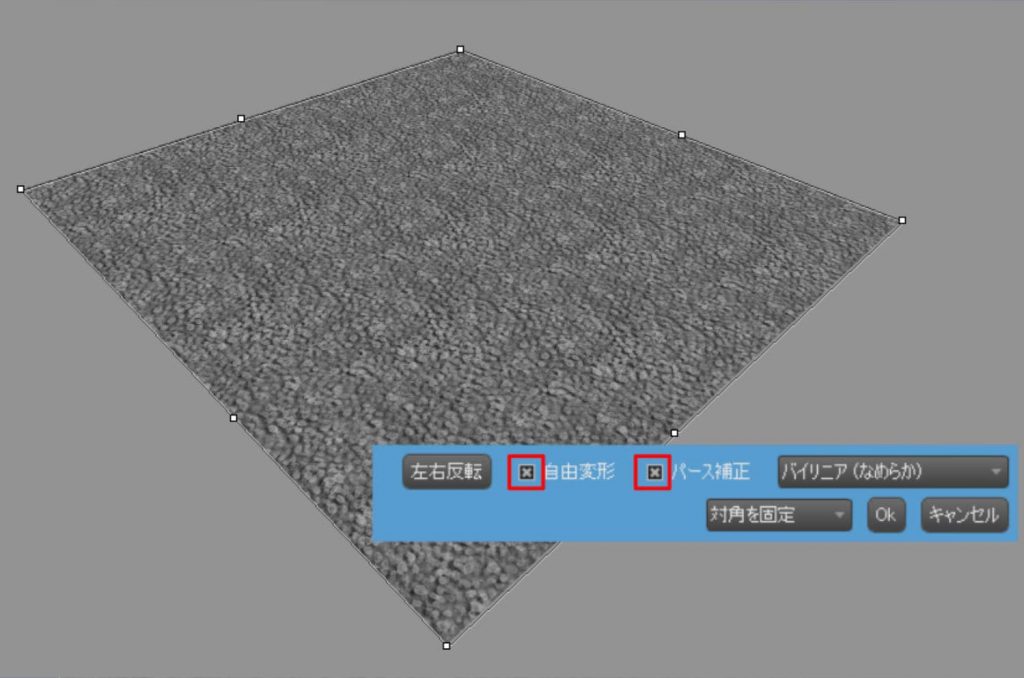
For more information on mesh deformation, please refer to the “MediBangPaint Tutorials” for a clear explanation.
[PC] How to Use Mesh Transform
[Android] How to Use Mesh Transform
[iPad] How to Use Mesh Transform
[iPhone] How to Use Mesh Transform
・Coloring
Coloring is basically done by changing the blending of the layers.
If you are not familiar with the blends, we recommend “Overlay”.
Here is an overlay of a white and orange checkerboard pattern.
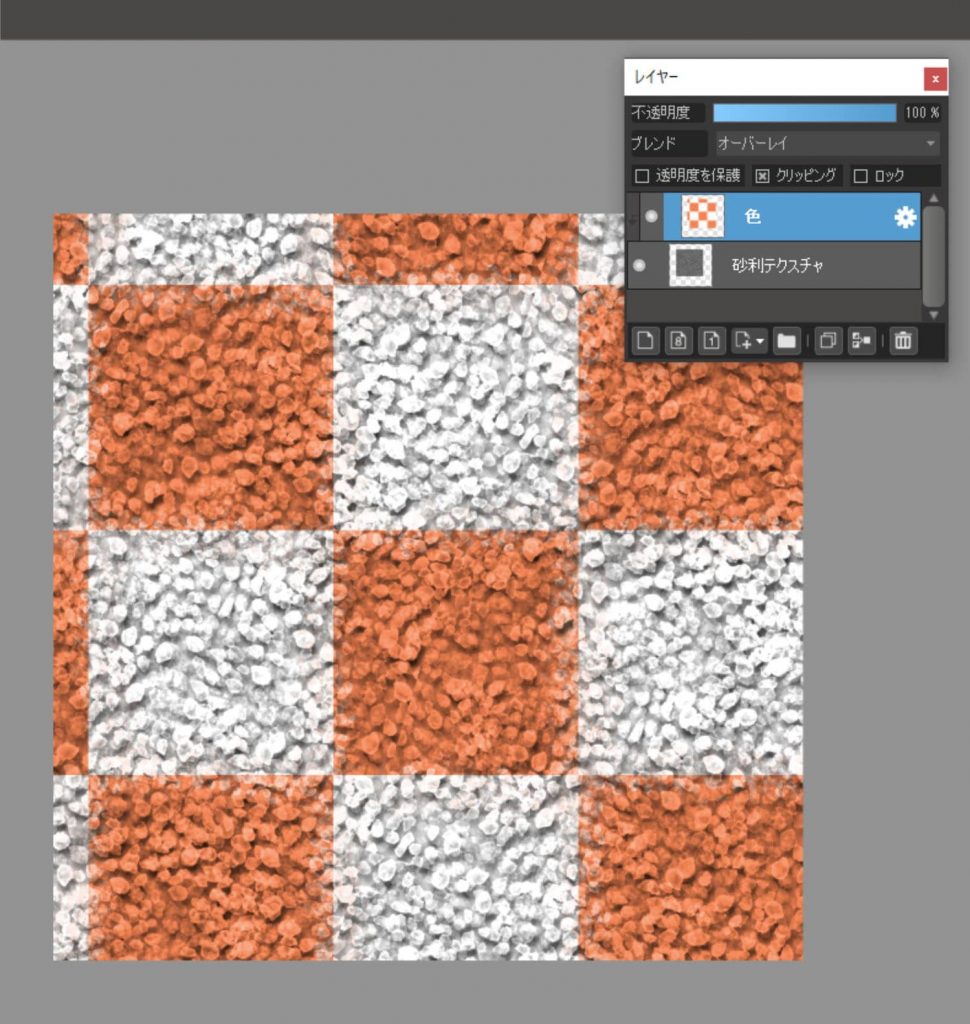
It has become the white gravel and brick chips familiar to gardeners.
■Here is a slightly more advanced way to use them.
When you are able to deform and color, please refer to this page.
・Contour and contrast adjustment
The “Unsharp Mask” can be used to enhance the contours, shadows, and roughness of stones.
”Filter” -> “Unsharp Mask”
Let’s try changing the value.
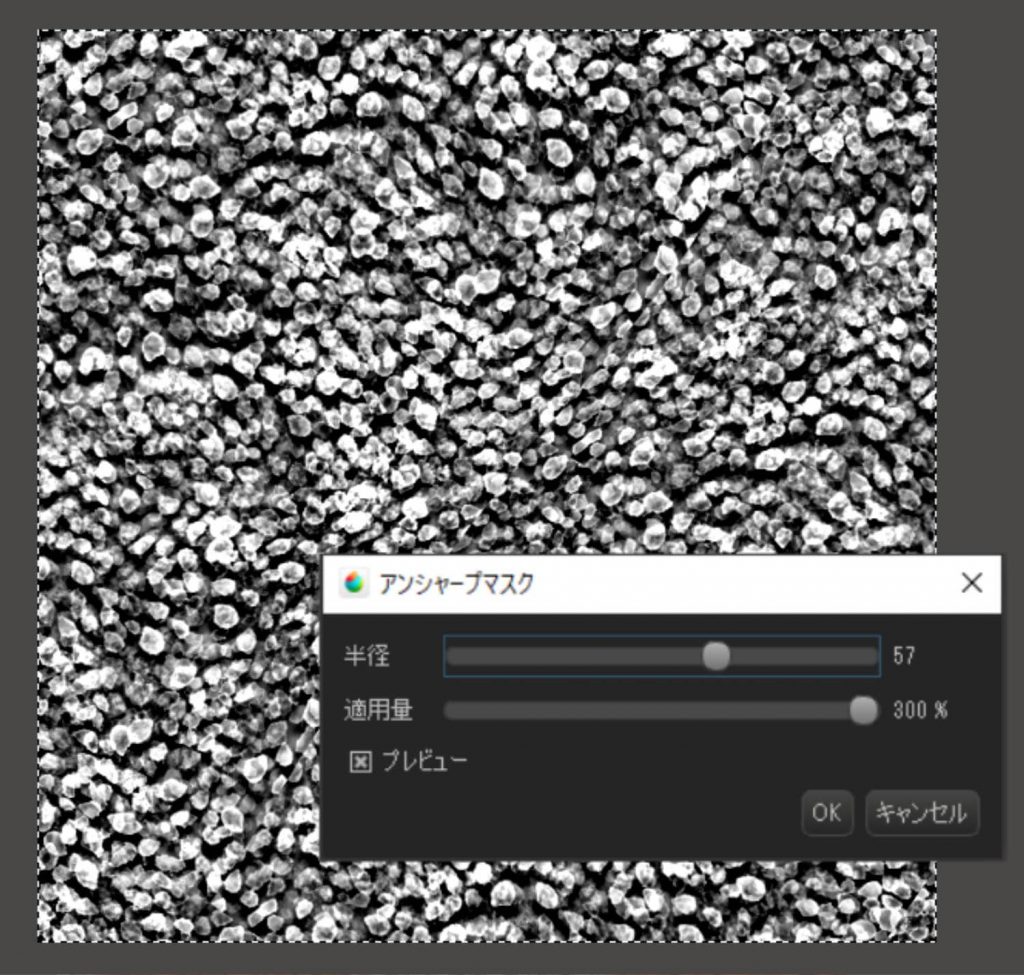
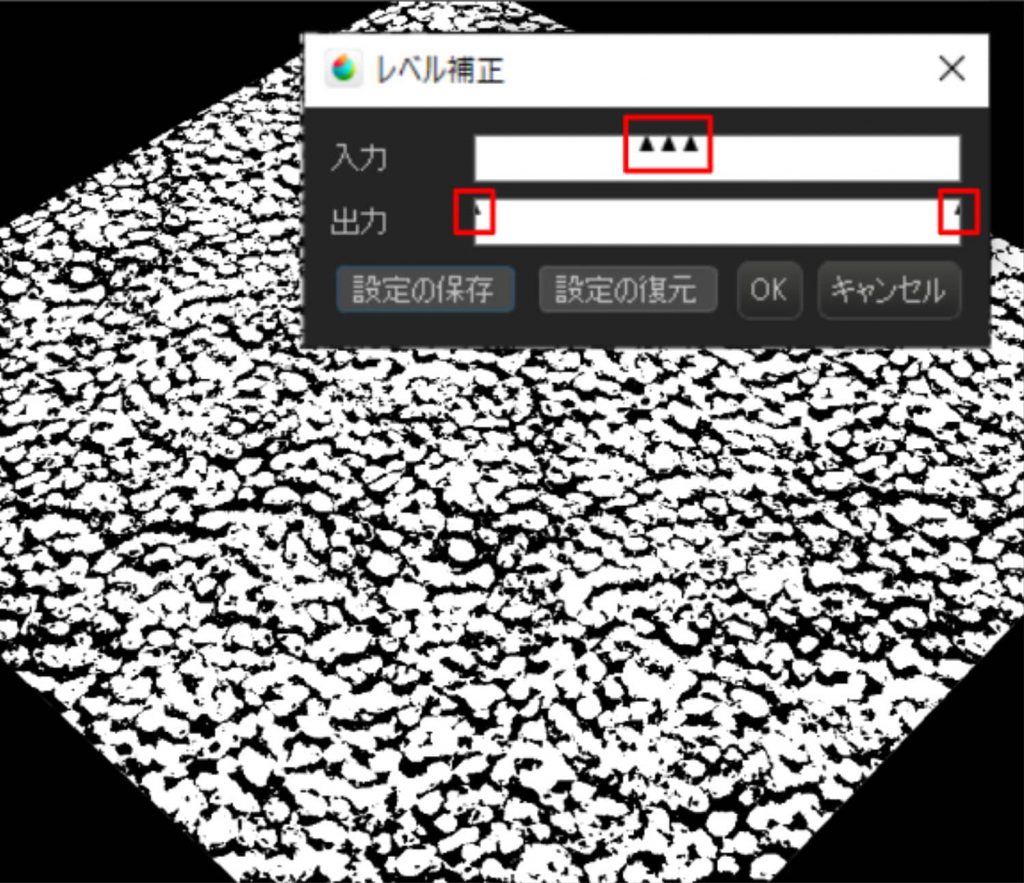
You can use “Level Compensation” to create a background for a comic book.
“Filter” > “Levels”
・Using the gravel texture for another purpose.
Let’s try using the gravel texture we created this time to express a texture other than gravel.
For example, “asphalt road surface”.
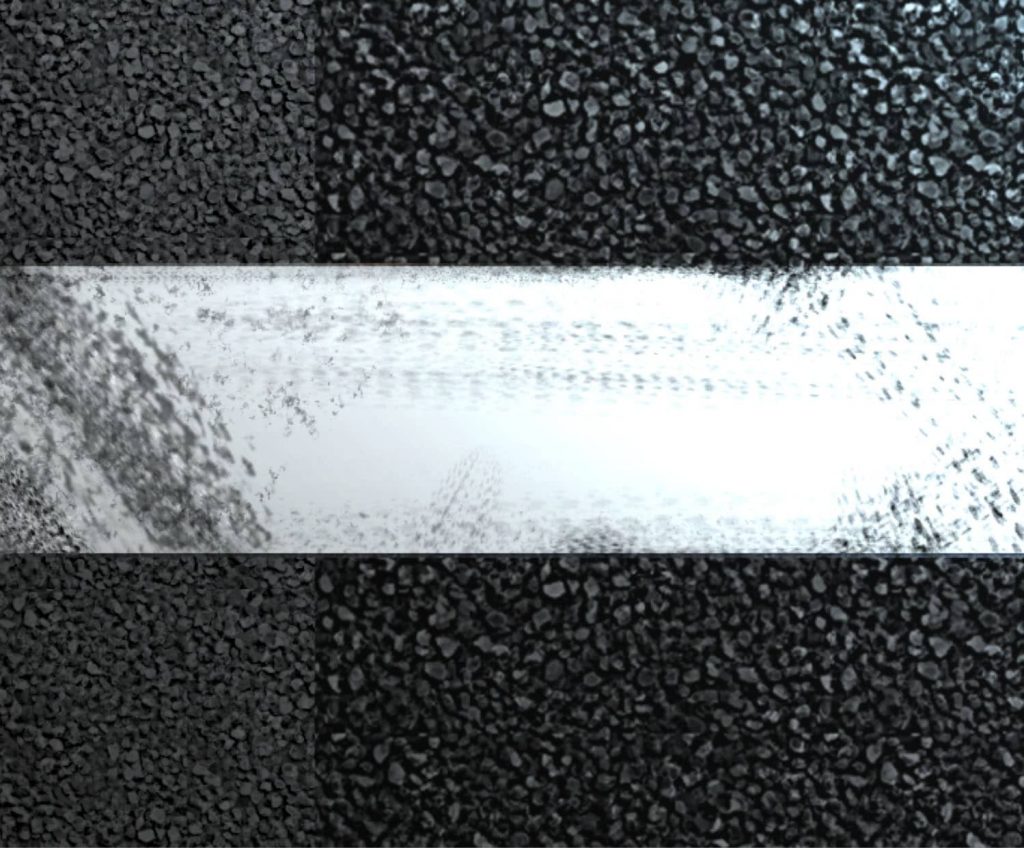
Just by lowering the brightness, it looks enough like asphalt.
This image shows the gravel and water surface at the waterfront.
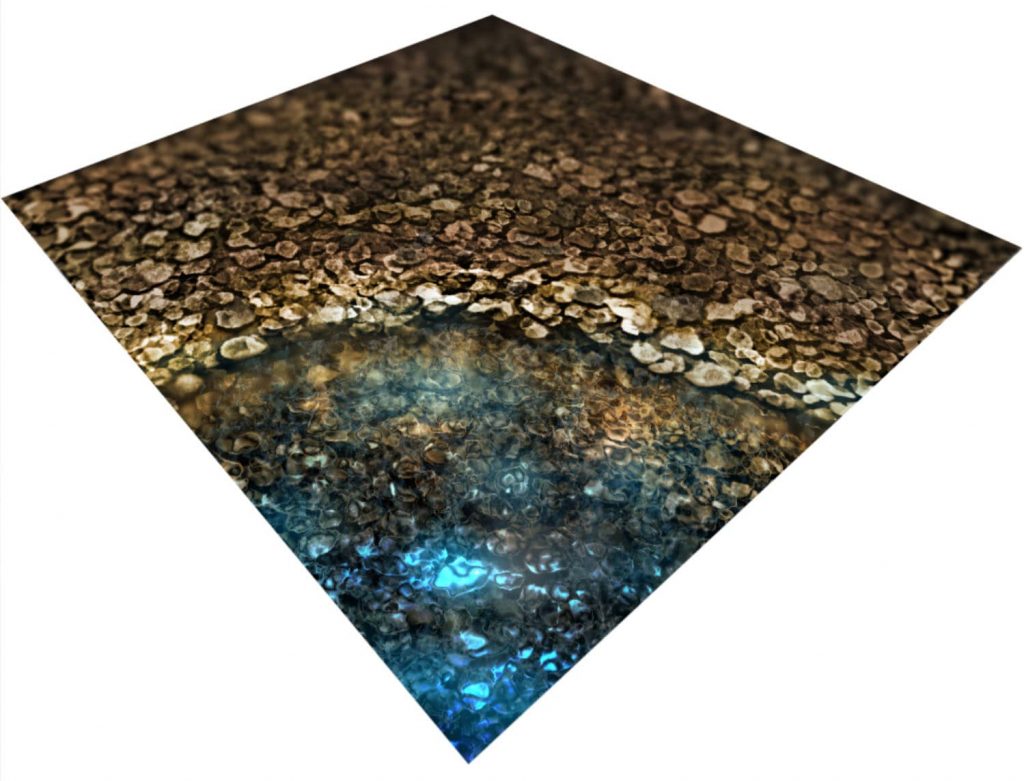
The shimmering water surface is also created by the gravel texture.
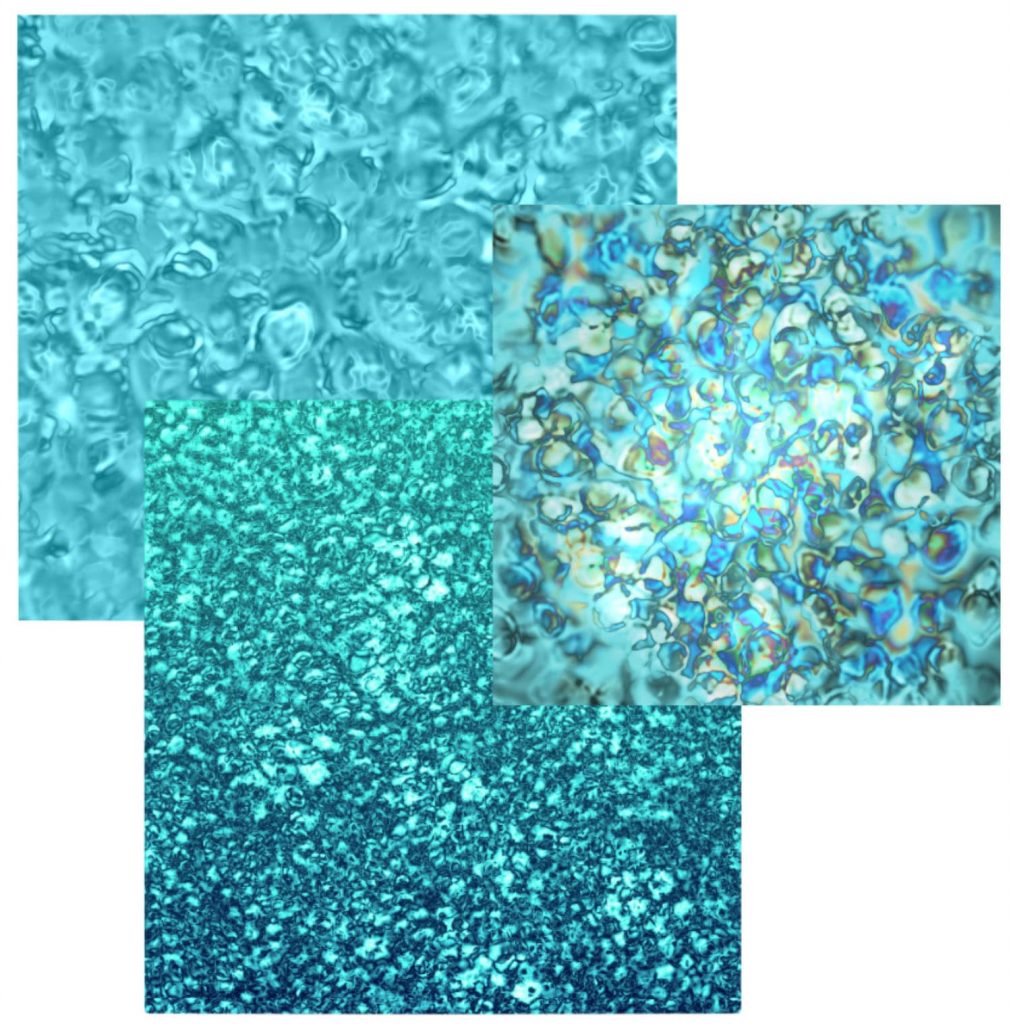
Repeat the process of overlapping, blurring, and shifting the gravel texture with the absolute value of the difference to get a frosted glass effect.
The procedure is the same as for the shadow layer.
How did you like it?
I think it is very easy to arrange and use the distributed materials when you make your own.
If you haven’t used textures before, you should definitely try using the official materials that are available.
Click here for MediBang Paint official materials
I’m sure you’ll find something new and fun to draw with.
「Tow Tateoka」
ART street
Click here for the collection: https://medibang.com/u/towtateoka/
Click here for the interview: https://medibang.com/page/interview/TowTateoka009/
twitter: @Tow_Tateoka
\ We are accepting requests for articles on how to use /

