2021.07.09
[Easy] How To Draw a Scroll [Illustration]
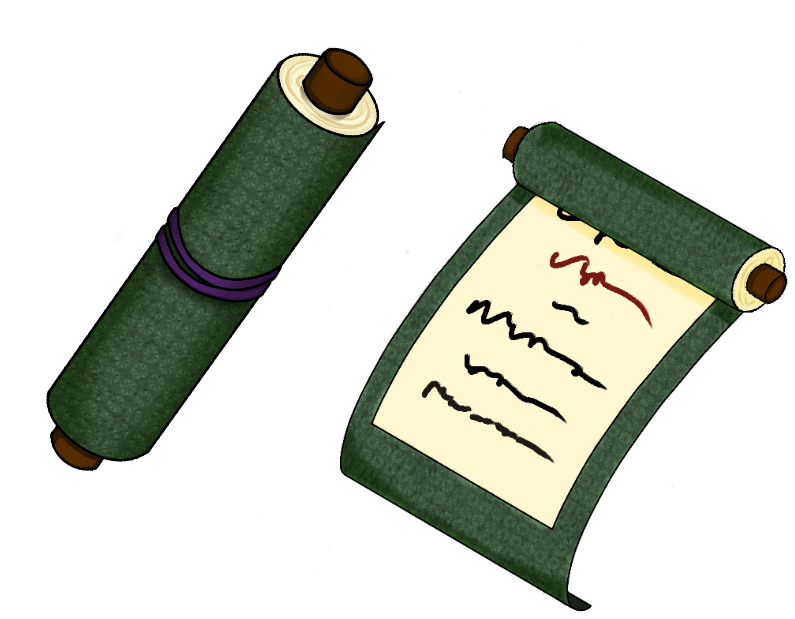
This time, I’m going to show you how to draw an easy-to-follow scroll illustration!
If you want to draw a Japanese fantasy illustration, or if you want to use scrolls in a manga battle scene, please refer to this article.
Index
◯ Draw the area around the scroll
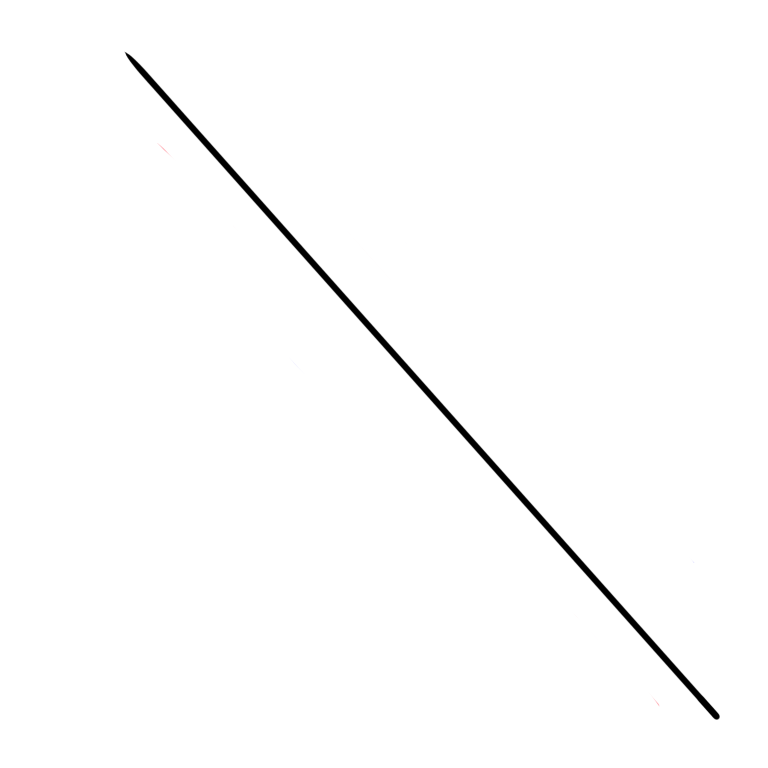
First, we will use the ruler tool to draw a line to determine the center of the scroll.
The key is to make sure the line is a little longer than the size of the roll you have in mind!
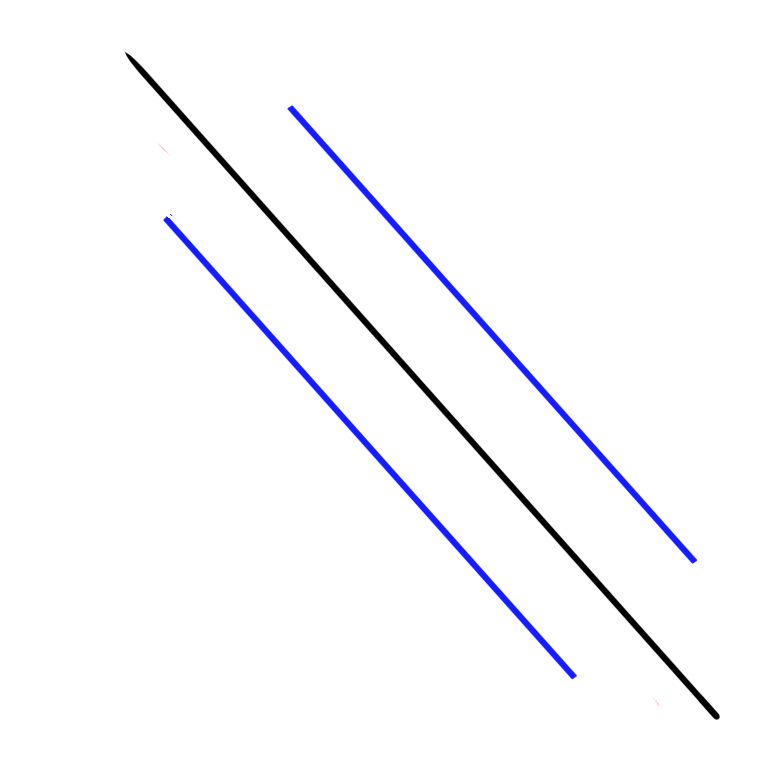
Once the center line is drawn, decide the thickness of the scroll and draw two lines from the center line to the target.
At this point, it is a good idea to change the color of the lines from the center line so that they are easier to see later!
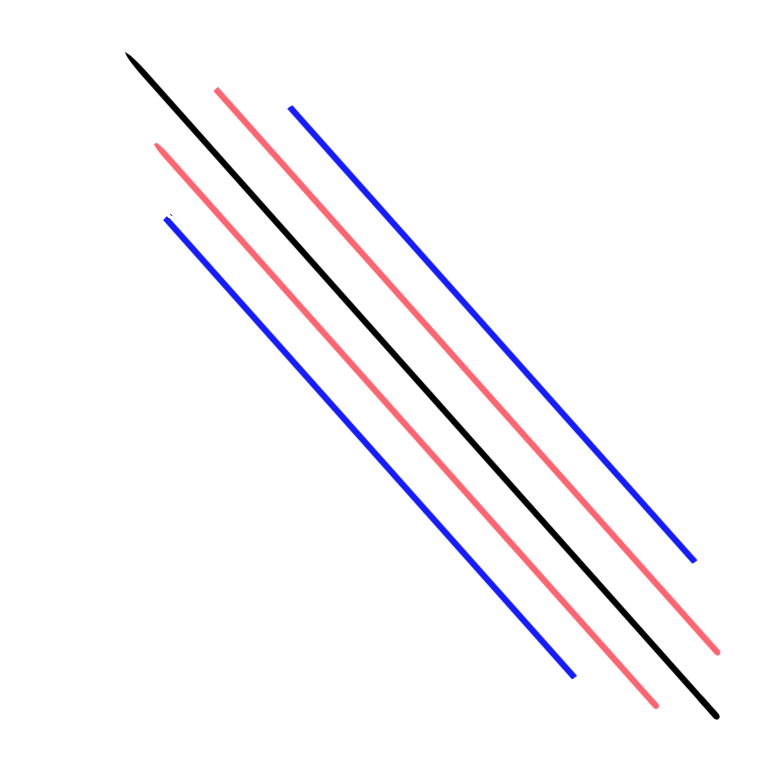
Once you have decided on the thickness of the roll itself, take a picture of the shaft in the center of the roll.
The thickness of the shaft will be different for each scroll, but a line around the center line and one-half of the outer line will give a good balance.
◯ Drawing a draft of the scroll
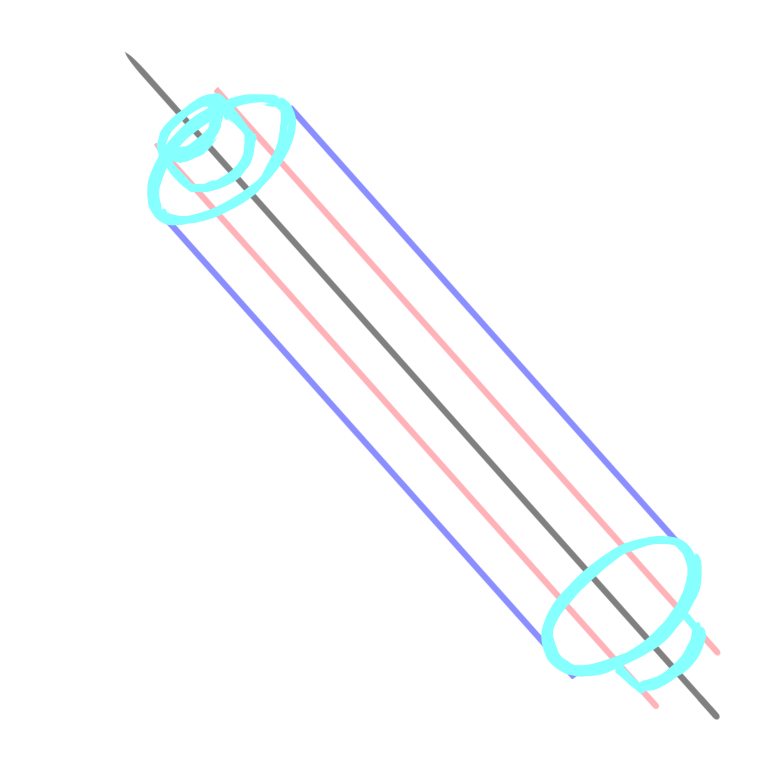
Once you’ve got a good idea of what you want to do, draw a rough sketch of the scroll based on the perimeter lines.
The rough lines of the scroll are already drawn at the periphery, so you only need to draw the edges of the scroll.
When you get used to drawing scrolls to some extent, you can skip the rough and draw directly with line drawings.
◯ Draw a line drawing of the scroll
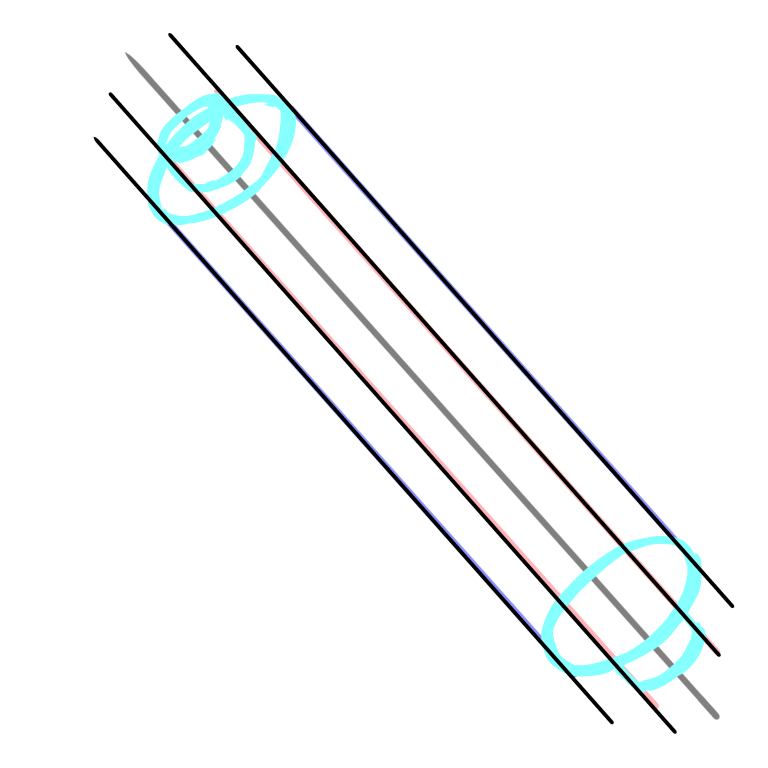
Once the rough is complete, you can start the line drawing.
Based on the first line and the rough drawing, first draw a straight line at the same angle with a straightedge.
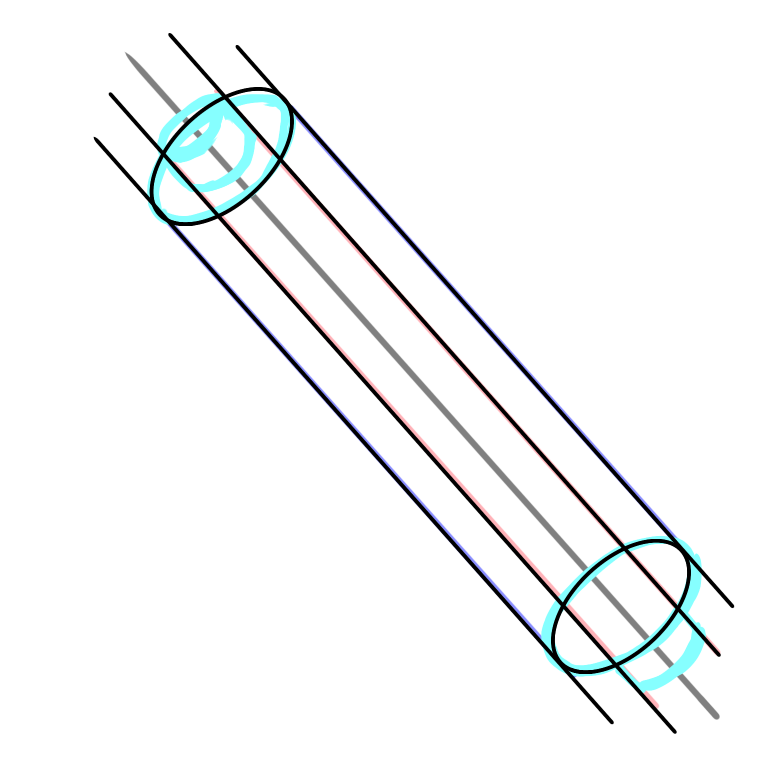
Next, draw a line drawing of the ends of the scroll using an oval ruler.
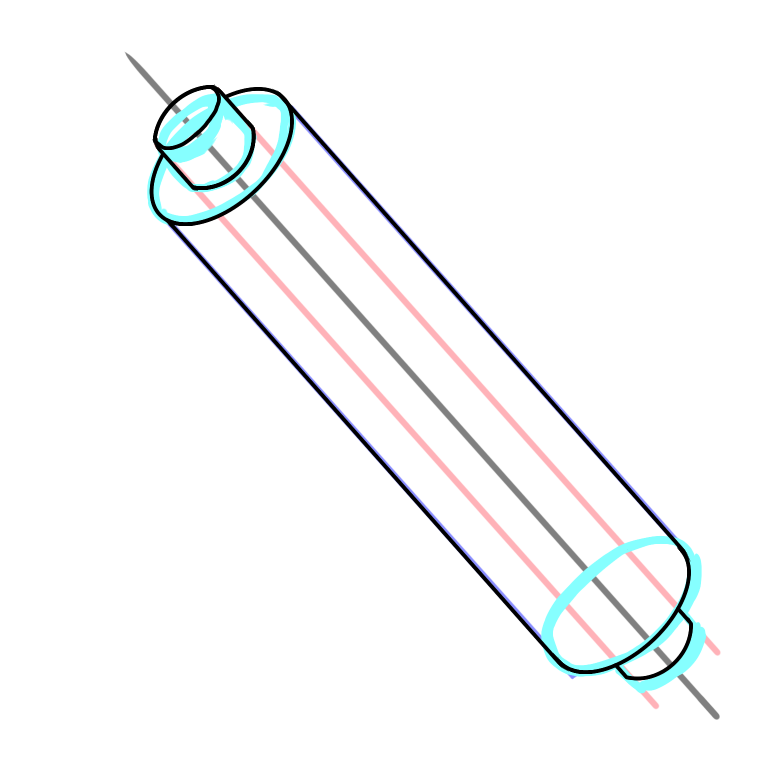
The key is to draw the left and right ellipses so that the ends of the ellipses are aligned with the straight lines of the scroll to get a beautiful finish. ⭐︎
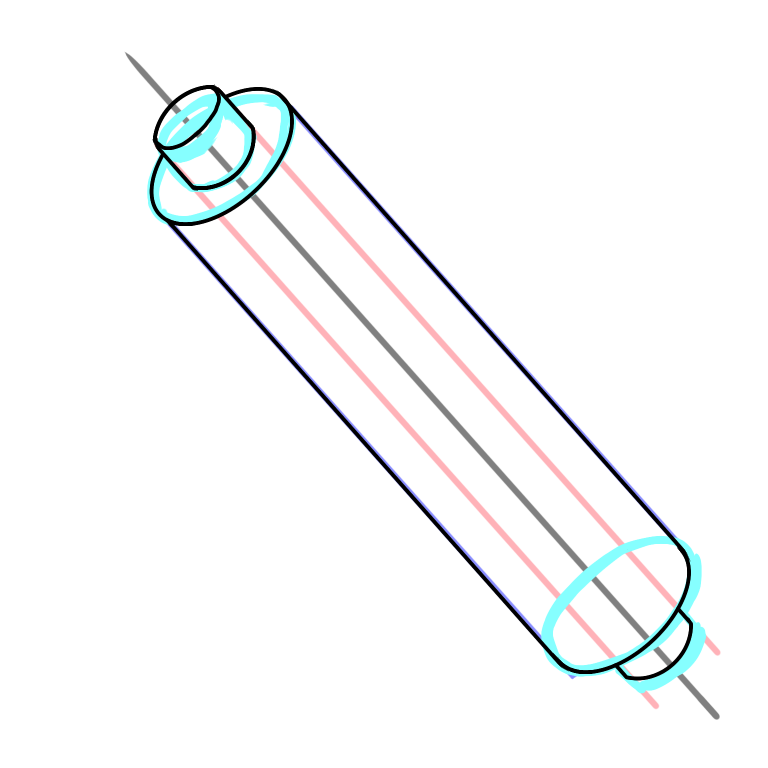
You can also draw the curved part of the shaft and edge of the scroll with a beautiful curve by making a larger elliptical ruler and drawing with one part of the ellipse.
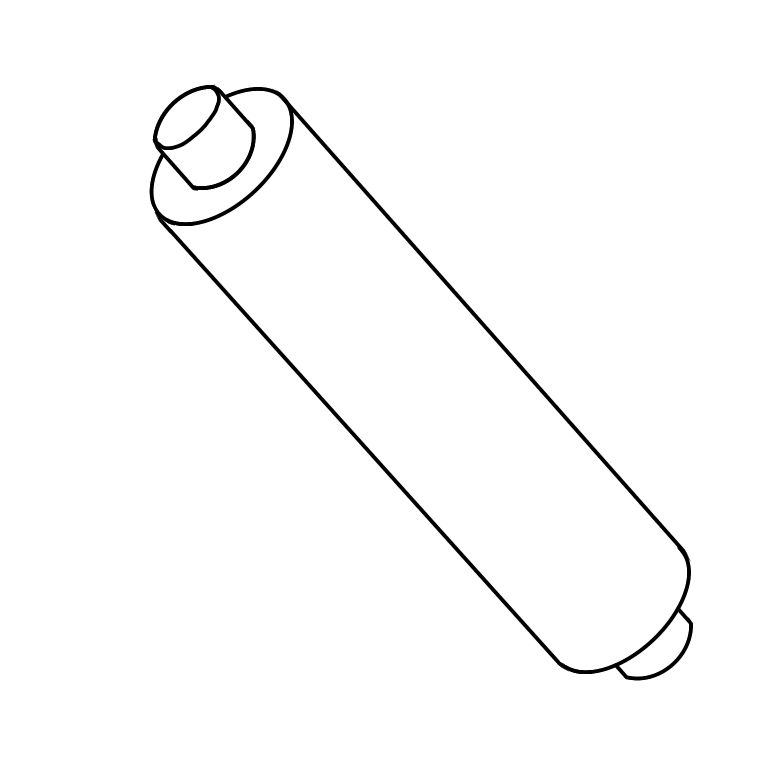
It’s easy to make it look like a scroll by making it look like a long, thin cylinder with a shaft through it, but there is a point where you can make it look even better by adding a twist.
Shift either the left or right side of the wrapped paper part of the scroll slightly outward from the line you took around it.
This will make it look like the paper is wrapped around the ellipse, giving it a more scroll-like appearance.
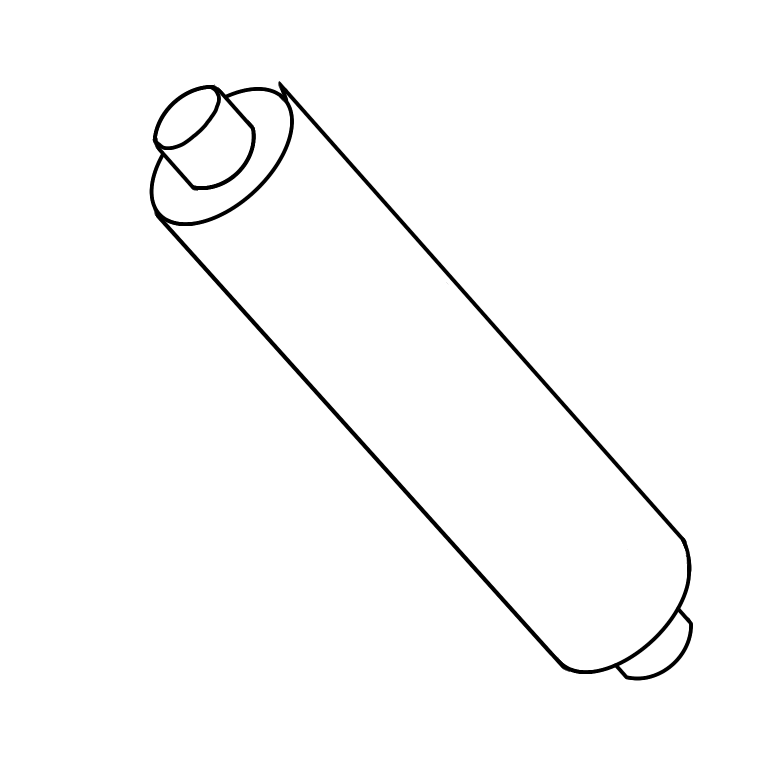
It is recommended to add a twist to the image to change the finish.
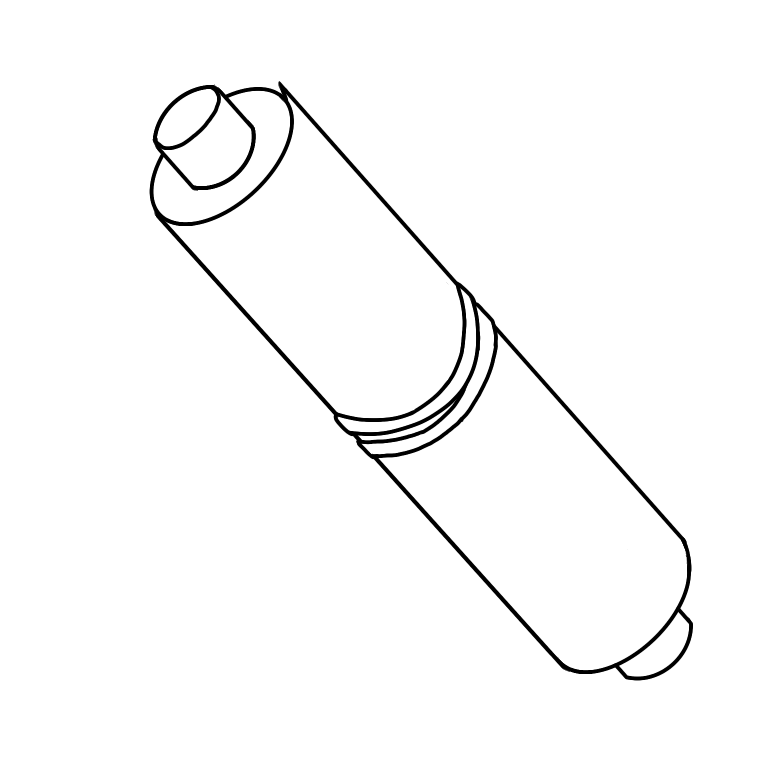
When you have finished the rough line drawing of the scroll, you can add the three-dimensional effect of the shaft and the string at the end.
Since I’ve been using a ruler to draw the string, I’m going to draw it freehand to give it a rough look.
Don’t forget to erase the lines of the scroll where it overlaps the string!
◯ Color the scrolls
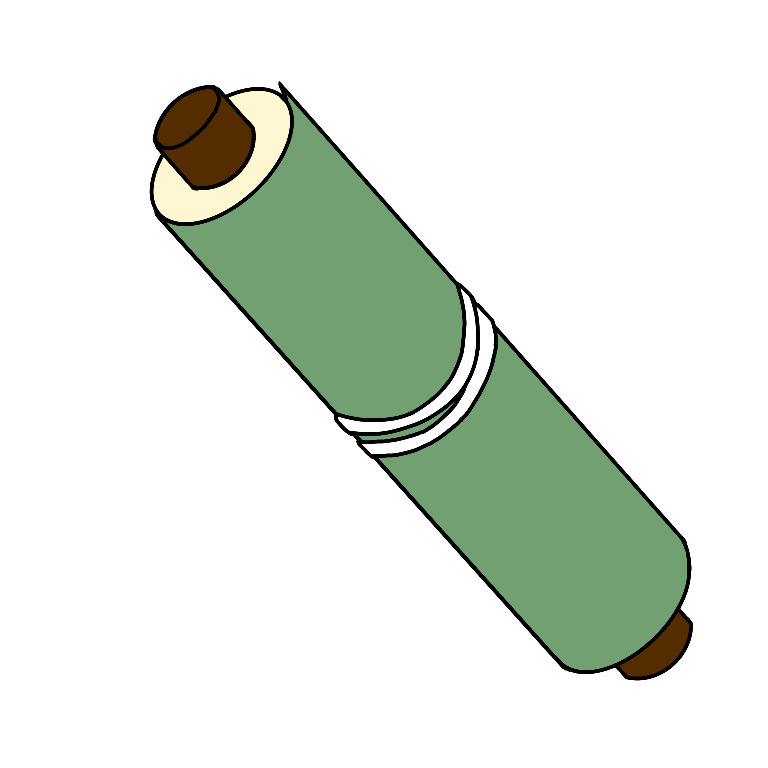
Once the line drawing is done, it’s time to paint.
This time we will use dark green, which is a typical color for scrolls, but first we will color the cover in a lighter color.
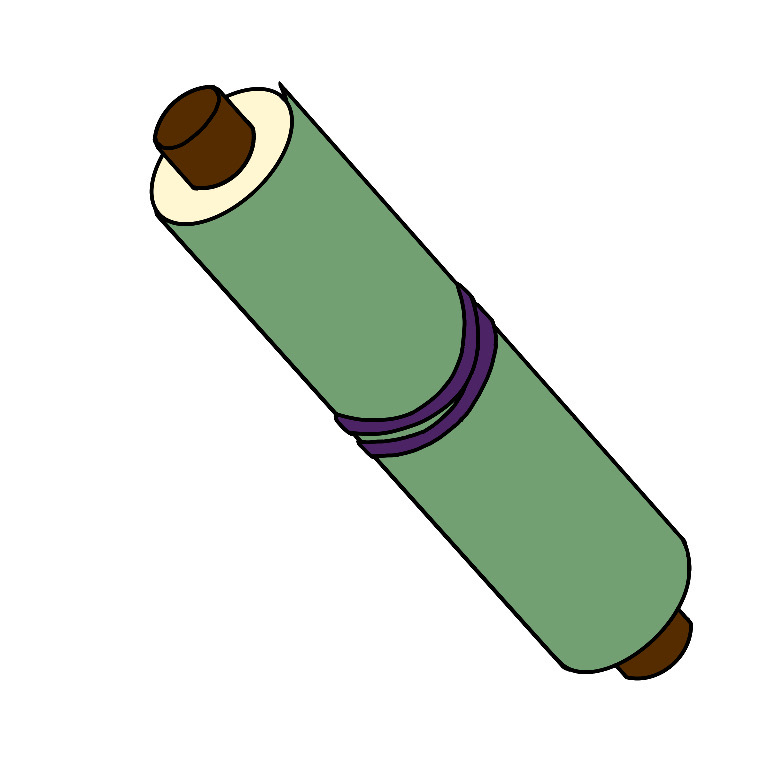
The shaft, string, and inner part of the paper will also be colored.
The paper part should be pale yellow rather than white to give it more atmosphere.
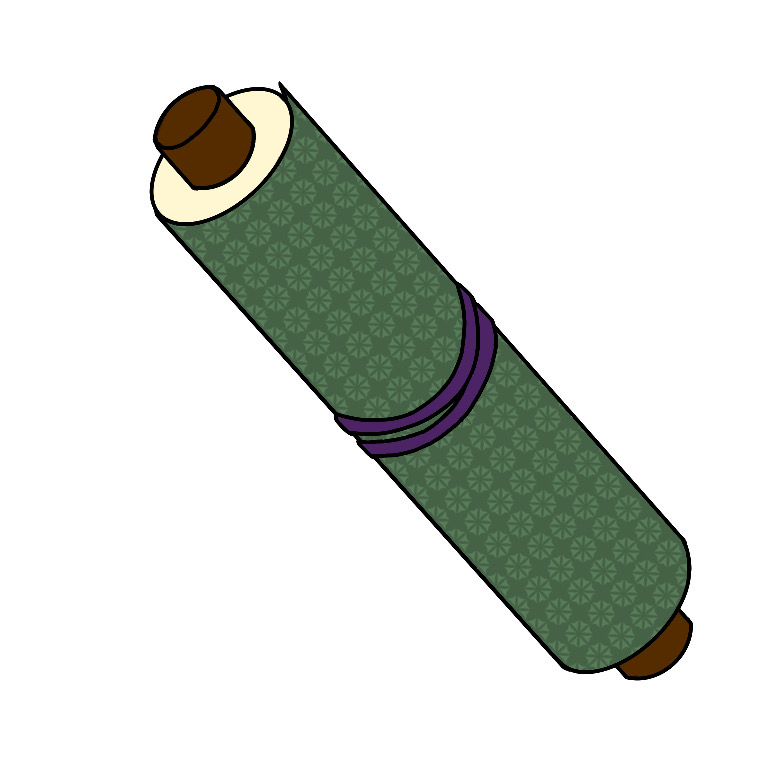
After the base coloring is completed, add a new layer on top of the light green cover and paste the MediBang Paint “Plant Pattern 5” material.
I recommend pasting the material because it makes it easy to create a scroll pattern.
Since the monochrome material increases the intensity of the colors, lower the opacity of the layer where the material is pasted to around 80%.
(In this case, I set it to 76%.)
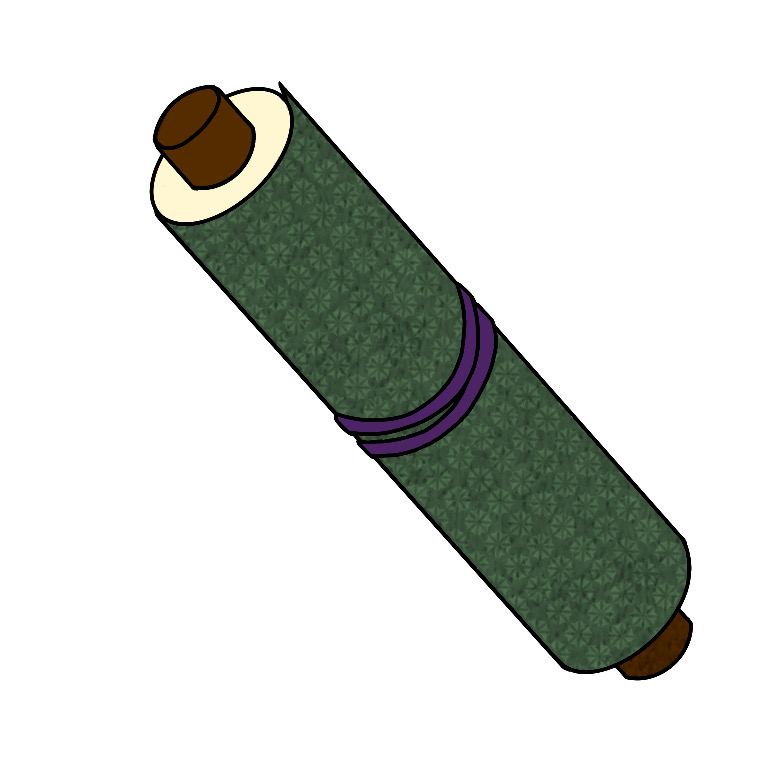
After the pattern material is pasted, create a layer and paste the “Fabric texture2” material on top of it.
This will create the texture of the cover of the scroll.
Since we are layering two materials on top of each other, we have reduced the opacity to about 50%.
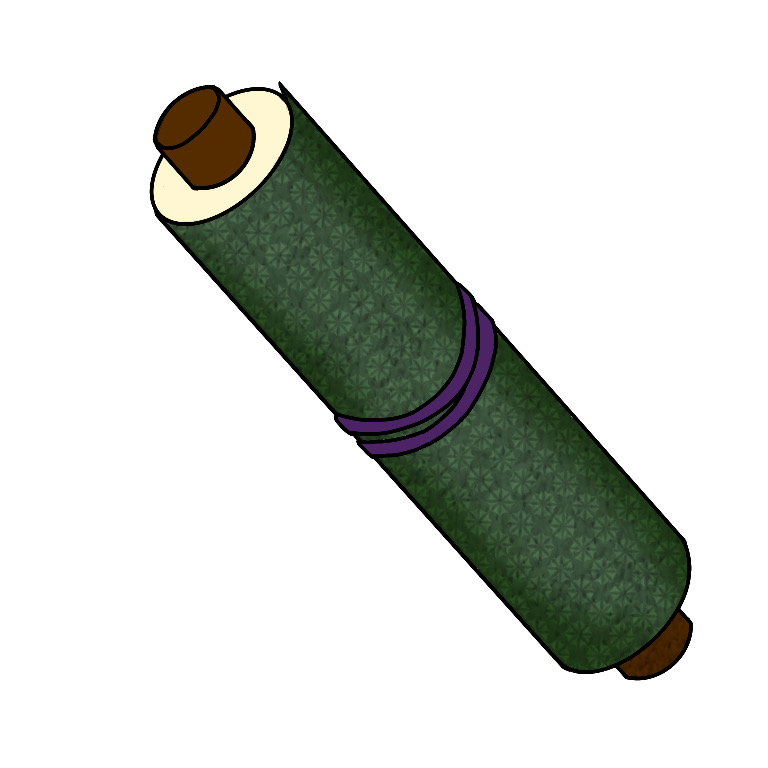
Now that the texture has been created with the two materials, we can add the shading.
I created a clipped layer on the base layer and colored it with a dark green.
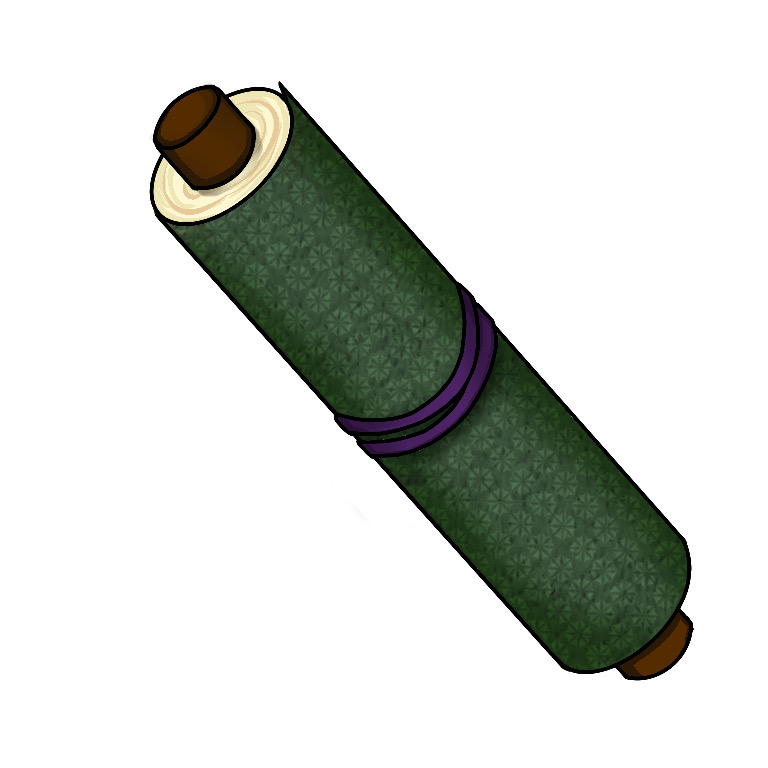
Once the coloring of the cover section is complete, the last step is to add shading to the shaft and paper.
The key to shading the paper part is to use a “Pen (Sharp)” and shade along the ellipse in order to express the paper wrapped around the shaft.⭐︎
◯ Add-on: Draw the inside of the scroll
If you are used to drawing scrolls, you can use the same method to draw the illustration when the scroll is open.
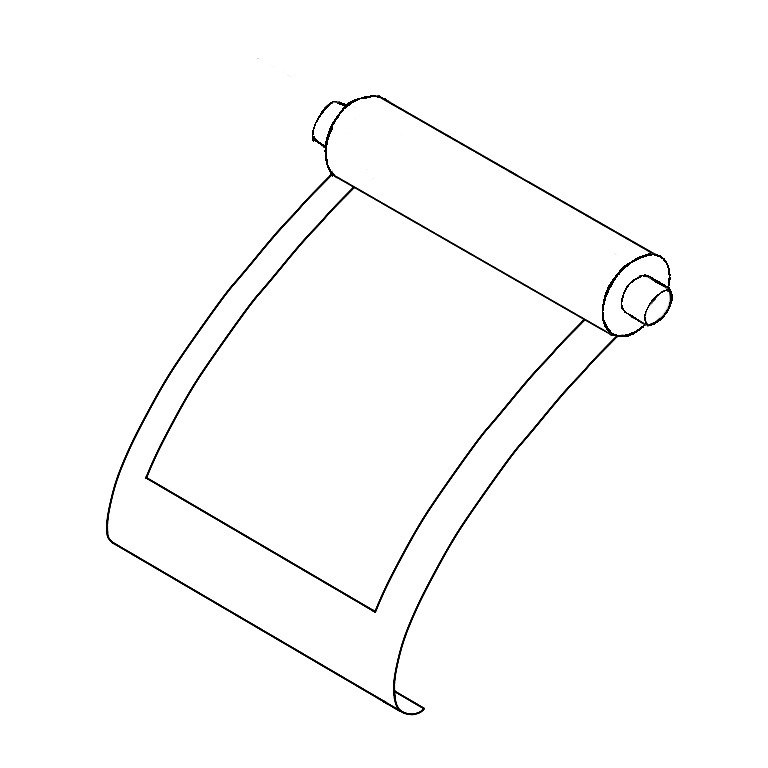
First, draw the main body of the scroll as before, and then extend the line from underneath it with the same width as the scroll.
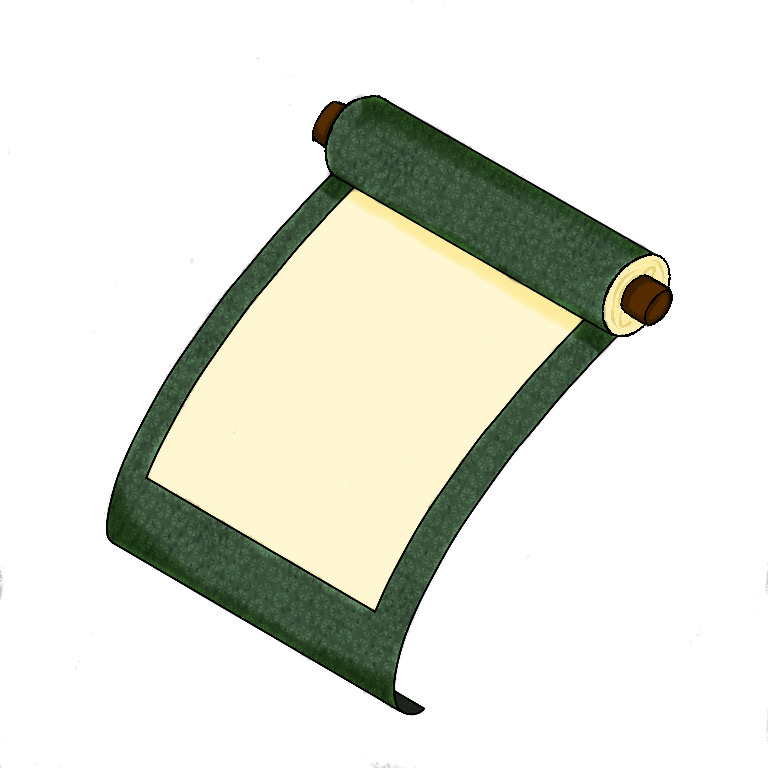
After the line drawing, follow the same procedure as before to color and paste the material.
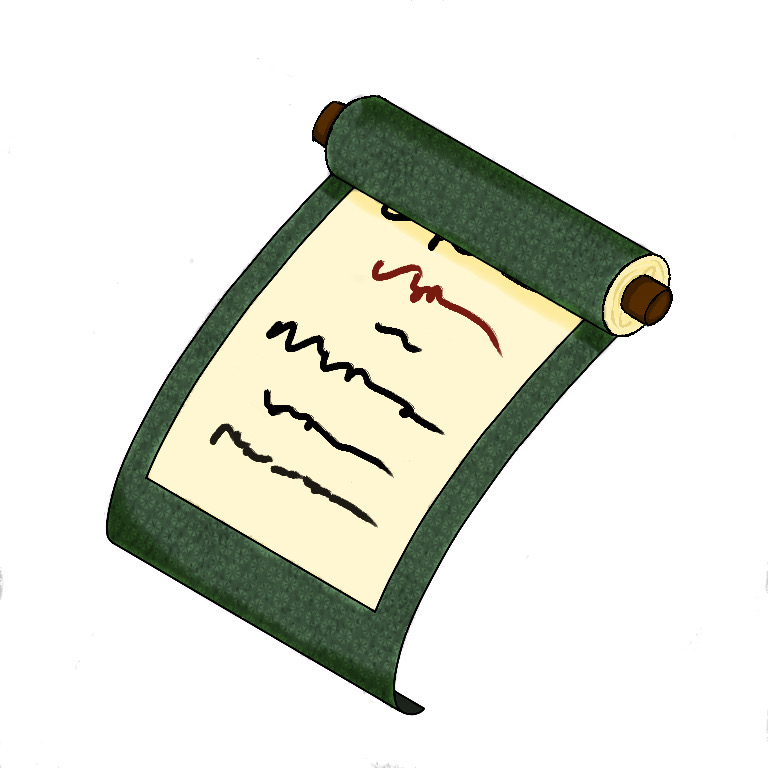
Lastly, add any letters or marks you like to the inner paper part and you’re done!
This time, I used MediBang Paint’s “Sumi” to draw something that looks like a sentence being spelled out.
I recommend it because it gives you a beautiful brush texture!
◯ Summary

There you have it, a guide on how to draw a scroll!
You can create a unique texture by using materials and special brushes, so please use this as a reference for your illustrations.
\ We are accepting requests for articles on how to use /


