2021.10.06
[How to Paint Analog Style] Let’s add texture to our drawing!
2021-08-06
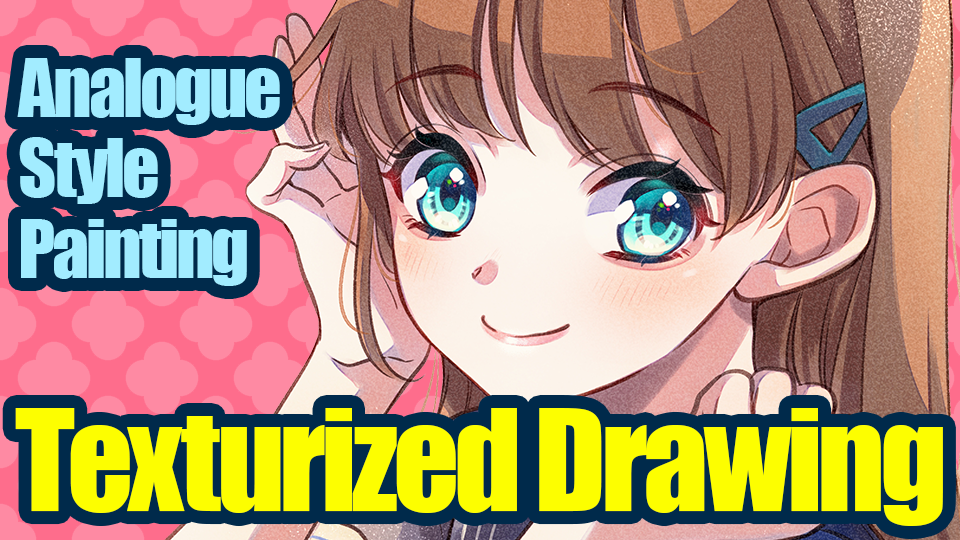
In this article, I’ll show you how to draw an analog style illustration with MediBang Paint (PC version).
Below is the rough draft we will be working on.
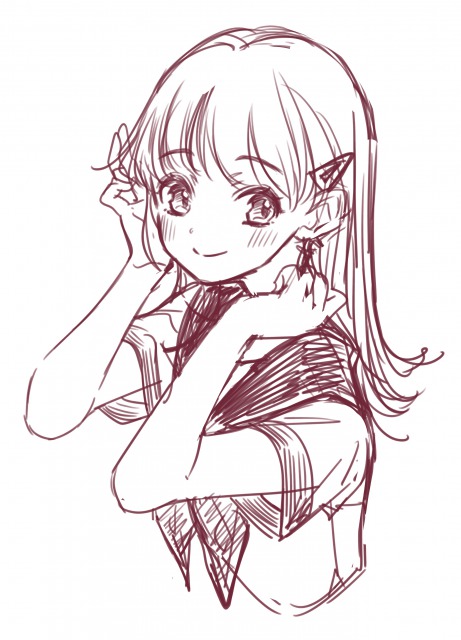
1.Line Drawing
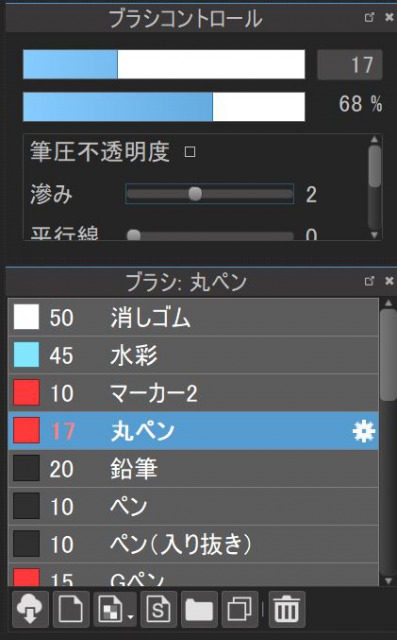
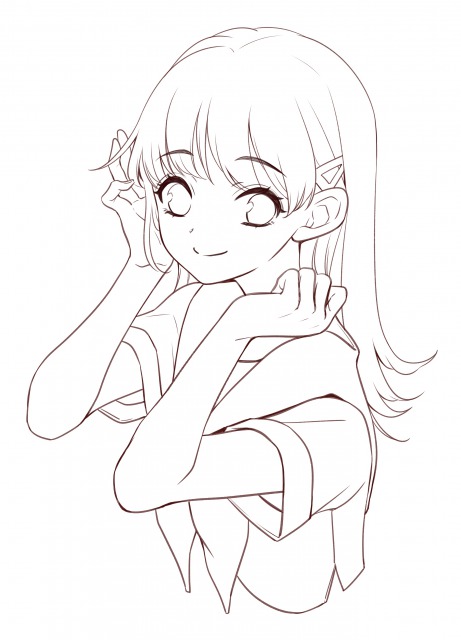
This time we will use the “Round Pen” brush to start line drawing.
Lower the pen opacity here.
This will change the density of the overlapping and non-overlapping parts of the line, giving the drawing a texture of an ink puddle when drawn with an analog pen.
We also recommend downloading a pen with a rough texture.
2.Base Painting
Let’s start painting the colors.
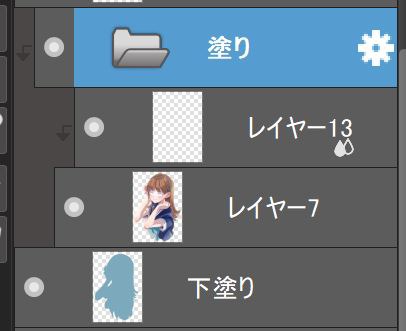
There are two main layers to use.
Mask the entire image with the “fill paint layer”, and the paint layer used to apply the actual color.
Let’s start with the fill layer.
We will use one color to paint the area that needs coloring.
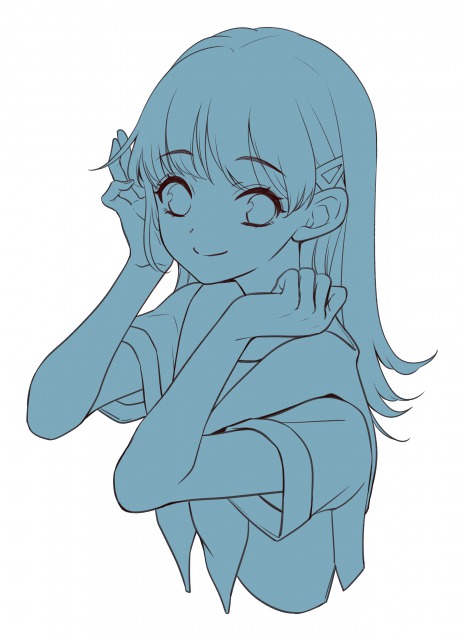
Next, create a fill layer on top of the paint layer and clip them.
(If you want to separate layers for different parts, create a folder for clipping.)
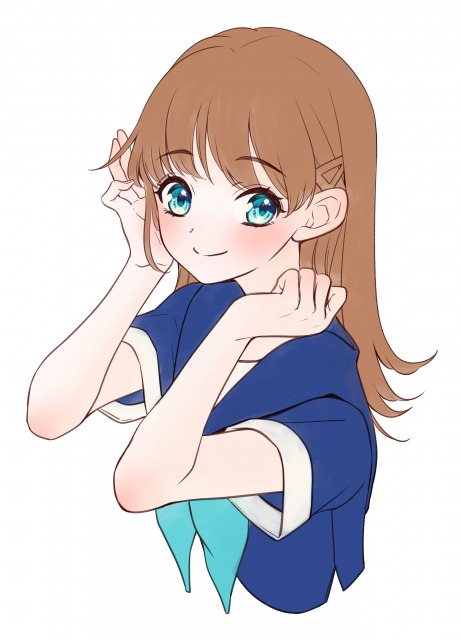
Add color to the parts in the order of the skin, hair, clothes, and accessories.
Use the “Watercolor” brush.
※The eyes are painted on a separate layer, but I will give the explanation in a different time.
《Tip》
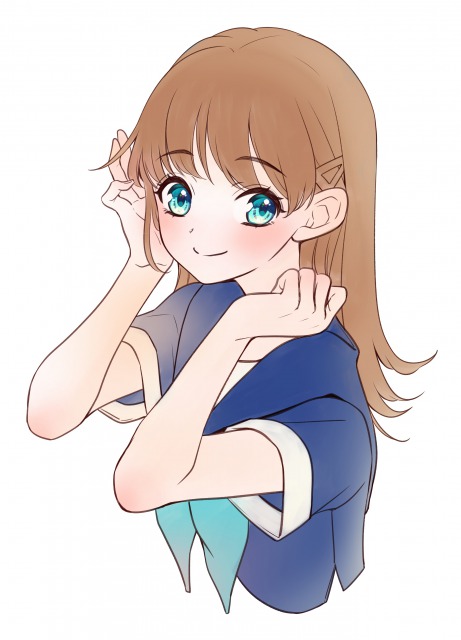
By painting unevenly on purpose, drawing will have more analog.
(It’s ok if the image above is more uneven.)
Also, if you want to change the color of the hair for example, instead of using the filter function, paint and add more color from the top.
Since digital work has the advantage of do-overs unlike analogue works, I recommend that you challenge yourself to paint aggressively as if you were painting in many layers.
3.Painting shadows
We will create a three-dimensional effect of the picture.
Create a new layer on top of the paint layer (or folder) by multiplying and then clip it.
Use the “Watercolor” brush.

《Tip》
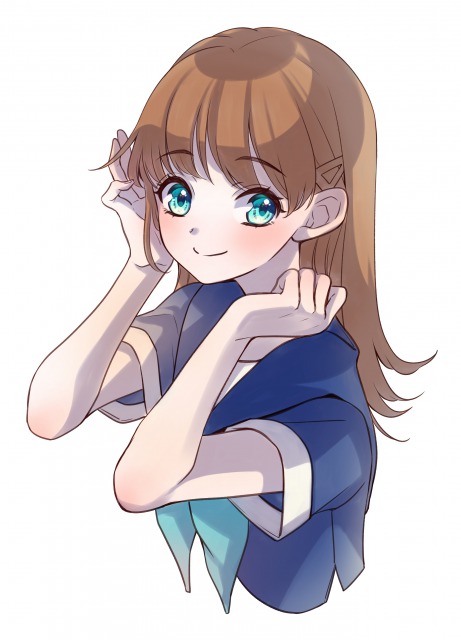
The first step is to paint the shadow with a color of low saturation and then add another color with more saturation on top. In the image above, a strong grayish and blue-purple color is applied first, and then a pinkish color is added afterward on the top.
You can also add a watercolor border for a more analog look.
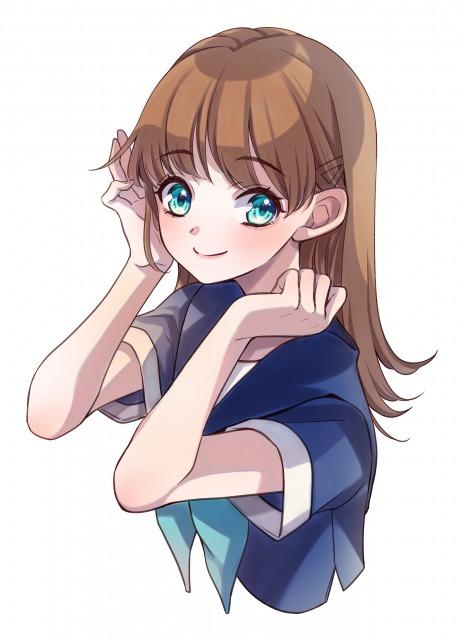
I used a darker color to paint the hair and other parts of the body to give the shadows more depth.
4.Processing
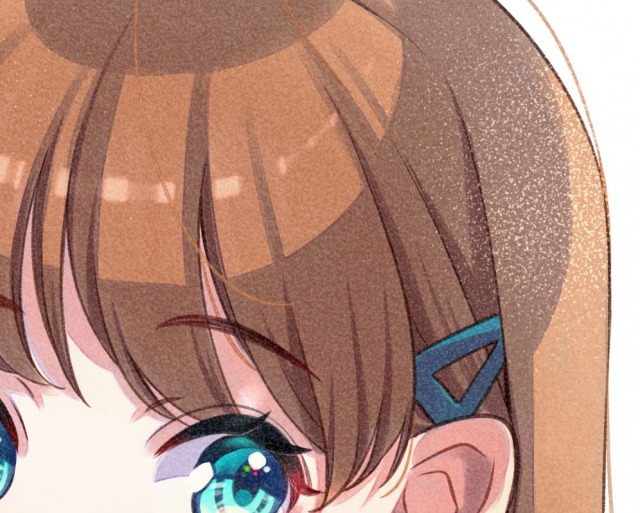
After the entire painting is finished, add texture to the entire screen.
《Tip》
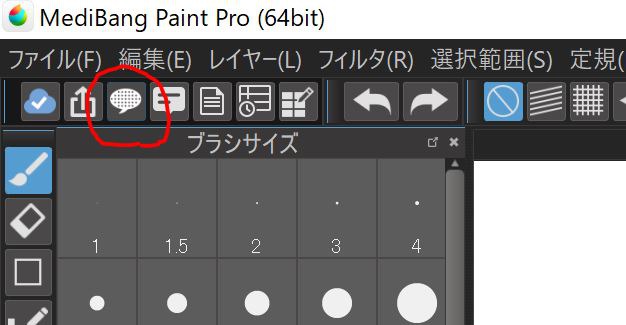
Use the “Material Panel”.
Create a new layer at the top of the layer.
→Click “Open Material Dialog” in the upper left corner.
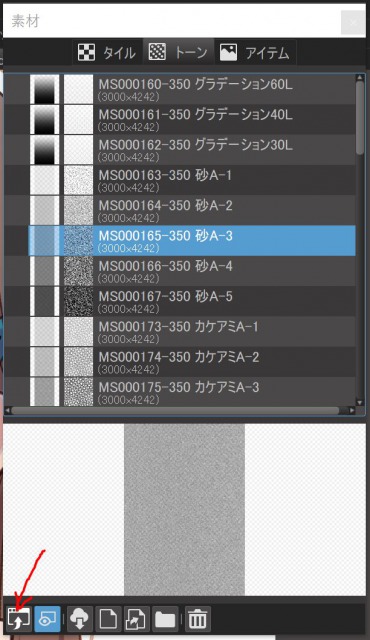
→Select the tone you want and click “Paste to Canvas” in the lower left corner.
→Adjust the angle and magnification, and click “OK”
→Multiply the layers and stack them.
Choose a tone with a crumbly feel to create a sketchbook-like texture.
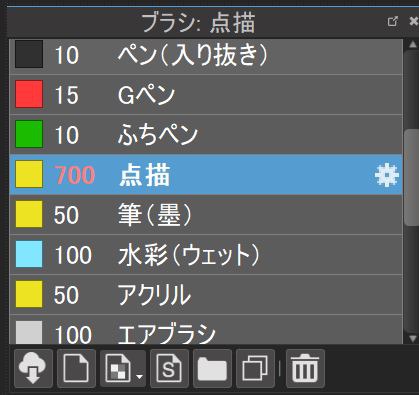
You can also use the “dot” brush to add texture to parts of the image.
5.Completion
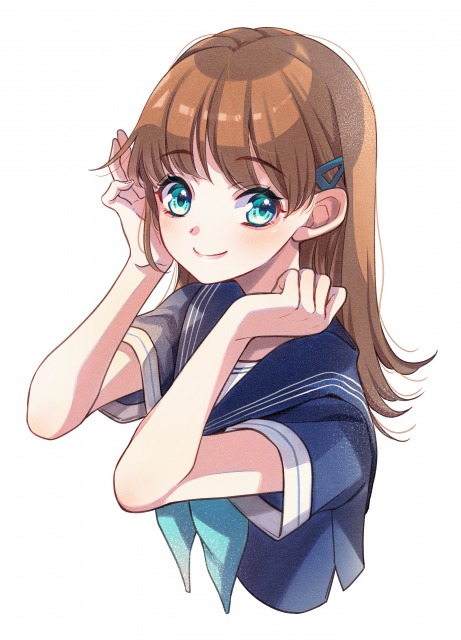
Finally, adjust the color and contrast and you’re done!
(Text and pictures by Ririn)
*twitter @ichidanmepile
*instagram @ichidanmepile
*web site https://ri-rin.jimdosite.com/
\ We are accepting requests for articles on how to use /

