2023.04.06
[Monochrome Illustration] Let’s add tones!
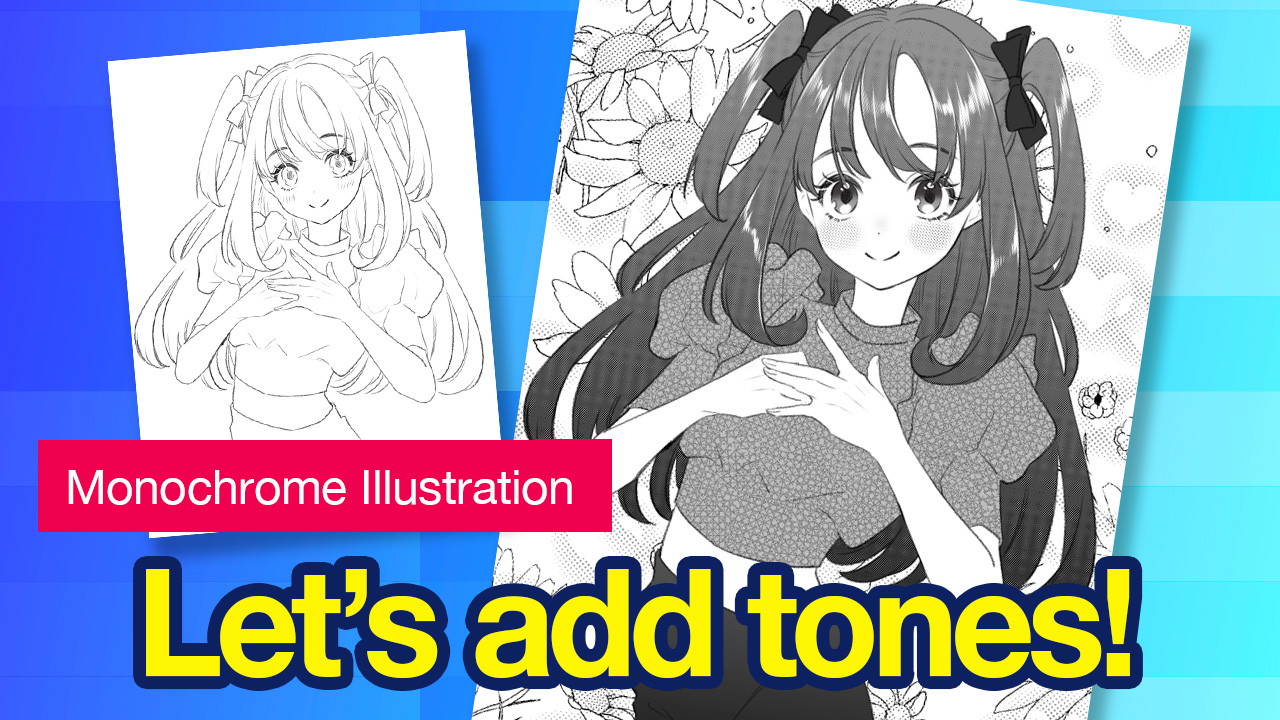
MediBang Paint has excellent tone features, although the software is free.
Today, we are going to draw a monochrome illustration using some of these tone features.
※Today’s illustration is on the premises to be seen on the screen display.
Please note that the methods to be described in this article are not suitable for printing.
Index
Drawing Character
Now we are going to draw an illustration of a girl.
Draw a rough sketch with the Watercolor brush.
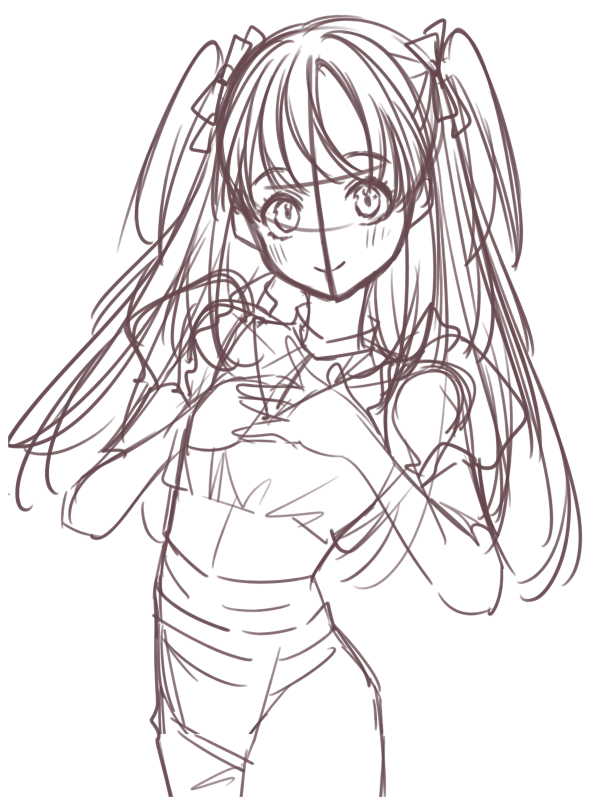
Based on the rough sketch, draw a line drawing.
Personally, I like soft lines, so I used the Pencil (Rough) brush.
※The brush is available from the cloud.
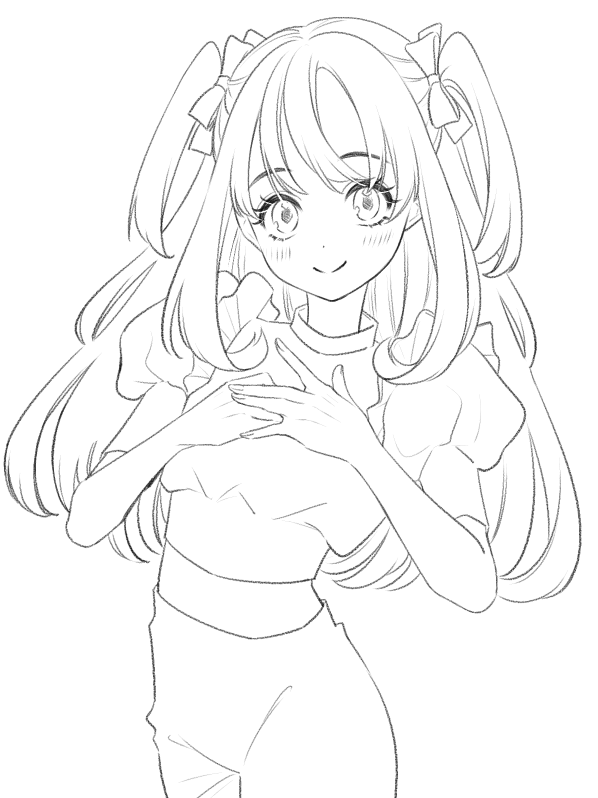
As it is a monochrome artwork, the color of the line drawing is also black.
Dividing into Parts
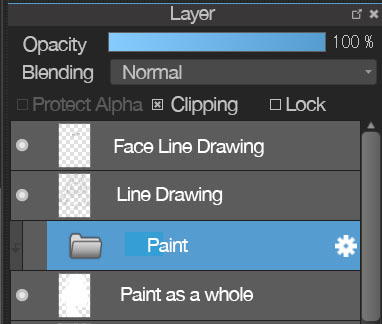
Just like when you do in color illustrations, divide the work into parts for clothes, hair, etc. And add layers for each part.
Paint the whole of the character in a single color so that the colors can be easily separated later.
※Painted gray at this stage in order to be straightforward, but will be changed to white.
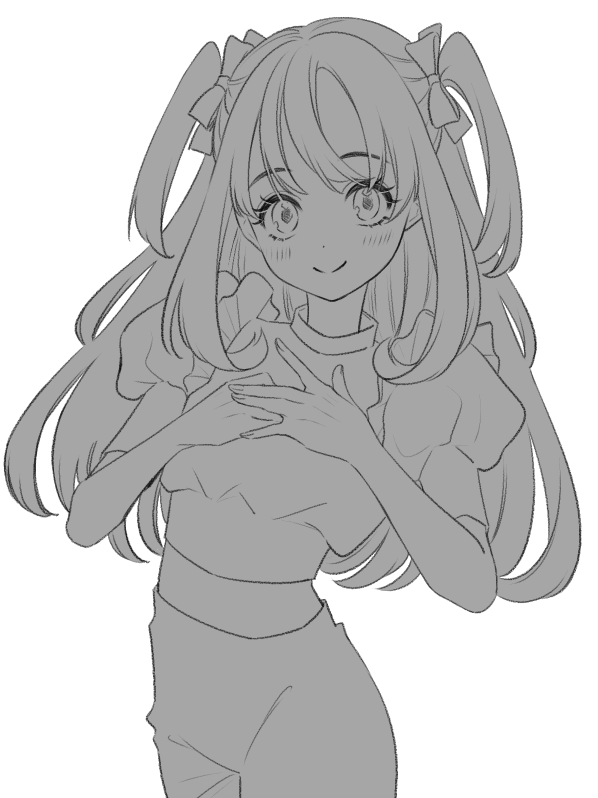
On the painted layer, create a new layer folder and use the clipping function.
Within the folder, add new layers for each part of the character.
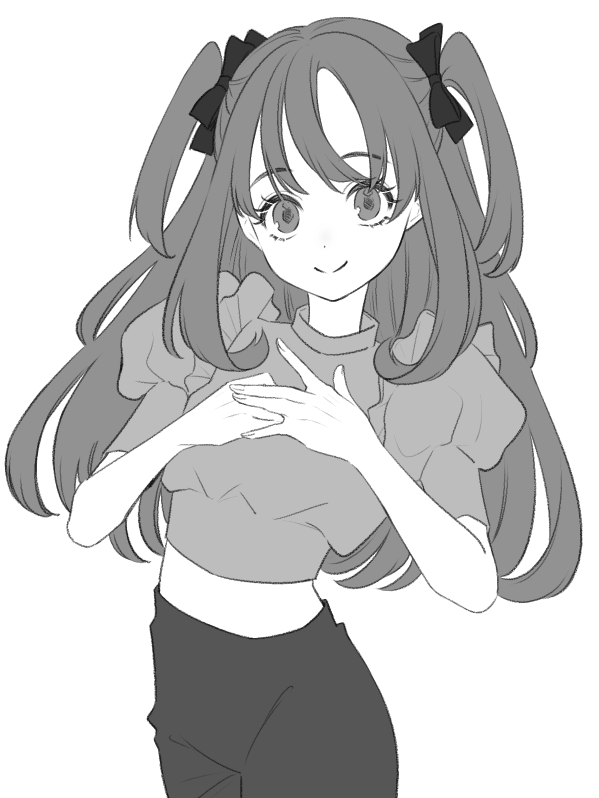
Taking into account the density of the shades of the character, paint in achromatic colors, from white to gray to black.
Adding Tones
Add tones to each part painted in the previous step. This adds texture or gradients to make the work look more fabulous.
<Basic method of adding tones>
Before we go any further, let me explain the basic method of adding tones.
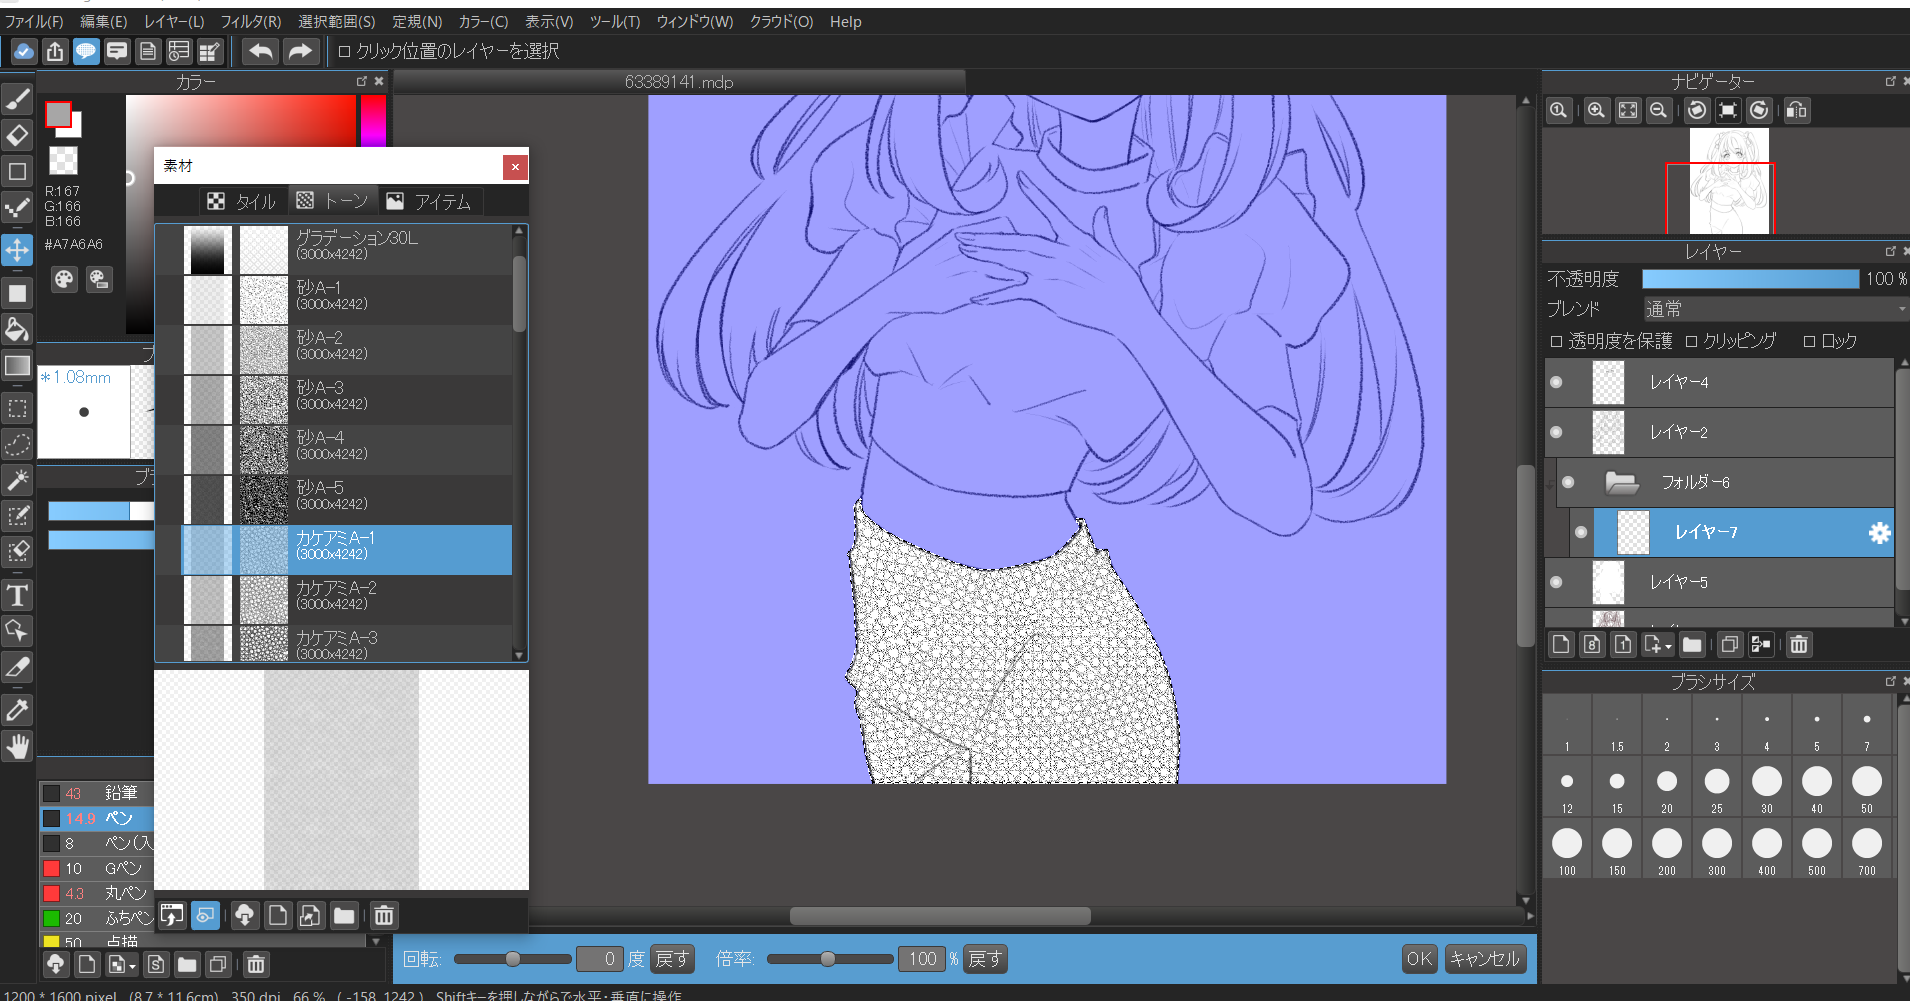
First, select the area where you want to add tones (the slacks in the image).
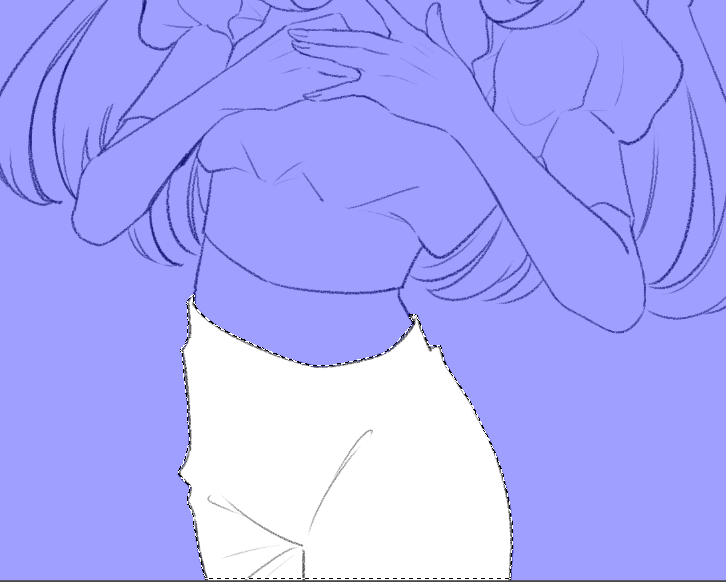
Click on the speech bubble on the upper left.

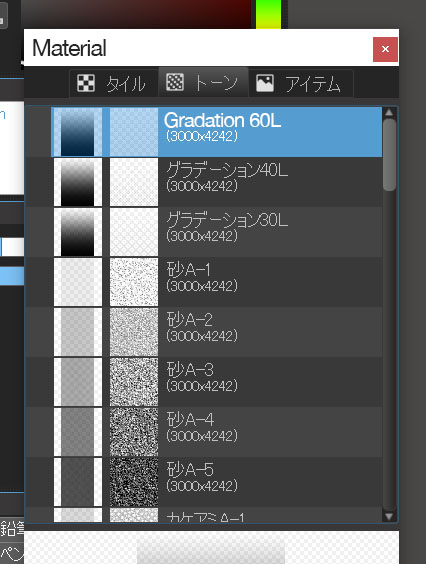
Select “Tones”, and choose the material you like.
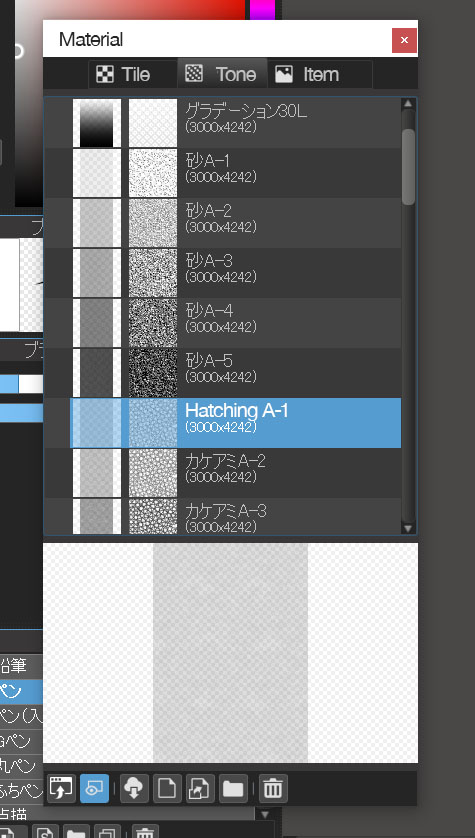
Drag and drop the selected material onto the image on the right.
Now you have added the tone material to the selected area. Adjust the degrees or zoom and press “OK”.

Let’s go back to creating the illustration.
<Clothes>
Add a new layer on top of the separated parts layer and clip it.
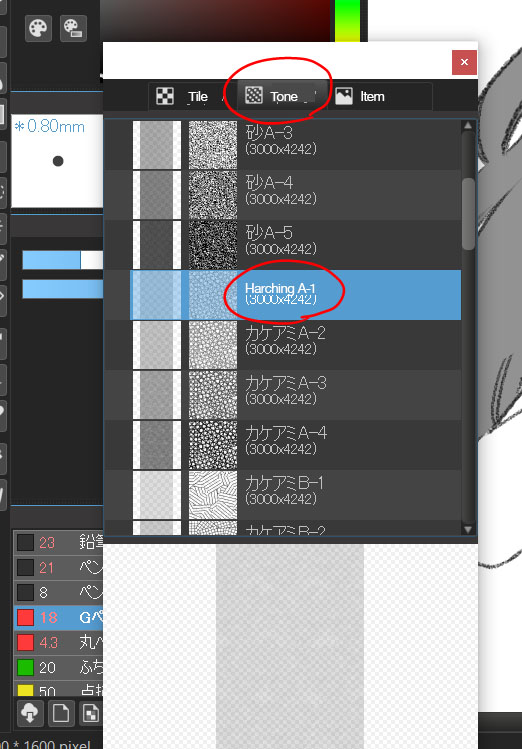
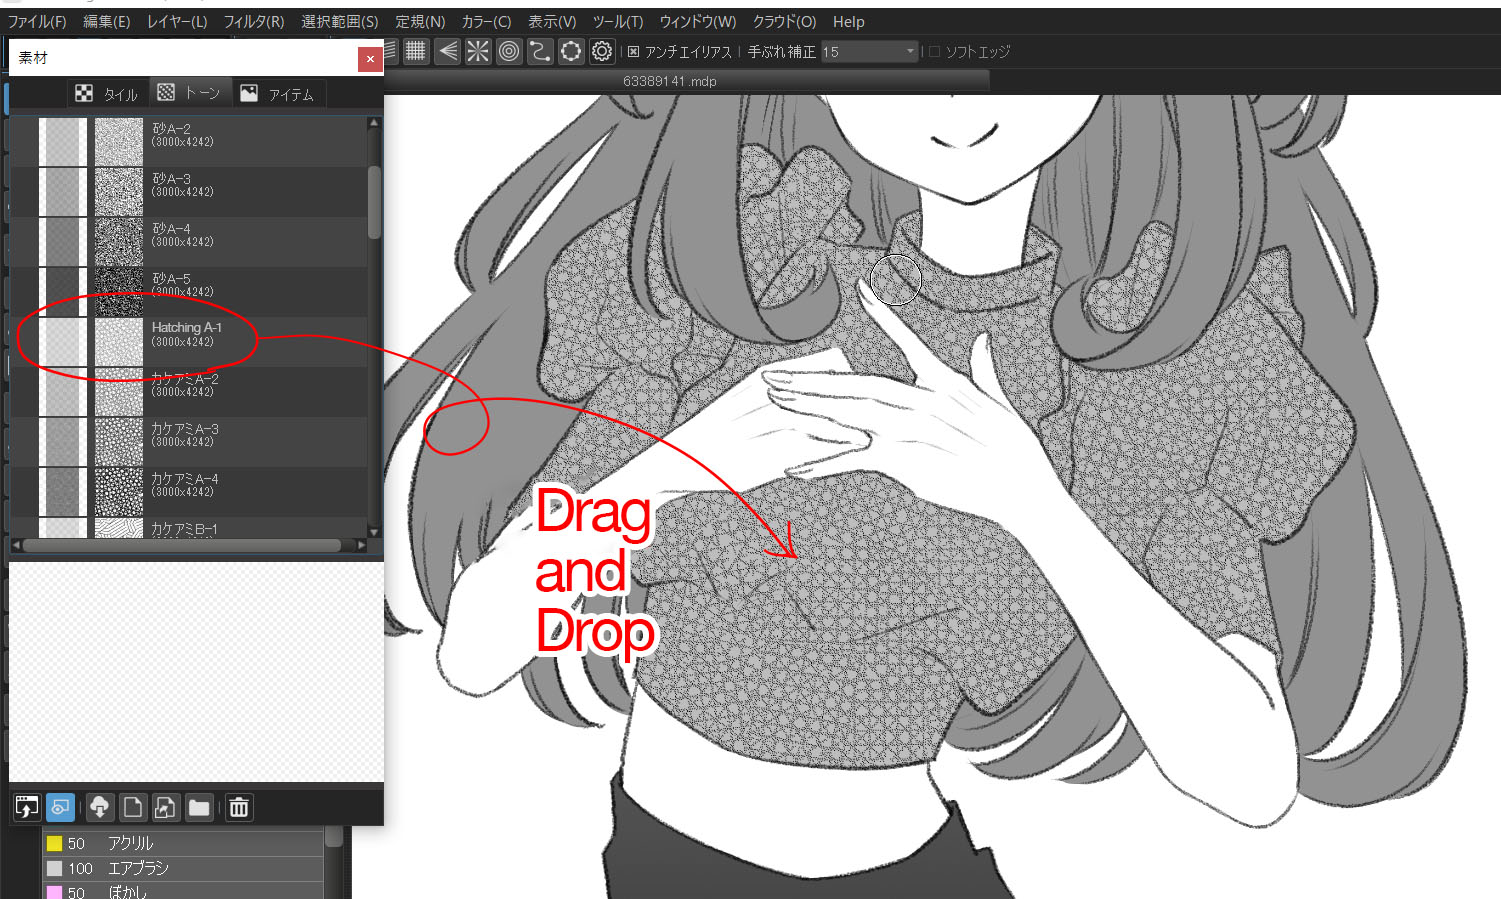
Add tones to the new layer.
This time we’ll use Hatching A-1.
Add tones to the slacks in the same way. This time use the gradient tone.

<Hair>
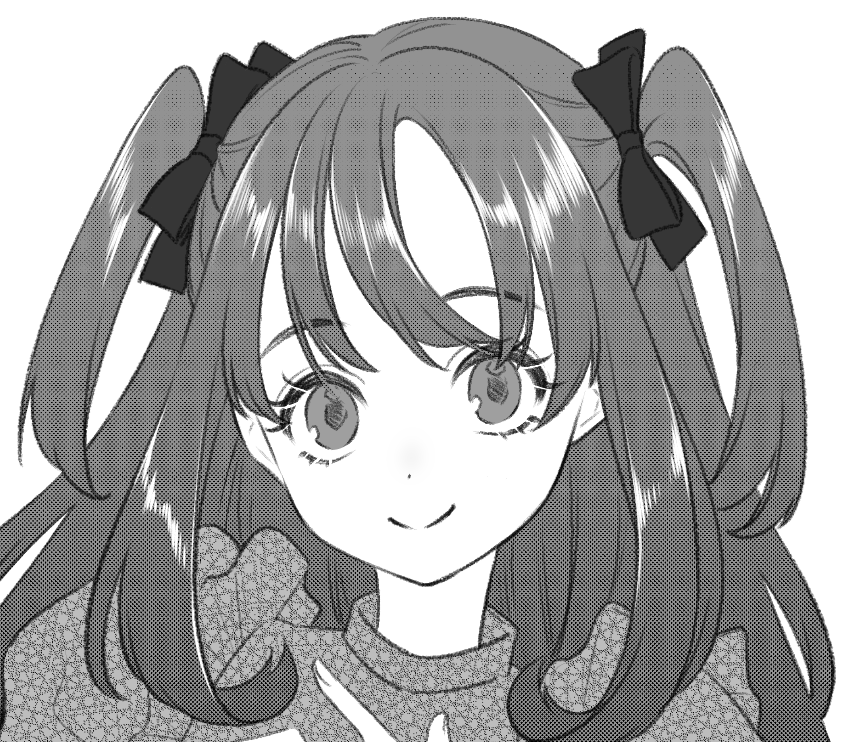
For the hair, we’ll use the gradient tone which increases its color depth as it goes down.
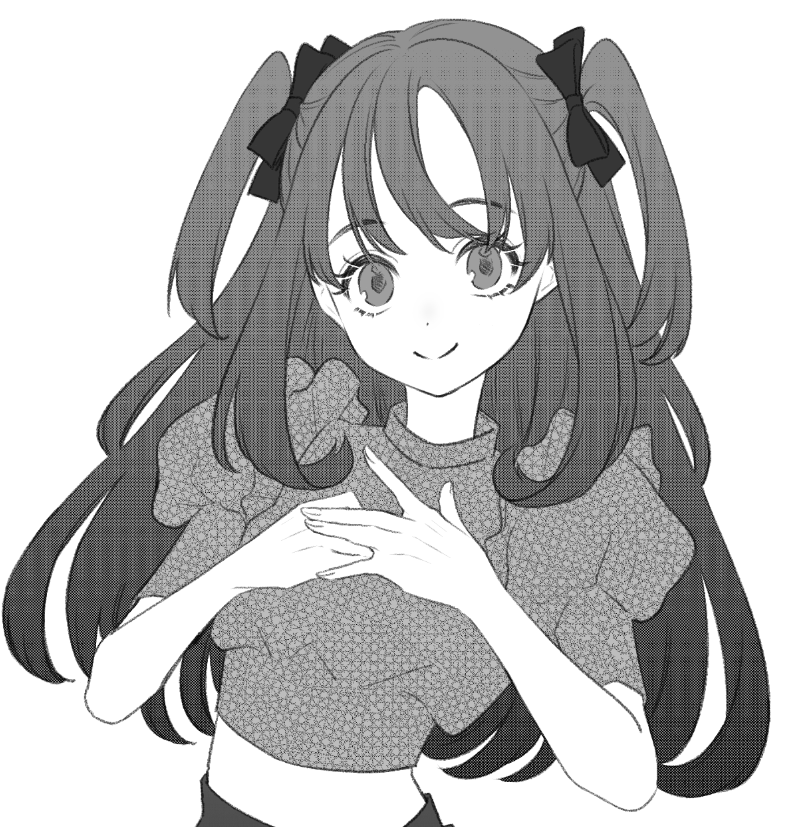
It is fine as it is, but you can make it even more lovely by adding the new layer and using the white Pen brush to shine the hair.
<Eyes>
We are not using any tones for the eyes.
Paint the eyes in detail using the Watercolor, Pencil and Airbrush brushes.
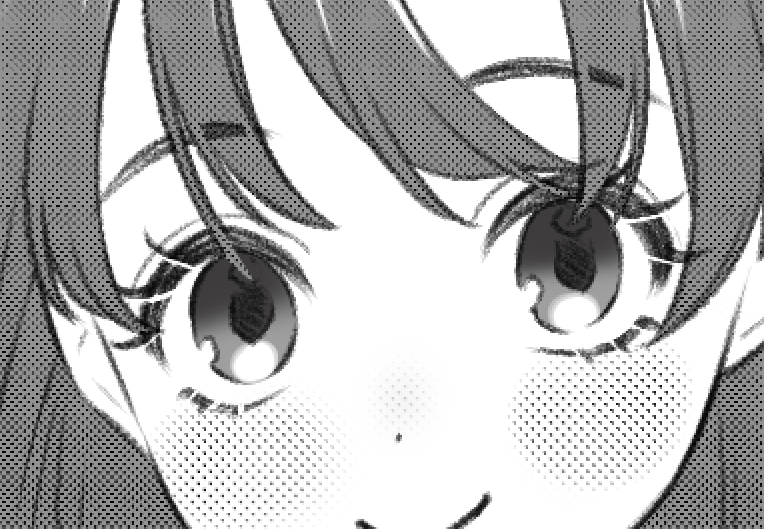
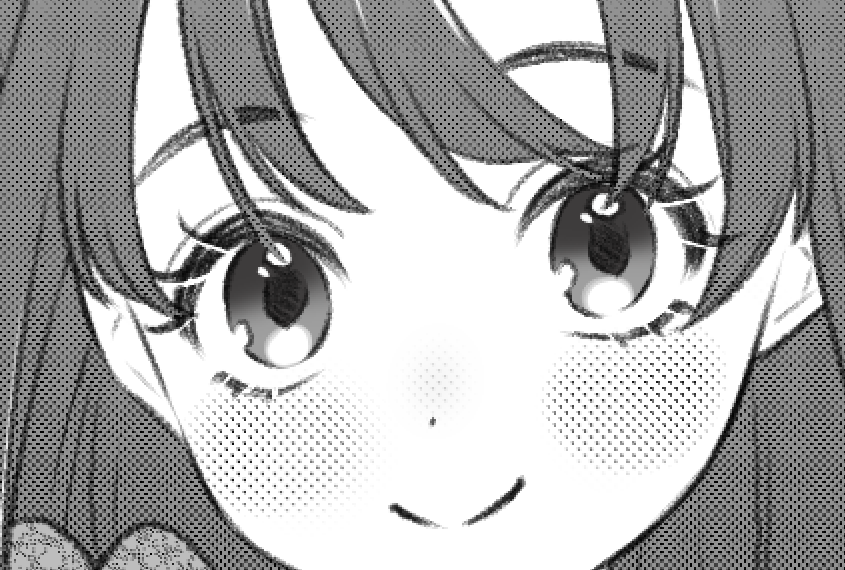
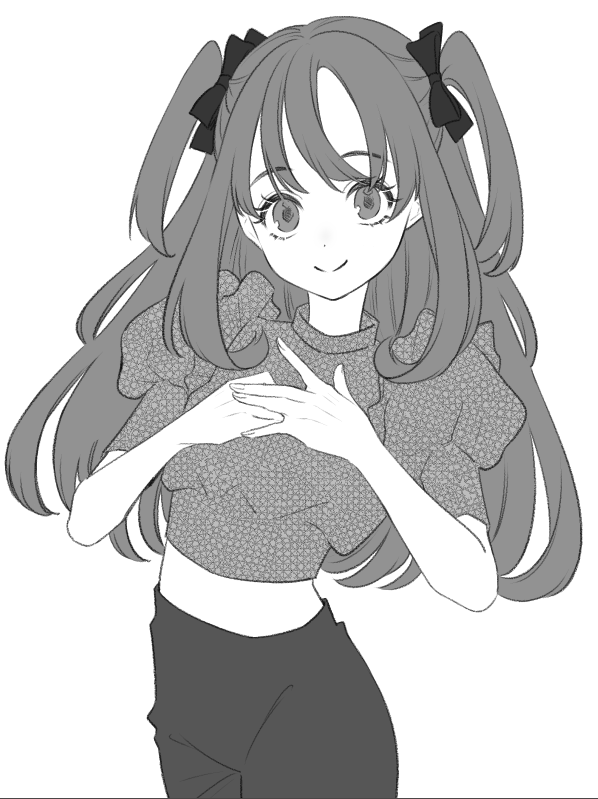
Now we have finished adding the tones to the whole image of the character.
Can you see the great difference when compared to the image without tones?


Adding Backgrounds
Since there are various types of tones in MediBang Paint, why don’t we add tones to the backgrounds?
As I want the work to be fluffy and girly, we will add the flowers and the heart-mark tone.
Add a new layer beneath the character layer.
Select the “Cosmos” tone.
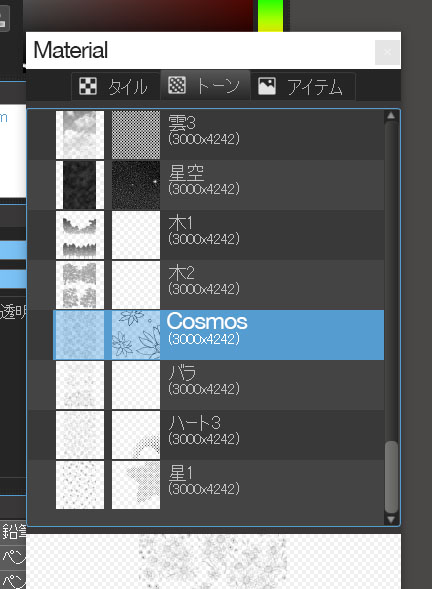
The flower tone has been added. Change the position or size according to your preference.
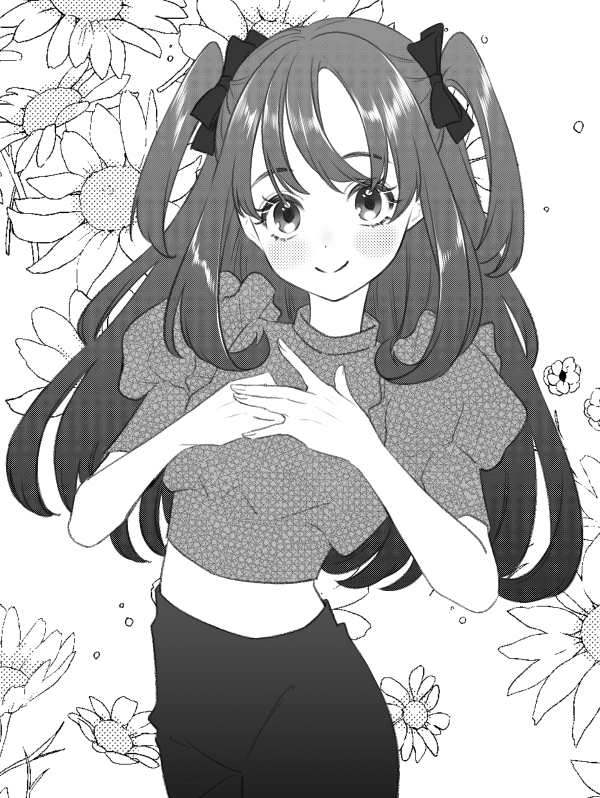
Since it seems to be missing something, I added a new layer over the flower background layer.
Let’s add a heart-shaped tone.
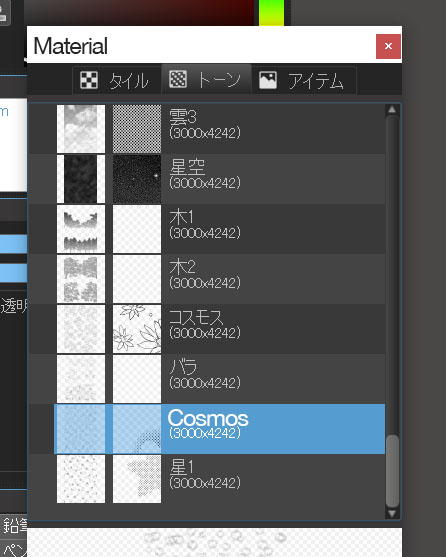
Adjust the opacity to finish your work!

How do you like this article?
MediBang Paint allows you to add tones surprisingly easily, which makes it possible to create monochrome black and white illustrations quickly. I hope you will find the methods covered in this article useful.
(Text・Illustrations/りーりん)
*twitter @ichidanmepile
*instagram @ichidanmepile
*web site https://ri-rin.jimdosite.com/
\ We are accepting requests for articles on how to use /


