2021.12.01
For Super Beginners! Let’s Complete One Illustration First!
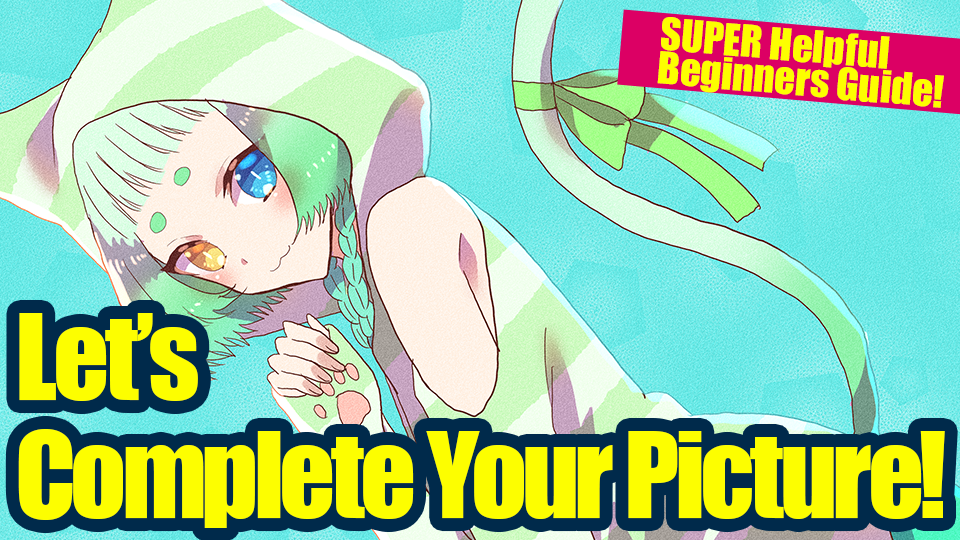
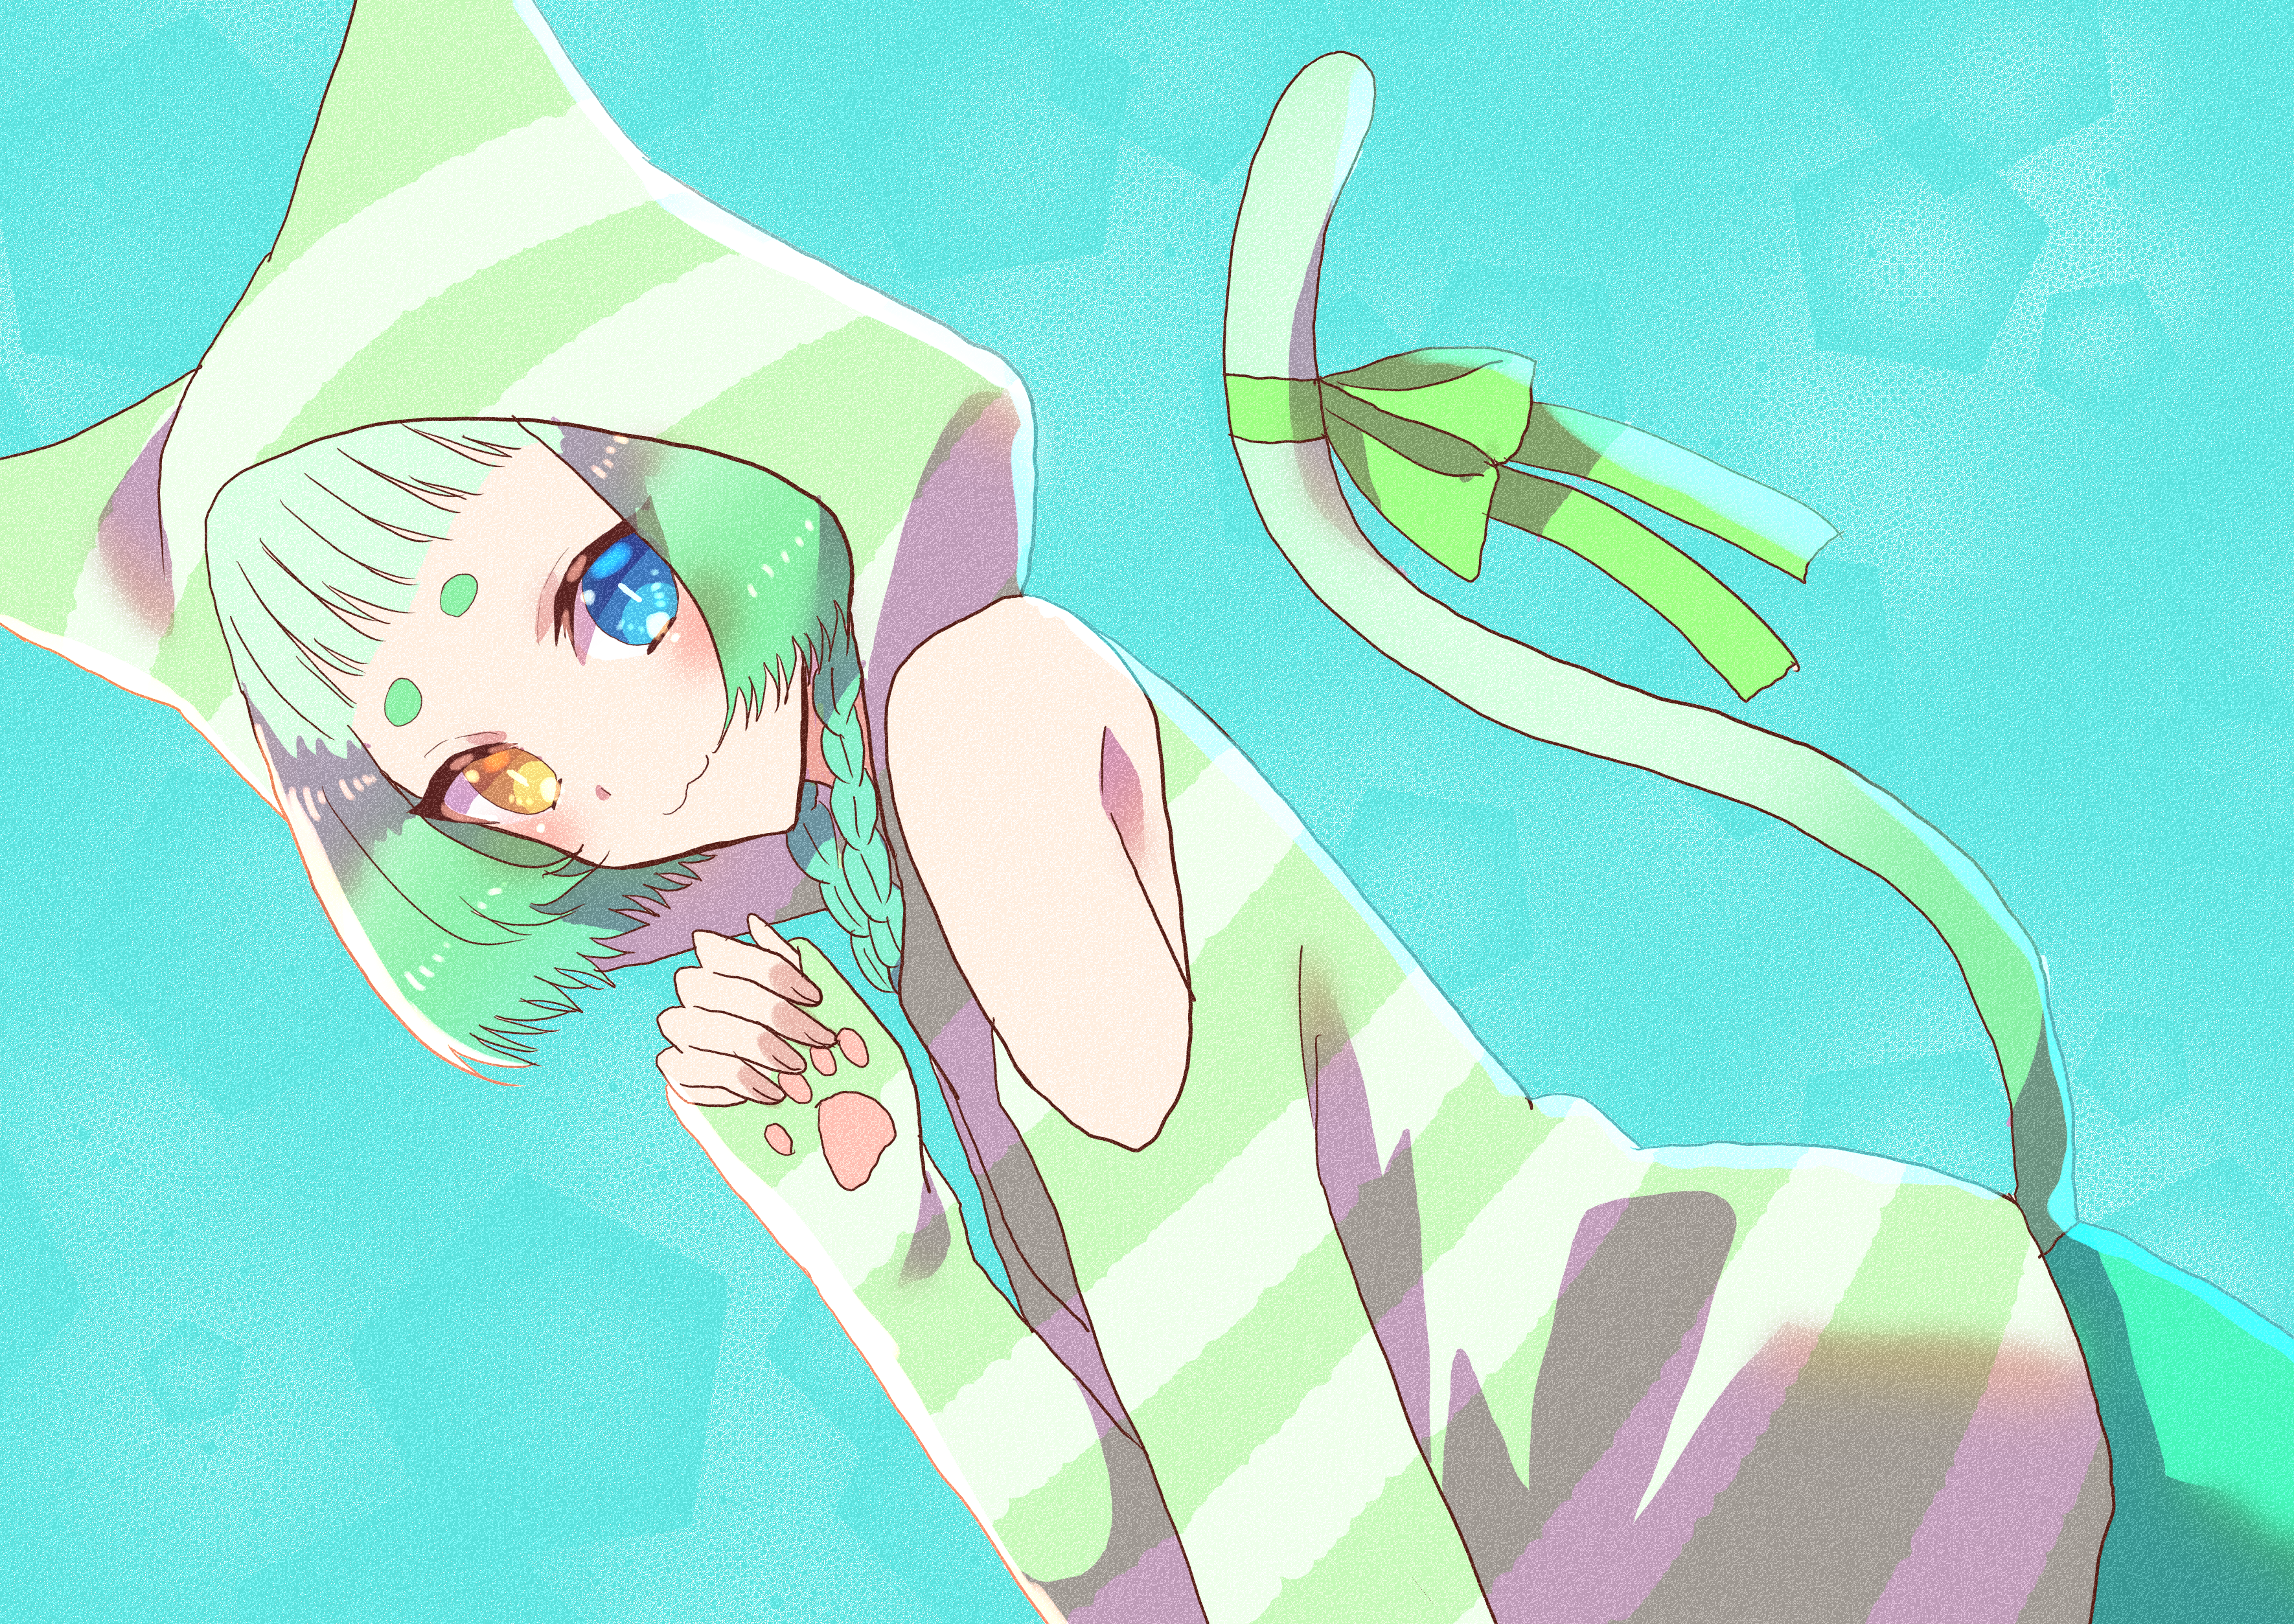
I’ve installed MediBang Paint… but I don’t know where and how to start!
I can’t even complete one single illustation!
Then this is the course for you!
You will be able to complete your painting within one hour.
1. Open the Canvas
Let’s open the file in B5 size at 350dpi.
Use “Ctrl+N” or “File -> New” and try the following settings.
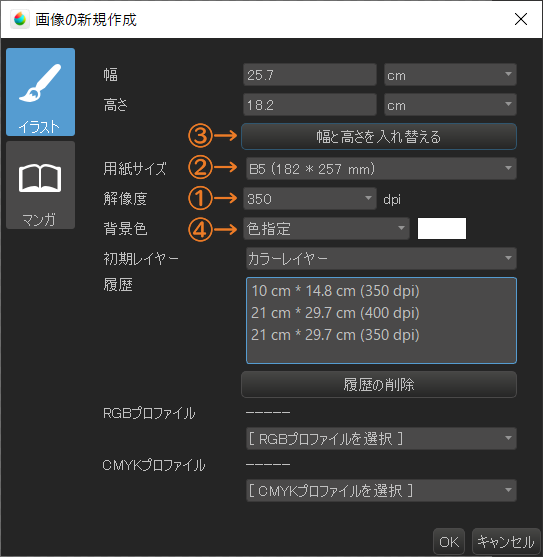
※I’m glad there are so many variations to choose from!
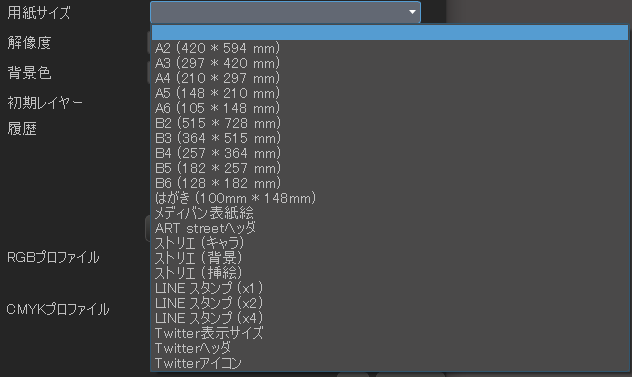
You can rely on drawing a very rough sketch by publishing the artwork in a shrunk size of a larger than average canvas.
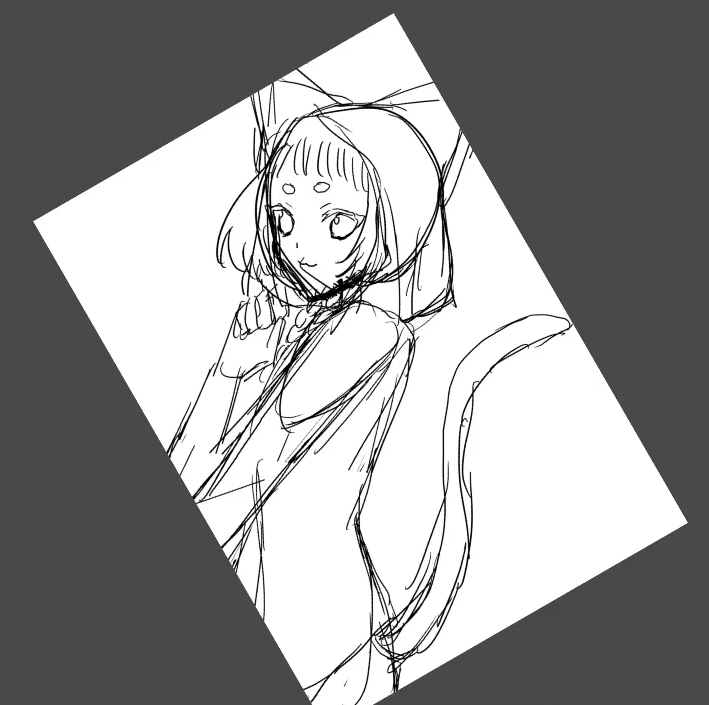
2. Draw the Rough Sketch
I think the illustration of the bust.
Let’s start by drawing a rough sketch of the face!
Then draw the body next!
And place her in a nice way!
Scaling and rotation are useful!
3. Draw the Line Drawing
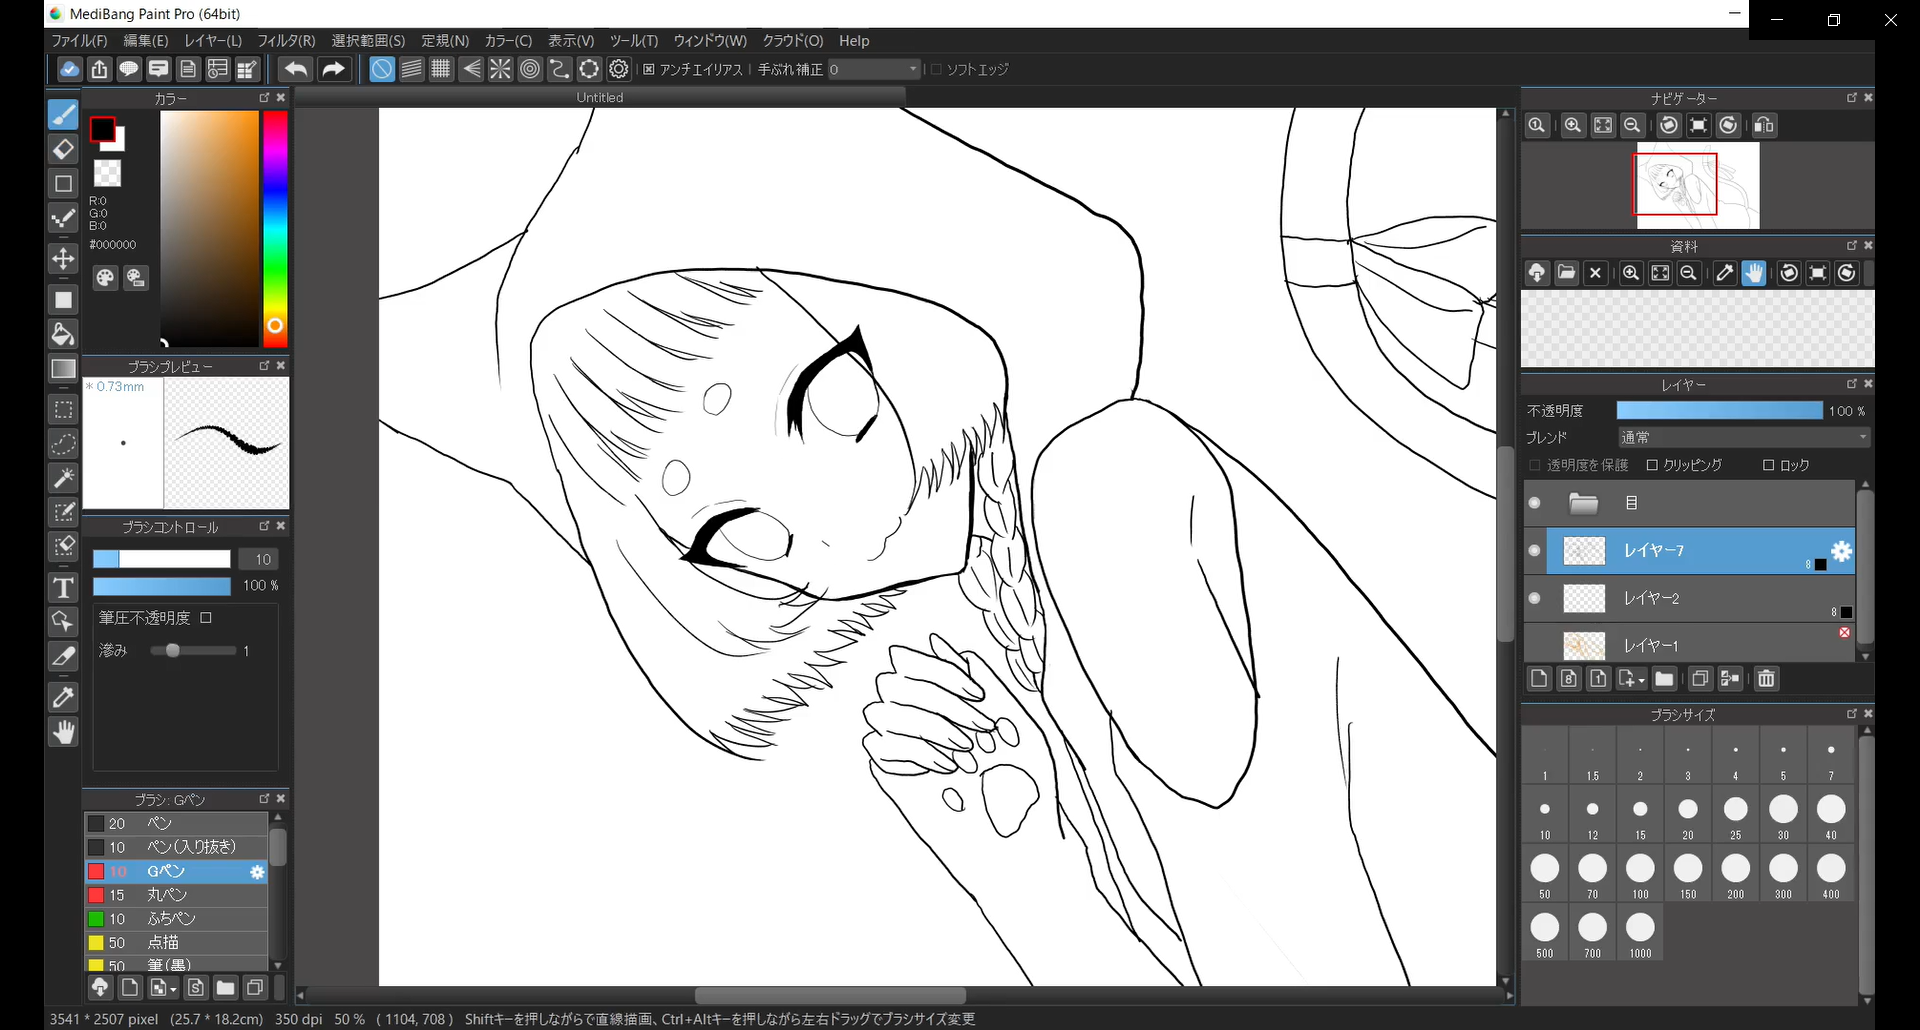
Make the rough layer a draft layer and lower the opacity.
Draw a line drawing with a normal 8-bit layer.
Keep the contents of the face and the other layers separate.
TIPS. What’s a Layer?
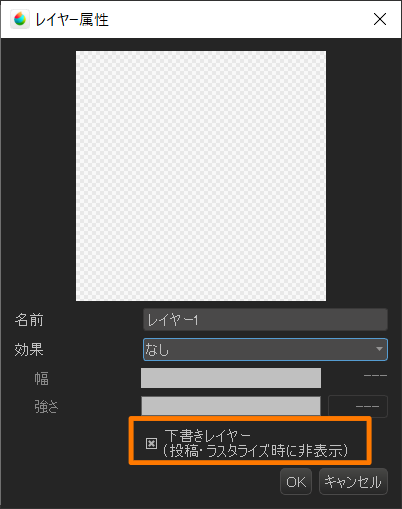
・Create a Draft Layer
Double-click on a layer to bring up the layer attributes.
It is more easier to check the Draft layer checkbox to treat the layer as a draft.
(This is useful because the layer will not be affected when you fill it in.)
・Lower the Opacity

100% opacity makes it fully visible, while 0% hides it completely.
It is easier to draw with a pen when you make the drafting layer thing.
Layer Types (1bpp, 8bpp, color layer)
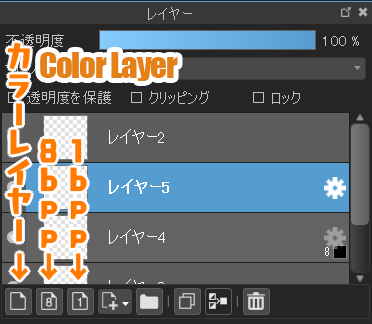
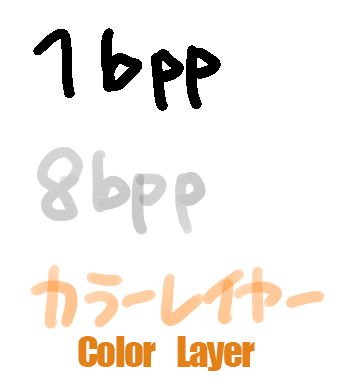
There are different types of layers: 1bpp, 8bpp, and color layer (normal layer).
1bpp: Most light. Apply only white or black. Recommended for monochrome manga line drawings for printing.
8bpp: Second lightest. 8bpp: You can draw white, gray, and black (monochrome) colors. Recommended for color line drawings and black-and-white manga tones (can be halftoned).
Color Layer: The heaviest layer, but you can apply any color. Good for color coloring and finishing touches.
4. Paint the Base Color
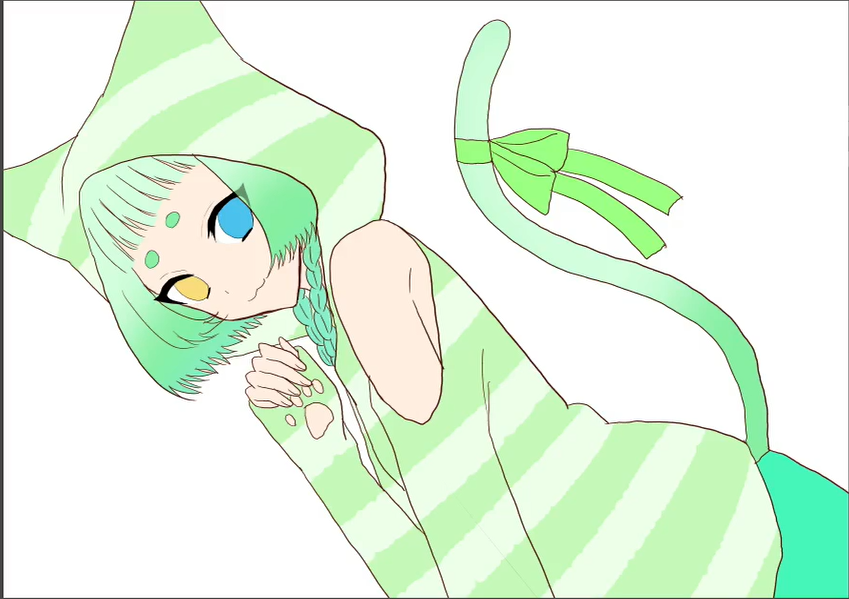
Create a normal layer below the line drawing layer and paint the base color.
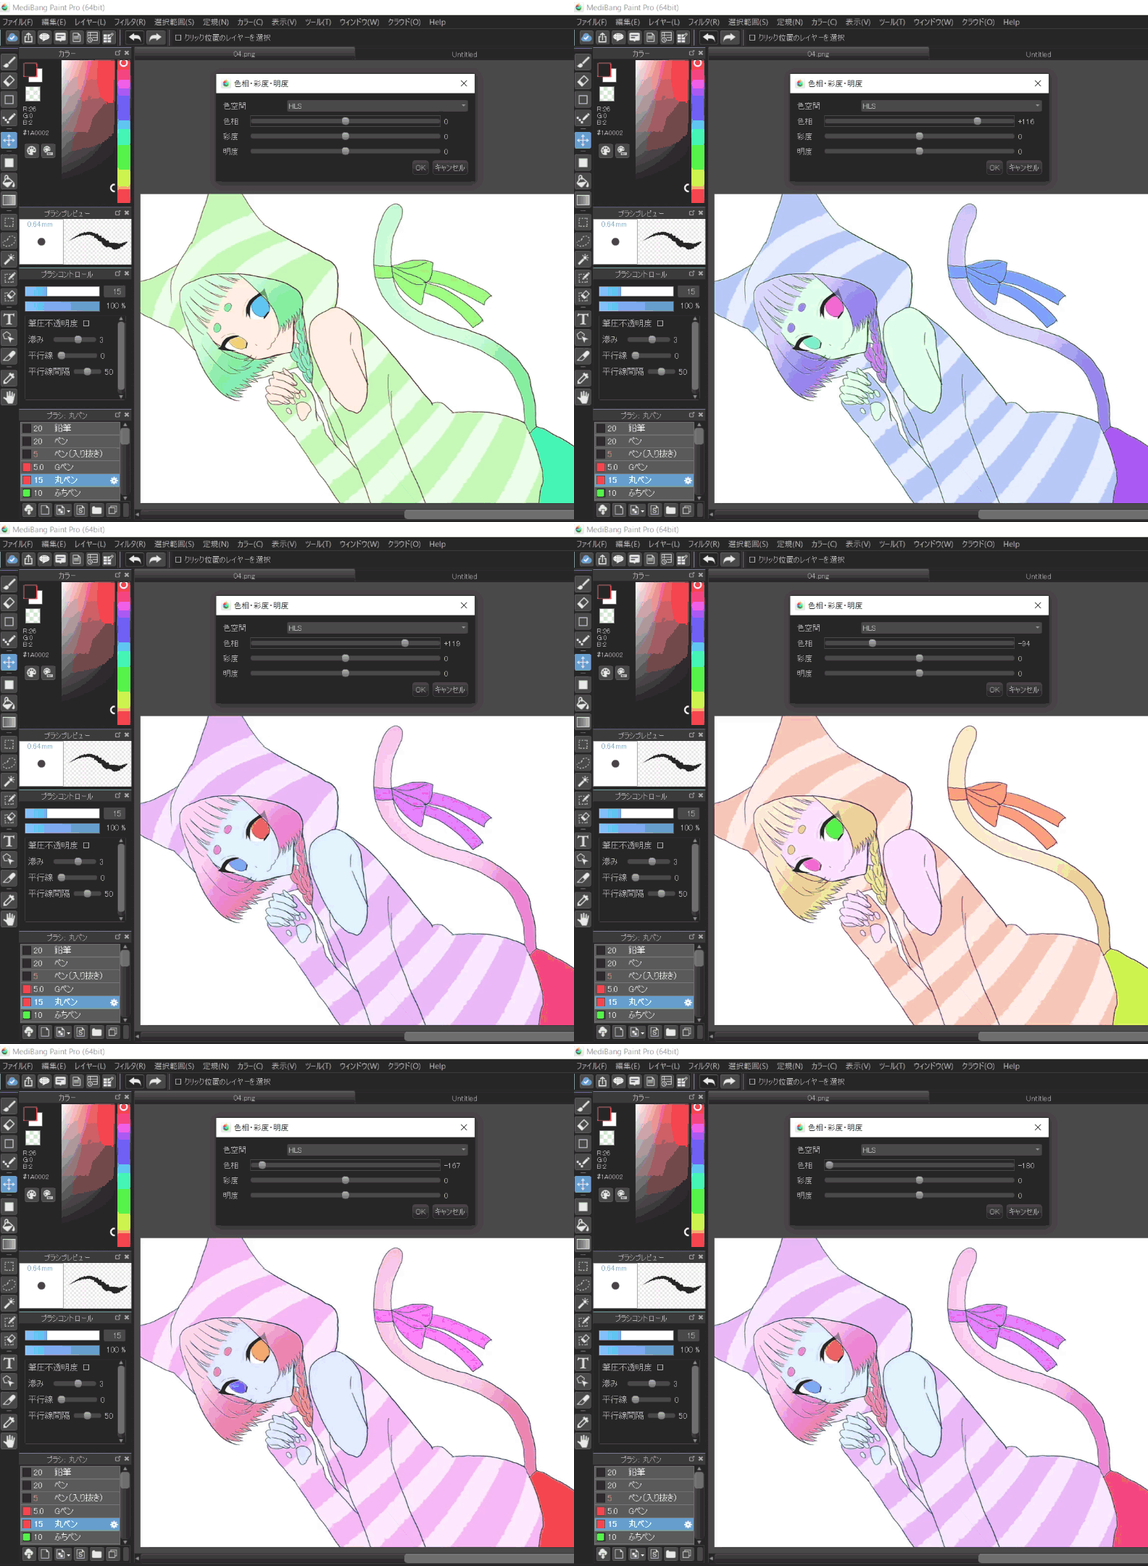
※Color correction will be useful here!
TIPS. Color Correction?
Hue: The more you raise it up by +, the more the hue goes up in the color bar. If you reduce it by minus ー, it goes down.
Saturation: This alters the color’s vividness. The color becomes more vivid by the +; less vivid with ー. It is recommended to increase the saturation of characters and decrease the saturation of the background.
Briightness: Brightness. + makes the color close to white; becomes darker by minus ー.
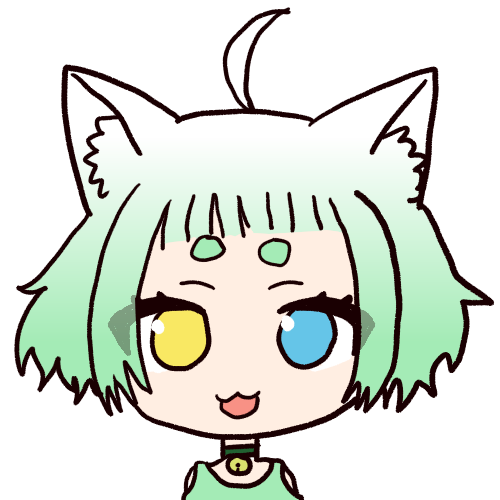
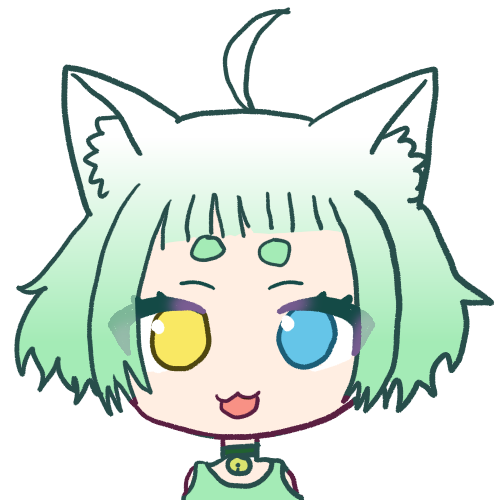
5. Change the Line Drawing’s Colors
Change the color of the line drawing.
You can make is solid just with this method.
TIPS. How do you change the line drawing’s color?
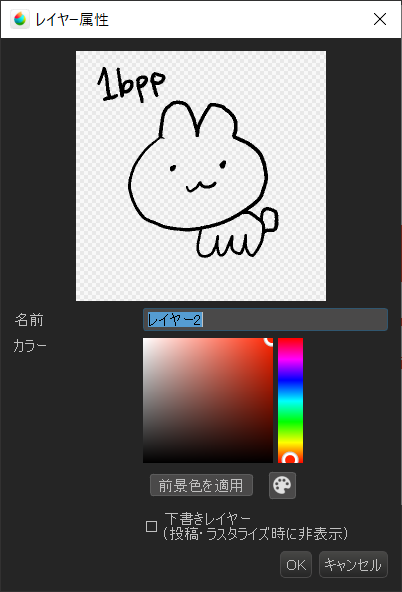
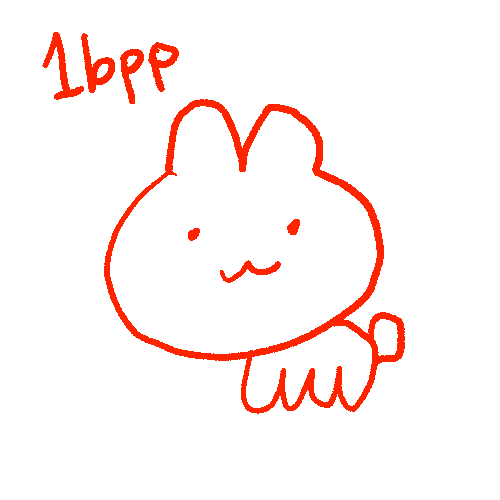
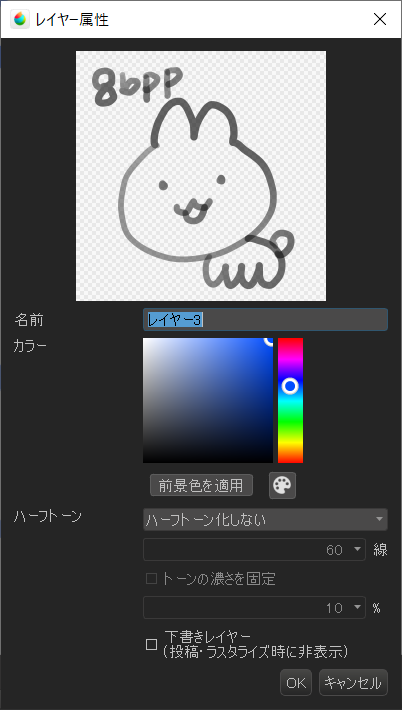
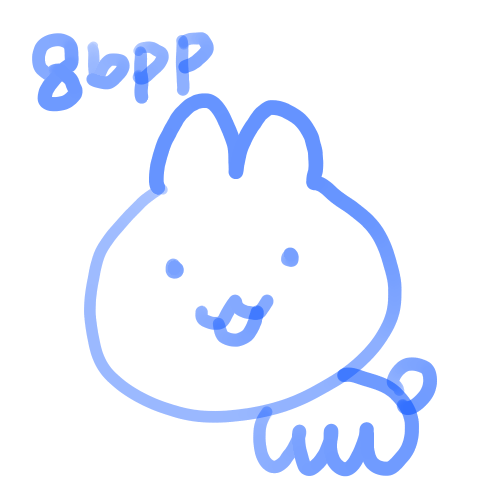
・Change the color of the 1bpp and 8bpp layers.
Double-clicking on a layer will bring up the layer attributes.
Try changing the color inside the line here.
・Change the color of the color layer line
Check the “Protect Alpha” checkbox on the line drawing layer and apply the color.

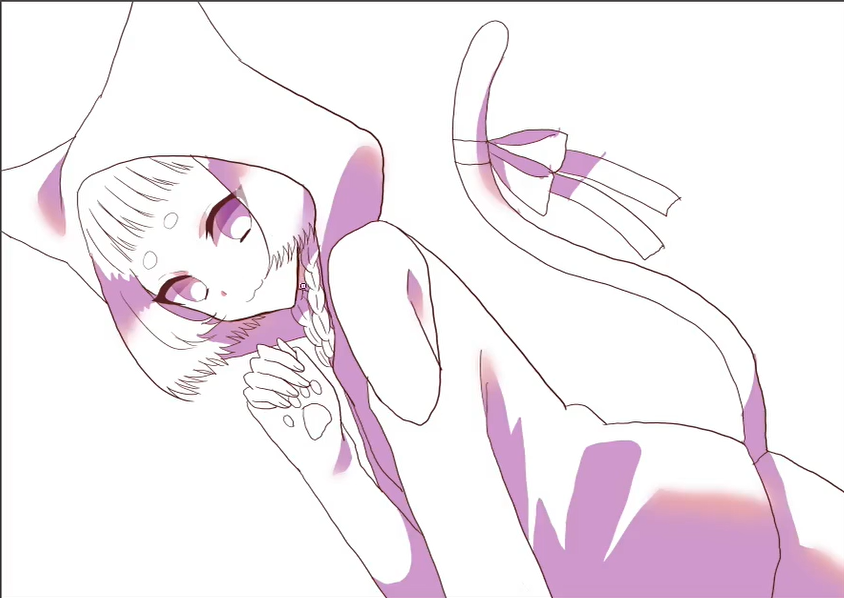
6. Add the Shadow
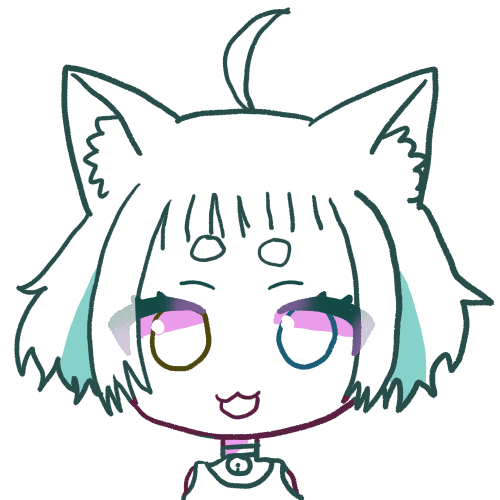
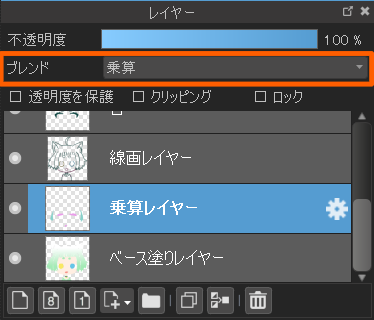
Use the Multiply layer function to roughly add the shadows.
TIPS. What is Multiply Layer?
This is a layer blend where colors are added together.
This is useful for painting shadows.
7. Blending in the Shadows
Blur some areas here and there.
A reddish shadow around the blurred area and face will make her cute.
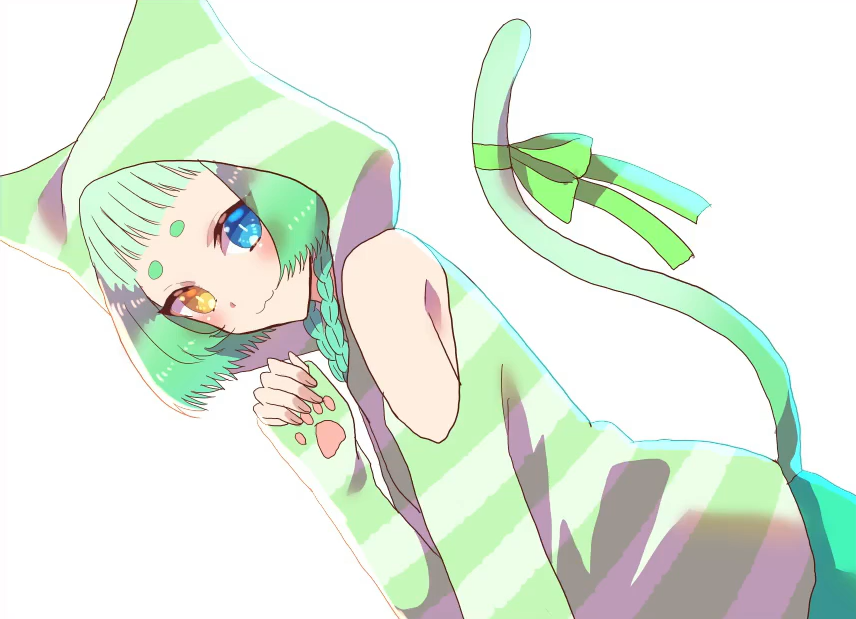
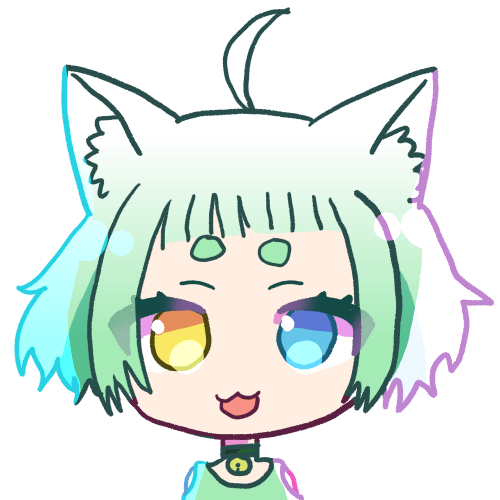
8. Draw the Highlight
Don’t worry about the direction of the light!
Let’s make it sparkle!
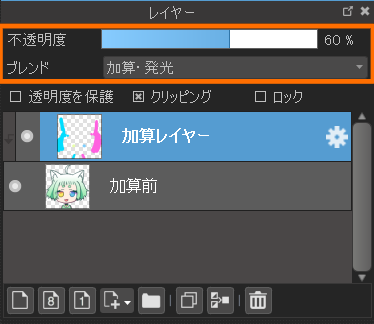
Draw with an additional luminous layer.
TIPS. What is Adding Luminosity Layer?
This is a layer blend that makes the color you apply glow.
▼When displayed as a normal layer
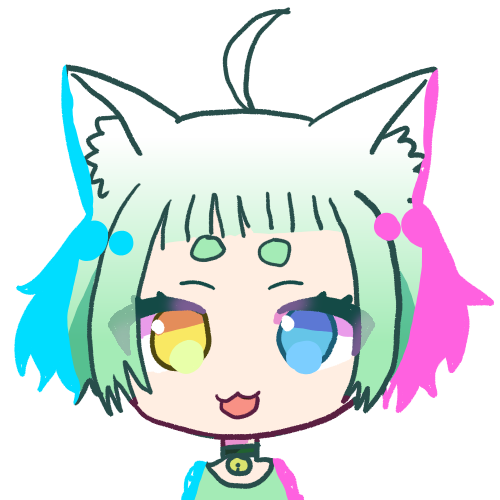
▼Reduce the opacity by setting the blending method to addition.
9. Improve the Background Quality
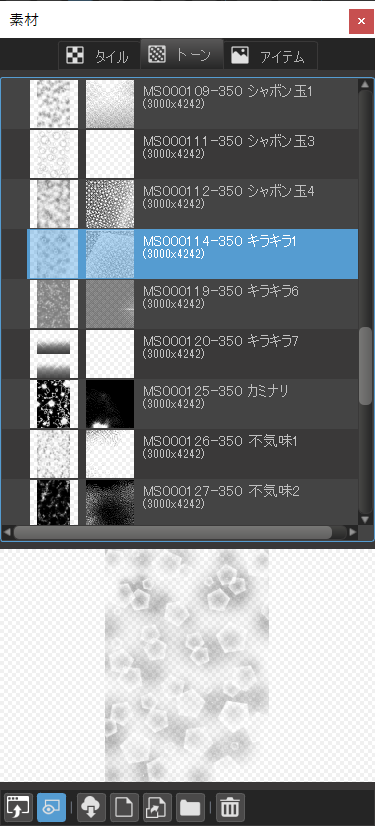
※Materials will become useful here!
TIPS. What are Materials?
10. Add more Interesting Aspects
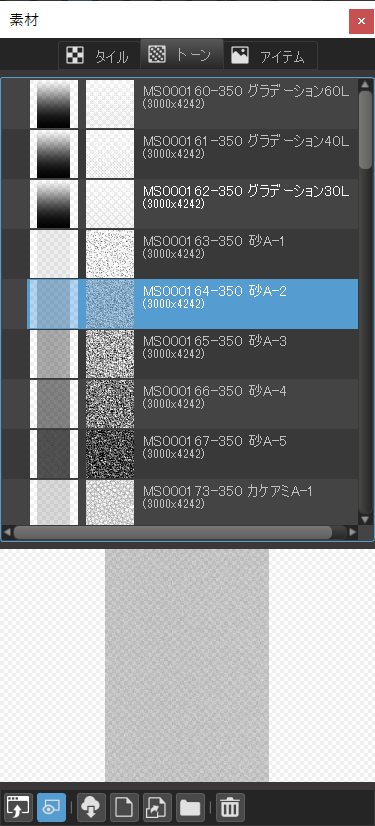
※Again, you can use materials here!
11. And we’re done!

You have completed one illustration!
Congratulations!
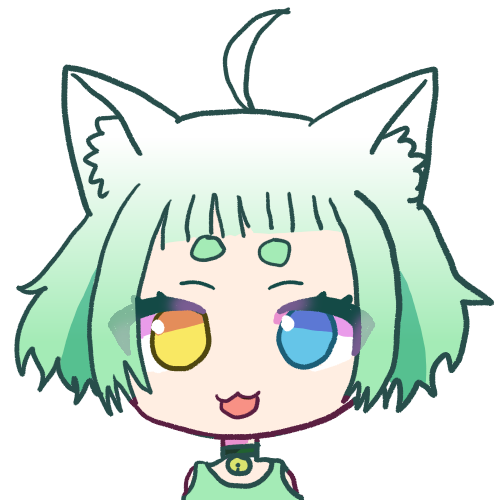
12、Extra #1:Let’s Make it into an Icon!
Open a canvas after selecting the Twitter Icon.
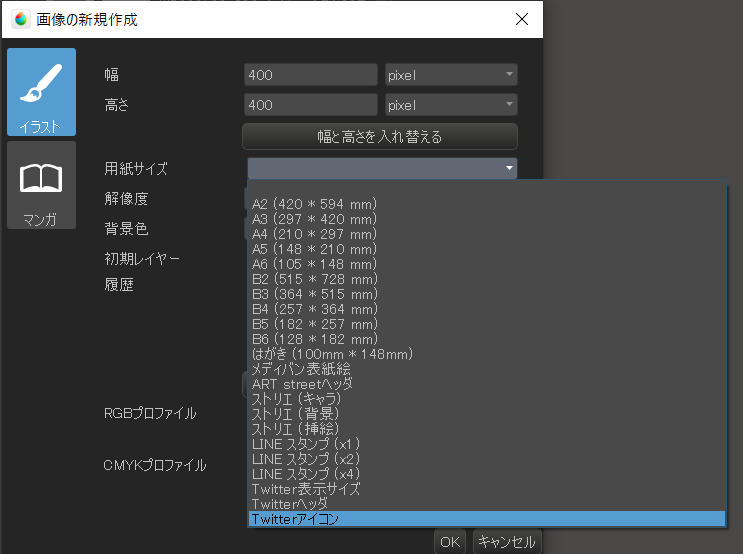
You can copy and paste your drawing and transform it while exploring the screen that looks good.
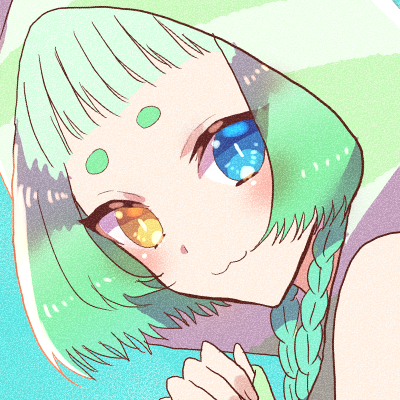
The icon is complete!!
13. Extra #2:Try Using Shortcut Keys!
You can set this in File > Shortcut Settings.
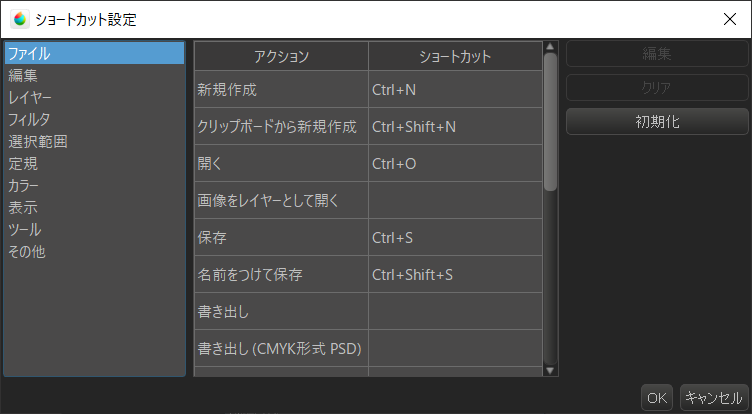
Learn the shortcuts for the functions we use most often!
Now go out there and start enjoying drawing pictures with ease!
Picture and Text by Nakai Nobu
twitter: @knobsn
\ We are accepting requests for articles on how to use /

