2022.08.19
【For Beginners】How to draw snow and brush recommendations

When you want to draw snow as part of the background for illustrations, it’s pretty challenging since adding the snow makes the picture look flat.
For this tutorial, I will be sharing 3 useful tips for drawing snowy scenes.
Additionally, there are brushes in MediBang Paint useful for drawing snow easily so I will explain how to use those too!

1. Drawing Snow
Let’s start drawing the snow.
Pay attention to the tips and look at the drawing steps.
① Draw the snow
First, start drawing snow using the Pen brush.
In this step, it is better to not draw perfect circles.
<Tip 1. Change the size and the density of snow flakes by distance>
The snow looks smaller and denser with further distance.
This is because of the nature of how we see objects in afar. With further distance, the objects tend to look smaller and the distance between them tends to look shorter.
If you want to add depth to the scene, make use of this property and draw the snow in 2~3 different sizes.
As it will be easier in the later steps, I will be creating a layer for each size.

The largest snow will be blurred later so you don’t have to be particular about its shape.

The second largest snow should be drawn to fill in the spaces.
I recommend leaving random spaces so they don’t look too equal.

For the smallest snowflakes, follow the same step to keep them unequal and leave some space while drawing them in.
② Add filters to create depth
To create a three-dimensional look, you can also add filters beside changing the size of the snow.
<Tip 2. Blur the frontmost snow>
By blurring the snow drawn in front of the character, the illustration will look like a portrait and add depth to the look.
For this tutorial, I’m using the Lens Blur but you can use the Gaussian Blur filter as well.

<Tip 3. Change the backmost snow to the a shade near the background color>
A more dimensional look can be achieved by changing the color of the backmost snow, to a near color of the background shade.
I’m using the easy method of lowering the opacity to about 40%.

It might be easier to draw the background snow by lowering the opacity so you can do that first, if you find it difficult to draw the background snow.
③ Replicate the falling motion
You can complete the illustration at the previous step but I will be adding the blurred effect that happens from the falling motion of the snow.
From “Filter”, choose “Motion Blur” and adjust the angle to fit the direction in which the snow falls.

Now the snowy scene is complete!
2. Recommended brushes for drawing snow
① “Light 3” Brush
I personally found the “Light 3” brush useful while drawing the snow.
The purpose of this brush is to draw lights in the night scene but you can draw snow in different sizes really easily.
Since the brush creates perfect circles, it lacks a bit of reality but you can achieve a soft, cute atmosphere.

I didn’t use the Motion Blur filter here but I followed the same steps from above, using the Light 3 brush.
Whenever I can’t draw the snow where I want it to be, I first draw the snow with a brush and move it with the Move Tool.
② “Snow flake” brush
MediBang Paint has a snowflake brush so you can also mix this in the illustration.

This is how it looks using the “Snow flake” brush.
“Snow flake 2” brush

“Snow flake 4” brush
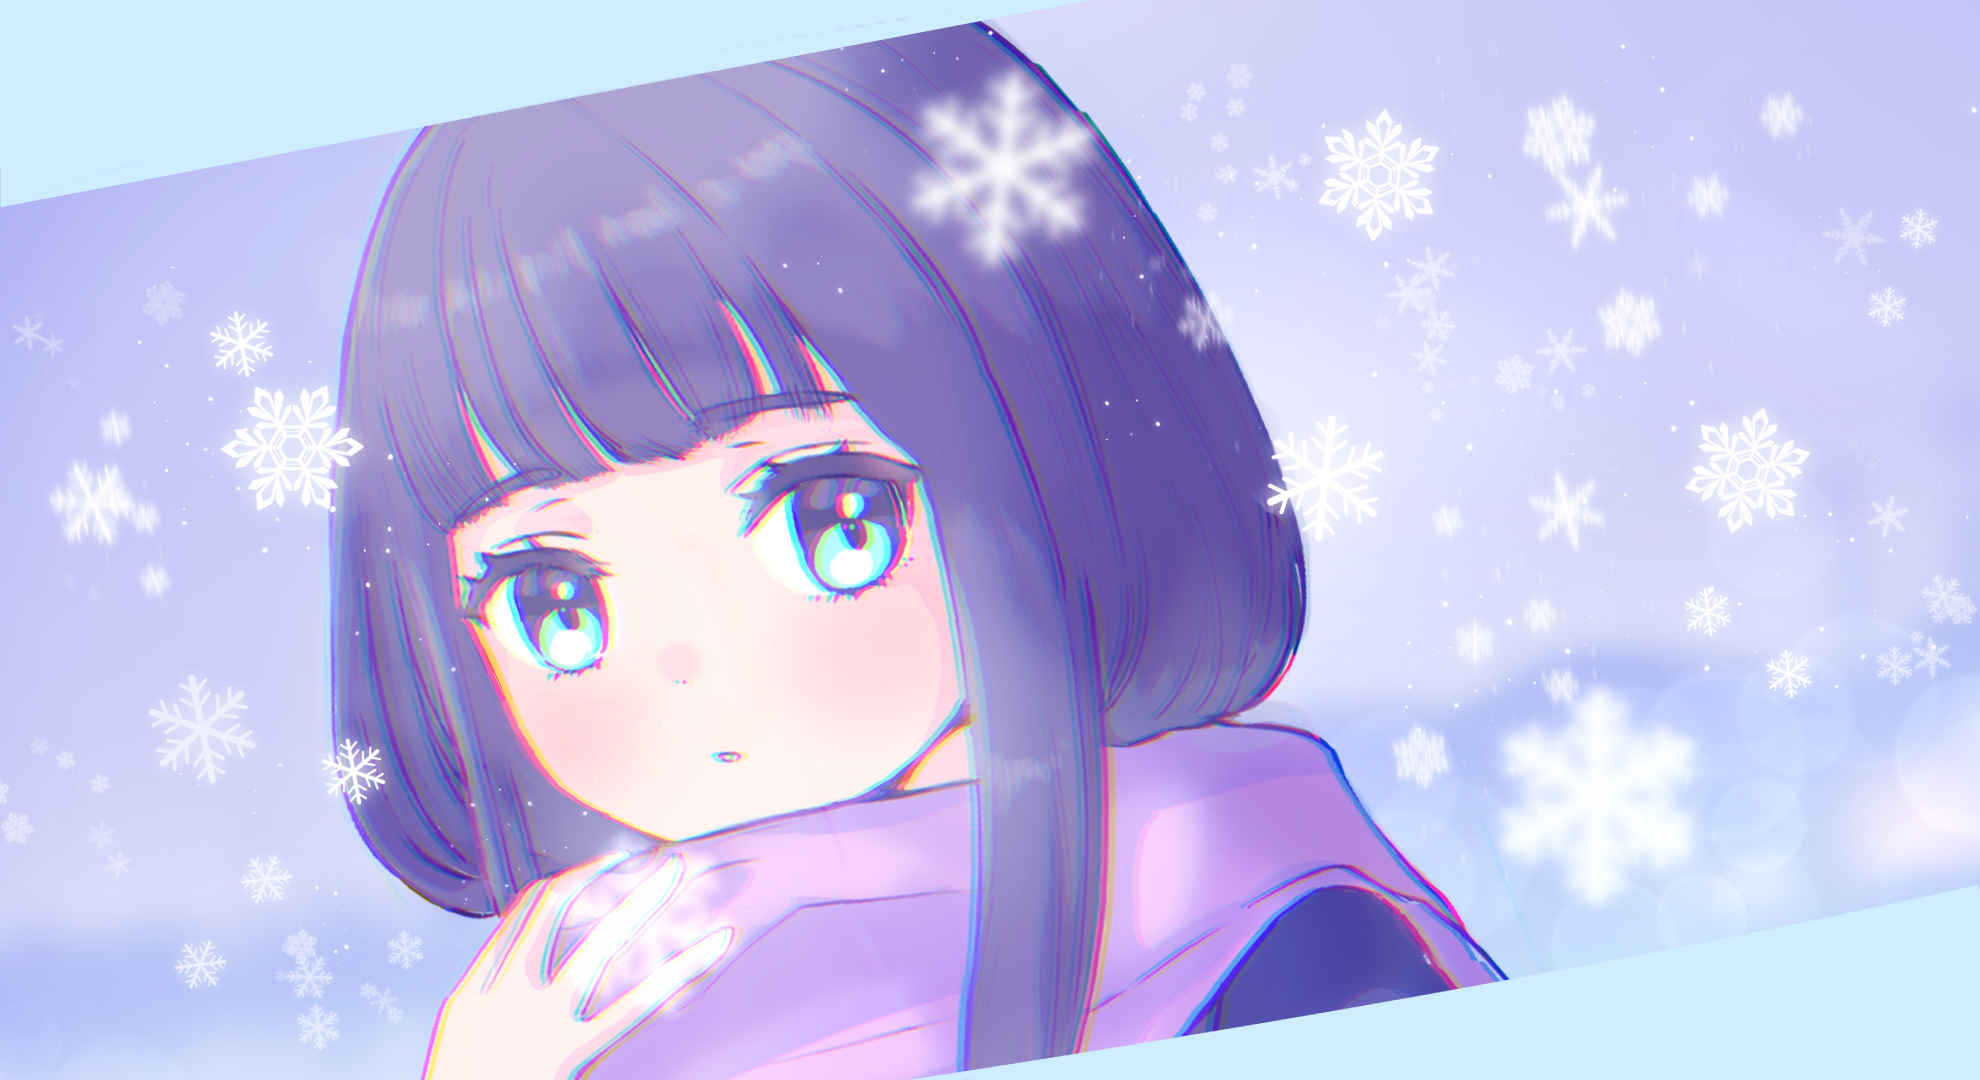
Each snowflake brush creates a different impression! I hope you try them out.
▶︎Read about how to download brushes here
3. Summary
Once you know the tips, it actually isn’t too difficult to draw the snow.
I hope you challenge yourself to draw snowy scenes whenever you want to draw a winter illustration.
(Text・Illustration/Amane)
\ We are accepting requests for articles on how to use /

