2022.09.21
Let’s draw bricks!
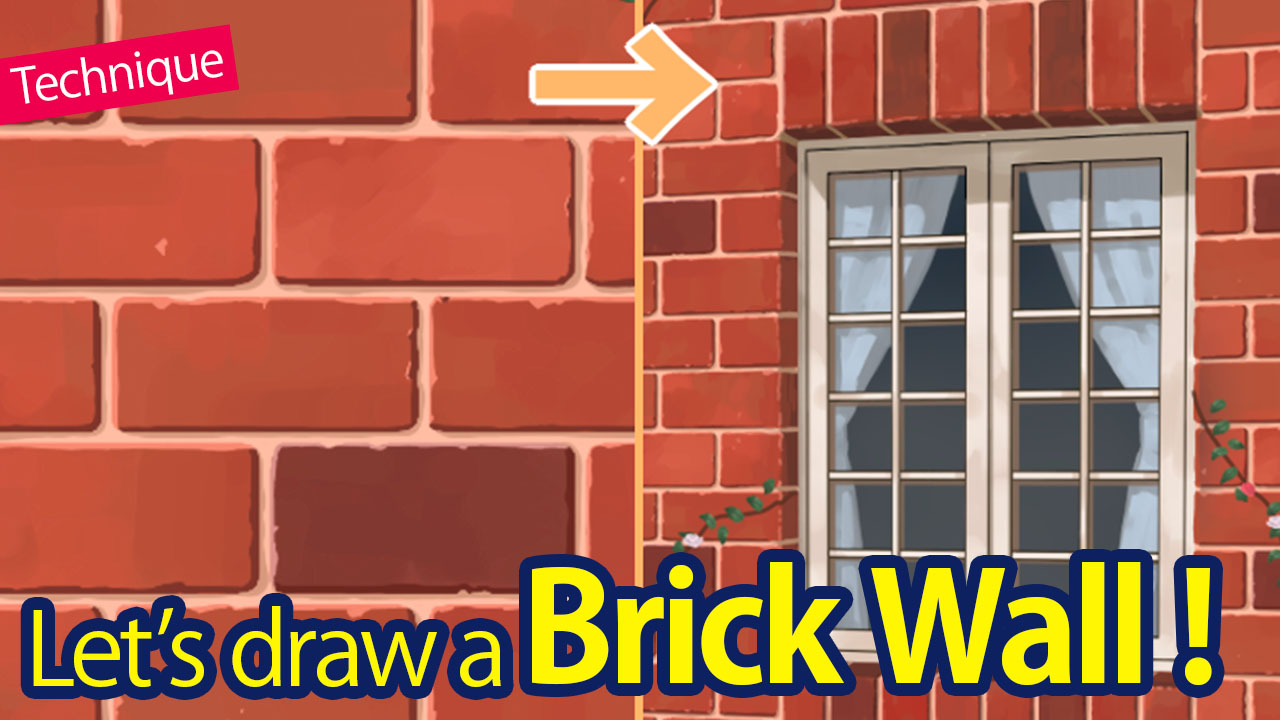
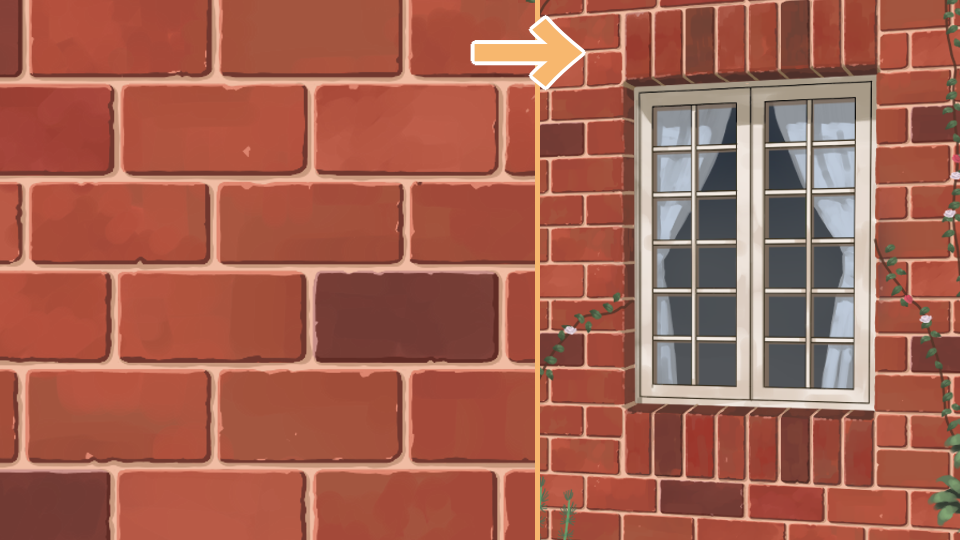
This tutorial will follow the making of brick walls.
After creating bricks in a two-dimensional plane, I will also show how to use them as a background so please stay with me until the very end!
1Basics of Bricks【Super easy with “Snap”!】
① Creating Rough Sketch
First, I will be setting my snap since it’s an essential tool for drawing bricks.
Click the Brush Tool icon at the top of the side toolbar.
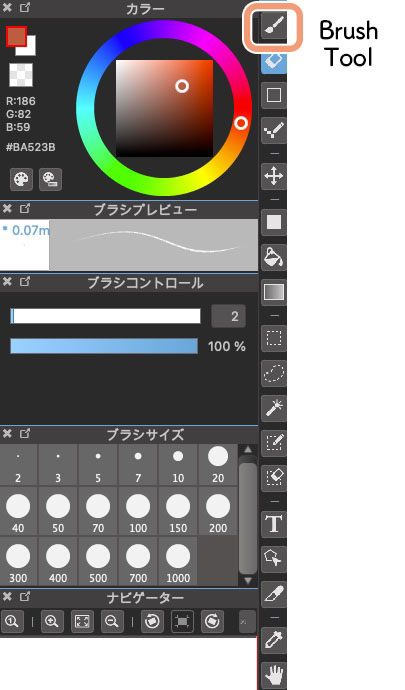
Next, a list of Snap tools will appear at the top of the window so now click the third left icon “Crisscross Snap”.

If the red lines appear like in the image below, the settings for the Snap tool is complete.
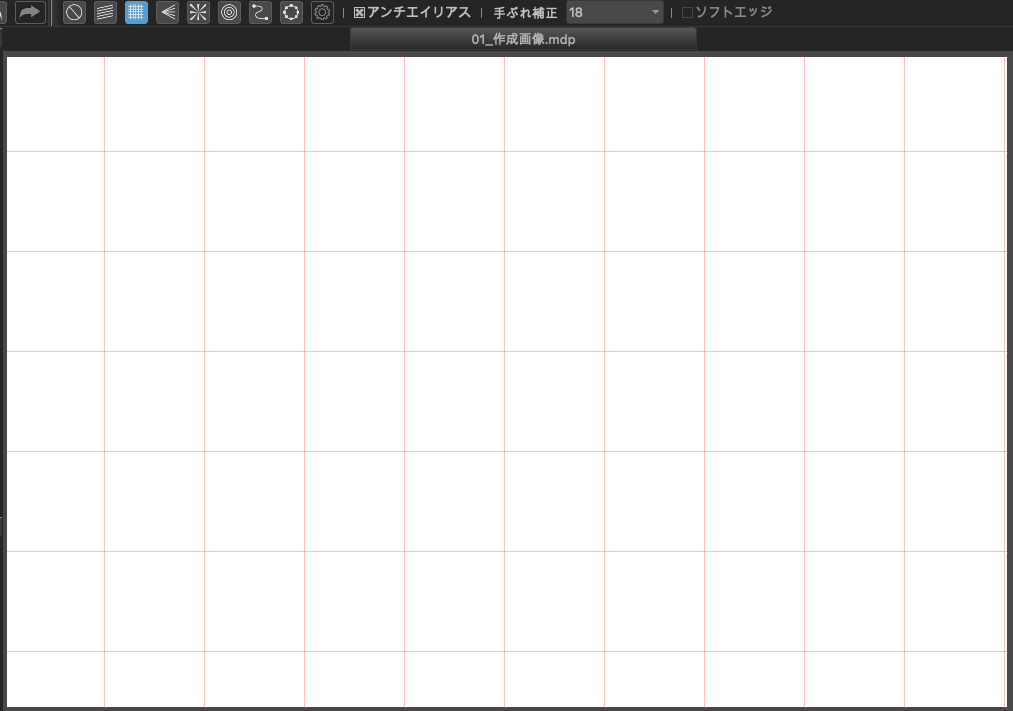
I will start making the shape of the bricks.
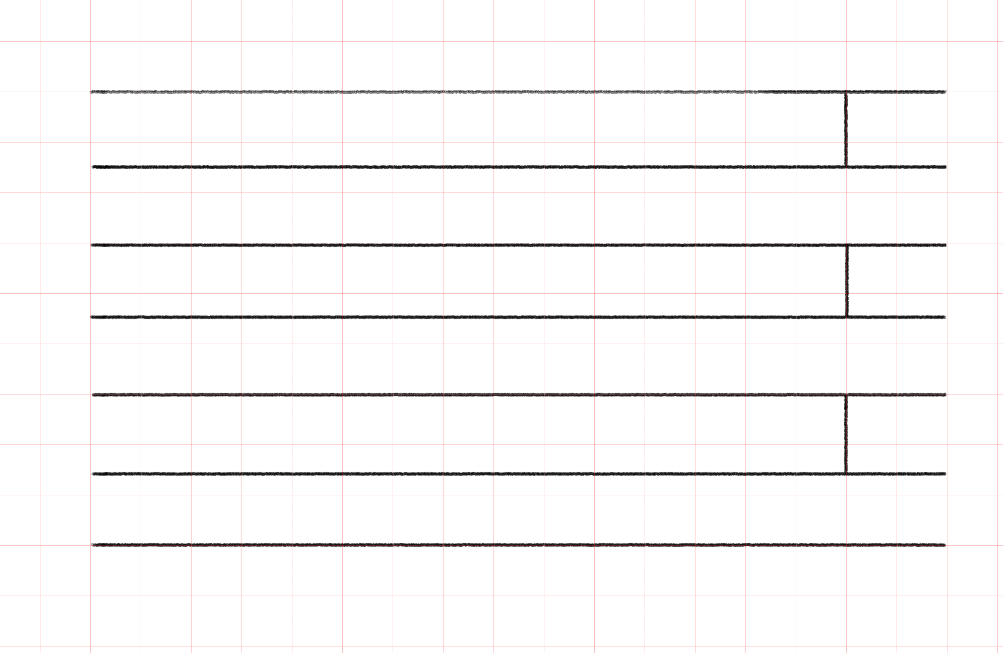
Draw a couple horizontal lines with equal spaces in between.
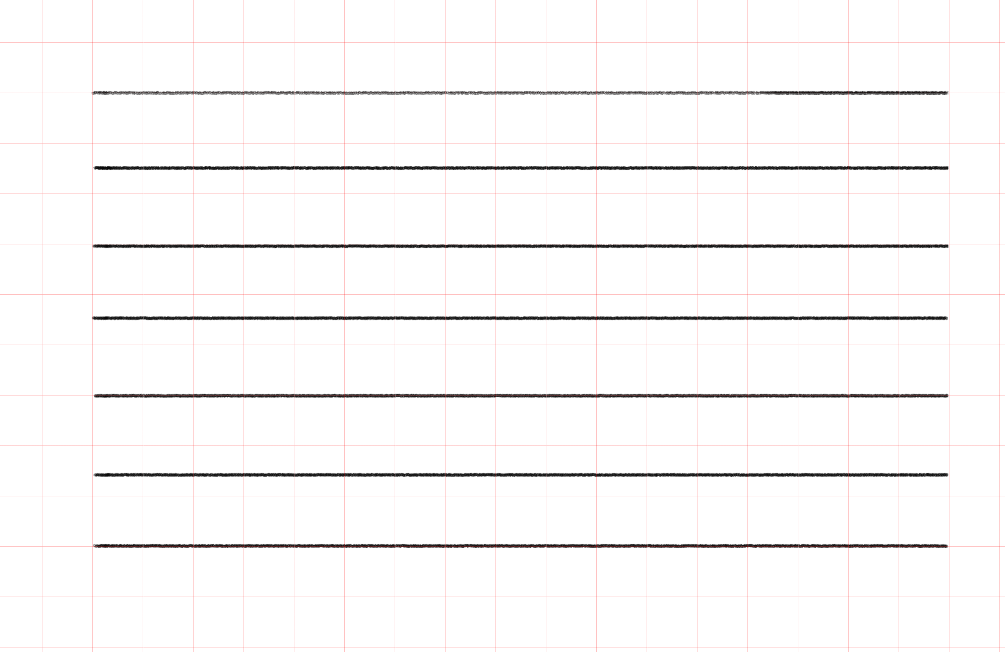
Connect the horizontal lines with vertical lines like done below.
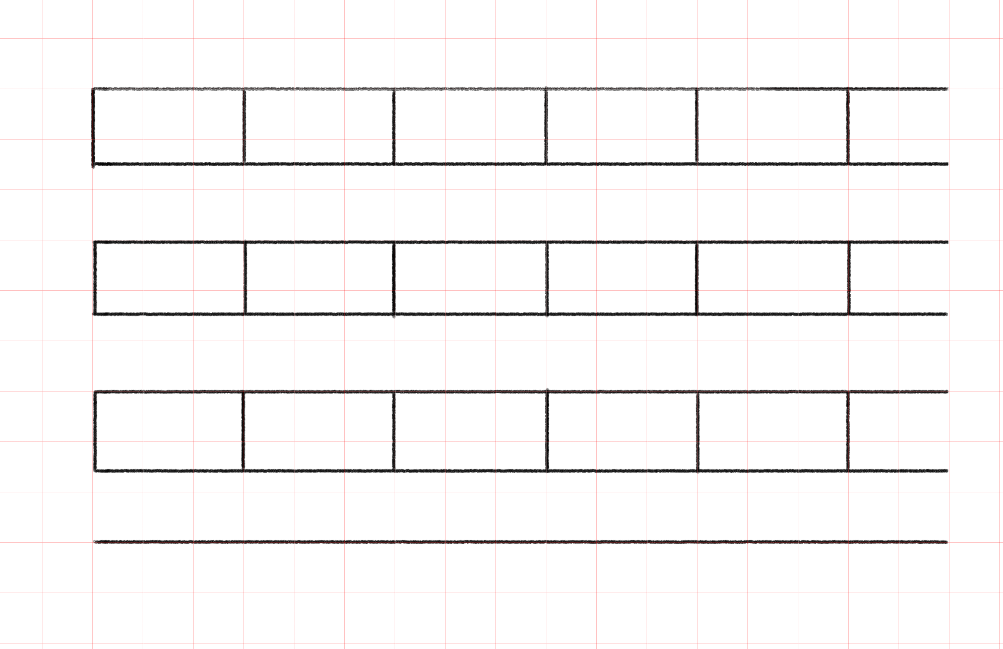
Keep drawing the vertical lines, again with equal spaces in between.
Now draw the same vertical lines but move a little far to the left/right.
Position the new lines so they pass through the center point of each block.
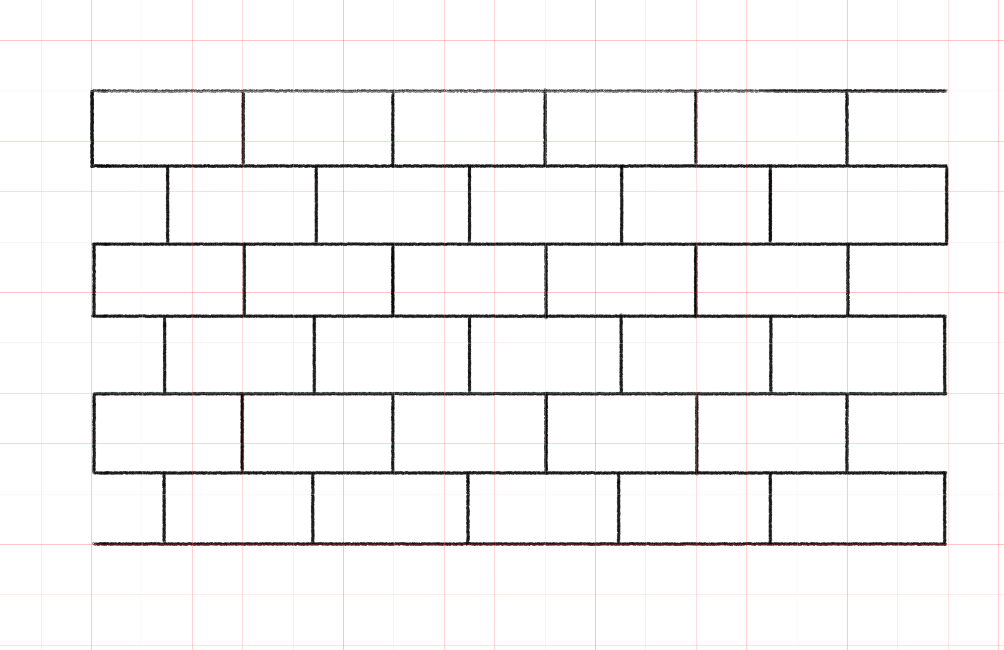
The shaping of brick blocks is done!
② Create patterns and joints
The next step is coloring.
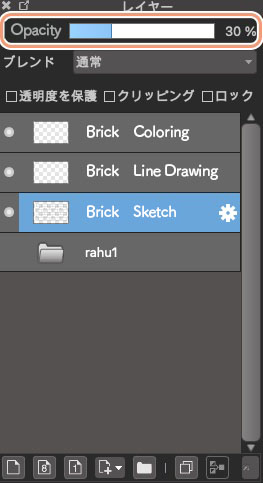
First, lower the opacity of your Sketch layer you just created. From the Opacity bar, drop it to about 30%.
Next, click the “Fill Tool” with a rectangular icon.
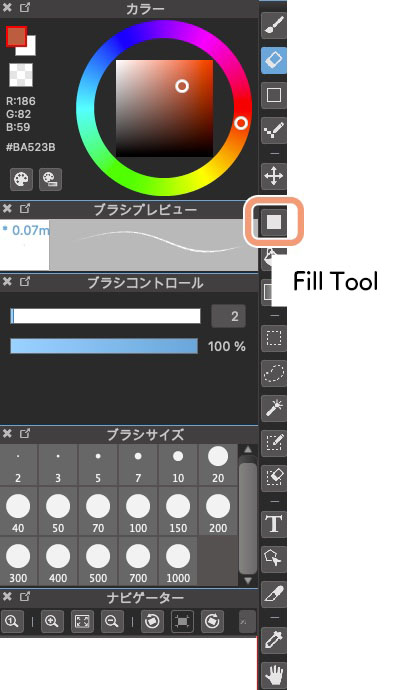
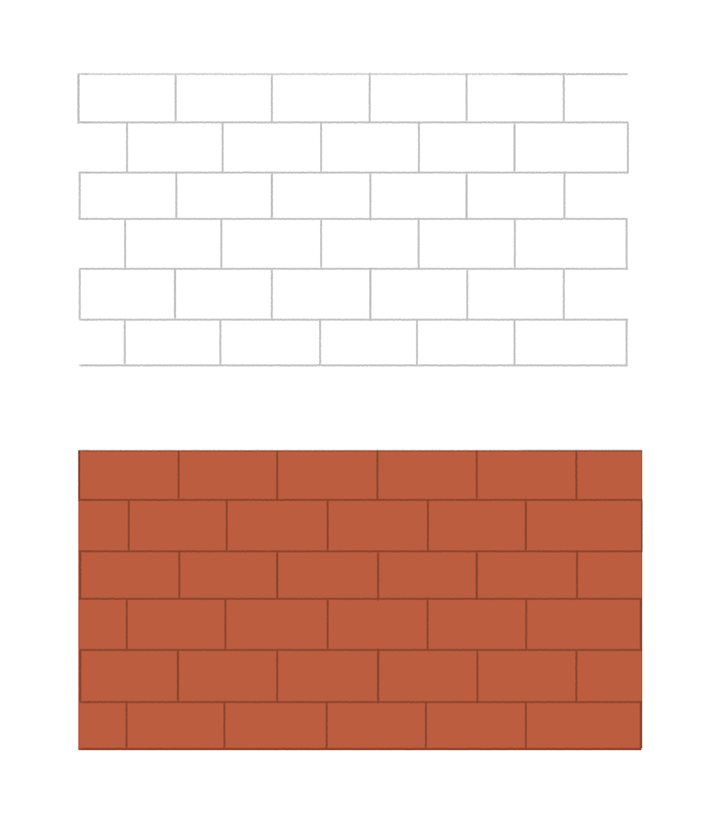
Fill the entire sketch by placing (drawing) a rectangle covering the bricks you have drawn.
Above the Fill layer, create a new layer and choose Clipping.
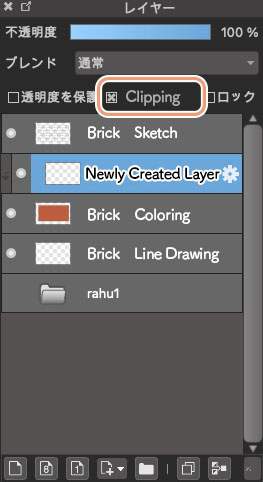
Place your layers in the order of “Sketch → New (with Clipping) → Fill”
Let’s move on to creating patterns.
For the brush, choose Watercolor (Soft).
If you don’t have Watercolor (Soft) inside your list of brushes, you can download them from the cloud as explained in the article below.
“Downloading Cloud Brushes in MediBang Paint Pro”
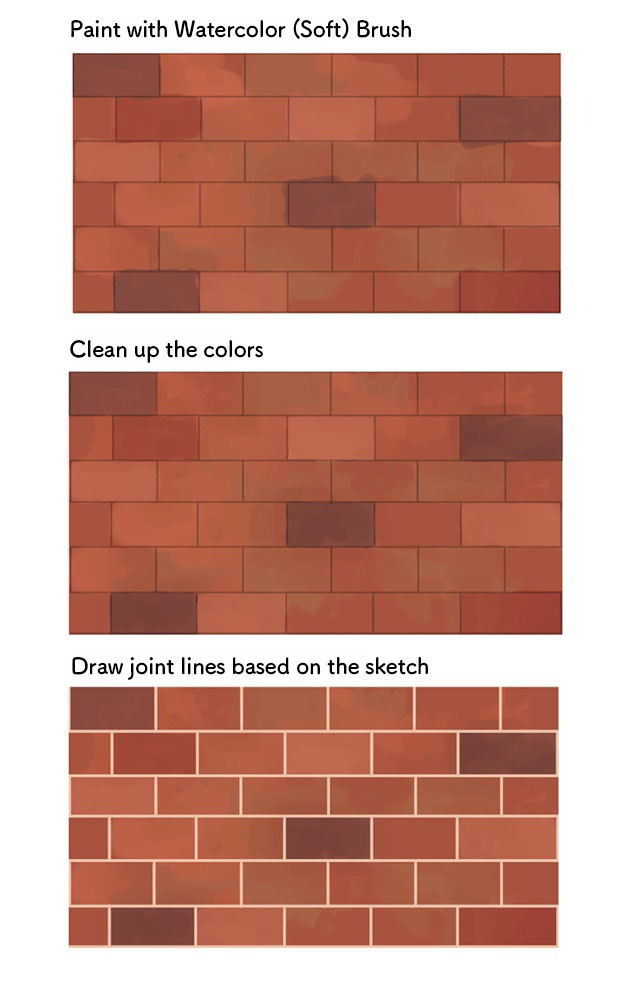
I will proceed in the order of
- Paint colors with a brush
- Clean up the colors
- Draw joint lines based on my sketch
When you tidy up the colors, make sure to keep it uneven so it looks like there are patterns and stains on the brick wall.
I will now add details to the joint lines to create a realistic feel of the brick wall.
As you can see in the image below, round the corners of each block and create jagged edges.
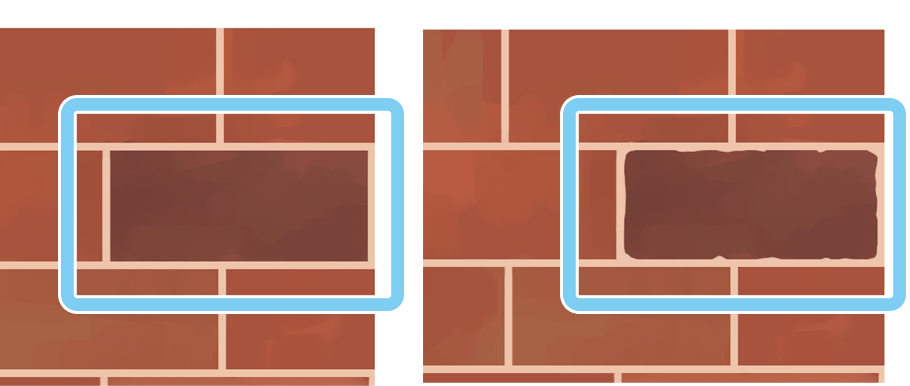
Do the same for the rest of the brick wall too.
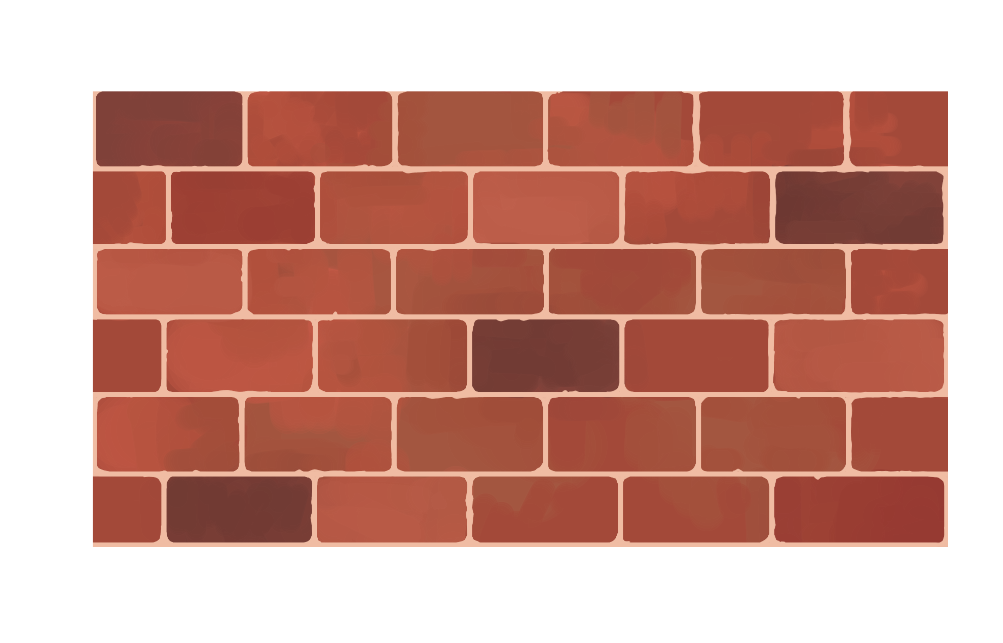
Next, let’s add a three-dimensional effect to the bricks.
I painted with a dark brown on the right and bottom side of the brick to create shadows.
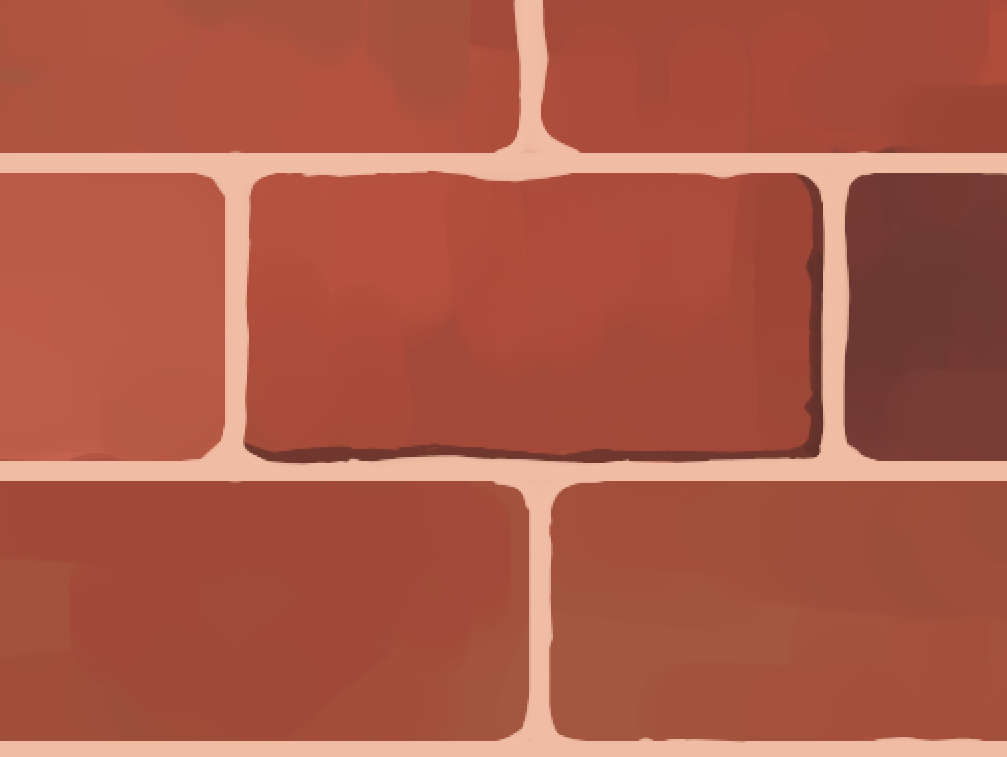
I will now add highlights.
I painted a lighter color around the left and top margins.
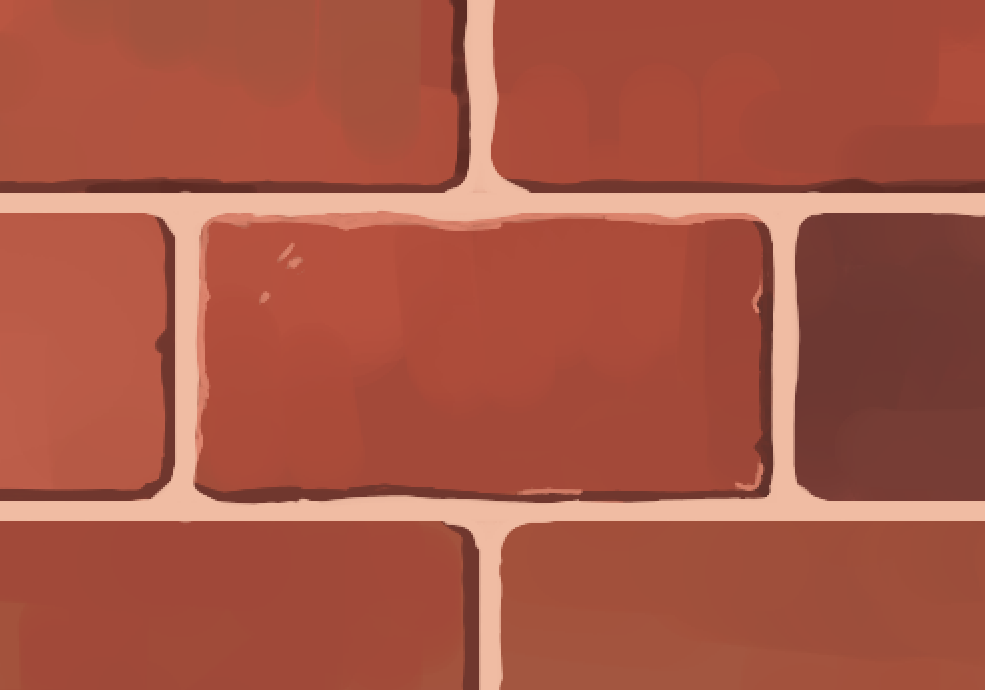
During this process, make sure to have your layers listed in the order of “Joint Lines”, “Highlights”, “Shadows” and “Pattern Layer” so you can paint without having to care about paint spill overs.
Lastly, I will add a faint shadow to the Joint Lines layer.
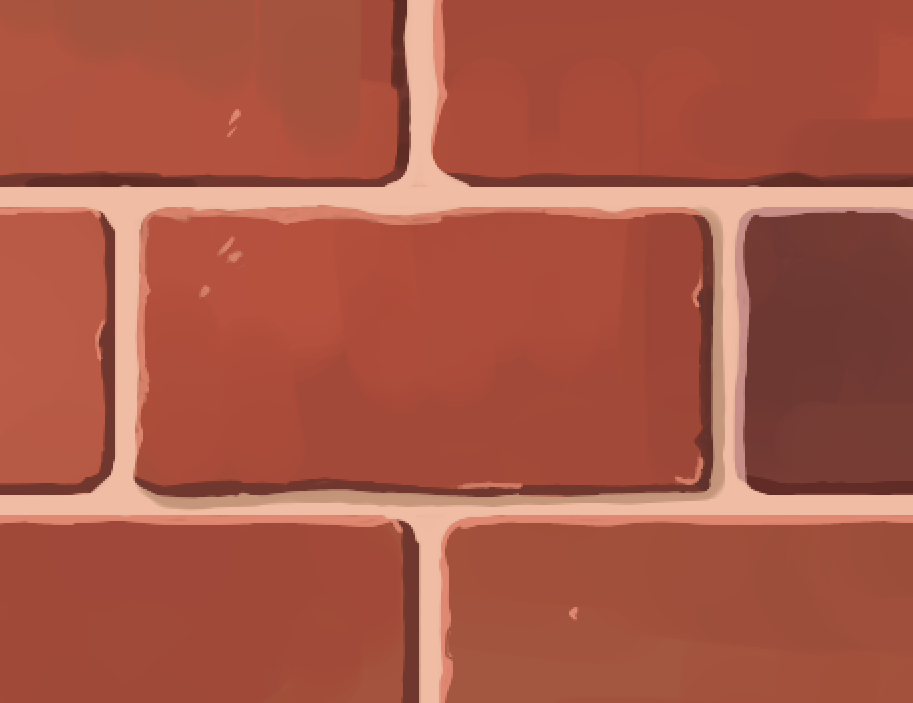
For an efficient painting process, I recommend Clipping the new layer (for the shadow) created on top of the Joint Lines layer.
Follow the same steps for the rest of the brick blocks and now I’m finished with making the brick wall!
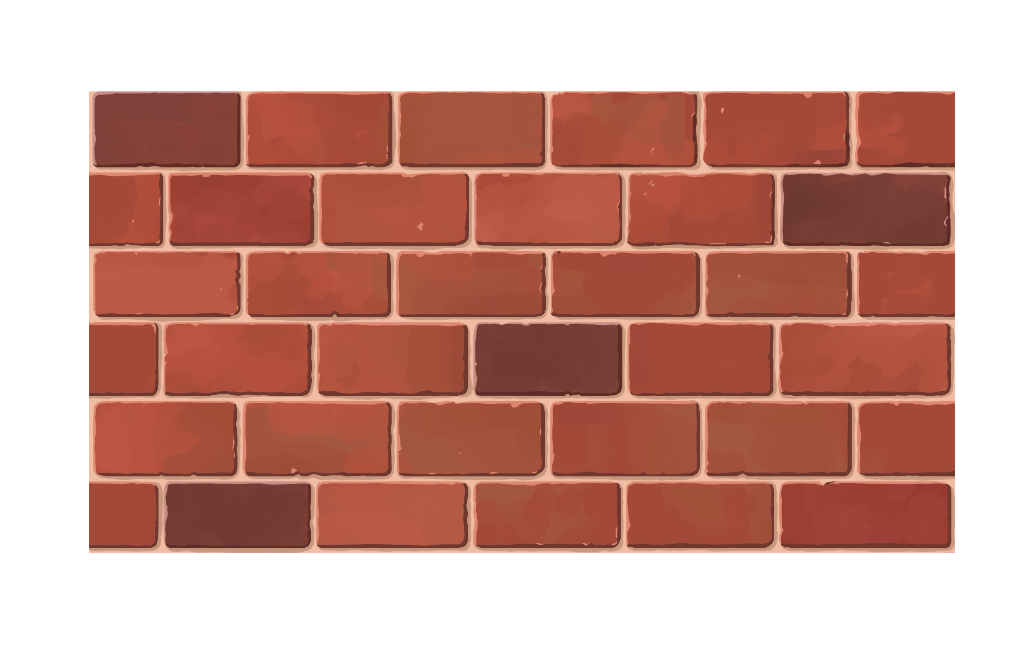
Create a couple blocks with a very dark shade and a couple with a light shade as an accent for the otherwise plain brick wall.
Express the scratches and stains by imagining the atmosphere you want to recreate in your illustration!
2Application【Turn the bricks into a wall using “Free Transform”】
① Duplicating the brick blocks
I will finally start to turn the brick blocks into “a wall”.
From the bottom of the Layer window, click on the “Folder” icon with “Add Layer Folder”.
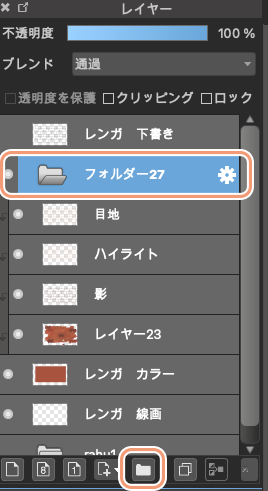
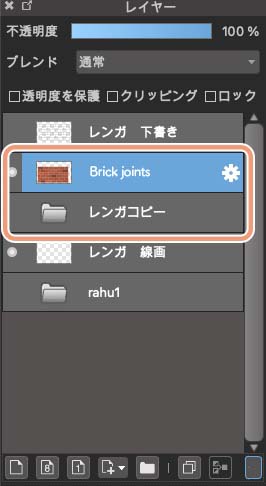
From the top menu bar, click the Layer tab and choose “Duplicate” (to duplicate a folder with all layers), and continue to “Merge Folder” in order to merge the multiple layers used to draw the bricks into a single layer.

Now I have created a new layer as shown below.
If you want to make changes or correct something, come back to this folder.
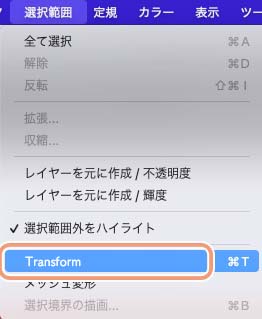
From Select inside the menu bar, select “Transform”.
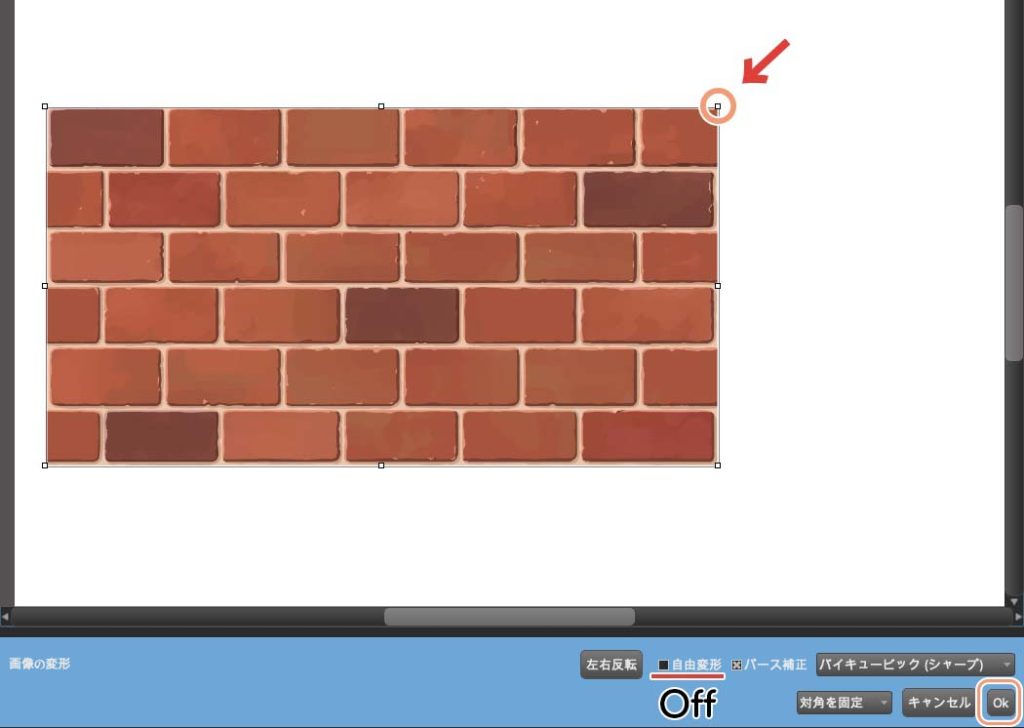
Below the canvas, a window will appear in the Transform mode so turn OFF “Free Transform” and make the wall smaller by dragging the little square at the top right corner towards the bottom left corner.
Adjust the size so it will be easier to edit and click on “Ok” at the bottom corner.
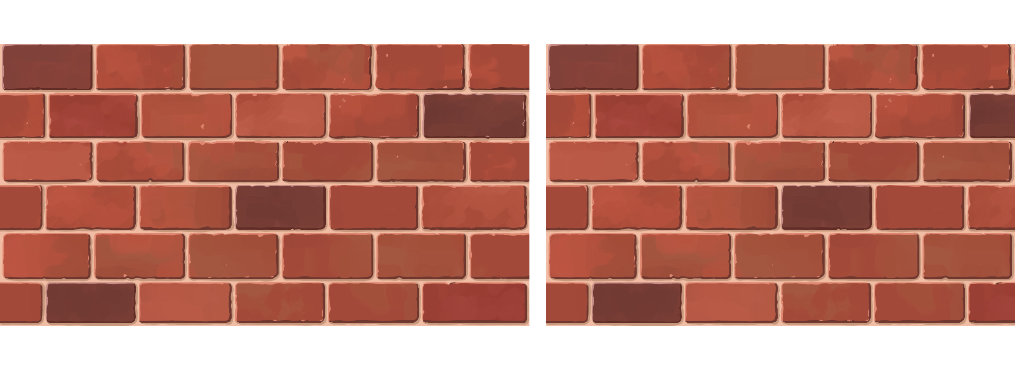
Now duplicate the single layer of brick blocks following the same step “Menu bar → Layer → Duplicate”.
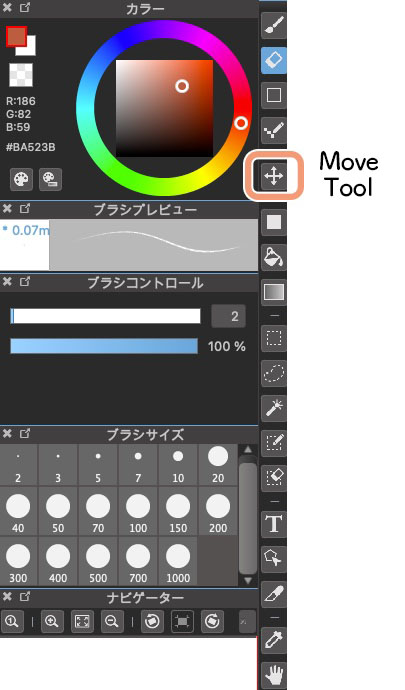
Then choose the “Move Tool” from the side toolbar.
Layer the two brick walls as shown below.
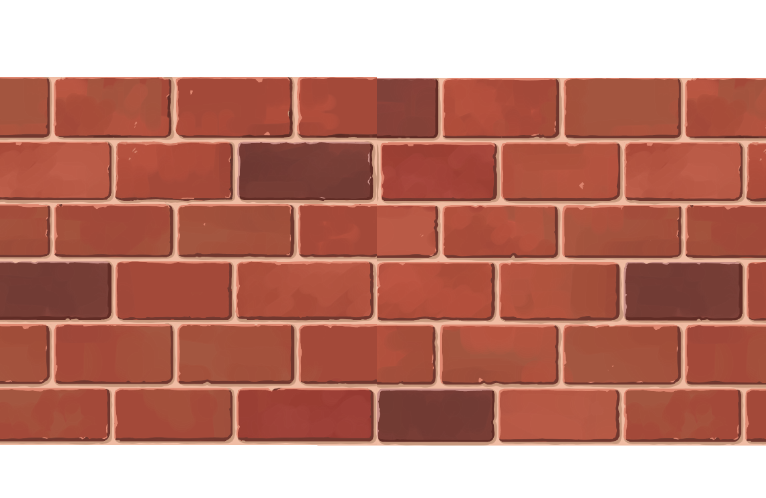
Here you can see the borderline between the brick blocks so now I will paint on top to blend the colors together.
Choose the “Eyedropper” tool from the side toolbar.
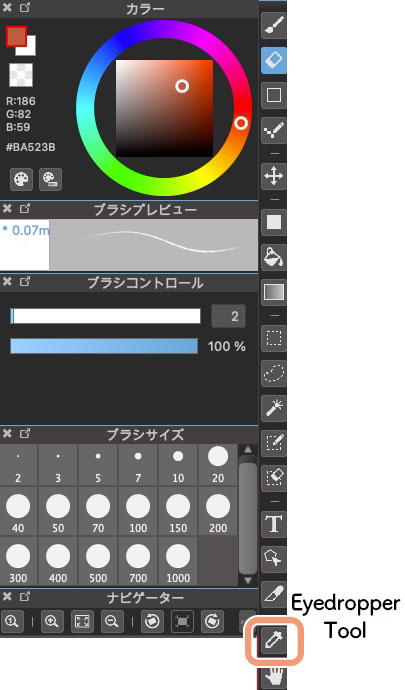
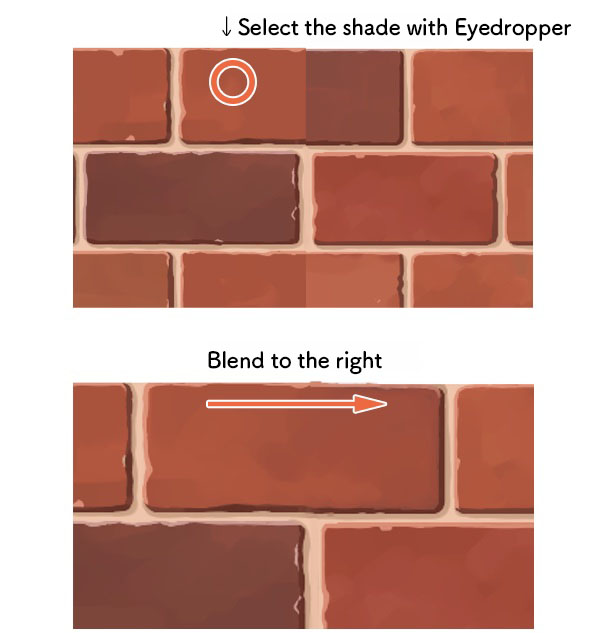
Select the color on the left side and paint to spread the color to the right half.
Follow the same steps for all the overlapping brick blocks, from top to bottom.
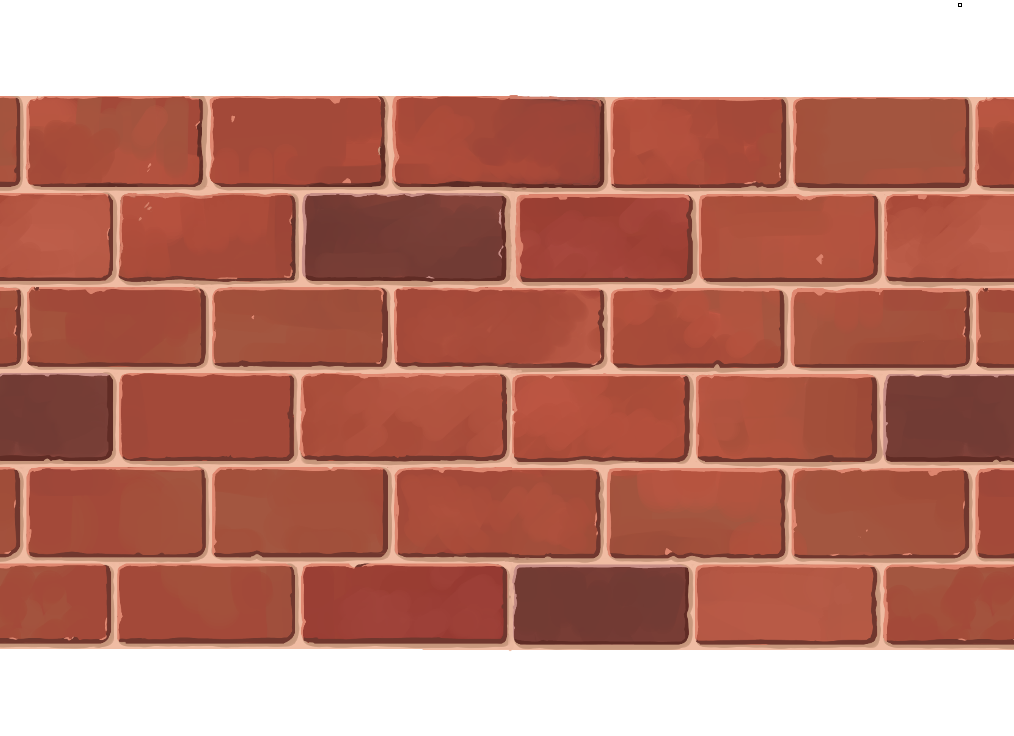
Duplicate the layer again.
Now there are two long brick walls.
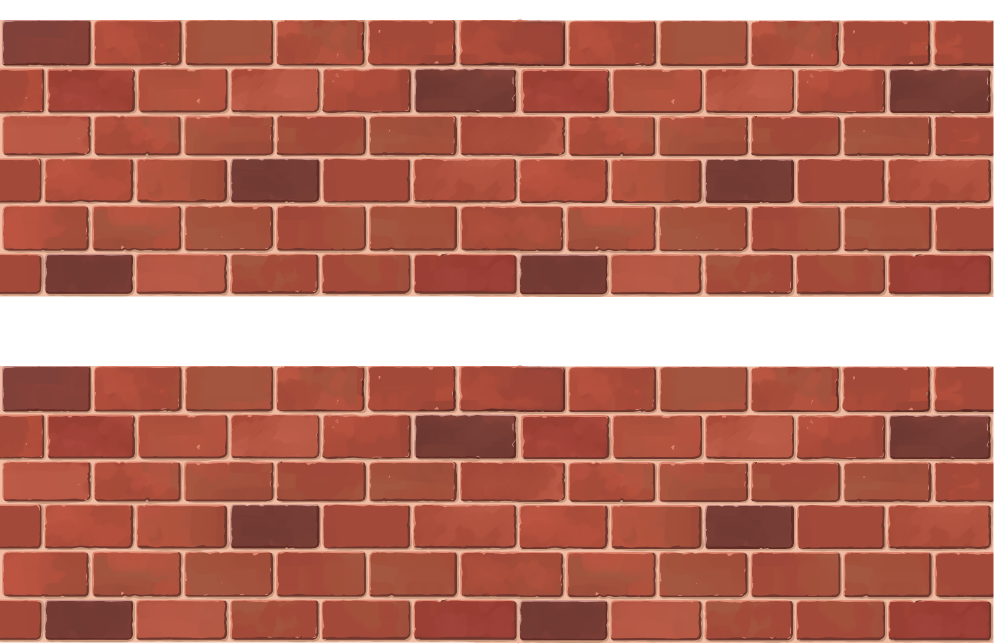
Now layer the two long brick walls on top of each other and paint the borderline to make it look natural.
With the above couple steps, I have created a complete wall of brick blocks as you can see below.
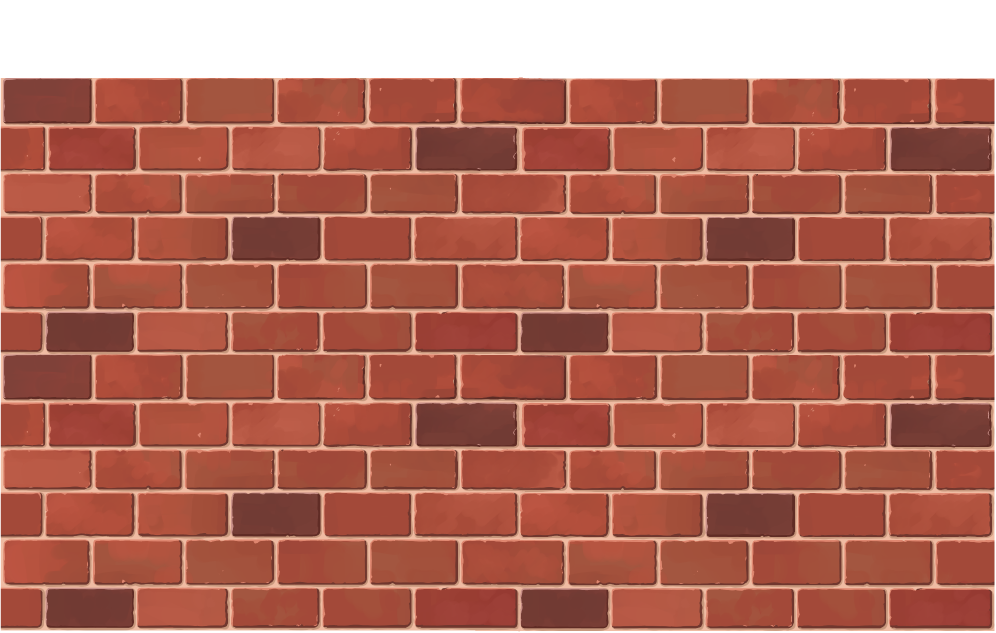
Let’s duplicate this layer too.
② Drawing in the window panels
I will now create a window to add on the wall.
For now, hide the brick wall layer you have just been working on.
Choose the Crisscross Tool and draw a plain window.
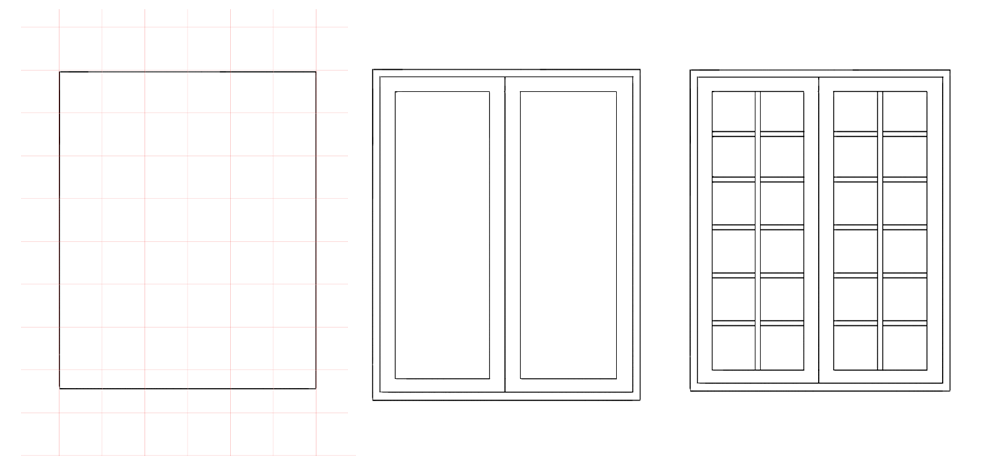
As you can see in the image above, start drawing the window frame first, before moving on to the sashes. Make sure to draw them in symmetry.
Use the Fill Tool to color the window panel.
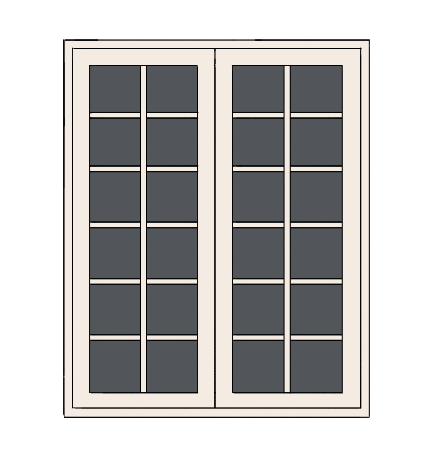
Unhide the brick wall layer.
Here, I dropped the transparency for the window panel layer so the edits can be seen clearly.
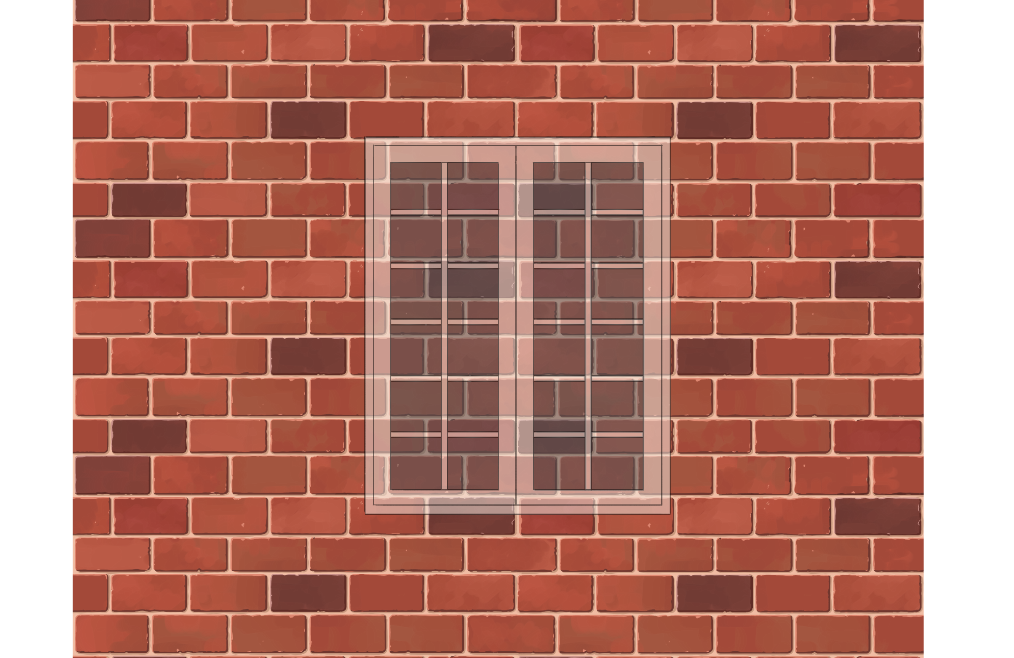
I want to create depth to the brick wall so I will now transform the layer.
As I did earlier, click “Select” from the Menu bar and choose “Transform”.
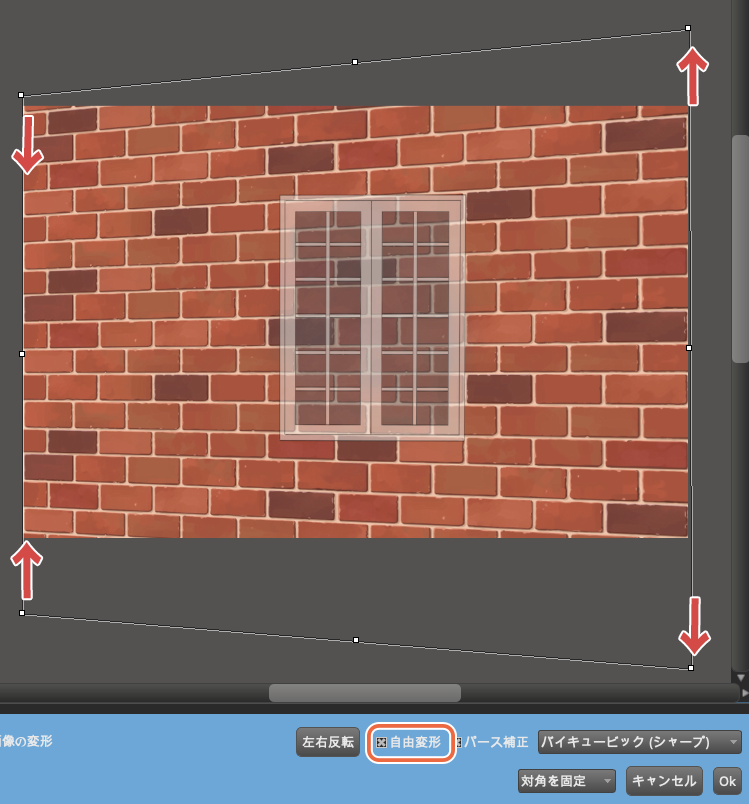
Add a check to the free transform box at the bottom of the screen and drag each of the four corners in the direction I specify (with the red arrows) in the image above.
Don’t drag them too far, only move the corners to the point you can see slight depth.
Once you are done, click Ok and you will return to the main screen.
This is how it looks after transforming the brick wall layer.
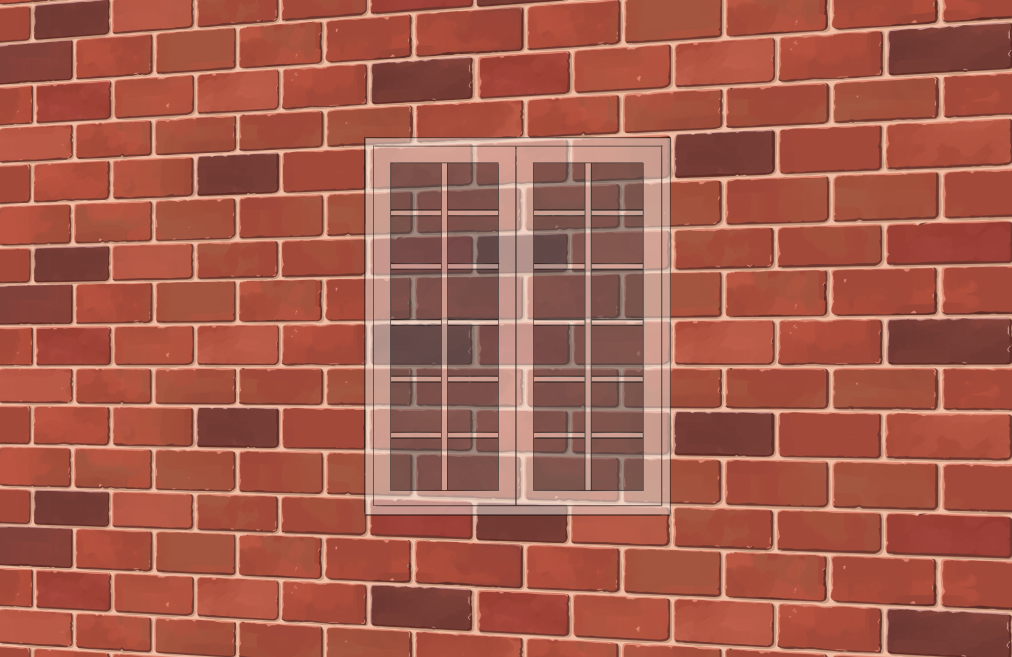
Now, do the same for the window panel.
Transform the window so that the top and bottom frame becomes parallel to the horizontal lines of the brick wall and the sides of the window frame must be perpendicular.
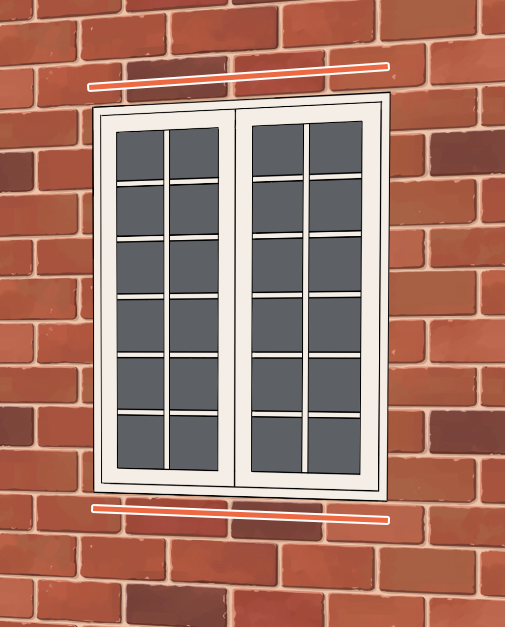
Leaving the window as it is now, it will look very out of place so I will first draw the decorations touching the window frame.
Create a rough sketch based on your imagination of the window decorations you want to draw.
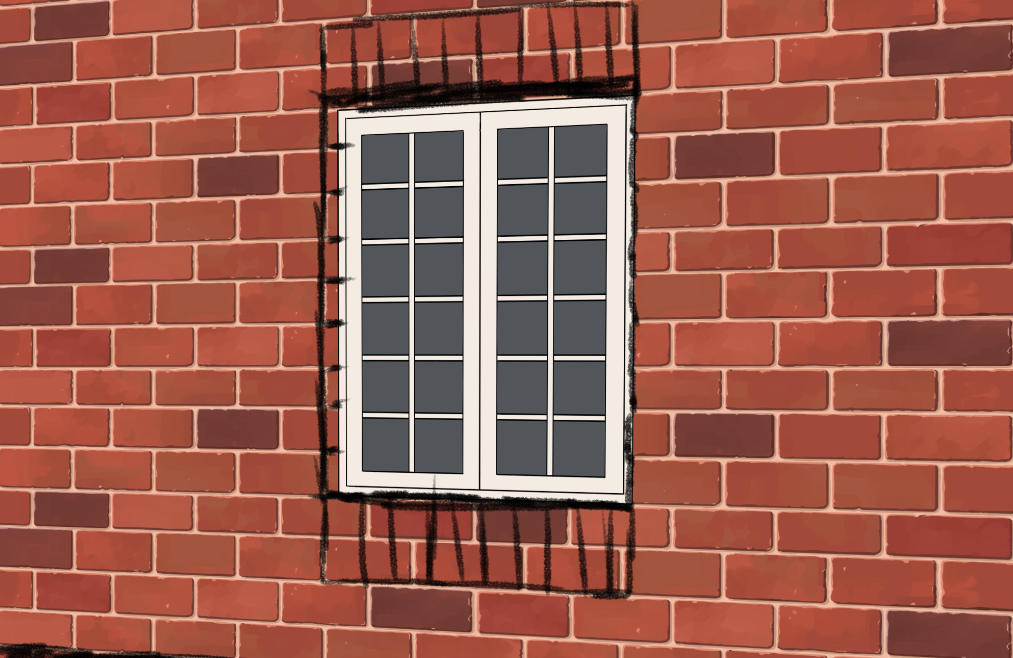
Then, proceed with the two steps below.
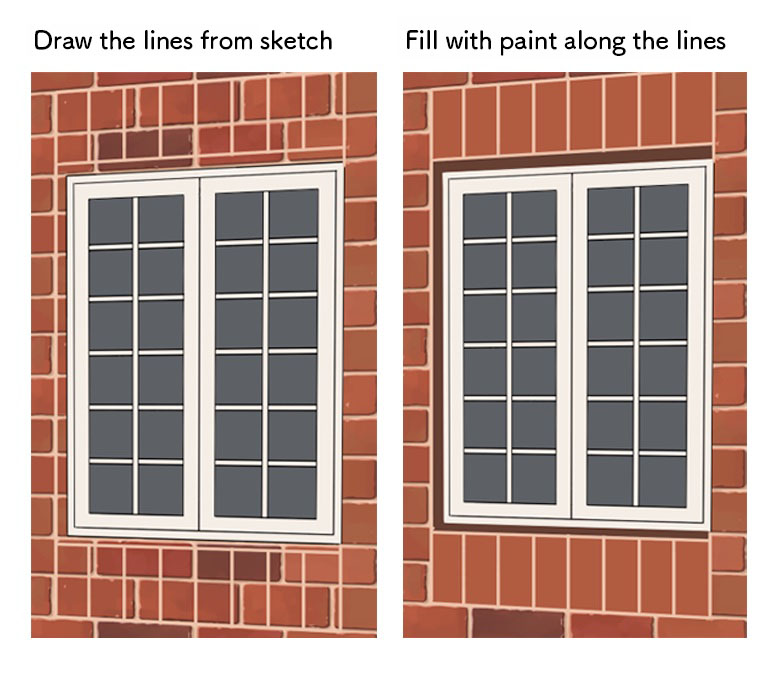
When you want to draw lines, click the “Shape Brush Tool”.
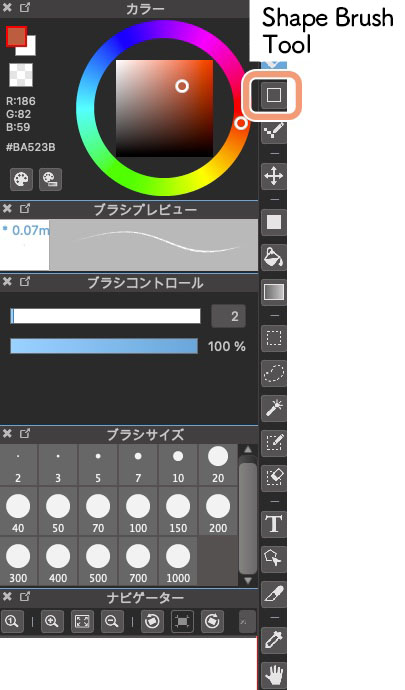
Then, from the top of the screen, choose “Line”.

I will then follow the three steps below.
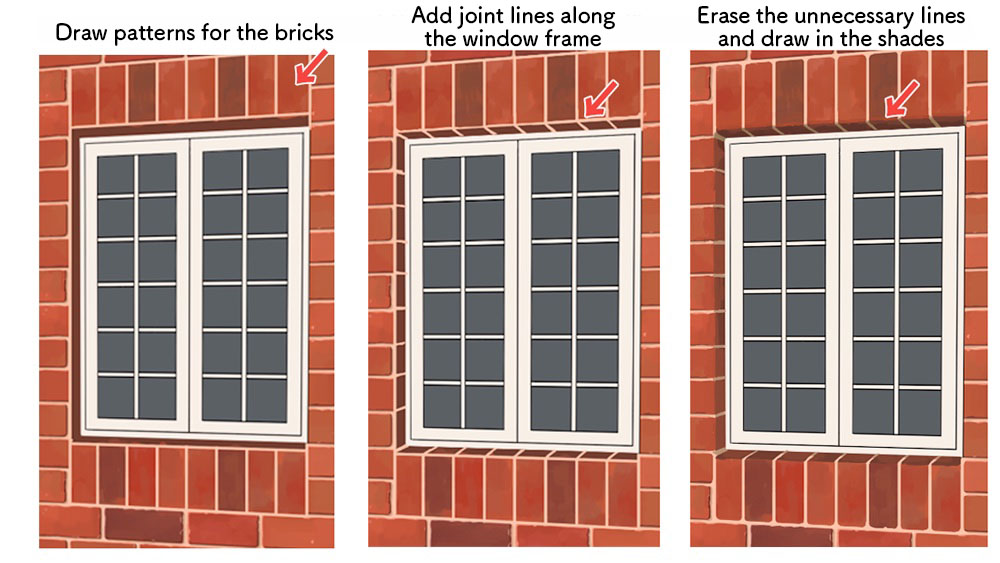
When you want to paint shadows for the joint lines (as done in the third step above), make sure to “Create a new layer with Clipping” on top of the joint lines layer so it becomes much easier to paint.
Now, let’s add three-dimensionality to the right side of the window panel.
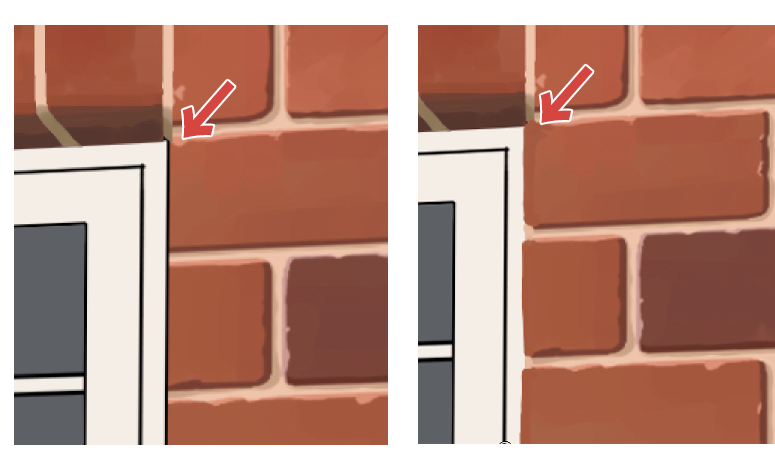
You can still see the straight line of the window frame so I will draw a bump on top of the adjacent brick blocks to hide the line.
Now the window looks much more natural as part of the wall.
For the decorative parts around the window panel, follow the steps I have explained for the basics of brick block making.
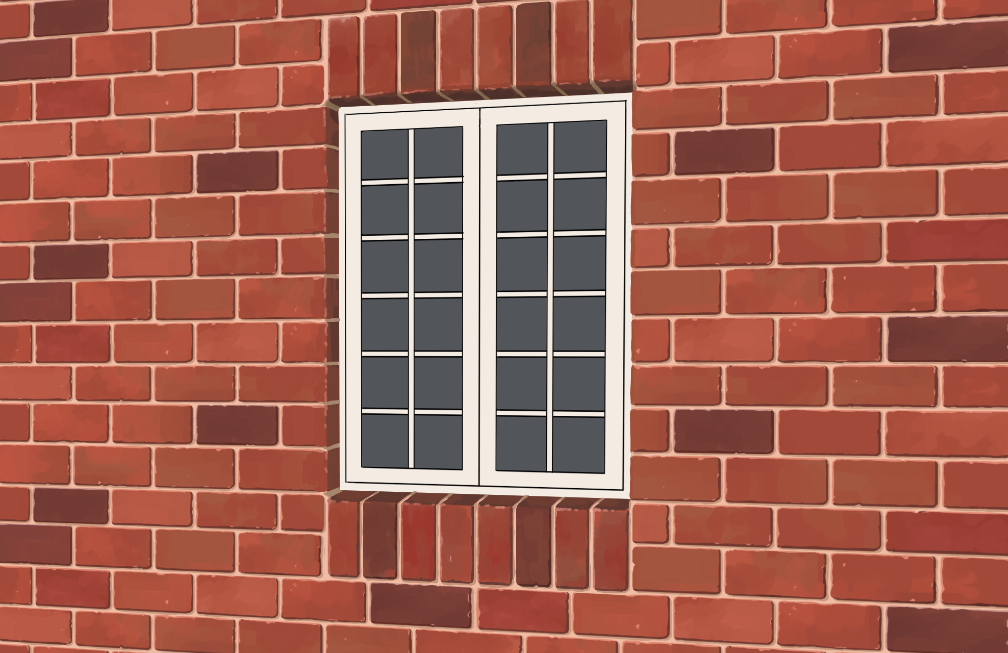
Next, let’s move on to the details of the window.
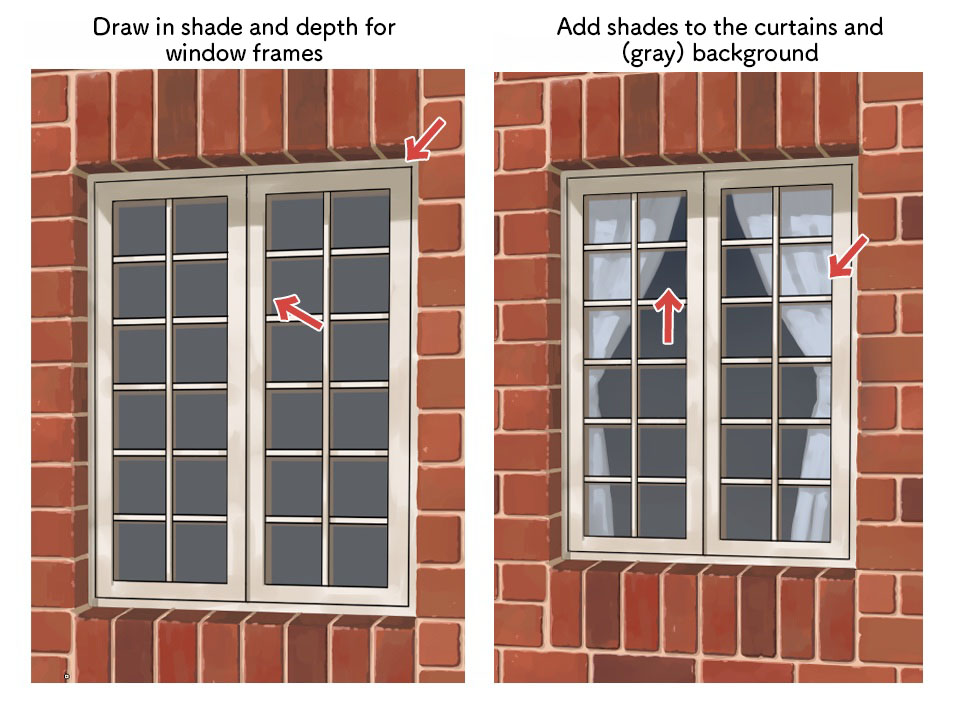
Draw in the shadows for the window frame and create depth for the sashes so it looks more three-dimensional.
The curtains are a must for windows. After that’s drawn in, paint shadows for the gray, plain background.
③ Drawing plants
The brick wall still looks a little too lonely so I will now add plants.
Create a couple leaf shapes.
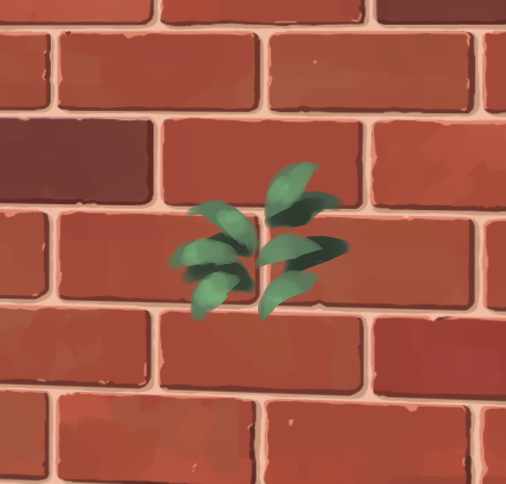
Duplicate the leaf to make it a chunk of leaves with good volume.
For the little spaces between the center of the leaves, fill them by drawing shadows with dark green paint.
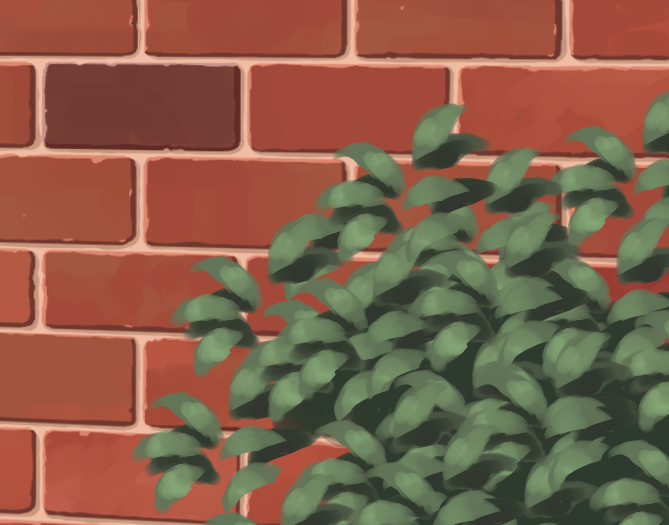
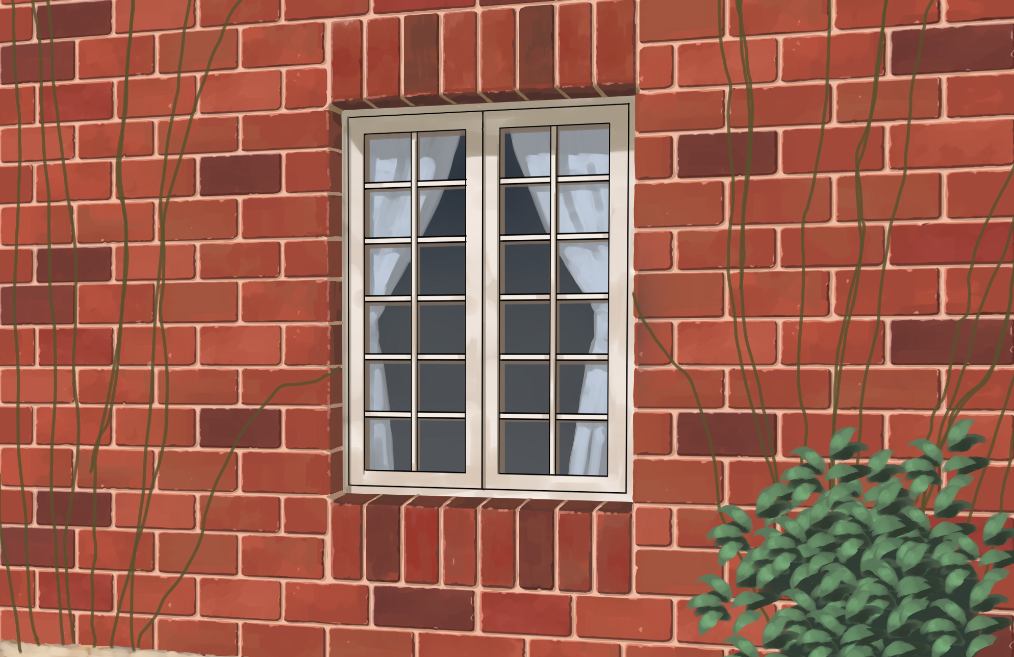
Next, I will draw vines that partially cover the wall.
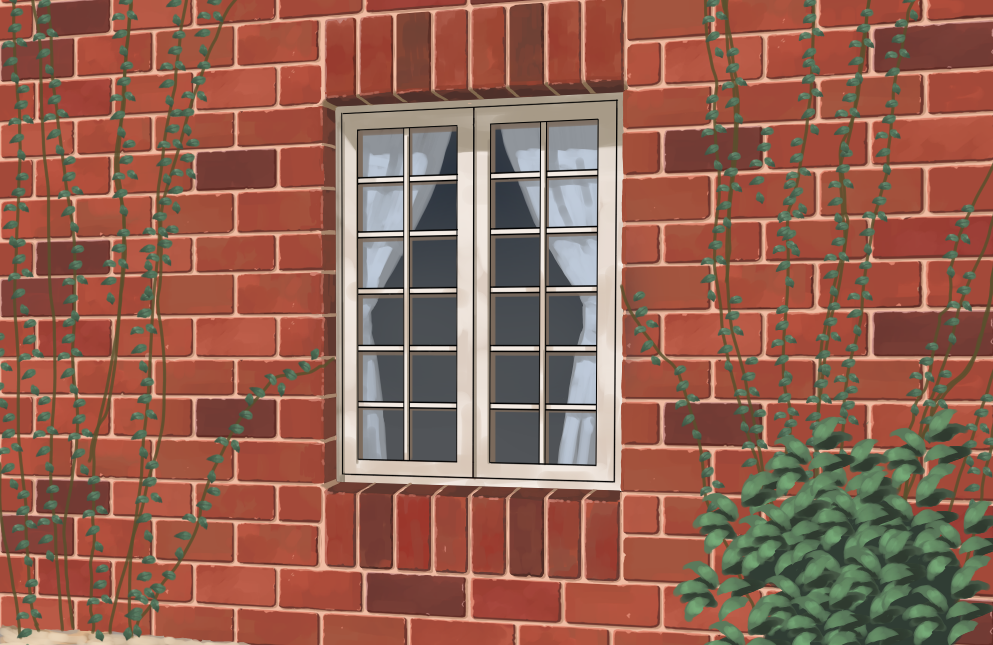
Let’s add leaves to the vines.
It will be efficient to create and duplicate a couple leaves, as done earlier.
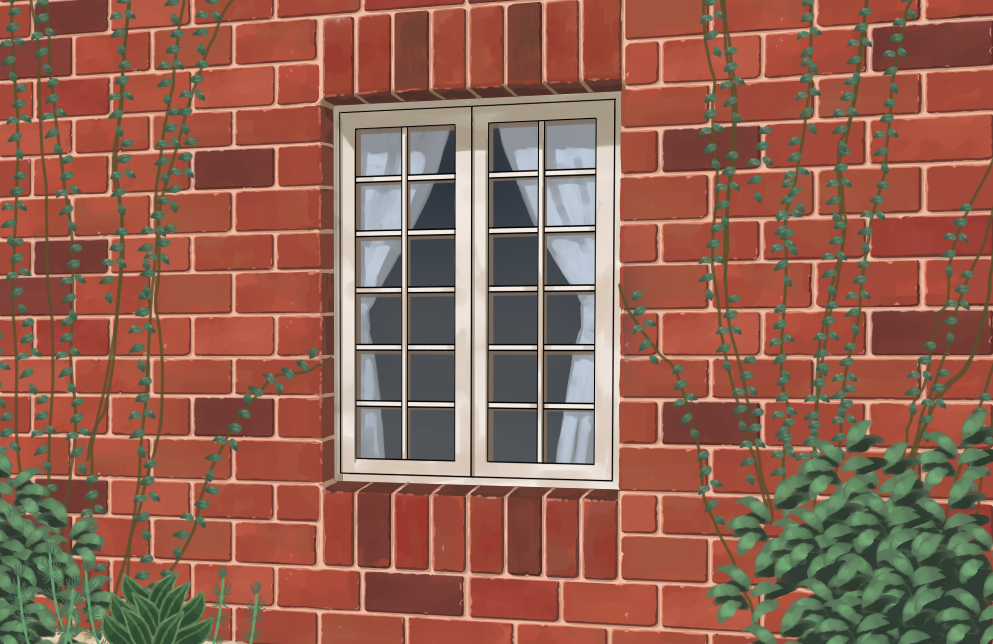
Similarly, I have created a couple types of leaves at the bottom left corner too.
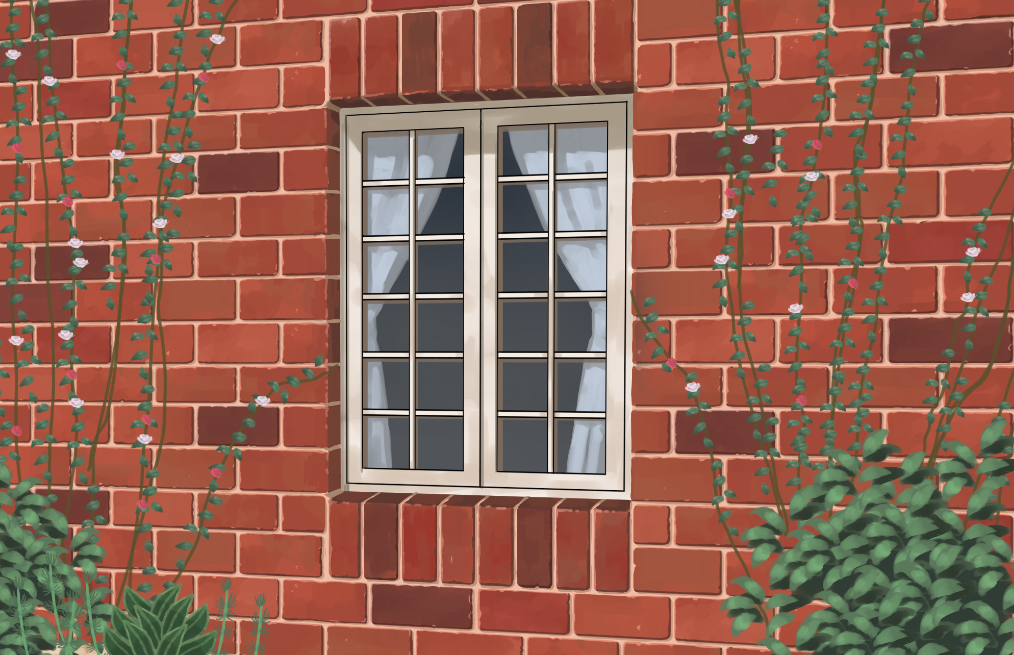
I will then create flowers to add gorgeousness.
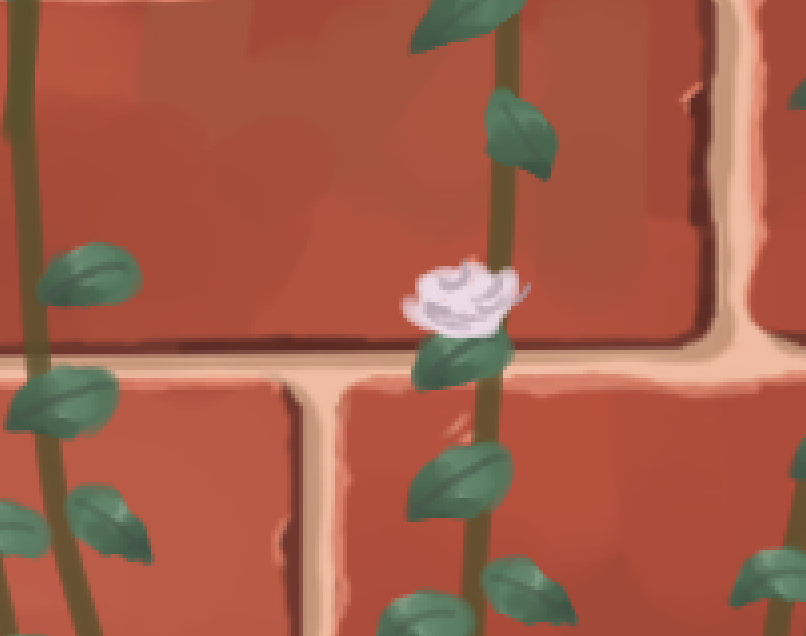
Place the flowers evenly over the entire wall.
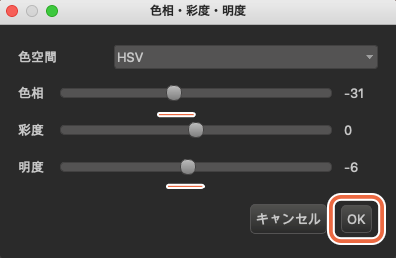
To adapt the color of the leaves more naturally, I will edit the color for decorative leaves.
Click on the layer you want to edit and from Filter, choose Hue.

I want the color of the leaves to be more calm so I have adjusted the Hue and Brightness to a negative value.
If you are not satisfied with the atmosphere, adjust the hue for other layers too.
Now I am finally done with making the brick wall!
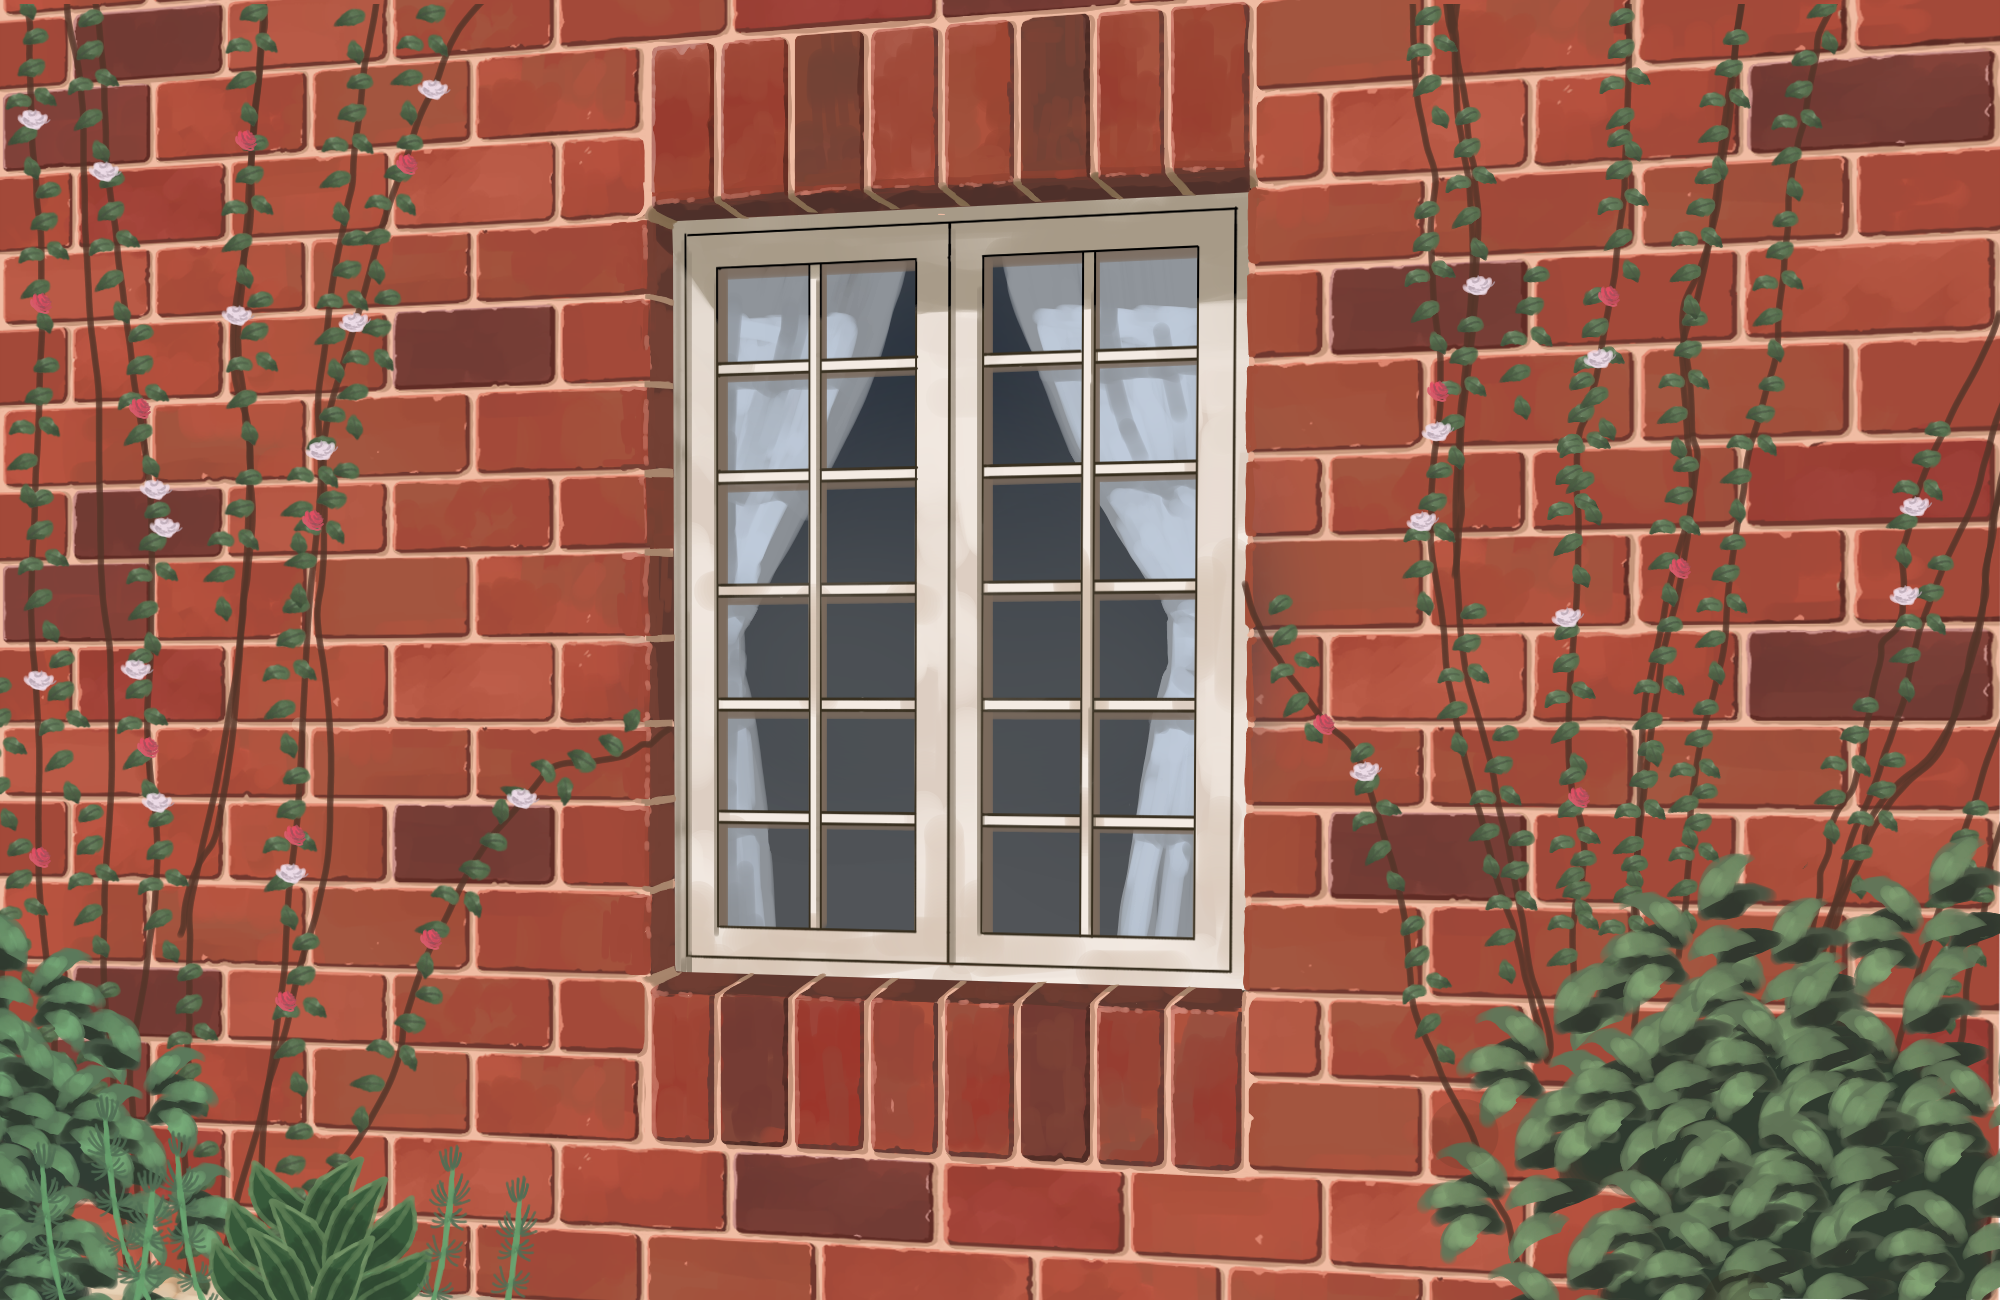
This completes the making steps for application of brick blocks.
How was this tutorial?
This was a secret cheating method to make a three-dimensional background by only using the transform tool and without having to think about the perspectives.
This method can be used for illustrations with up close buildings.
I hope you challenge both the basics and application of drawing brick blocks!
(Text・Illustration/荒金ひろみ)
\ We are accepting requests for articles on how to use /

