2022.09.23
Creating magic circles easily using Shape Brush Tool and Snap Tool
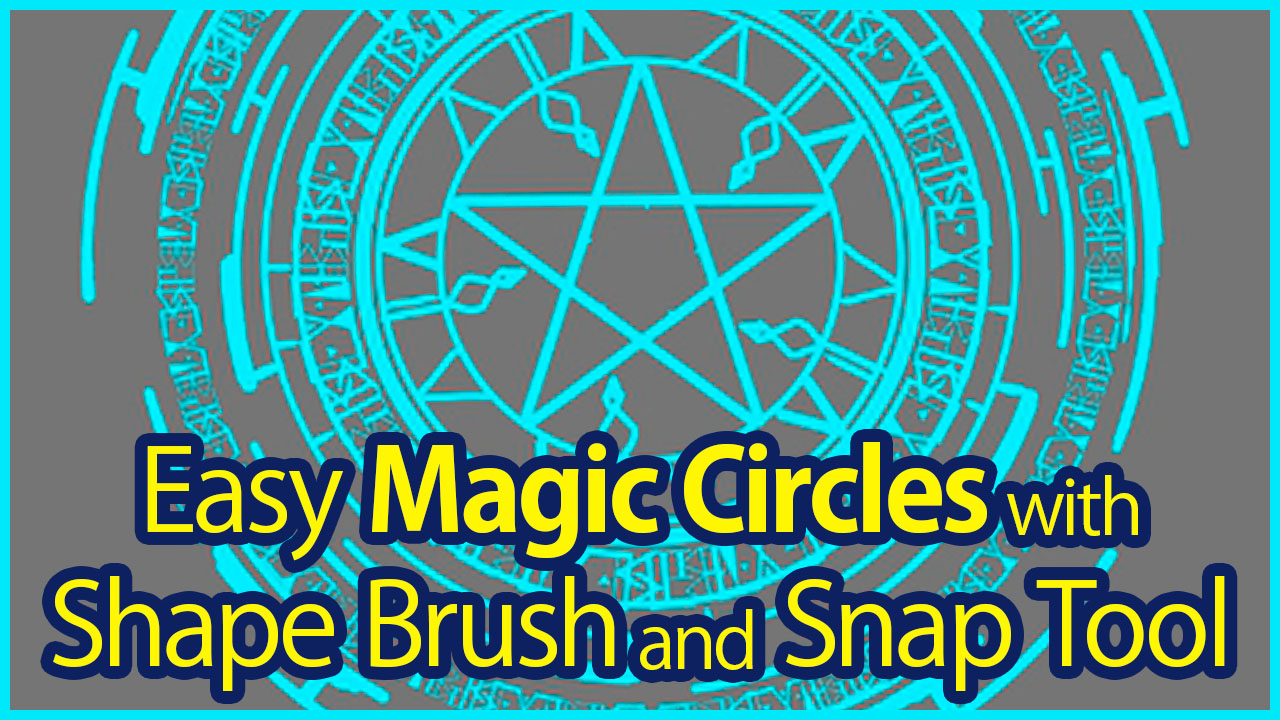
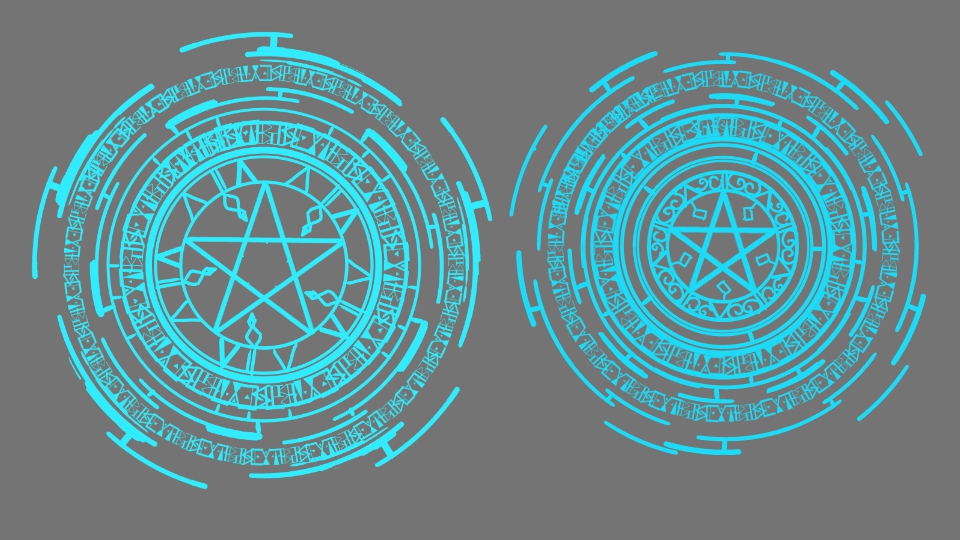
In this tutorial, I will be drawing magic circles on MediBang Paint.
You can easily create magic circles by combining various Brush Tools such as Snap Tool and the Shape Brush Tool etc.
Start off by thinking about the elements that compose a magic circle.
Let’s think about how shapes are combined in a magic circle !
A magic circle mainly consists of shapes and images like circles, squares, triangles and letters or stars etc.
① Circles
First, the foundation of a magic circle, the circle shape.
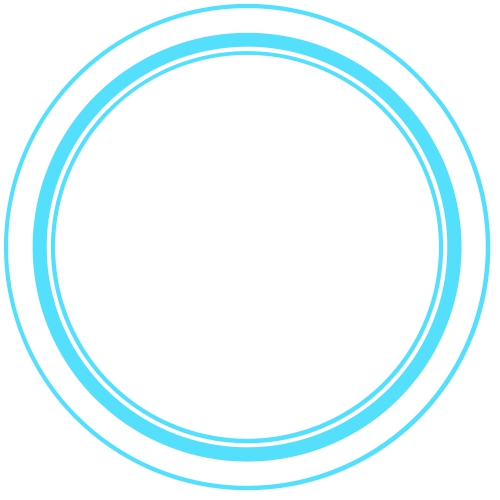
You can see how combining perfect circles of different widths and sizes already creates the magic circle feel.
② Squares
Next is the square shape.
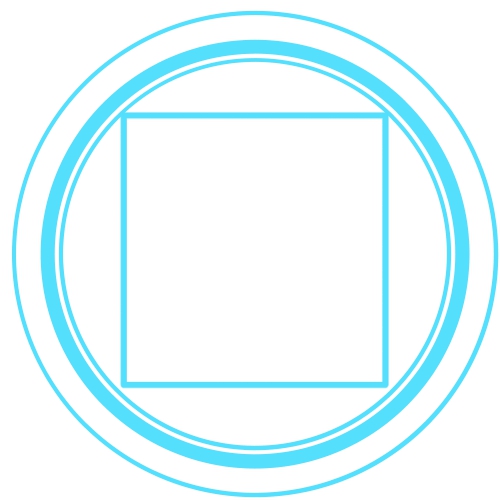
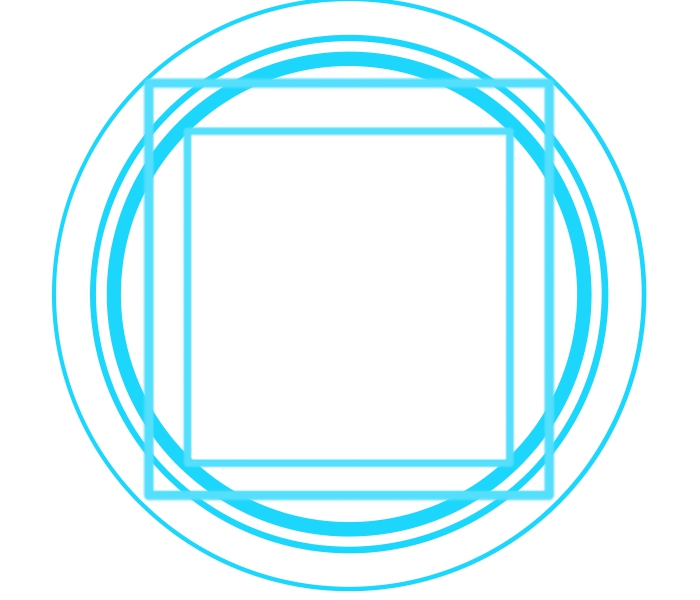
Similarly to the circles, you can create an interesting magic circle by layering squares of big and small sizes.
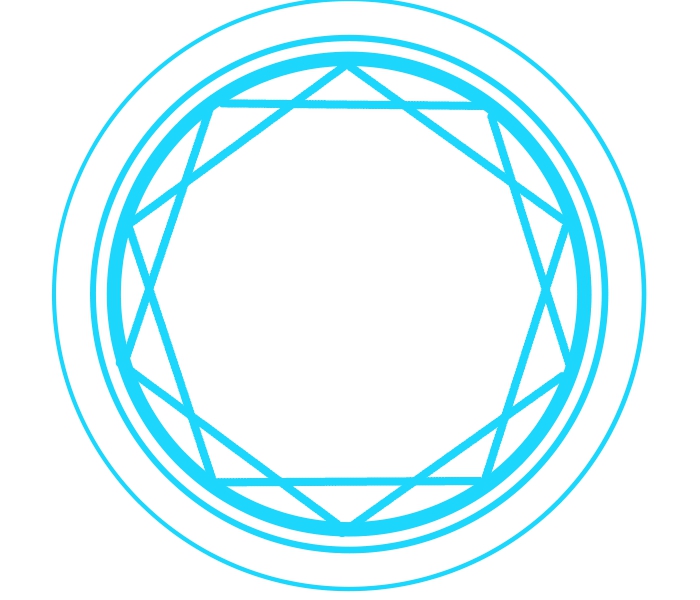
③ Polygons
You can also use polygons such as triangles, pentagons and hexagons as the main motif.
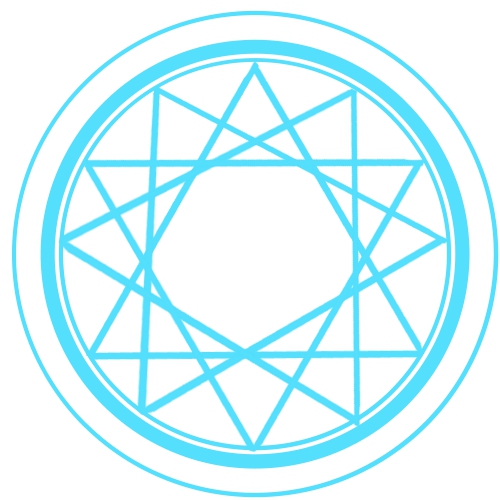
The shape can be used alone by itself but rotating and placing multiple polygons will let you illustrate a captivating magic circle.
④ Letters and Other Icon Images
In addition to the shapes I introduced above, combining letters and other images or icons will add even more of a fantasy feel.
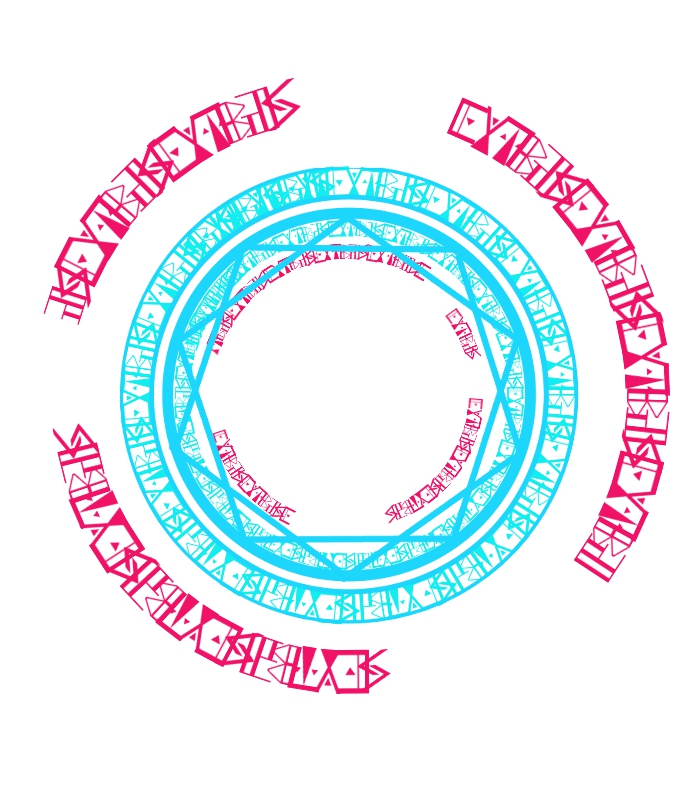
The “Magic Square Character Brush” available for sale on the Cloud Material is perfect for the magical letters to be drawn inside the circle.
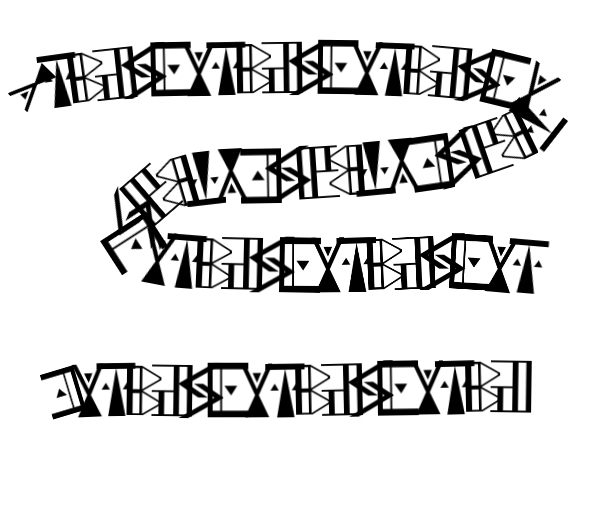
Premium users can download it for free so I hope you check out the brush.
▼Magic Square Character Brush【ART street】▼
https://medibang.com/materials/detail/qe71bnw8jtorbppwogvkqgbfg0n/
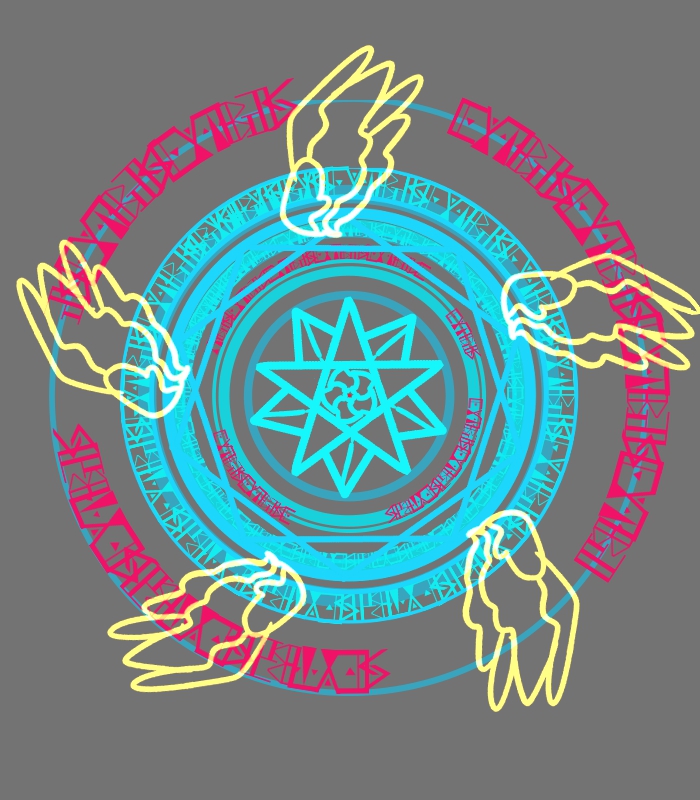
Furthermore, you can draw star shapes like the pentagram very easily using the Rotation Symmetry Pen.
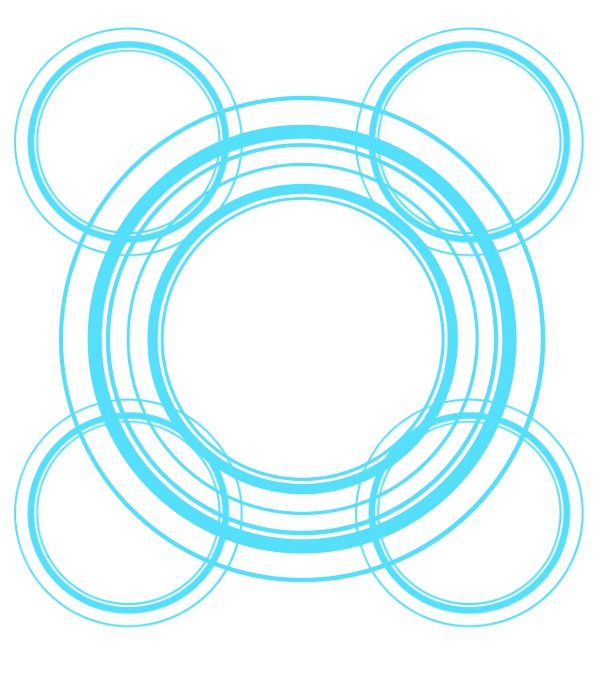
You can also place small magic circles around the main circle.
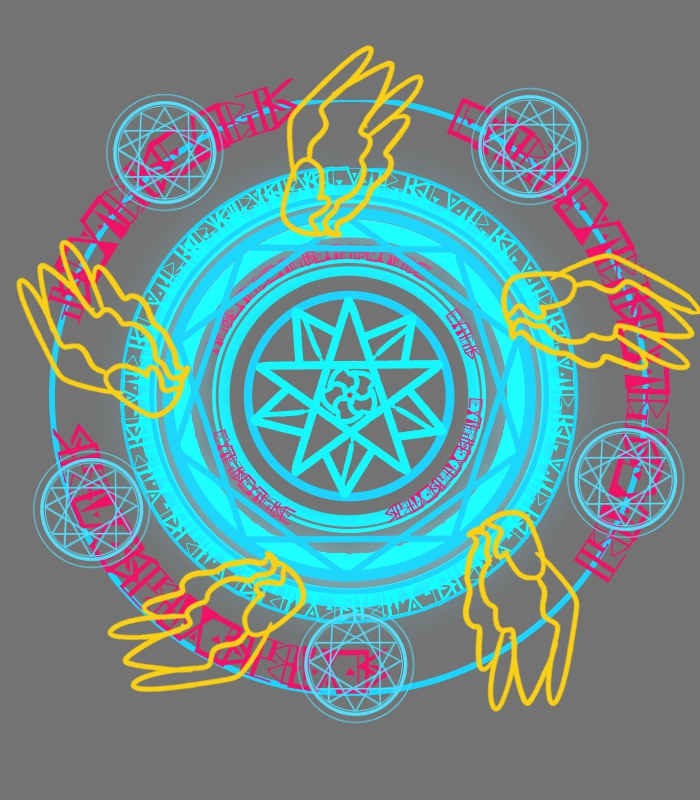
Using blur filters on duplicated layers will also portray an interesting effect as well.
You can find unexpected but interesting combinations and effects by drawing the shapes randomly or trying random filters as you would for a trial draft.
Let’s start drawing the magic circle !
Now that I have introduced the elements of a magic circle, I will start drawing one on the canvas.

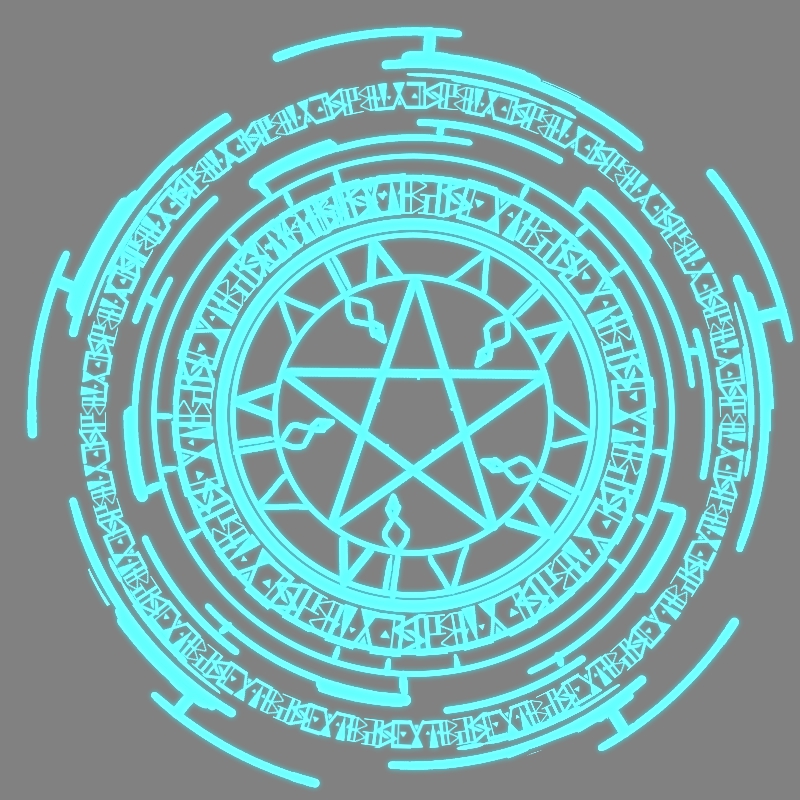
I will now draw the magic circle in the image above.
Display Grid on a New Canvas
Create a new canvas.
I’ve set the size to 500px x 500px.
If you run out of space as you draw the circle, either shrink it by Contract or enlarge the canvas itself.
Let’s display the Grid.
You can select Grid from the “View” tab inside the menu bar.
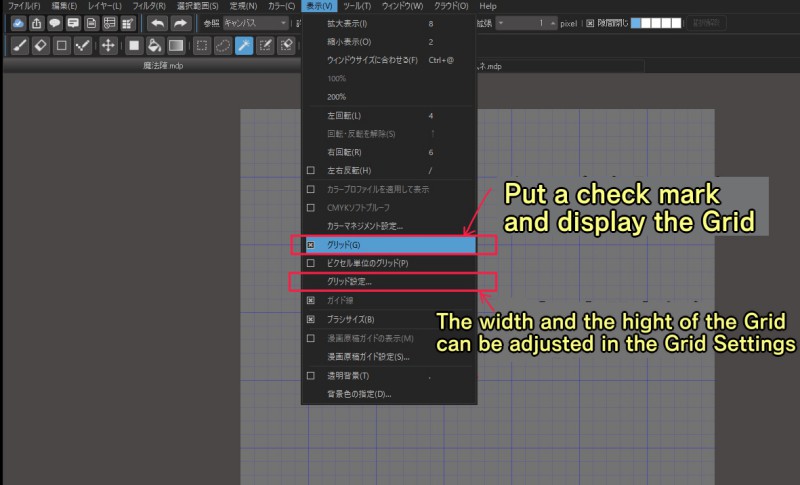
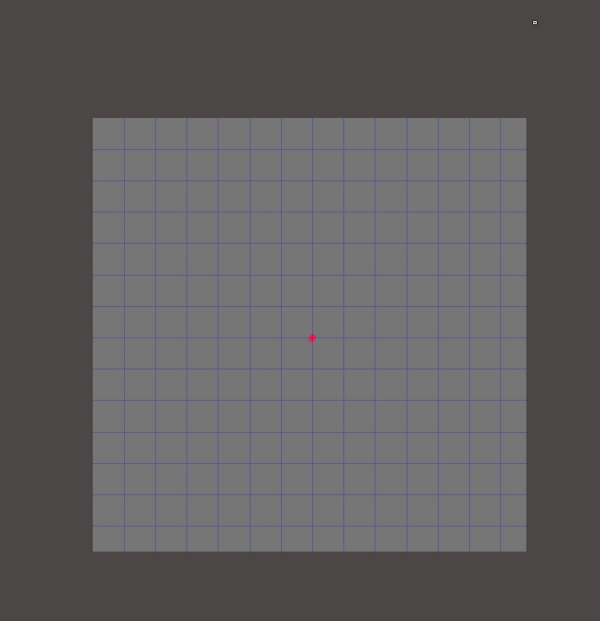
Once you have the grid lines displayed, drop a dot in the center of the canvas, which will be the center of the magic circle.
You will use this marker later when you will apply the Snap tool and the Rotation Symmetry Pen.
You will want to hide this marker once you are done creating the circle so make sure you make a new layer just for drawing the dot marker.
Use the Circle Snap
Change to the Pen Tool and choose Circle Snap from the Snap menu.
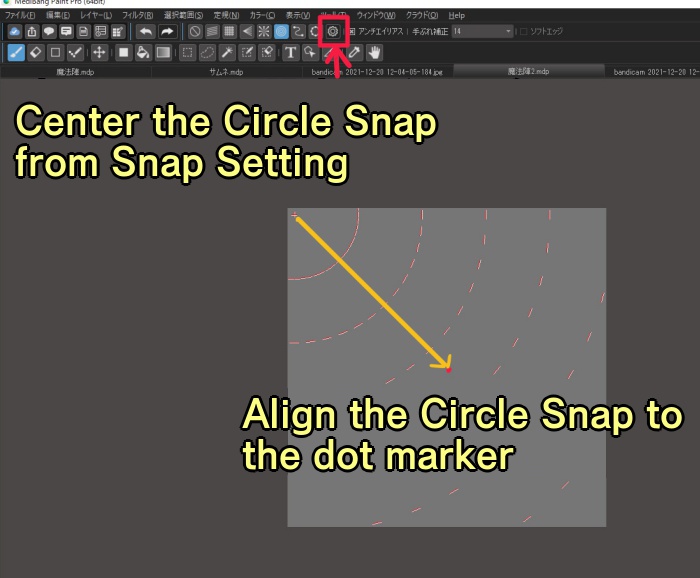
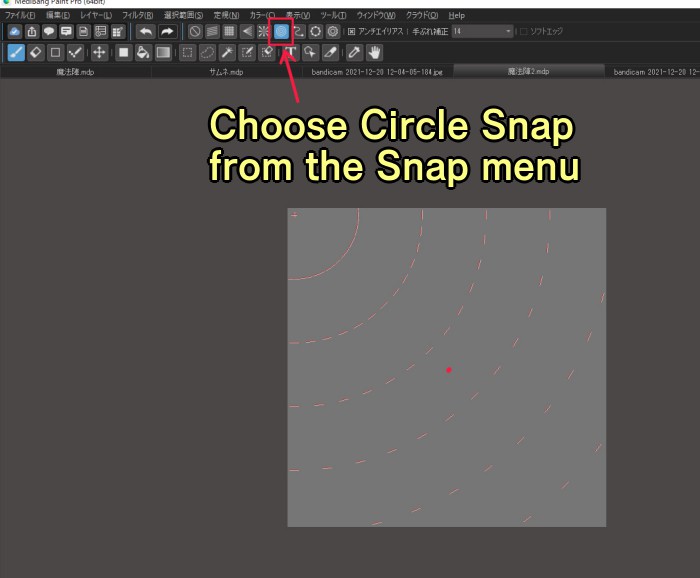 With the default setting, the Snap tool is not centered so click on Snap Setting with the gear icon (next to the Snap tool icons) and align the Circle Snap to where you drew the dot marker.
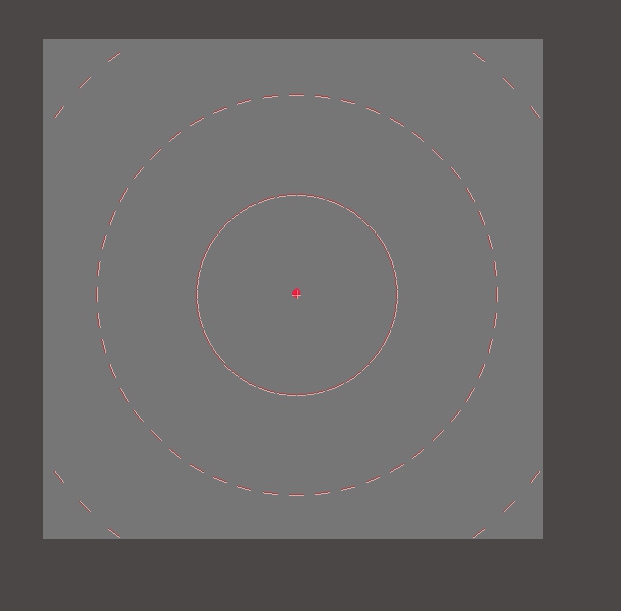
 Now the Circle Snap is placed in the center.
Draw the Magic Circle
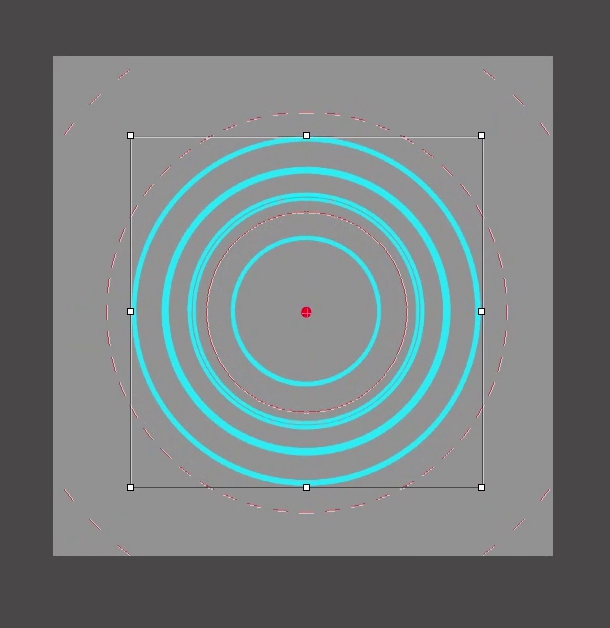
First, start by drawing multiple circles.
The tip here is to change the width and the interval randomly.
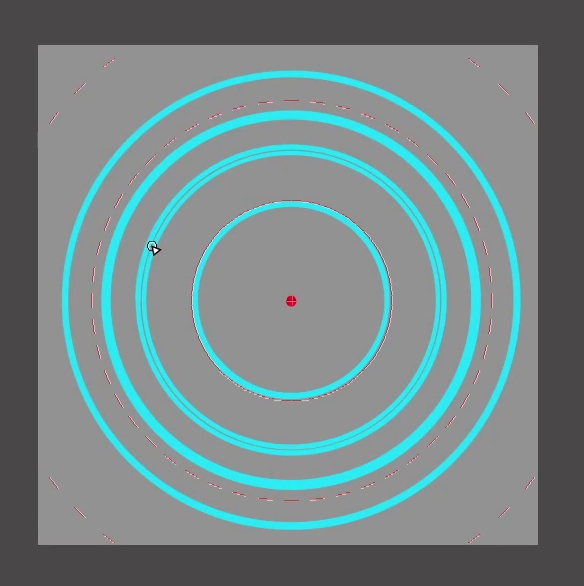
You can see in the above image that the drawing has already filled the canvas so I will now use “Transform” to shrink the magic circle.
To Transform, you can either choose from the “Select” tab inside the menu bar or press Ctrl + T.
▼ More about the Transform tool here
“Let’s use transformation”
EN:https://medibangpaint.com/en/tutorial/pc/use-transform/
Once you are done drawing circles, use the Magic Square Character Brush (available for sale on Cloud Materials) and add the magical letters.
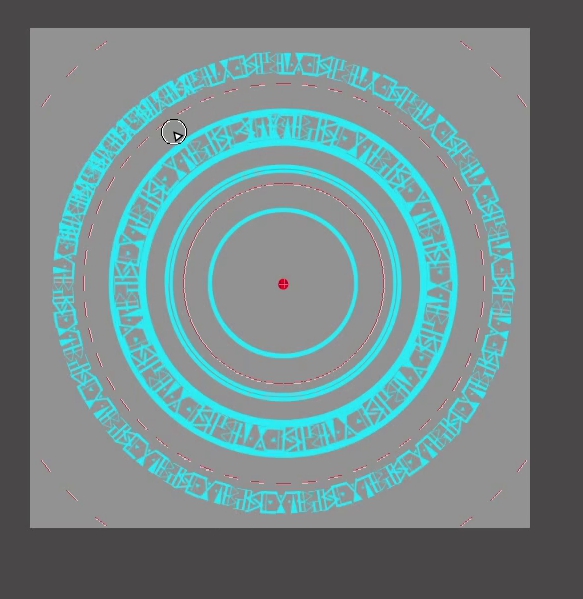
Next, use the Rotation Symmetry Pen to draw the pentagram in the center.
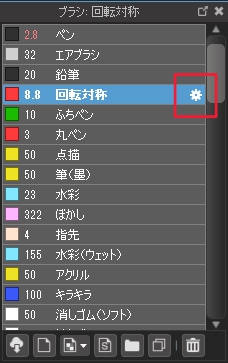
Create a new layer and click the gear icon on the right of the Rotation Symmetry Pen to open the Edit Brush window.
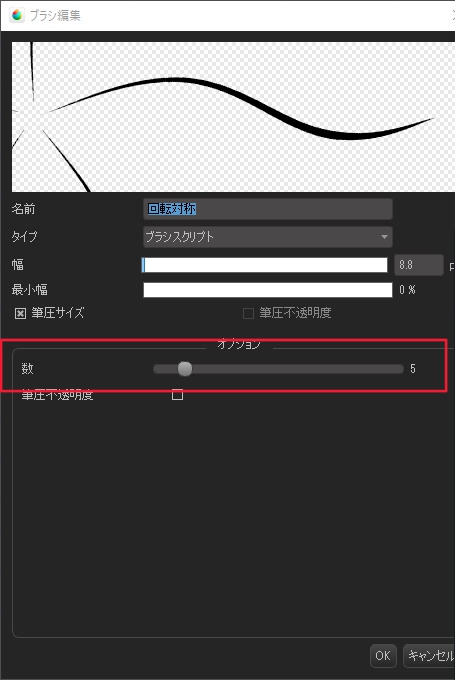
Set the value for Number of Lines (inside Options) to “5”.
While pressing the Ctrl key, click the dot marker in the center to choose the middle point.
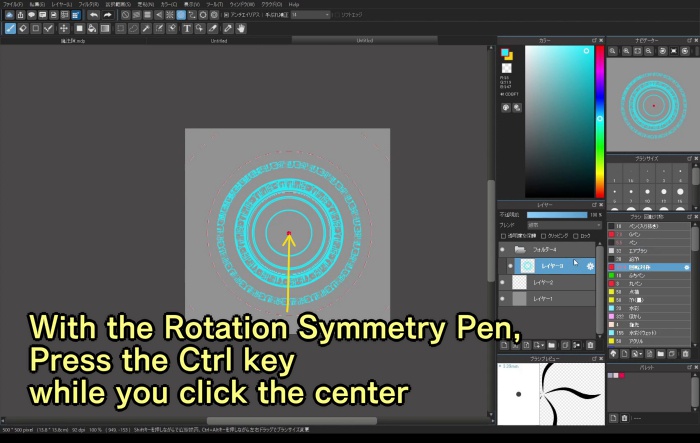 I have now drawn the pentagram.
If you cannot fit the star shape inside the circle, use Transform to adjust its size.
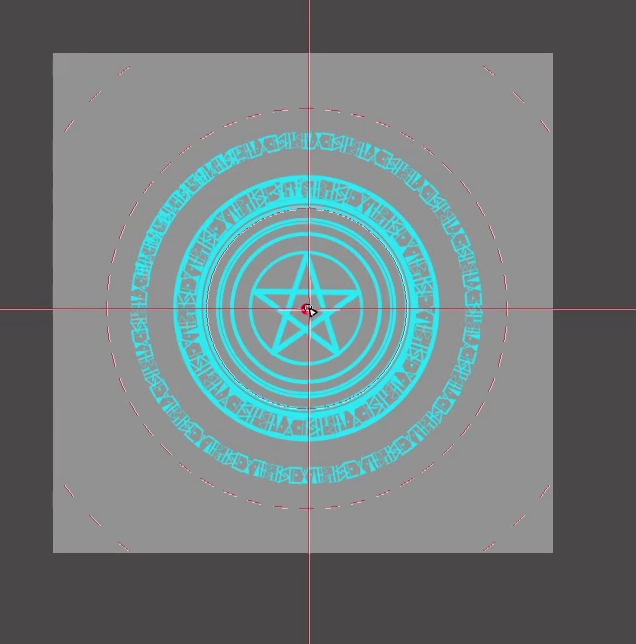
I will then use the Rotation Symmetry Pen again to add a vine pattern around the star.
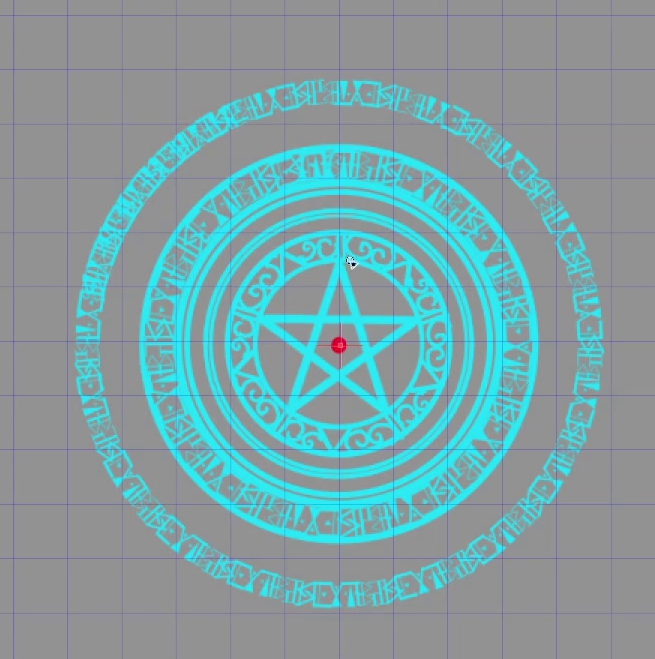
Now, add random lines in between the magical letters and the circles using the Rotation Symmetry Pen.
Once again, the center point of the Rotation Symmetry Pen is still the red dot in the middle.
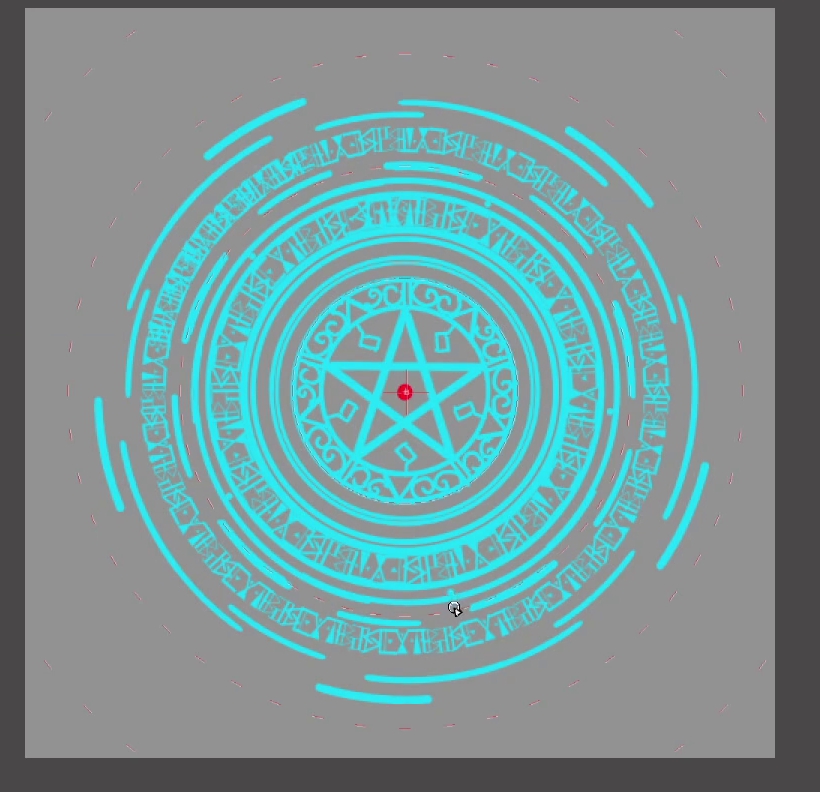
To add a dim glowing effect, duplicate this layer to use the “Gaussian Blur” and change the Blending to “Add”.

This is the completed look.
If you save the magic circle as an item inside Materials, you will not have to draw them every time.
I hope you make use of that as well.
This was a tutorial for creating a magic circle inside MediBang Paint.
Keep adding shapes and details as you like until you feel satisfied with it.
I hope you enjoy creating your unique magic circle by combining a variety of shapes !
(Text・Illustration/吉田 セツ)
\ We are accepting requests for articles on how to use /

