2022.10.13
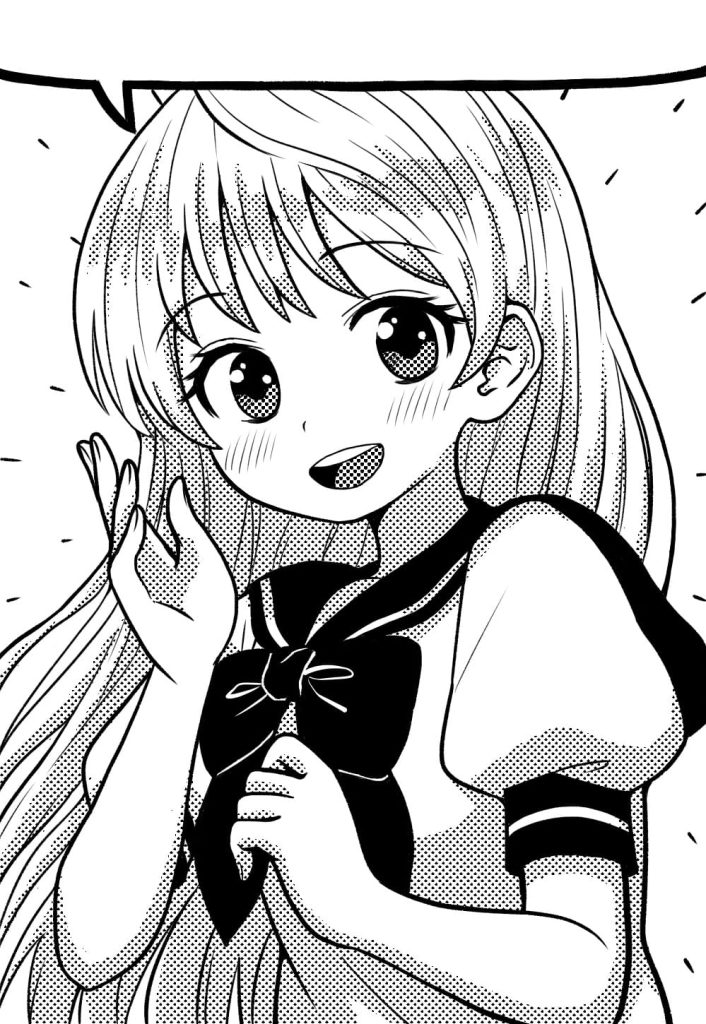
Easy way to create halftones (net dots) in manga creation
 With video
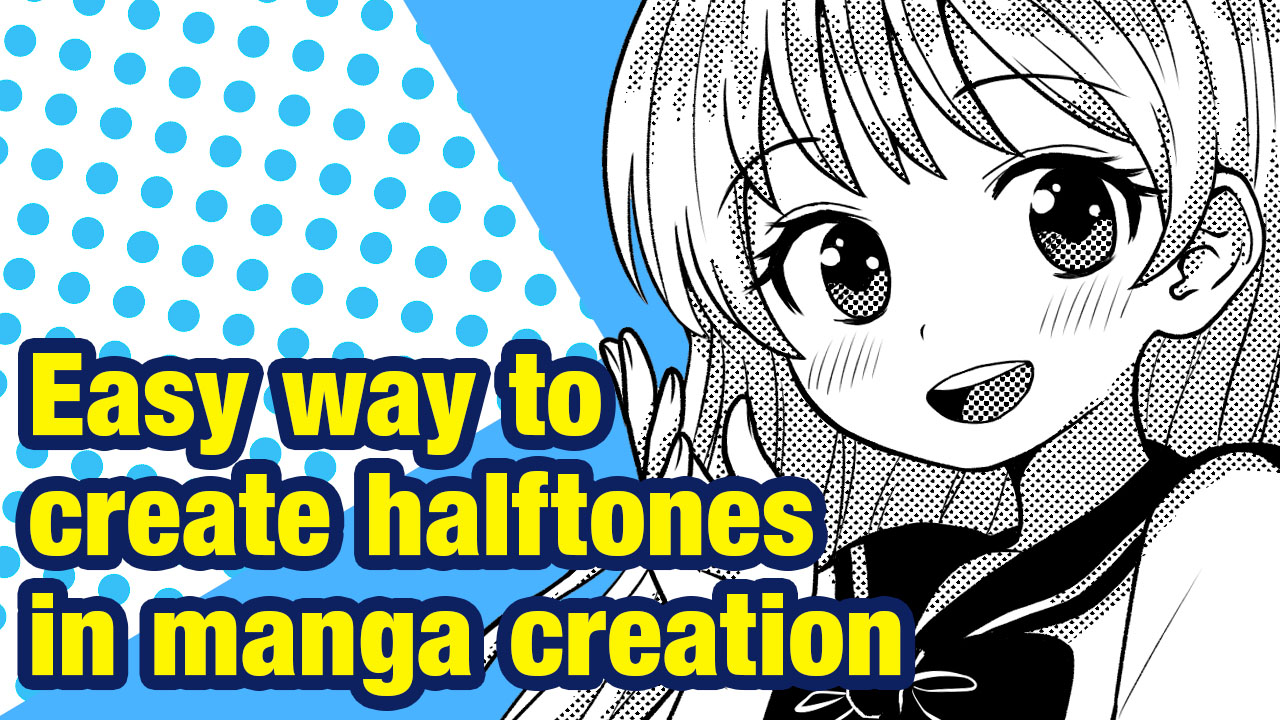
It’s so much fun to create manga with MediBang Paint!
However, for the task of adding halftones, it’s a little bit bothersome.
It’s like choosing tones from various types of materials, putting them on works, and then erasing unnecessary parts with the Eraser Tool…
No, you can add halftones way easier!
I’m going to show you the method with an illustration below!
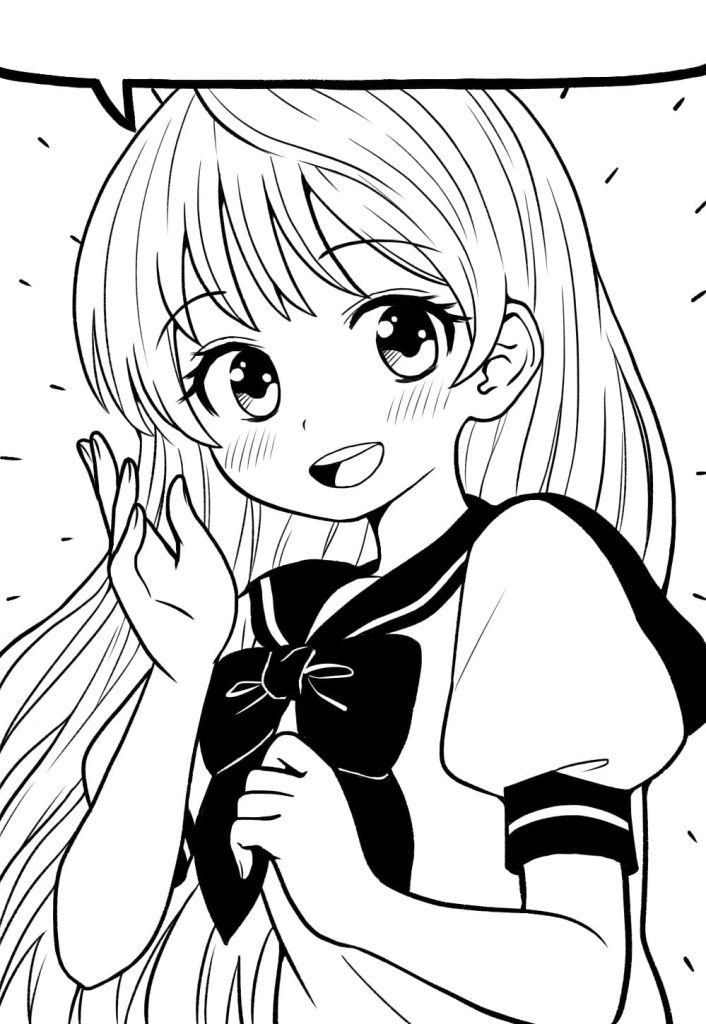
Paint the part where you want to put tones
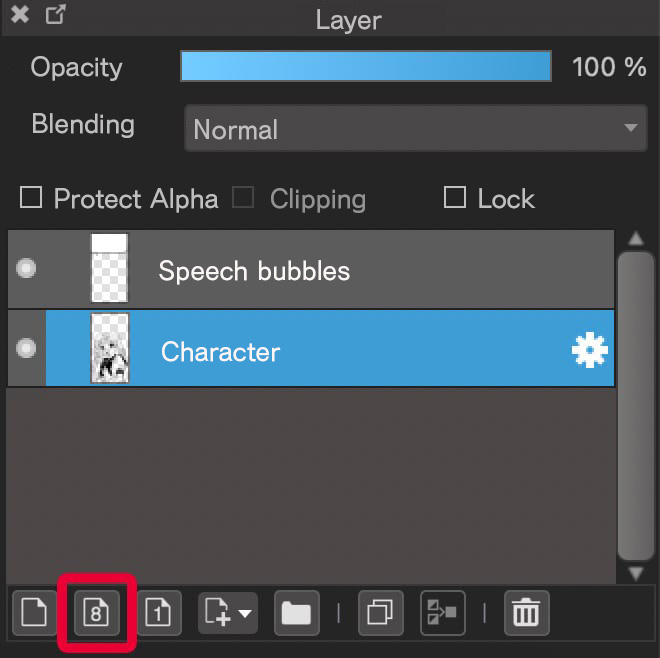
The key for this method is “8bpp Layer”!
Add a new 8bpp layer.
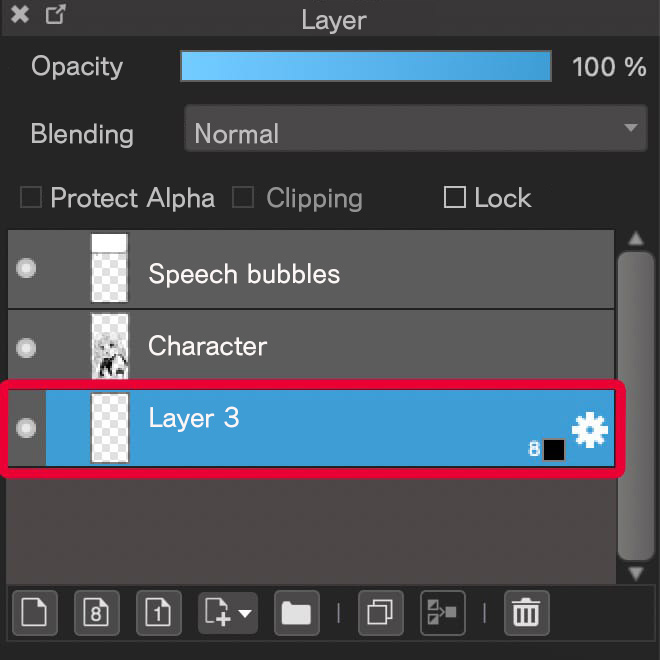
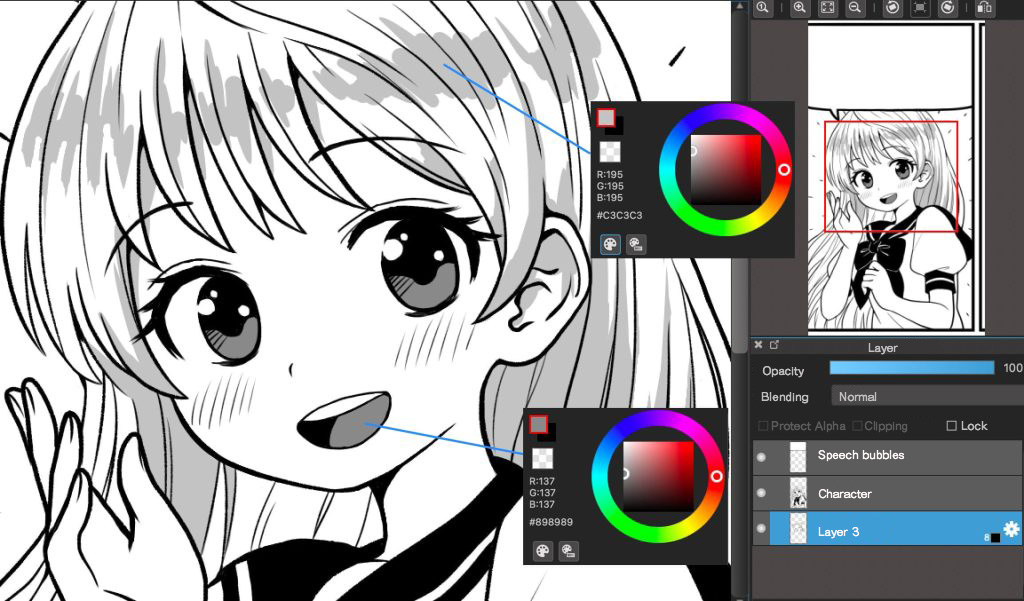
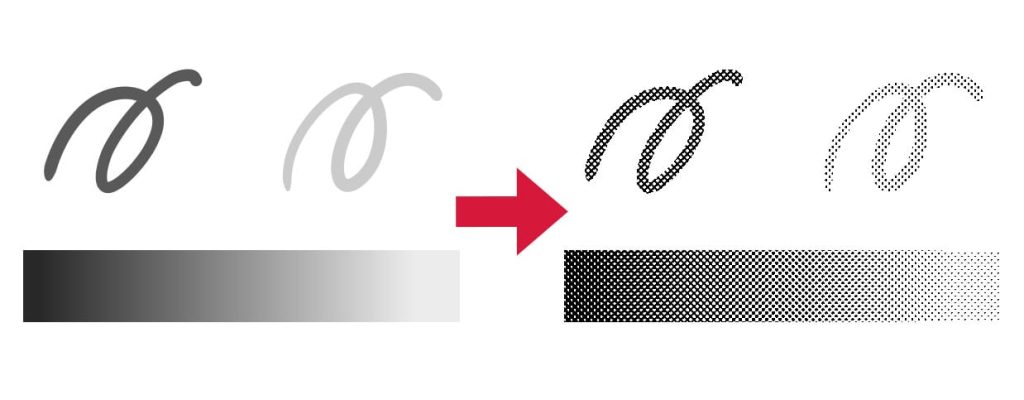
With brushes you like, paint the part where you want to make it halftone in gray.
(This time, [Pen] brush is used)
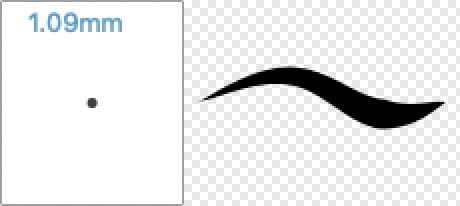
![]()
Paint where you want to add shadows and hair or clothes. In accordance with the application, you can adjust the depth of gray color.
Make it Halftone
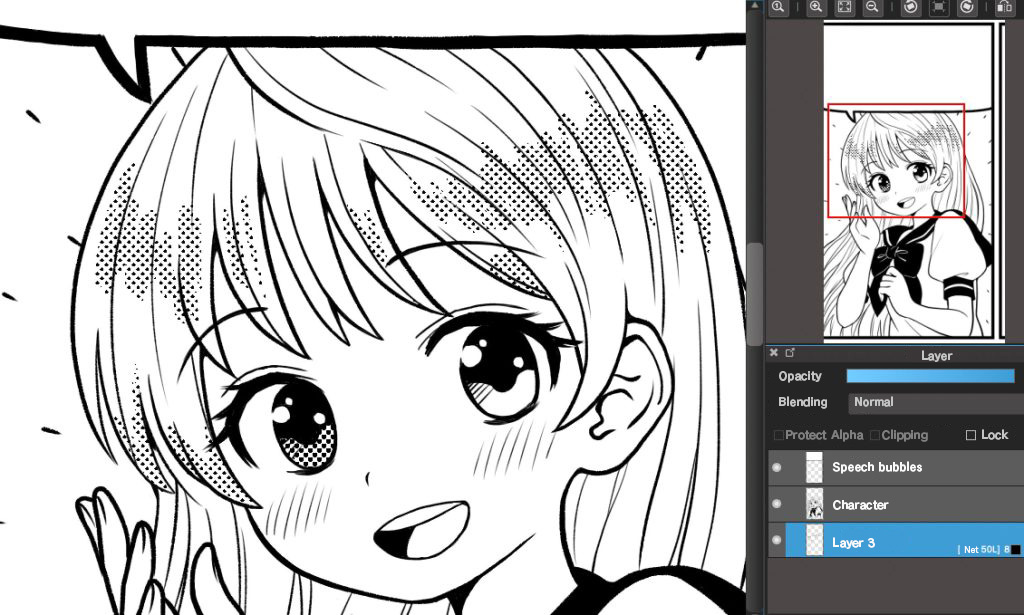
After the painting, click the gear icon beside the 8bpp layer.
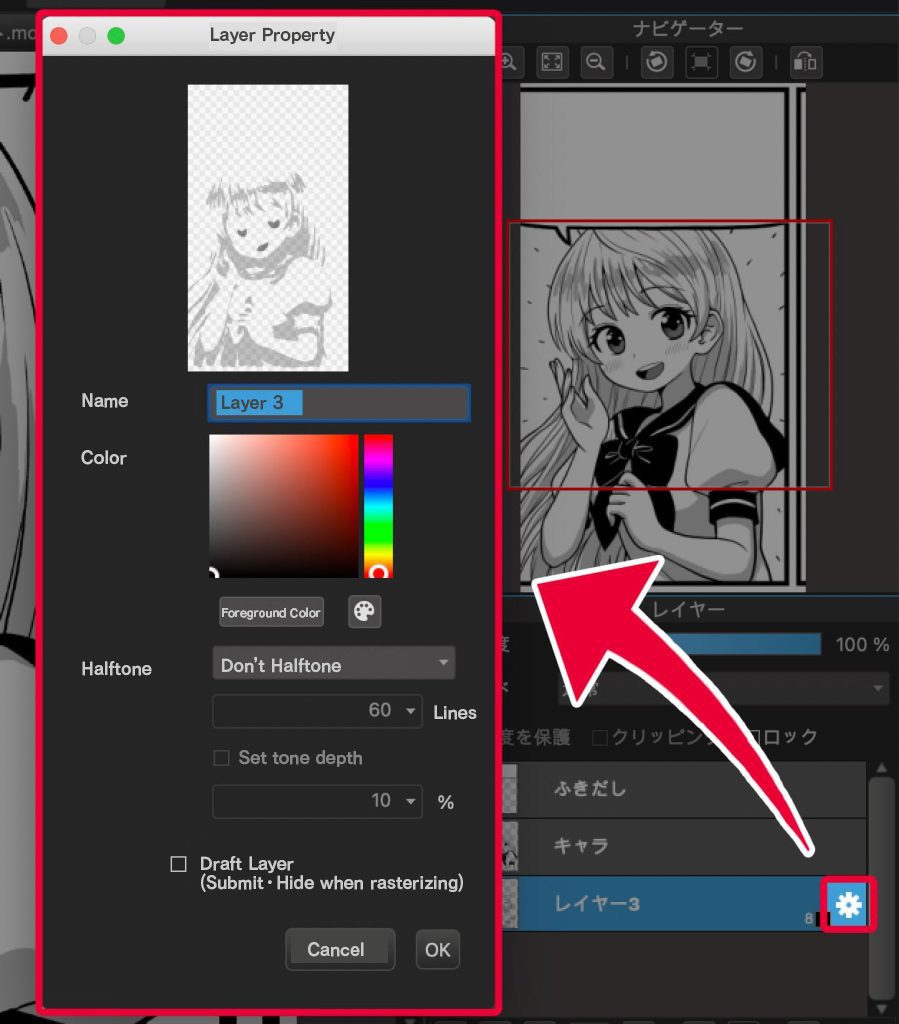
Then, select the halftone “Net dots”.
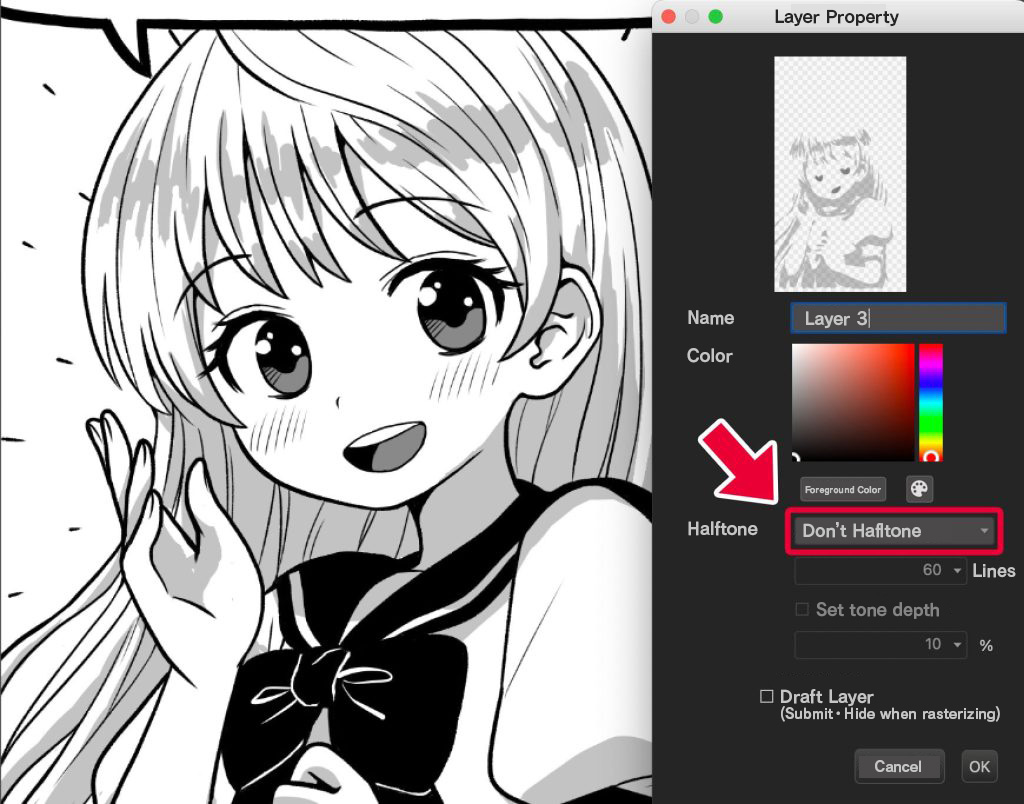
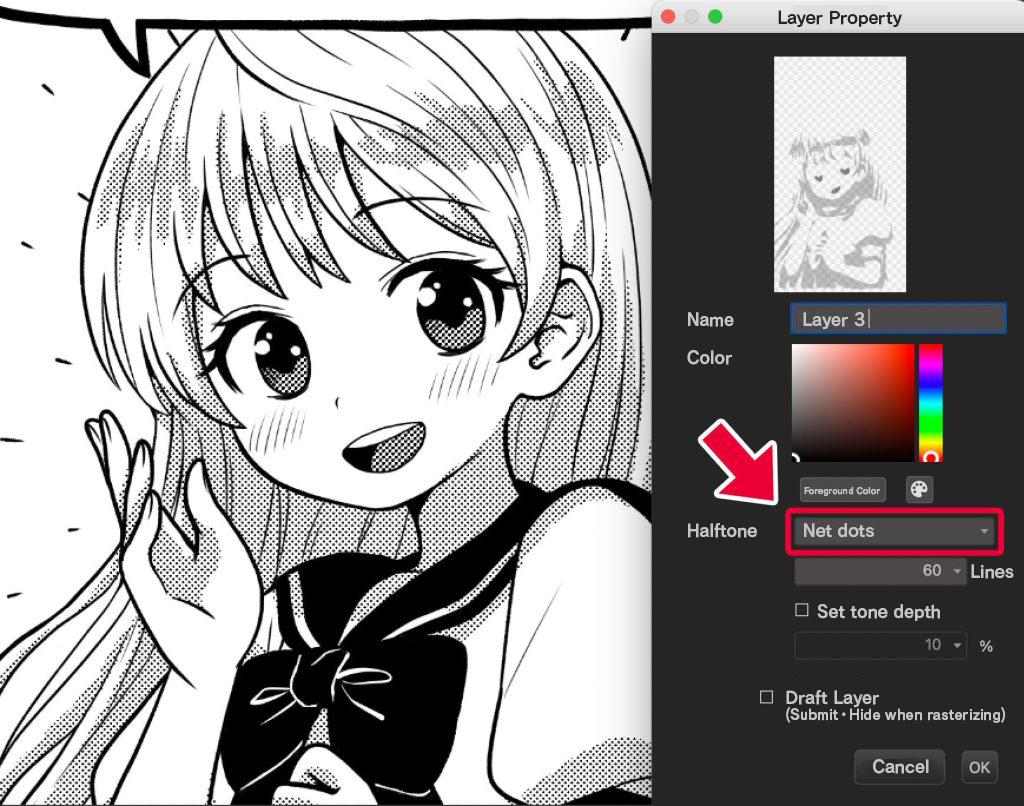
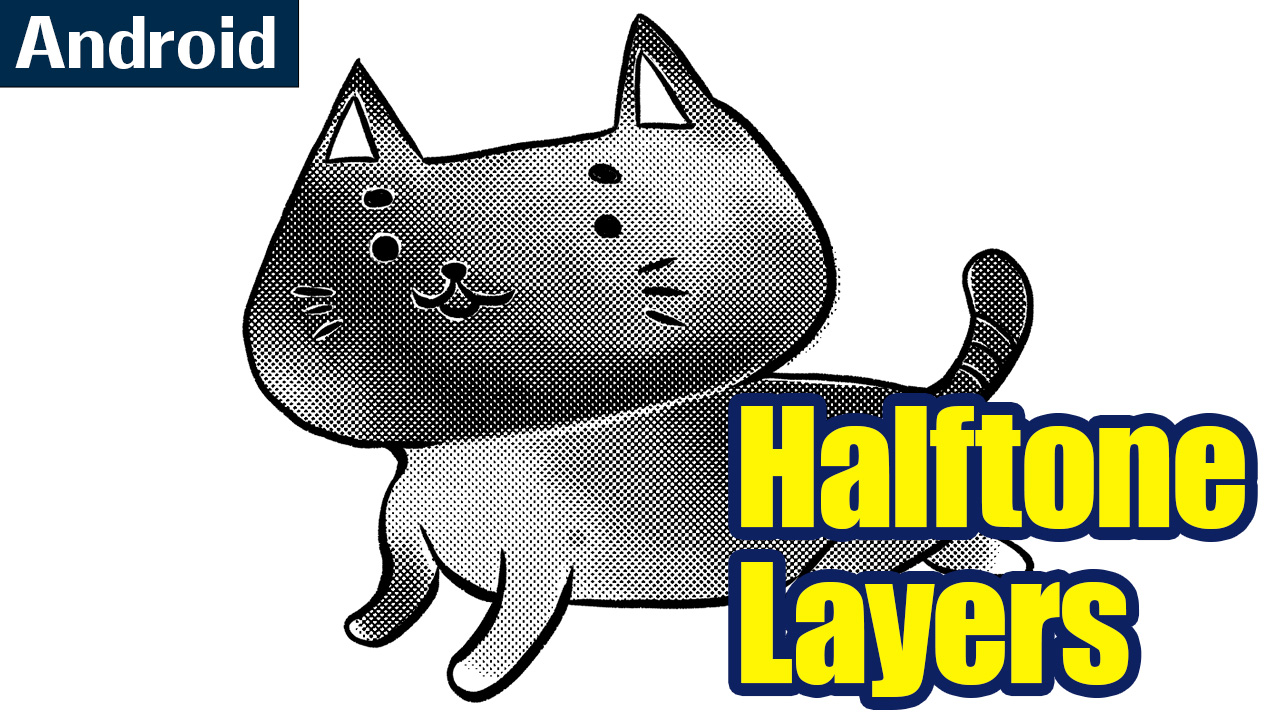
This will make the gray painted part halftoned in accordance with its color depth.
Next, set the number of “Lines”.
The lower the number, the larger and more grainy the dots become.
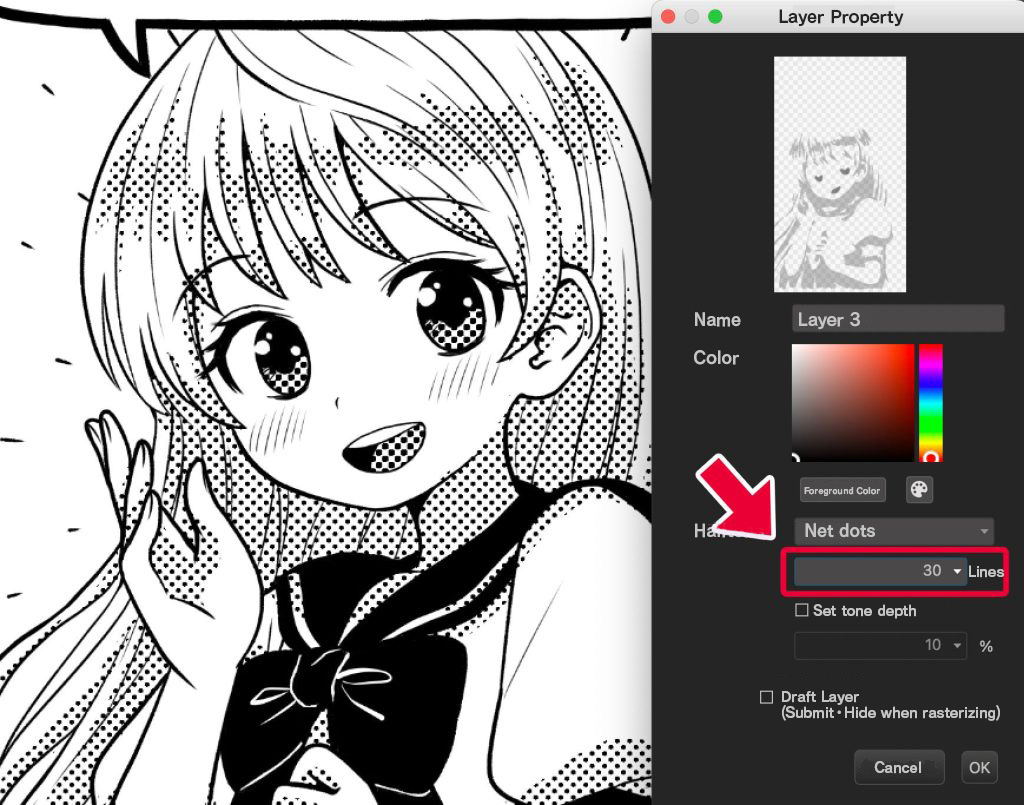
And the higher the number, the smaller and tinier the dots become.
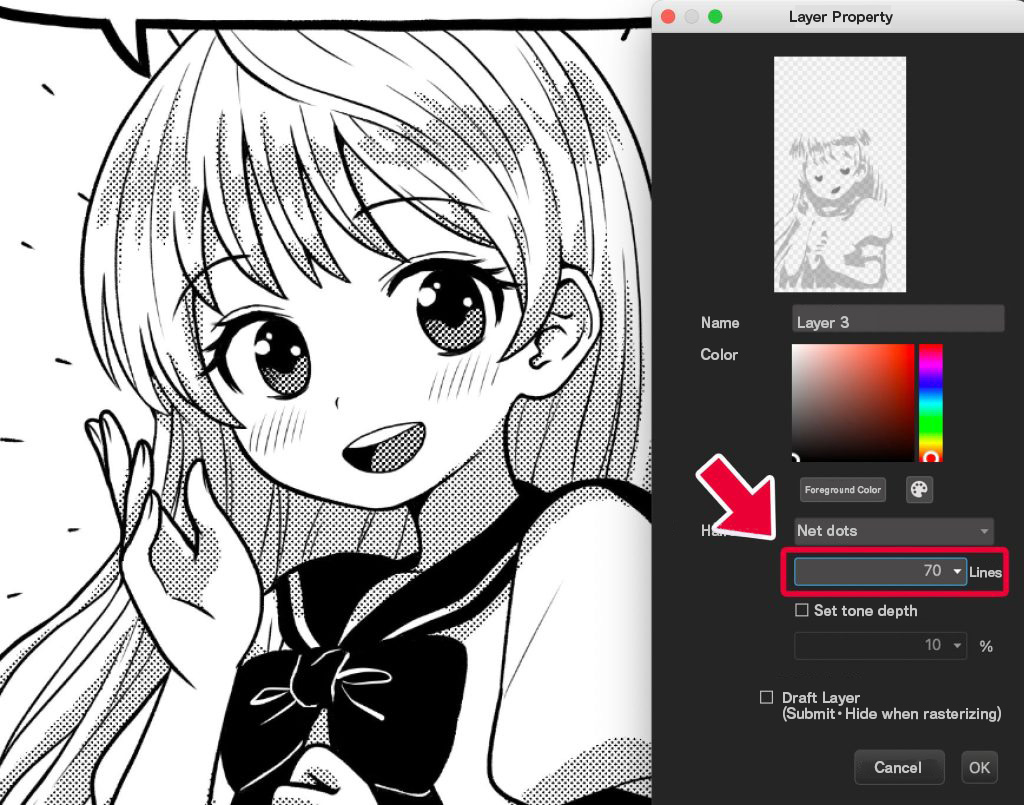
Adjust it with your preference!
Completion
Now, you’ve added halftones with a blink of an eye!
Color intensity
Changing the color depth of brushes will change the color depth of halftones as well.
Just so you know…
If you select the halftone right after adding 8bpp layers…
You’ll be able to “draw halftones from the start”.
Choose the way you find comfortable and try making halftones!
This is the end of the article, how do you like it?
Furthermore, there’s a YouTube clip video showing this method, so check it if you like!
Watch the whole process on video
(Text・Illustrations/さいどすろーぷ)
ART street:https://medibang.com/u/SideslopeMB/
\ We are accepting requests for articles on how to use /


