2022.11.18
Creating a template by registering materials! How to draw a lace pattern using the “Rotation symmetry edge” brush

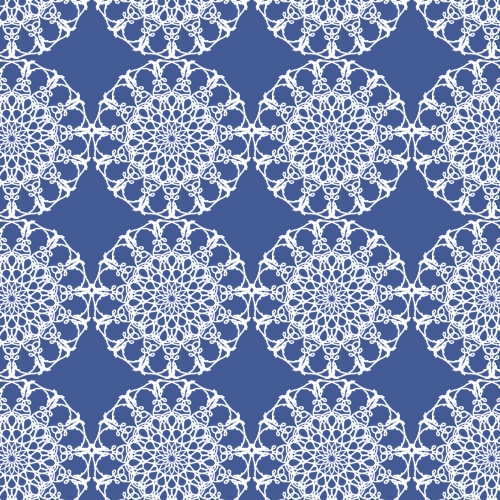
In this tutorial, I will be explaining how to create an original lace pattern using a brush in MediBang Paint, available for free!
Let’s use the material registration function and paste your favorite original material to your illustration♪
Create a new canvas
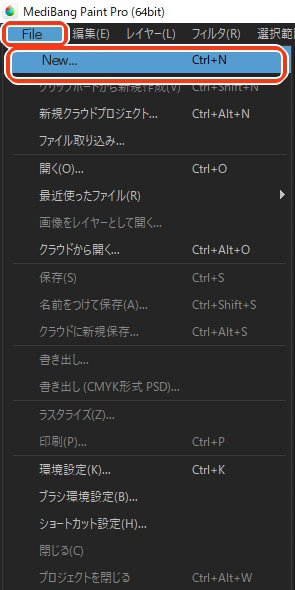
First, prepare a new canvas in the square shape.
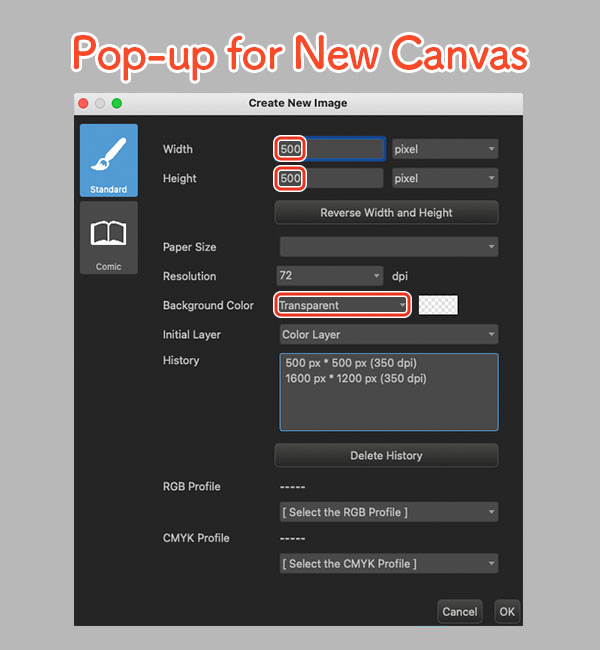
From the pop-up window (shown below), set both the “Width” and “Height” to “500” and click OK.
Make sure to keep the Background Color “Transparent”.
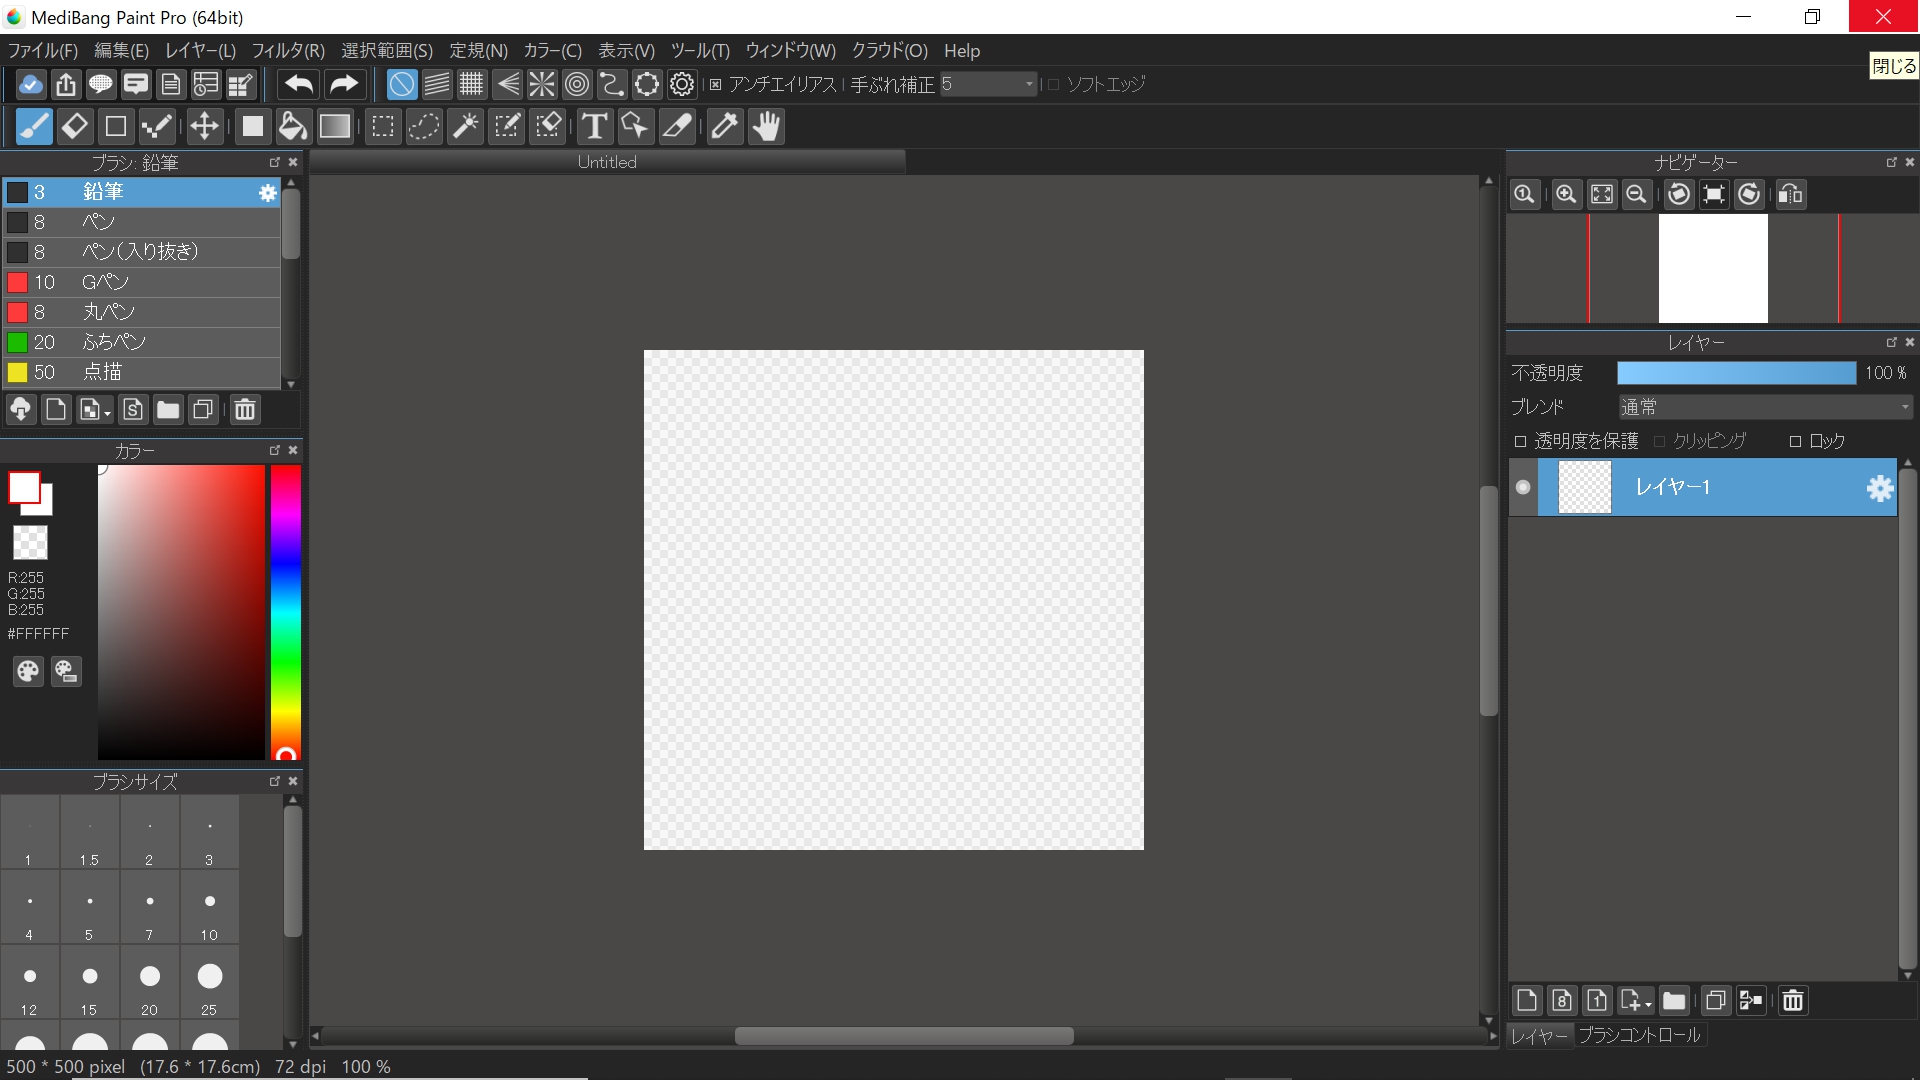
Now you have a new canvas on the screen.
Download the “Rotation symmetry edge” brush
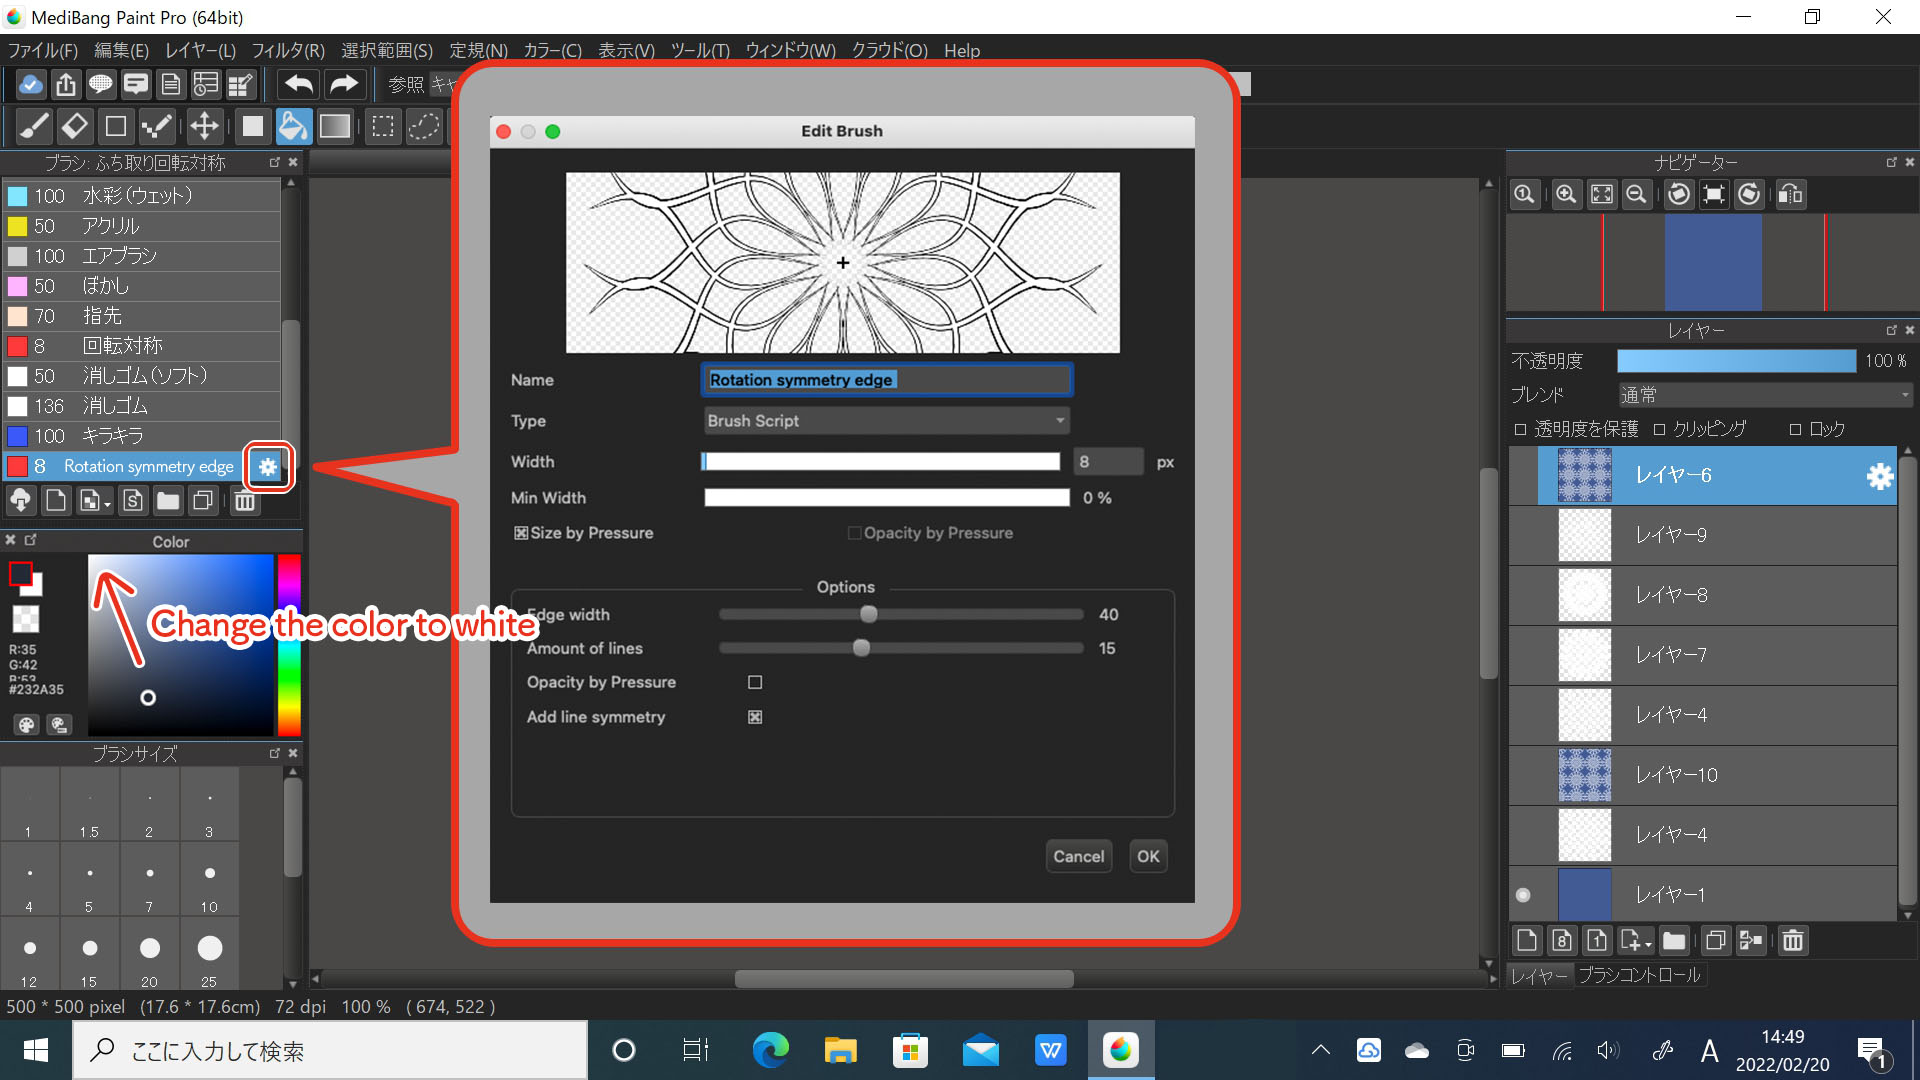
Next, download a brush with the title “Rotation symmetry edge”.
(If you already have it in your library, move to Step 3)
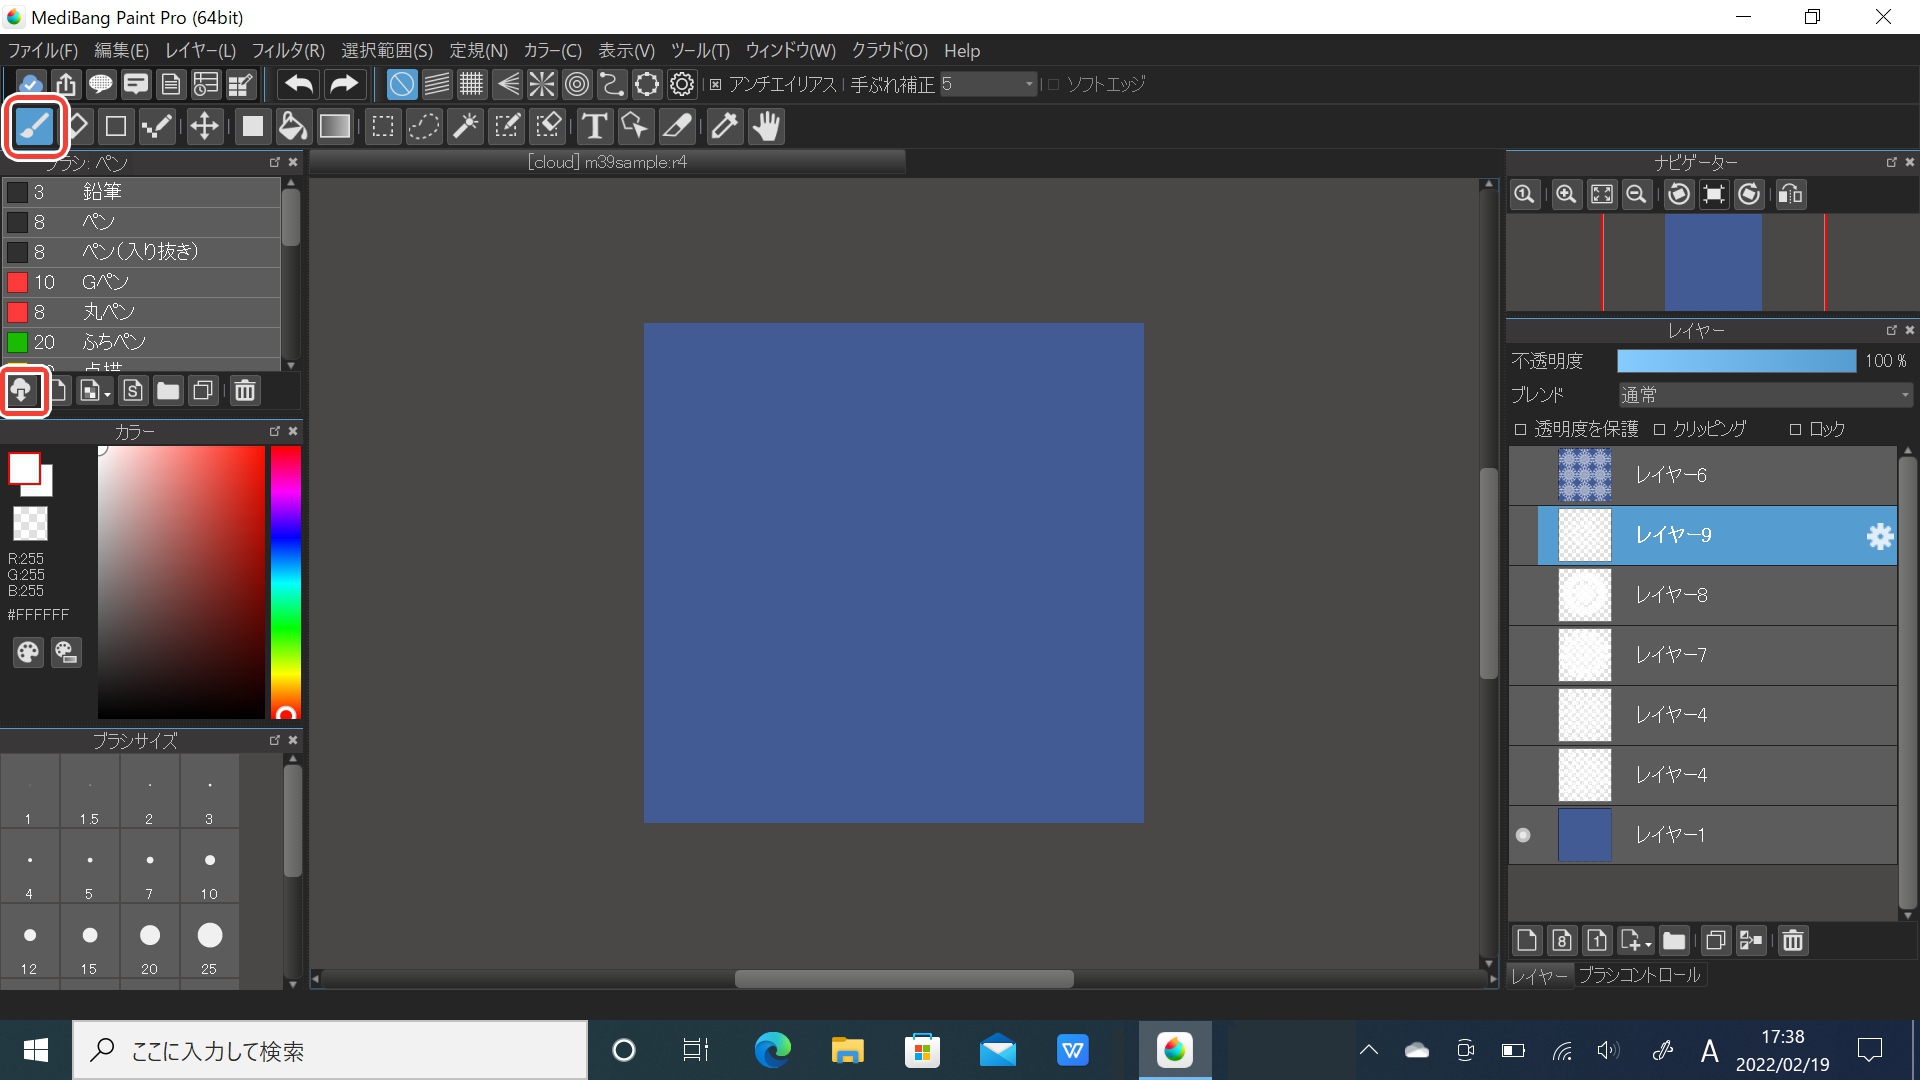
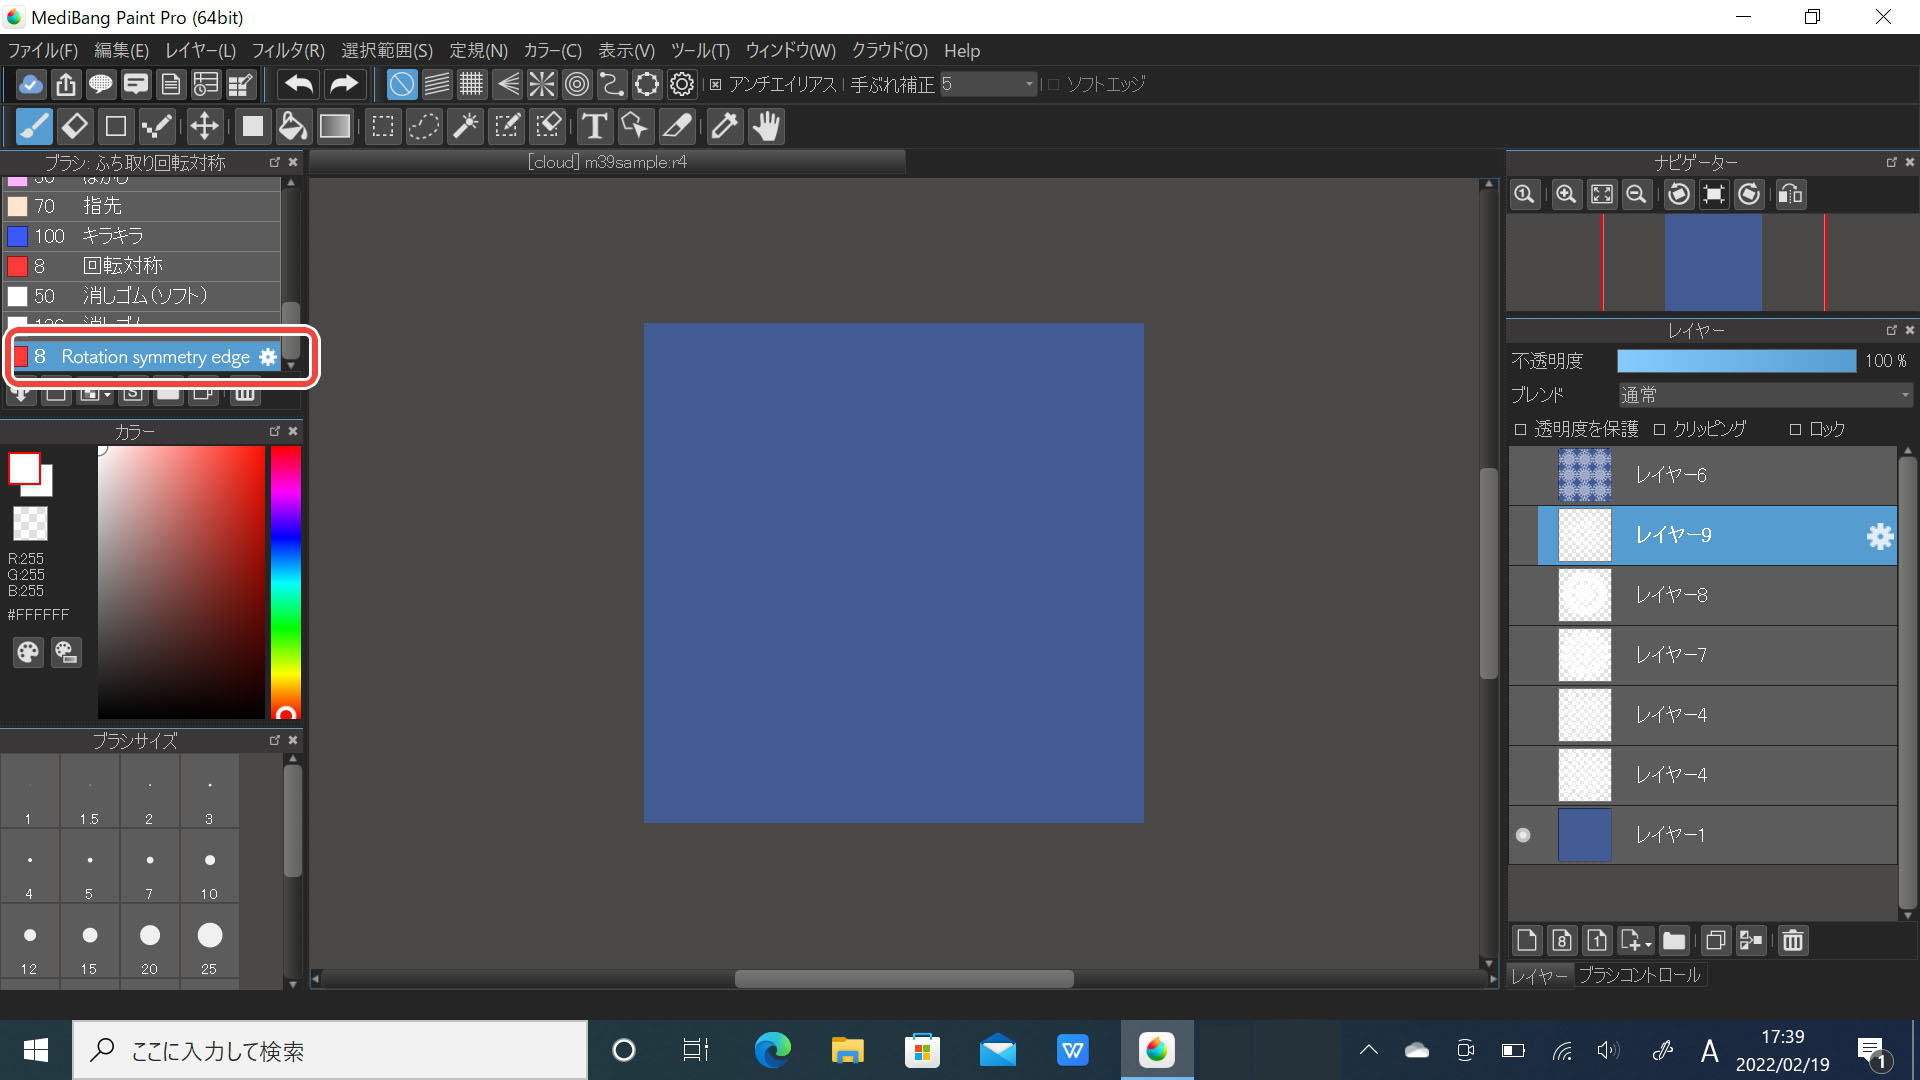
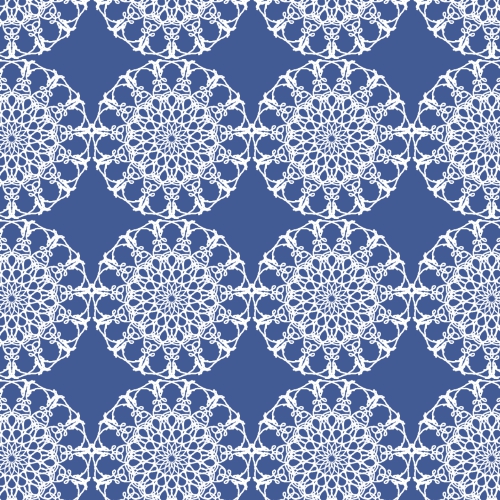
The image below shows a canvas filled with blue but this is only to show the lace pattern clearly so keep your canvas transparent.
Start off by clicking the brush tool icon then click on the cloud icon with “Add Brush (Cloud)”.
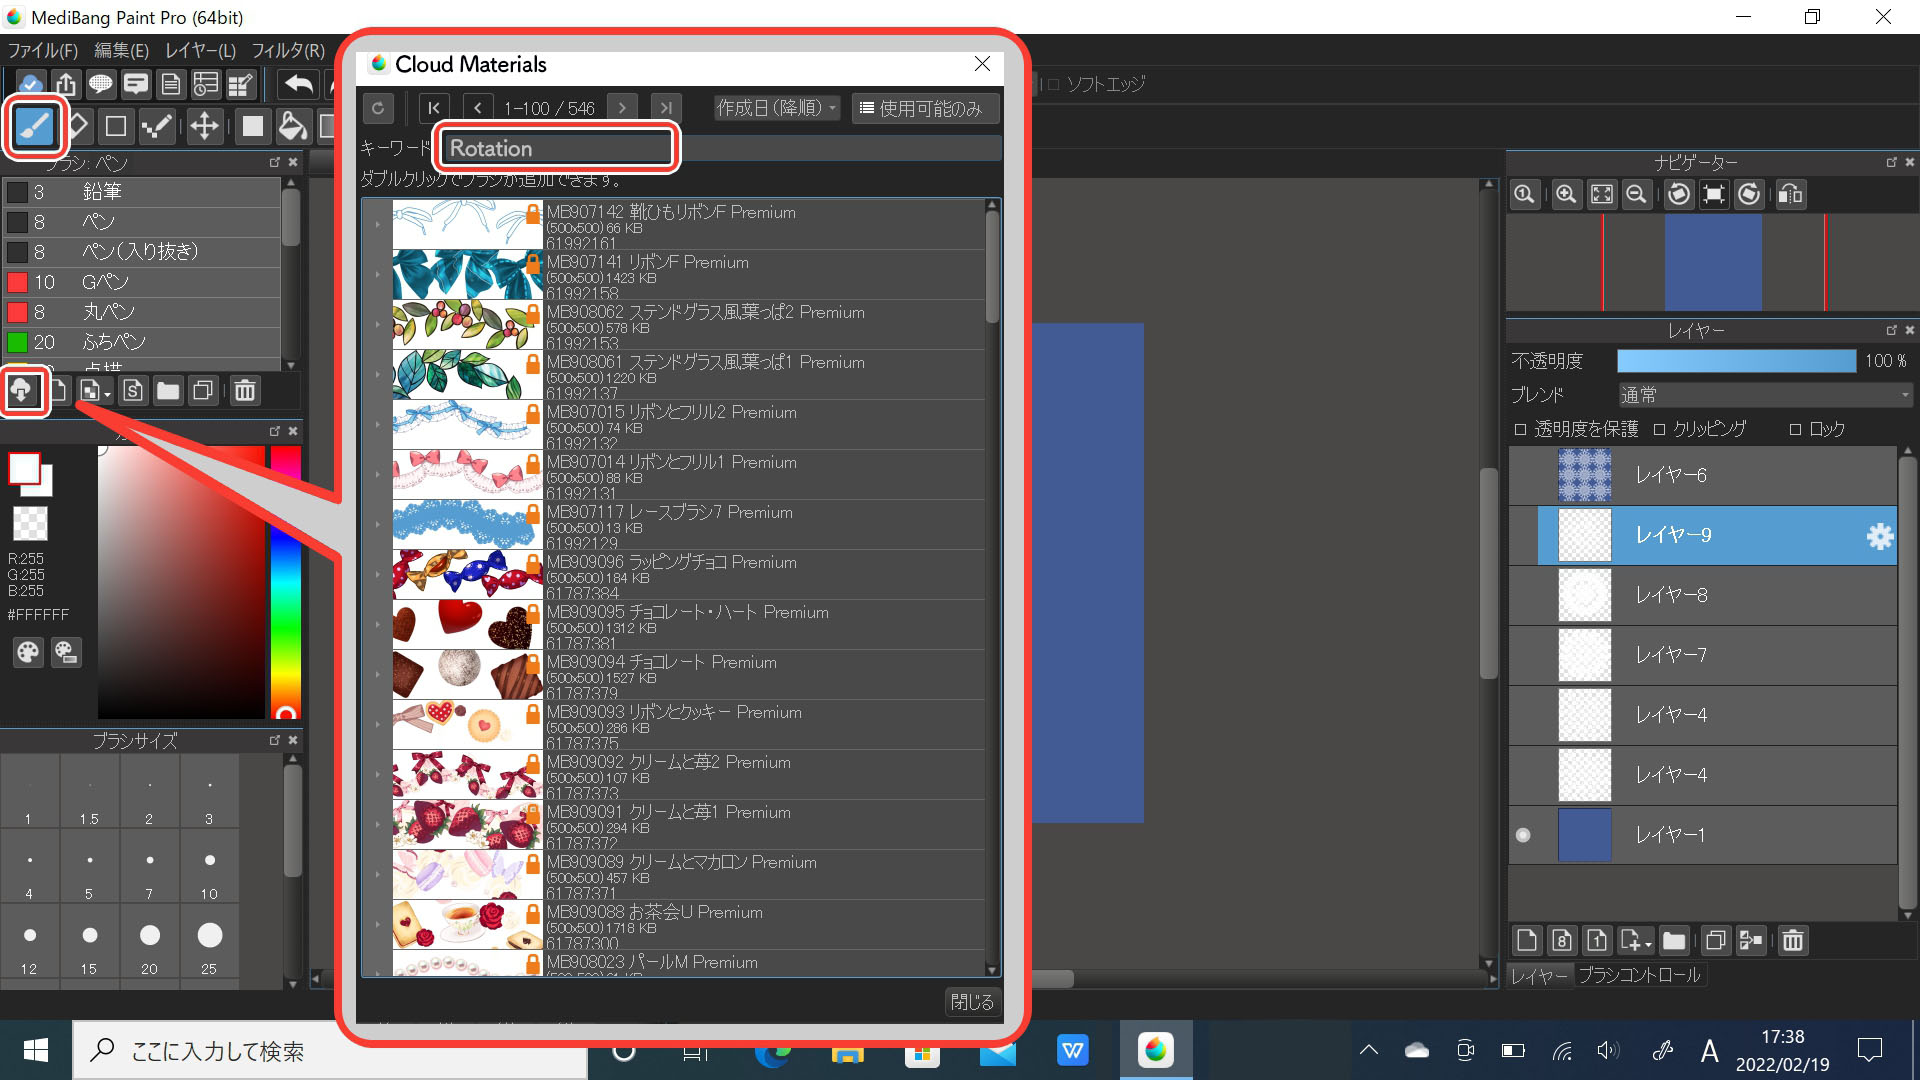
Once the cloud materials are displayed, enter “Rotation” inside the Search bar.
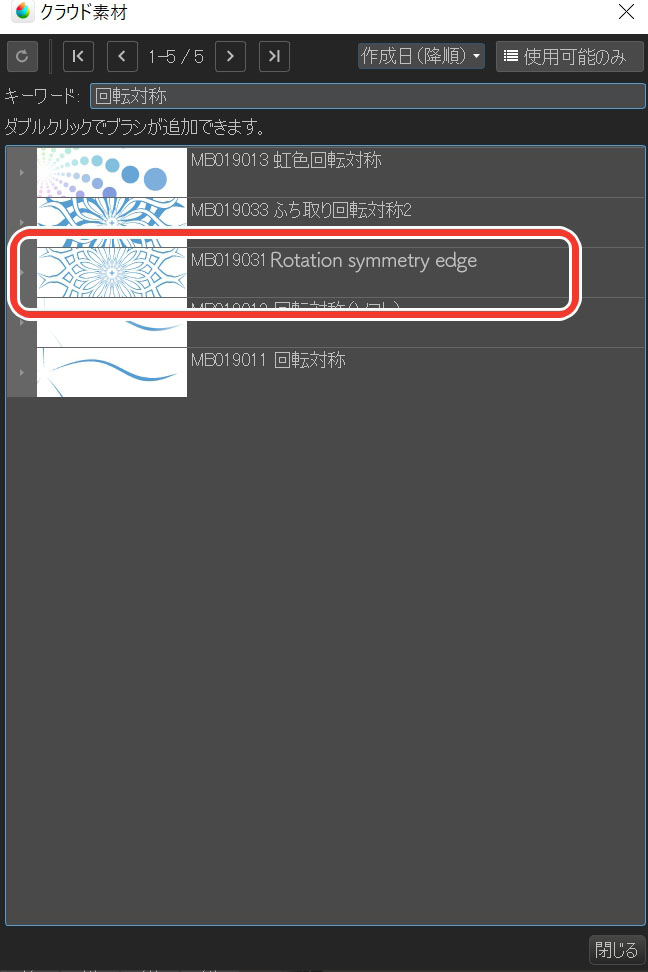
Double click on the “Rotation symmetry edge” from the search results.
Now the “Rotation symmetry edge” brush has been downloaded to your library.
(Close the Cloud Materials window)
Draw the lace pattern using the “Rotation symmetry edge” brush!
Let’s start drawing the lace pattern.
Keep your brush selected to “Rotation symmetry edge” and choose white for its color.
You can set the brush width to your liking but I recommend around 8 to 10.
Start from the center of the canvas and draw freely in a circular motion, with a single stroke.
You will see that the pattern will appear by symmetry, also in the parts you didn’t draw.
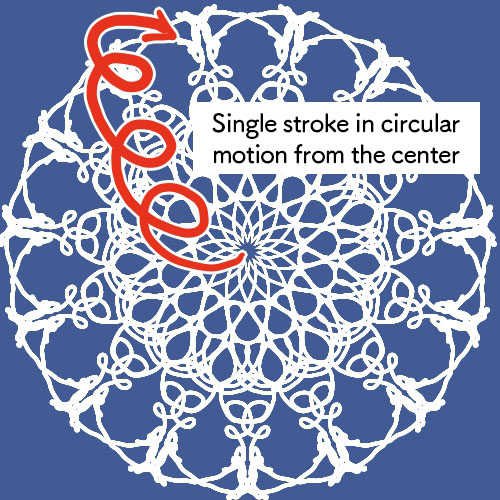
By testing a couple times, I think you will get the gist of it.
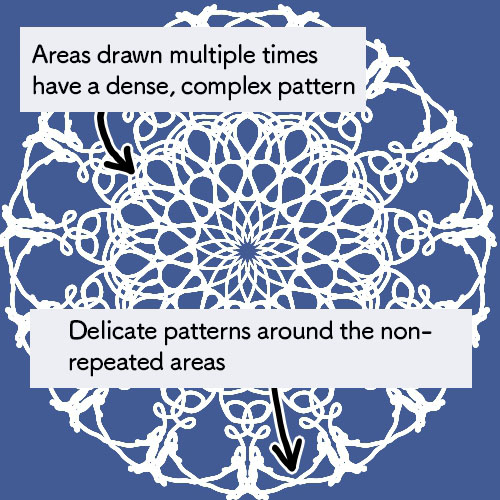
For areas you traced multiple times the pattern becomes complex, while the pattern in the area you traced once will look much more delicate.
Register your material
Have you created a pretty lace pattern?
Since you drew a cute original pattern, you should use it multiple times.
In these cases, use the material registration function!
If you are satisfied with the pattern you created, change its size to fill the entire canvas.
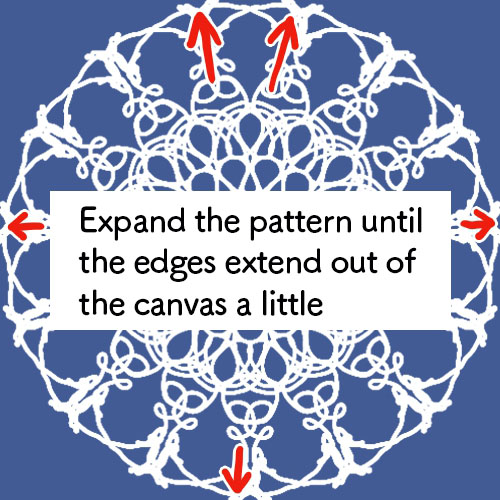
The tip here is to make the pattern big enough so the edges of the lace extend a little over the canvas.
Next, click on the speech bubble icon with “Open material dialog”, as shown below.
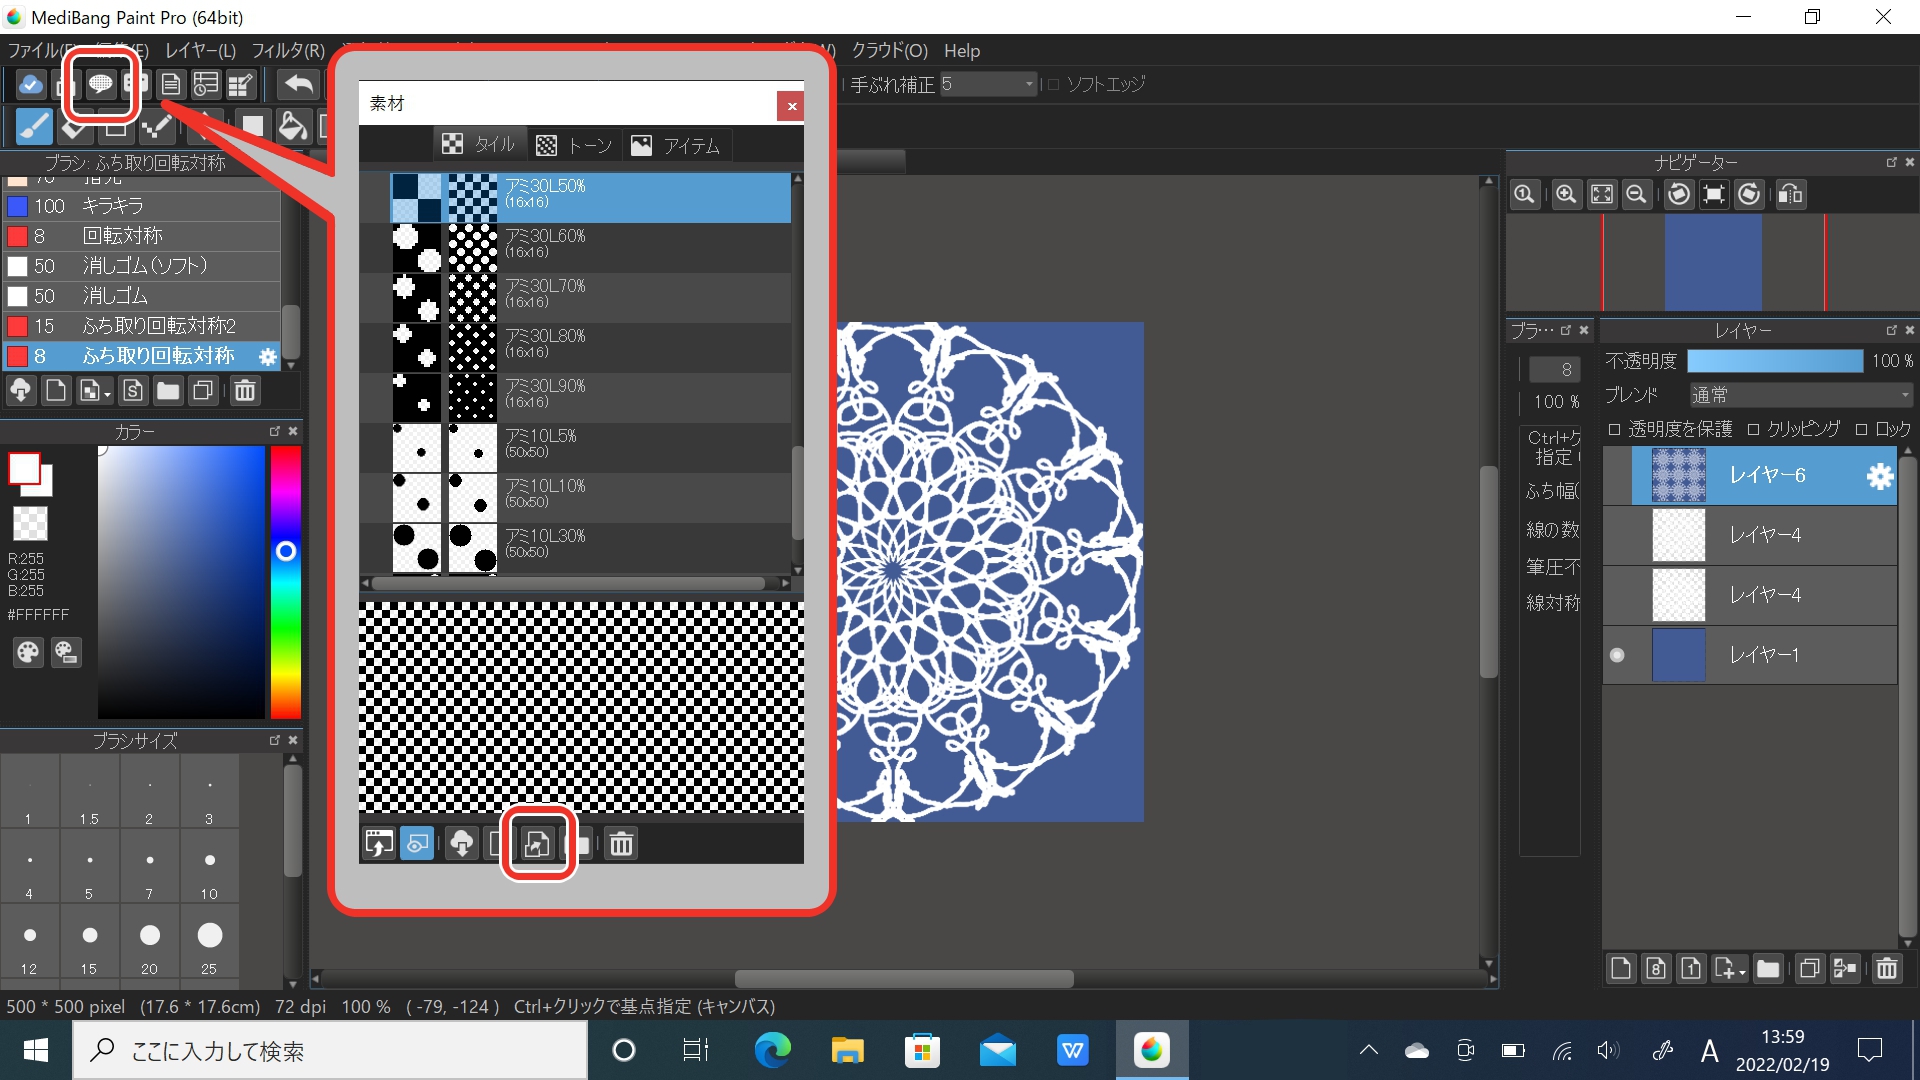
Once you have the pop-up window displayed, click “Add Material from Canvas” with the icon I circled in the image above.
Now the lace pattern has been registered to your materials!
You can give it a title as well.
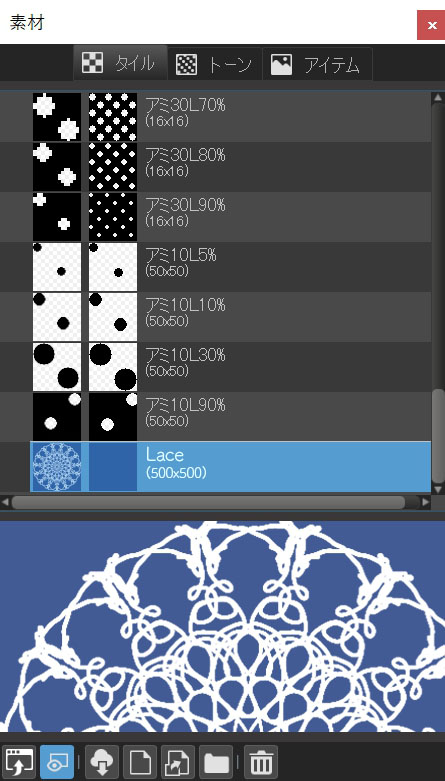
※All layers (excluding the hidden layers) will be merged during the registration process.
I’m using blue for the background to show the pattern clearly but if you want to change the background color later, either keep it transparent or hide all layers except for the lace pattern when you register it as a material.
Now you can paste the lace pattern in duplicates anytime you want to use it.
When you want to paste the material, choose “Open material dialog” with the speech bubble icon and click on “Paste Material” at the bottom left corner.
You can also drag and drop the material to your canvas, from the material dialog!
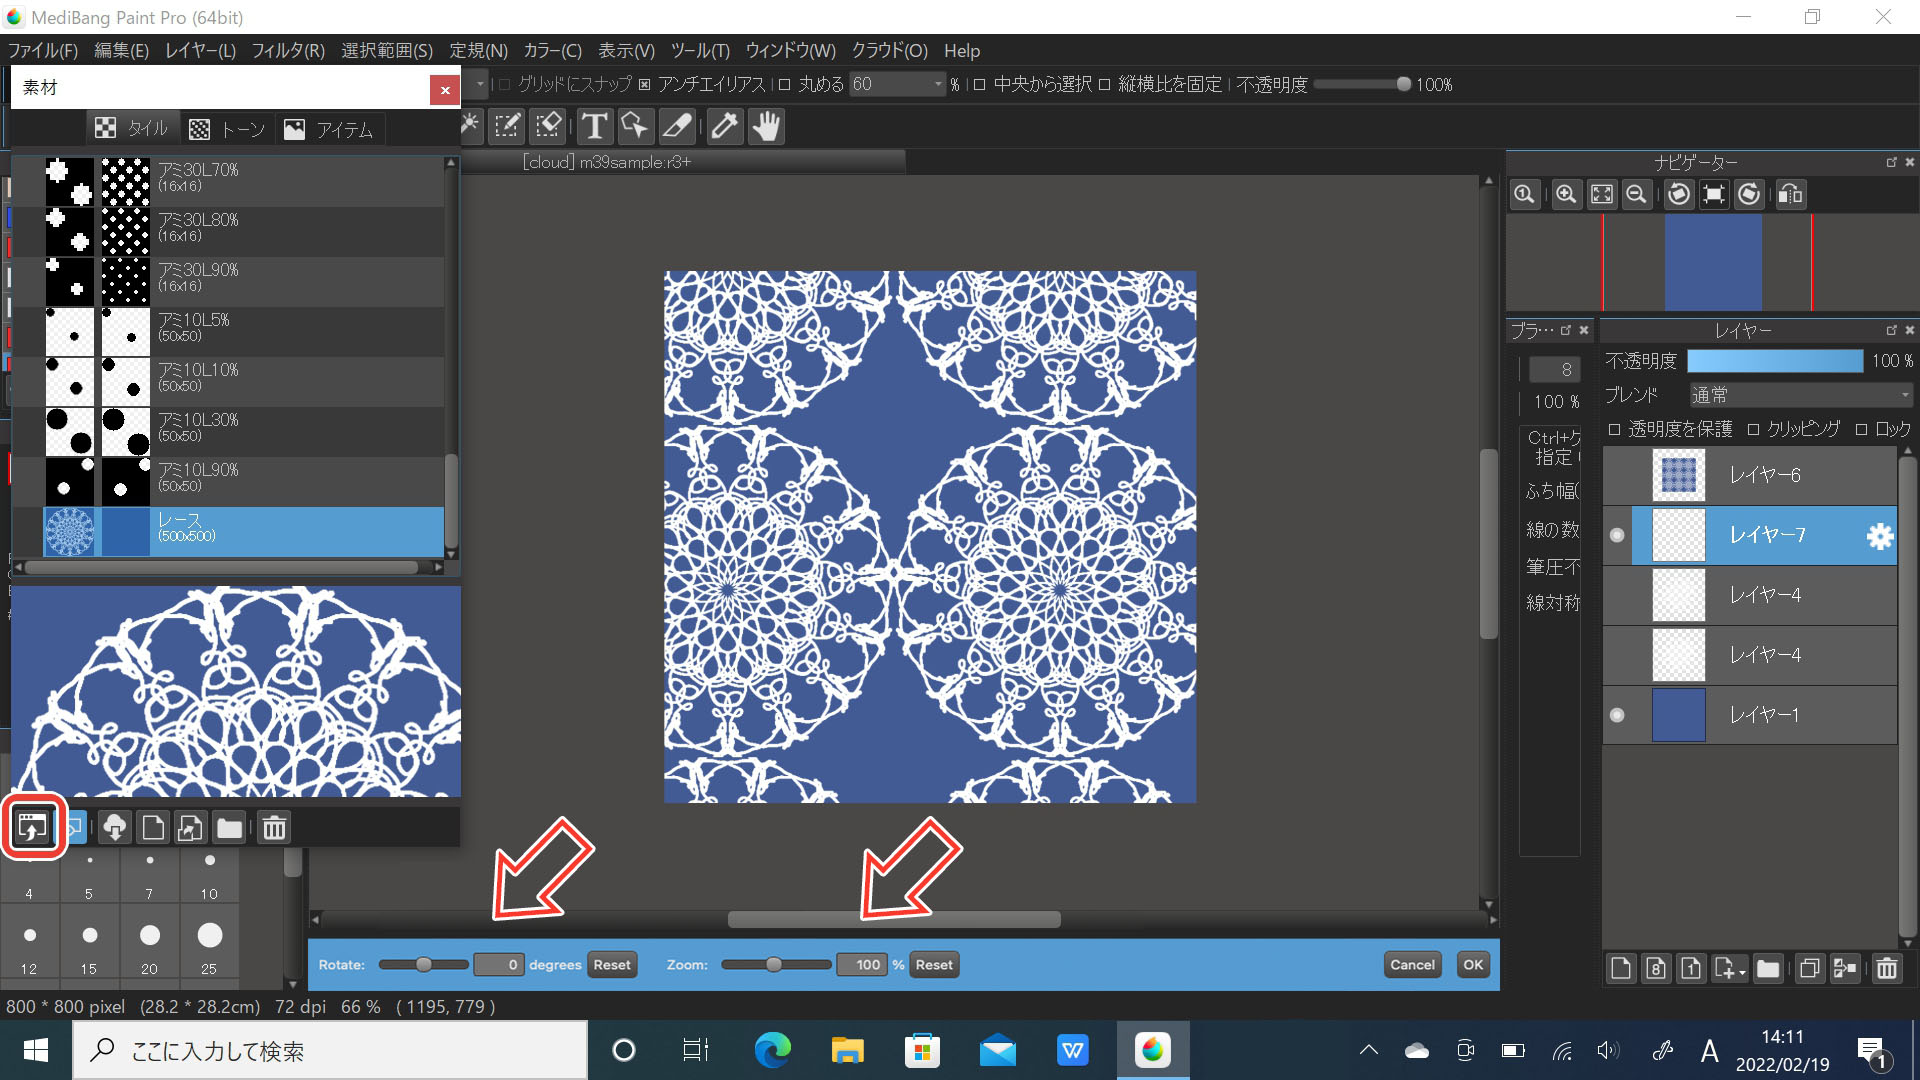
Adjust the values for “Rotate” and “Zoom” and click OK to finish.
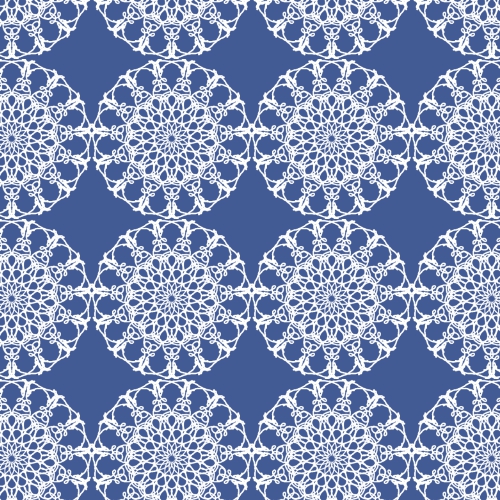
Now the material has been pasted on your canvas.
Let’s use the material in your illustration
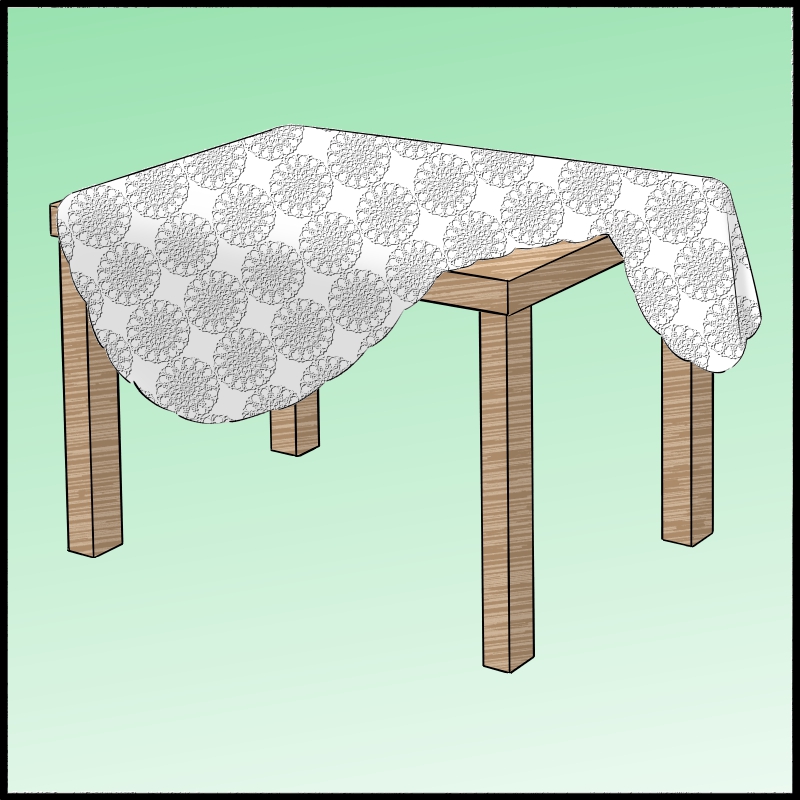
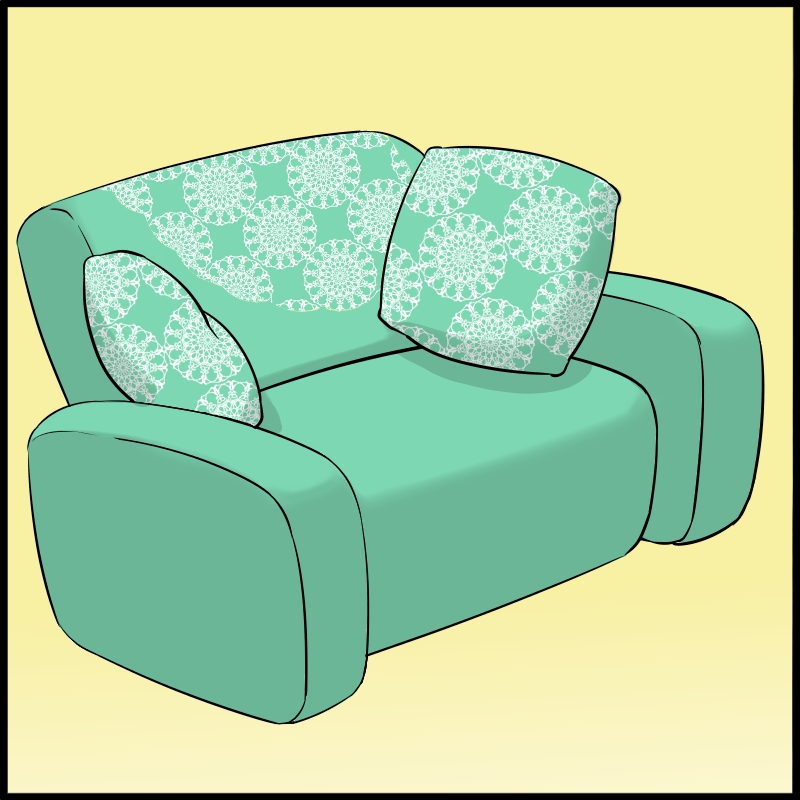
With this method, anyone can draw lace patterns easily without having to extract lines or draw from the scratch♪
You can also create a variety of lace patterns by changing the brush motion.


I hope you create and register unique lace materials and use them in your illustrations!
(Text・Illustration/竹内 洋)
\ We are accepting requests for articles on how to use /

