2022.11.21
Let’s use the Cherry Blossom brushes【How to use the brush/Standard ways of drawing cherry blossoms】
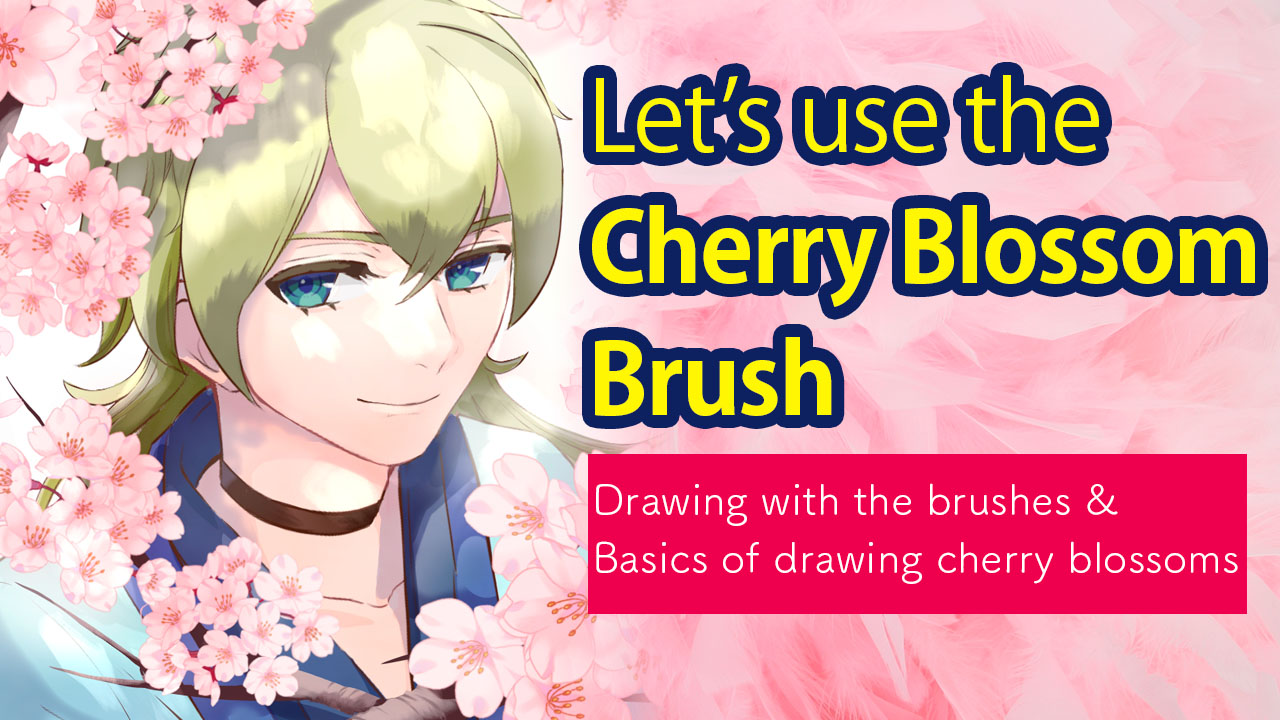
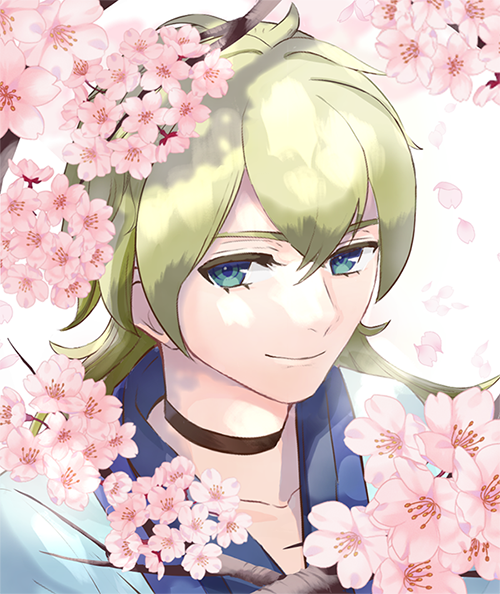
During the spring season, you often see artists uploading illustrations with cherry blossoms.
Cherry blossoms are one of the representative flowers of the spring season and its popularity roots back to the sweet illusion created by the soft pink shade.
In the MediBang Paint app, there are a couple brushes you can use to draw cherry blossoms easily.
I will be explaining how to use such brushes and also the standards for drawing cherry blossoms!
Cherry Blossom brushes in MediBang Paint
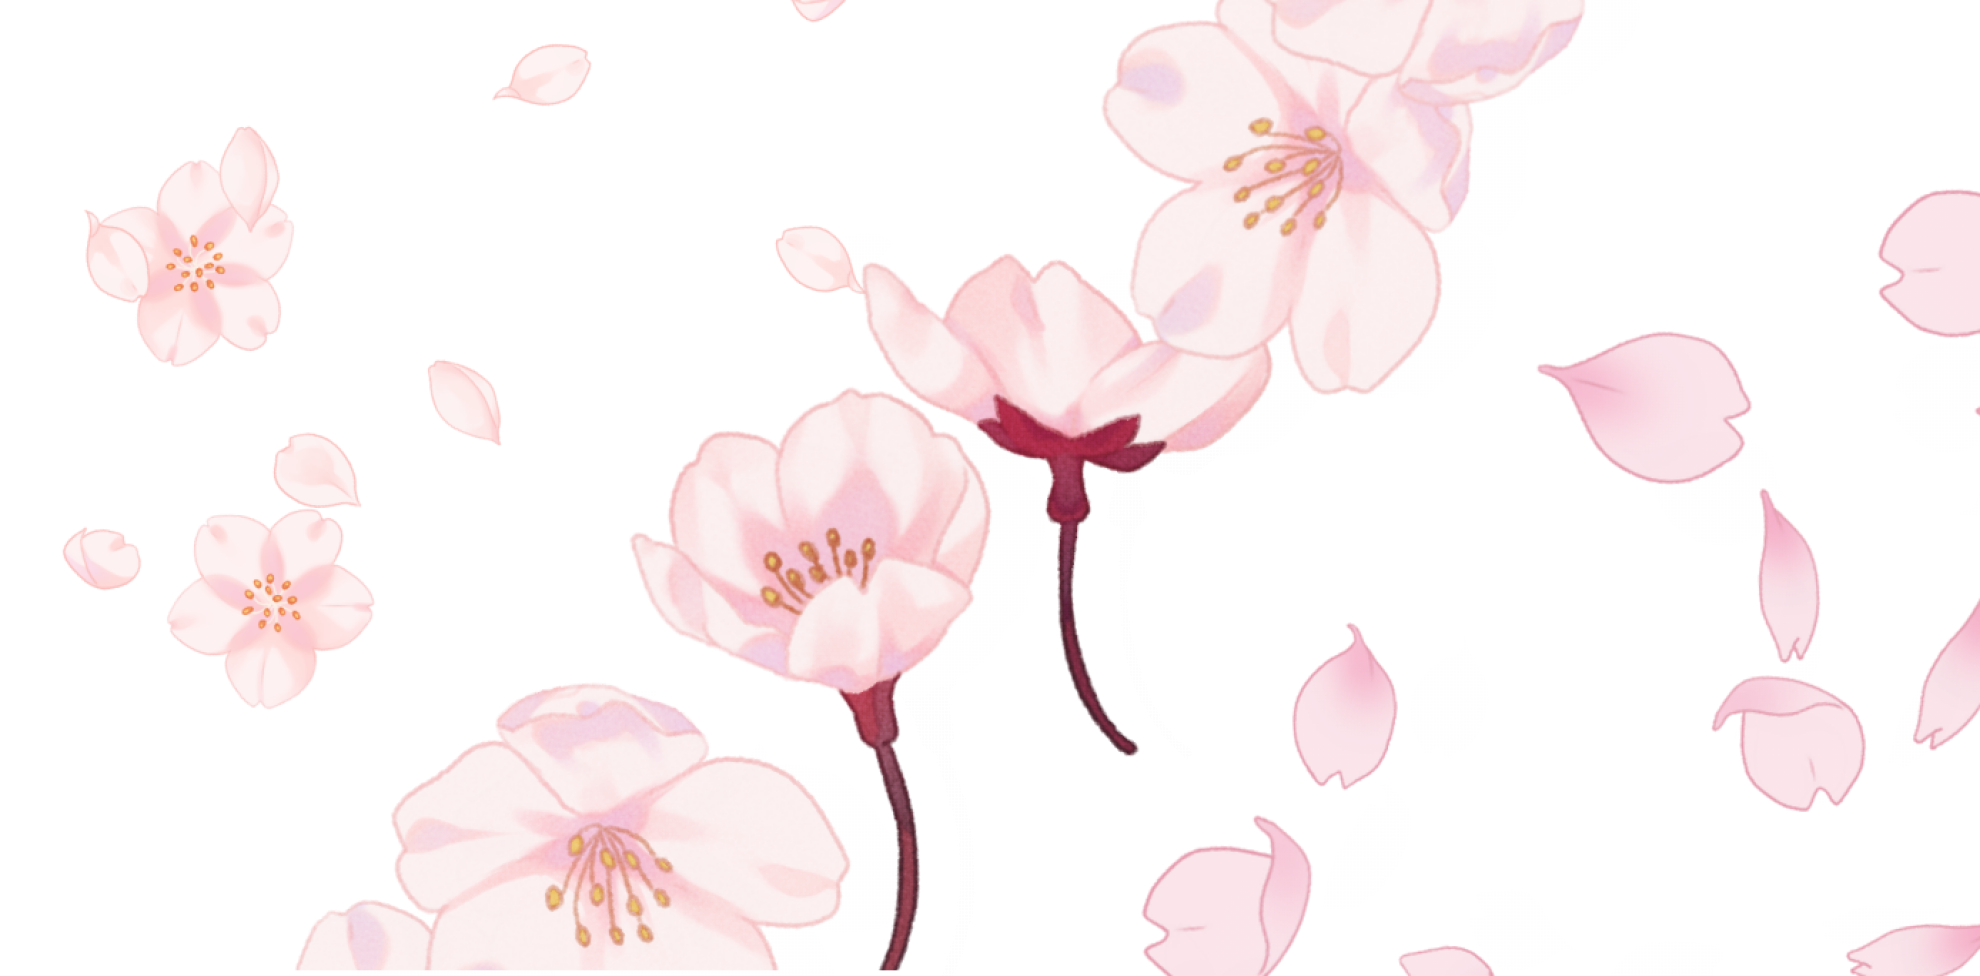
MediBang Paint has a variety of brushes for drawing cherry blossoms, ranging from realistic patterns to design brushes like the Japanese sakura pattern.
In this article, I will be introducing you to three different brushes on the realistic end, which you can use for background designs and scenery.
①Cherry Blossom Brush 1
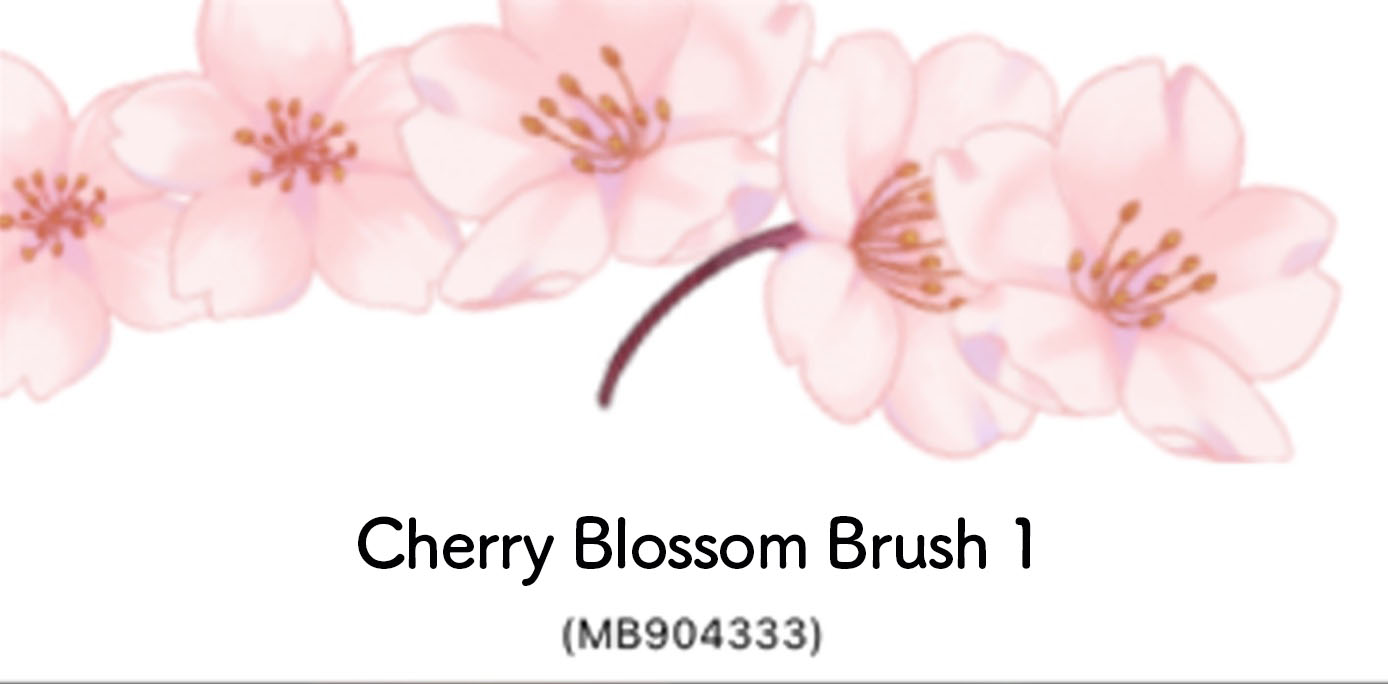
This brush contains the flower of cherry blossoms drawn from various angles.
The soft touch of this brush creates a gentle impression and its depiction of the pedicel allows you to draw realistic cherry blossoms.
②Cherry Blossom Brush 2
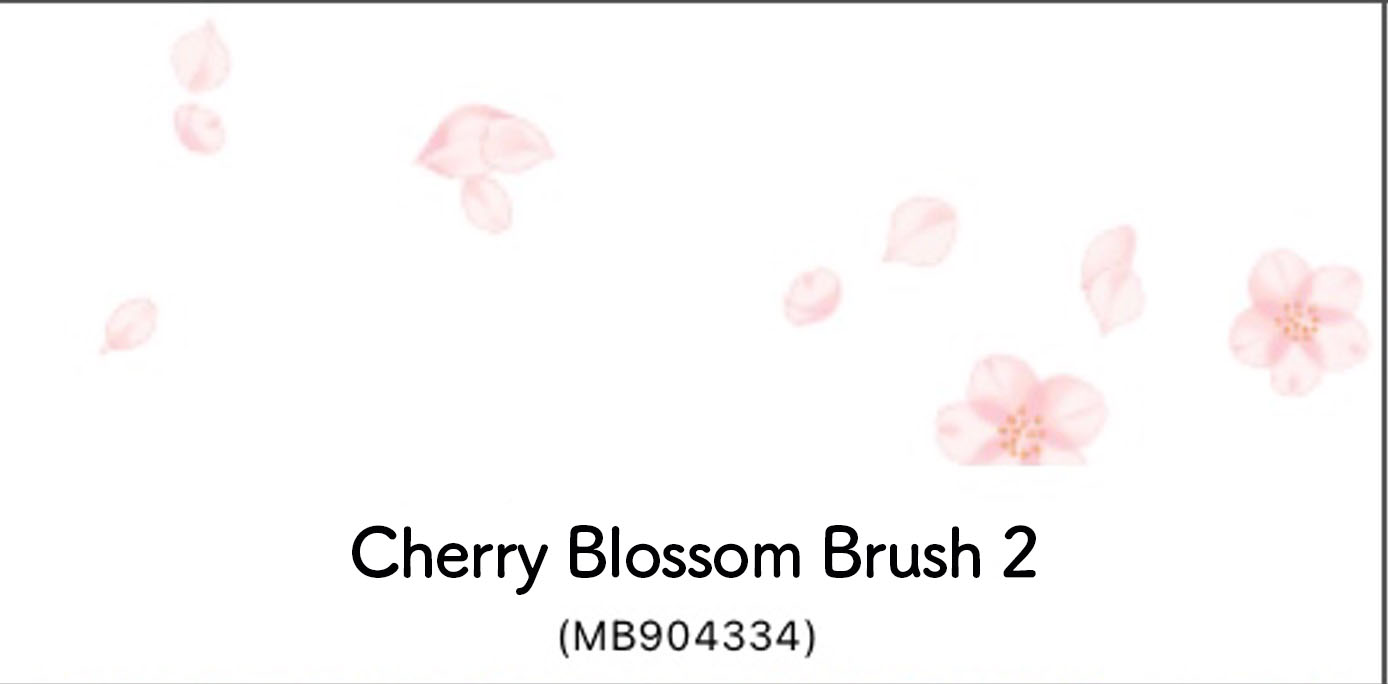
This brush contains the flower and petals of the cherry blossom.
Since it has petals floating on the surface of the river, you can use this brush to draw a scene of cherry blossoms falling with wind.
③Flower Petal (Cherry Blossom) Brush
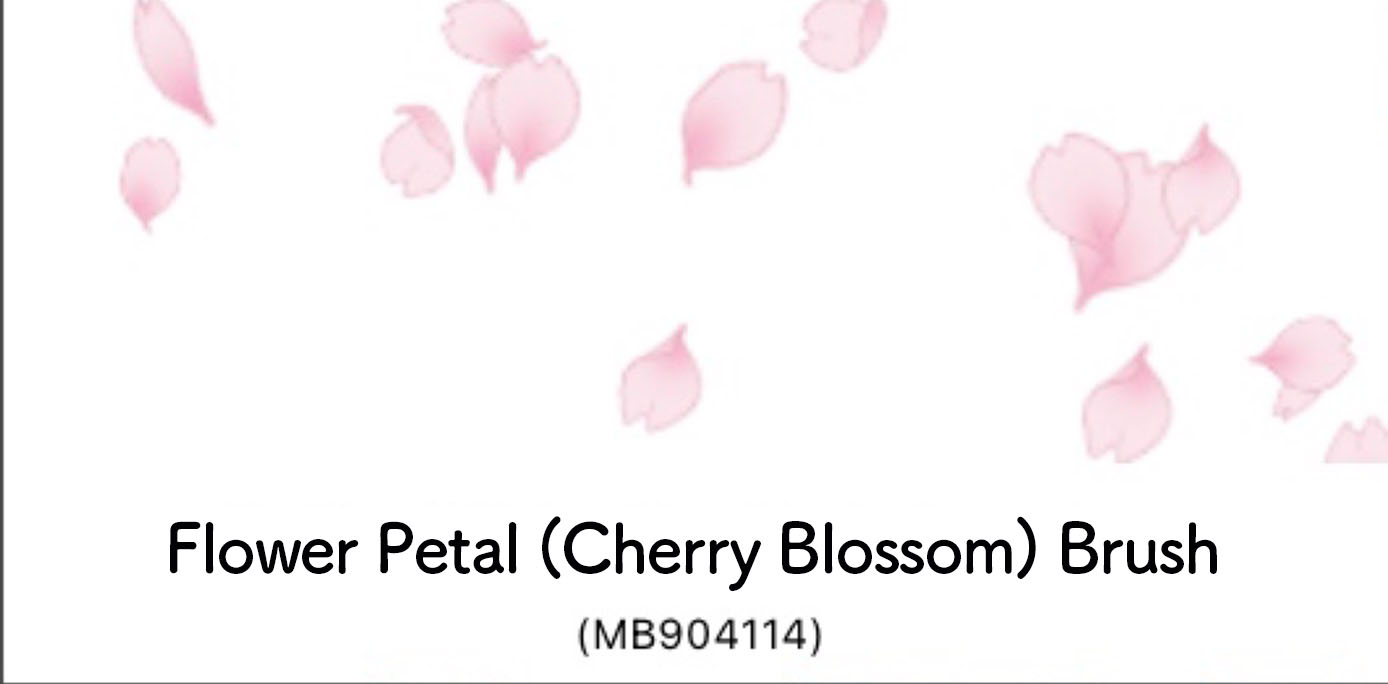
The brush contains only the petals of the cherry blossom.
It depicts fluttering petals and you can either use this brush on its own or combine it with the Cherry Blossom Brush 1.
Standards of drawing cherry blossoms and the difference with plums and peaches
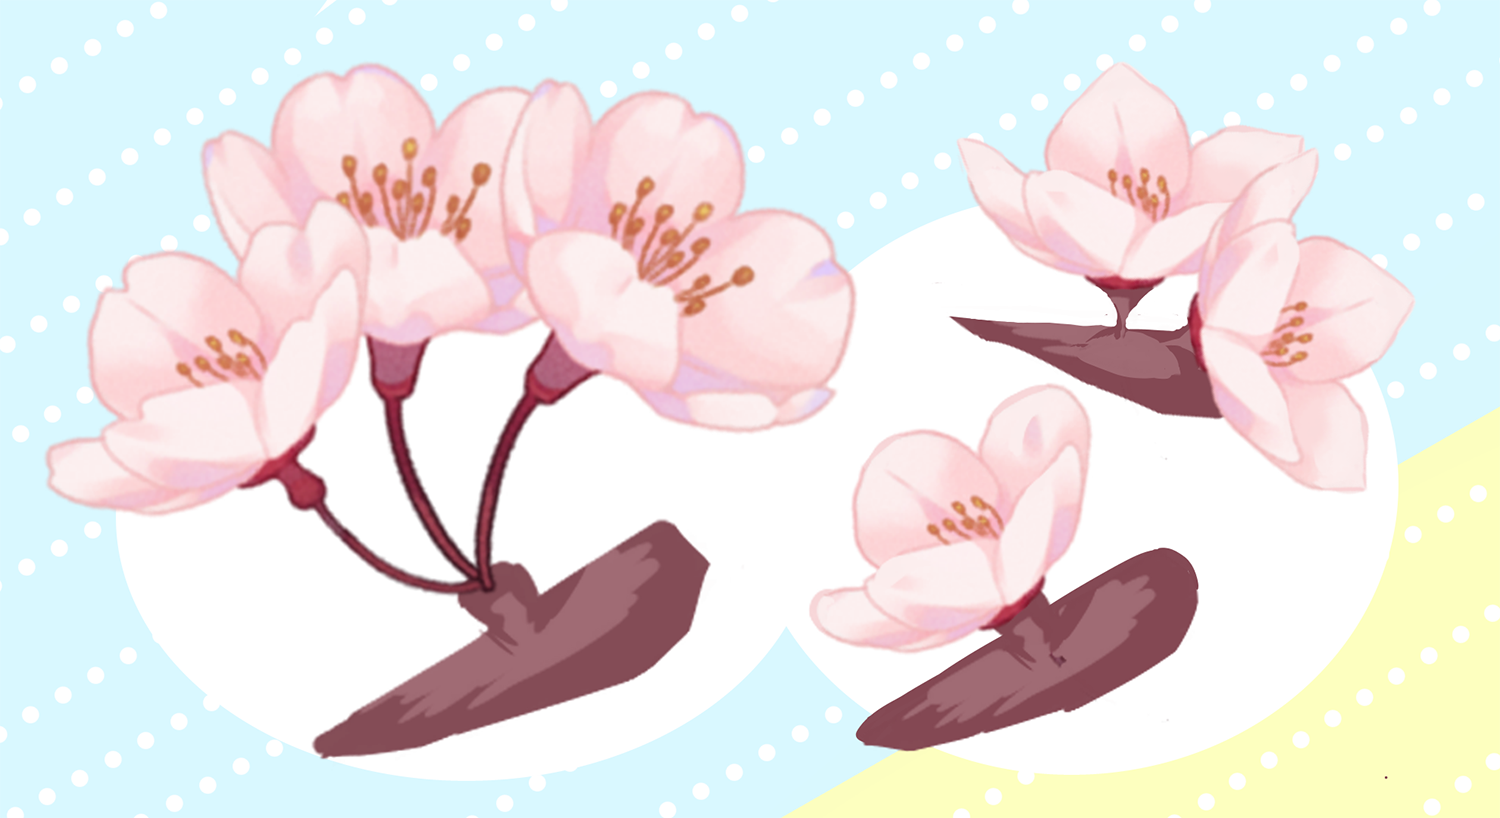
When you are drawing both the flower and the stems of cherry blossoms as your background, you should be aware of how the flowers grow and the standard steps of drawing cherry blossoms, even if you are using a Cherry Blossom brush.
Here are the two important tips you should know when you are drawing cherry blossoms.
The stem-like “pedicel” of a flower
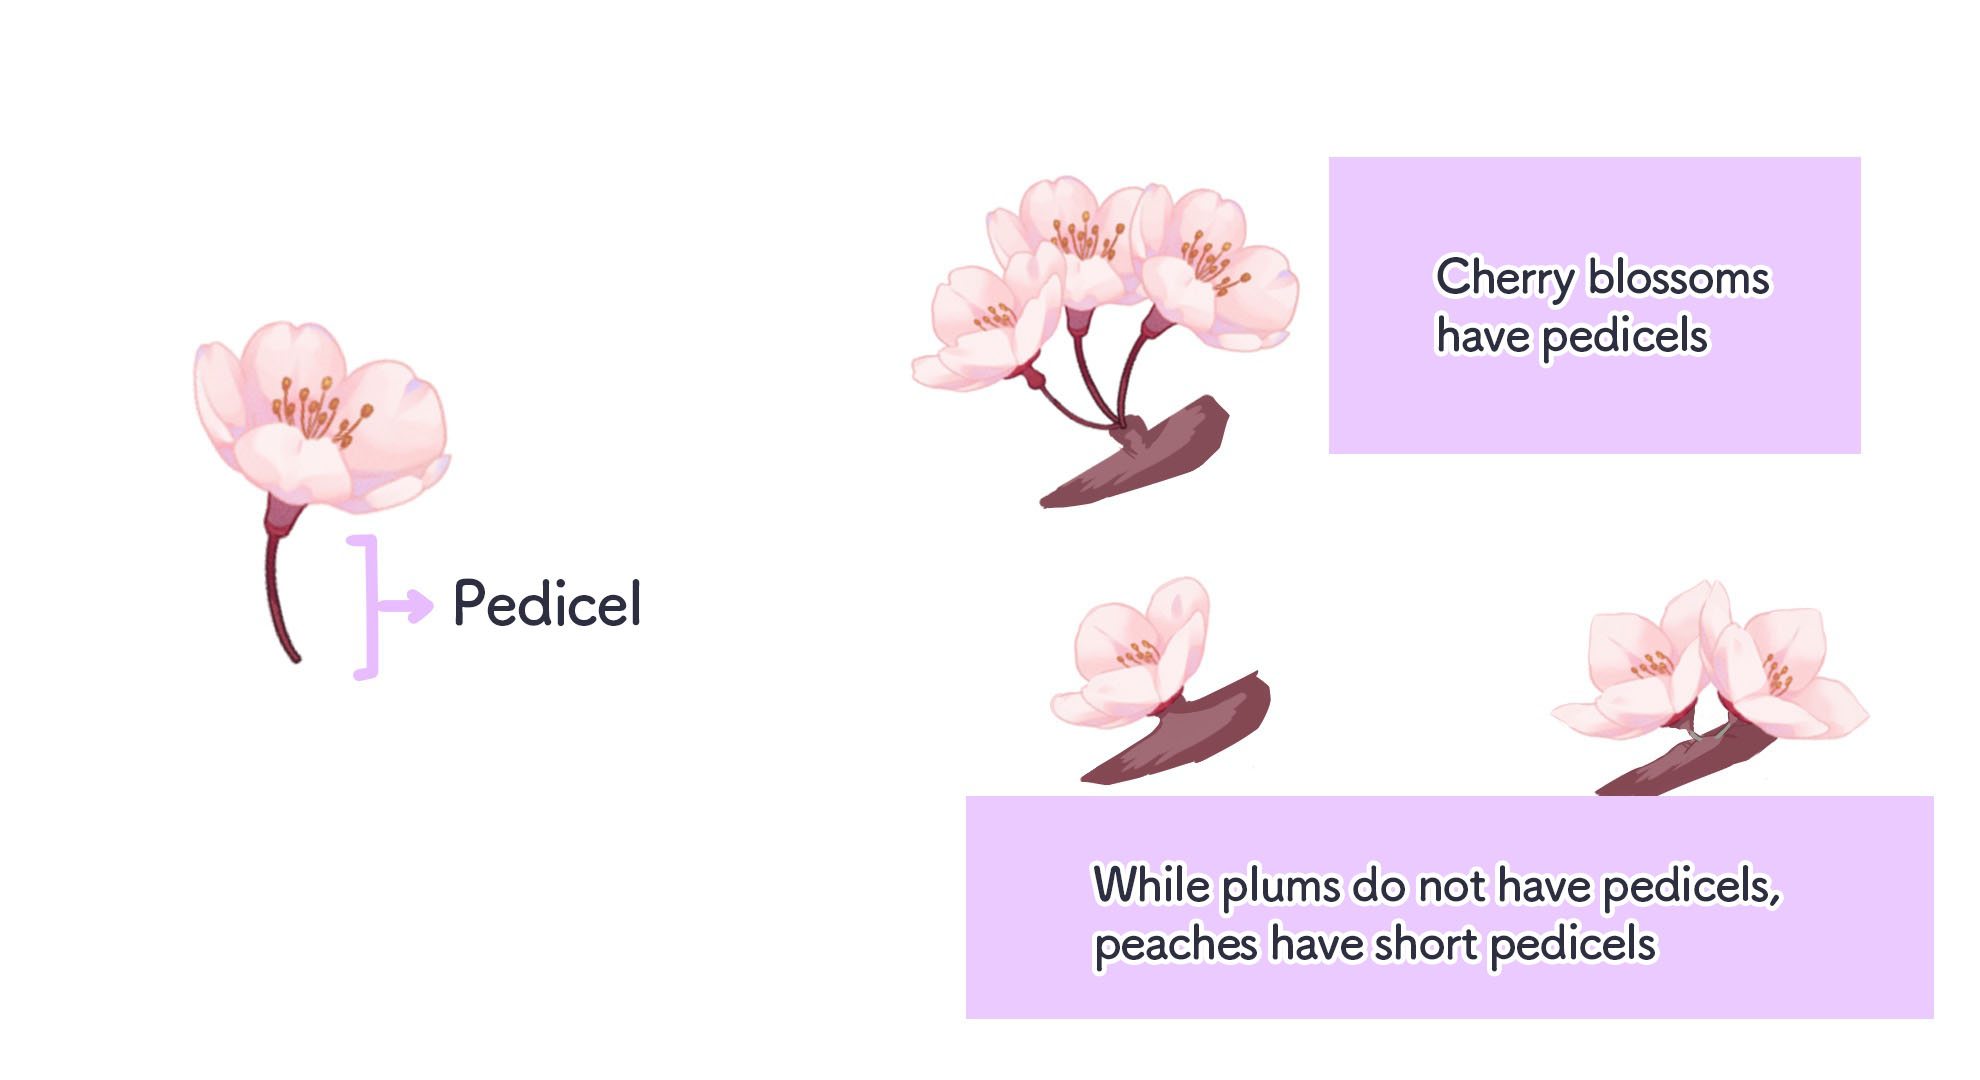
When drawing with Cherry Blossom Brush 2 or without using the Cherry Blossom brush, I always pay attention to the length of the pedicel.
Plums do not have a pedicel and peaches have short pedicels so they bloom right from the branch.
This is the main difference between cherry blossoms and plums/peaches.
Blooming in lumps
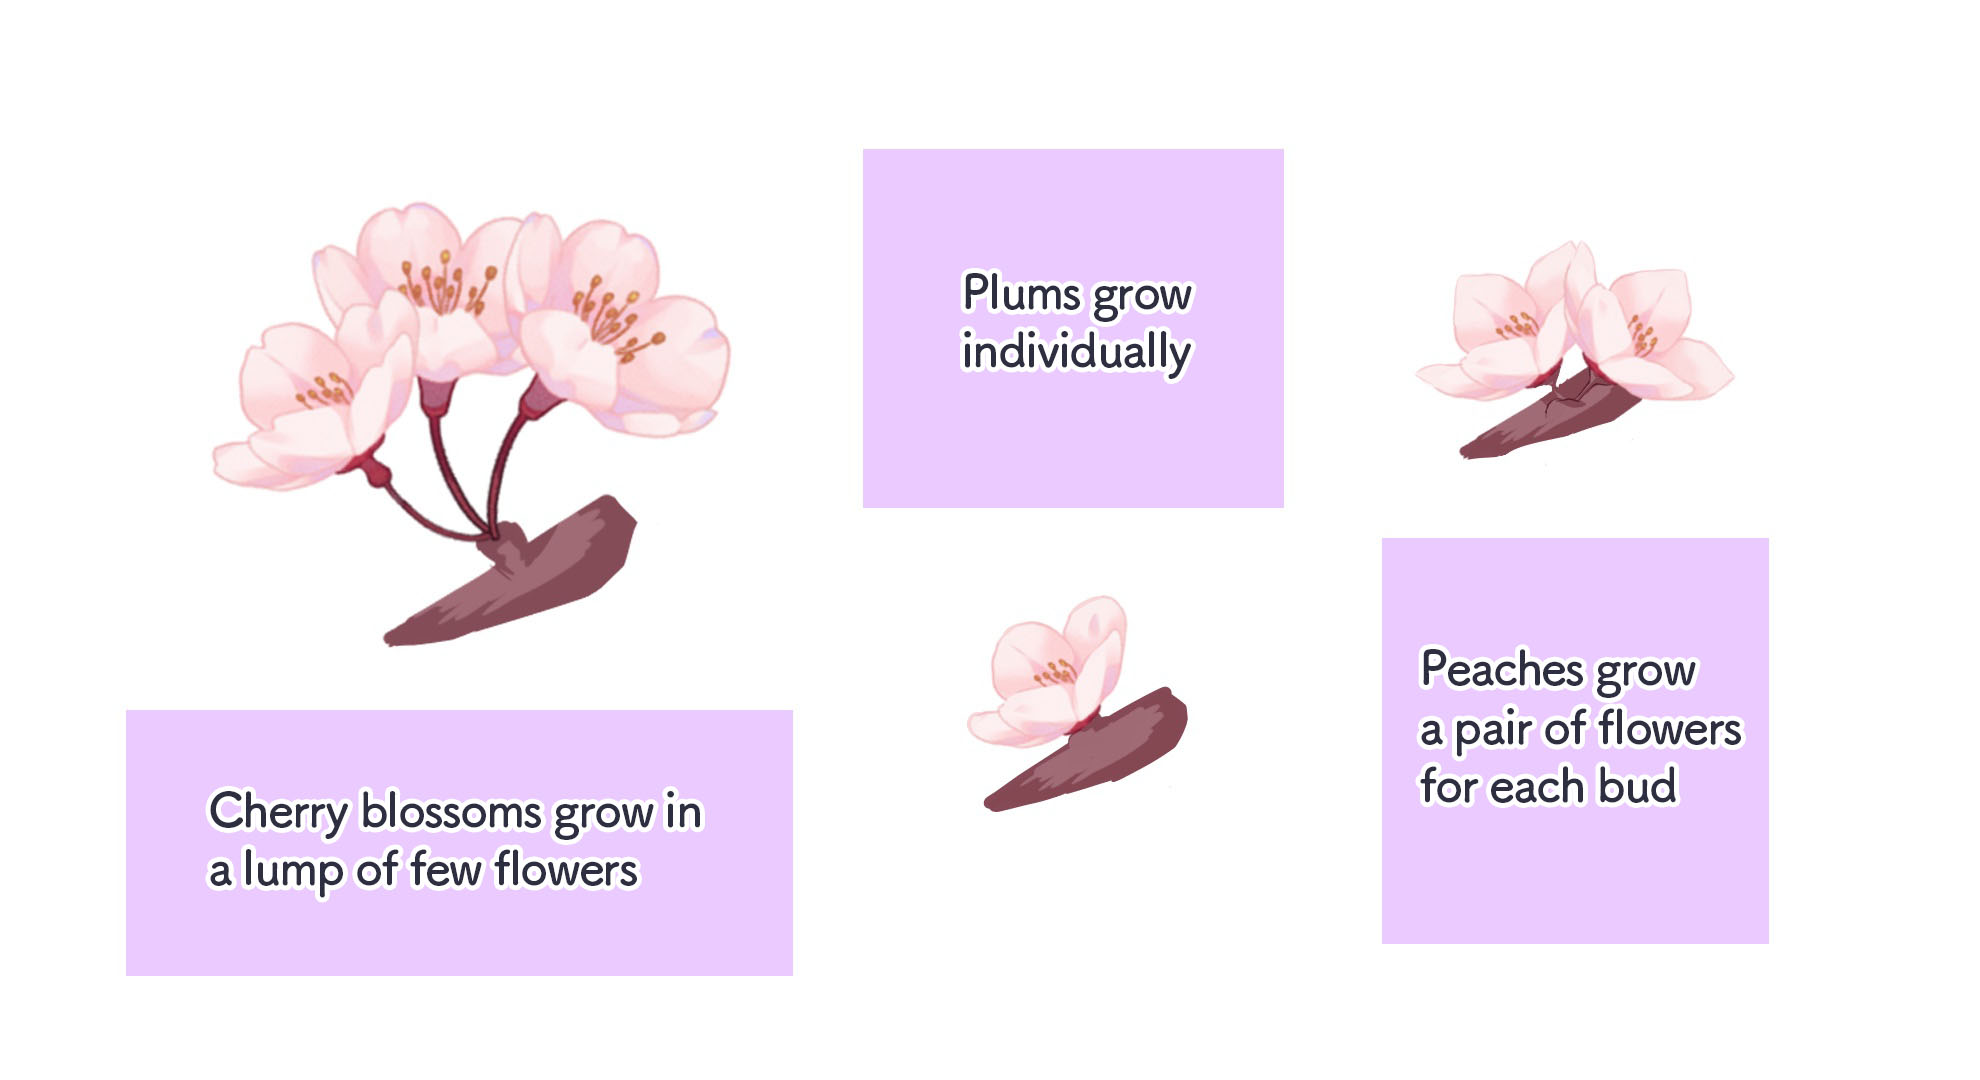
As cherry blossoms bloom in a lump of couple flowers, I make sure to draw them together.
On the other hand, plum flowers grow individually and peaches grow in a pair so you can make a clear distinction by following this rule.
When you are using the Cherry Blossom Brush, it might be easier to draw a few lumps before you start the illustration.
Drawing illustrations using the Cherry Blossom Brush

For this tutorial, I drew an illustration using Cherry Blossom Brush 1 and Flower Petal (Cherry Blossom) Brush.
Let’s look at the steps of illustration making, using the Cherry Blossom Brush.
Drawing branches of the Cherry Blossom tree
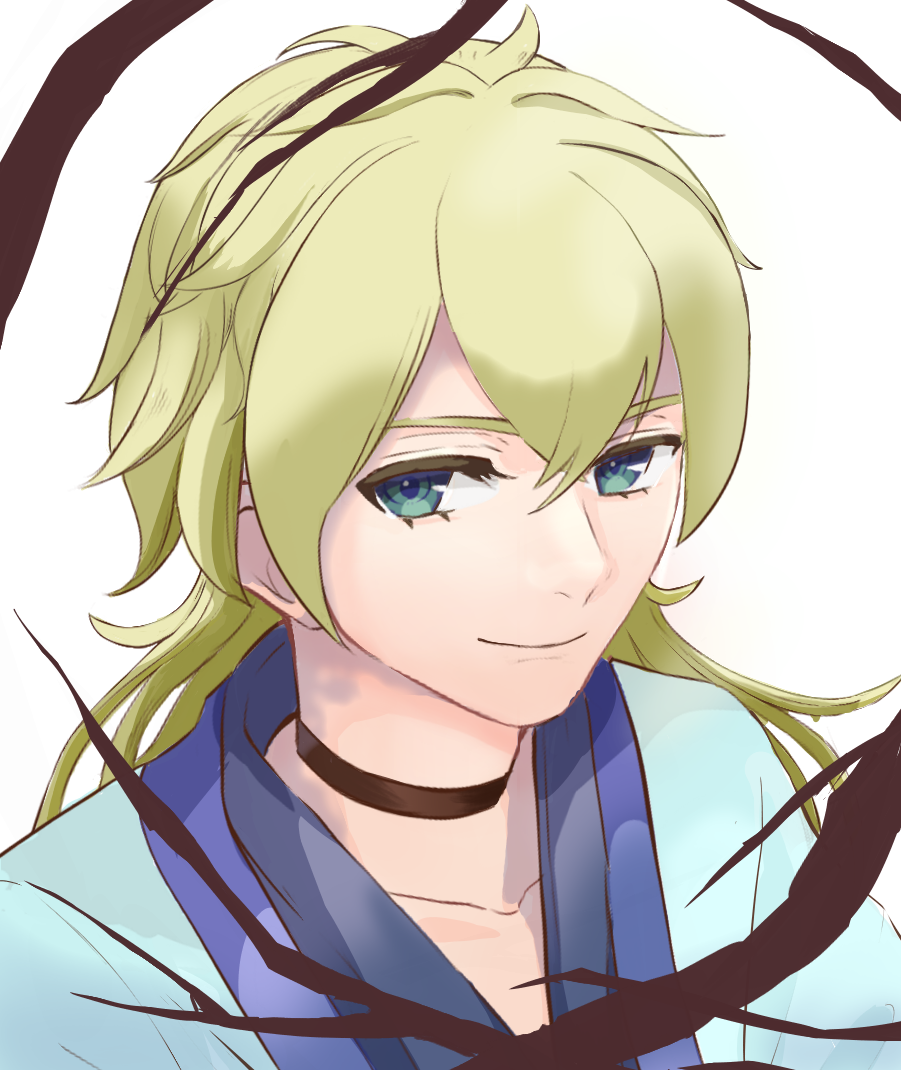
I haven’t yet decided on where I will be placing the flowers so I will start sketching the overall shape.
Drawing lumps of cherry blossom flowers
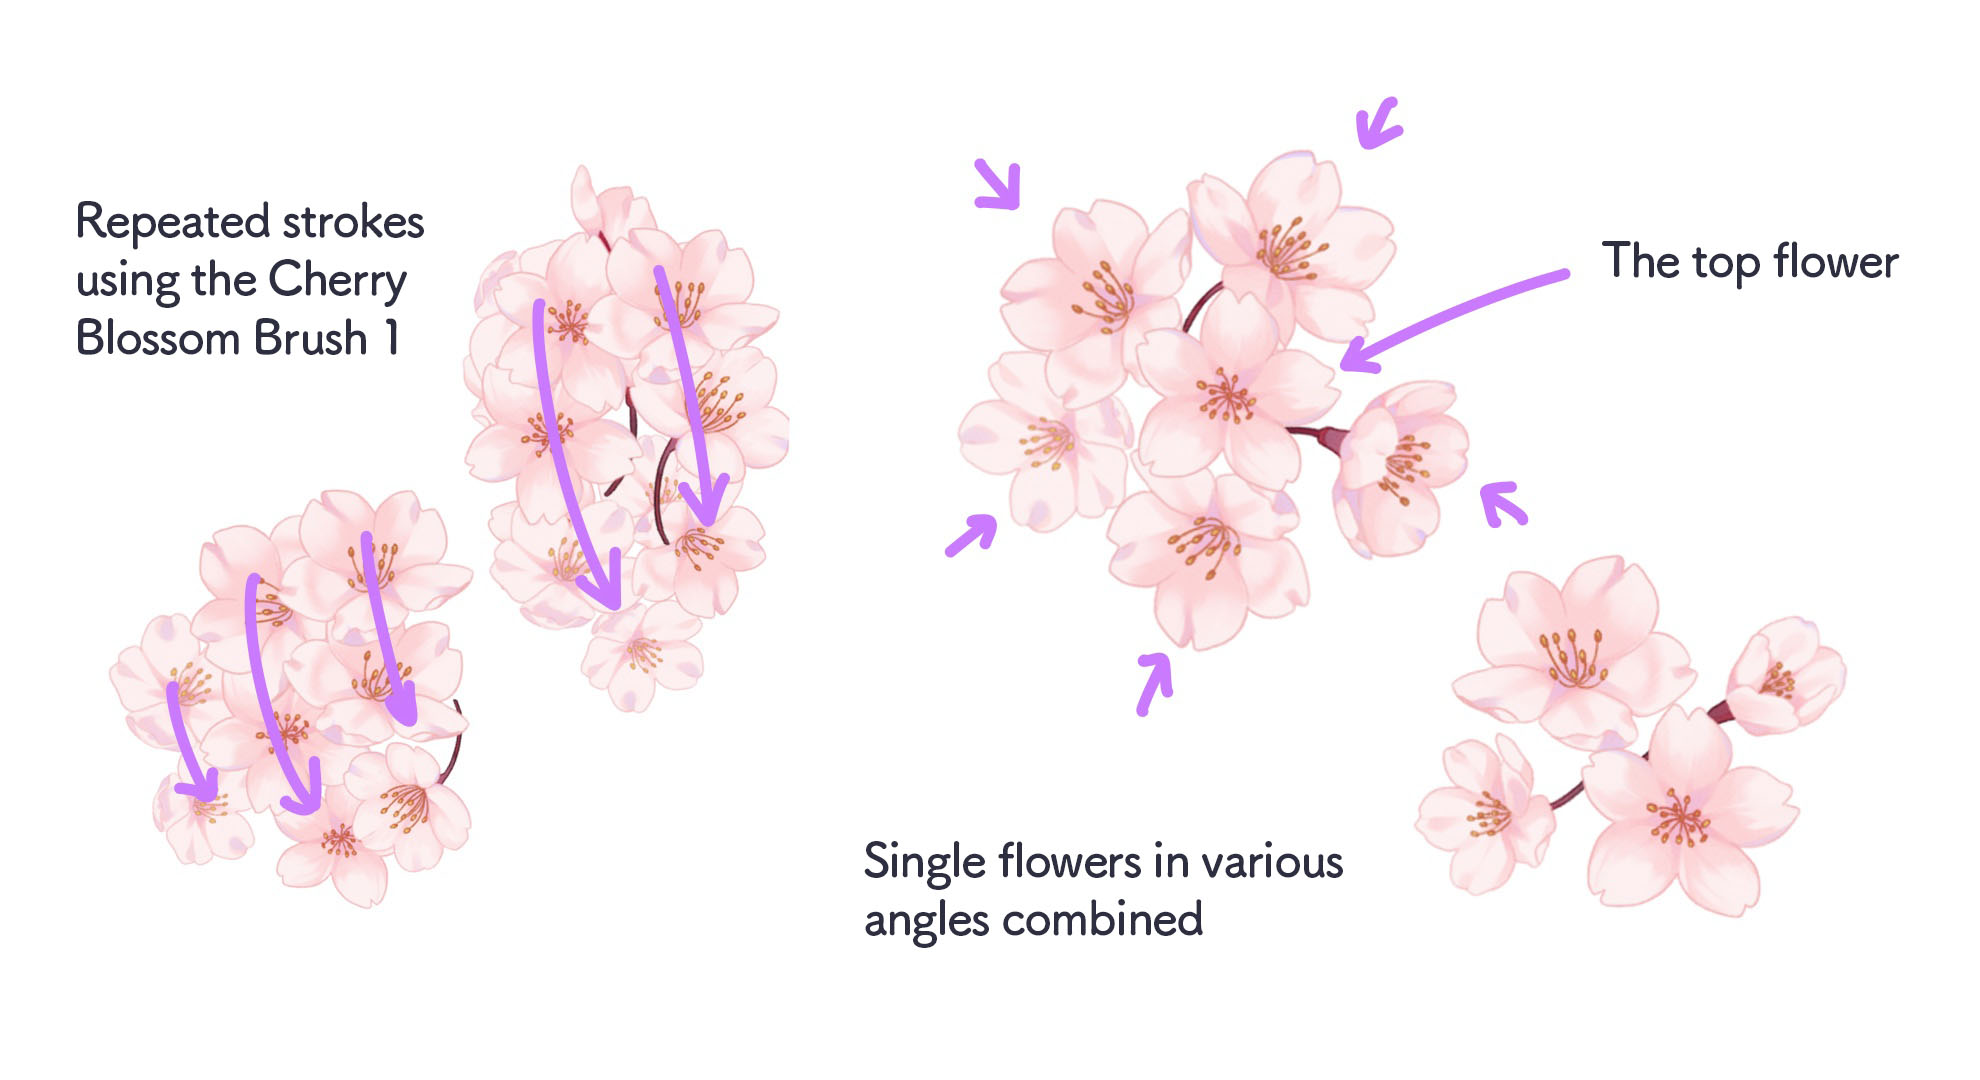
When I draw the flowers, I create specific layers and prepare a folder for them.
For each lumps of flowers, I either layer the flowers a couple times by drawing strokes in a vertical direction or gather single flowers in various angles.
I also create a different layer below and draw more flowers beneath the top flowers to illustrate three-dimensionality.

You can draw each lump individually or create various patterns in a couple different layers, duplicate them and change the angle, size etc.
Drawing in the branches
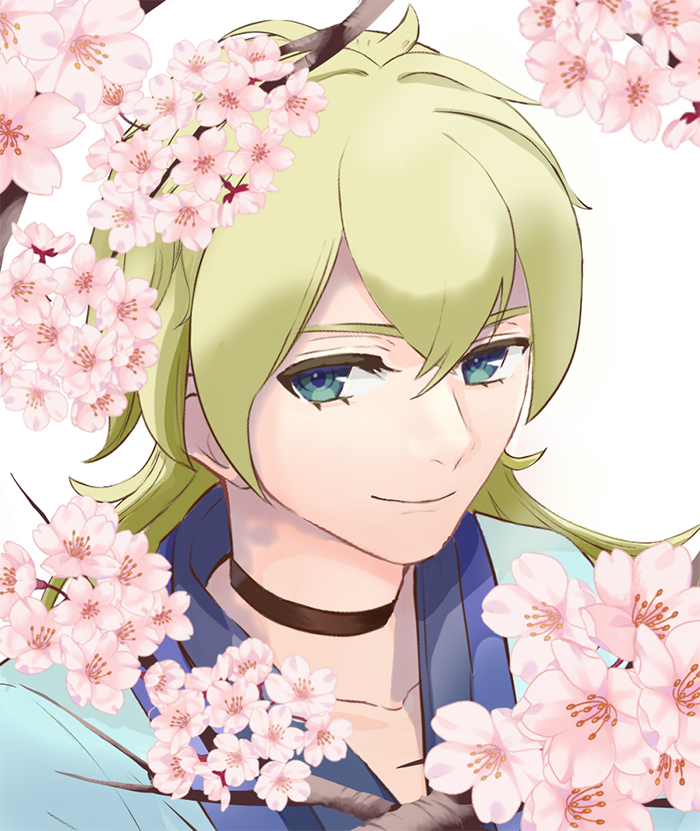
Once you have the flowers, draw in the branches of the cherry blossom tree.
Drawing fluttering petals

I’ve drawn fluttering petals using the Flower Petal (Cherry Blossom) Brush.
I had a general idea of where I wanted the petals to be so I drew them softly by tapping the canvas.
Creating dynamics by drawing light and shadow
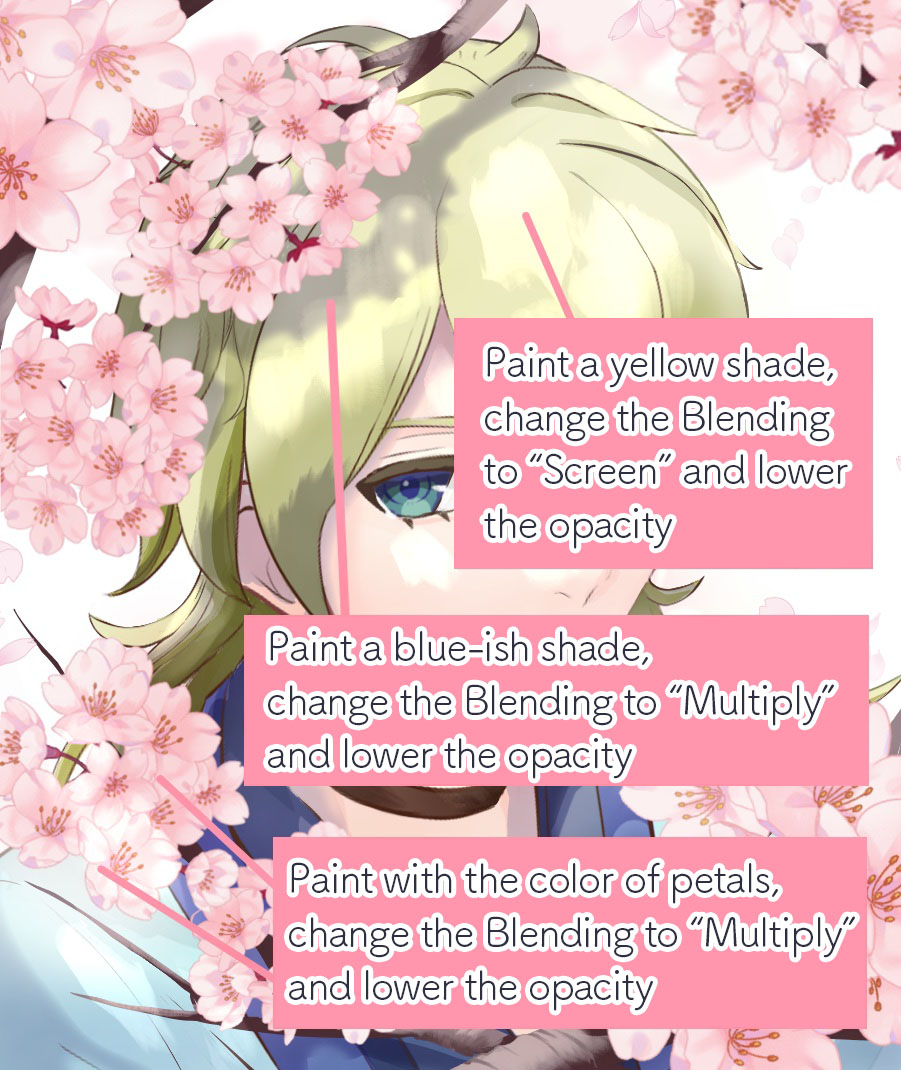
Draw the light by placing a yellow shade on a layer with the Blending set to “Screen” and drop the opacity, whilst a blue-ish shade on a layer with the Blending set to “Multiply” in low opacity will create shadows.
For the flowers, I created the shadows by painting with a color chosen from the petals using the Eyedropper Tool, on a layer with the Blending set to “Multiply” and low opacity. I drew the light by using the Airbrush with its color set to transparent and sharpened the color for parts receiving the light.

This completes the tutorial.
I only introduced a single method of using the cherry blossom brushes but I hope this helps with your illustration.
(Text・Illustration/Amane)
\ We are accepting requests for articles on how to use /

