2023.04.27
How to draw chocolate illustrations! What do you need to make it look delicious?
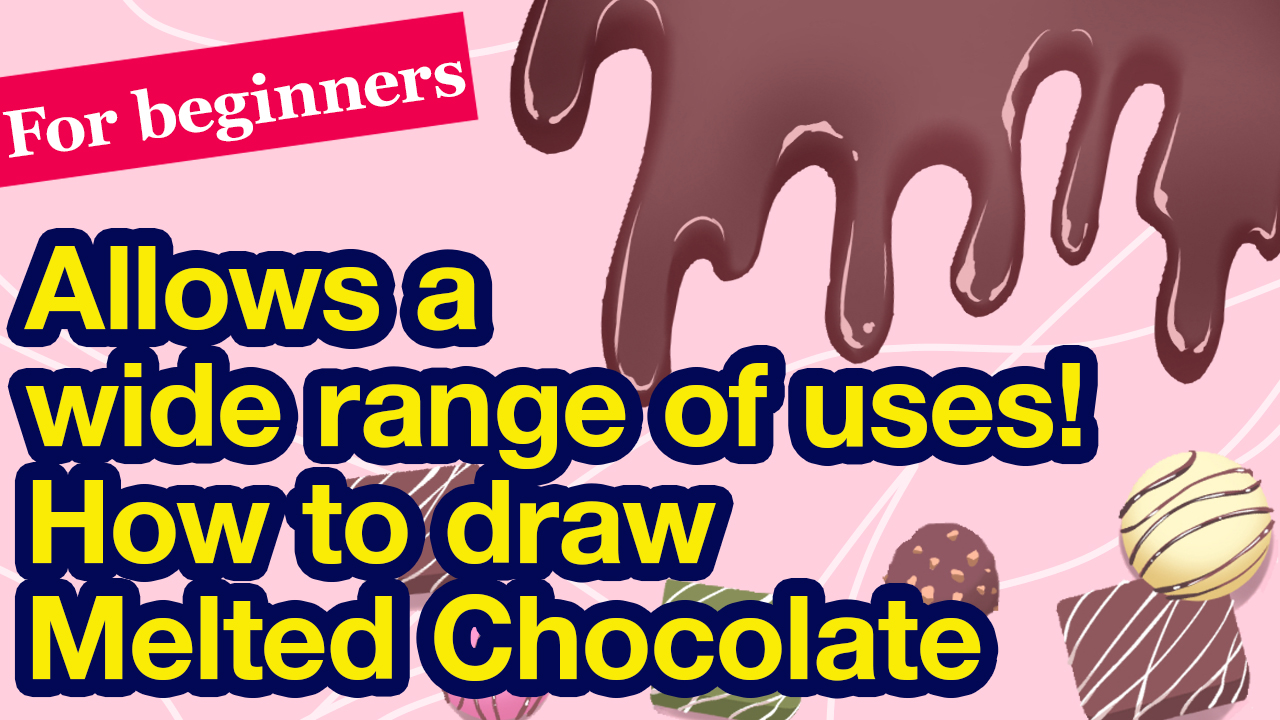
It must be fun being able to draw melting chocolate! This is a versatile design that can be used not only for sweets, but also for fancy pop illustrations. It can also be used for many other purposes, such as Valentine’s Day, Christmas or Halloween illustrations.
Today we will learn how to draw melting chocolate that looks delicious. Once you have mastered the technique of drawing dripping chocolate, you will have a wide variety of subjects to draw, such as sweets and seasonal decorations. Learn the method precisely and have fun creating seasonal illustrations!!
Draw an outline of the chocolate
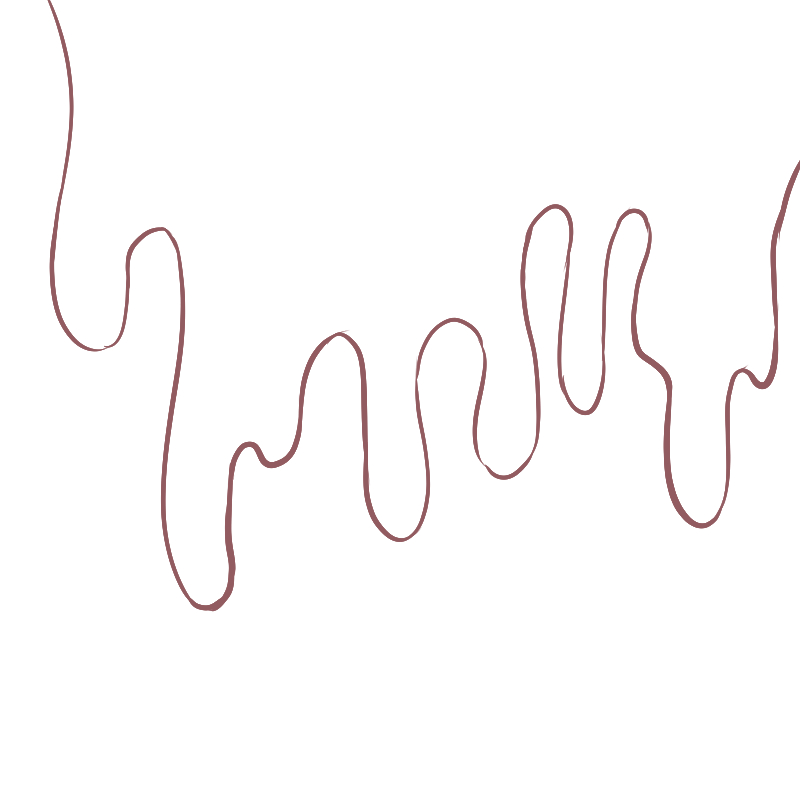
Start by defining the outline of the chocolate. It will be difficult to finish the illustration beautifully if you don’t specify the proper look of the dripping chocolate. Specify the outline well so that it shows the real look of the chocolate melting.
We will use the Pen brush.

We will adjust its shape in the process of filling it with color, so it is fine to draw the outline roughly for now.
Draw a line that is as simple as it can be to give an idea of the shape of the melted chocolate. You can express the texture of the melted chocolate by adding several areas where chocolate drips.

Fill the outline with color
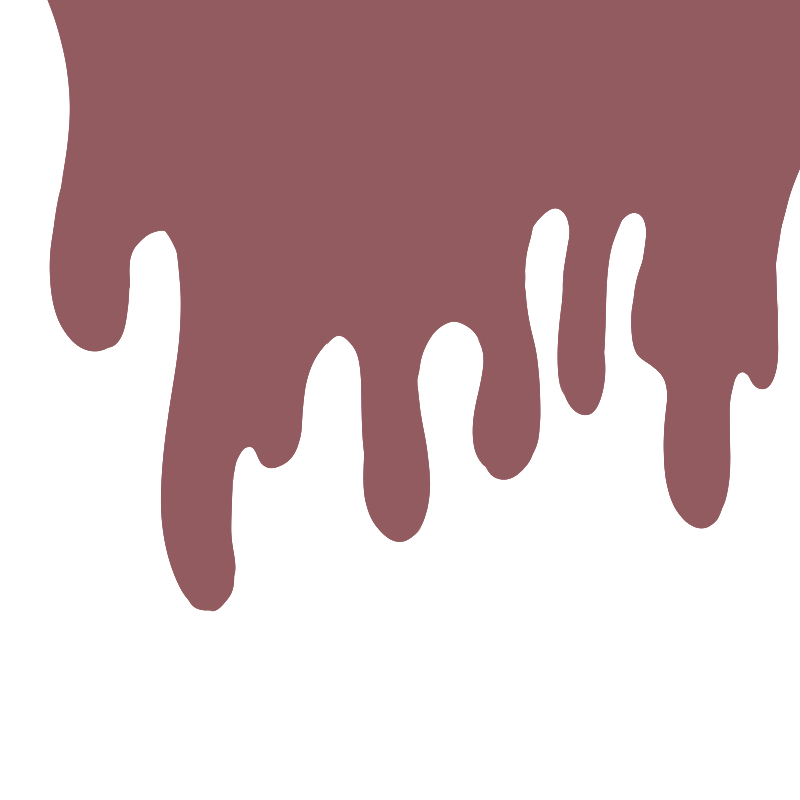
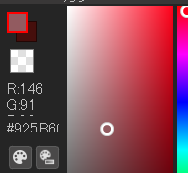
Now we are going to add color to the outline. Use the Bucket tool to add color. You should choose the color to be added to be more reddish than the solid chocolate. This will give you a chocolate color that looks as if it has been heated. It is recommended that you set colors that look more like the cup of cocoa than the chocolate.
The drawing looks so flat at this point, but rest assured, later adjustments will make it look more like a chocolate.
Add the first shadow
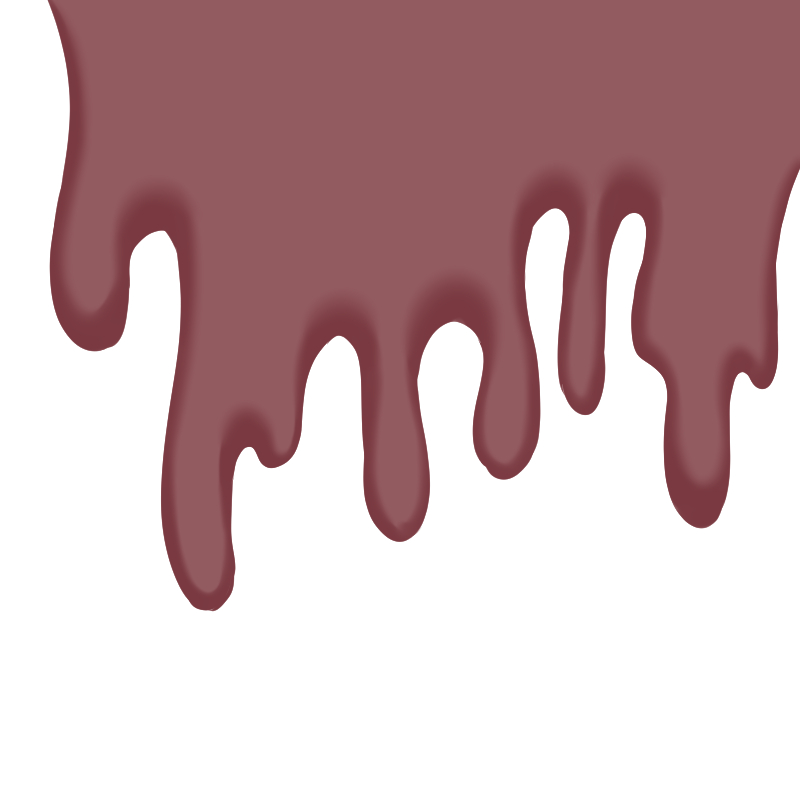
Now we are going to add shadows. We are going to add 2 types of shadows. The first shadow will give the illustration a three-dimensional look. The rich depth will give the illustration the atmosphere of the chocolate being spilled. This is an important process to create the feeling of melting, so do it well.
Add a new layer on top of the filled in base layer and clip it.

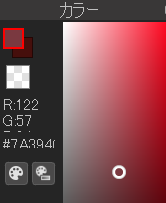
Select the dark cocoa brown which is darker than the color we used for the fill. A lighter color will blur the shadows and not show the chocolate texture well. Using the same color will only increase the illustration area, so make sure you choose the darker one.
We will use the Watercolor brush.
When adding shadows, think of the image below. Just like solid objects, water drops or liquids have a three-dimensional shape, so it is important to add shadows while focusing on them.
But still, melted chocolate is not the perfect fluid, so do not make it too soft.
If you add shadows emphasizing its softness, the finished chocolate drawing will look more like a liquid.
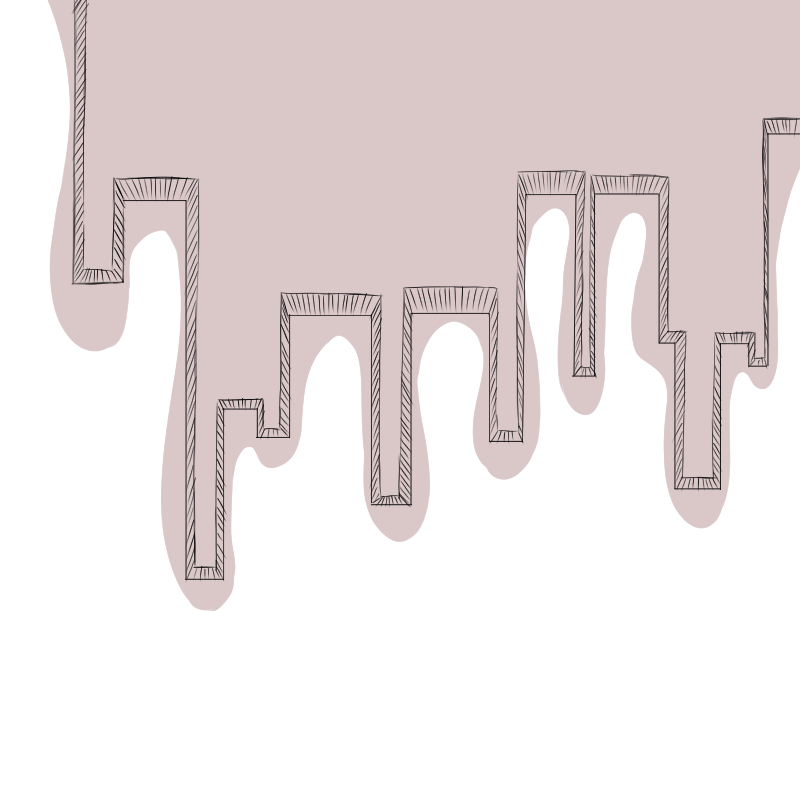
Add shadows roughly.
To create three-dimensionality, add less shadow to the parts near the center of the dripping area and more shadow to the parts near the edges. Distinguish the areas where there are shallow shadows from the areas where there are deep shadows to add sharpness to the image!
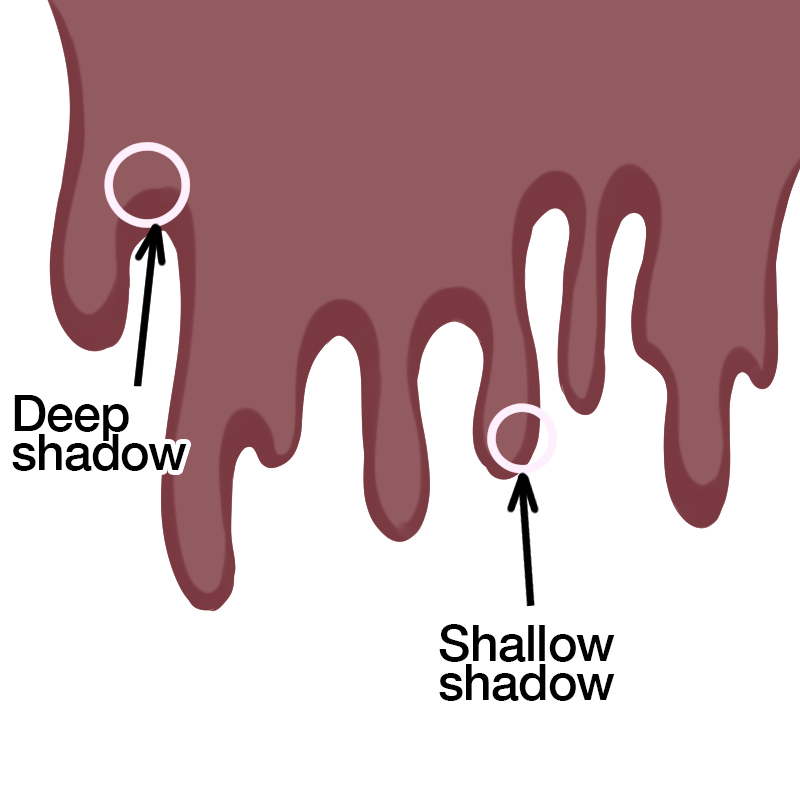
As it is shown in the image above, adding shallow shadows to the areas where the chocolate falls and deep shadows to the valley-shaped areas of the chocolate will emphasize the flowing movement of the chocolate. This will make it look more real as the areas will look sharp.
After tracing the outline with shadows, select the Blur brush to blur the shadows. The blur will change the whole atmosphere of the drawing. Keep working while enjoying the change.
![]()
Blur the shadows roughly. Blur the deep shadows more and the shallow shadows less. Blur the deep shadows so that you can hardly see their edges, and blur the shallow shadows so that you can still see their edges. This will make the drawing look three dimensional.
Of course, the way you blur will depend on what kind of texture or atmosphere you want to draw, so try different ways of blurring to find your preference.

Add the second “rough” shadow
Now let’s add the second shadow. The shadow we are going to add this time is a rough shadow.
Rough shadows are faint, obscure shadows. They can be used to add subtle shades to an illustration, transforming a flat image into a rich one.
If you don’t add the second shadow and finish with the first, the drawing will inevitably give the impression that it’s some kind of flat, rough liquid. The purpose of the second shadow is to add soft three-dimensionality to the illustration. This process will make the illustration look more like a real melting chocolate, so concentrate on it.
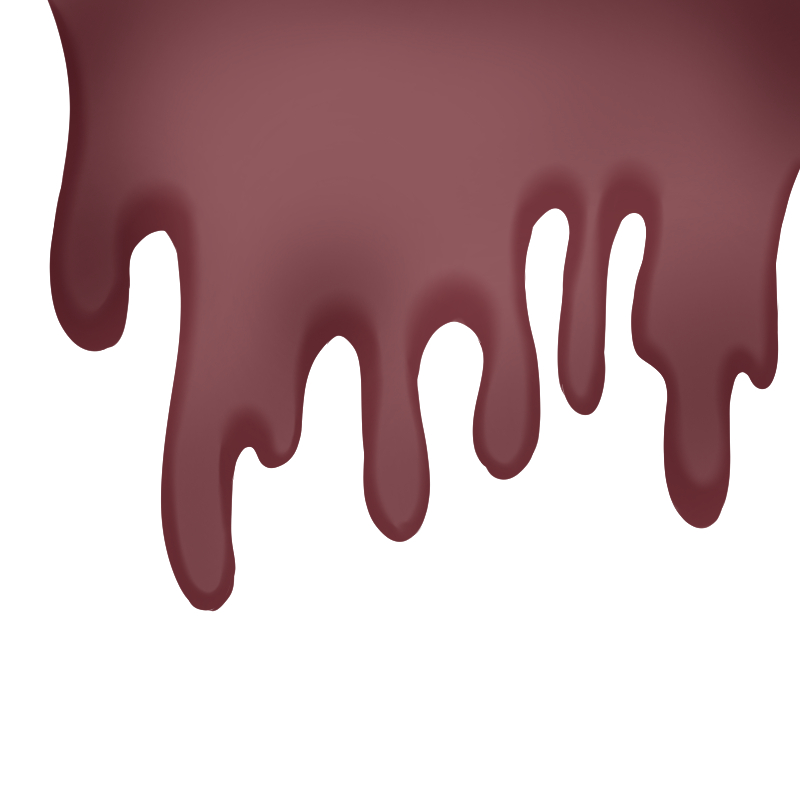
Create a new layer and clip it.
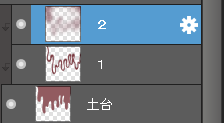
Set the layer blending to “Multiply”.
![]()
Select the Airbrush.
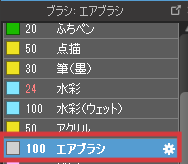
Choose a color that is slightly darker than the first shadow. But if you use a color that is too dark, the whole illustration will look dark. And that will take away the warmth that the chocolate has. So be careful and express the chocolate with different shades of brown.
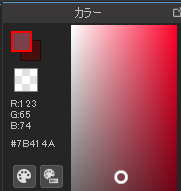
Use the Airbrush’s fluffy coloring effect to add fluffy shadows to the dripping bottom and flattened areas at the top. The darker areas and lighter areas are softly separated, and a fuzzy texture typical of illustrations can also be produced.

Add highlights
As we have worked so far, the only process left is the addition of highlights. Even in the current state, we had expressed the melting chocolate with three-dimensionality, but the final highlight addition can create a thick texture of the liquid. Let’s finish drawing the shiny chocolate sauce!

Add a new layer and clip it.
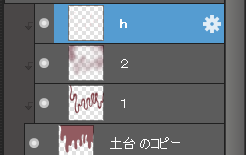
Select the lighter beige as darker colors won’t work as highlights.
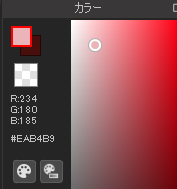
Use the Pencil brush.
![]()
Add highlights to the area of the chocolate where the light hits and shines with the gloss. You should add them close to the shadows and less area than the shadows. Be careful, too many highlights will end up in giving the impression that the bright lights are hitting, which is not in balance with the shadows.
If you are not sure where to add highlights, you can search the internet for “chocolate melting” or something. You will find many images that can help you.
Search for reference images and refer to them to make your illustration look more real.

Conclusion
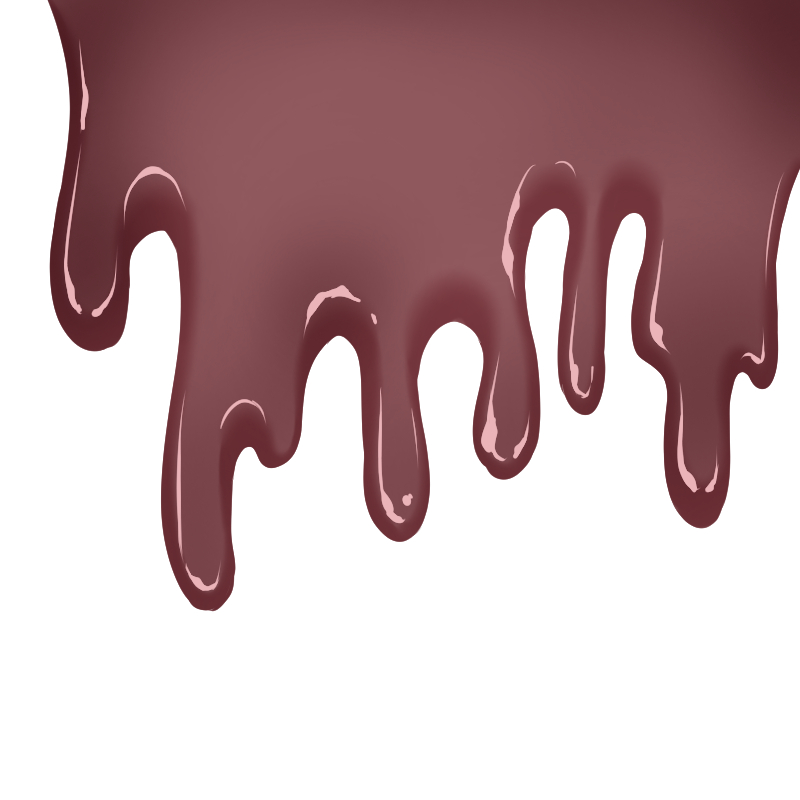
Now we’ve done! How do you like it? We have drawn a realistic chocolate sauce with a little effort!
By changing the base color, you can use this method to draw the textures of a pink chocolate with a strawberry flavor, or even blood. This is the method that can be applied to draw anything with a thick liquid texture. I hope you will practice this method and expand your illustration ideas!
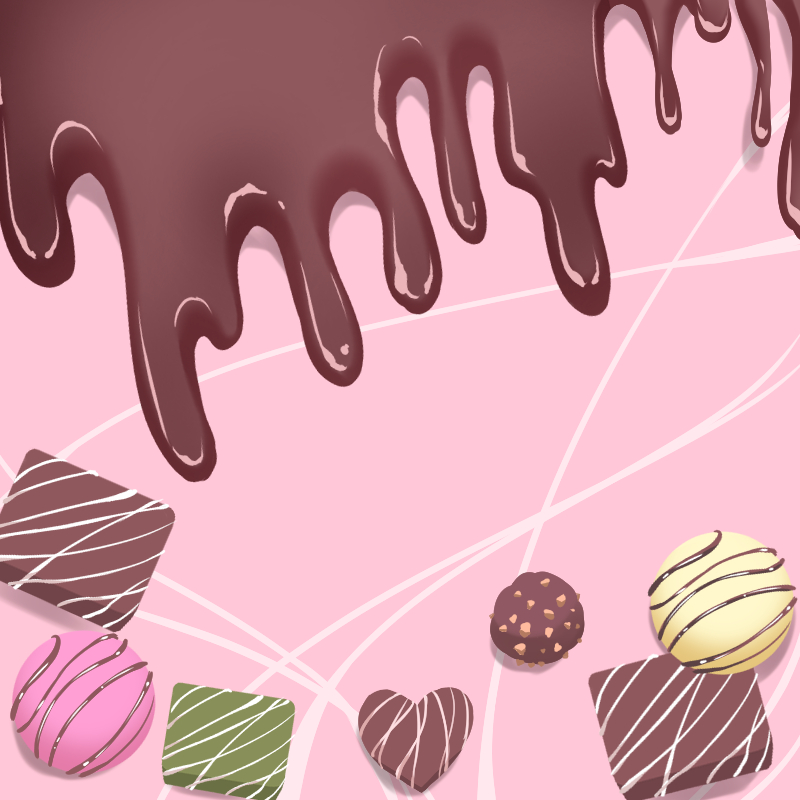
This is the illustration I created using the chocolate illustration, the illustration perfect for Valentine’s Day. The process remains the same even if there are more areas that drip or create valleys. The textures can be changed depending on the way you add shadows or highlights, so create the texture you like best. How about painting with pink to draw a strawberry-flavored chocolate, or orange to draw an orange sauce? That must be so cute.
Thanks for reading!!
(Text・Illustrations/アニー)
Twitter:https://twitter.com/annie_pinkpom
\ We are accepting requests for articles on how to use /

