2023.04.19
Learn How to Paint Lighting by Drawing a Handsome Villainous Boy!
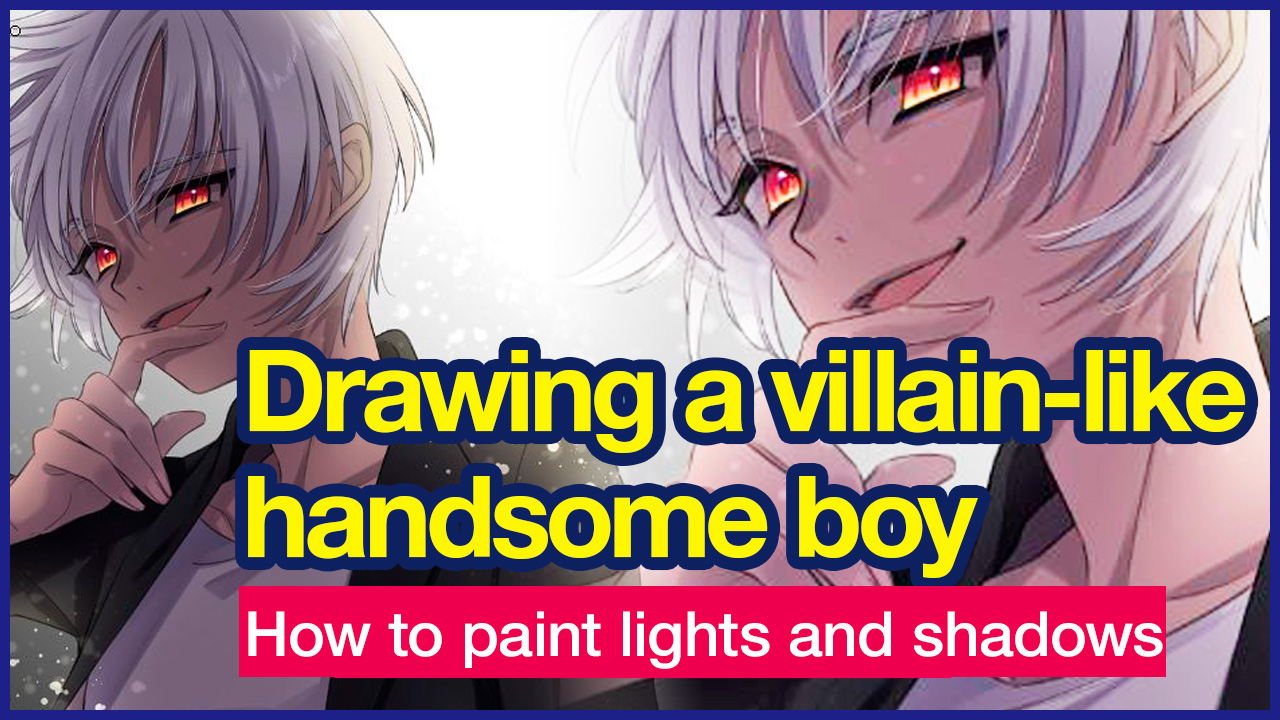
Let’s explore some cool painting techniques while drawing this dark and enchanting character:
Rough Sketch and Line Art
First, let’s roughly sketch our character, focusing on making his expression dark and charming.
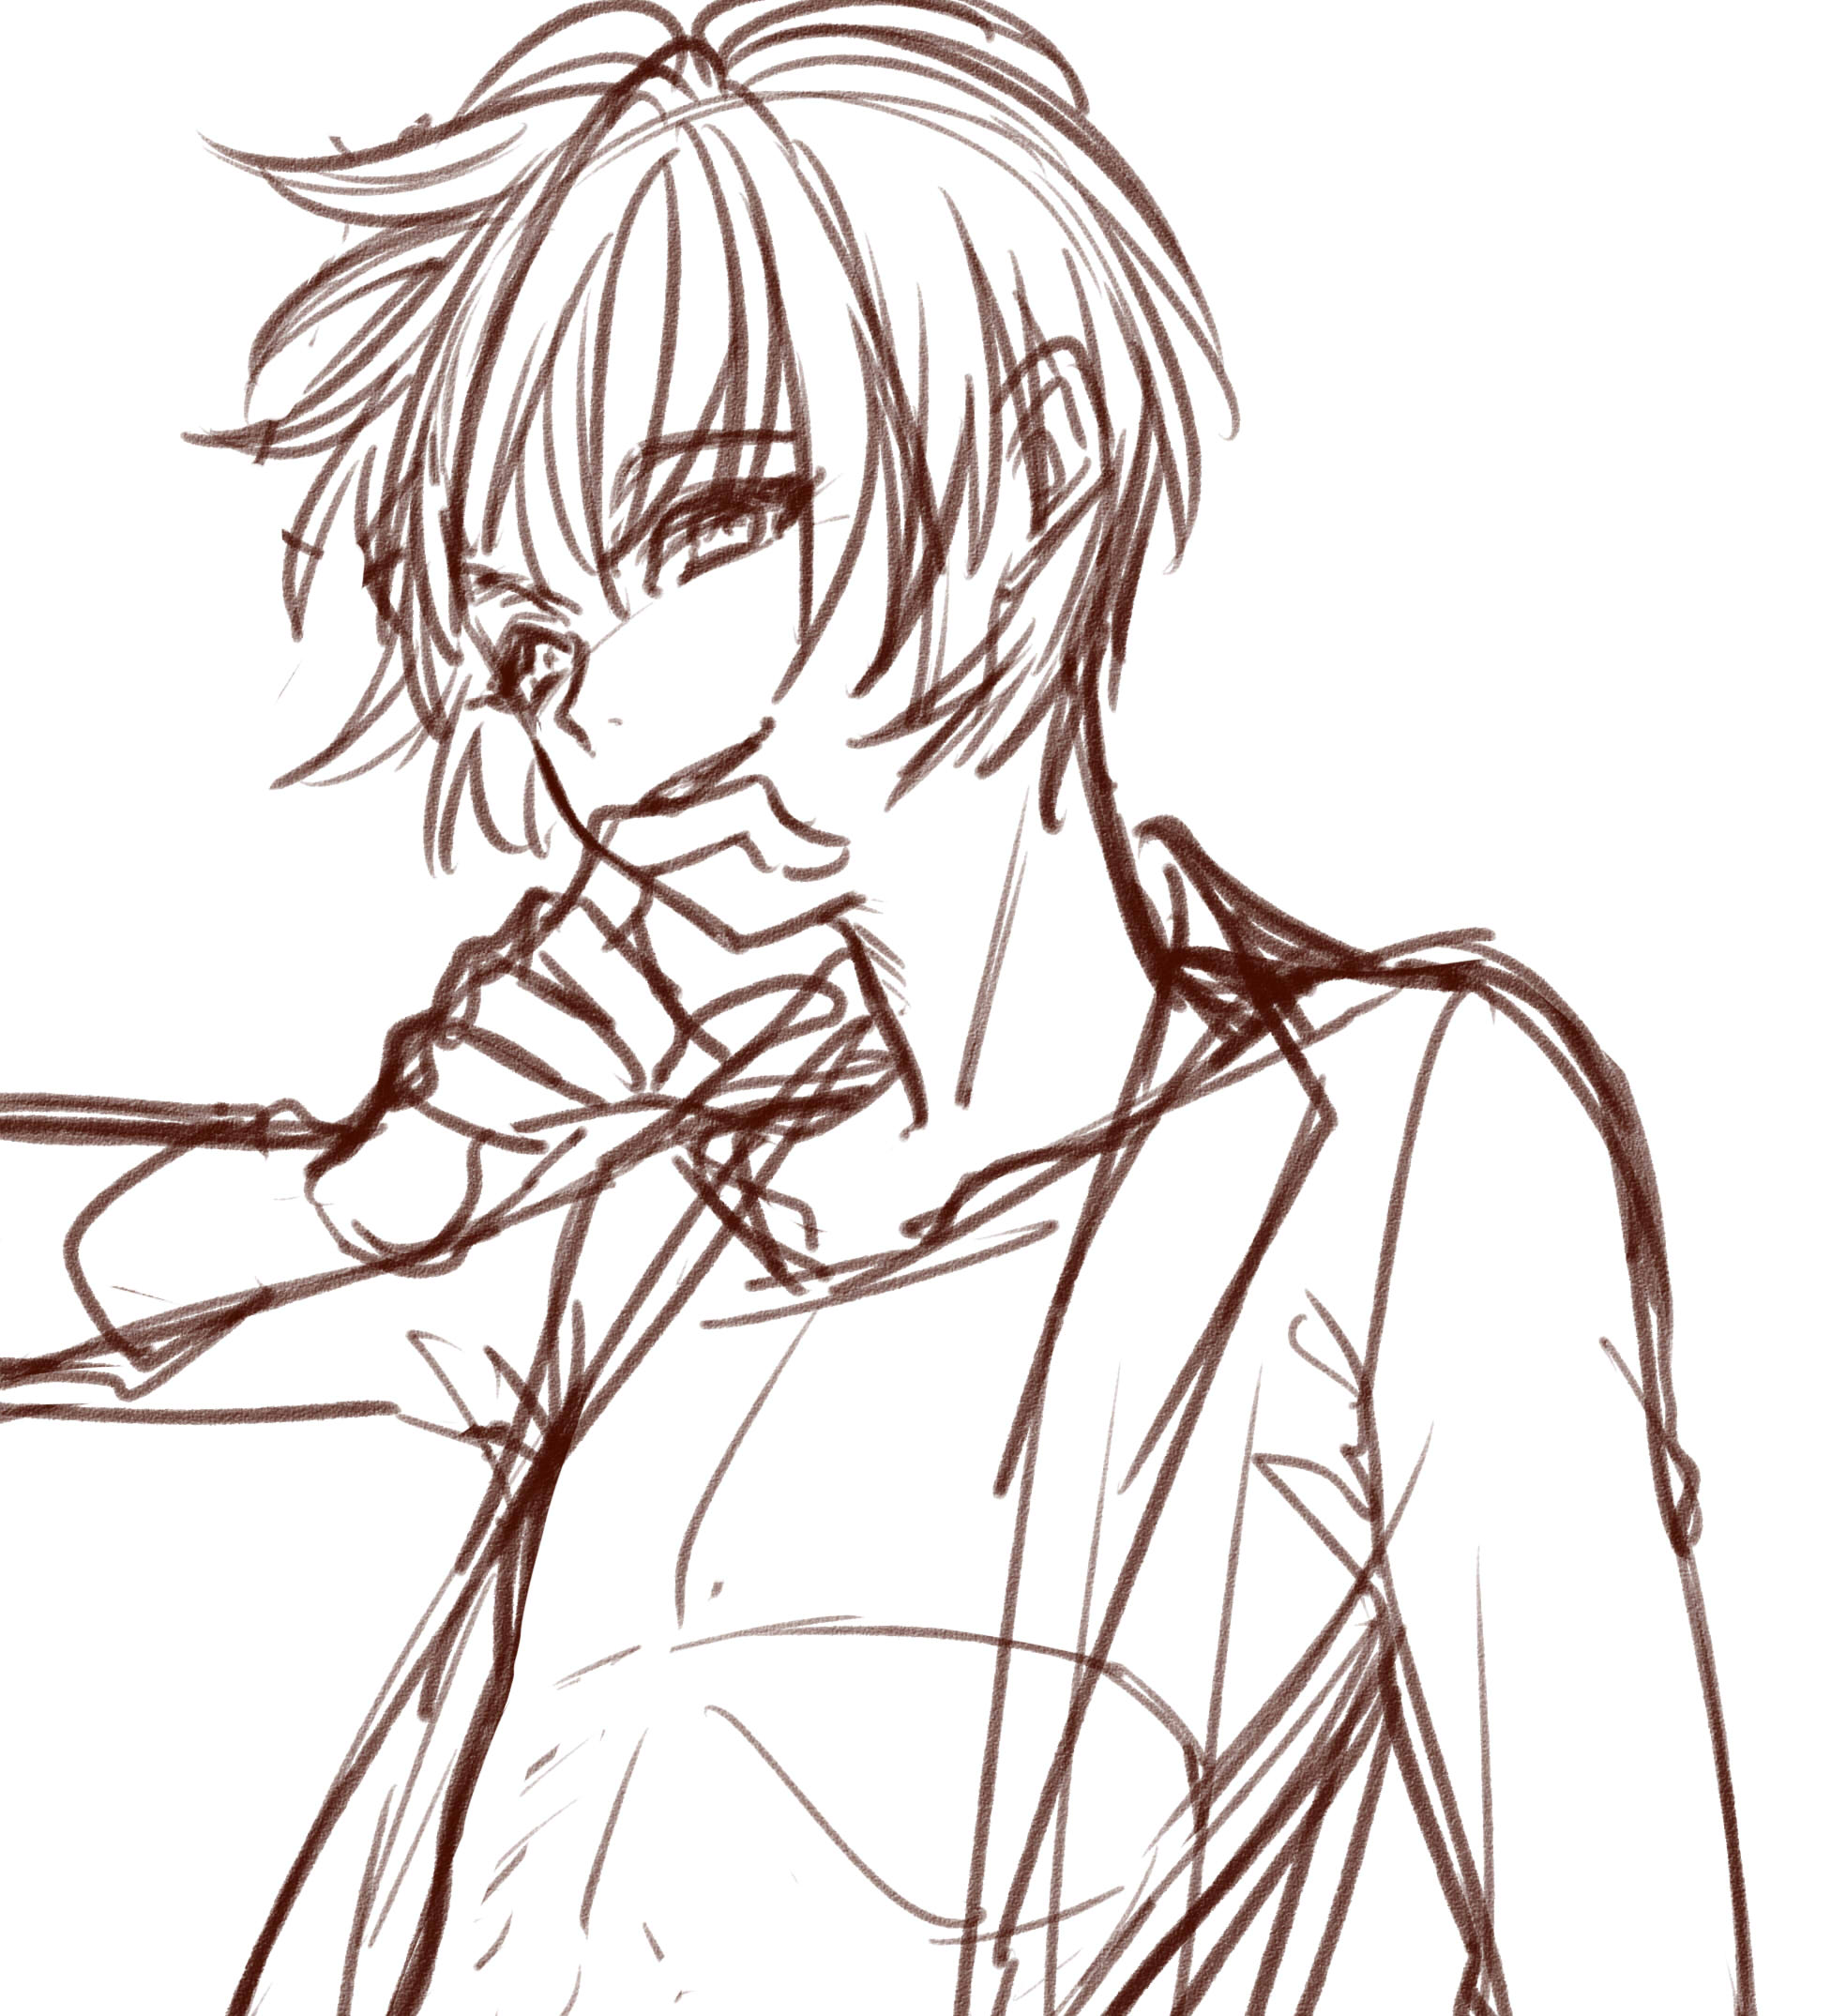
After you’re happy with the sketch, reduce the layer’s opacity, make a new layer, and begin lining the sketch.
The brush I used this time was “Mapping Pen”.
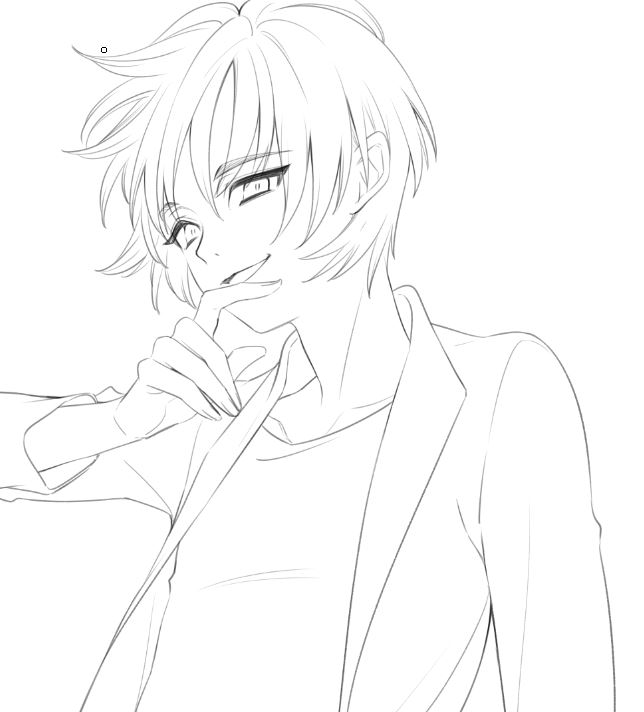
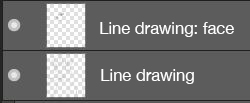
Pro Tip: In case you want to change the expressions later, draw the facial features on a separate layer.
I’ve set the layer mode to Multiply.
Paint base colors
Beneath the line art, make a new layer to use for the base colors. Add a base paint layer below the line drawing layer and fill in the area you’ll be painting with a single color as seen below.
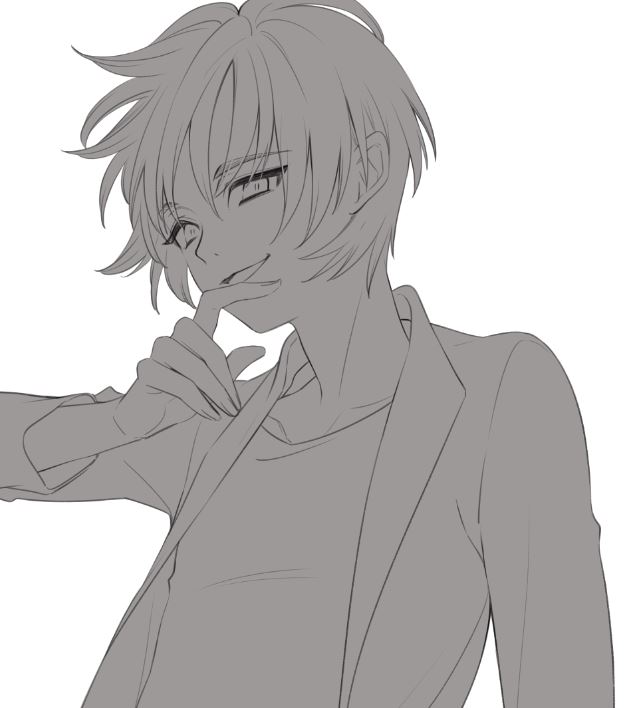
Create a layer folder above the base paint layer and clip it to the layer.
This will allow you to apply the color without worrying about it going outside the line art.
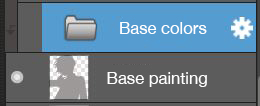
In the layers folder, create paint layers for each part.
This time I have divided the parts as follows.
- Skin
- Eyes
- Hair
- Clothes
- Jacket
Now we’ve finished coloring in each part, and the base of the painting are done!
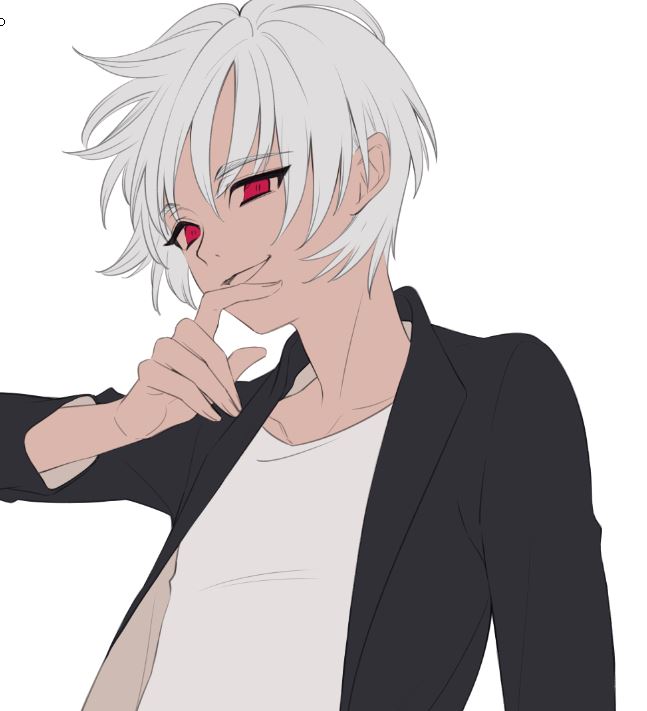
Start painting the light and shadow
Paint the light and shadow on the character.
Don’t worry about painting roughly, but remember that this process is crucial to creating the atmosphere you want!.
Contrasting lighting like this is the key to creating a villainous atmosphere.
For this piece, we will be painting lights and shadows to make it look like the light is coming from behind the character.
Paint lights to trace the silhouette of the character
Let’s start with painting the light by creating a new layer above the layers folder. Then clip the layer to the folder, and set the layer mode to Lighten.
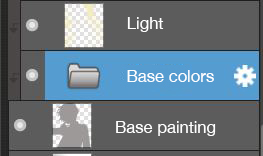
Remember that the light source of this piece is behind the character, so apply the lighting by tracing the silhouette of the character.
We recommend using Airbrush and coloring with a faint yellow hue.
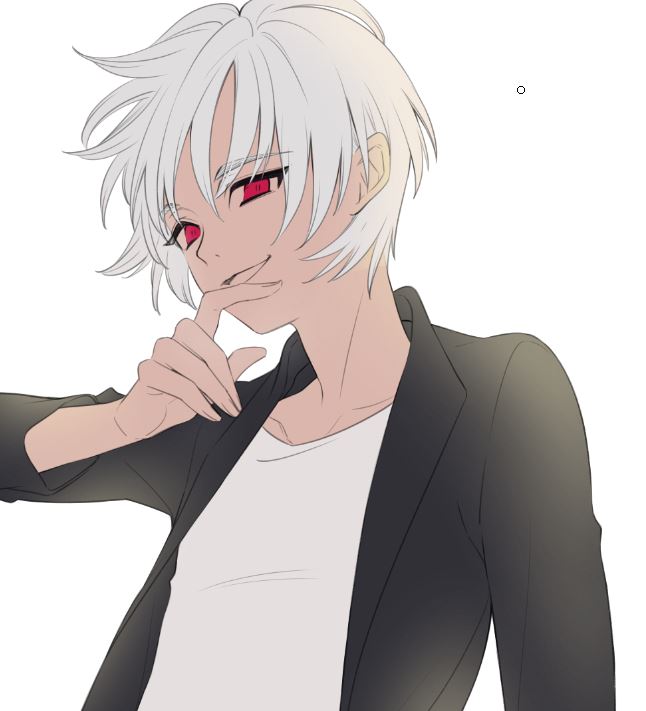
Paint shadows to complement the lighting
Now it’s time to paint the shadows
Same as before, create a new layer on top of the layers folder and clip it. Then set the layer blending to Multiply.
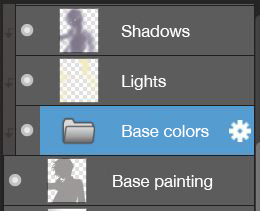
To complement to what we did for the lighting, for shadows add color on the inside of the character.
Use the airbrush to paint a bluish gray.
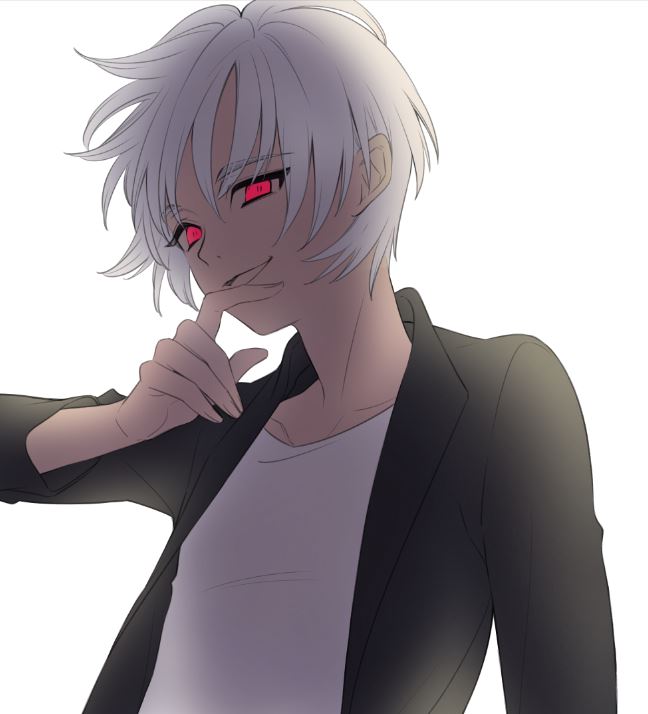
With light and shadows now added, you can see the illustration starting to come together.
How to make the eyes pop
In the image above, I’ve used the Eraser tool to erase the gray on the pupils only.
This way the eyes aren’t in shadow and catch the viewer’s attention
This is effective if you want to create an atmosphere of suspicion, or if you want to focus on the eyes.
Paint shadows in detail
Now make the character stand out more by adding some highlights or shadows to each part.
In the same way as for painting the base color, create layers for each part in the base color layers folder.
Add a new layer on top of the layer you want to paint and clip it.
Basically, we are going to paint the shadows on our new Multiply layer.
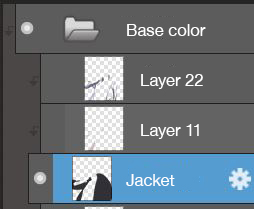
Shadows on the skin↓

Shadows on the eyes↓
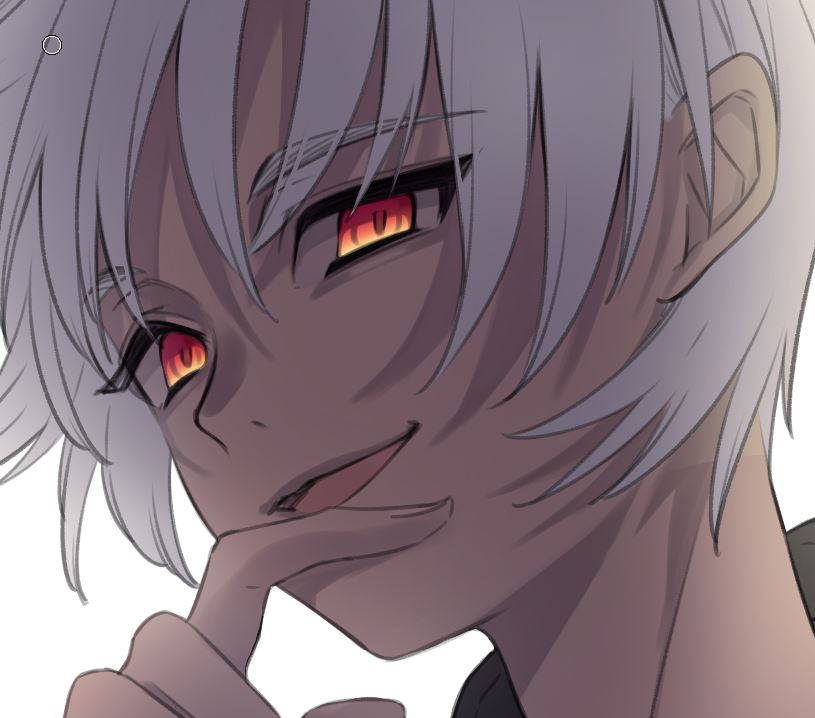
Shadows on the hair↓
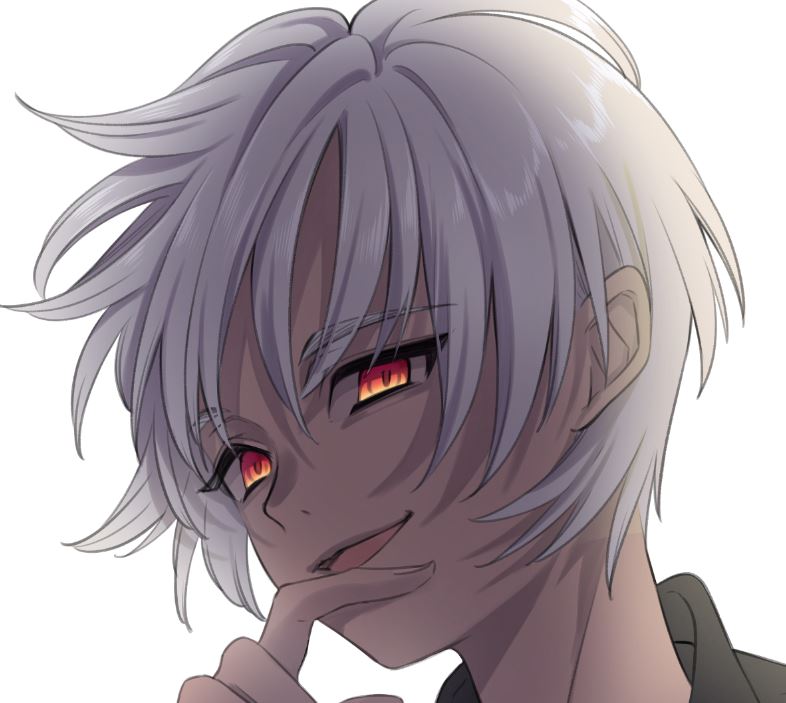
Shadows on the clothes↓
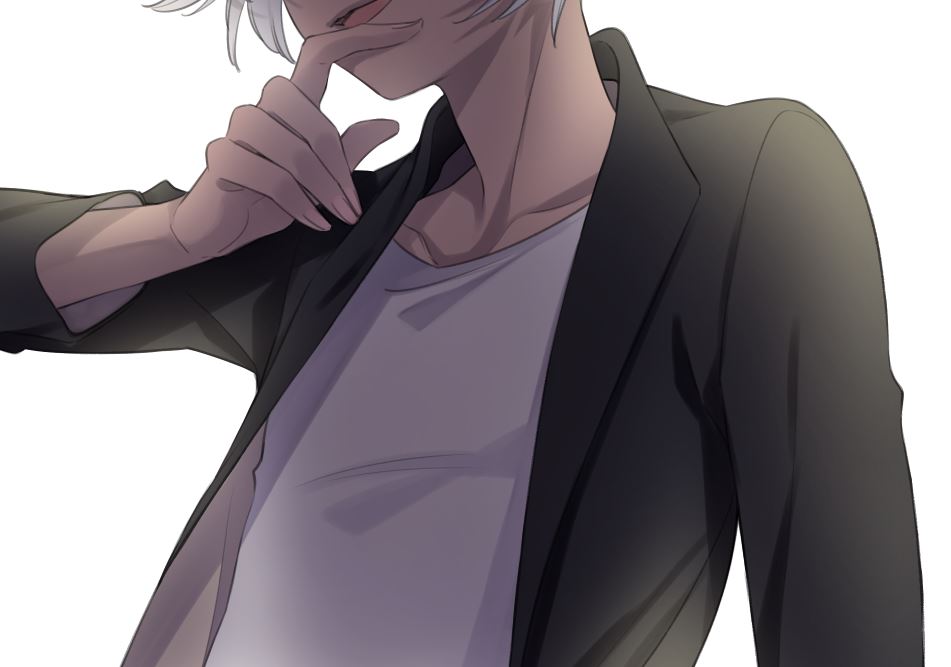
This is the whole image with the shadows painted in.
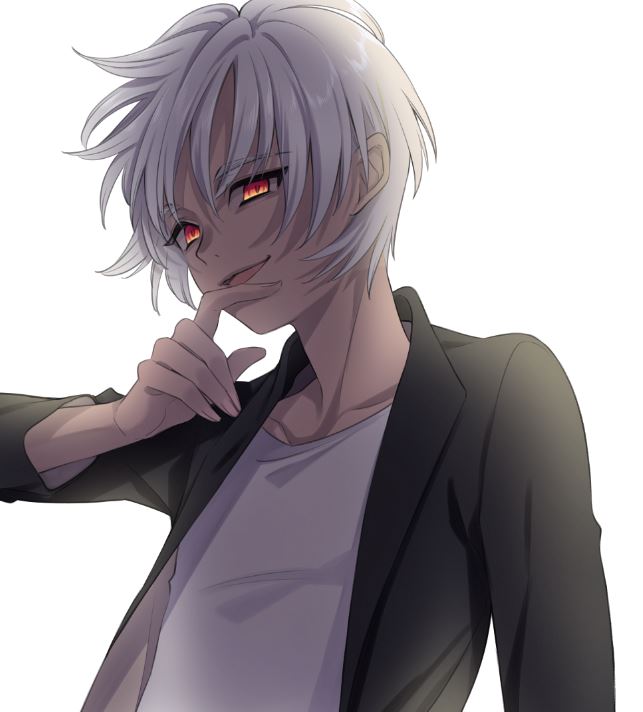
Finishing
Then improve the quality of the illustration even more, by adding highlights, details to the hair, and background.
Personally, this is the most fun part of the process for me. I love finishing up the piece!
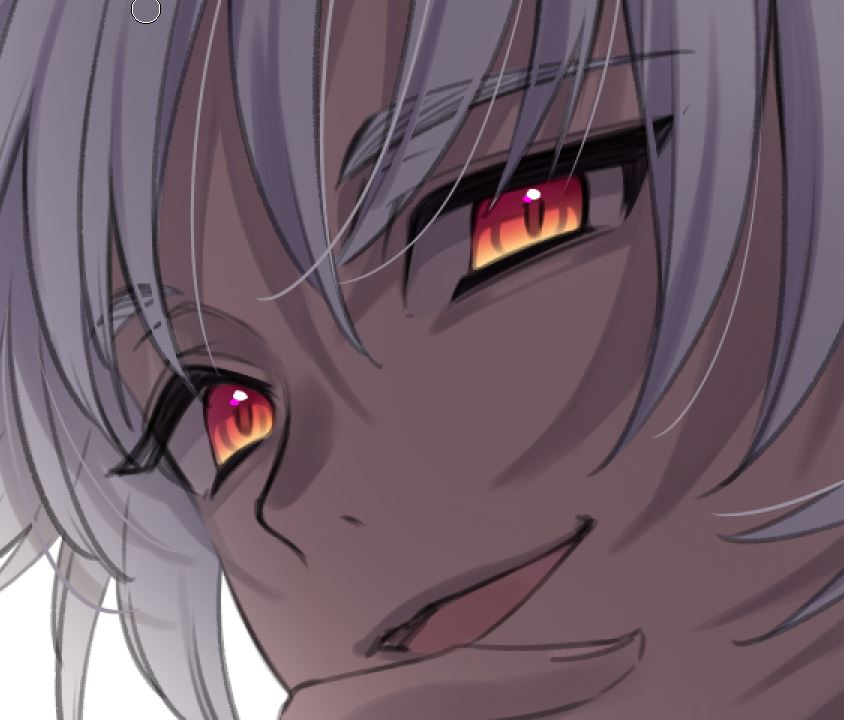
Highlight for the eyes
Choose the size and color of the highlights to suit your taste.
This time I added white and dark pink highlights.
Create a feeling of movement with the finer hairs
Use the Eyedropper tool to pick out colors from the hair parts you like and paint small strands of hair over the line art. This adds dynamism to the work and gives the effect of the hair blowing in the breeze, so be sure to stay consistent with the direction you want the hair to flow in.
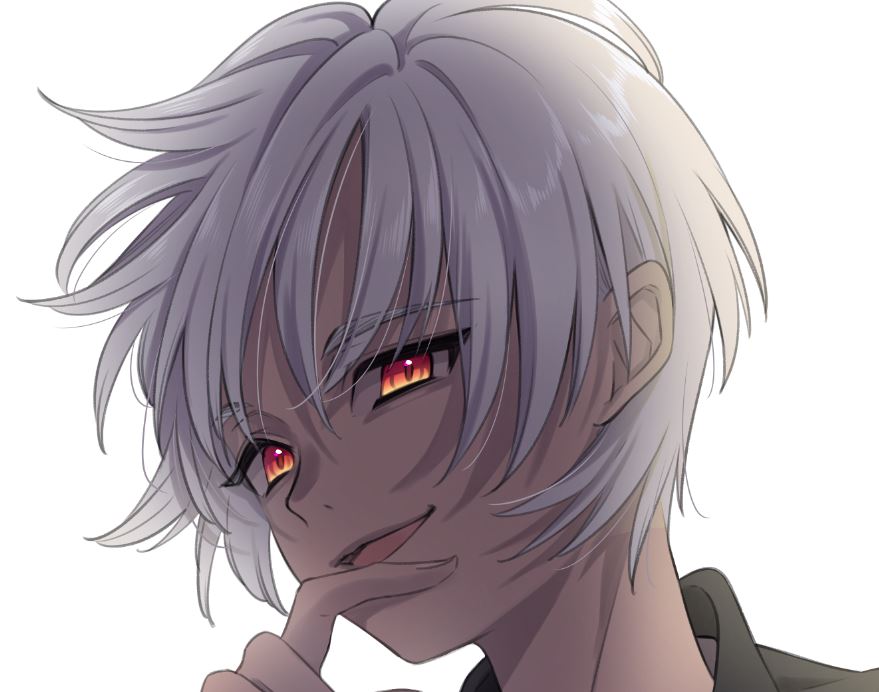
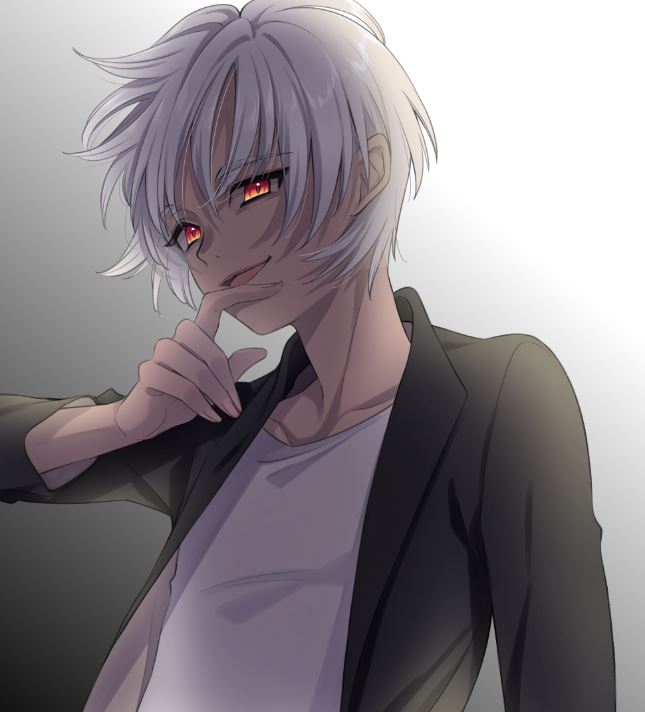
Add a gradient to the background
Add a gradient of black to white from top left to bottom right to the background.
Add a new layer at the bottom and use the Gradient tool.
You can find the tool on the menu bar.

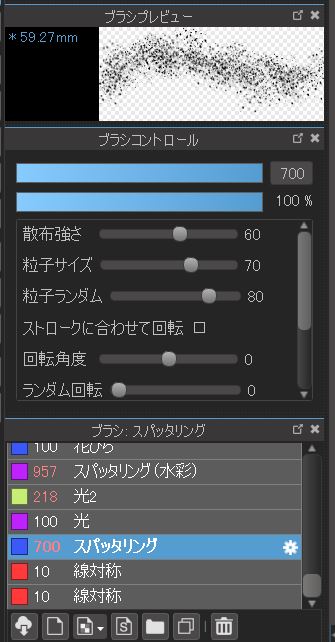
Add some light particles
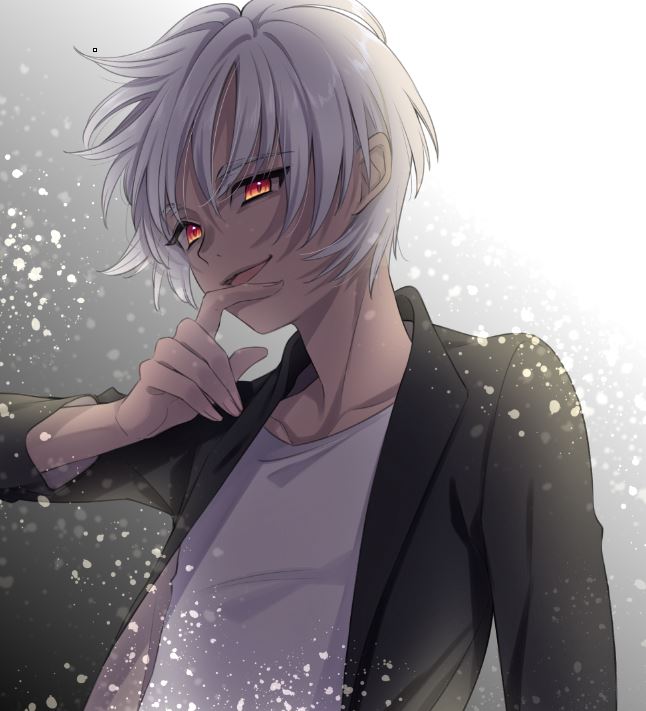
The above image is fine, but it still feels like something is missing, so we’ll add some light particles.
Add a new layer on top, and set the layer blend to Add/Lighten.
Use the Splatter brush (available for free from the Cloud).
Paint the particles with the reduced opacity to make the work look like this.
Adjusting the color
Finish the work by adjusting the colors to your liking.
There are no set rules to color adjustments, so have fun experimenting and figuring out your tastes!
This time we will:
- Merge all the layers and select the Tone curve from the Filter to increase the contrast of the image.
- Select the Unsharp mask from the Filter to give sharpness to the lines.
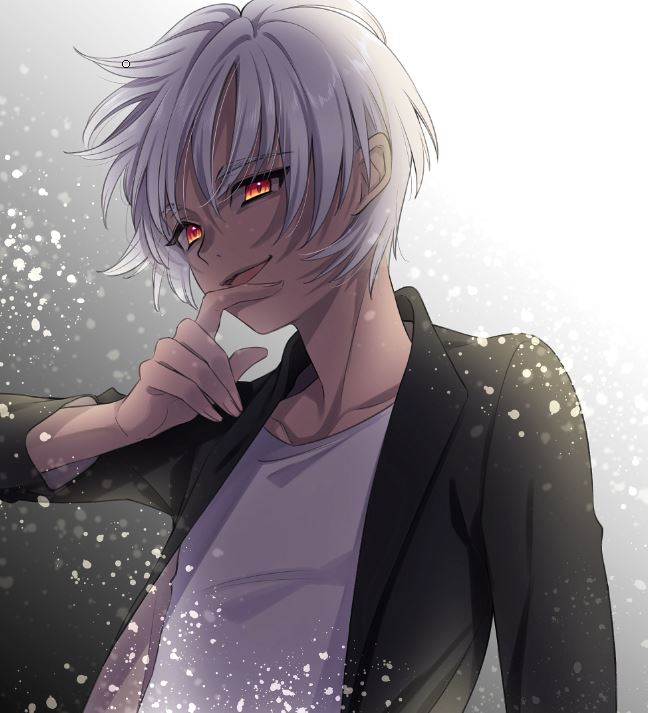
After the above steps, the final image looks like this!

Remember, light and shadow is the key to drawing atmospheric, villainous characters
Now as a review, here is what we’ve gone learned so far in today’s tutorial:
- Rough sketch, line drawing
- Paint base colors
- Roughly paint lights and shadows
Paint lights to trace the silhouette of the character
Paint shadows from the inside of the character
How to make the eyes stand out - Paint shadows in detail
- Finishing
Highlight for the eyes
Create a shimmering effect with the finer hairs
Add a gradient to the background
Add some light particles - Adjusting the color
What do you think?
Just by adding rough lights and shadows, you can create characters with a dark atmosphere.
I hope you learned something new from this tutorial, and have fun with your art!
(Texts・Illustration / りーりん)
*twitter @ichidanmepile
*instagram @ichidanmepile
*web site https://ri-rin.jimdosite.com/
\ We are accepting requests for articles on how to use /

